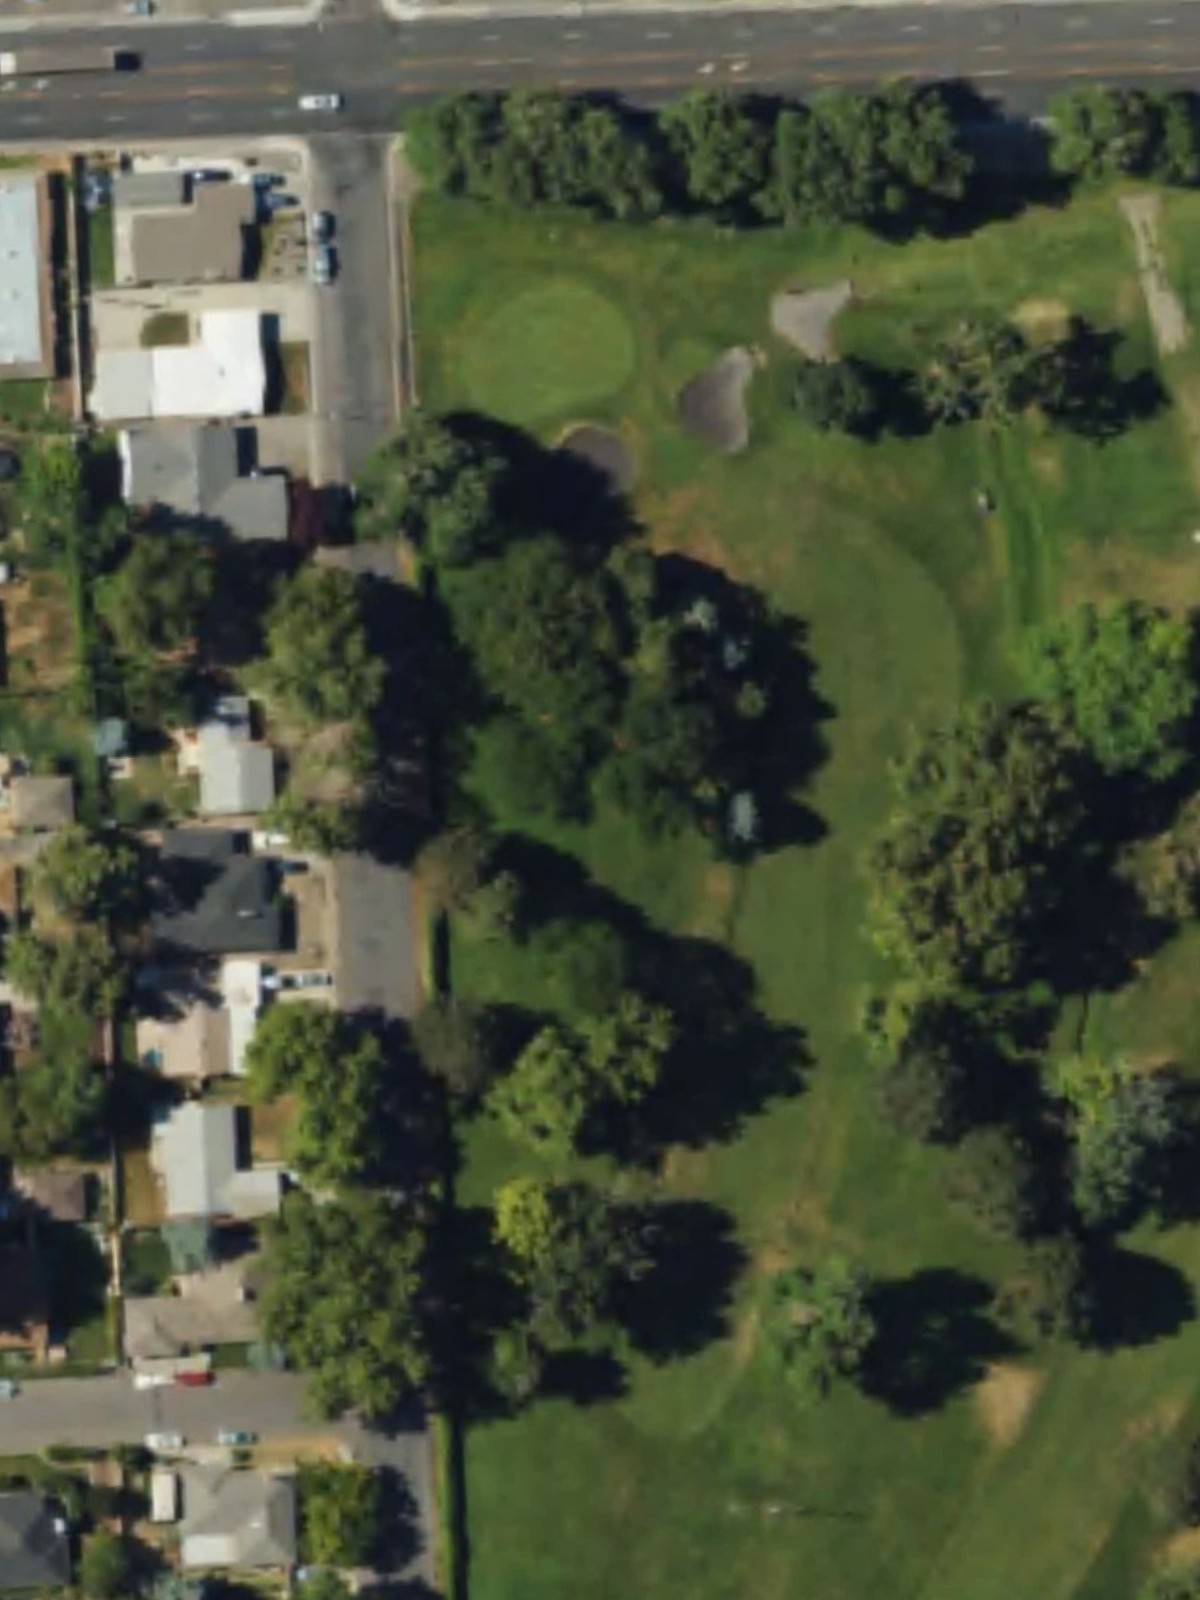
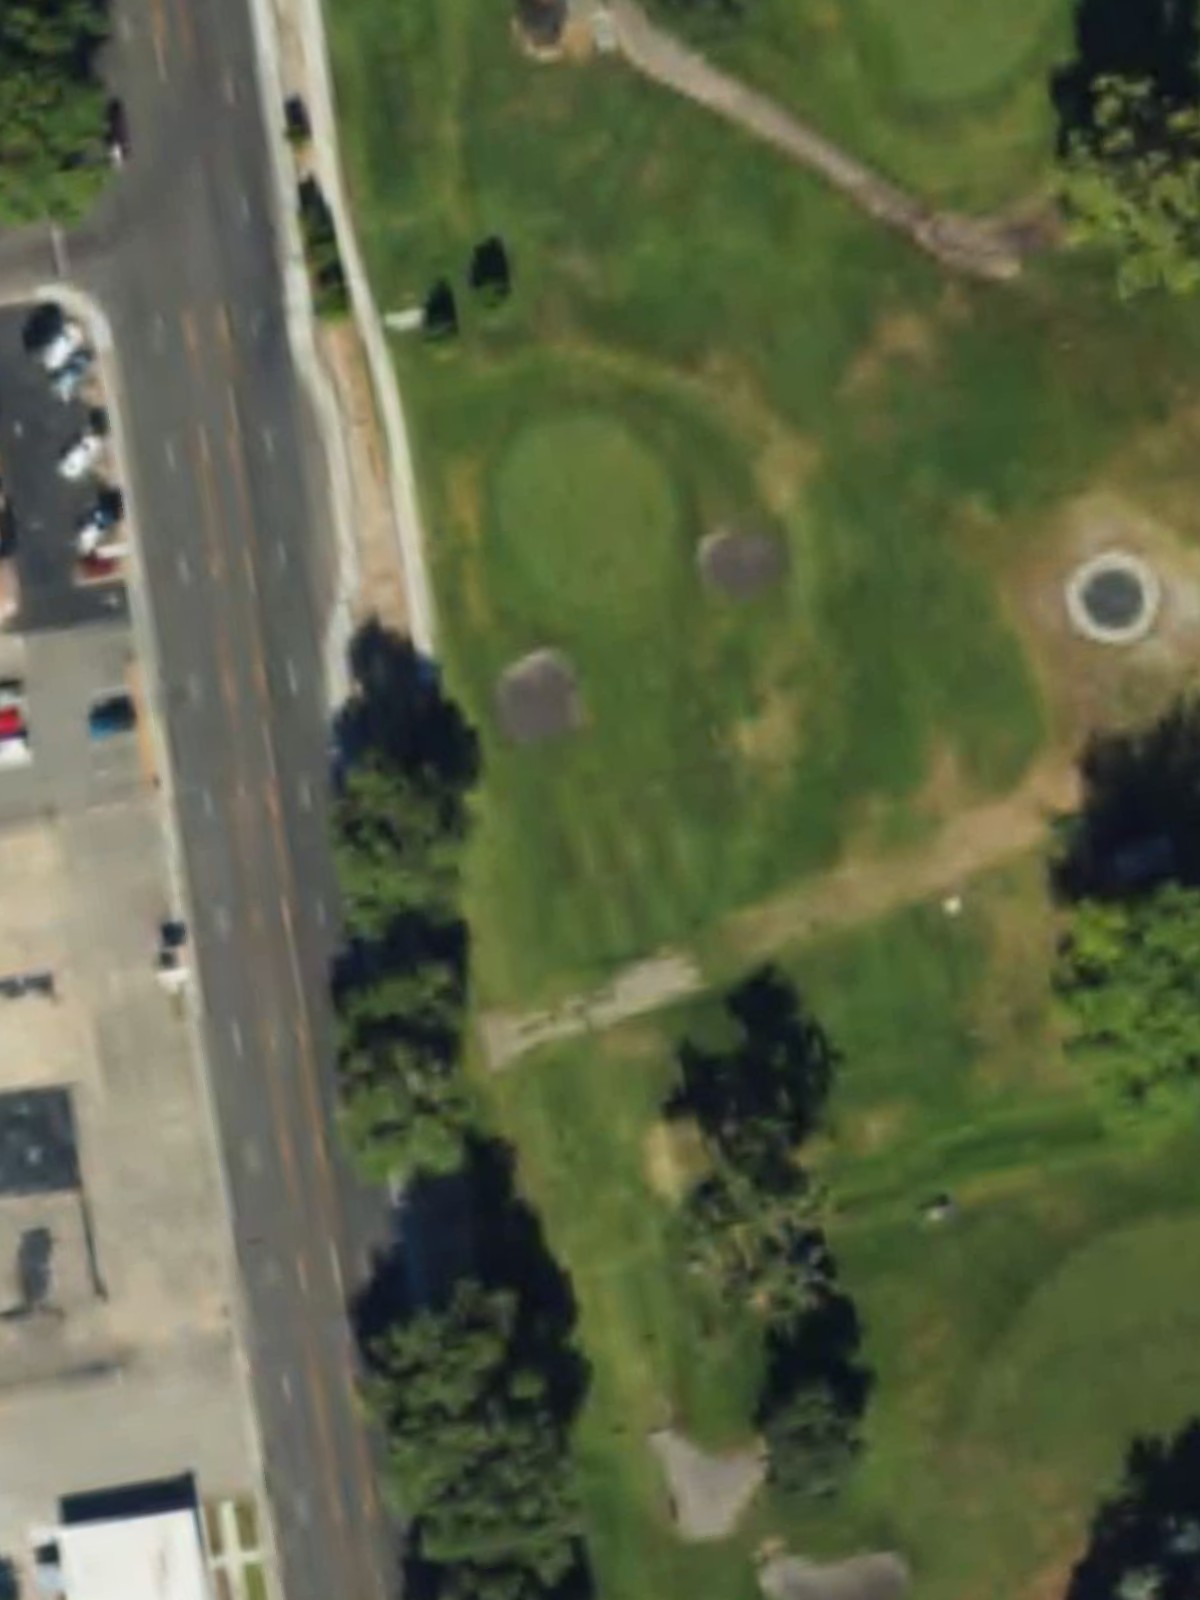
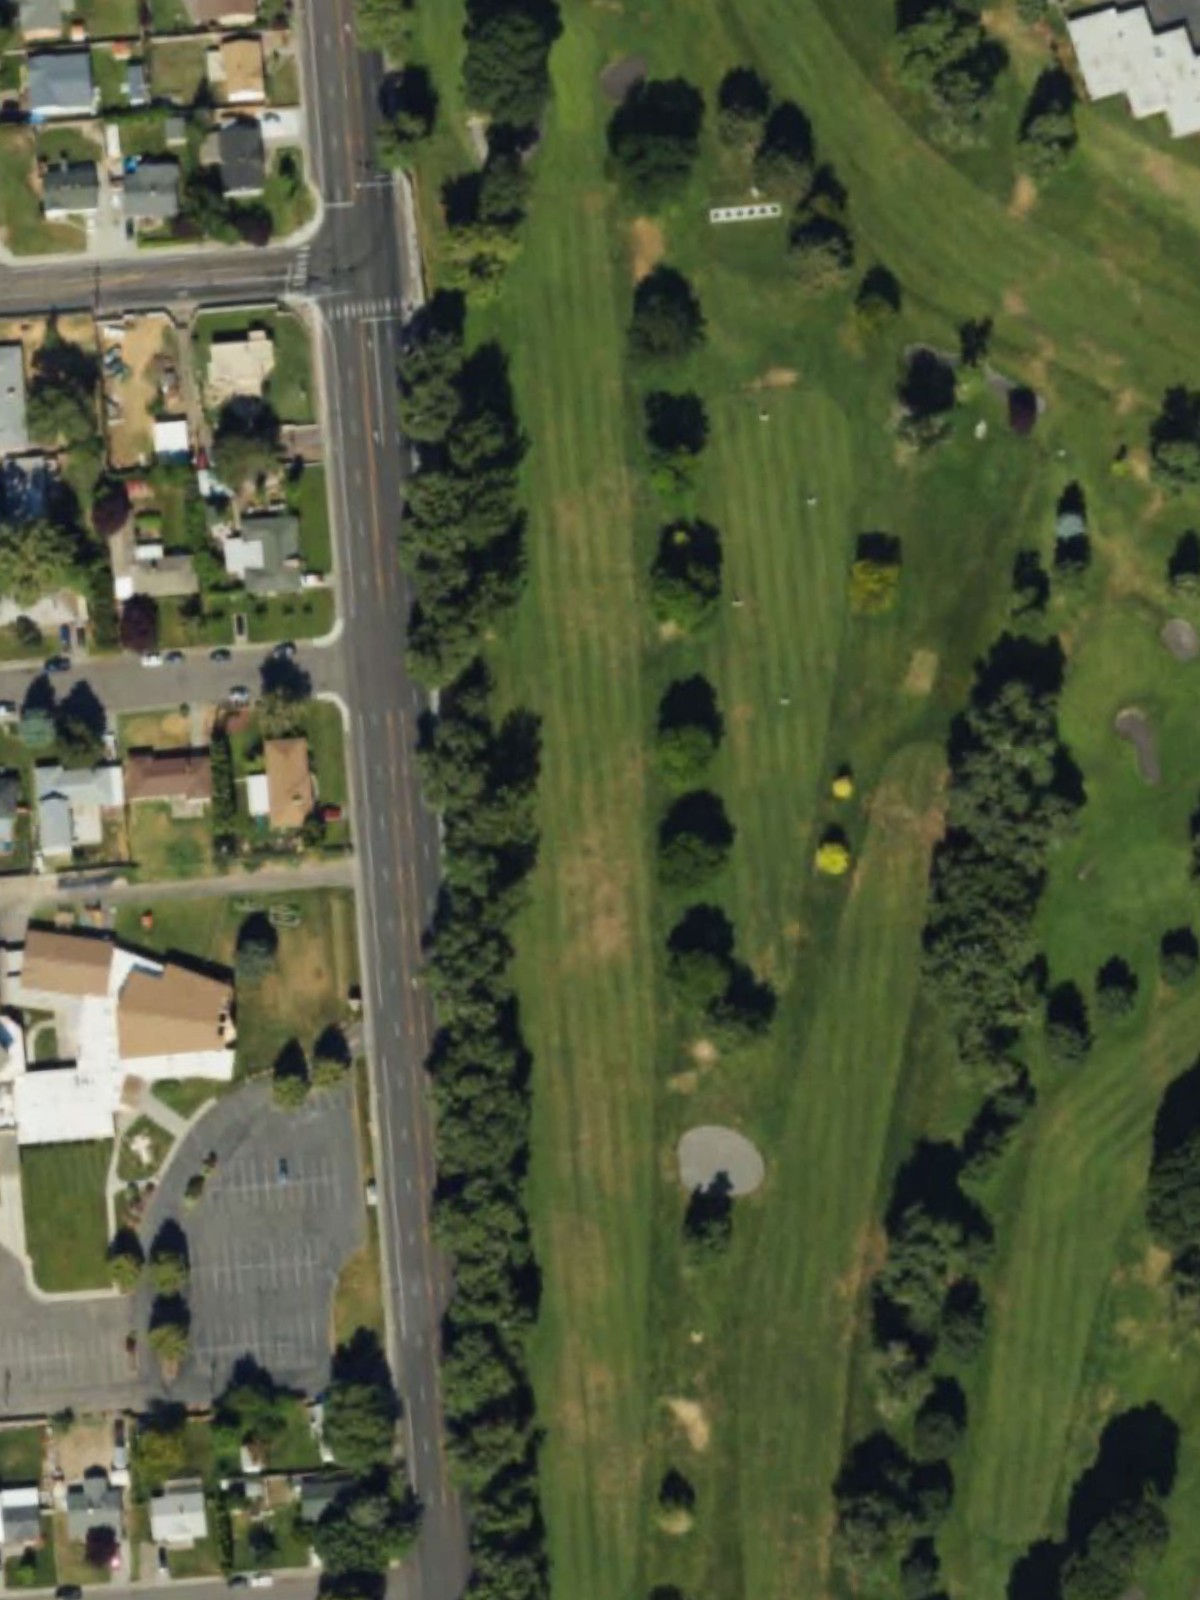
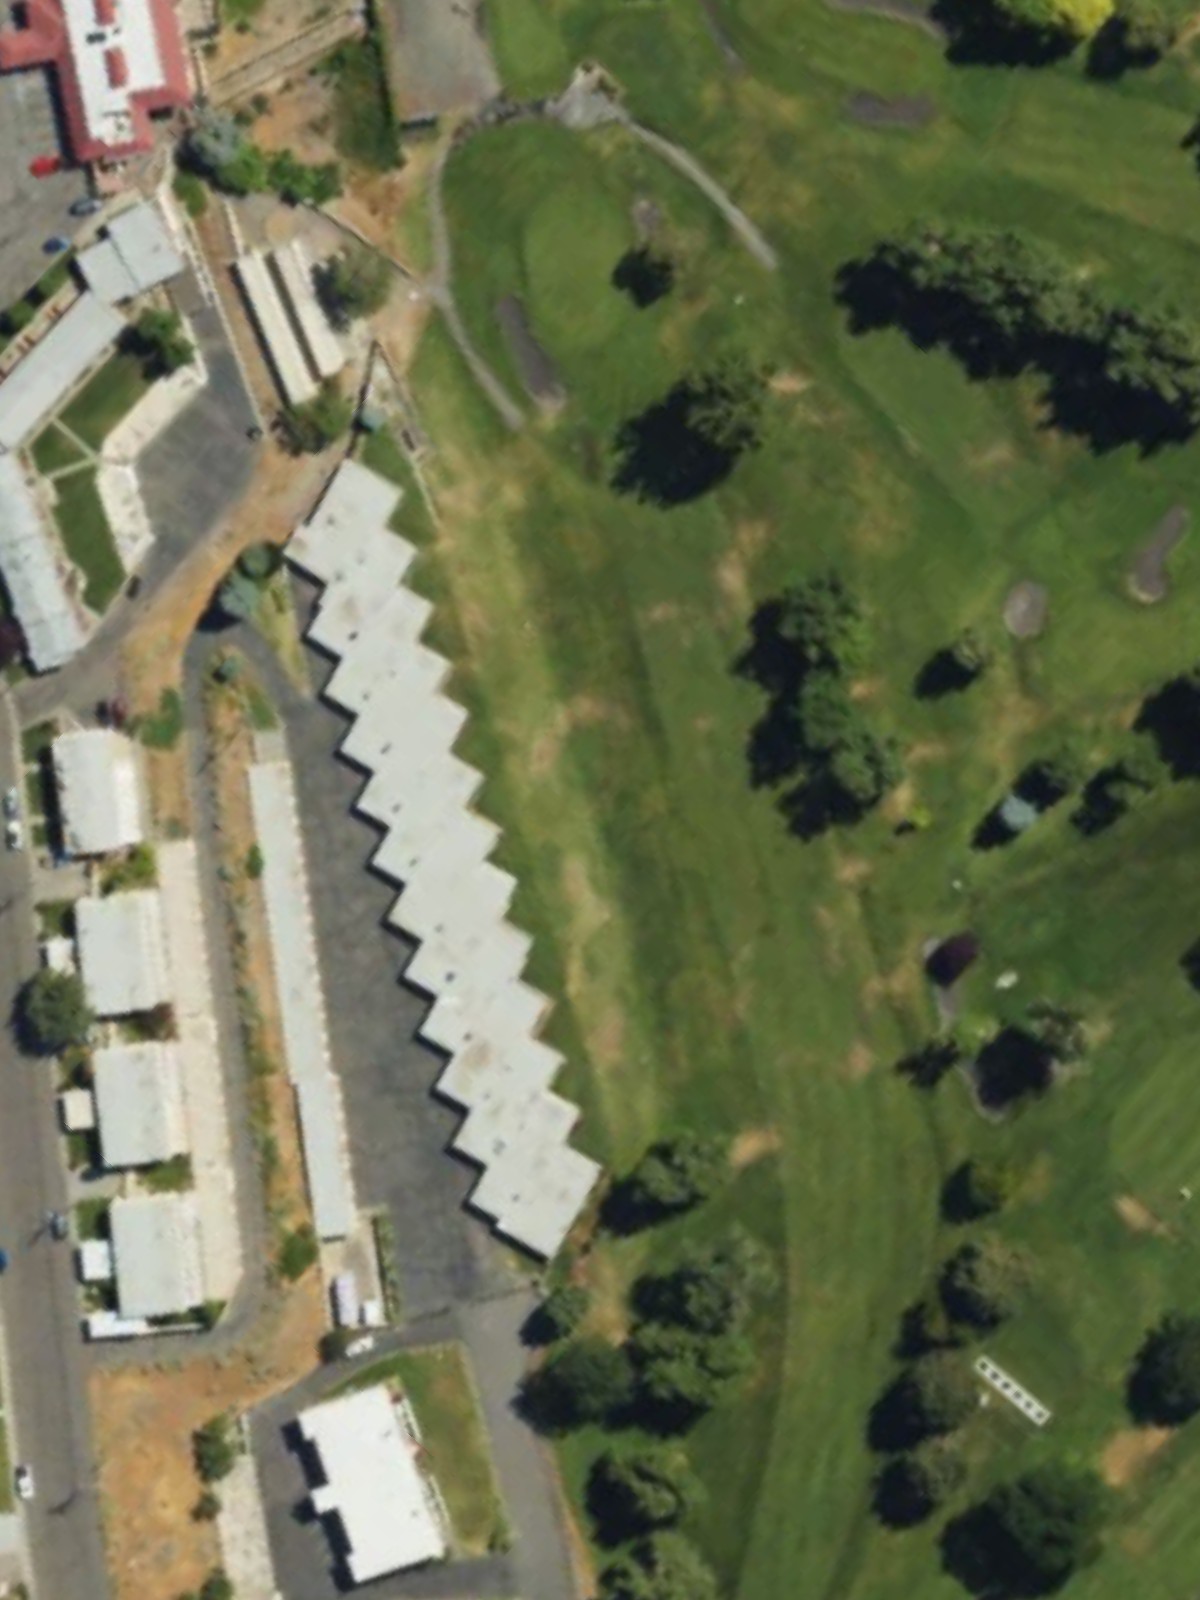
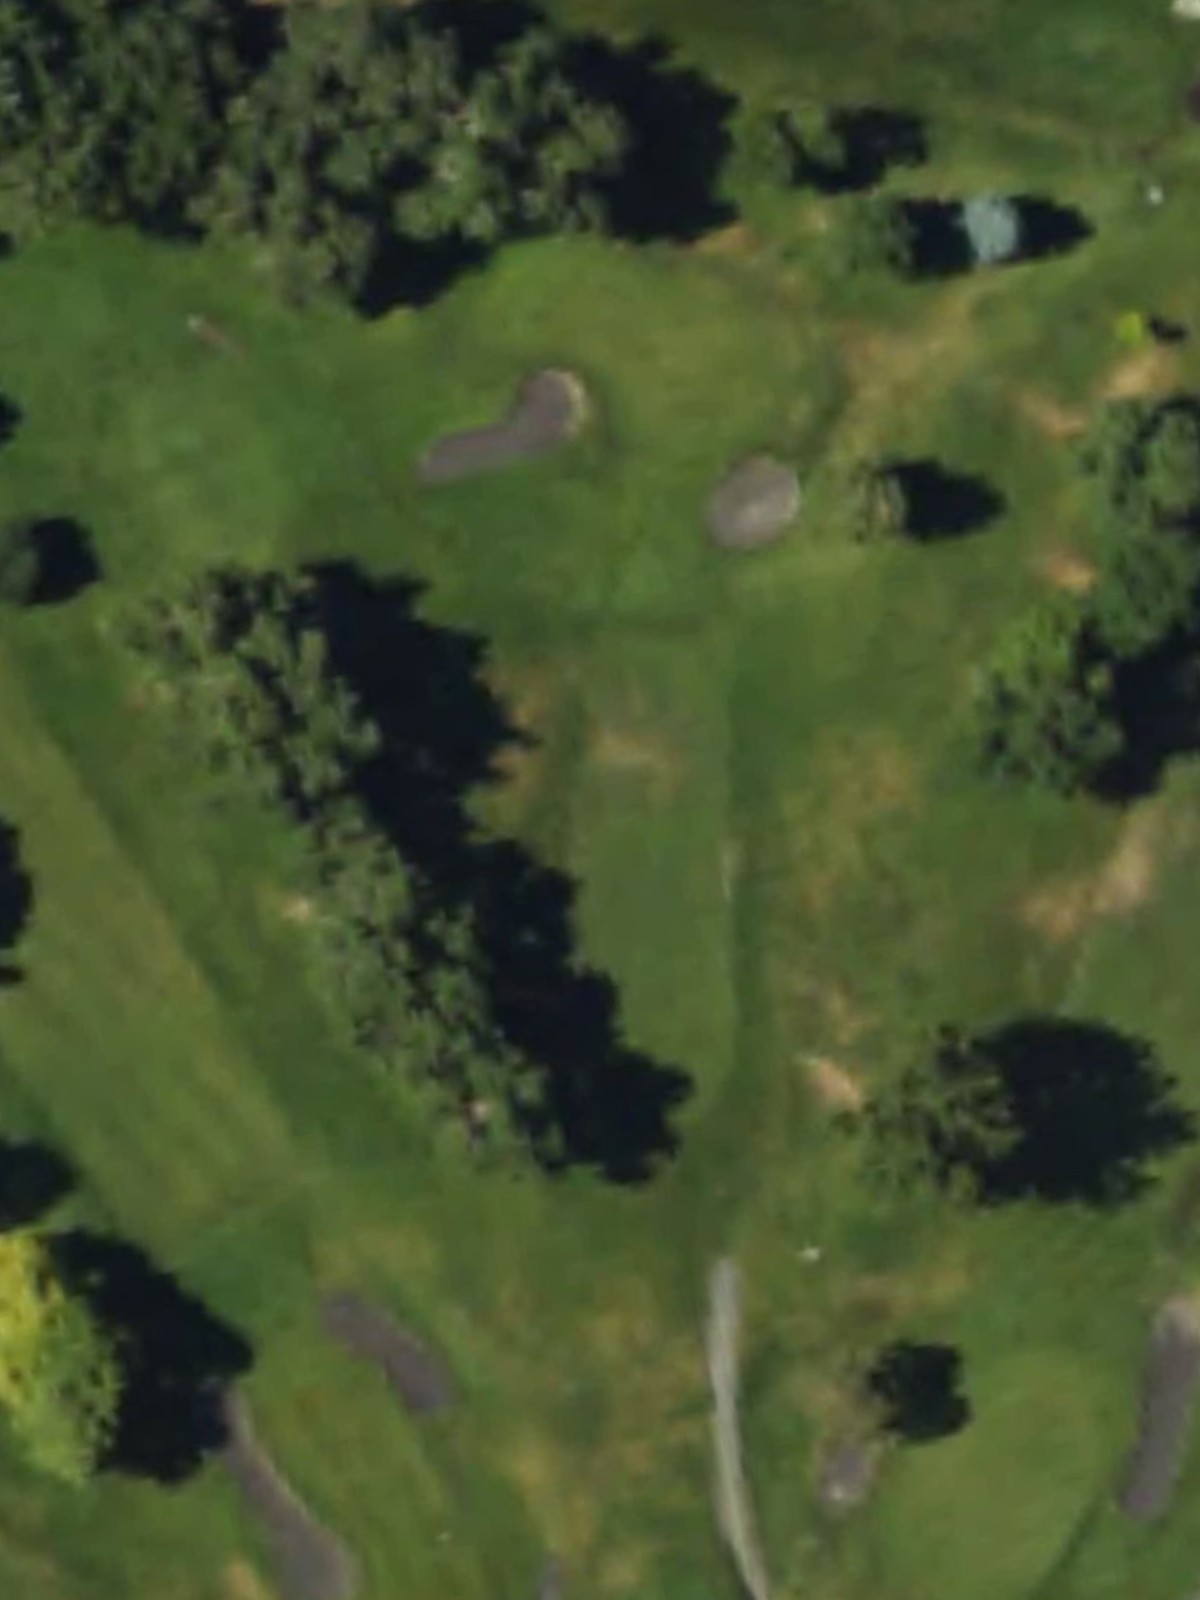
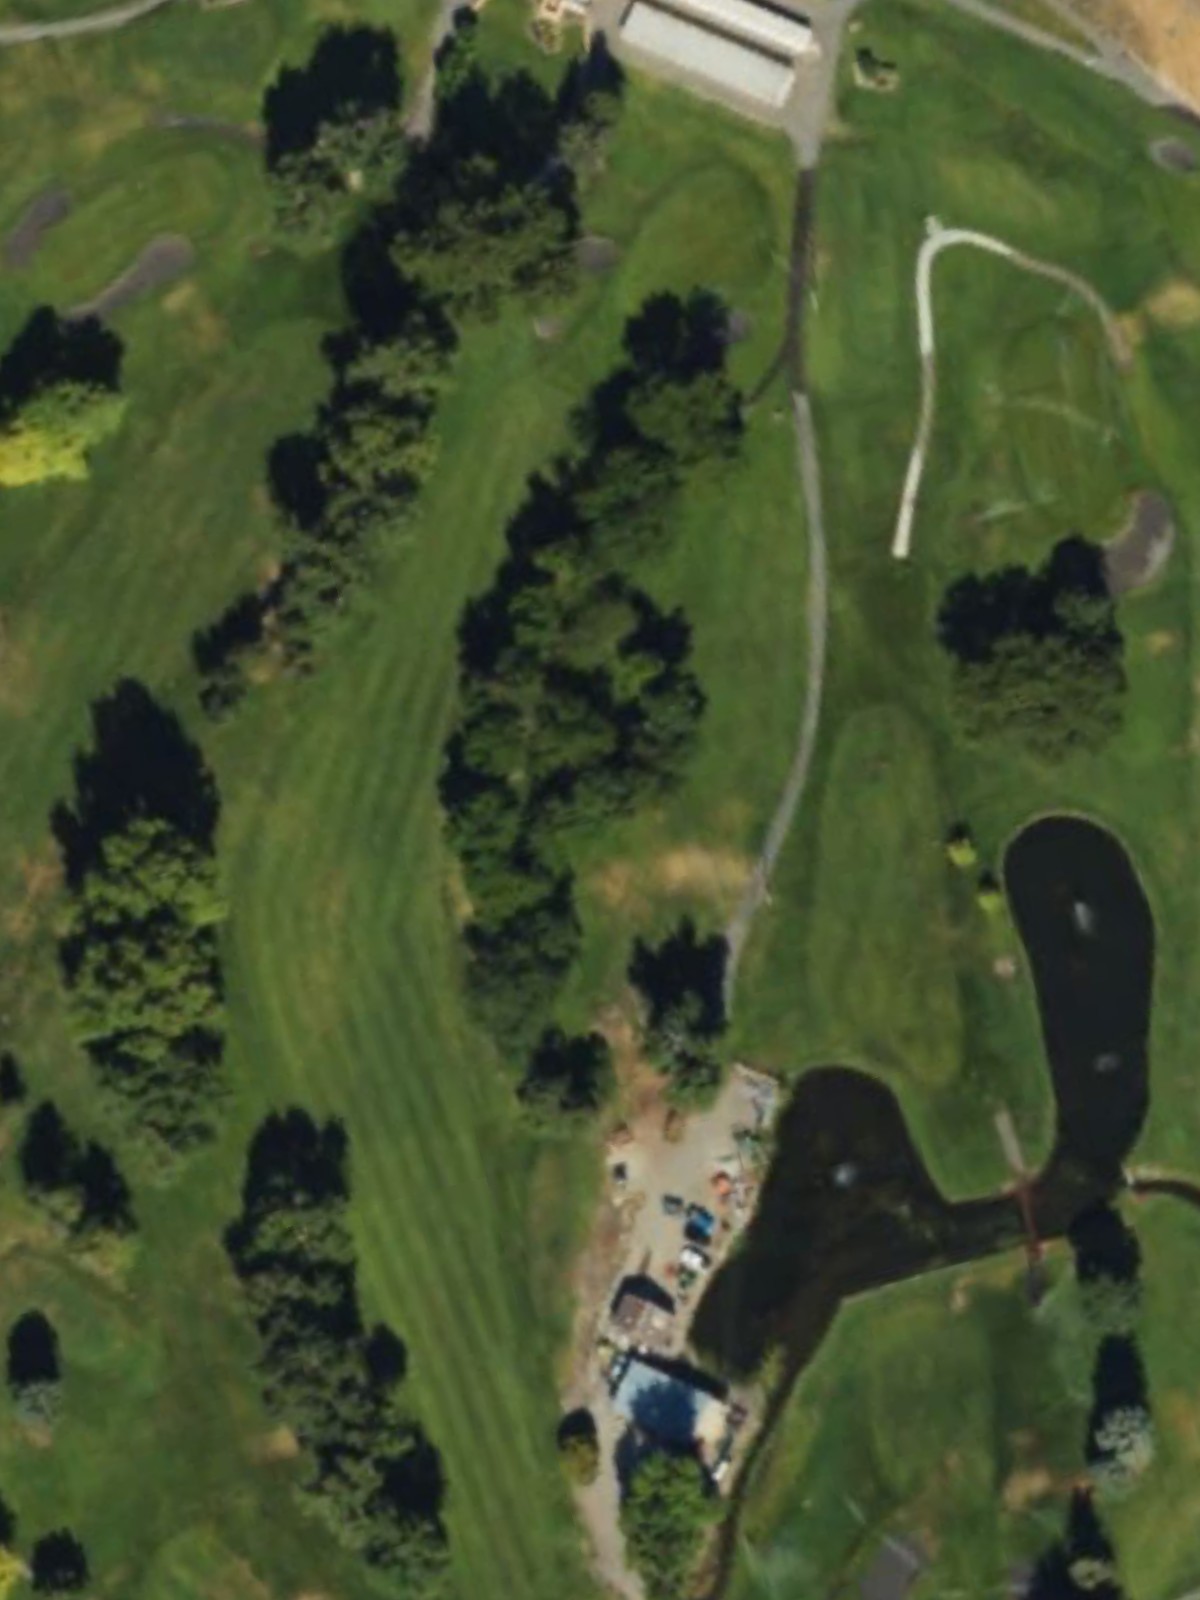
Zintel Creek Golf Club is an 18-hole golf course in Kennewick, WA with a par of 66. It offers 3 tee sets: blue (4,849 yards, slope 115, rating 64.4), white (4,611 yards, slope 110, rating 63.6), red (4,268 yards, slope 107, rating 62.4). The hardest hole is #7, a par 5 playing 457 yards from the first tee.
Zintel Creek Golf Club
Kennewick, WA
Get PDF Yardage Book
We'll email you the PDF link. No spam, ever.
Create Your Game Plan
Pick your tees, enter your bag, and get a personalized shot-by-shot strategy for every hole.
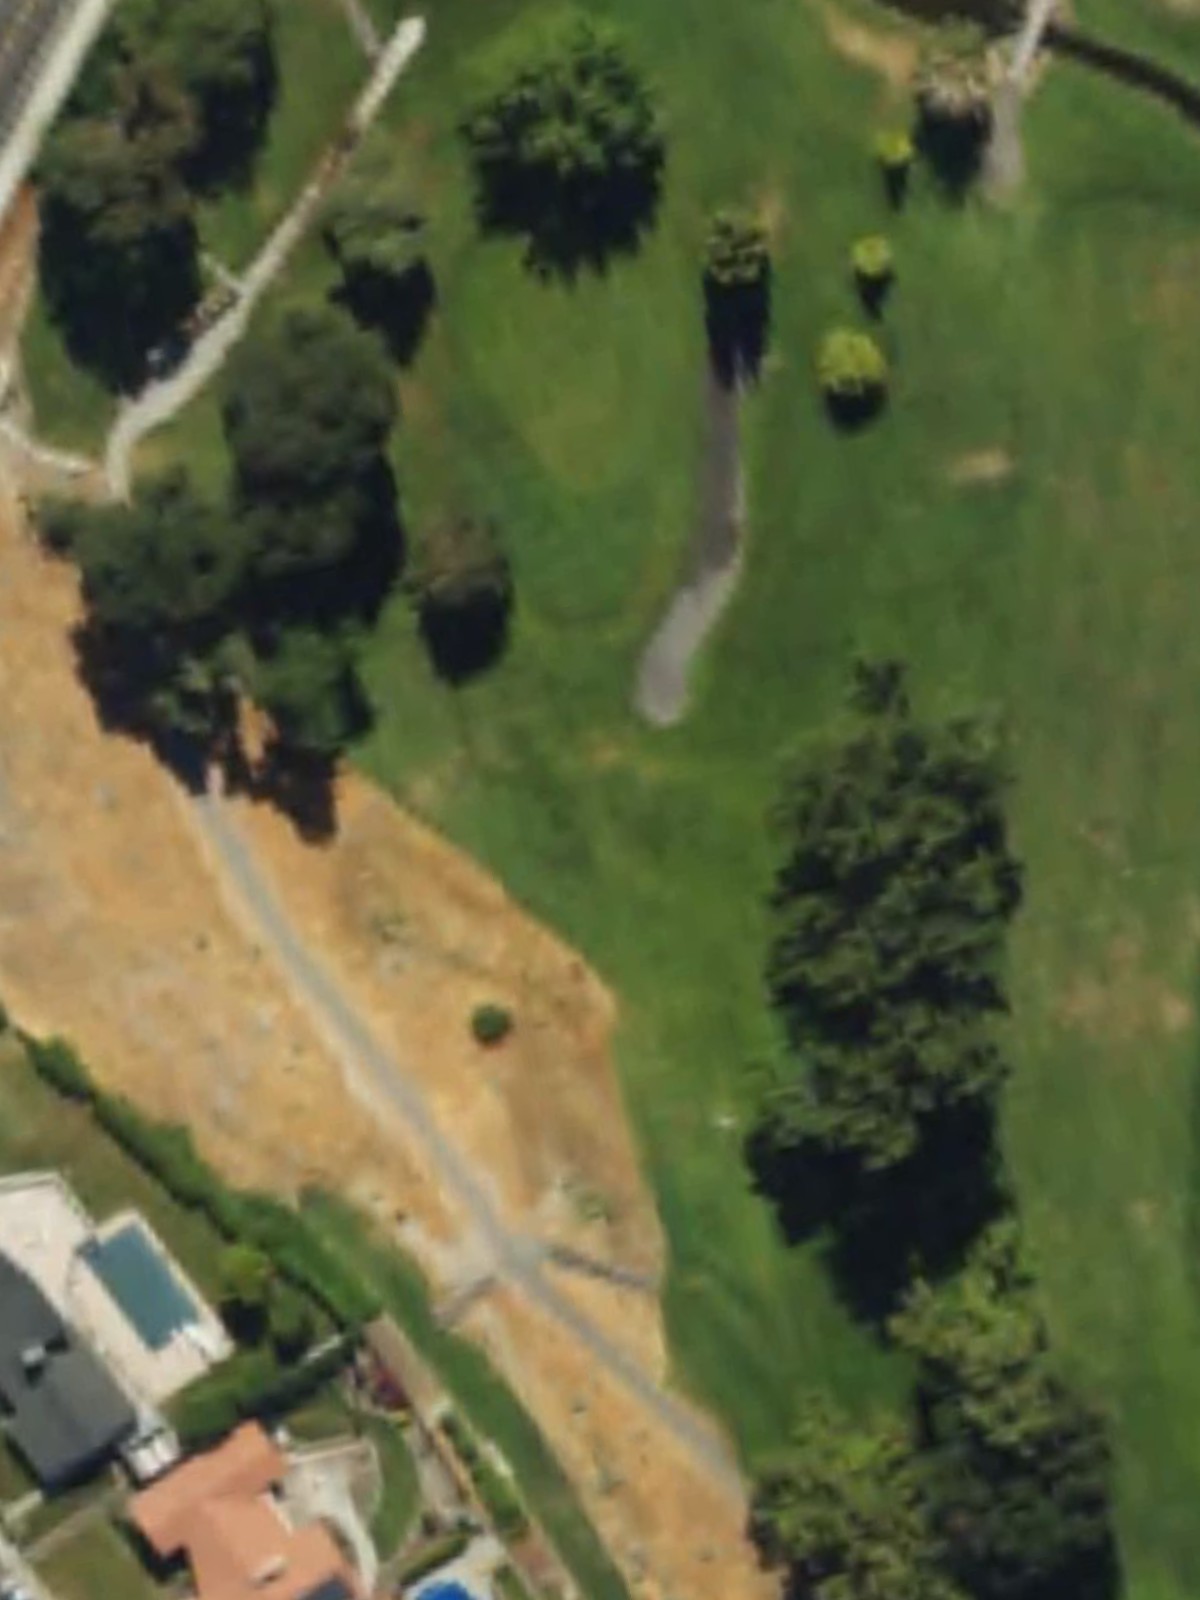
A straightforward par 4 playing short from all tees, with a fairly open fairway that tightens as it approaches the green. Bunkers guard both sides of the green, demanding accuracy on the approach shot to a well-defended target.
A short par 3 over a modest distance with a relatively forgiving green complex. This reachable hole offers a good scoring opportunity but requires precise distance control to avoid missing the compact putting surface.
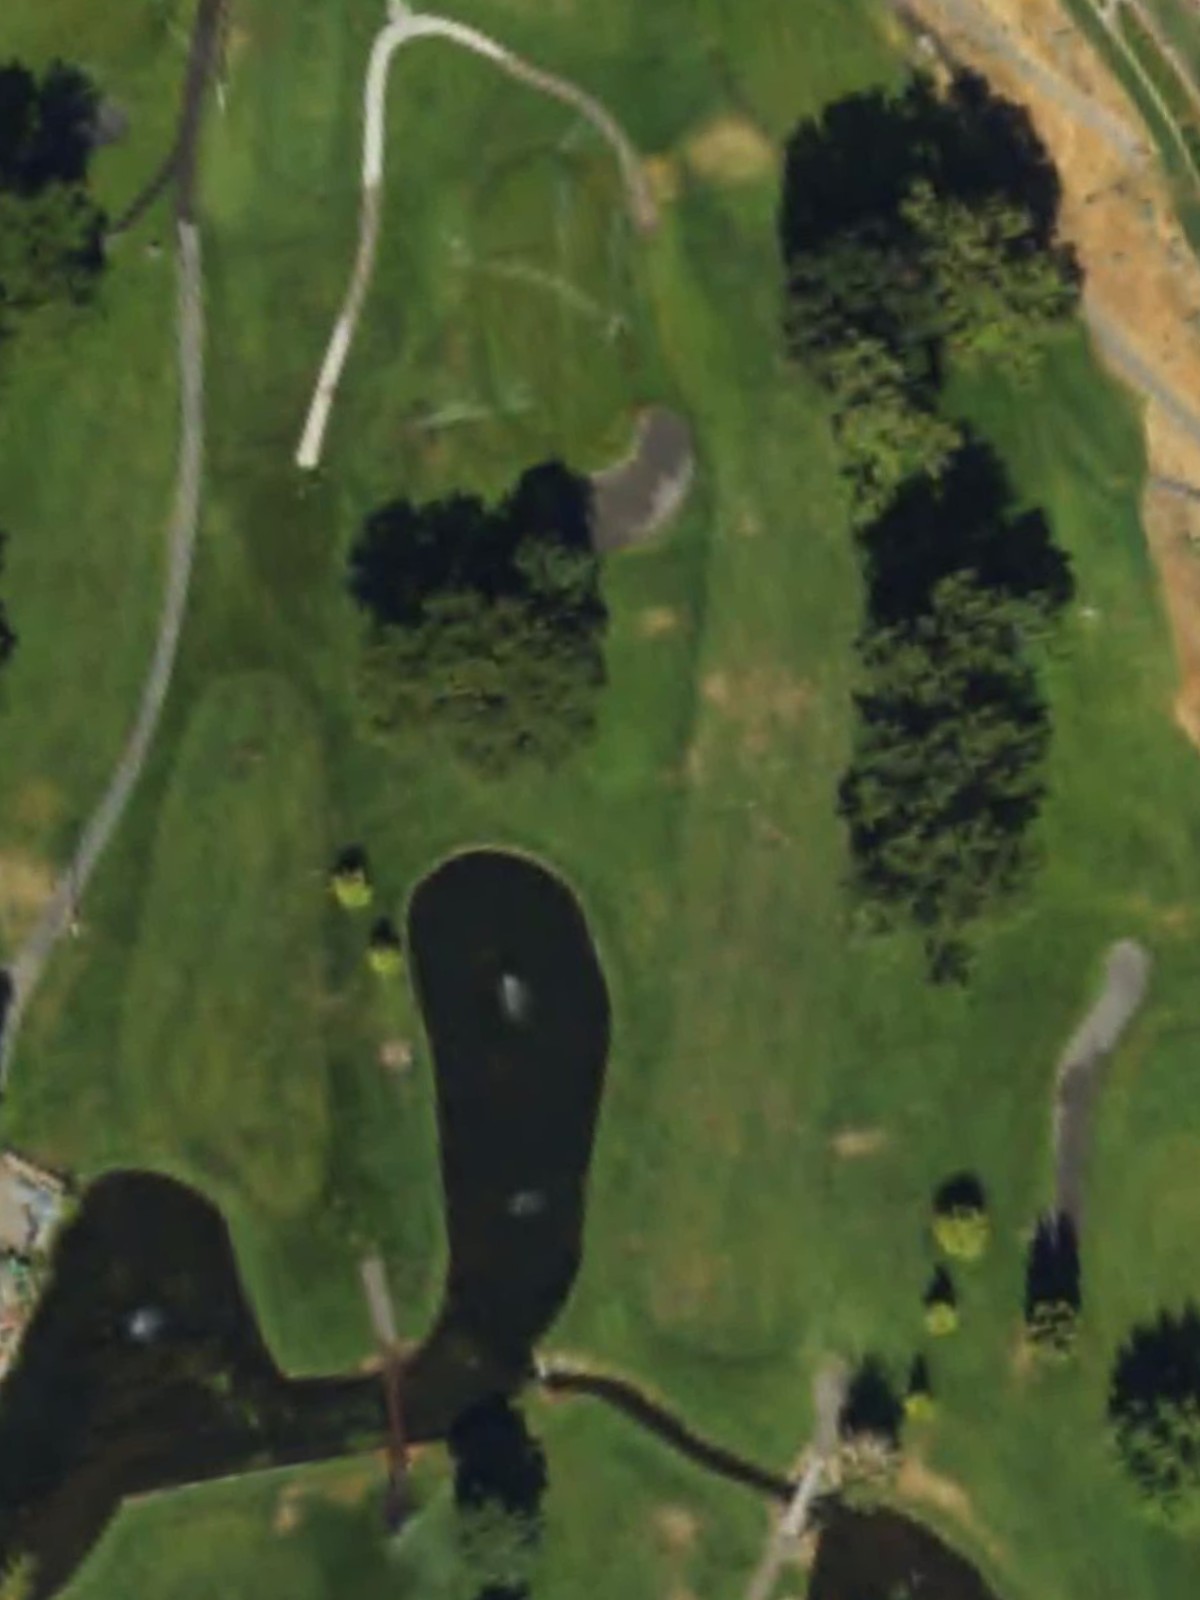
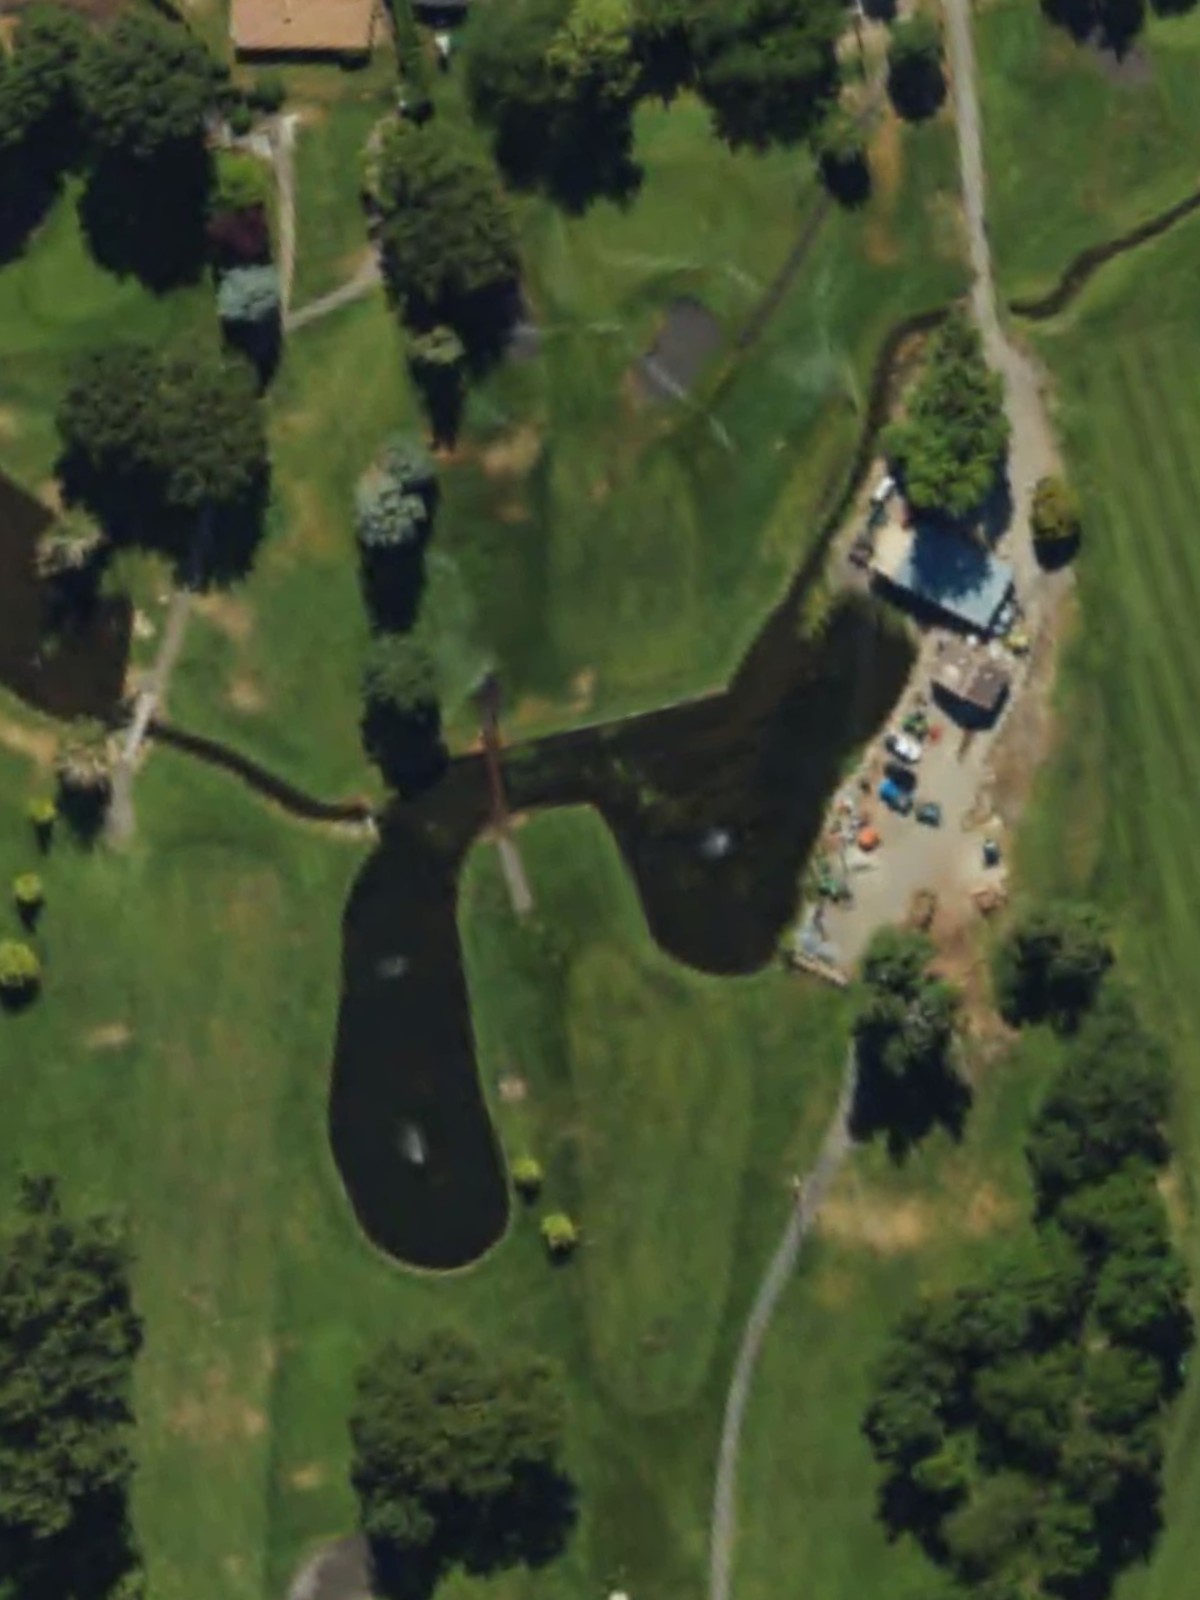
A demanding par 3 that plays significantly longer from the back tees, with water or hazards likely protecting the left side of the green. The elevation change and length make this one of the course's most difficult short holes.
A mid-length par 4 with a straightforward layout and moderate difficulty. The fairway offers reasonable width, but greenside bunkers or water hazards on one side demand an accurate approach to avoid penalty.
A manageable par 4 that plays shorter from the forward tees, with the fairway potentially narrowing toward the green. Strategic hazard placement rewards position off the tee and punishes wayward approach shots.
The shortest par 3 on the course, playing well under 170 yards even from the championship tees. Despite its brief yardage, the green is well-protected and can play deceptively difficult depending on pin placement and wind.
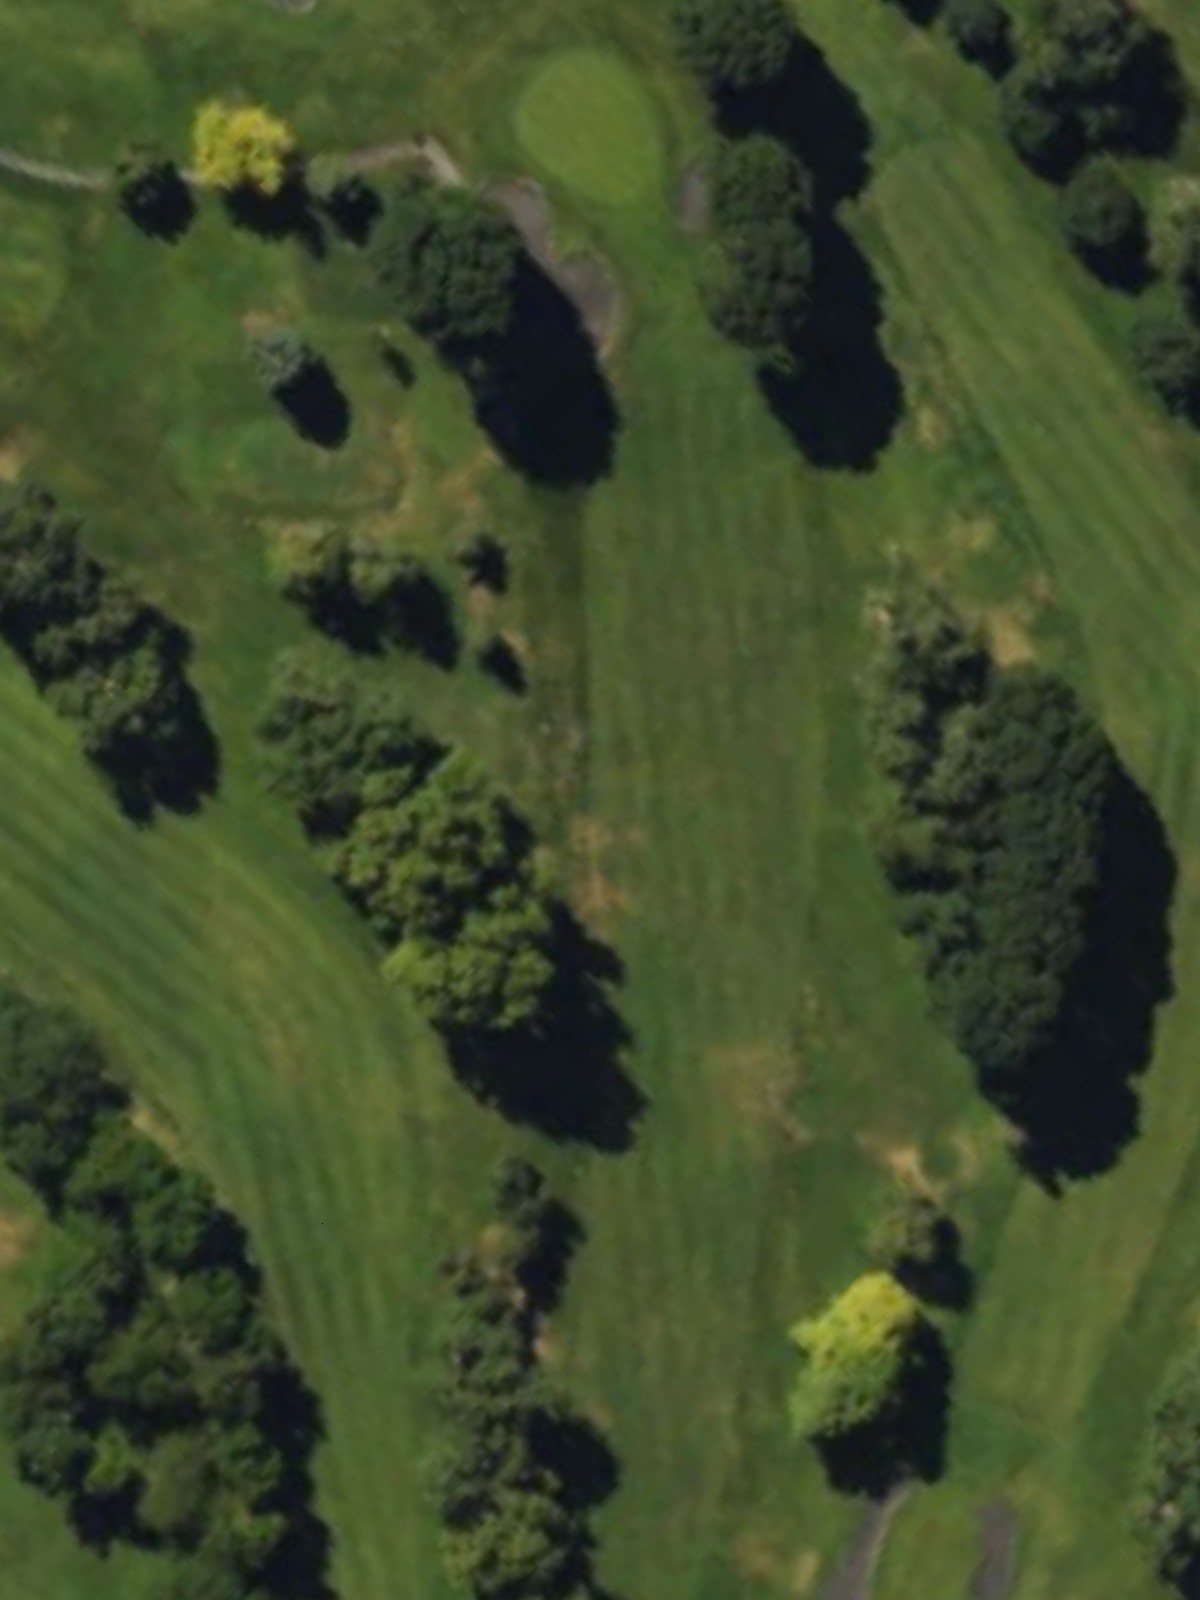
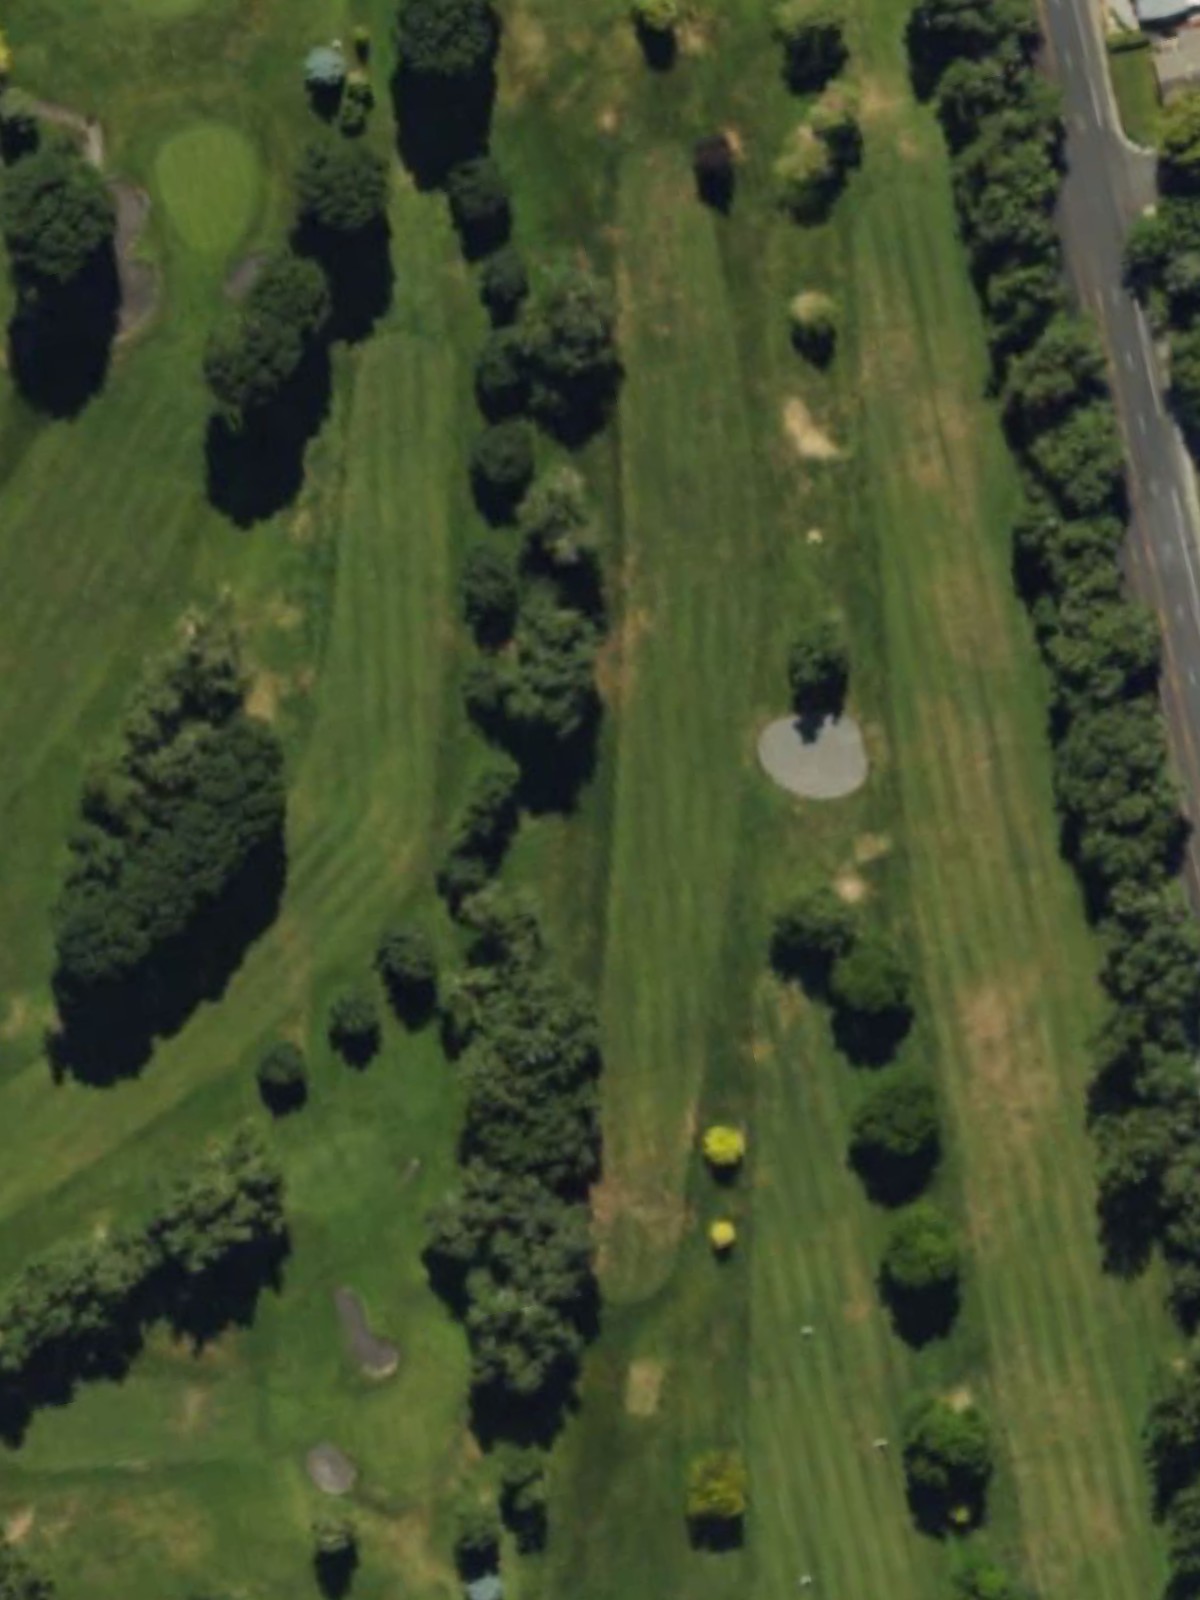
The signature par 5 and the course's most difficult hole, stretching over 500 yards from the back tees. This three-shot hole features strategic bunkering or water that shapes play and demands accurate positioning at each stage to avoid trouble.

A short par 3 with moderate length and a straightforward approach. Though not heavily bunkered, the small green demands solid strike quality and proper distance control to secure a birdie opportunity.
A strong par 4 that plays as the third-hardest hole on the course, with length that requires two quality shots to reach the well-protected green. Fairway hazards or out-of-bounds likely define the landing area and shape strategy off the tee.
A medium-length par 3 requiring an accurate tee shot to a moderately sized green. Bunkers or other hazards frame the green on at least one side, making precision more important than distance on this opening hole of the back nine.
A challenging par 4 playing as one of the course's second-tier difficulty holes, with a length that demands solid striking. The hole features strategic hazard placement that likely threatens the fairway or green approach, rewarding position and punishing poor execution.
A formidable par 4 and one of the course's four hardest holes, playing over 330 yards from the white tees. Multiple hazards or tight fairway corridors create a demanding two-shot test that separates the skilled from the struggling.
A short par 3 with modest yardage from all tees, providing a brief respite on the back nine. The compact green is well-defended, and a clear understanding of distance control is essential to capitalize on this scoring opportunity.
Another short par 3 at under 170 yards, featuring a small and well-bunkered green. Though yardage-friendly, the hole's compact target area and guarding hazards make precision a must for avoiding bogey.
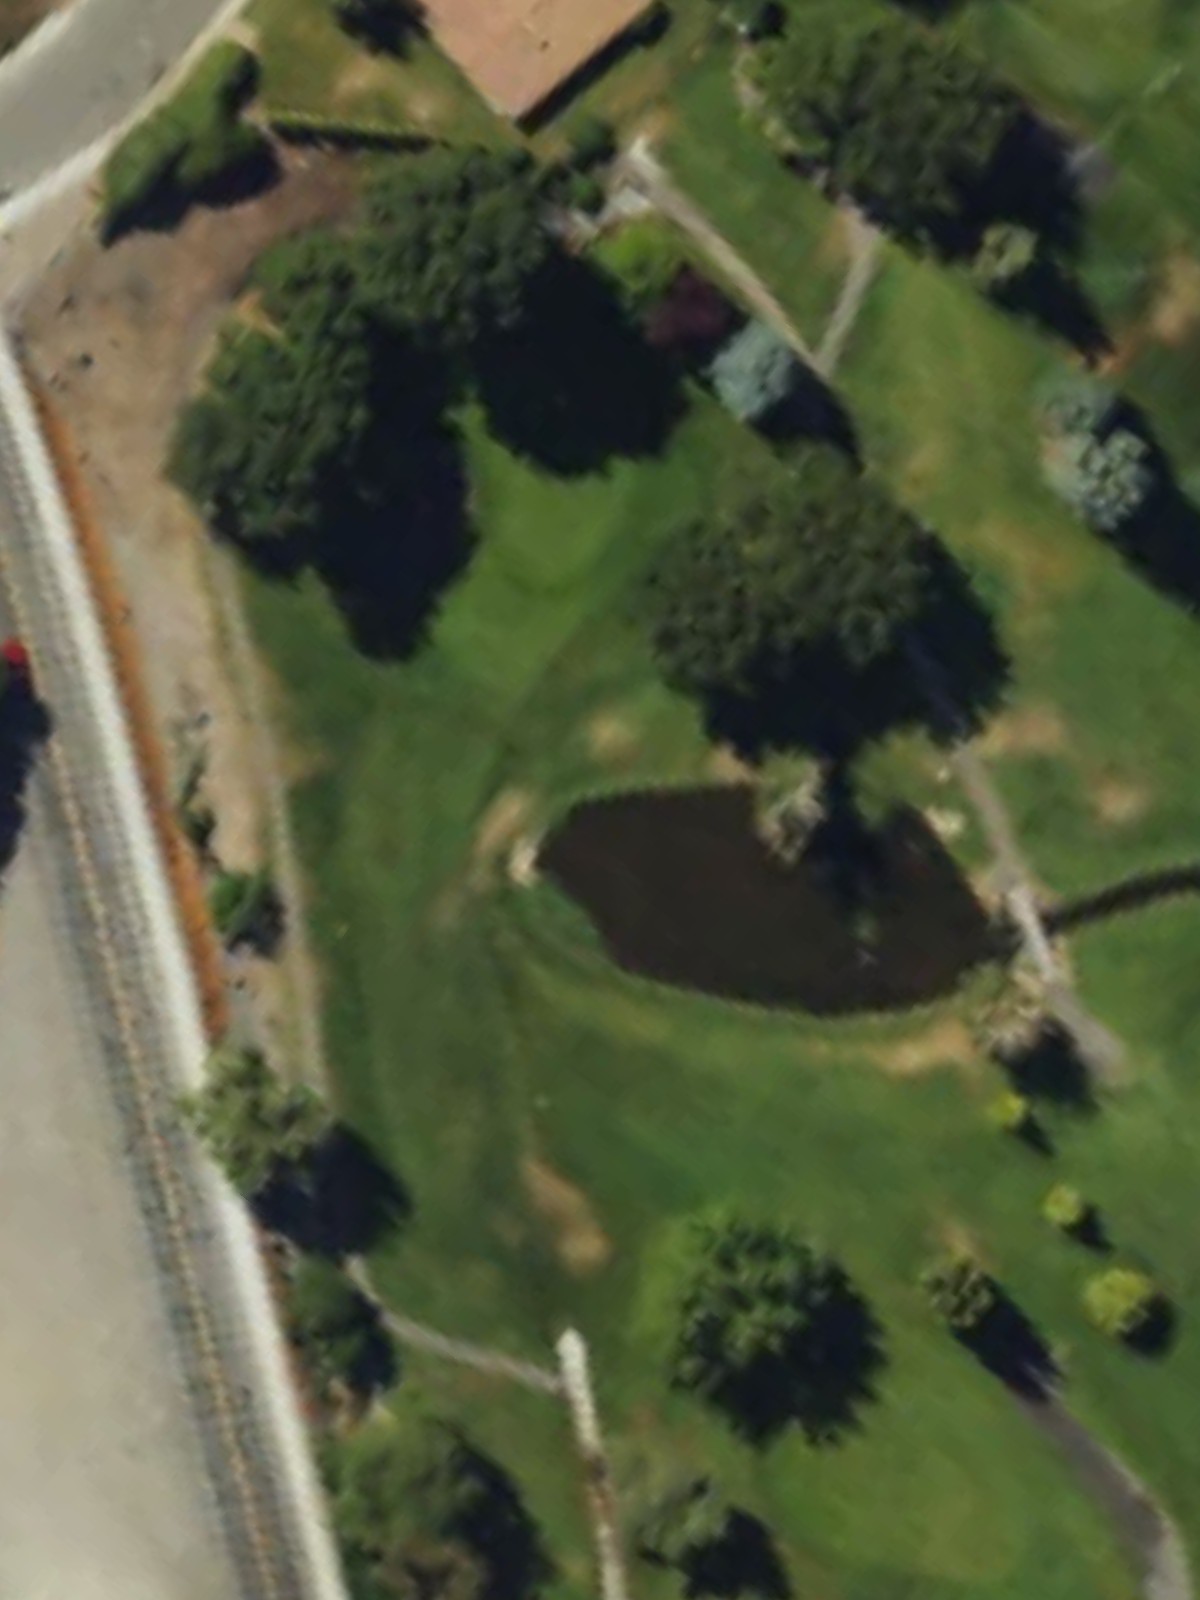
A mid-range par 3 of approximately 150 yards with a relatively approachable green. Water, bunkers, or other hazards likely surround the putting surface, and accurate distance is crucial to finding the green from the tee.
A short par 4 playing under 270 yards, offering a birdie opportunity for players who can navigate its hazards accurately. The lack of length is offset by tight fairway definition or challenging green approach angles that demand precision over power.
A strong finishing par 4 and the second-hardest hole on the course, playing nearly 300 yards and demanding two excellent shots. Significant hazards and/or narrow playing corridors make positioning critical for an approach to a well-guarded green.
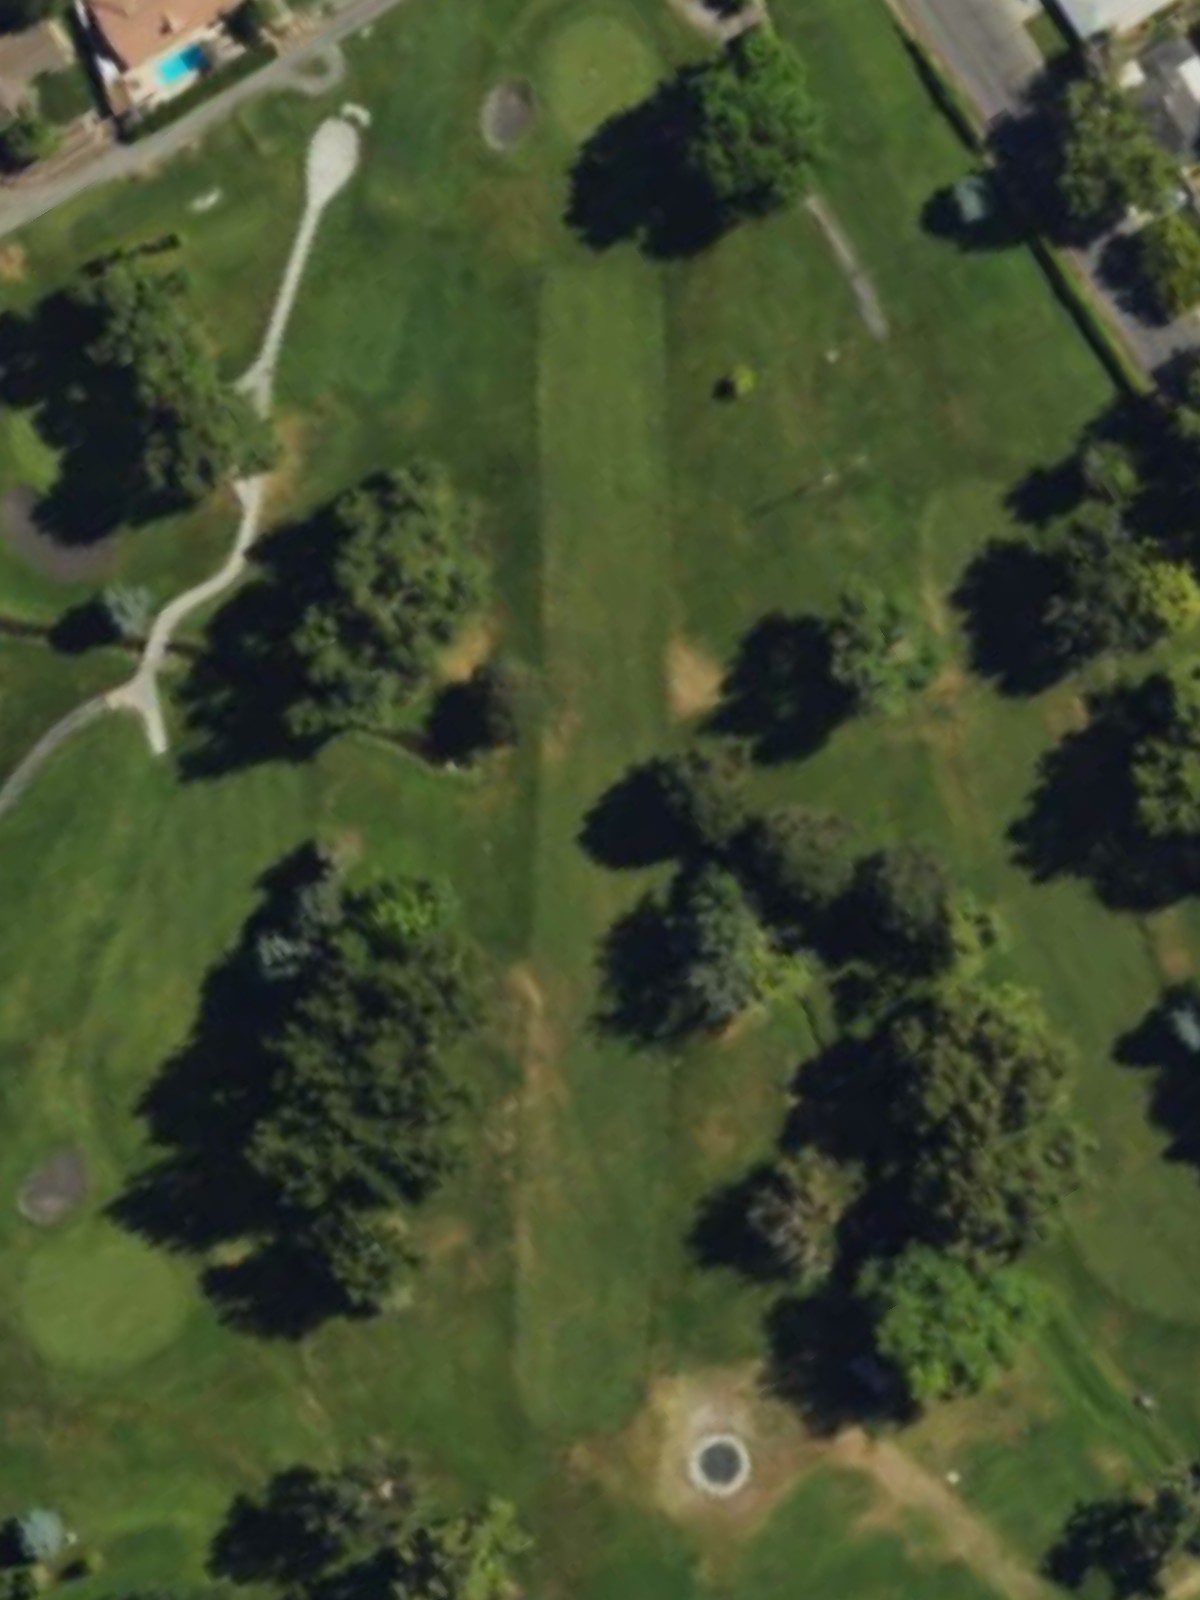
The course's closing par 5 at just under 400 yards from the white tees, providing a finishing hole that can reward aggressive play or punish mistakes. Strategic bunkering and hazard placement shape the three-shot approach and offer risk-reward opportunities throughout the hole.
Scorecard
| Hole | 1 | 2 | 3 | 4 | 5 | 6 | 7 | 8 | 9 | Out | 10 | 11 | 12 | 13 | 14 | 15 | 16 | 17 | 18 | In | Tot |
|---|---|---|---|---|---|---|---|---|---|---|---|---|---|---|---|---|---|---|---|---|---|
| Par | 4 | 3 | 3 | 4 | 4 | 3 | 5 | 3 | 4 | 33 | 3 | 4 | 4 | 3 | 3 | 3 | 4 | 4 | 5 | 33 | 66 |
| HCP | 7 | 15 | 5 | 11 | 9 | 17 | 1 | 13 | 3 | 10 | 6 | 4 | 14 | 16 | 8 | 12 | 2 | 18 | |||
| blue | 307 | 142 | 223 | 316 | 308 | 167 | 500 | 145 | 393 | 2501 | 156 | 384 | 332 | 159 | 168 | 156 | 266 | 301 | 426 | 2348 | 4849 |
| white | 307 | 142 | 202 | 308 | 275 | 138 | 483 | 145 | 384 | 2384 | 156 | 379 | 332 | 139 | 135 | 146 | 266 | 280 | 394 | 2227 | 4611 |
| red | 302 | 132 | 168 | 291 | 261 | 120 | 457 | 125 | 360 | 2216 | 140 | 370 | 312 | 123 | 119 | 129 | 227 | 262 | 370 | 2052 | 4268 |