Yolo Fliers Club is an 18-hole golf course in Woodland, CA with a par of 72. It offers 6 tee sets: black (6,894 yards, slope 128, rating 73), blue (6,526 yards, slope 125, rating 71.2), blue/white combo (6,100 yards, slope 121, rating 69.2), white (5,975 yards, slope 120, rating 68.6), white/gold combo (5,527 yards, slope 116, rating 66.3), gold (5,103 yards, slope 108, rating 64.4). The hardest hole is #5, a par 4 playing 401 yards from the first tee.
Yolo Fliers Club
Woodland, CA
Get PDF Yardage Book
We'll email you the PDF link. No spam, ever.
Create Your Game Plan
Pick your tees, enter your bag, and get a personalized shot-by-shot strategy for every hole.
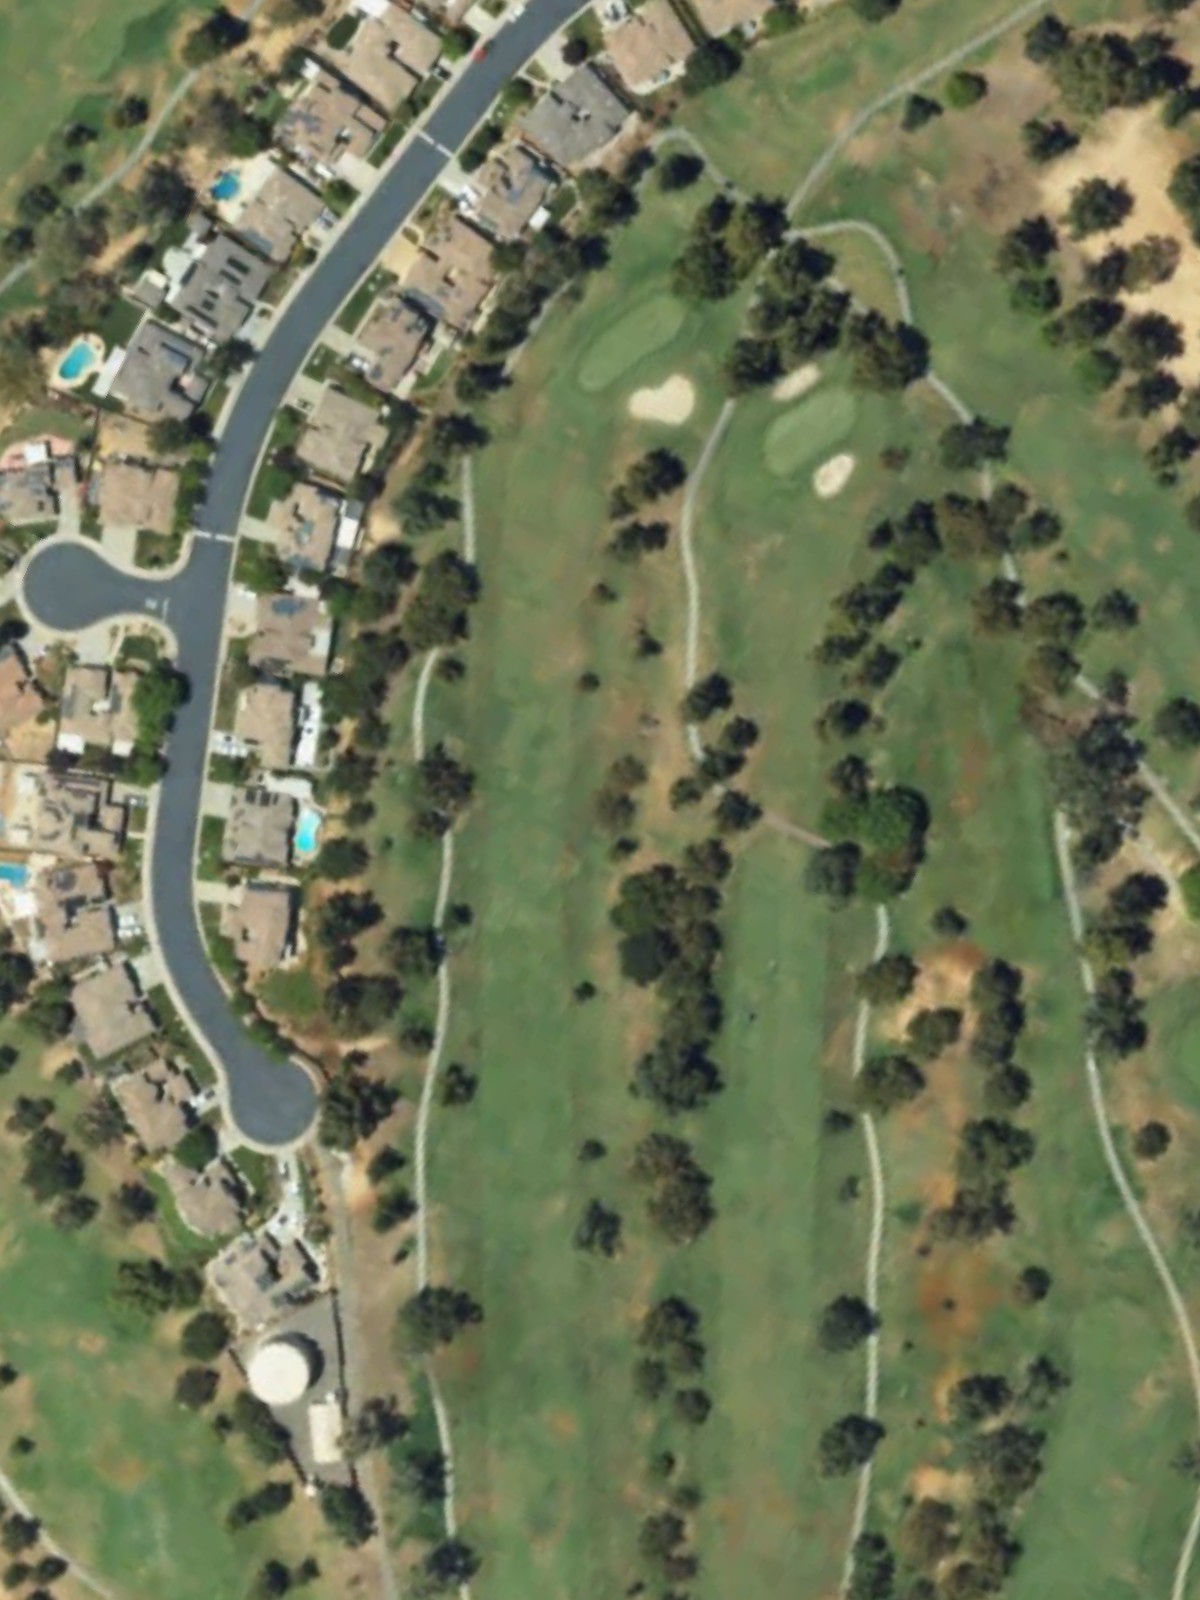
A long par 5 that plays relatively straight with a fairway that opens up for the approach. The green is protected by bunkers and requires a well-placed third shot to find the putting surface.
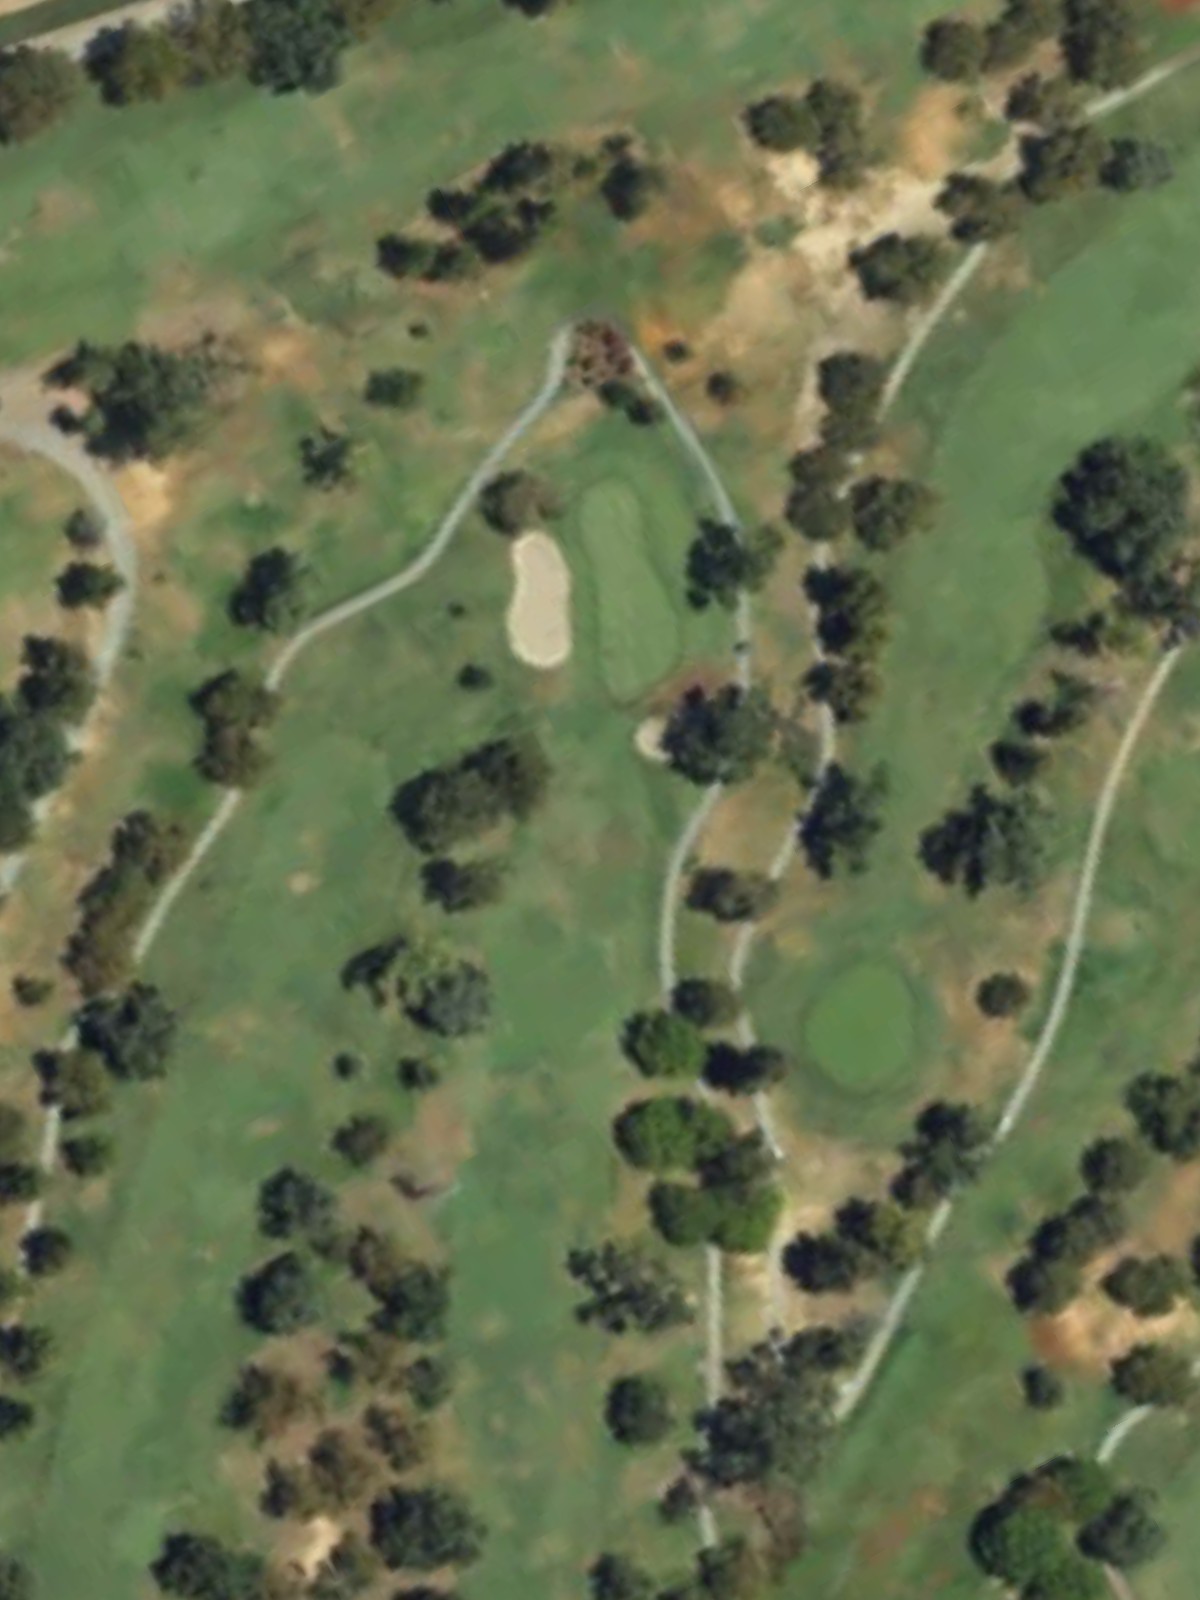
A short par 4 with a tight, narrow fairway that demands accuracy off the tee. The green is well-bunkered, making precision essential for a scoring opportunity.
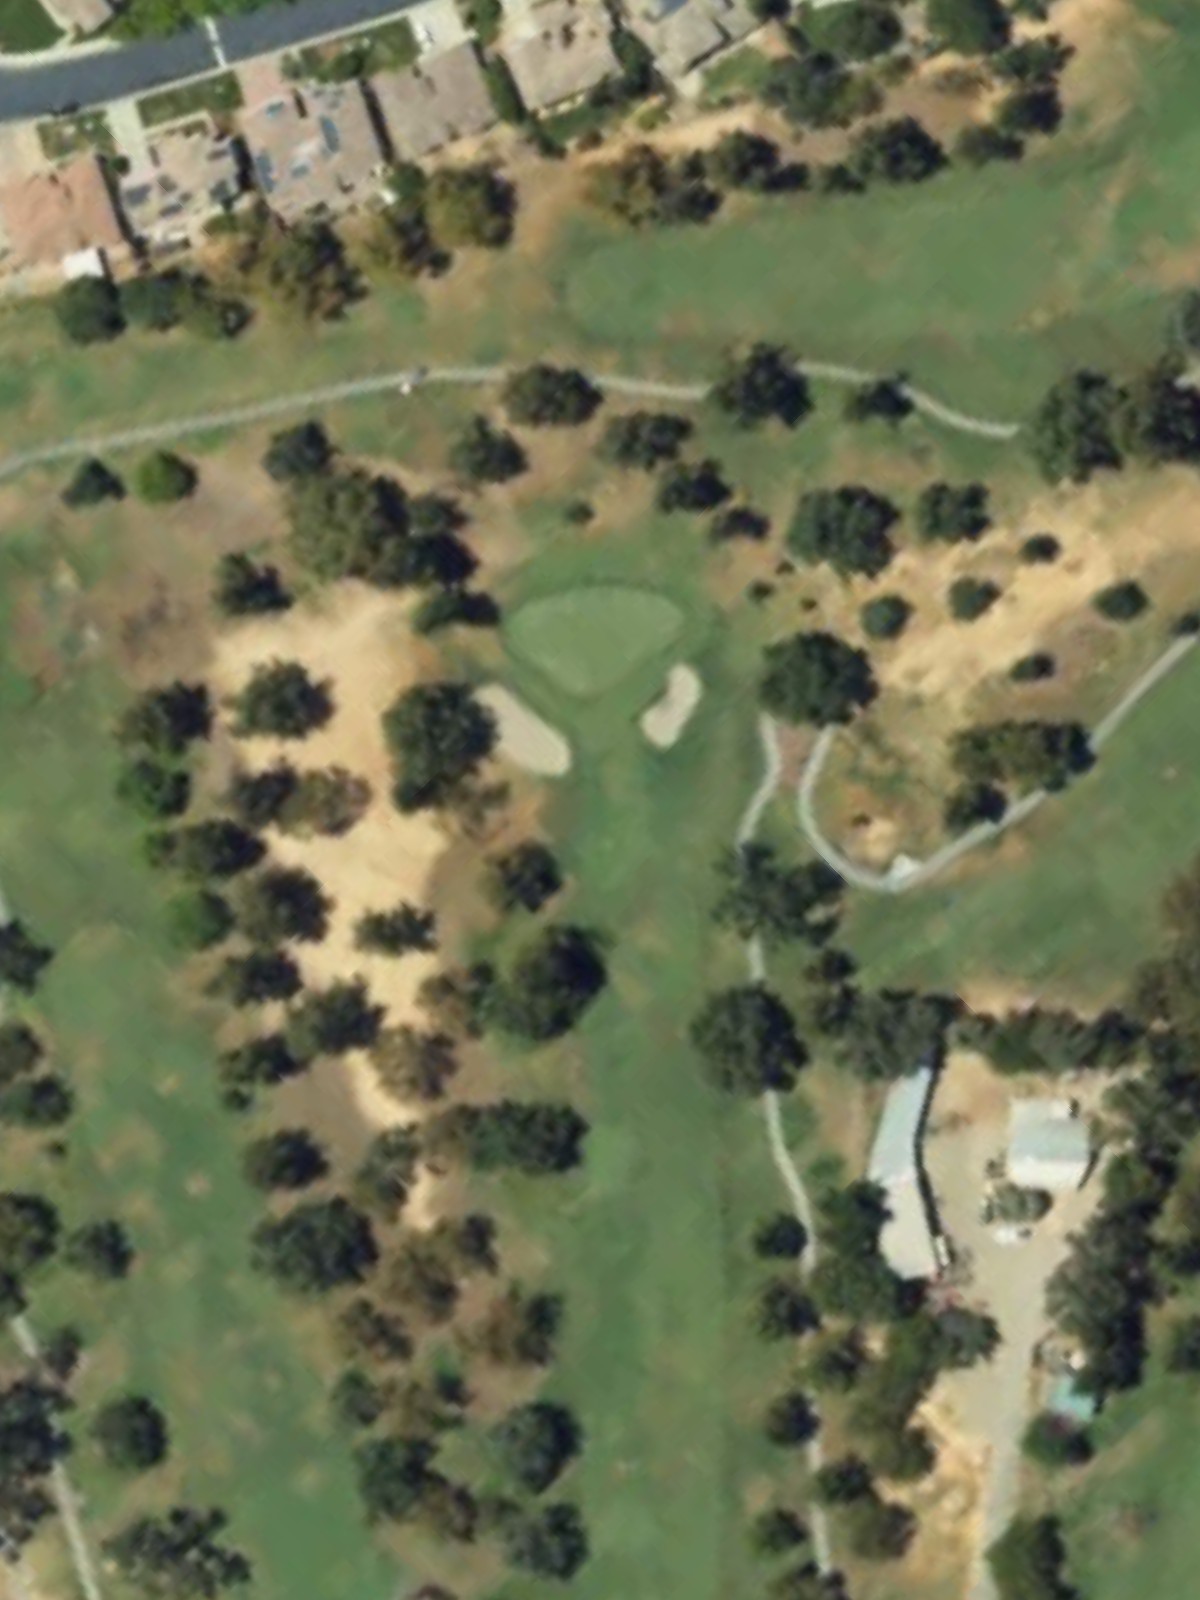
A mid-length par 4 with a forgiving layout that offers multiple routes to the green. Open fairway and minimal hazards make this a straightforward hole where accuracy is rewarded.
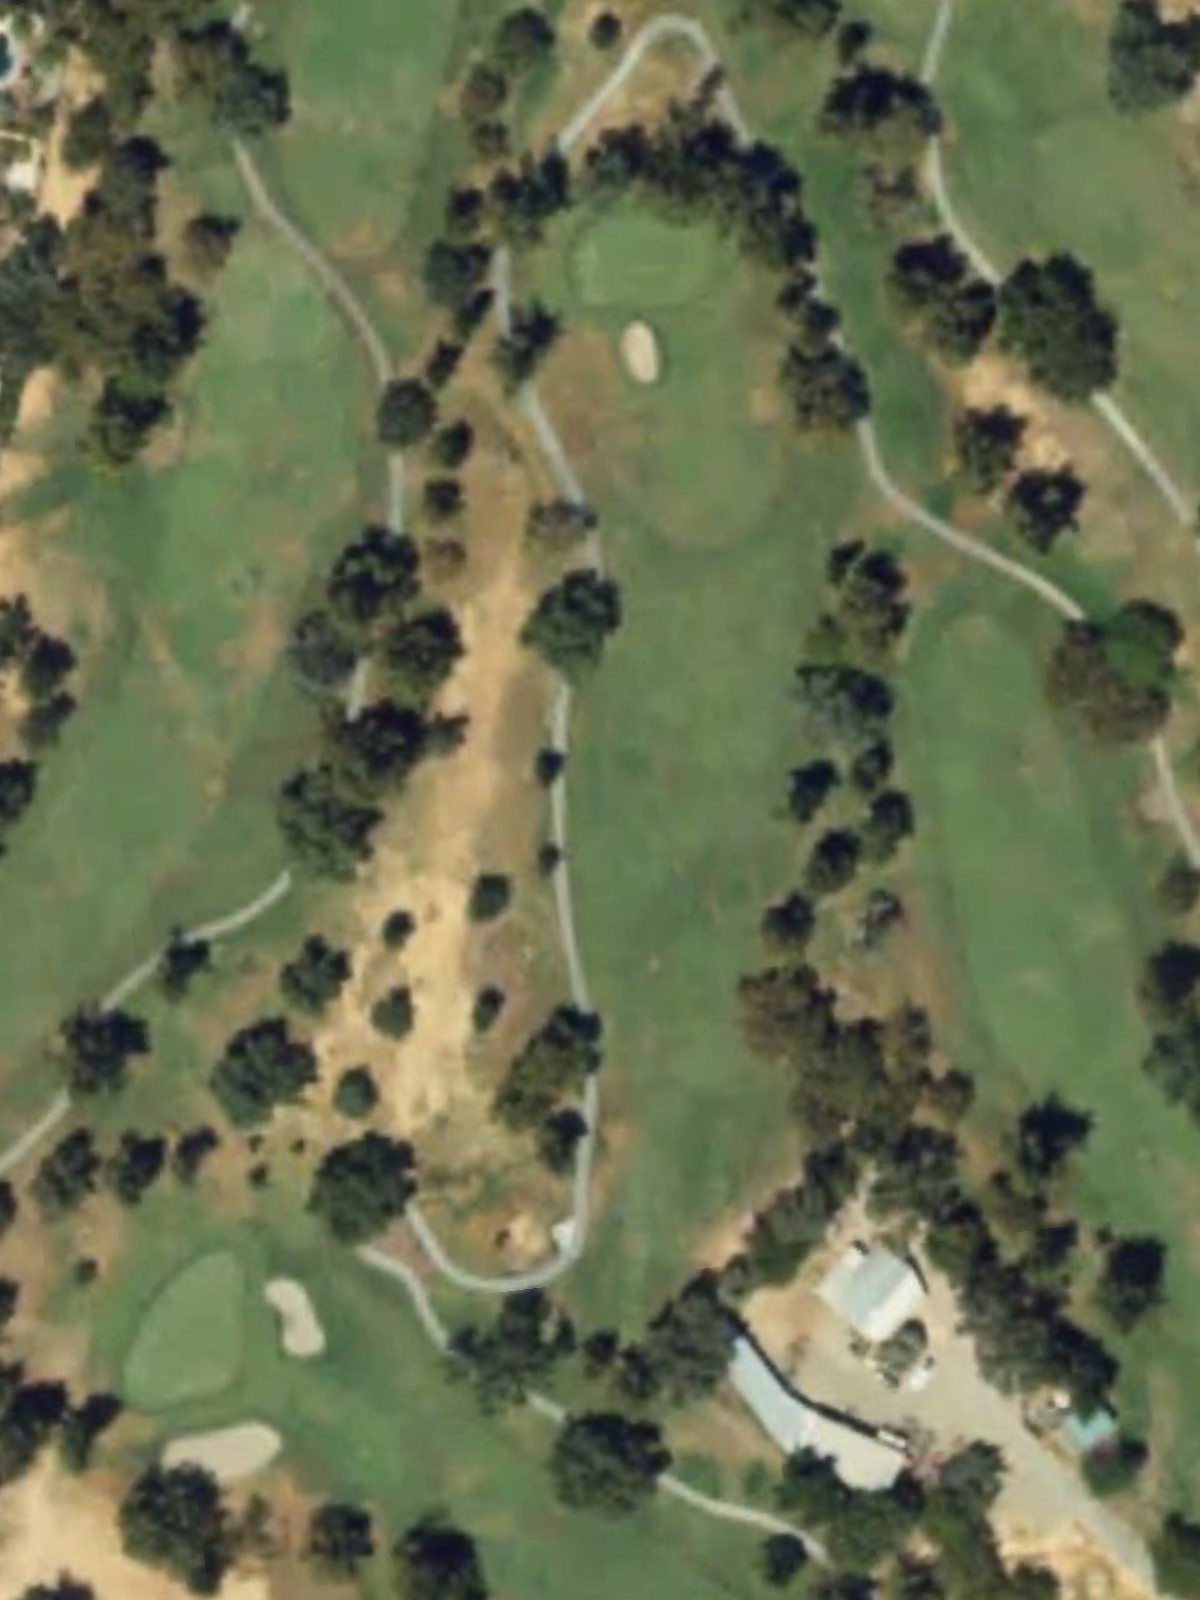
A short par 3 with a relatively straightforward target and minimal hazard complexity. The green accepts a range of shots, making this an accessible one-shotter.
A demanding par 4 ranked as the course's most difficult hole, with a fairway that requires a well-struck tee shot to avoid trouble. Strategic placement is critical as the hole punishes poor positioning.
A par 5 with good length that allows for a three-shot approach to the green. The fairway provides room for aggressive play, though approach accuracy becomes important near the putting surface.
A very short par 3 with a narrow green and minimal margin for error. The compact nature of this hole makes club selection and accuracy paramount.
A strong short par 4 that plays tighter than its yardage suggests, with a fairway that narrows toward the green. The approach requires precision to avoid missing the putting surface.
A mid-length par 4 with a relatively open fairway that provides room off the tee. The approach to the green is the key challenge, with hazards protecting the scoring area.
A formidable par 4 ranked fourth in difficulty that demands a solid tee shot to set up the approach. Length and strategic placement combine to make this a stern test.
A par 5 with a moderate length that offers birdie potential for longer hitters. The fairway allows for an aggressive second shot, though the green demands accuracy on the approach.
A mid-length par 3 with a straightforward target that plays true to its yardage. The green is the primary challenge, with limited bail-out areas.
A short par 4 with a compact design that rewards accuracy over distance. The tight fairway and quick green approach make this a position-dependent hole.
A strong par 4 ranked second in difficulty with length that demands a powerful tee shot. The hole's challenge lies in both the drive and the approach to a well-protected green.
The shortest par 3 on the course, offering a scoring opportunity despite its diminutive length. The small green demands precision, as misses can quickly compound.
A relatively short par 4 with a tight fairway that requires accuracy off the tee. The approach is straightforward for those who find the fairway, making position key.
A strong par 5 with excellent length that allows for an aggressive approach for longer hitters. The fairway is generally forgiving, though the green demands a quality third shot.

A finishing par 4 with moderate length and a fairway that provides reasonable room off the tee. The approach to the green is the critical element, with the final hole's positioning important for a strong finish.
Scorecard
| Hole | 1 | 2 | 3 | 4 | 5 | 6 | 7 | 8 | 9 | Out | 10 | 11 | 12 | 13 | 14 | 15 | 16 | 17 | 18 | In | Tot |
|---|---|---|---|---|---|---|---|---|---|---|---|---|---|---|---|---|---|---|---|---|---|
| Par | 5 | 4 | 4 | 3 | 4 | 5 | 3 | 4 | 4 | 36 | 4 | 5 | 3 | 4 | 4 | 3 | 4 | 5 | 4 | 36 | 72 |
| HCP | 11 | 7 | 15 | 5 | 1 | 9 | 17 | 3 | 13 | 4 | 14 | 16 | 12 | 2 | 18 | 10 | 8 | 6 | |||
| black | 537 | 396 | 383 | 209 | 418 | 515 | 163 | 401 | 421 | 3443 | 457 | 512 | 177 | 376 | 479 | 137 | 345 | 526 | 442 | 3451 | 6894 |
| blue | 523 | 385 | 370 | 195 | 401 | 504 | 143 | 364 | 362 | 3247 | 441 | 487 | 169 | 345 | 447 | 130 | 332 | 516 | 412 | 3279 | 6526 |
| blue/white combo | 498 | 333 | 370 | 178 | 401 | 504 | 143 | 364 | 337 | 3128 | 351 | 431 | 169 | 345 | 308 | 130 | 332 | 516 | 390 | 2972 | 6100 |
| white | 498 | 333 | 359 | 178 | 391 | 487 | 125 | 343 | 337 | 3051 | 351 | 431 | 160 | 335 | 308 | 122 | 321 | 506 | 390 | 2924 | 5975 |
| white/gold combo | 423 | 333 | 359 | 124 | 275 | 487 | 125 | 343 | 337 | 2806 | 351 | 431 | 160 | 295 | 308 | 122 | 321 | 420 | 313 | 2721 | 5527 |
| gold | 423 | 326 | 287 | 124 | 275 | 410 | 119 | 291 | 240 | 2495 | 296 | 423 | 154 | 295 | 304 | 102 | 301 | 420 | 313 | 2608 | 5103 |