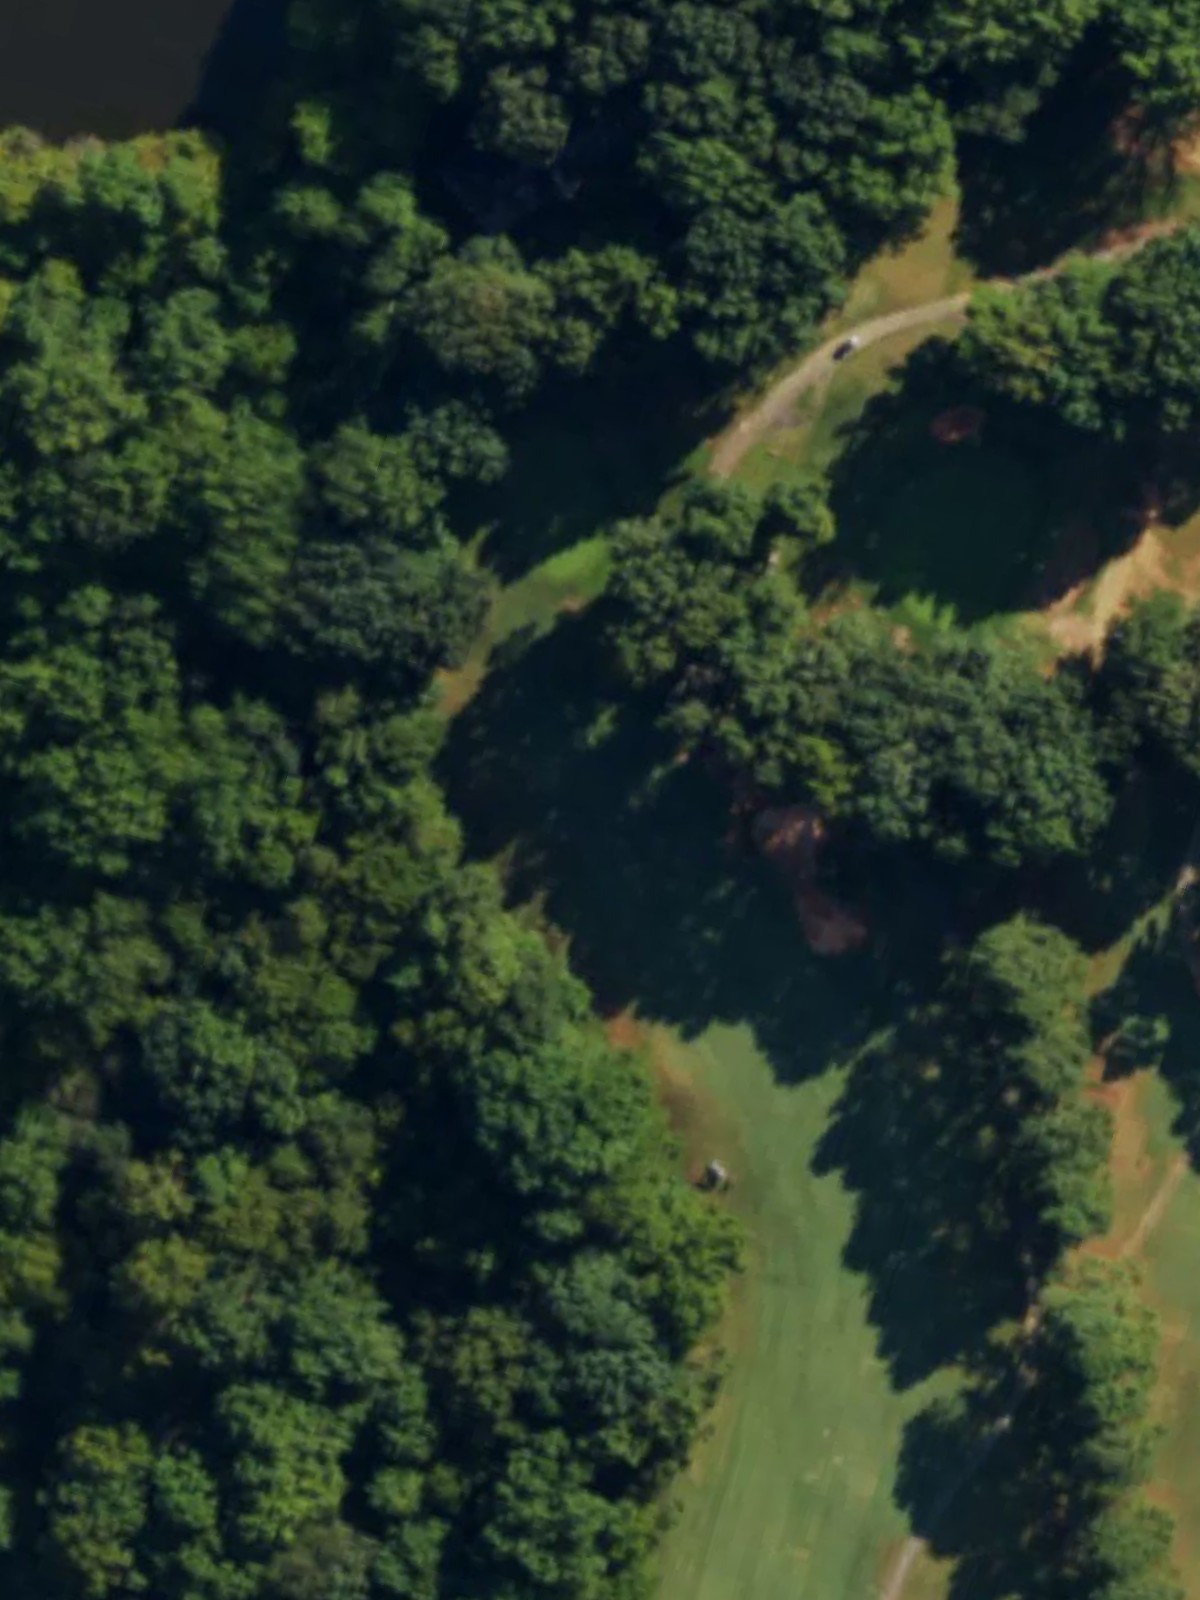
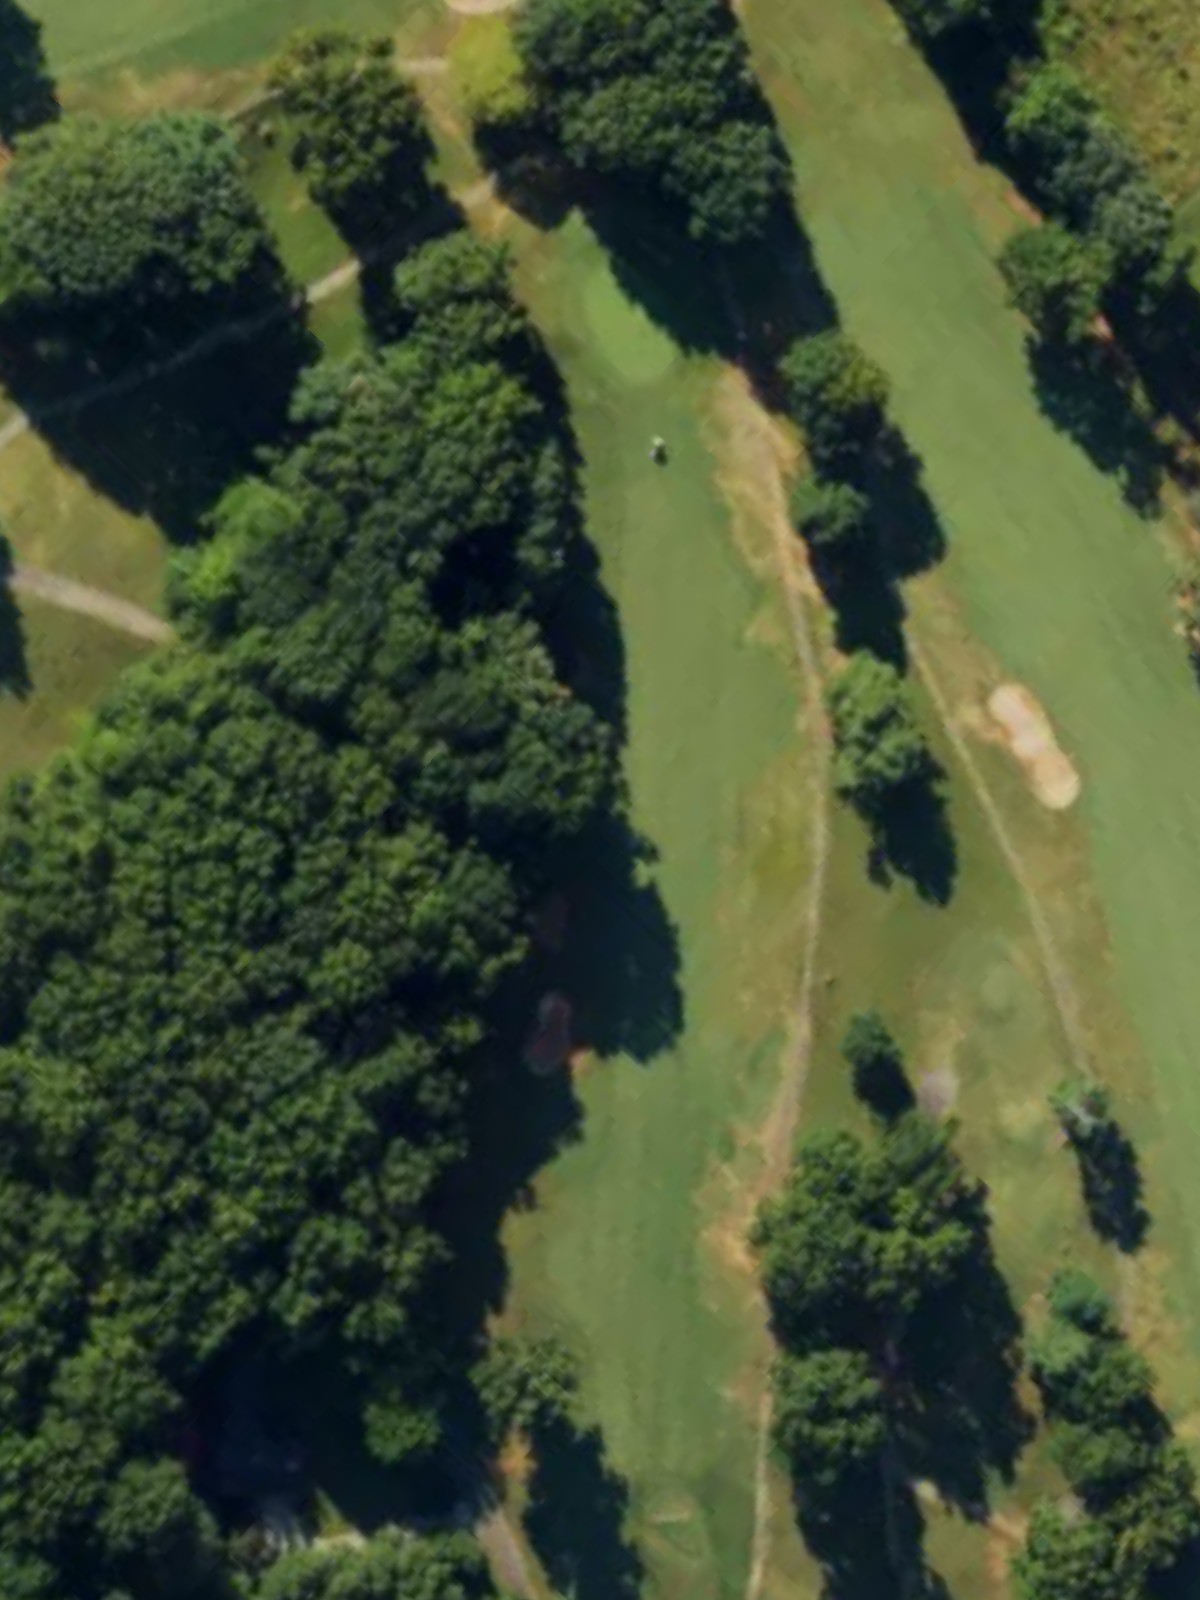
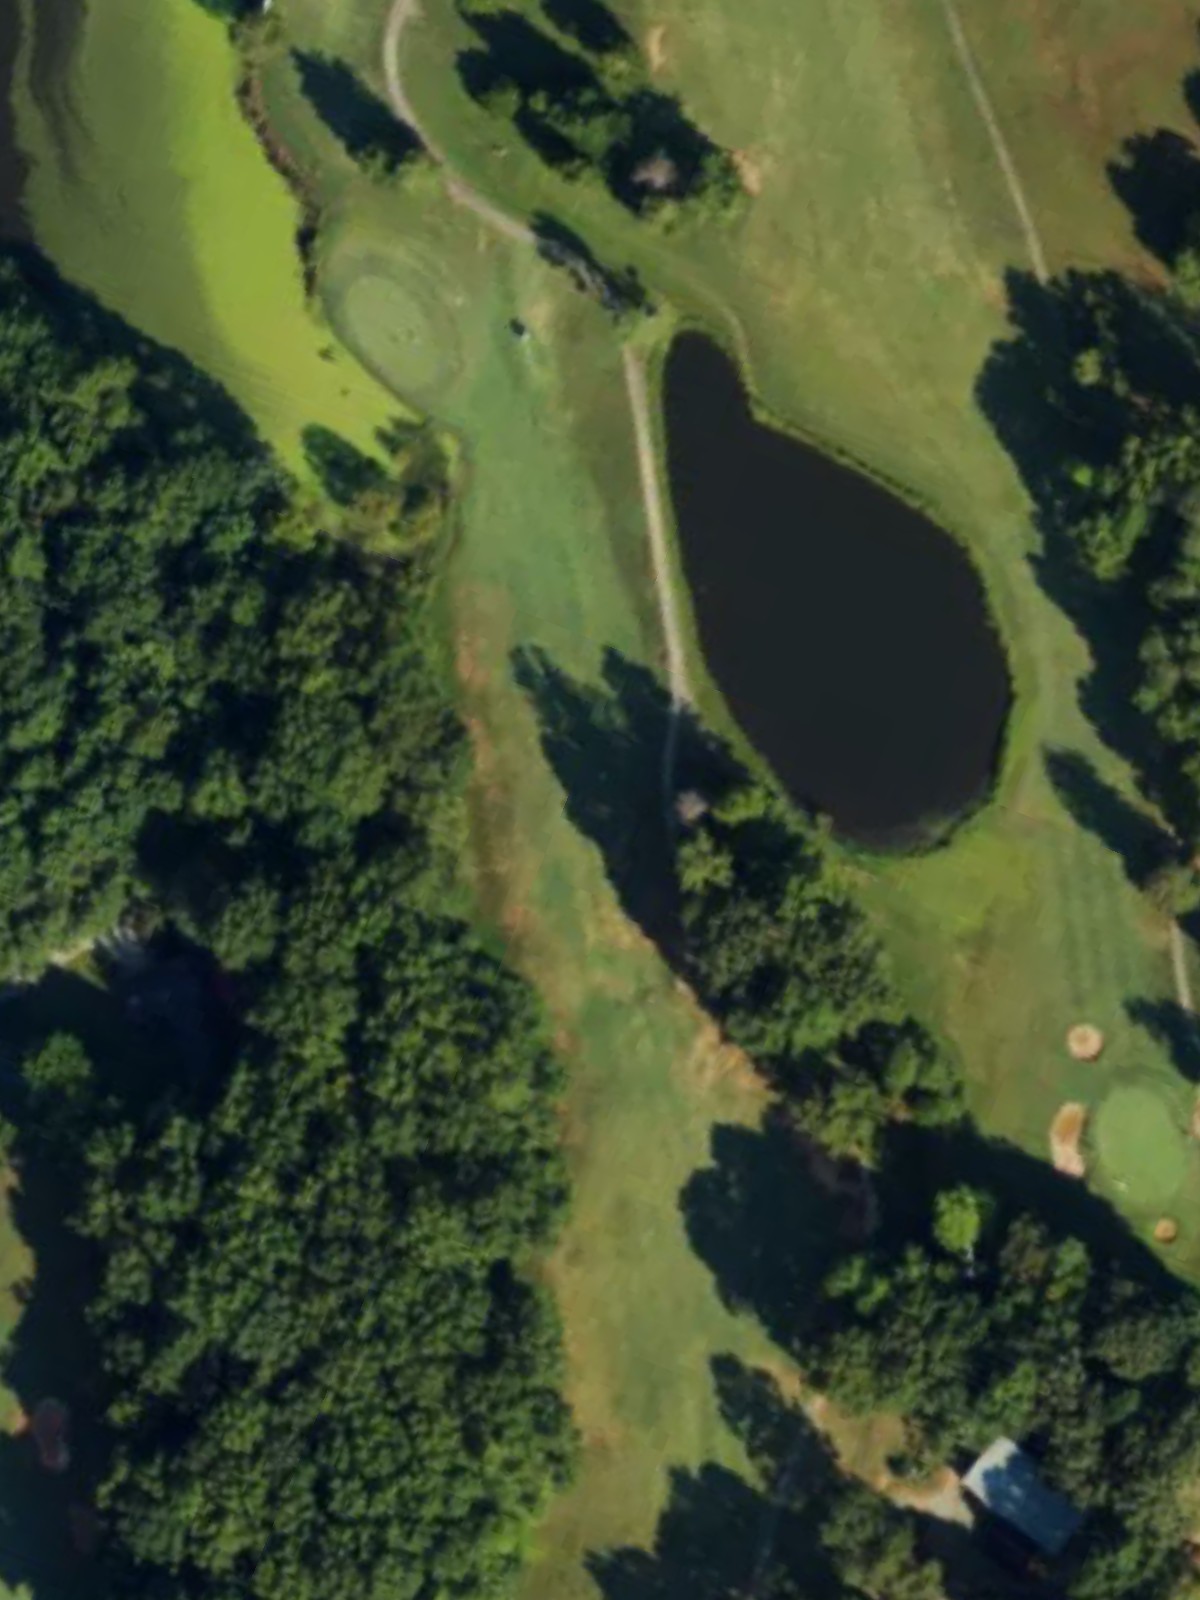
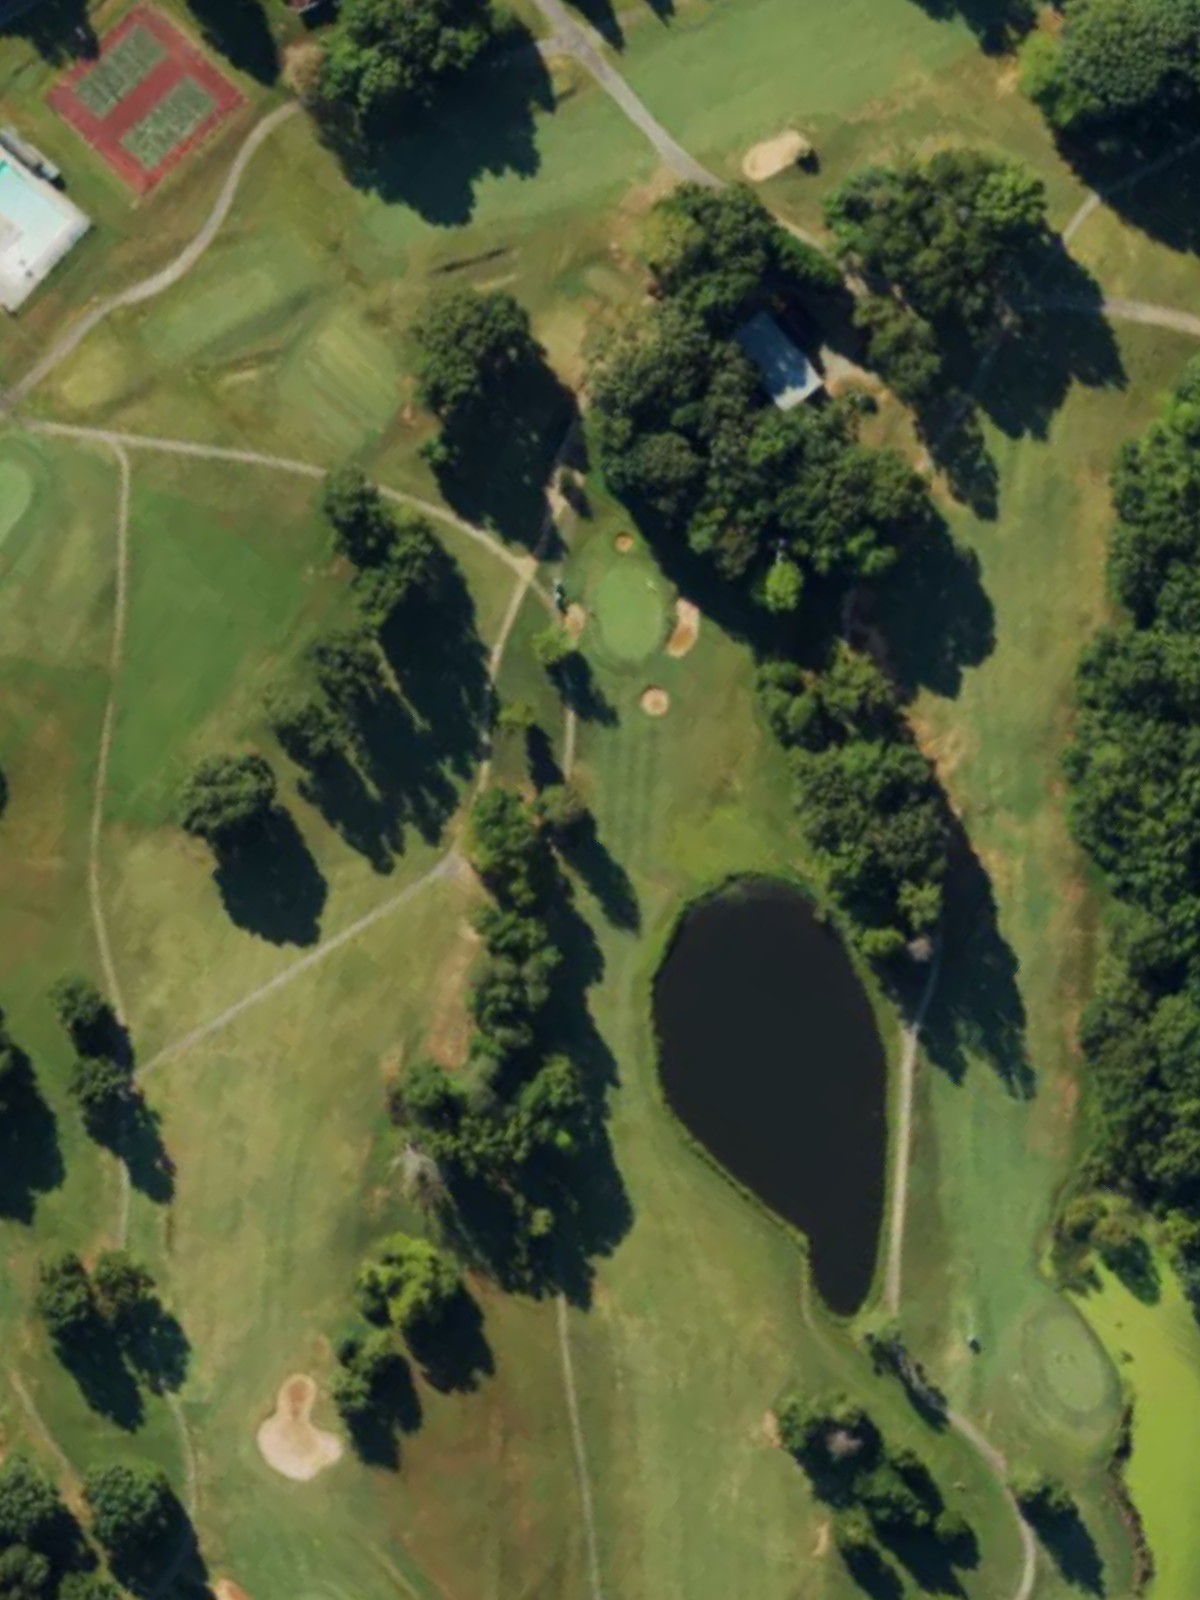
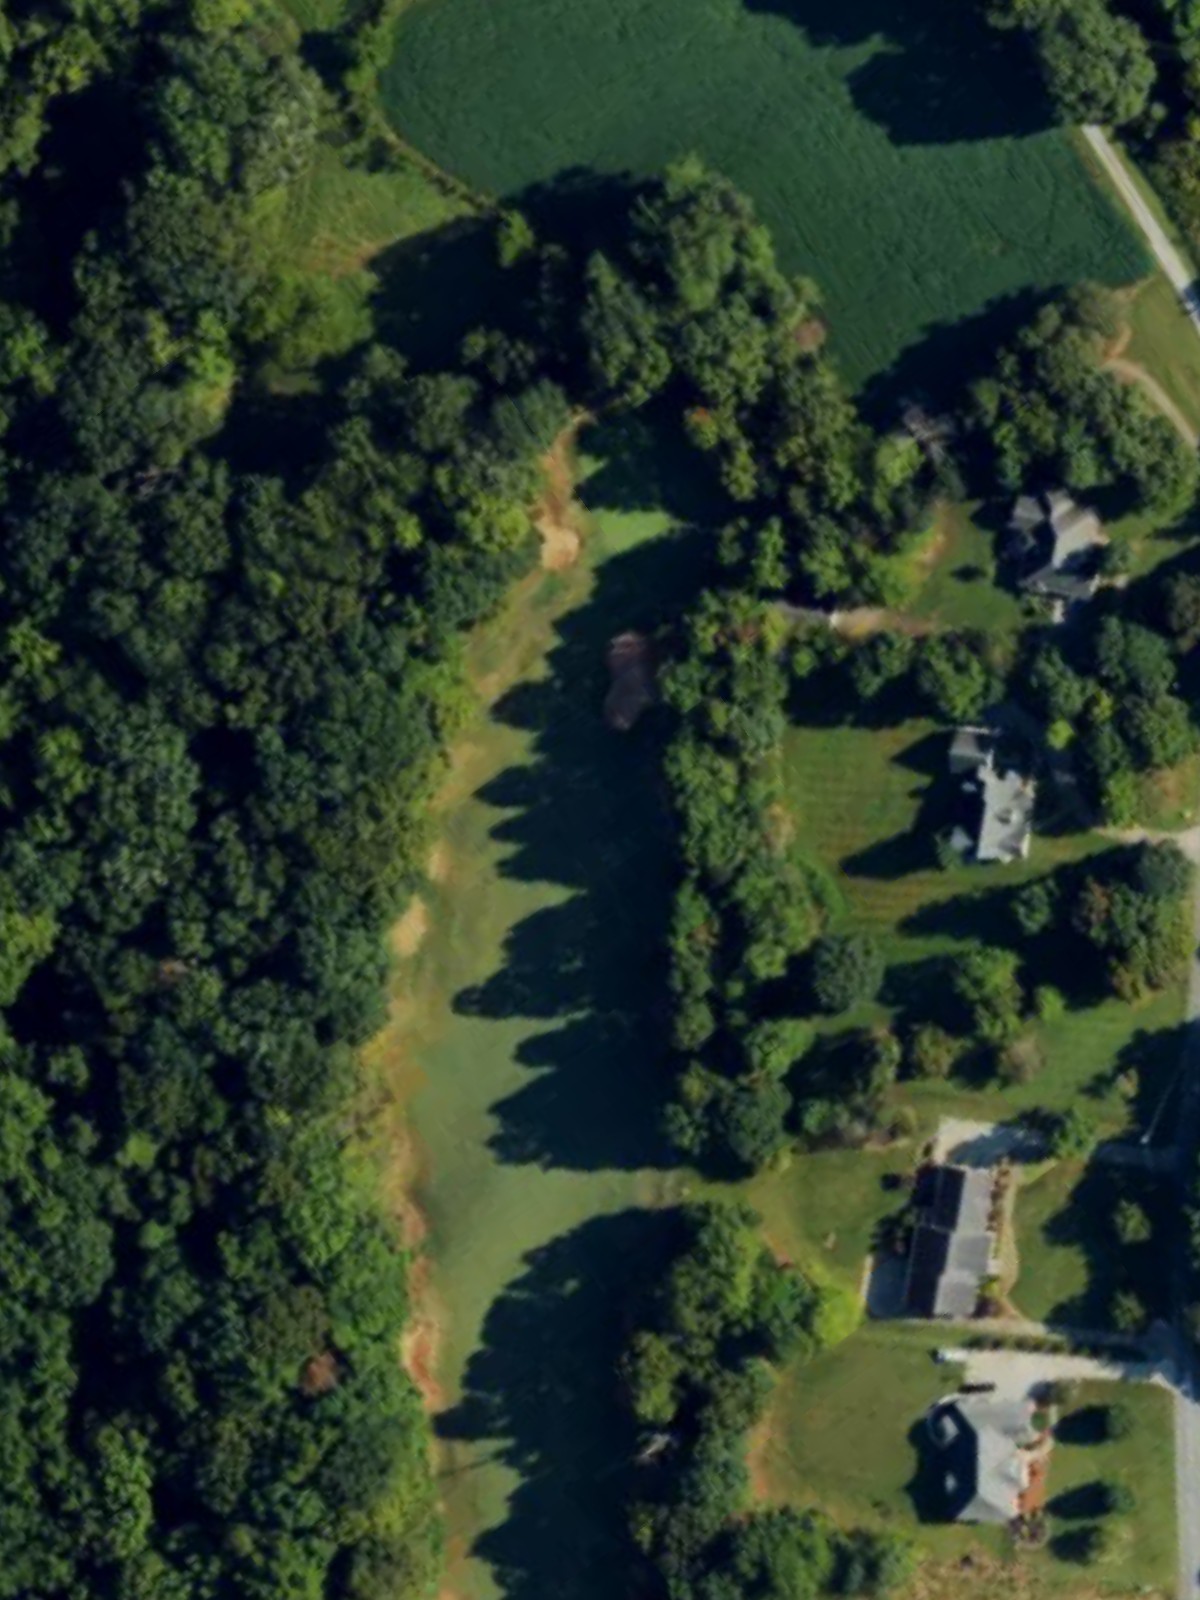
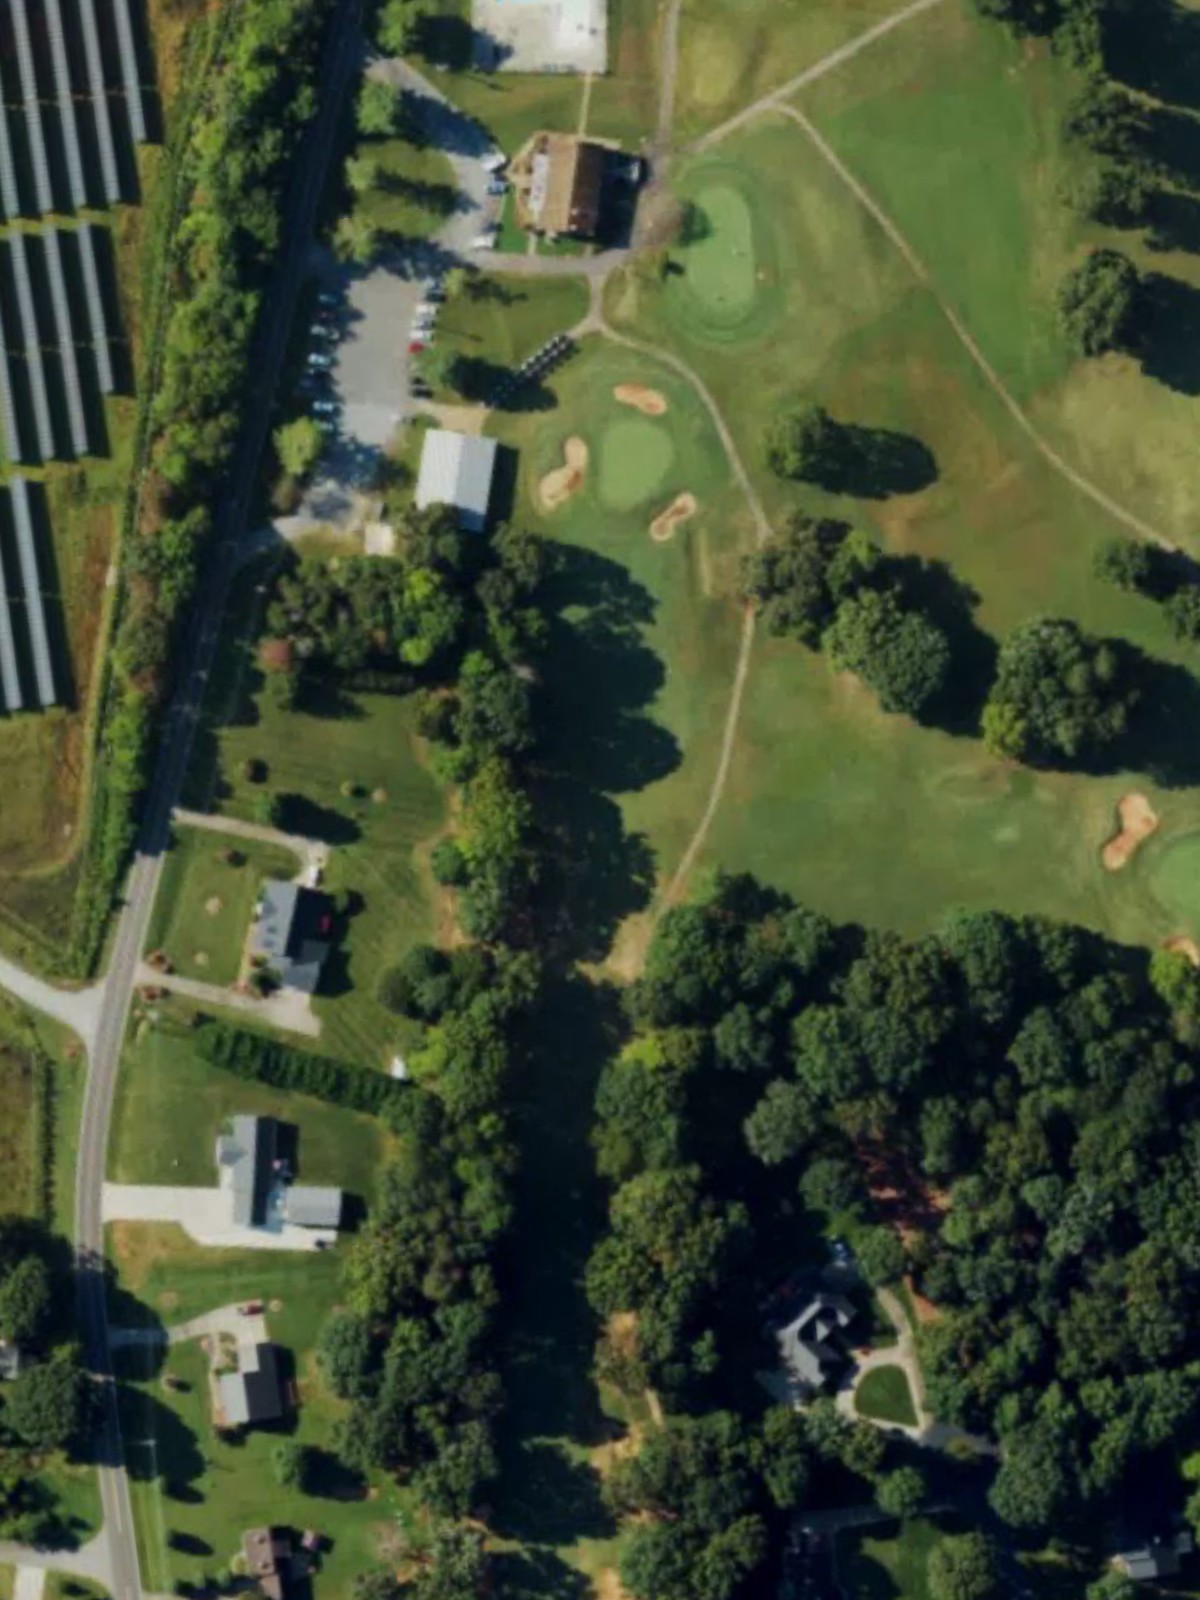
Yadkin Cc is an 18-hole golf course in Yadkinsville, NC with a par of 72. It offers 5 tee sets: blue tees (6,349 yards, slope 131, rating 71.3), white tees (5,999 yards, slope 126, rating 70), gold tees (5,518 yards, slope 119, rating 67.8), green tees (5,062 yards, slope 111, rating 65.1), red tees (4,331 yards, slope 100, rating 62.2). The hardest hole is #14, a par 4 playing 184 yards from the first tee.
Yadkin Cc
Yadkinsville, NC
Get PDF Yardage Book
We'll email you the PDF link. No spam, ever.
Create Your Game Plan
Pick your tees, enter your bag, and get a personalized shot-by-shot strategy for every hole.
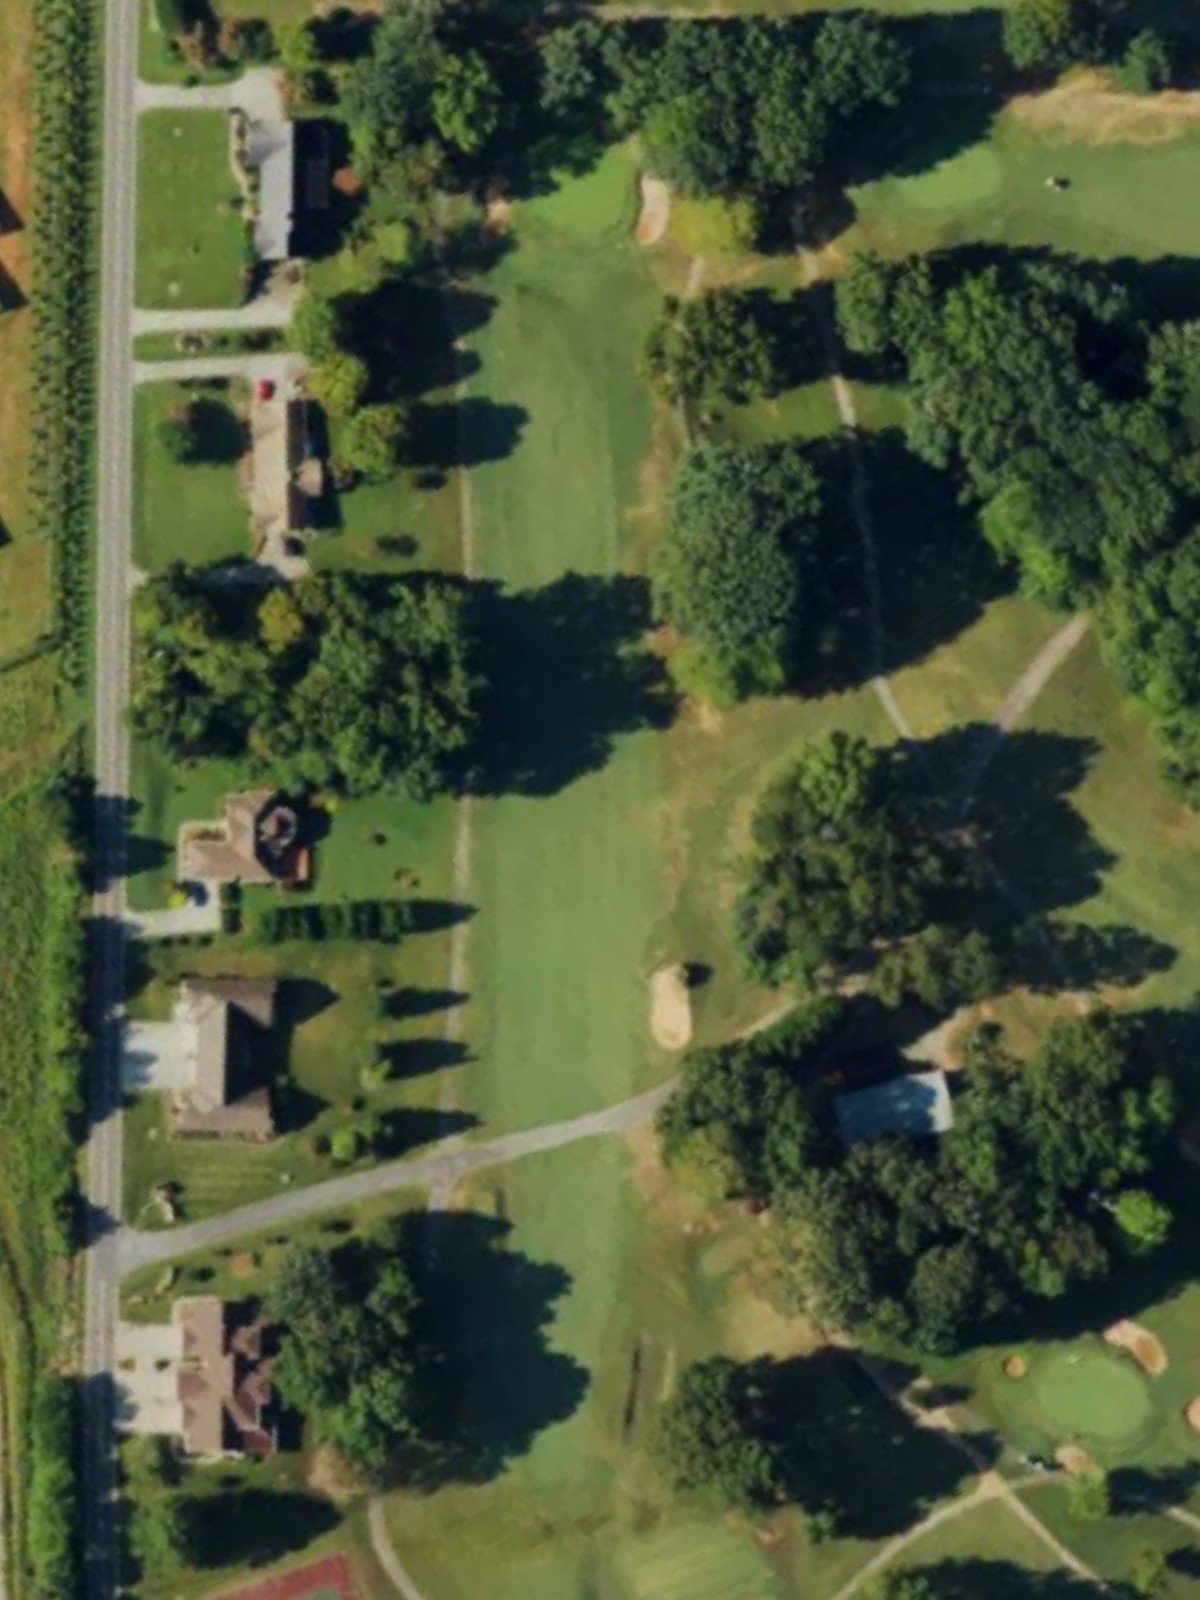
A straightforward opening par 4 with a welcoming fairway that gradually narrows as it approaches the green. Greenside bunkers protect the right side of the putting surface, demanding accuracy on the approach shot.
A par 5 that plays as a reachable three-shotter for most players with a relatively open corridor down the fairway. Strategic positioning off the tee sets up the best angle for the approach, as the green is well-protected.
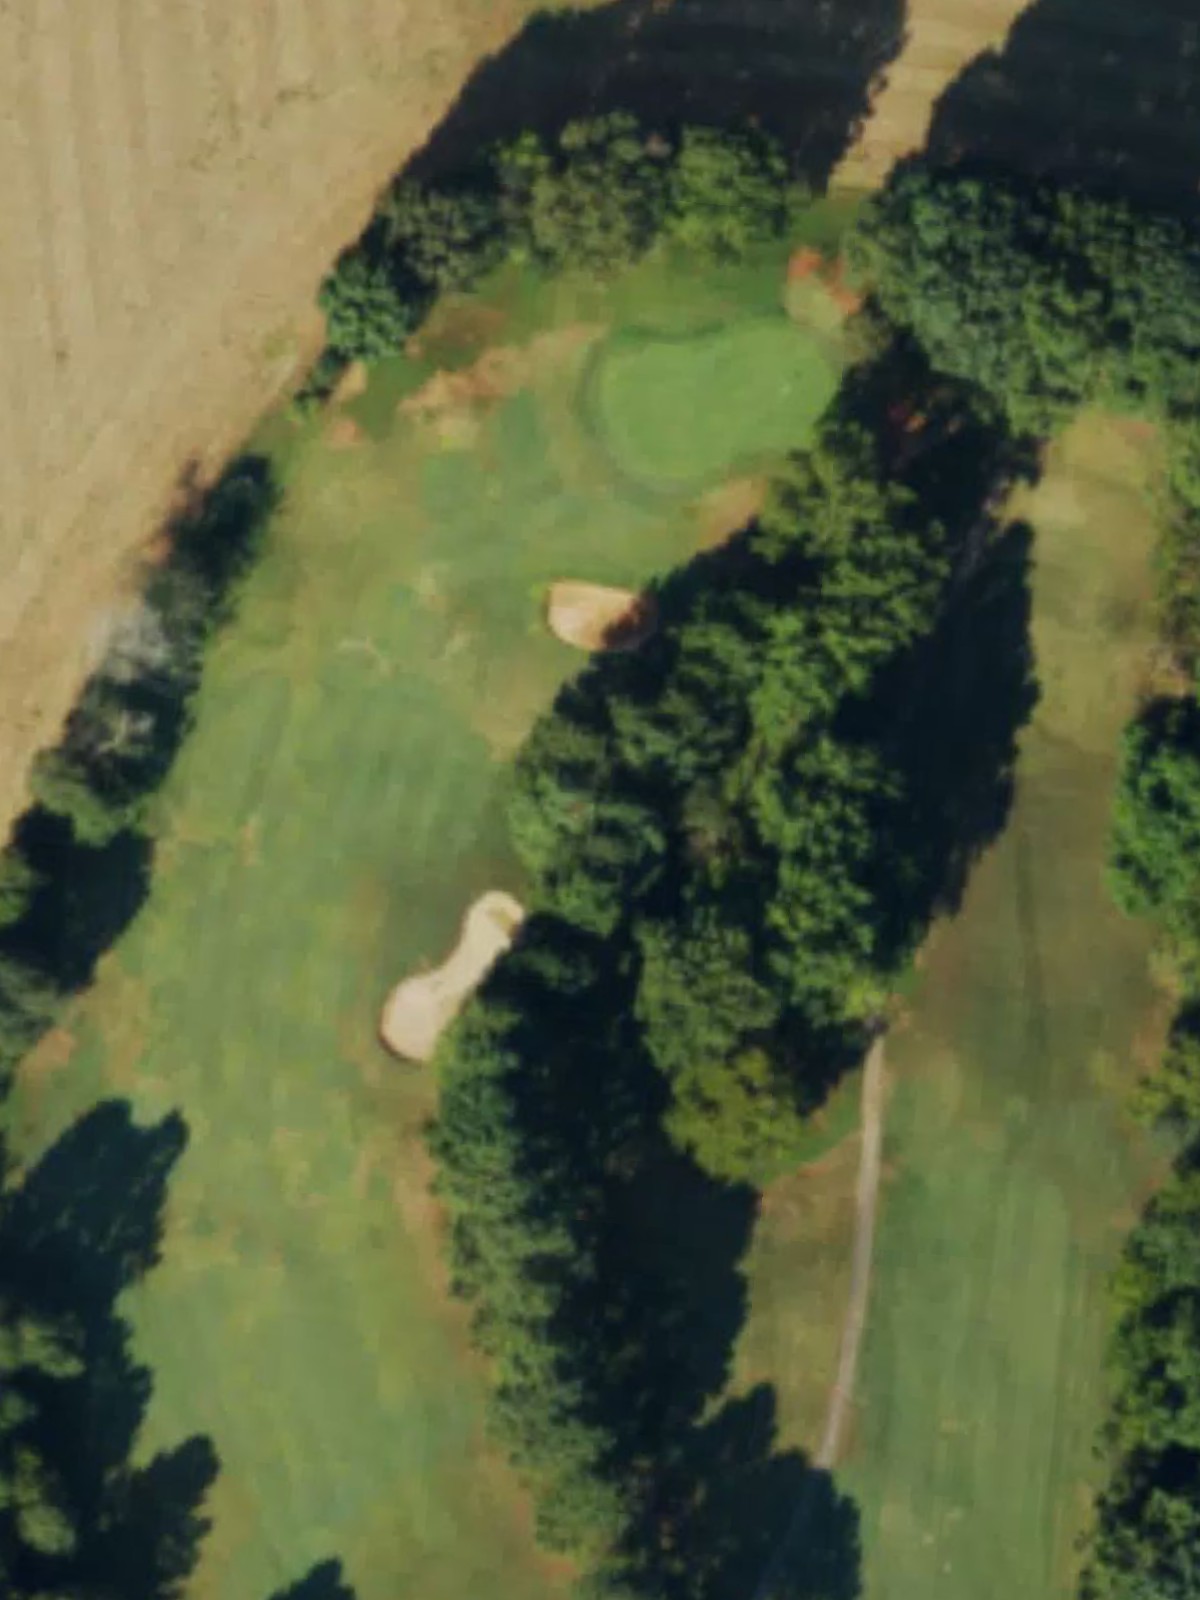
A short, straightforward par 3 that plays over relatively open ground to a modest green. The hole's brevity from the back tees makes it one of the course's most accessible one-shot opportunities, though accuracy still matters.
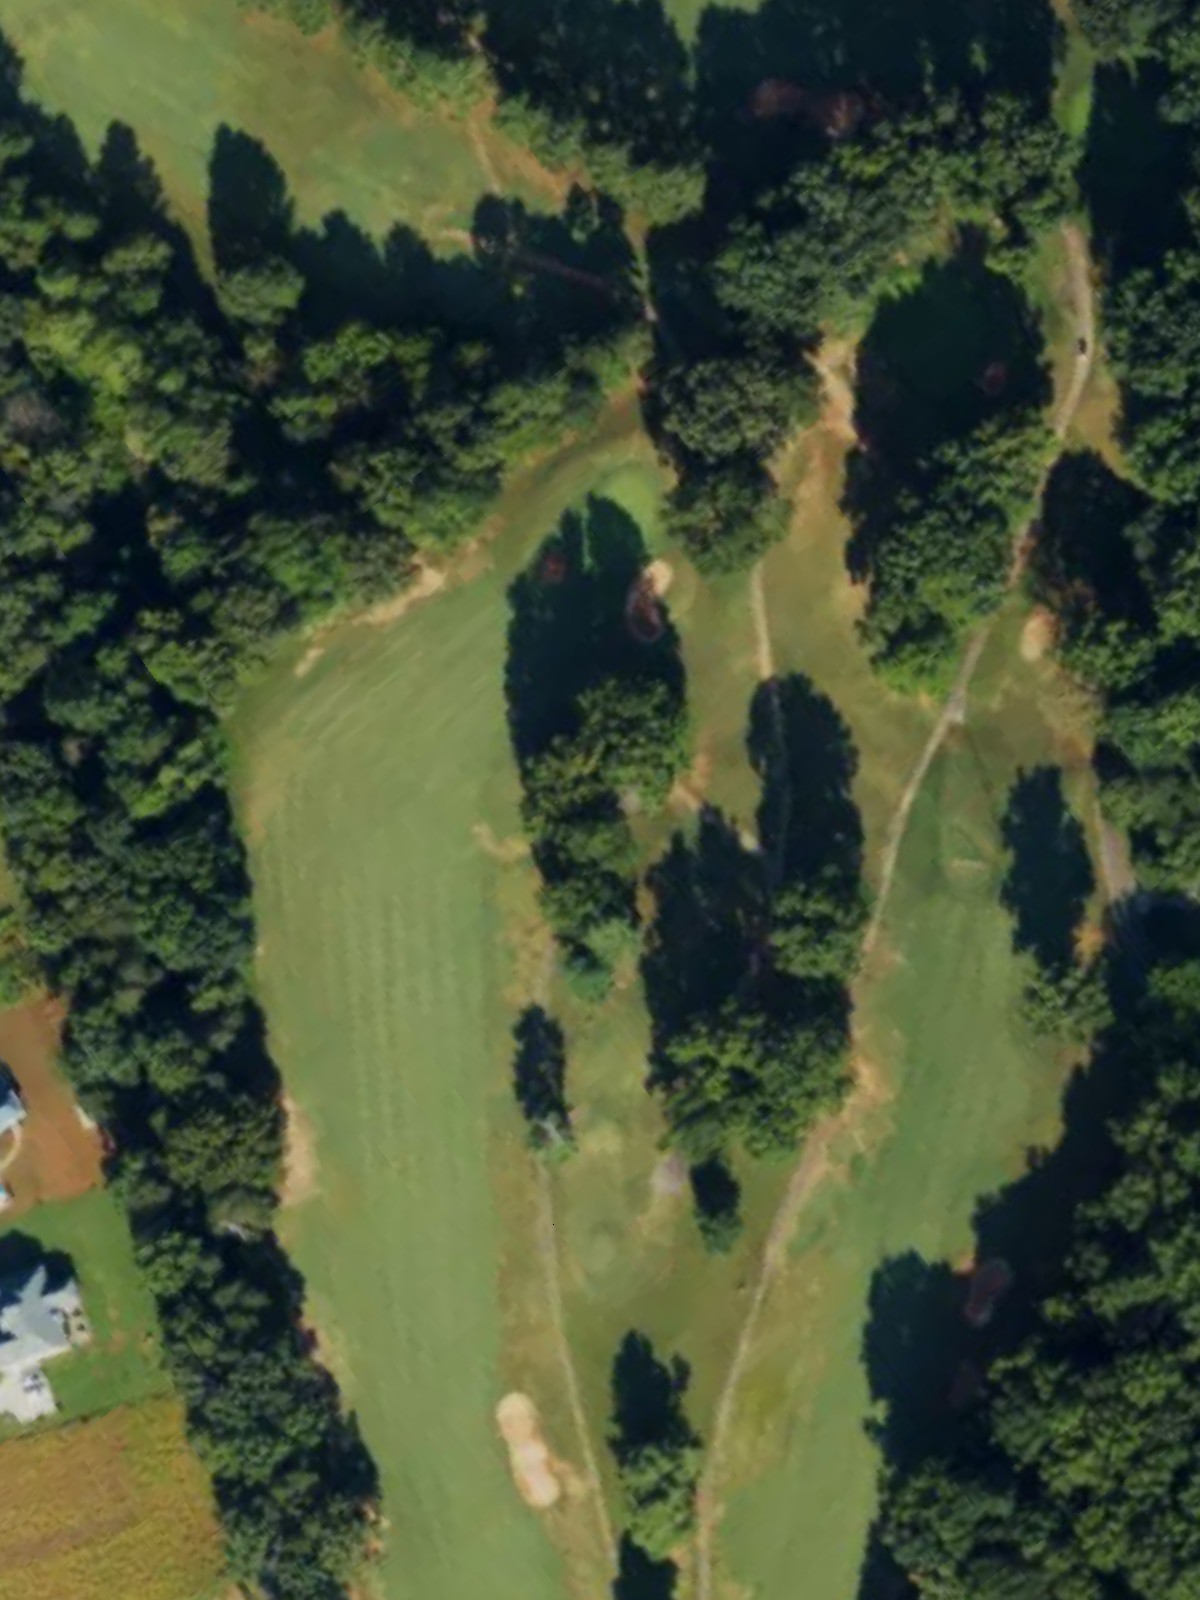
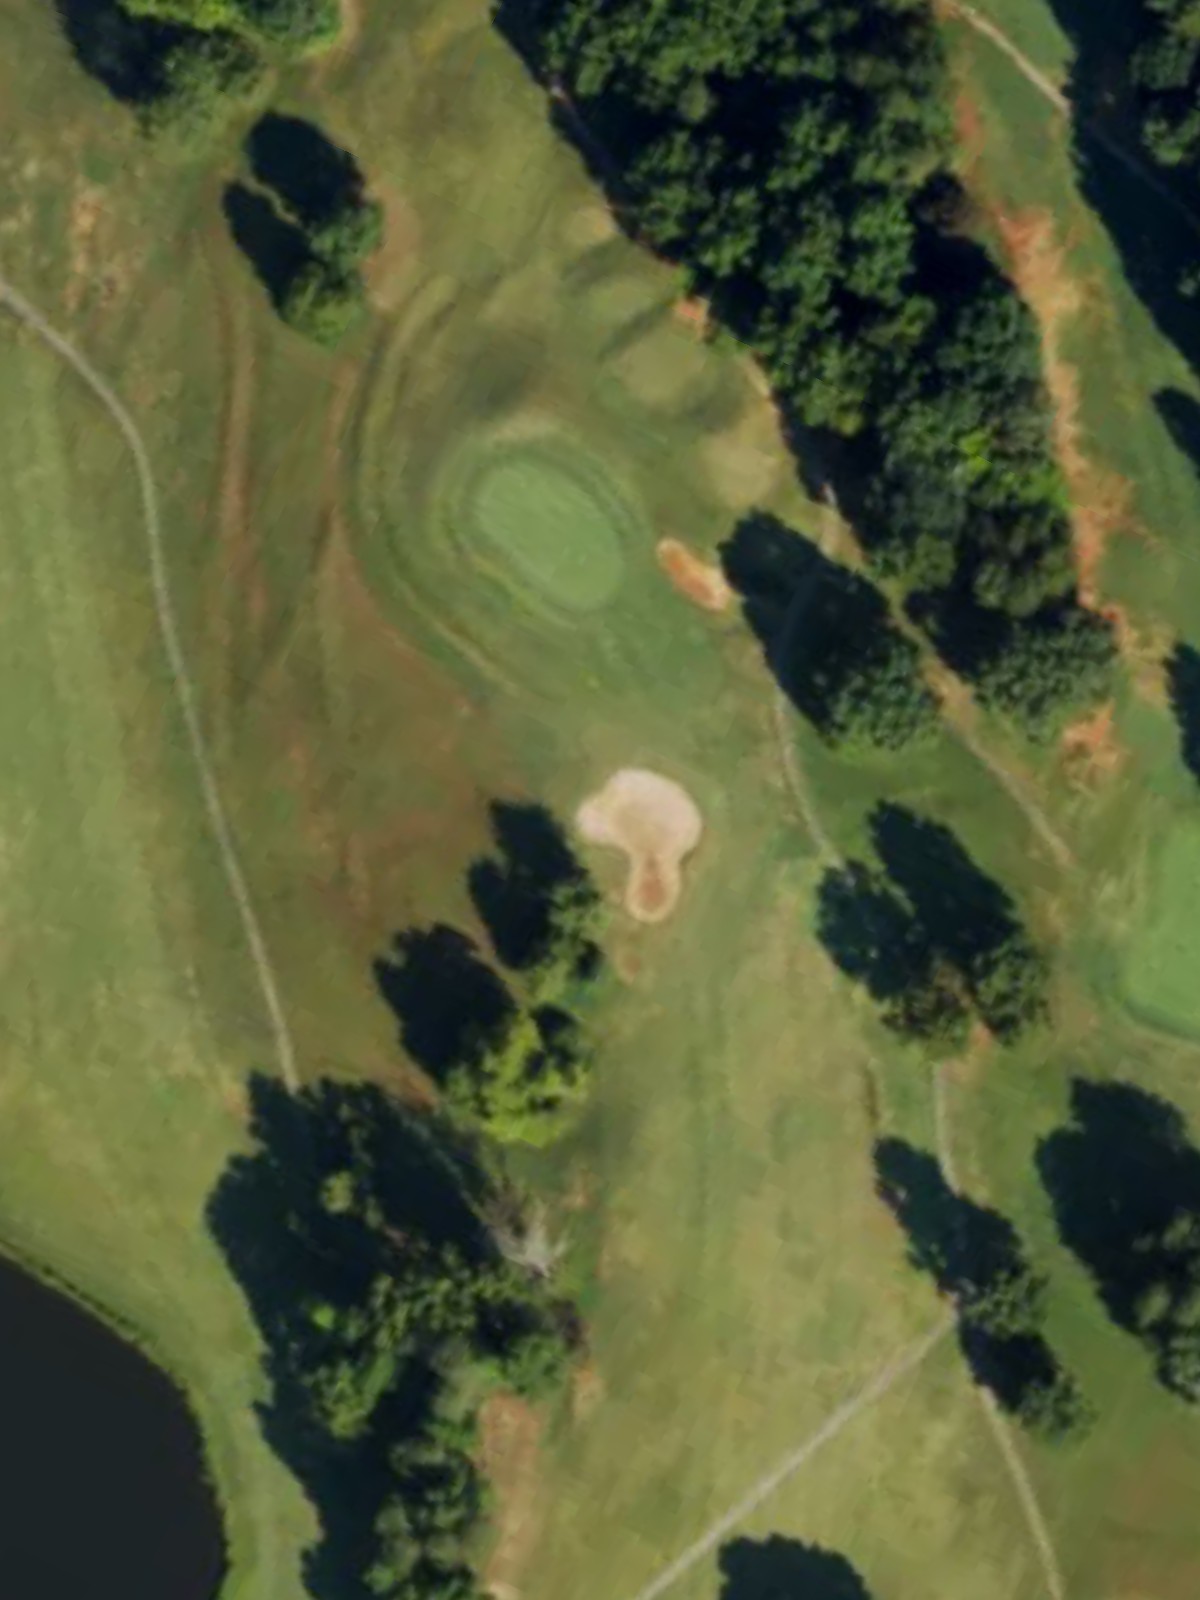
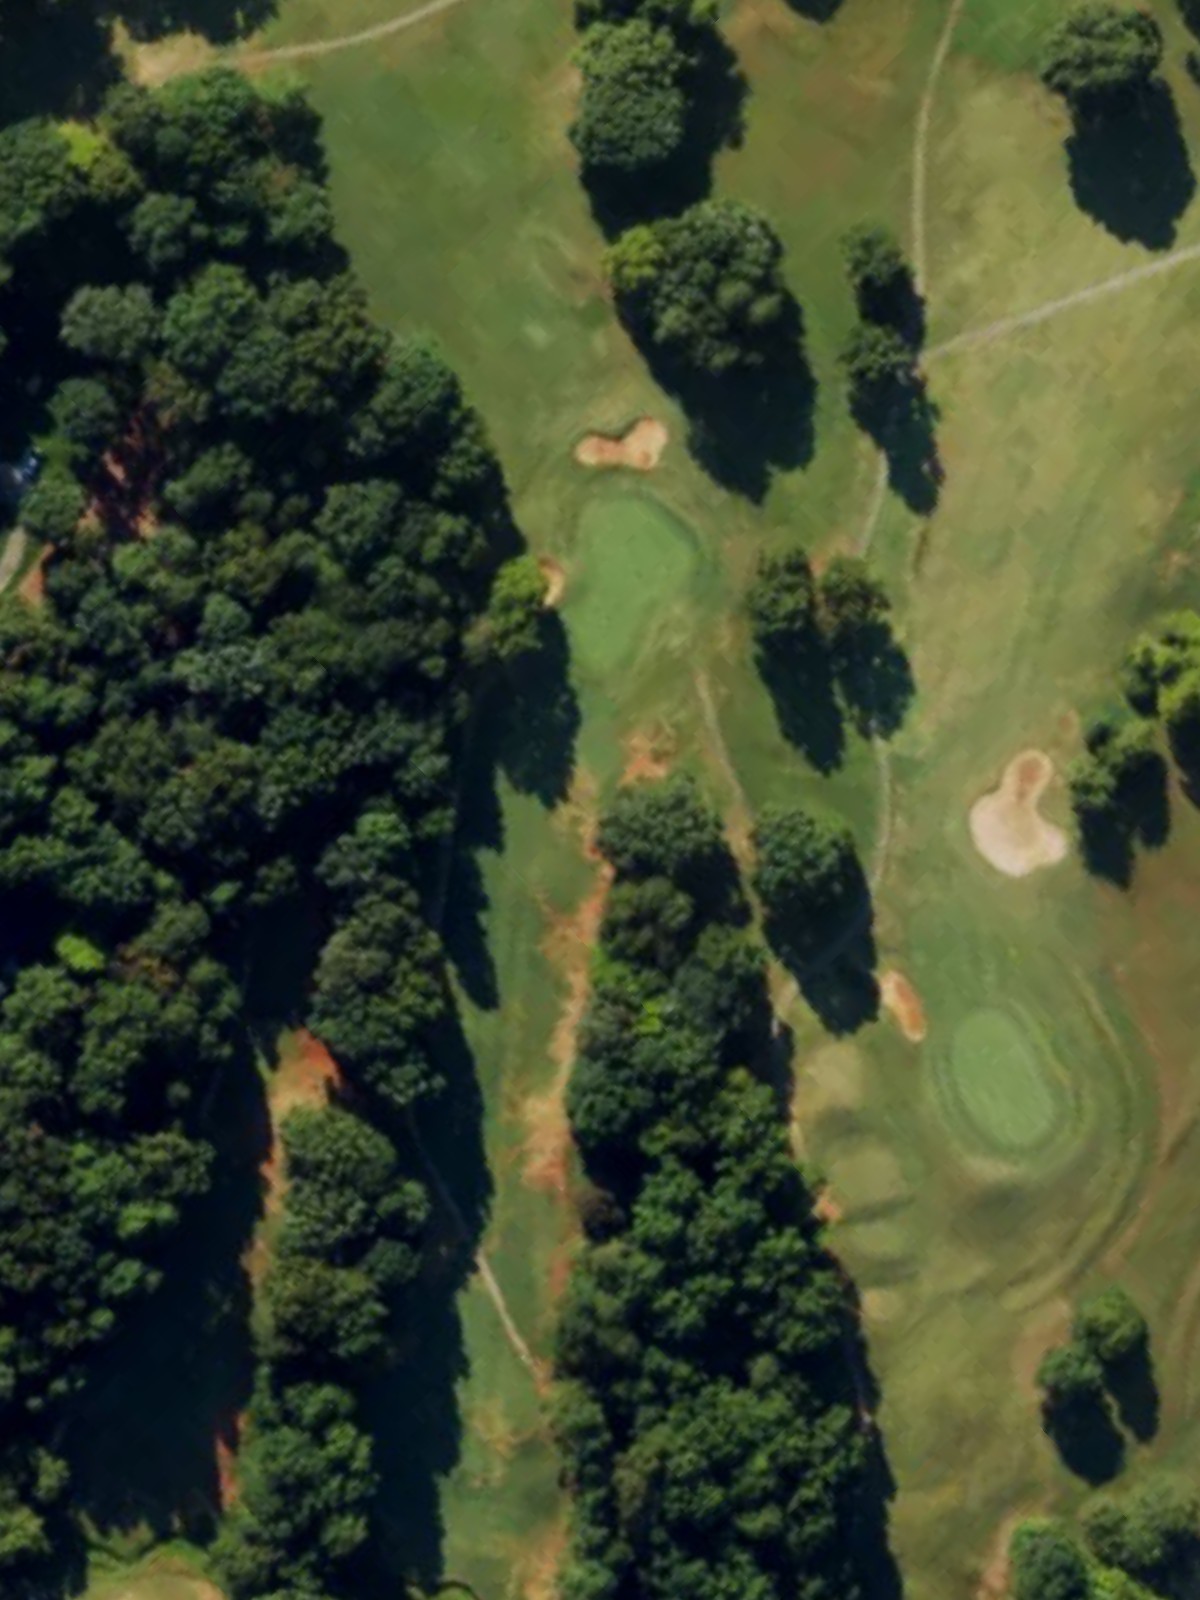
A tight, quirky par 4 that plays shorter than its yardage suggests, with a narrow fairway that demands precision off the tee. The green is difficult to access, making this a deceptively challenging hole despite modest distance.
A compact par 4 with a relatively narrow driving corridor and an approach that requires accuracy to reach the green in regulation. The hole's shortness from the front tees contrasts with its difficulty from the back, where length becomes a factor.
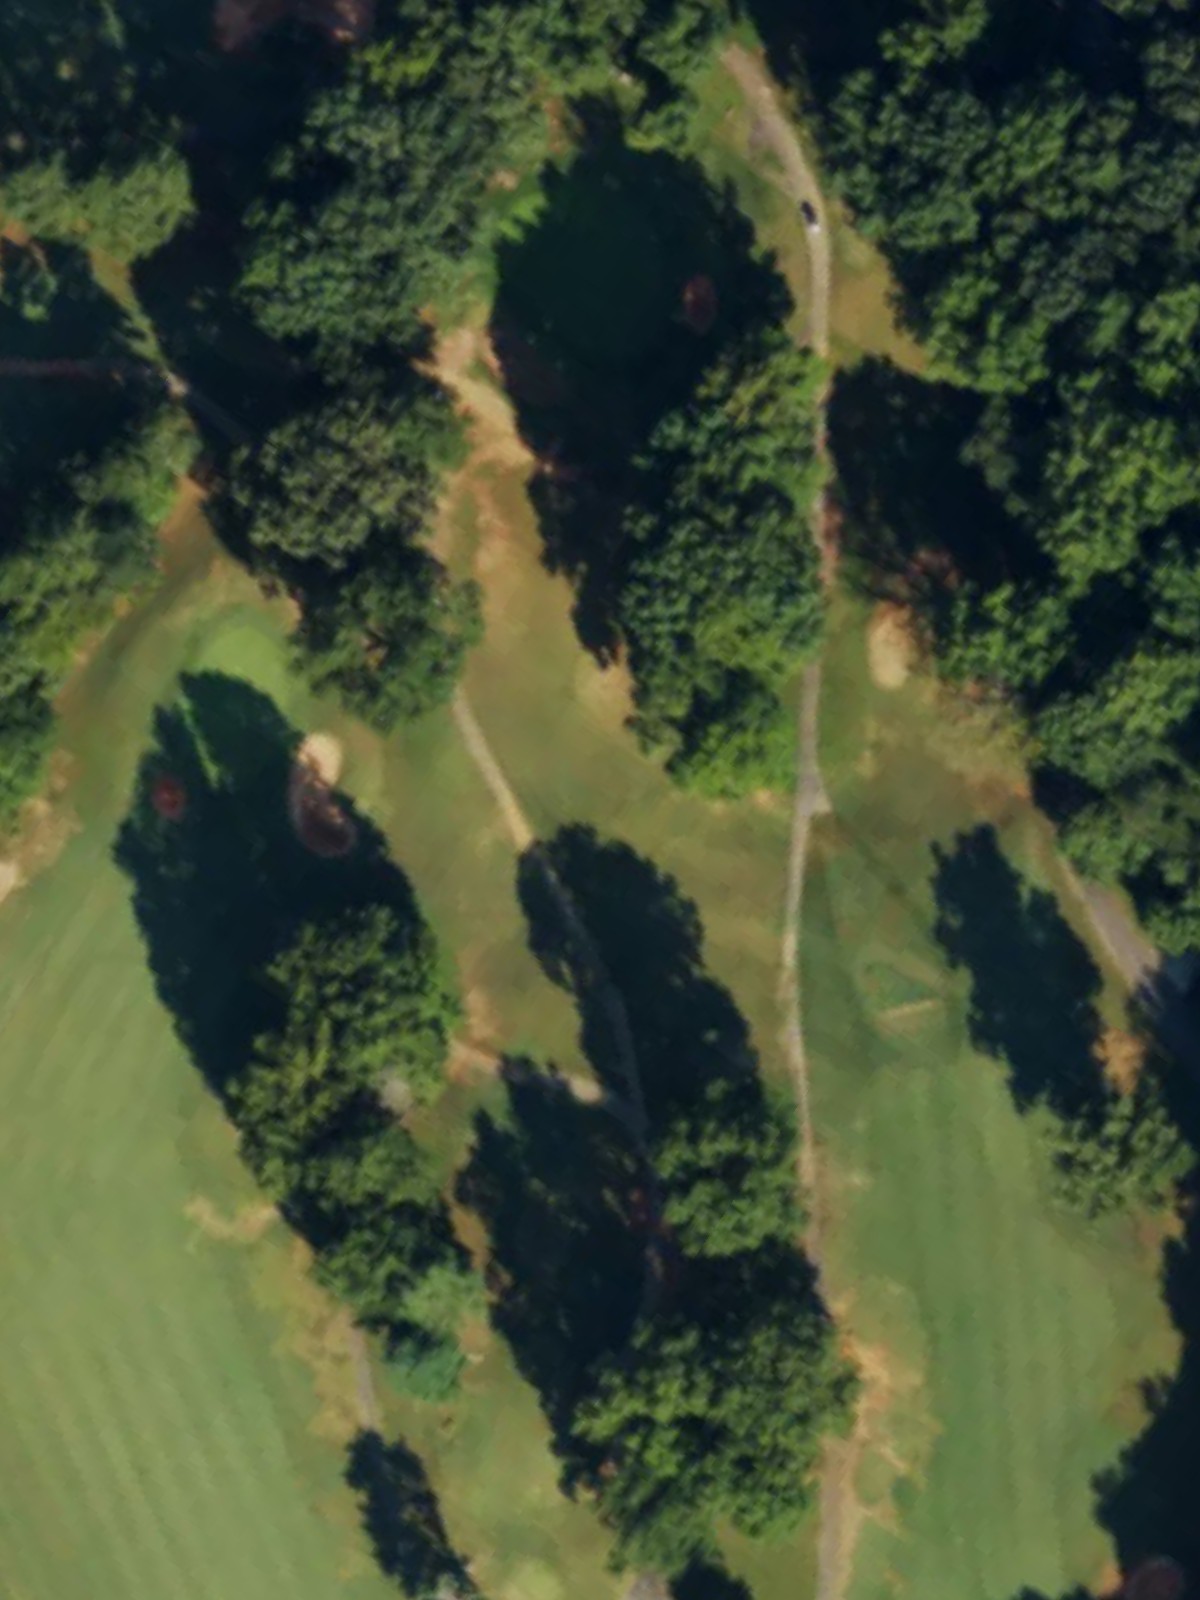
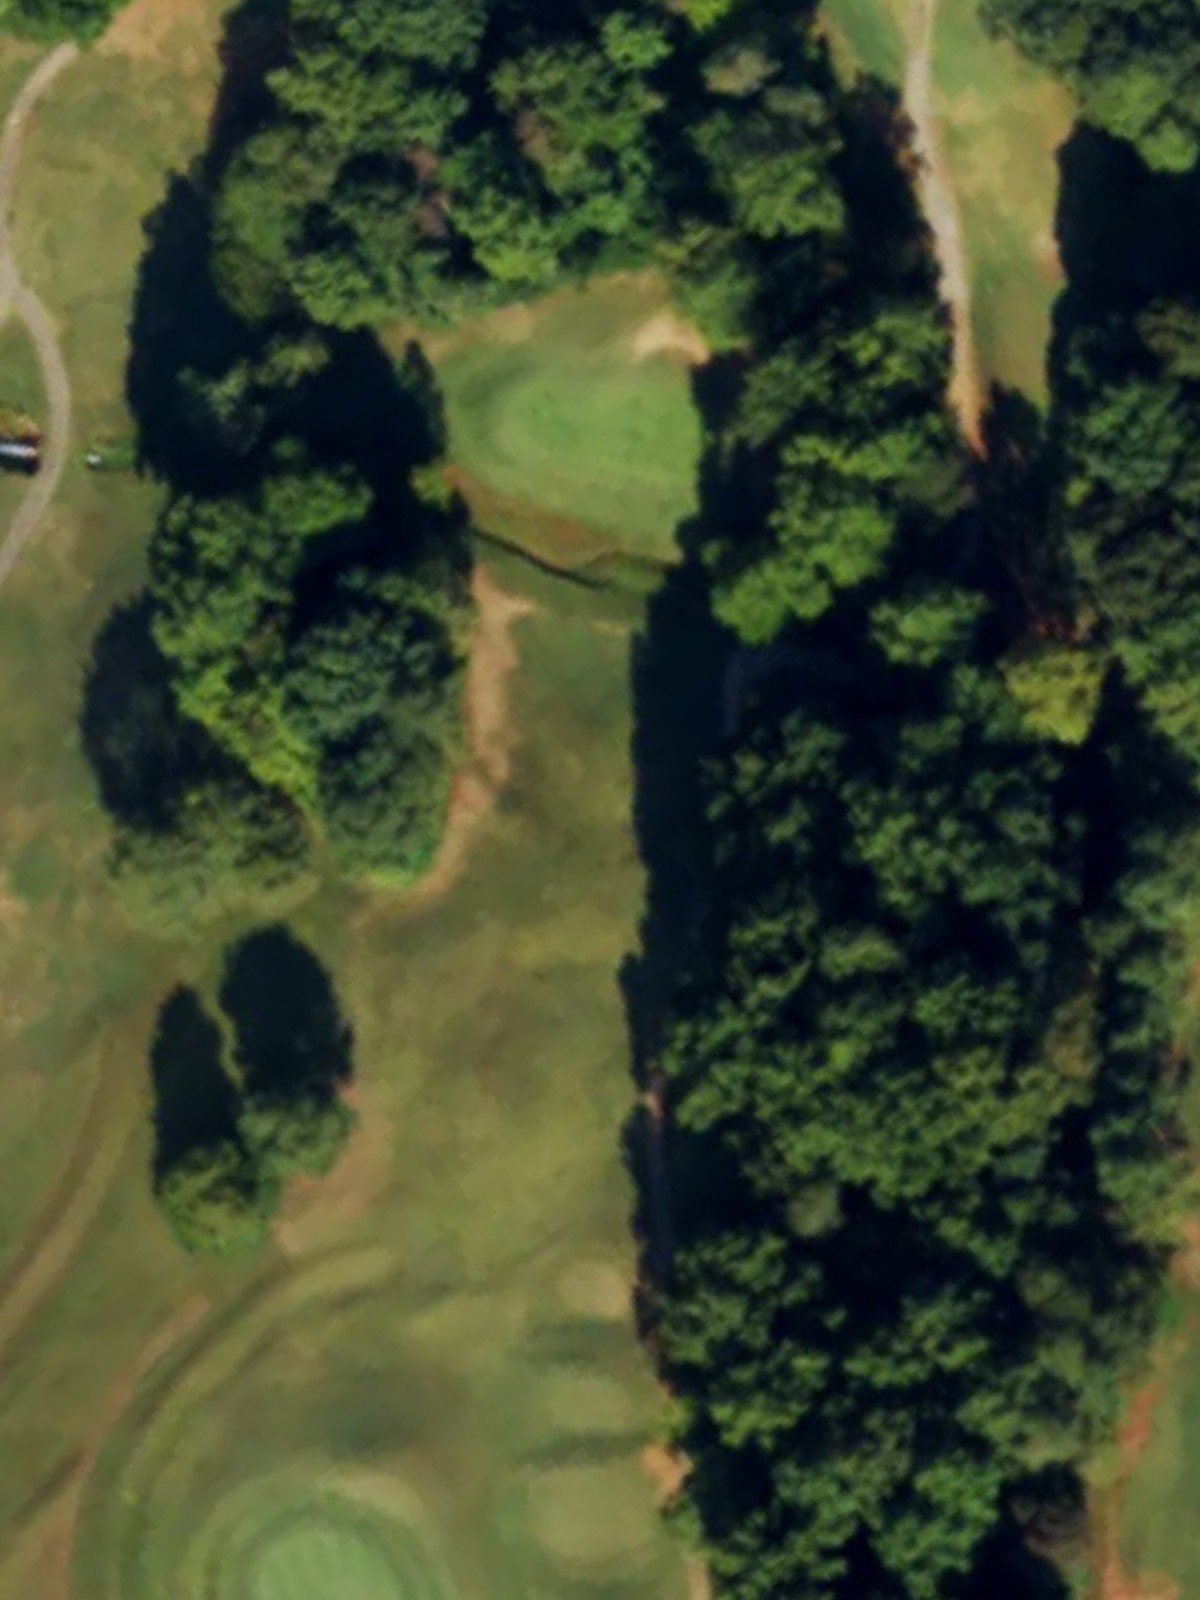
A modest par 4 that plays tighter than its yardage, with a constricted fairway and a well-guarded green. Strategic placement off the tee is essential to open up the approach and avoid hazards surrounding the putting surface.
One of the course's signature par 4s, playing as a genuine test from the back tees with significant length and demanding shot-making. The hole's routing and green complex create a memorable and challenging finishing stretch to the front nine.

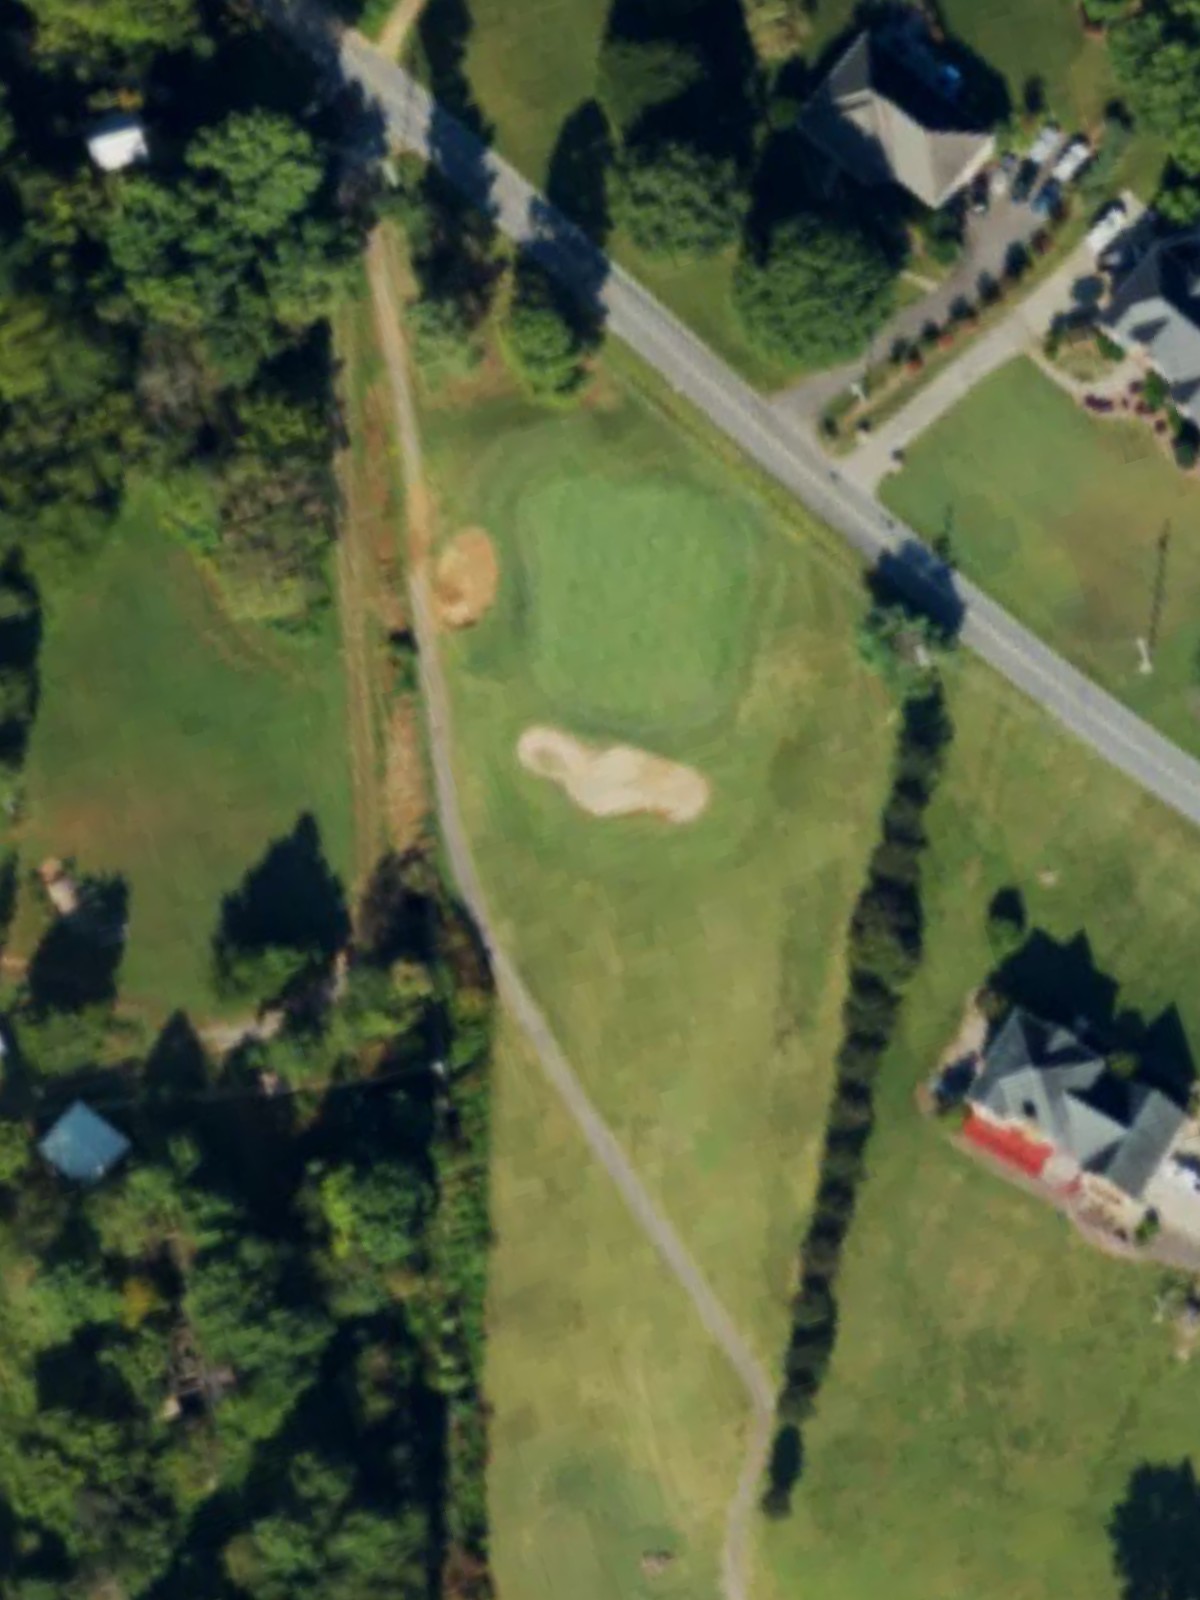
A short, straightforward par 3 with minimal hazards and a forgiving approach to the green. This hole provides a brief respite before the final push, though the green's contours reward precision.
A lengthy par 5 that plays as a three-shot hole for most players, with a fairway that offers multiple strategic options off the tee. The approach area tightens toward the green, where positioning becomes critical for a birdie opportunity.
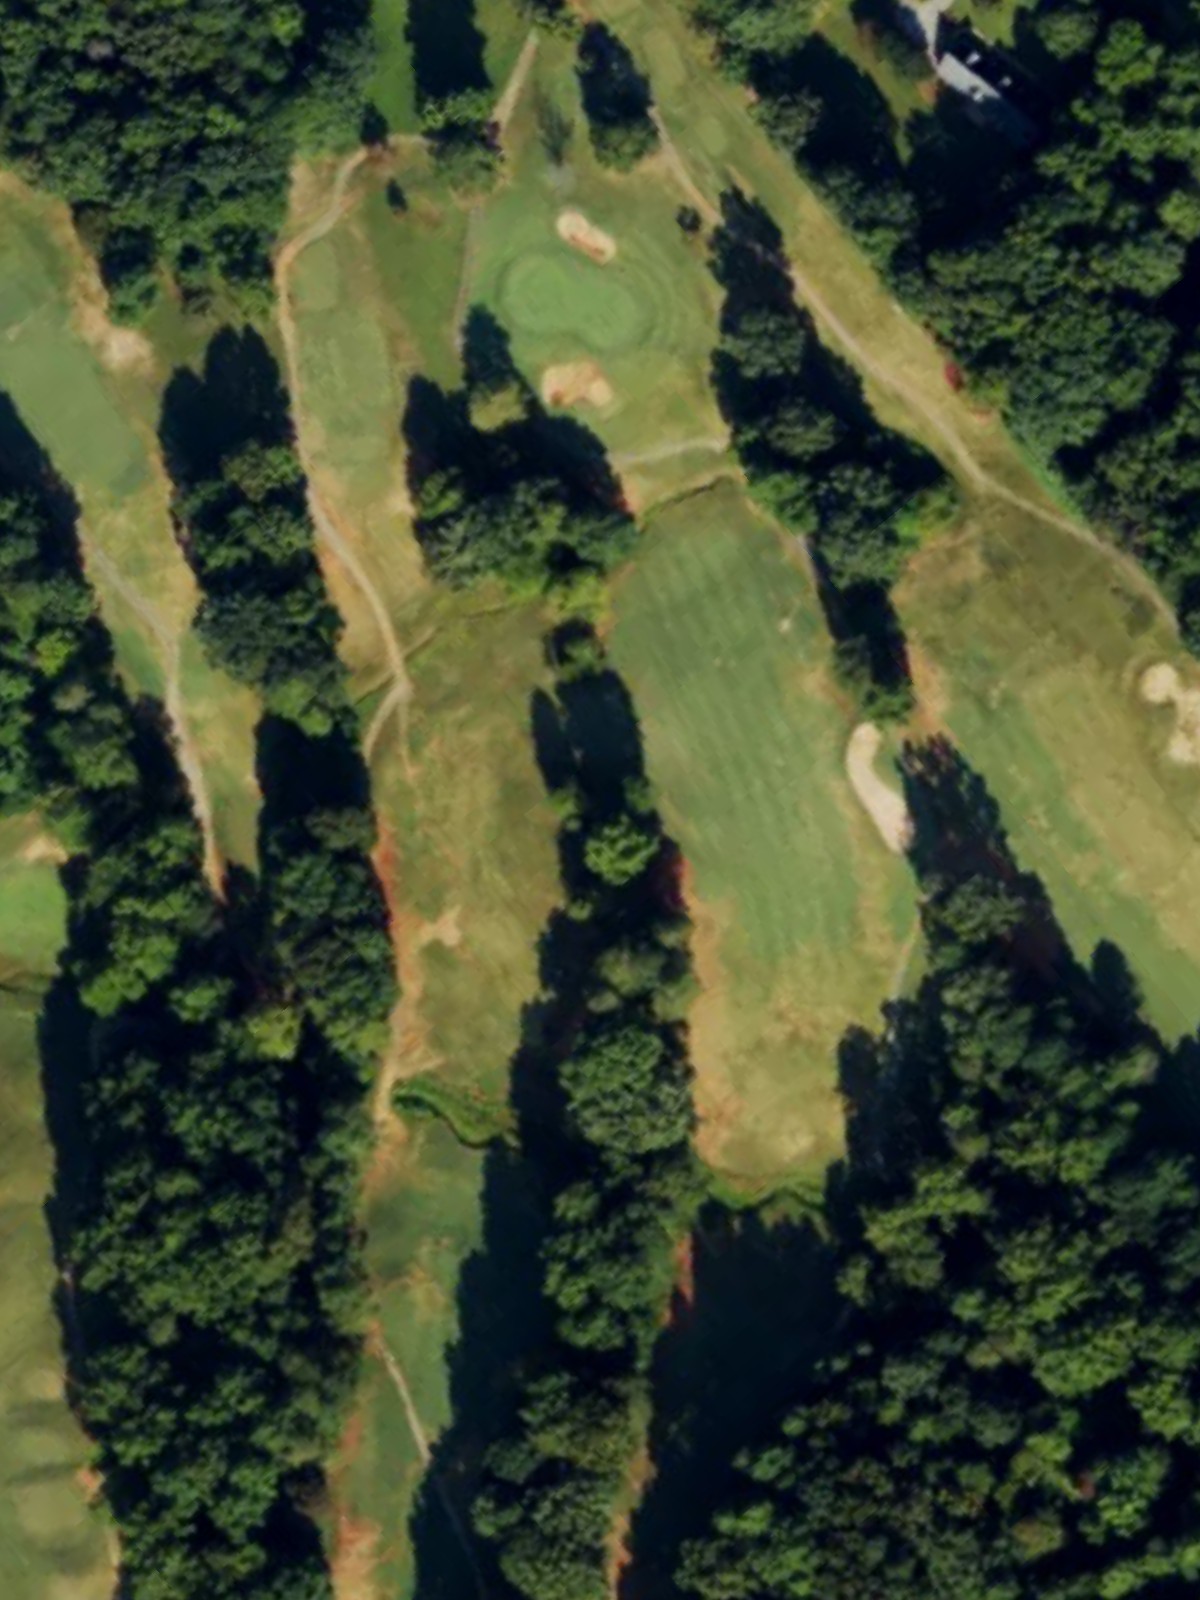
A solid par 4 returning to action after the turn, with a fairway that opens reasonably well for the drive. The approach requires thoughtful club selection, as the green is positioned with modest but strategic bunkering.
A short, picturesque par 3 playing over relatively open terrain to a compact green. Despite its brevity, the hole's simplicity rewards solid fundamentals and punishes poor execution.
A straightforward par 4 with a generous fairway and a relatively accessible green complex. The hole plays shorter than its yardage, offering a reasonable scoring opportunity for accurate golfers.
A short par 3 that plays as an interlude in the back nine stretch, with a modest green and minimal surrounding hazards. The hole's brevity makes it an approachable one-shotter, though the green's shape may create tricky pin positions.
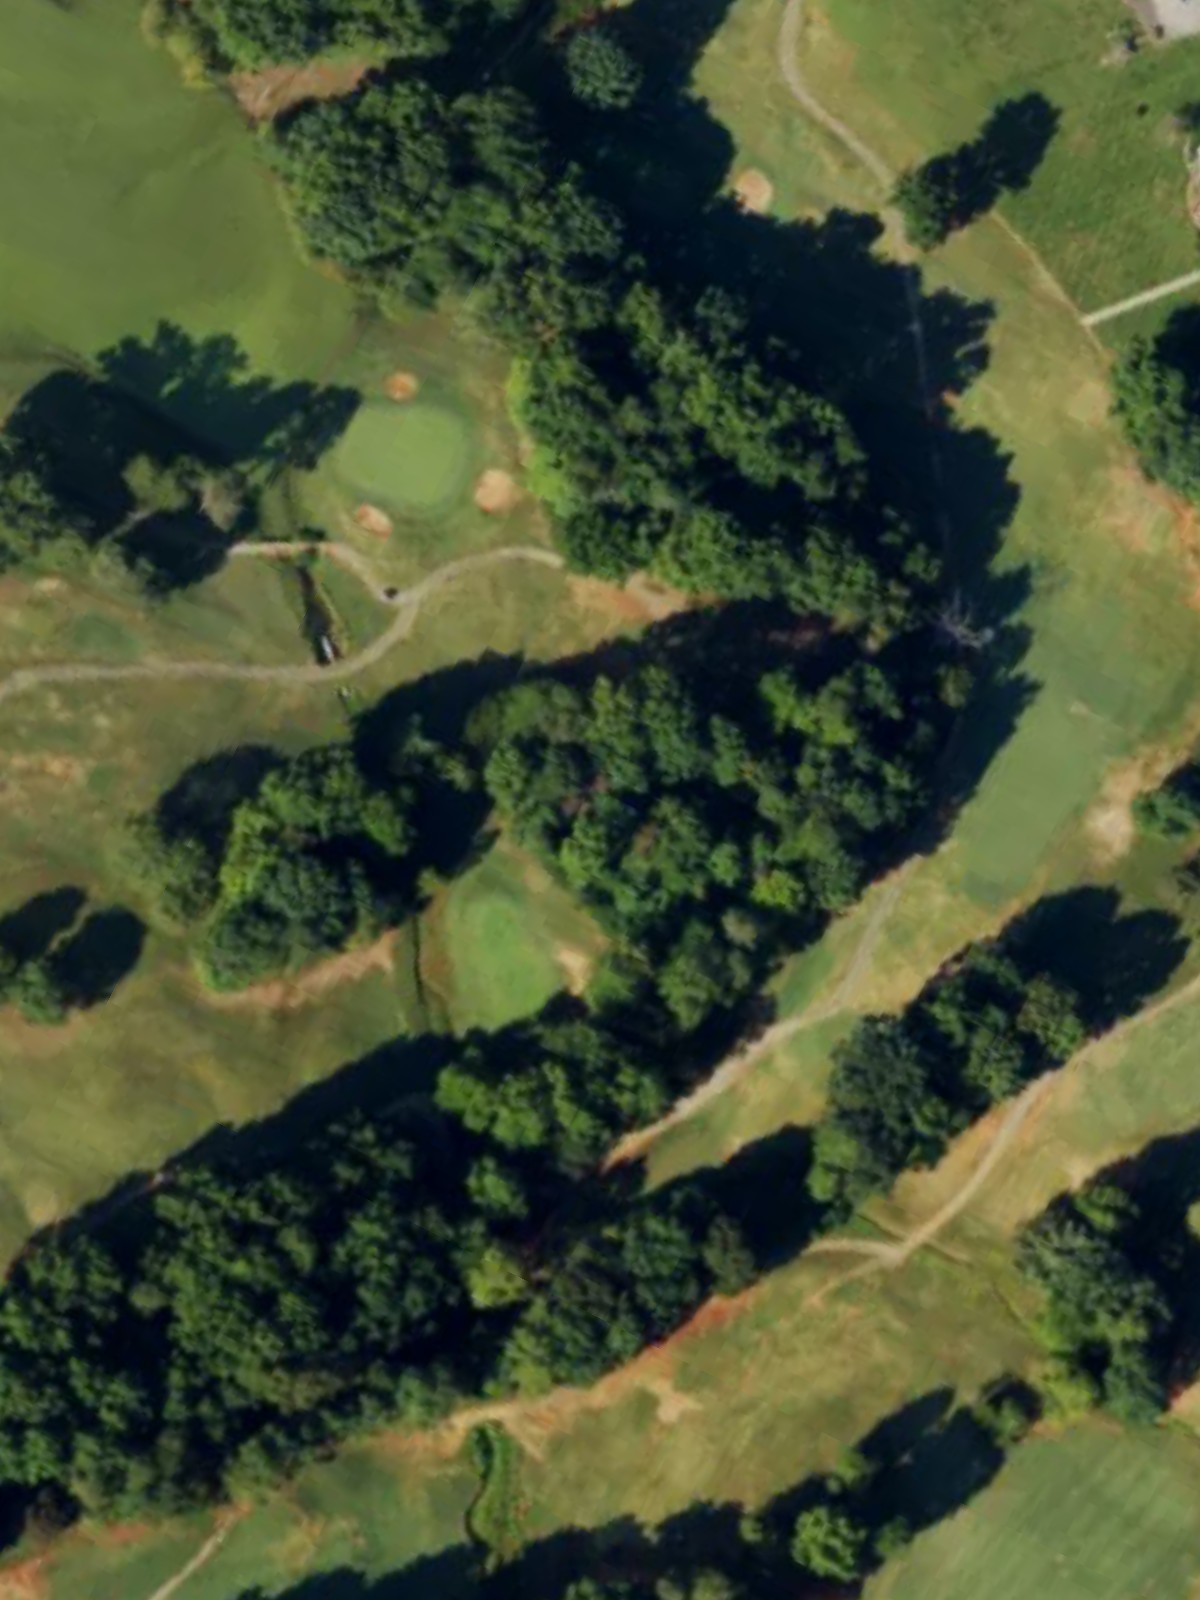
The course's most dramatic par 4, playing significantly longer from the back tees and presenting a genuine two-shot challenge even for skilled players. This signature hole demands distance and precision, making it the back nine's centerpiece test.
A lengthy par 5 that plays as a genuine three-shot test, particularly from the championship tees, with a fairway that opens strategically off the tee. The closing hole of the back nine requires patience and strategic positioning to set up a reasonable approach.
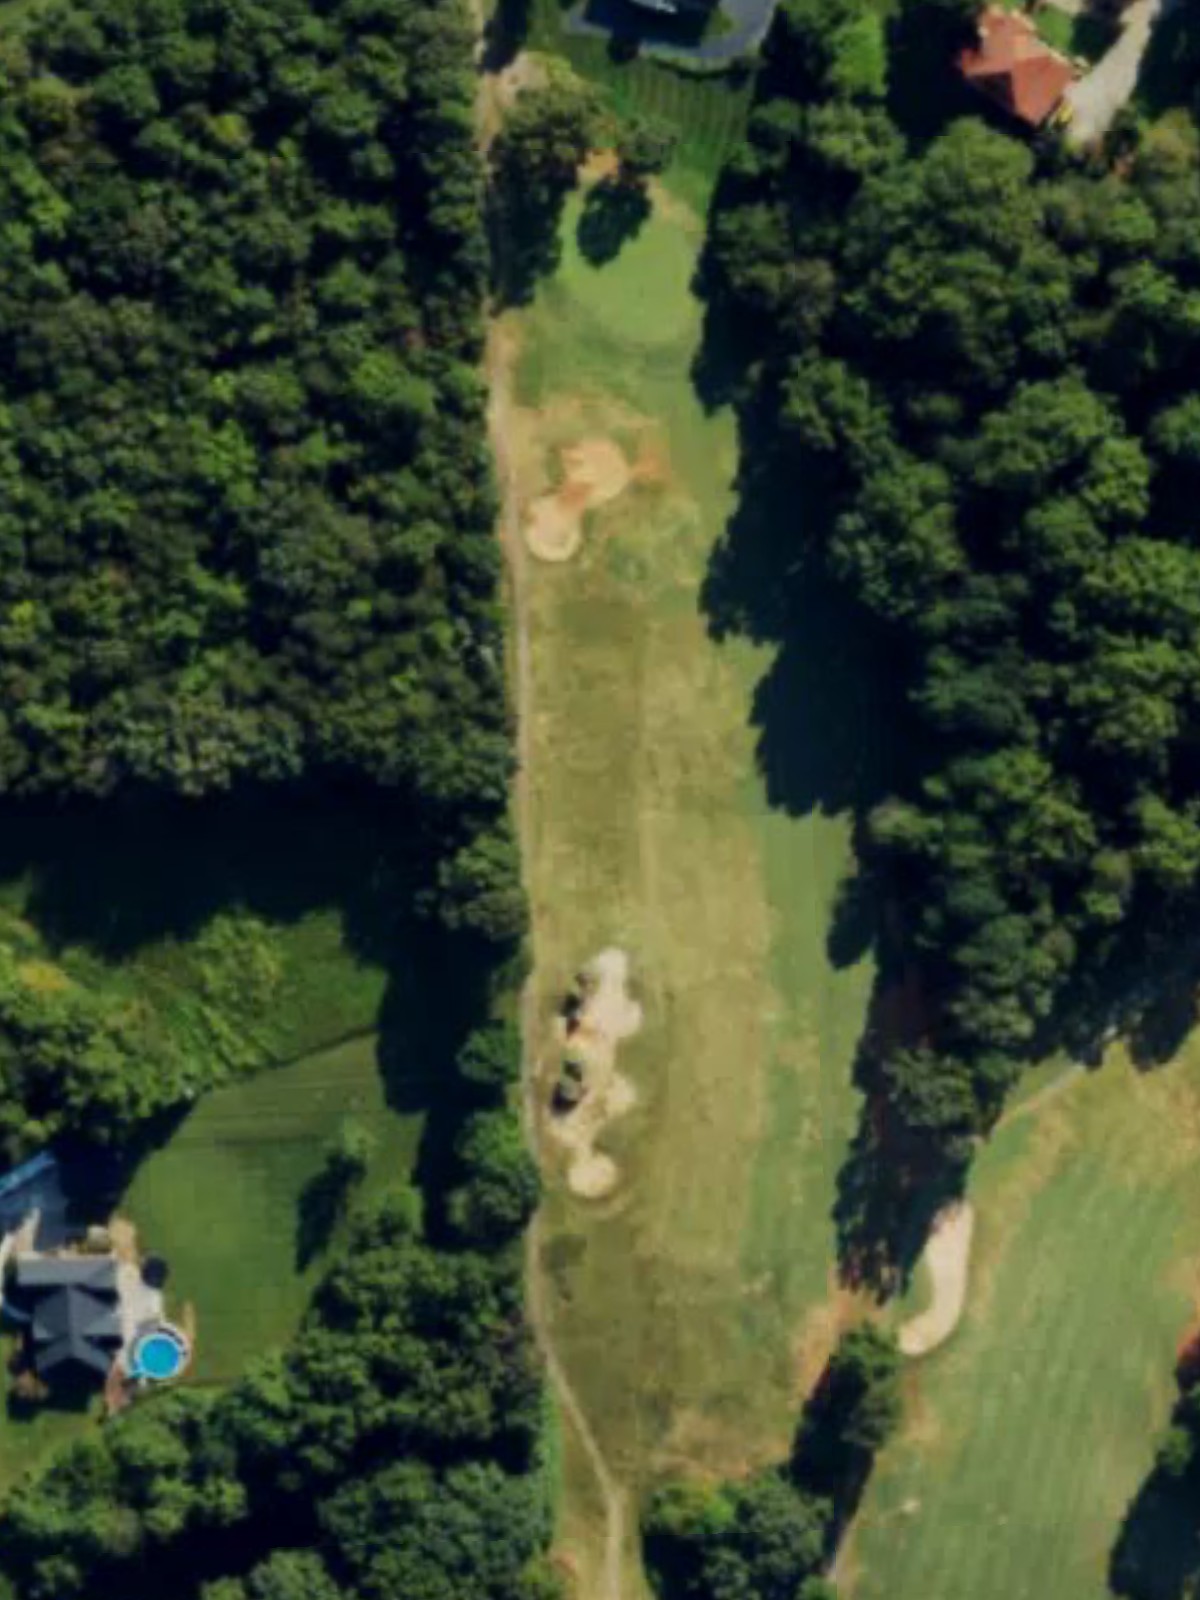
The second-most difficult hole on the card, this par 4 combines length with a tight fairway and a well-guarded green. The approach is the defining challenge, with hazards positioned to penalize anything short or off-line.
A strong par 4 that plays steadily with a fairway of moderate width and strategic bunkering around the green. The hole's position late in the round makes it a meaningful test as players navigate the closing stretch.
A fitting finishing par 5 that offers a chance for drama and redemption, with a fairway that opens reasonably but a green complex demanding precision on the approach. The hole provides a rewarding conclusion, with birdie opportunities available for well-executed three-shot sequences.
Scorecard
| Hole | 1 | 2 | 3 | 4 | 5 | 6 | 7 | 8 | 9 | Out | 10 | 11 | 12 | 13 | 14 | 15 | 16 | 17 | 18 | In | Tot |
|---|---|---|---|---|---|---|---|---|---|---|---|---|---|---|---|---|---|---|---|---|---|
| Par | 4 | 5 | 3 | 4 | 4 | 4 | 4 | 3 | 5 | 36 | 4 | 3 | 4 | 3 | 4 | 5 | 4 | 4 | 5 | 36 | 72 |
| HCP | 10 | 14 | 5 | 17 | 8 | 16 | 3 | 7 | 15 | 11 | 6 | 9 | 12 | 1 | 18 | 2 | 4 | 13 | |||
| blue tees | 382 | 486 | 215 | 287 | 317 | 352 | 435 | 192 | 509 | 3175 | 395 | 185 | 329 | 155 | 413 | 441 | 375 | 386 | 495 | 3174 | 6349 |
| white tees | 356 | 465 | 168 | 276 | 298 | 343 | 413 | 167 | 487 | 2973 | 377 | 166 | 318 | 147 | 393 | 424 | 358 | 369 | 474 | 3026 | 5999 |
| gold tees | 343 | 429 | 142 | 260 | 278 | 335 | 368 | 146 | 432 | 2733 | 347 | 143 | 306 | 139 | 303 | 414 | 319 | 351 | 463 | 2785 | 5518 |
| green tees | 330 | 408 | 137 | 241 | 213 | 277 | 284 | 124 | 428 | 2442 | 305 | 128 | 295 | 131 | 297 | 400 | 267 | 345 | 452 | 2620 | 5062 |
| red tees | 238 | 392 | 132 | 235 | 210 | 215 | 278 | 105 | 350 | 2155 | 299 | 113 | 255 | 124 | 184 | 331 | 264 | 202 | 404 | 2176 | 4331 |