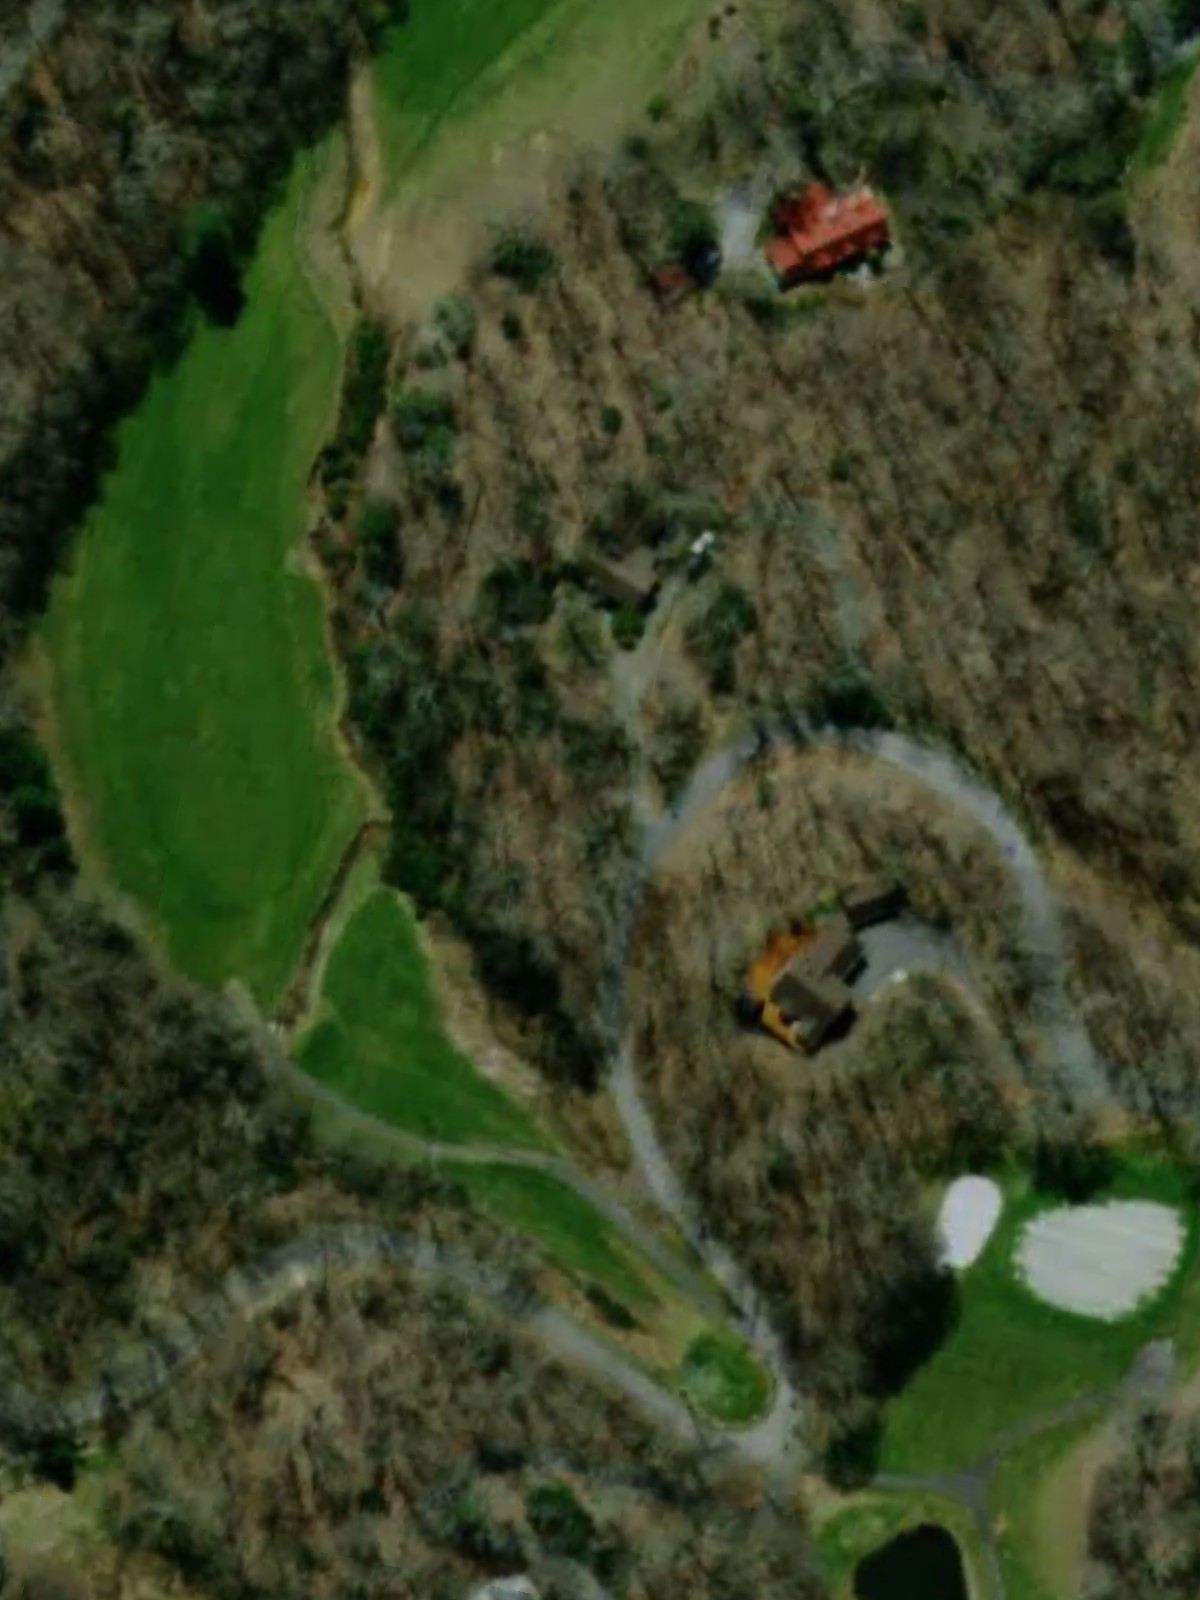
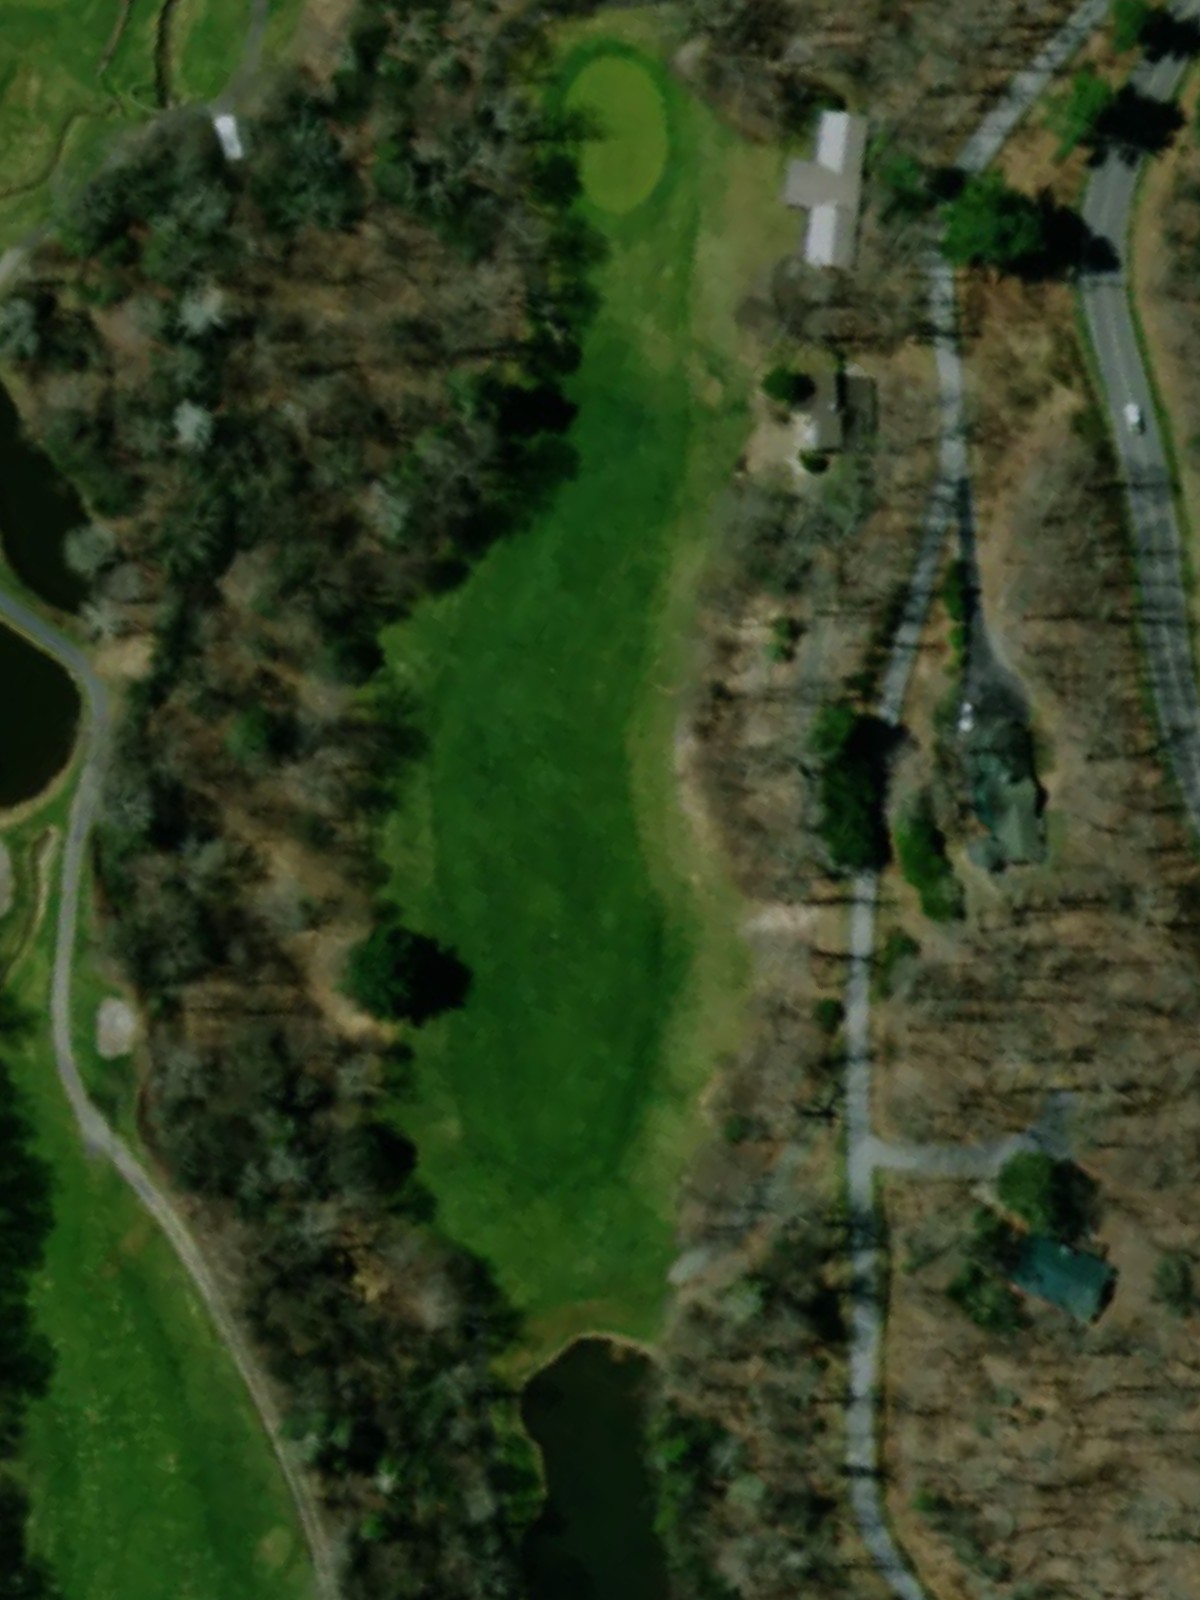
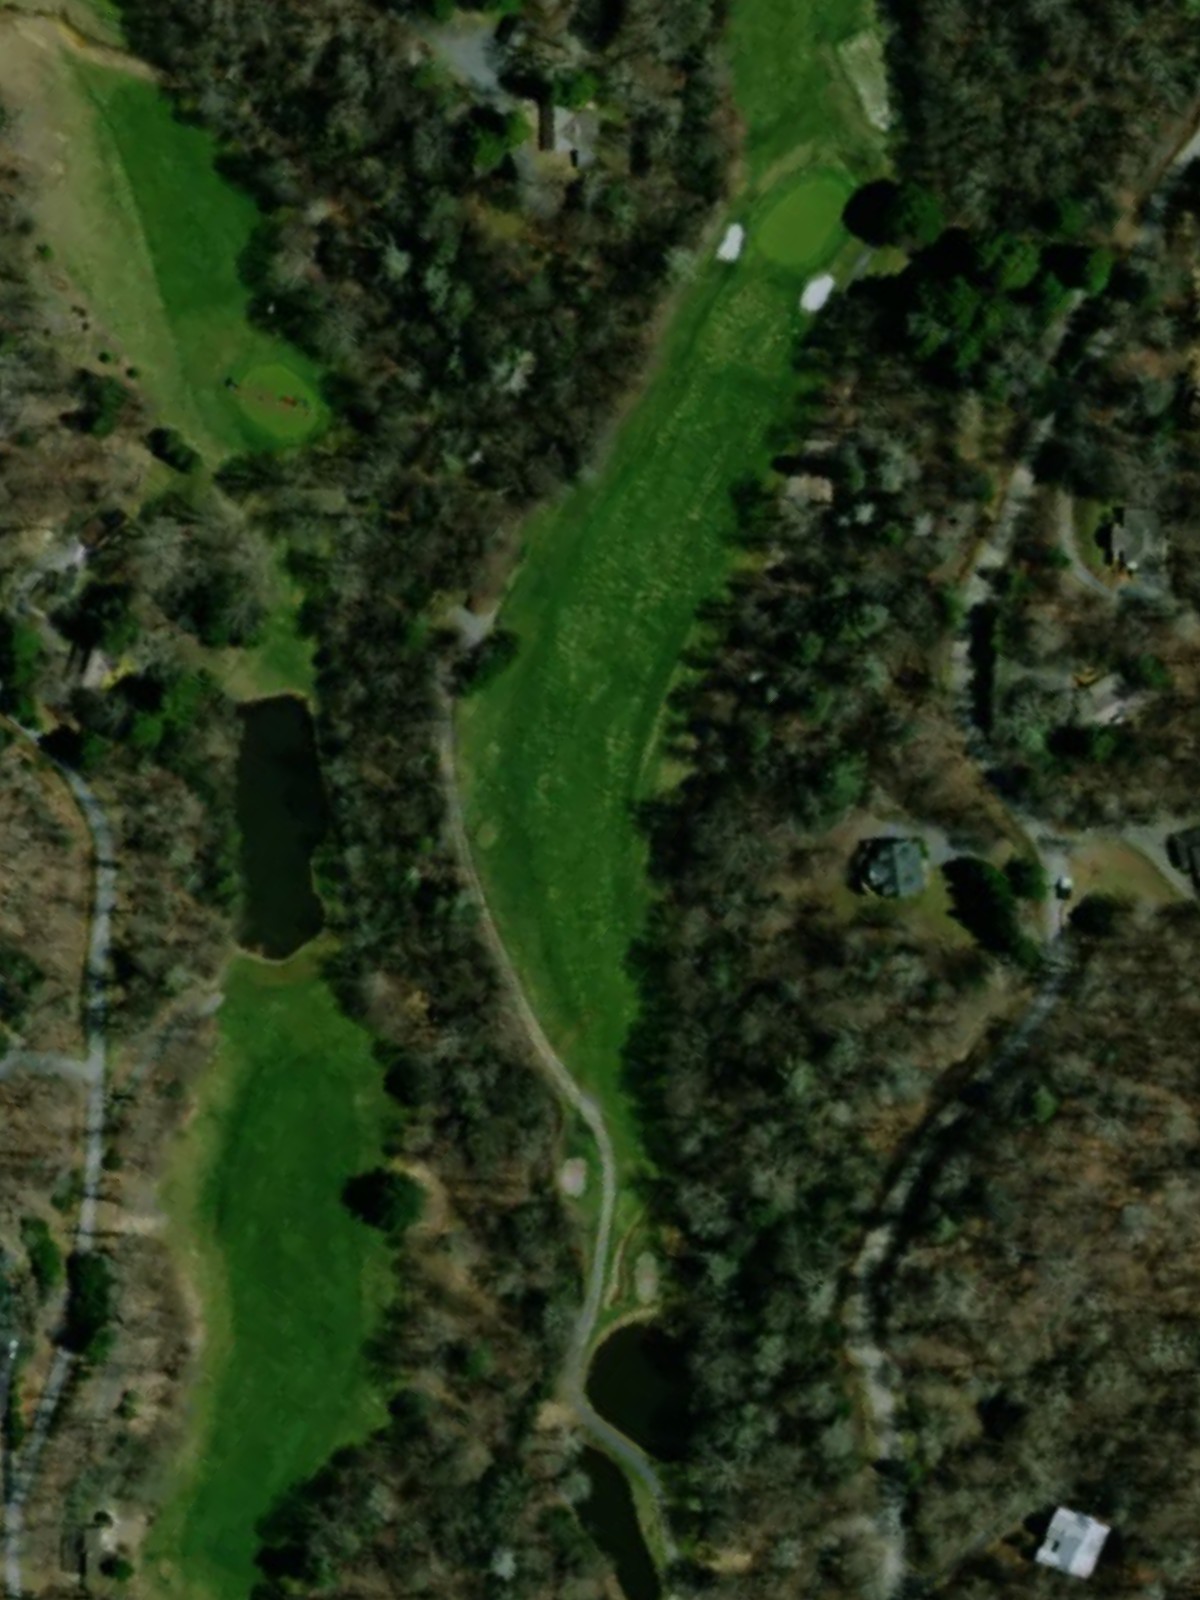
Wolf Laurel Cc is an 18-hole golf course in Mars Hill, NC with a par of 71. It offers 5 tee sets: blue tees (5,923 yards, slope 132, rating 70.2), blue/white hybrid (5,648 yards, slope 126, rating 69.1), white tees (5,518 yards, slope 123, rating 68.5), white/gold hybrid (4,944 yards, slope 119, rating 65.9), gold tees (4,554 yards, slope 115, rating 64.4). The hardest hole is #13, a par 4 playing 444 yards from the first tee.
Wolf Laurel Cc
Mars Hill, NC
Get PDF Yardage Book
We'll email you the PDF link. No spam, ever.
Create Your Game Plan
Pick your tees, enter your bag, and get a personalized shot-by-shot strategy for every hole.
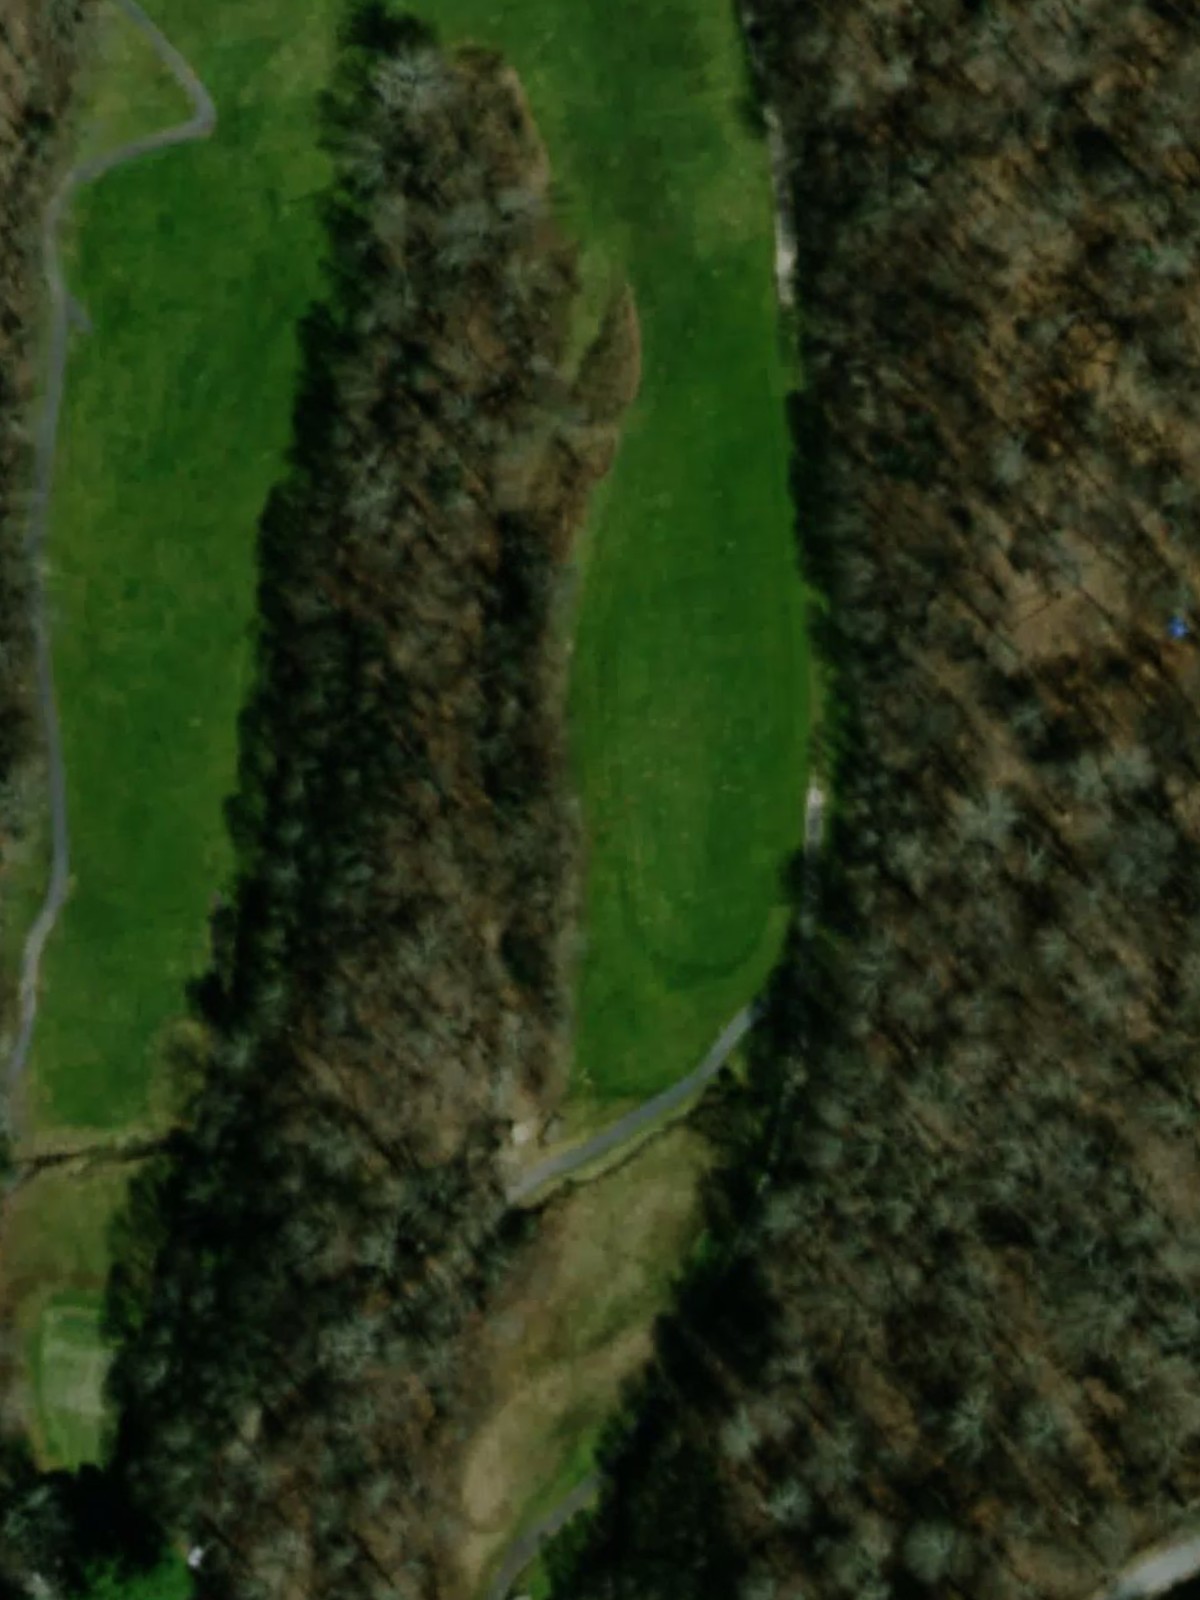
A straightforward par 4 with a fairway that gradually narrows as it approaches the green. Bunkers guard the right side of the green, requiring accuracy on the approach shot to avoid sand.
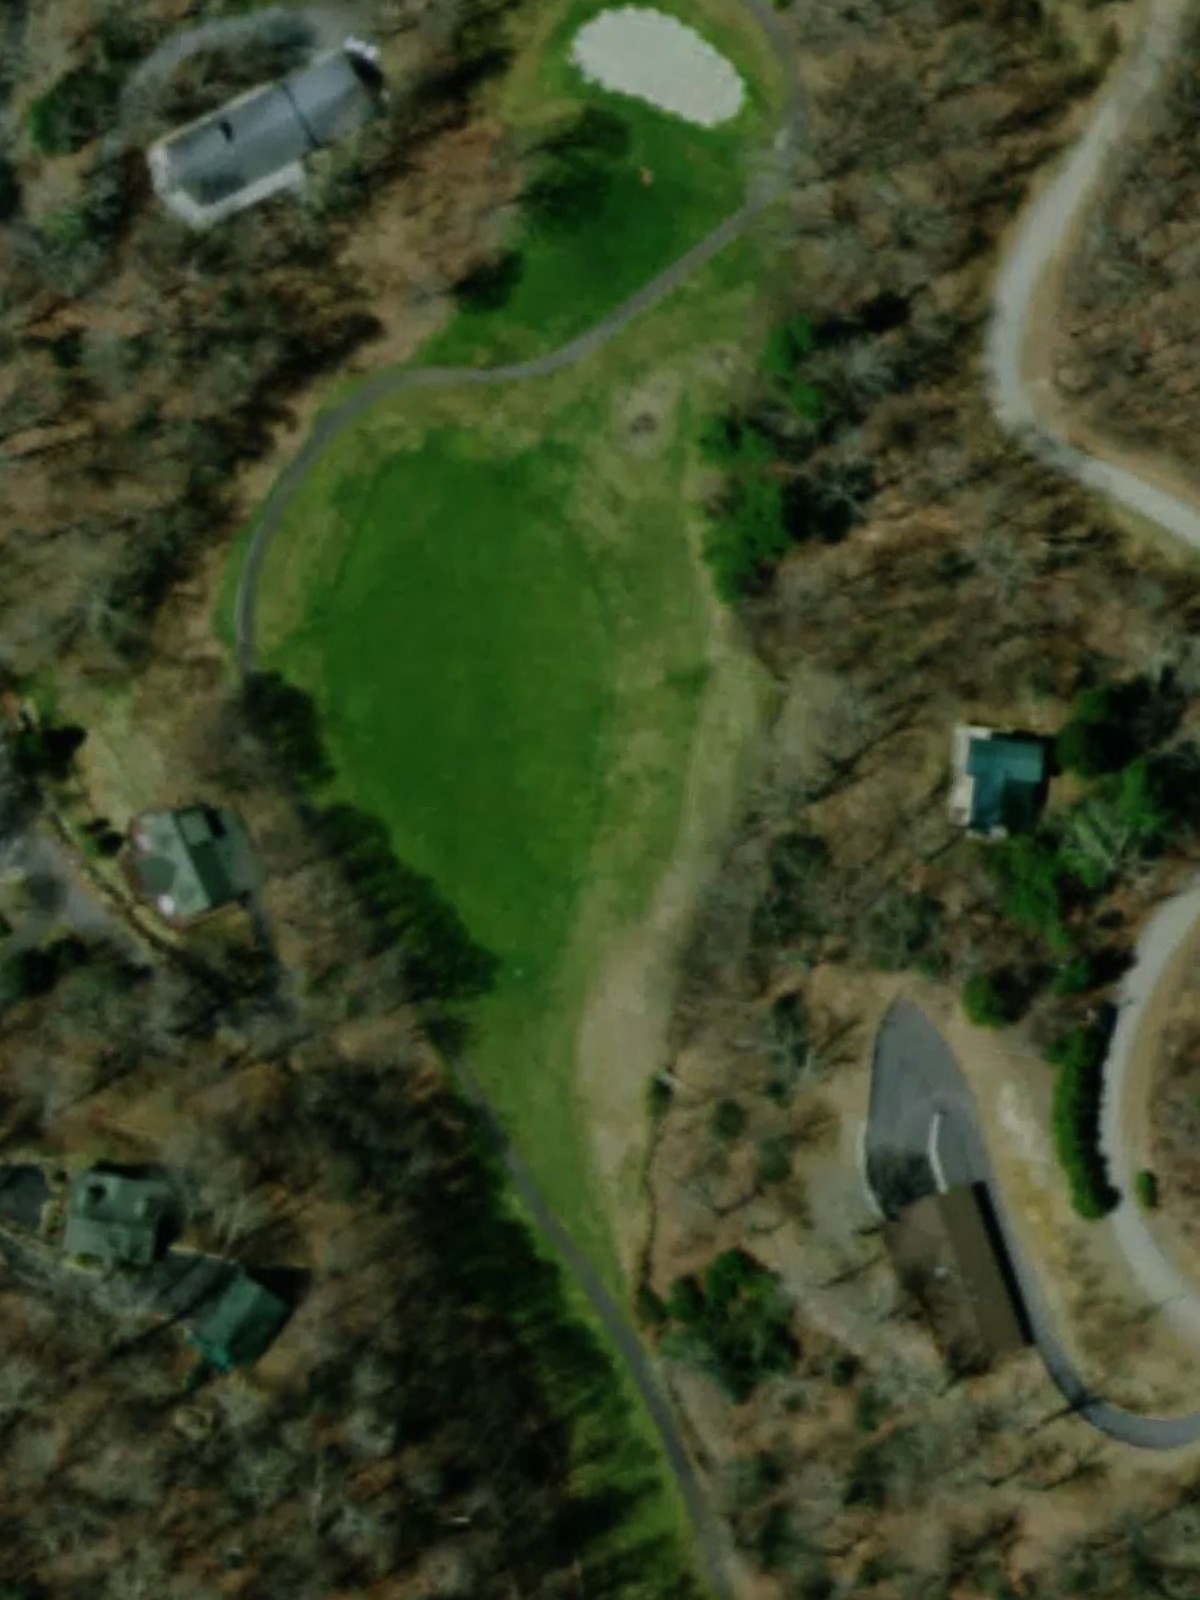
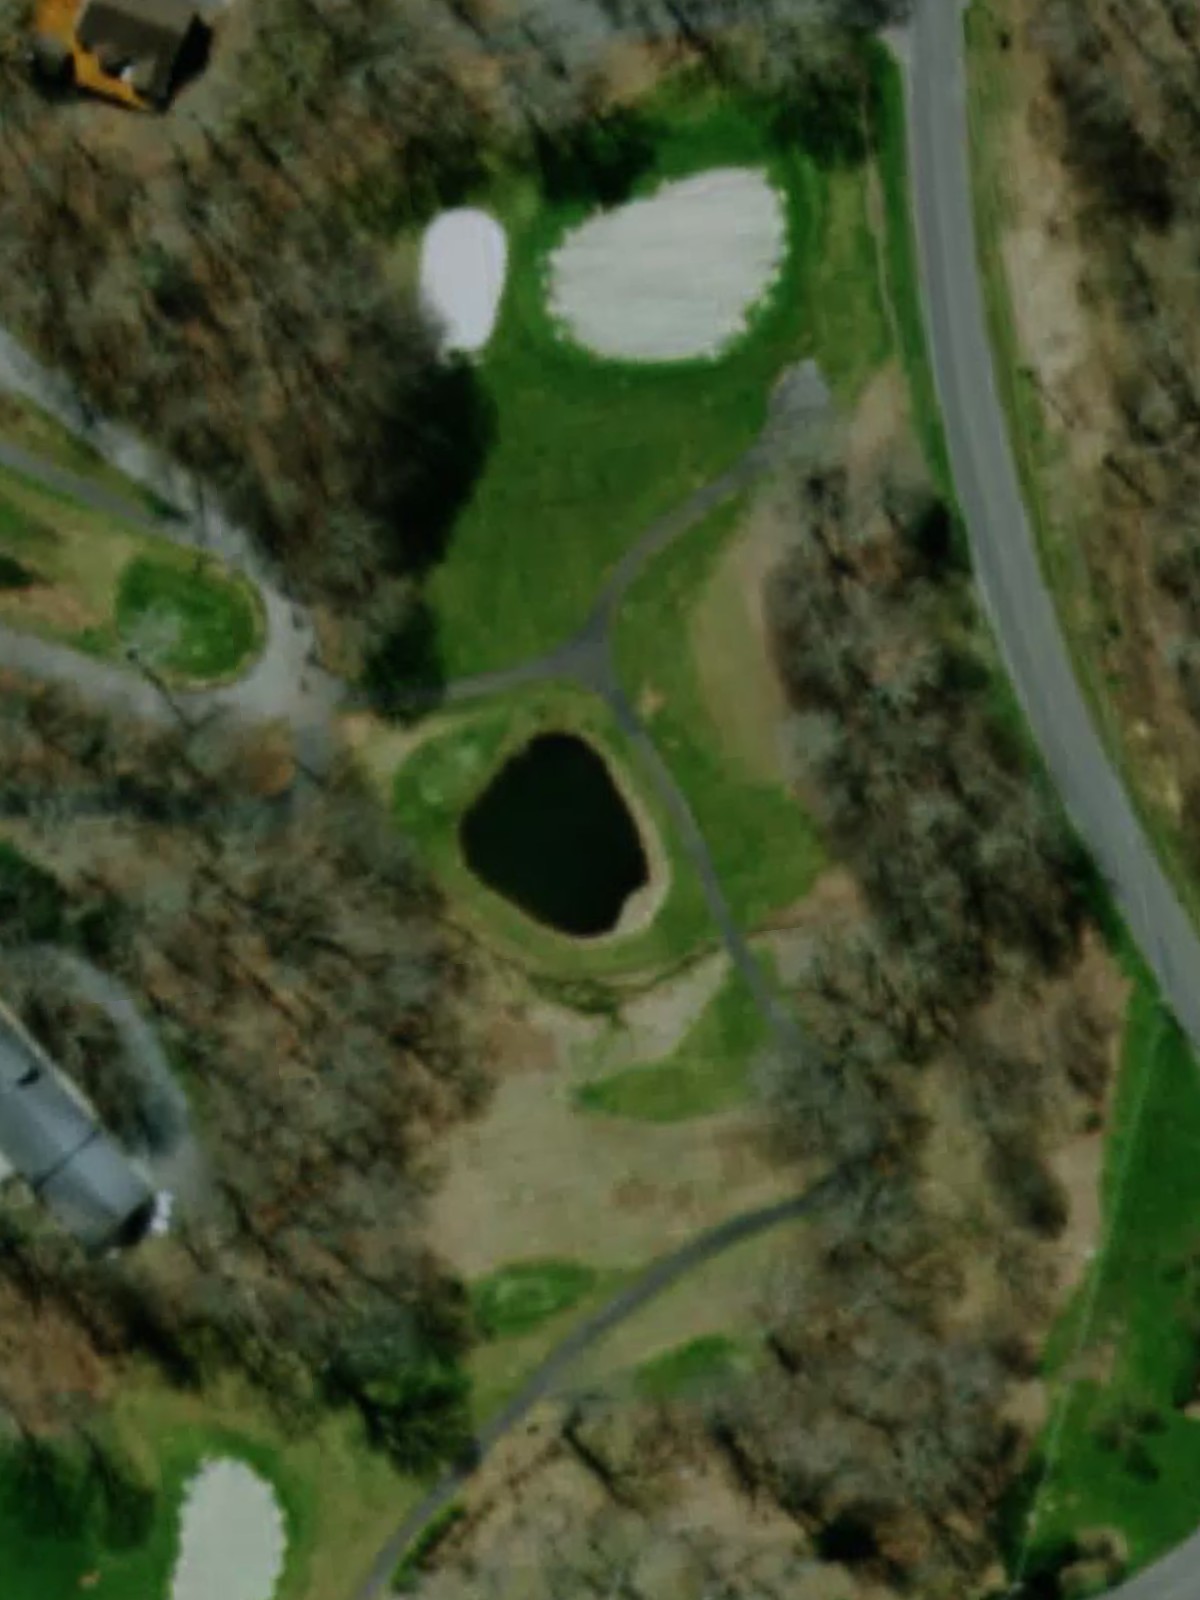
A short par 3 playing downhill to a receptive green. The hole's brevity makes it approachable, though bunkers around the green demand a precise tee shot.
A long par 5 with a wide fairway that allows players to position for their second shot. Water or terrain features may come into play on the approach, making club selection critical for the final stroke to the green.
A relatively short par 4 that plays as the easiest hole on the course. The generous fairway and green provide ample room for error, though strategic bunkering may still challenge approach shots.
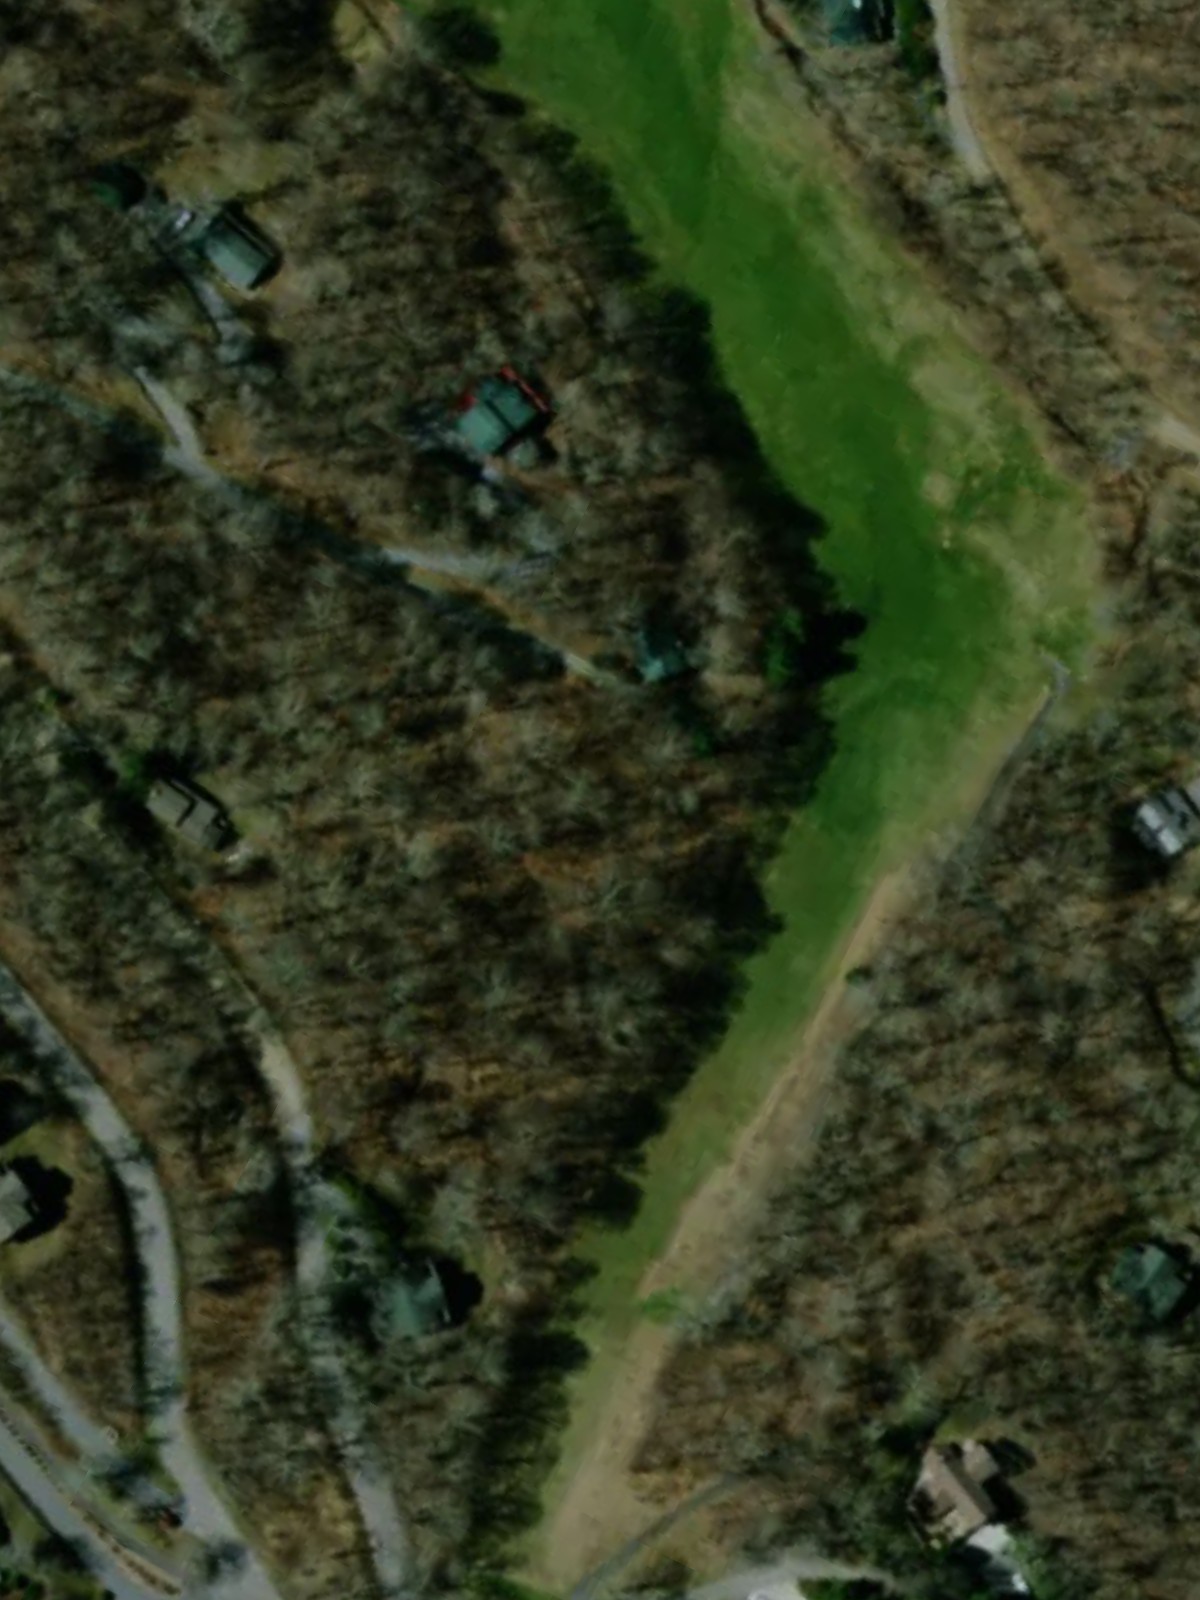
A short, straightforward par 4 with a narrow fairway that requires precision off the tee. The compact length and defined lines make this hole about accuracy rather than distance.
A mid-length par 3 over open terrain to a defended green. Bunkers positioned around the putting surface require a well-struck tee shot to find the center of the green.
A reachable par 5 with a wide-open fairway that invites aggressive play. The straightforward design makes this hole relatively forgiving compared to other five-par holes on the course.
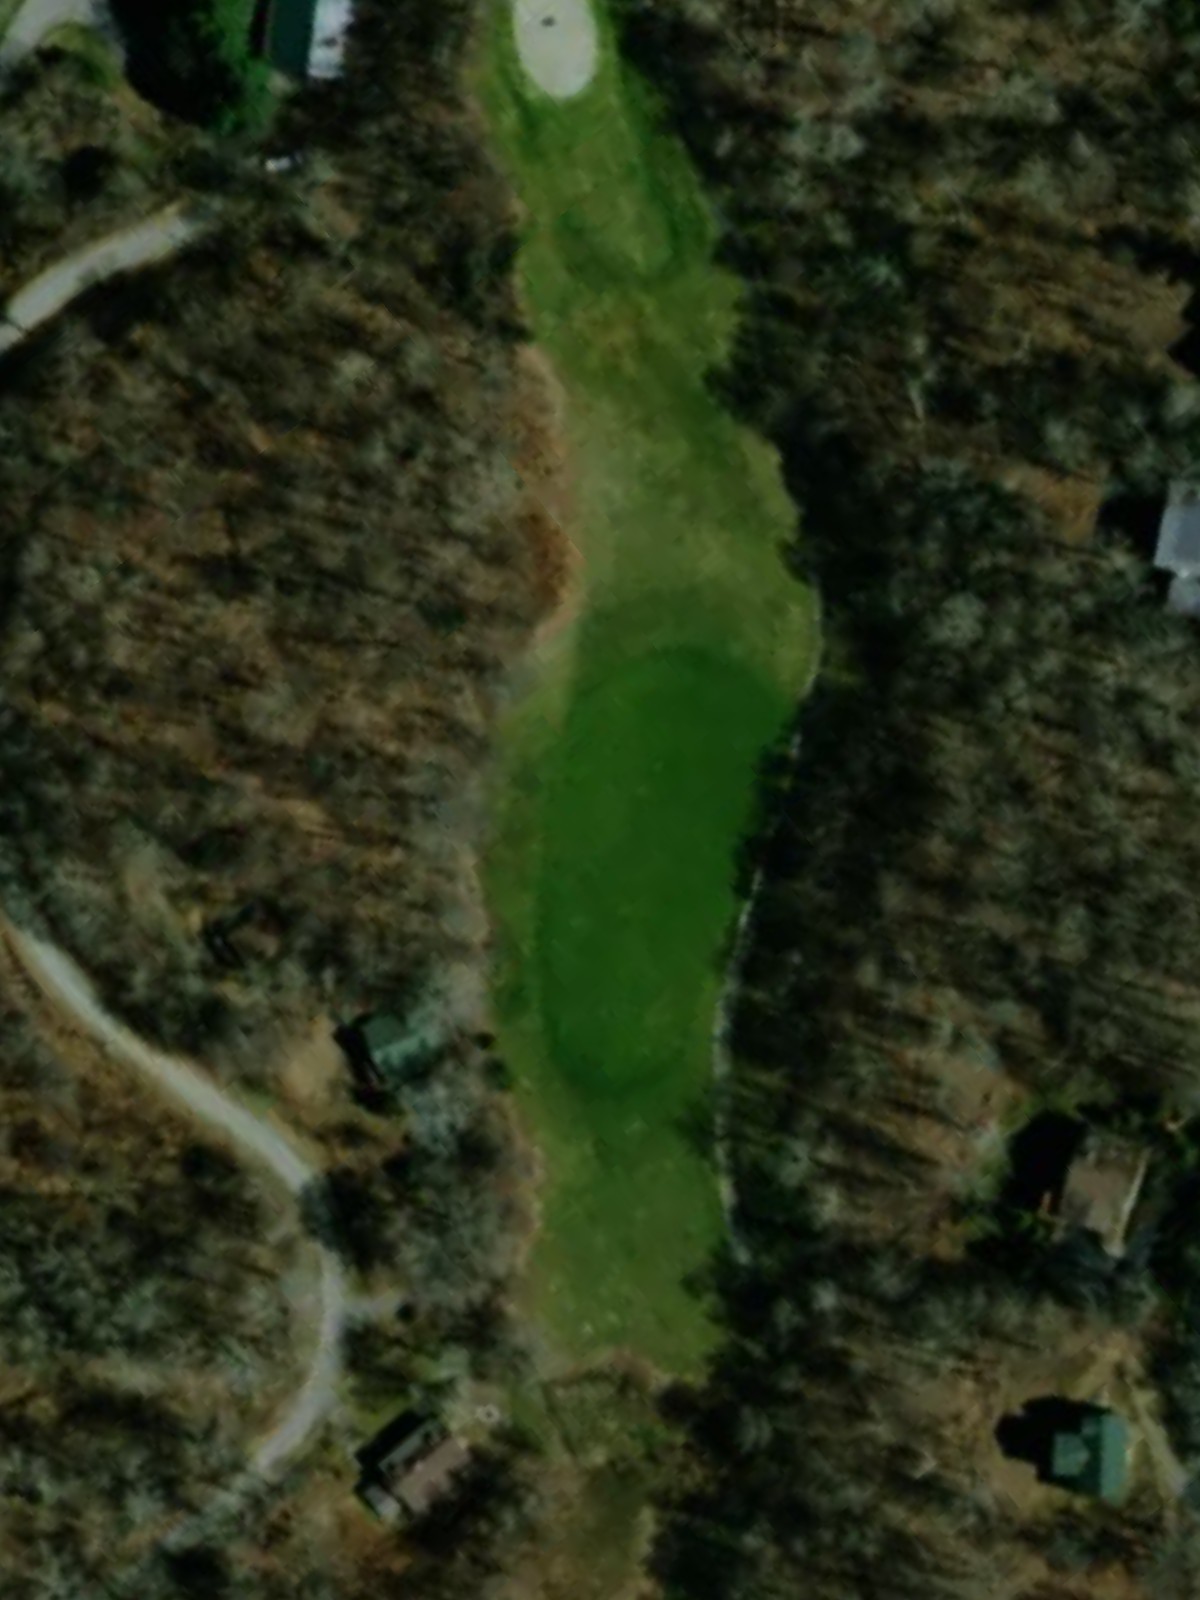
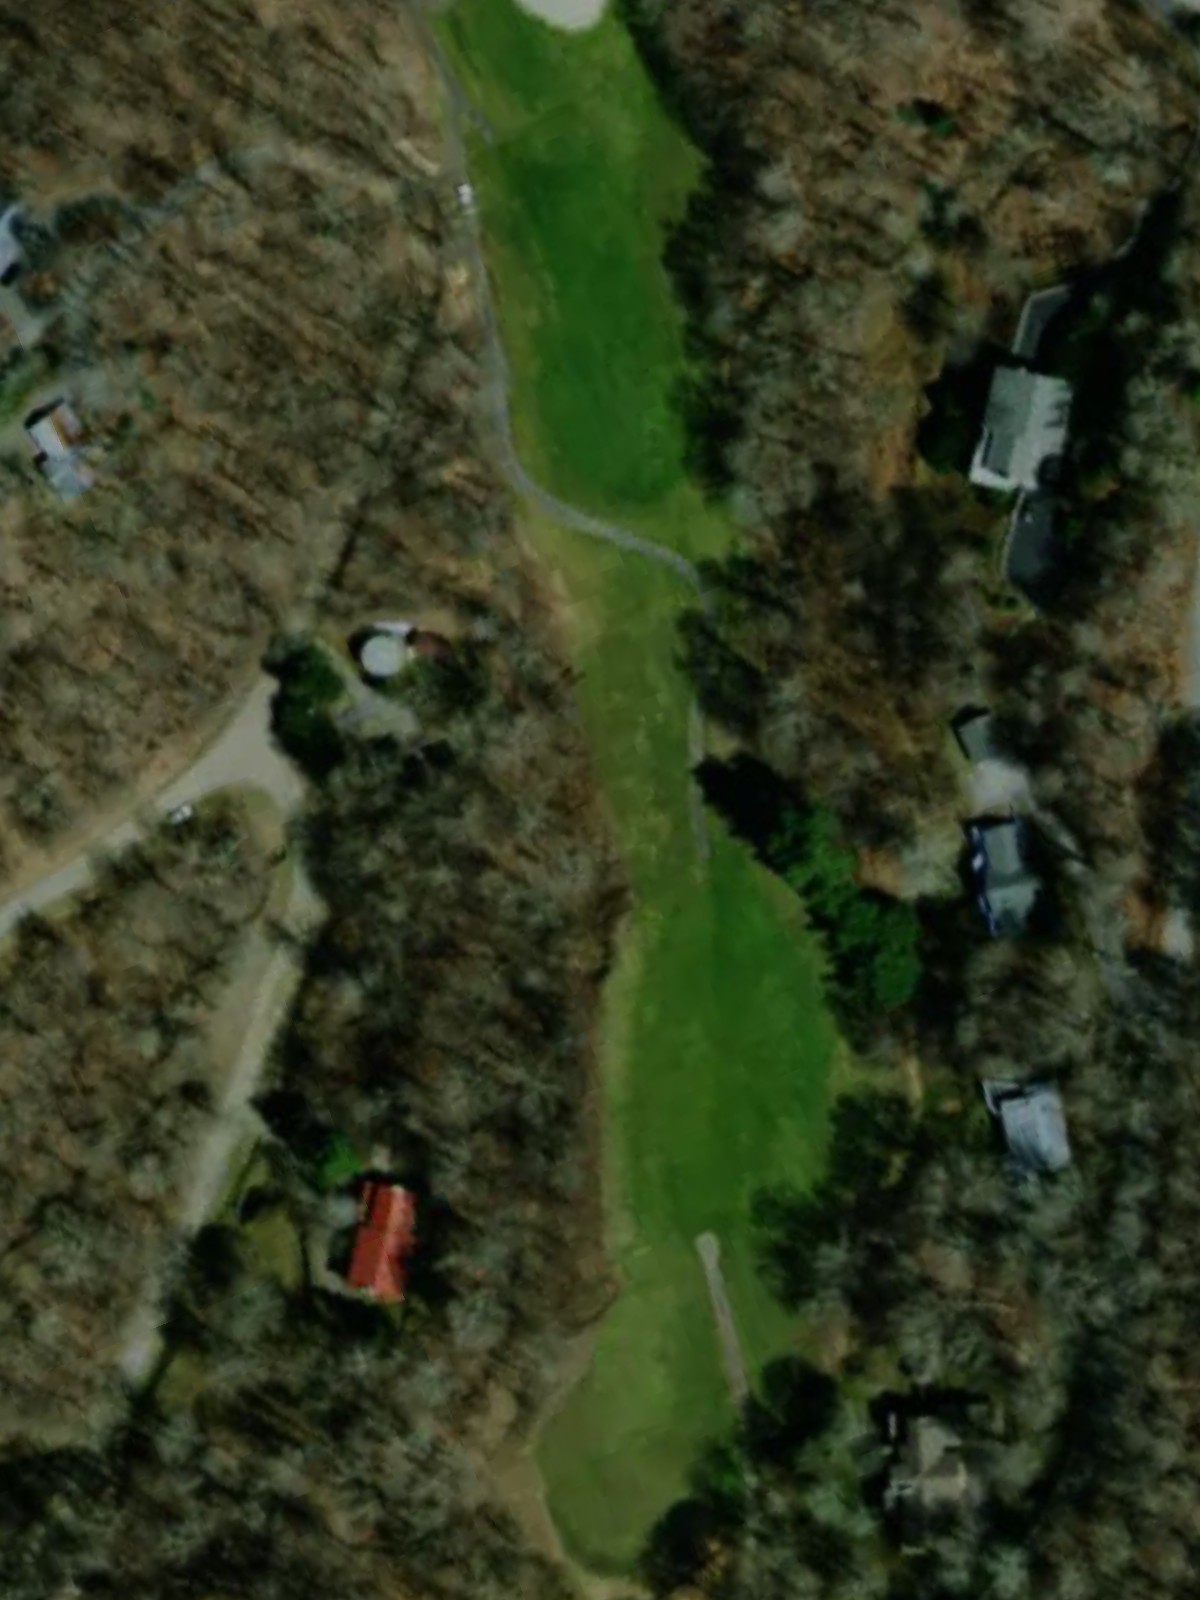
A moderately long par 4 with a fairway that may narrow or tighten near the green. Strategic bunkering or water hazards likely protect the approach, adding complexity to the final shot.
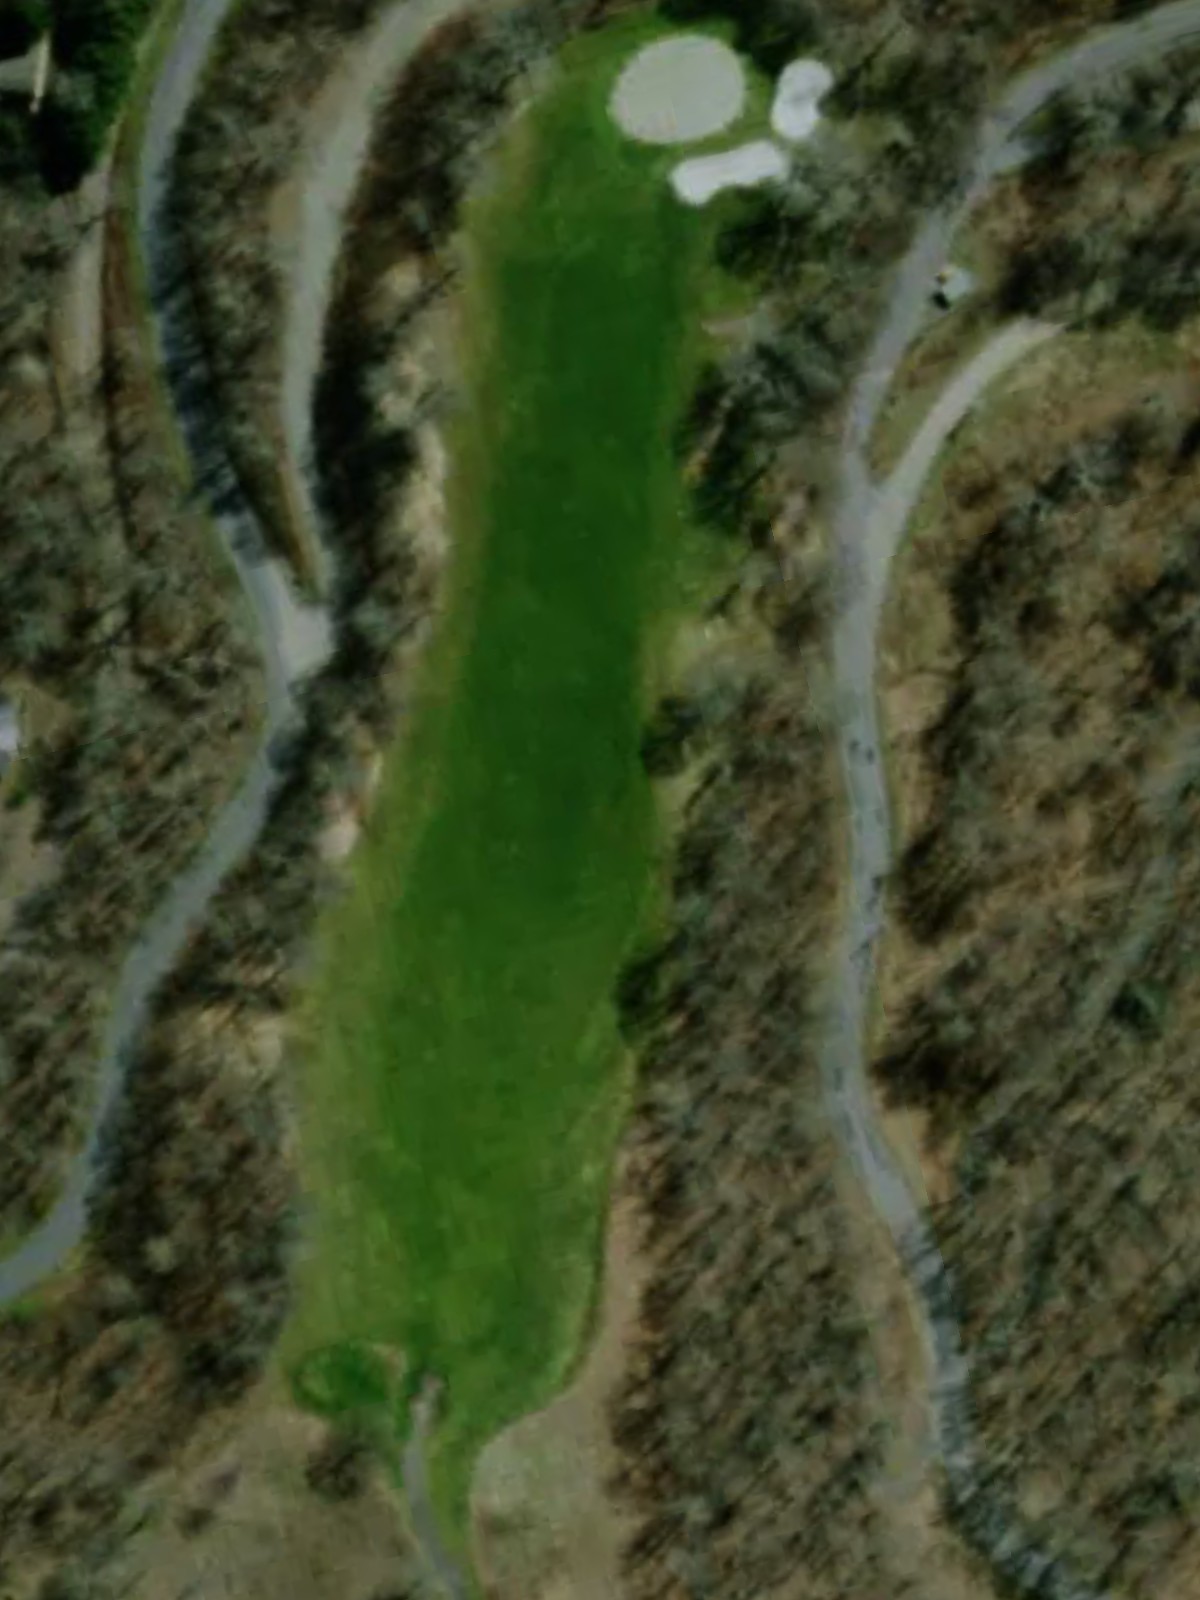
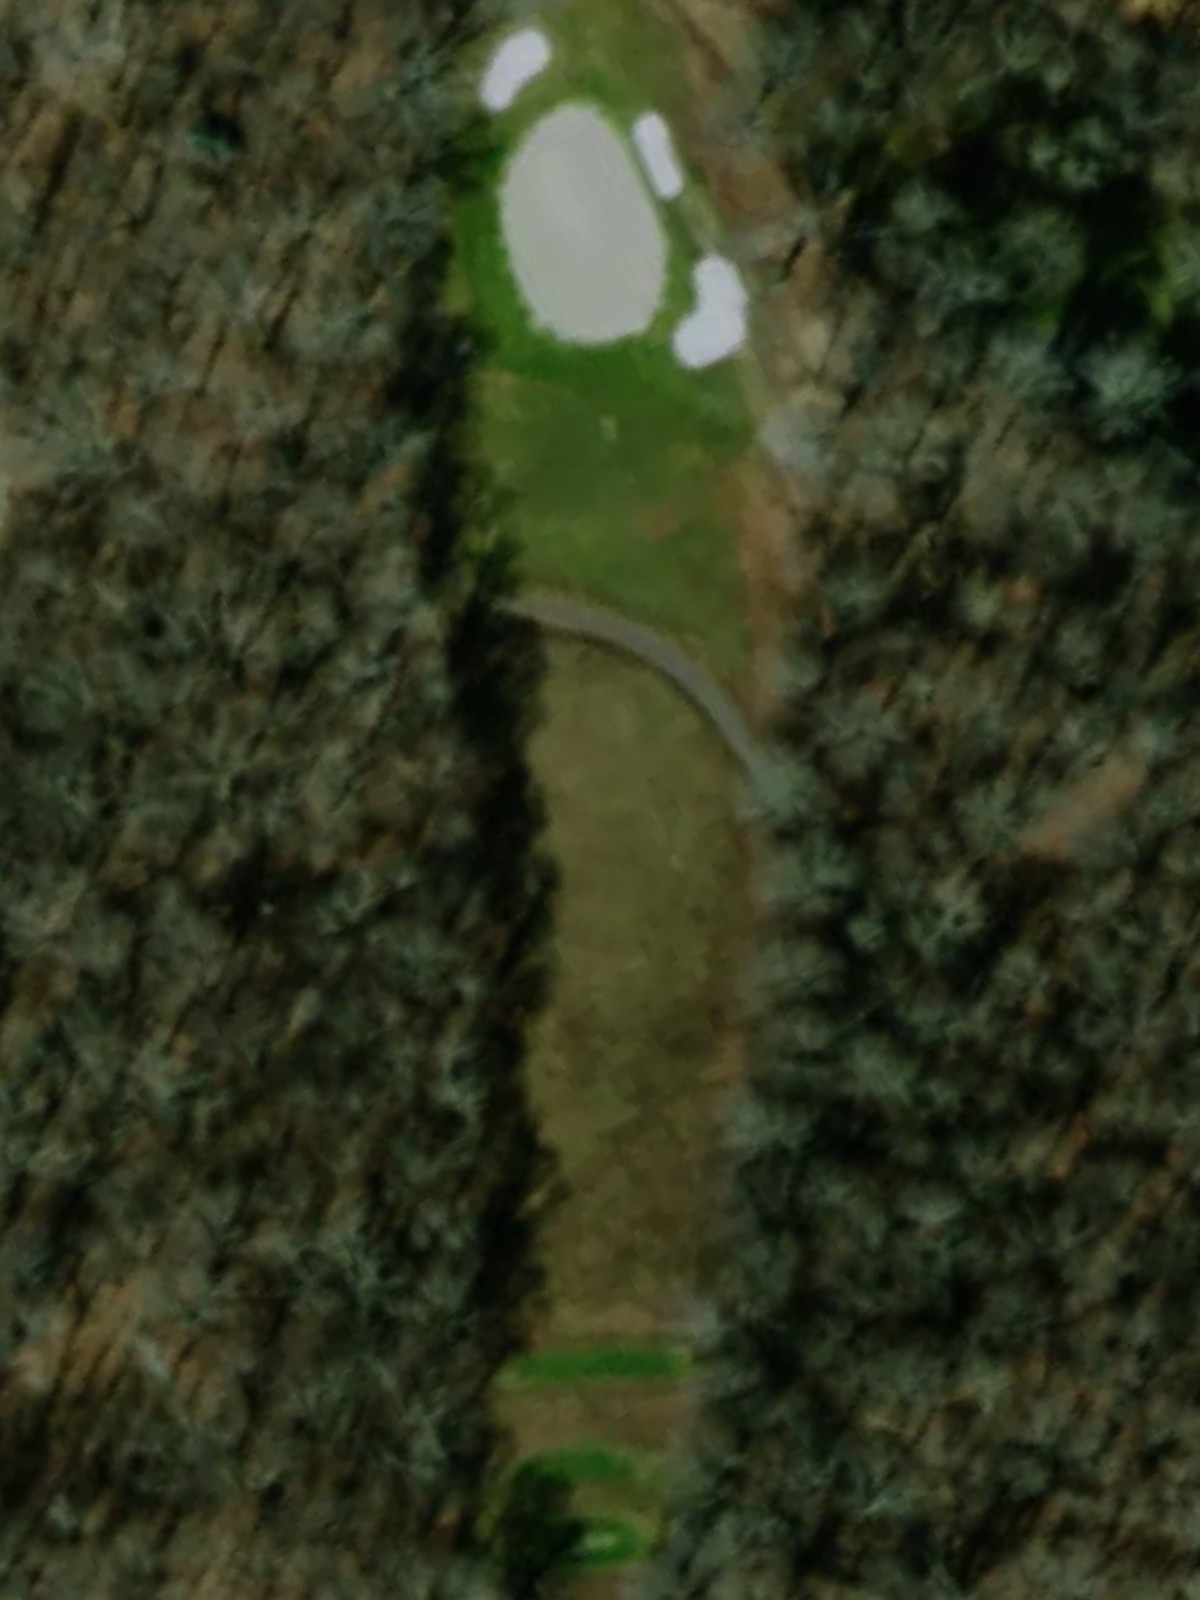
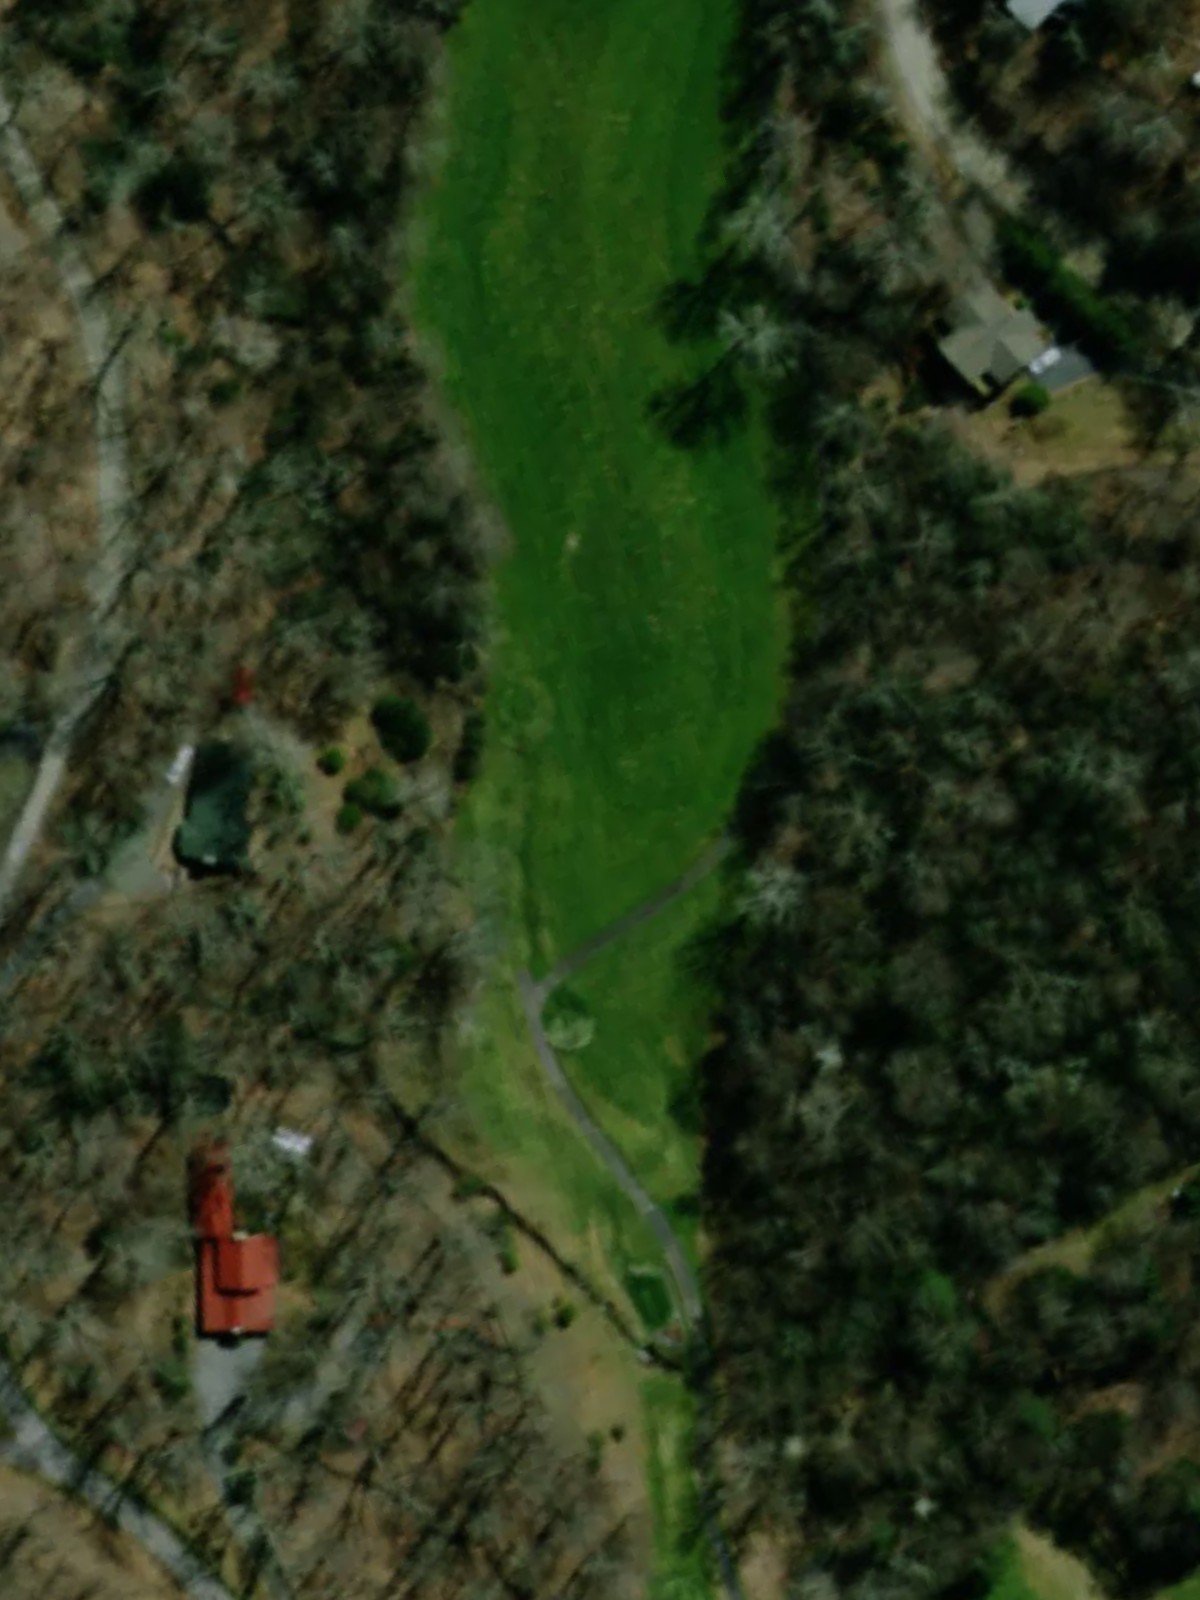
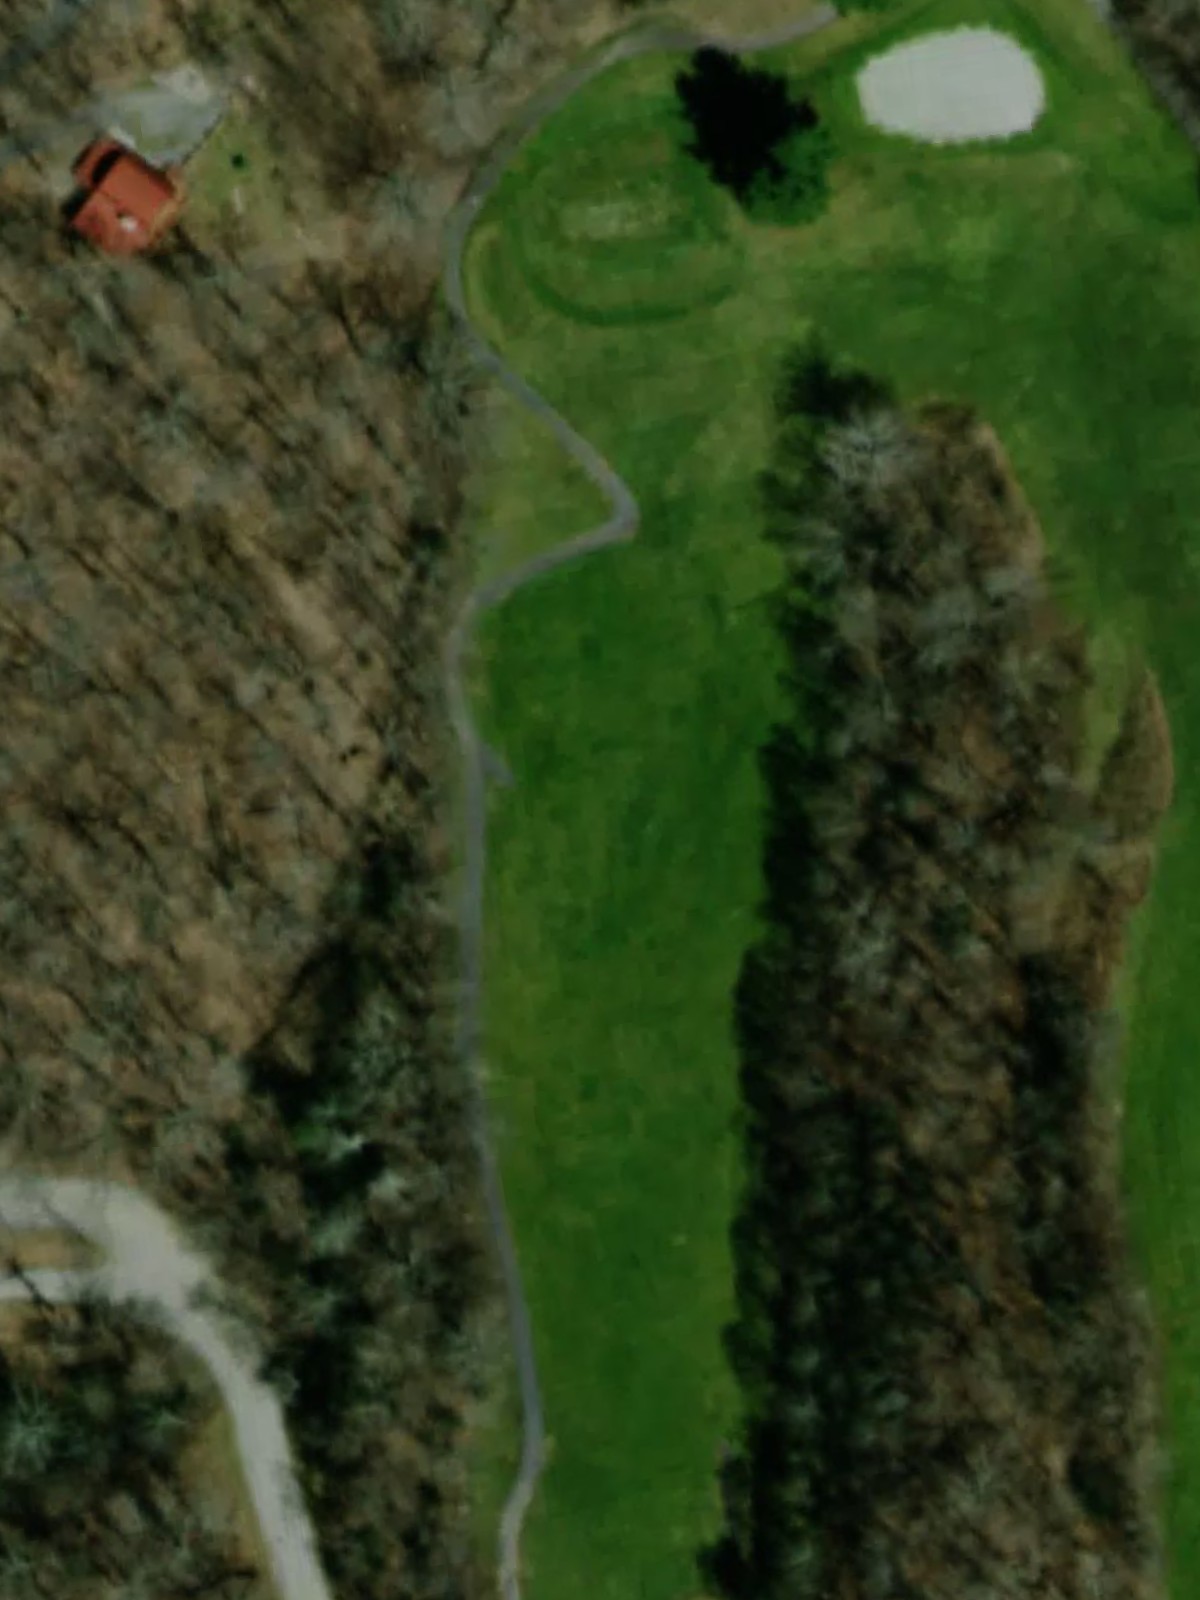
The stroke index 2 hole and most challenging par 4 on the course, playing at a demanding length with likely hazards flanking the fairway or green. Precision and distance are both required to score well.
A long par 5 requiring two solid strikes to reach scoring position. Fairway width and hazards will dictate the optimal approach, with the long distance making this a test of consistency.
A short, tight par 4 that emphasizes accuracy over distance. The narrow fairway and well-positioned bunkers make this a strategic puzzle rather than a power hole.
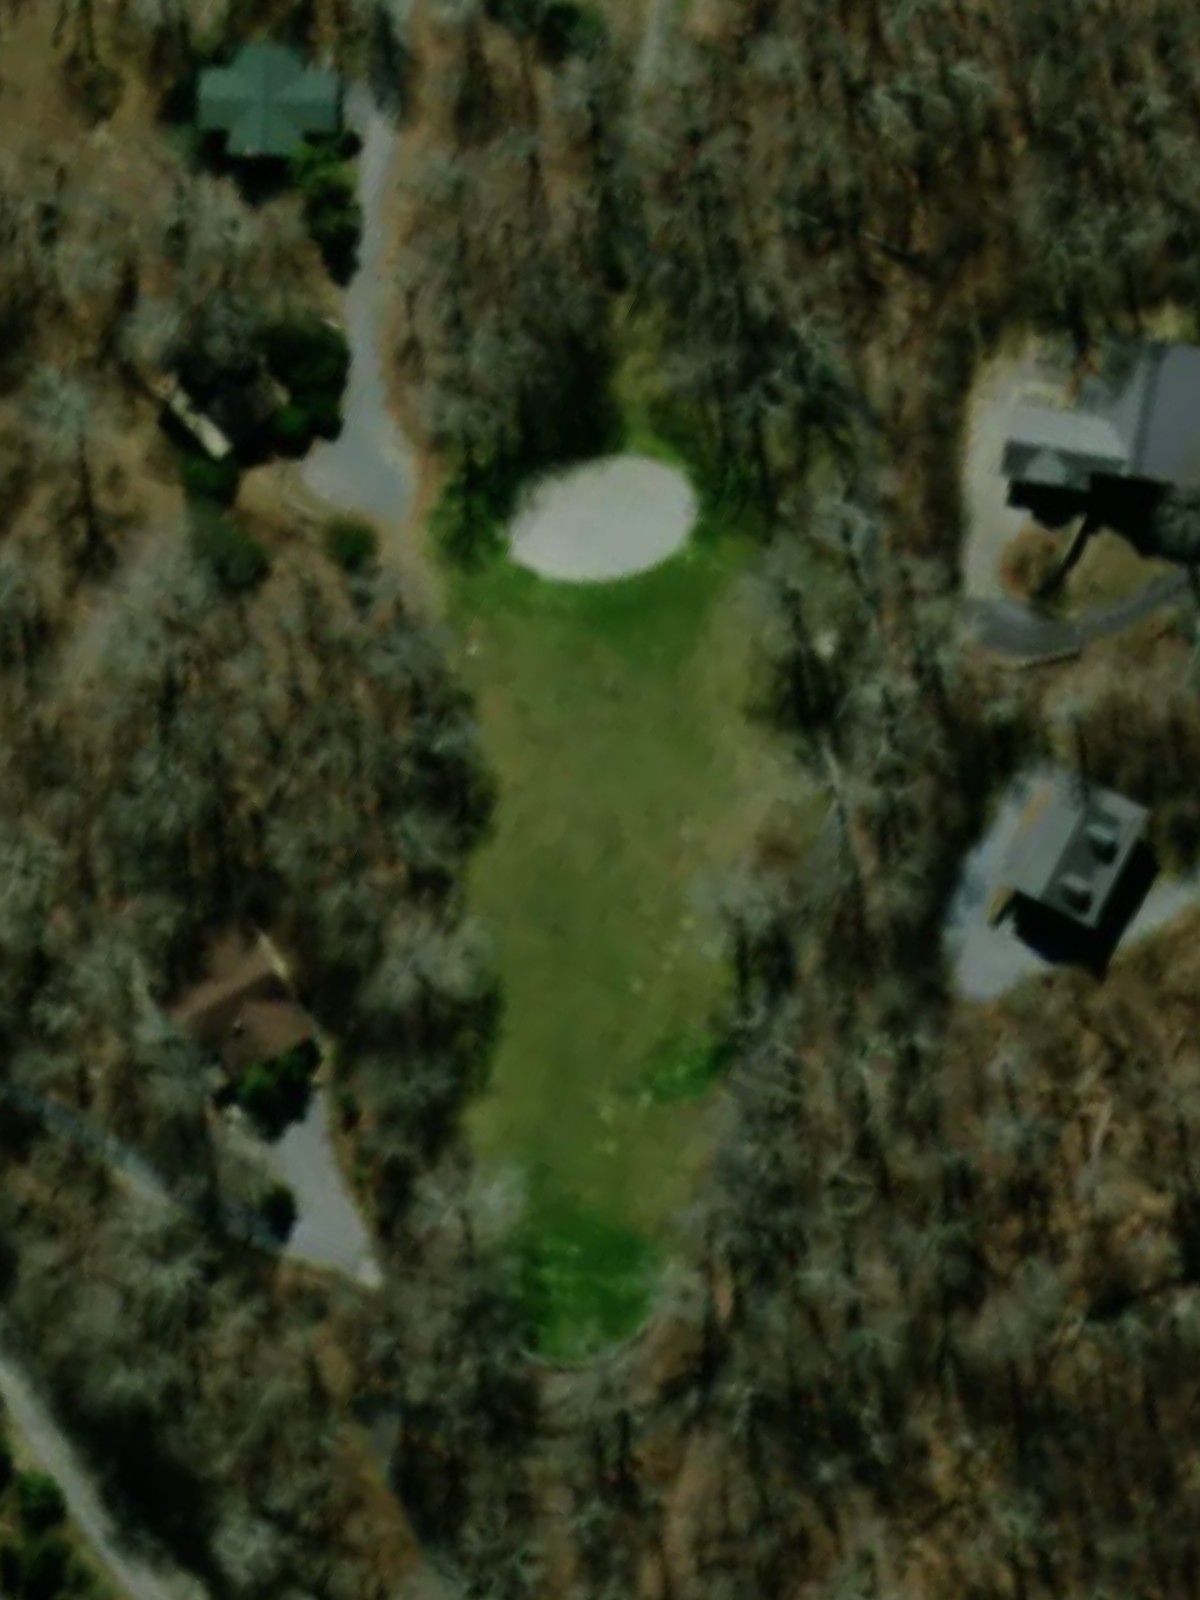
A very short par 3 with a modest green complex. Though one of the easiest par 3s on the course, precise tee shot placement is still essential.
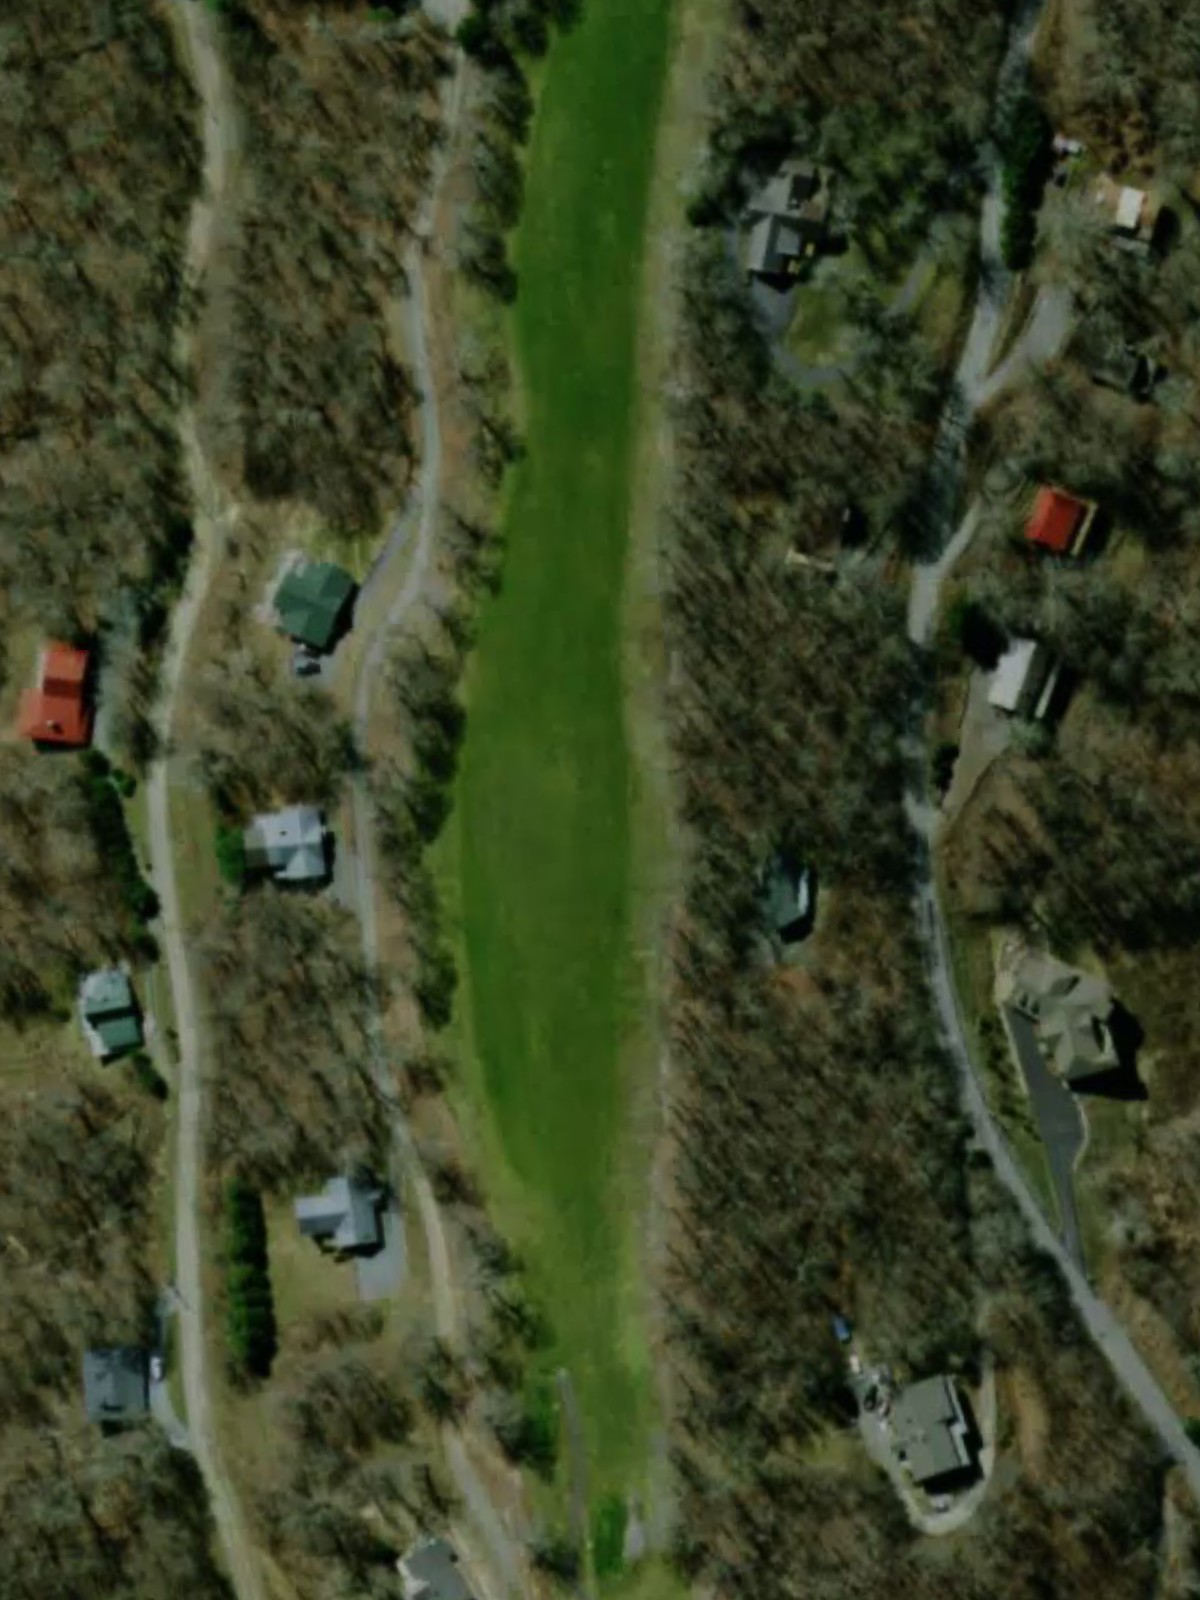
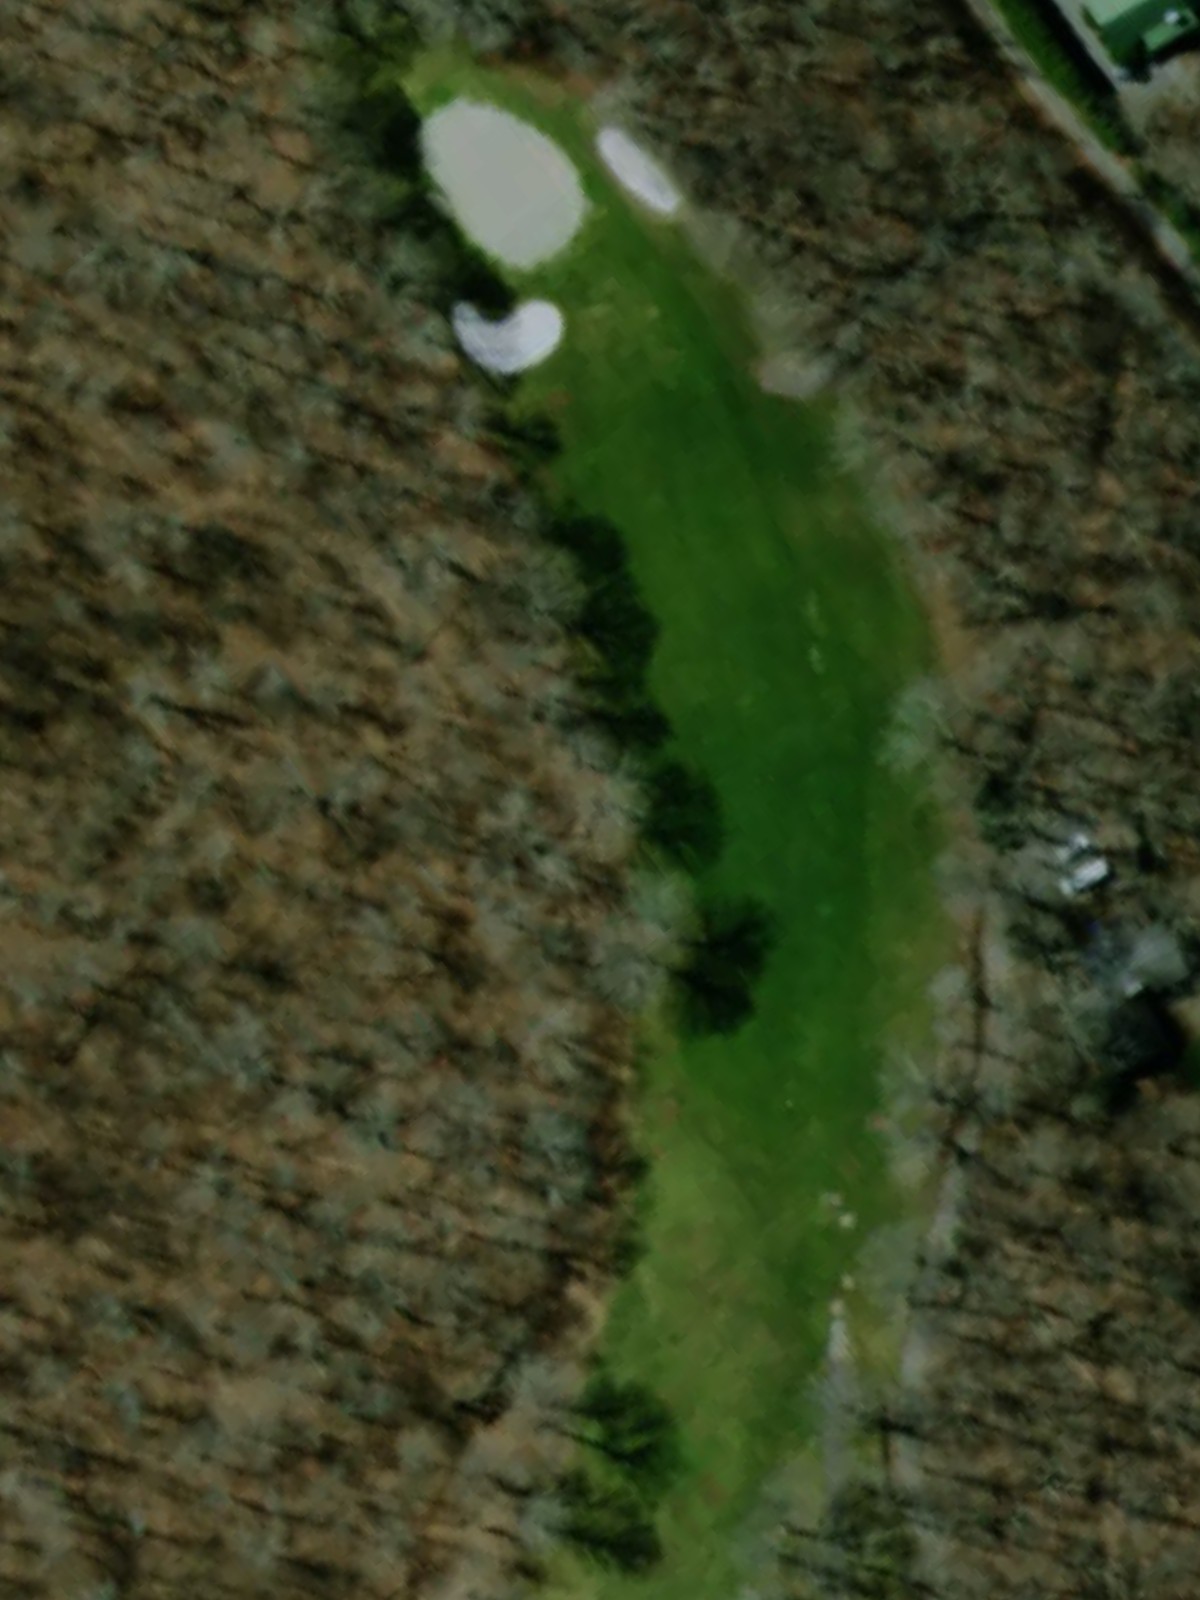
The stroke index 1 hole and most difficult on the course, playing as a long par 4 with significant hazards and a tight corridor to the green. This hole demands both power and accuracy from tee to green.
A mid-length par 4 with a fairly open design. While not overly demanding, strategic positioning off the tee will influence the approach shot into the green.
A short-to-mid length par 3 with a direct shot to the green. Bunkers or hazards likely protect the putting surface, making center-green positioning the safest target.
A strong par 5 offering good length and likely a slight dogleg that adds interest to the routing. The fairway likely provides playable options for aggressive second shots while defending against poor positioning.
A very short par 3 with a simple, straightforward green complex. Its brevity makes it one of the most accessible par 3s on the course, though small misses can still prove costly.
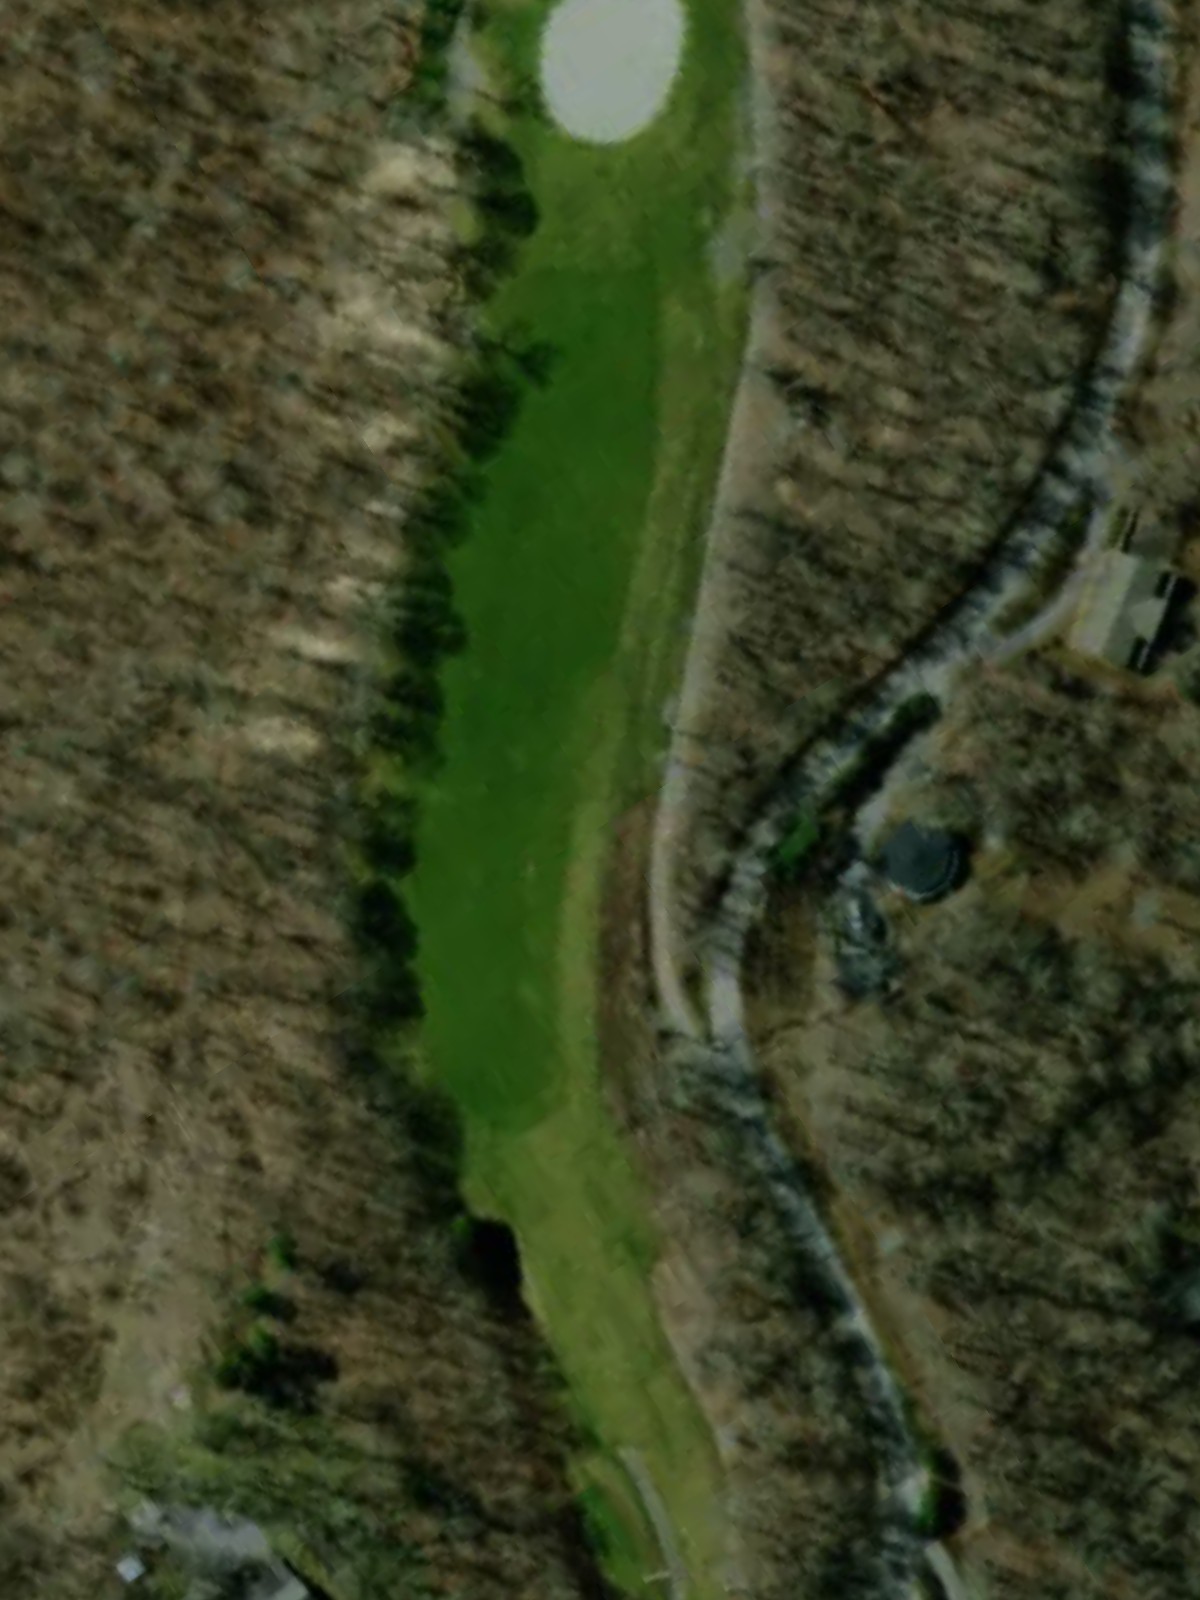
A closing par 4 of moderate length that serves as the third-most difficult hole on the course. Strategic hazards or bunkering likely frame the finishing hole, making it a memorable conclusion to the round.
Scorecard
| Hole | 1 | 2 | 3 | 4 | 5 | 6 | 7 | 8 | 9 | Out | 10 | 11 | 12 | 13 | 14 | 15 | 16 | 17 | 18 | In | Tot |
|---|---|---|---|---|---|---|---|---|---|---|---|---|---|---|---|---|---|---|---|---|---|
| Par | 4 | 3 | 5 | 4 | 4 | 3 | 5 | 4 | 4 | 36 | 5 | 4 | 3 | 4 | 4 | 3 | 5 | 3 | 4 | 35 | 71 |
| HCP | 4 | 16 | 8 | 18 | 12 | 14 | 6 | 10 | 2 | 11 | 5 | 17 | 1 | 13 | 9 | 7 | 15 | 3 | |||
| blue tees | 371 | 109 | 485 | 357 | 303 | 201 | 448 | 388 | 358 | 3020 | 523 | 315 | 146 | 444 | 345 | 177 | 464 | 164 | 325 | 2903 | 5923 |
| blue/white hybrid | 356 | 109 | 443 | 357 | 303 | 201 | 431 | 341 | 358 | 2899 | 523 | 295 | 146 | 404 | 345 | 162 | 422 | 164 | 288 | 2749 | 5648 |
| white tees | 356 | 102 | 443 | 345 | 285 | 182 | 431 | 341 | 347 | 2832 | 511 | 295 | 148 | 404 | 340 | 162 | 422 | 116 | 288 | 2686 | 5518 |
| white/gold hybrid | 260 | 102 | 415 | 345 | 285 | 182 | 398 | 302 | 314 | 2603 | 416 | 295 | 146 | 308 | 340 | 162 | 322 | 116 | 236 | 2341 | 4944 |
| gold tees | 260 | 78 | 415 | 304 | 258 | 172 | 398 | 302 | 314 | 2501 | 416 | 202 | 109 | 308 | 254 | 104 | 322 | 102 | 236 | 2053 | 4554 |