Willow Creek Cc is an 18-hole golf course in Sandy, UT with a par of 72. It offers 4 tee sets: black (6,980 yards, slope 138, rating 73.3), blue (6,445 yards, slope 134, rating 70.8), blue/white combo (6,203 yards, slope 129, rating 70.1), white (5,926 yards, slope 125, rating 68.8). The hardest hole is #4, a par 4 playing 445 yards from the first tee.
Willow Creek Cc
Sandy, UT
Get PDF Yardage Book
We'll email you the PDF link. No spam, ever.
Create Your Game Plan
Pick your tees, enter your bag, and get a personalized shot-by-shot strategy for every hole.
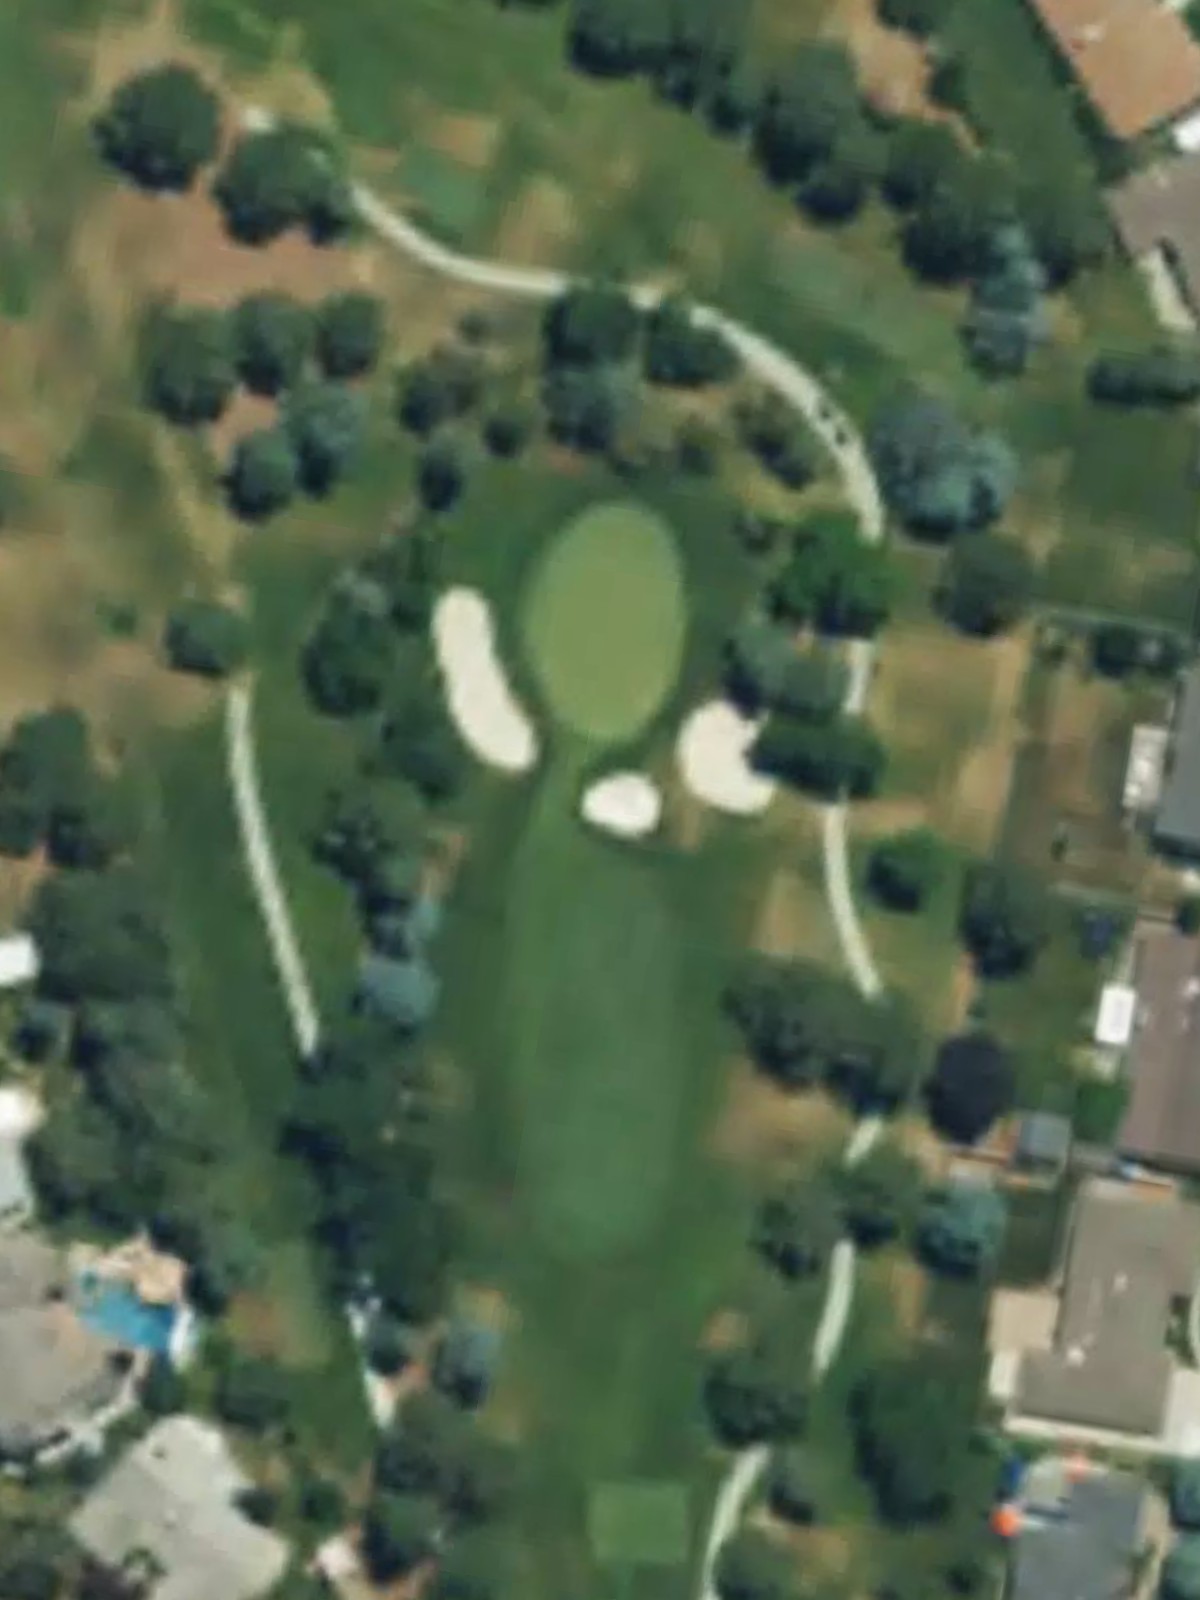
A welcoming par 5 that plays relatively straight with a fairway that widens in the landing area before narrowing slightly on approach. The green is well-bunkered on both sides, making accuracy important on the final shot to this birdie opportunity.
A mid-length par 3 playing over open ground to a green surrounded by bunkers. The exposed nature of this hole makes wind a significant factor, and the bunker complex demands precision from the tee.
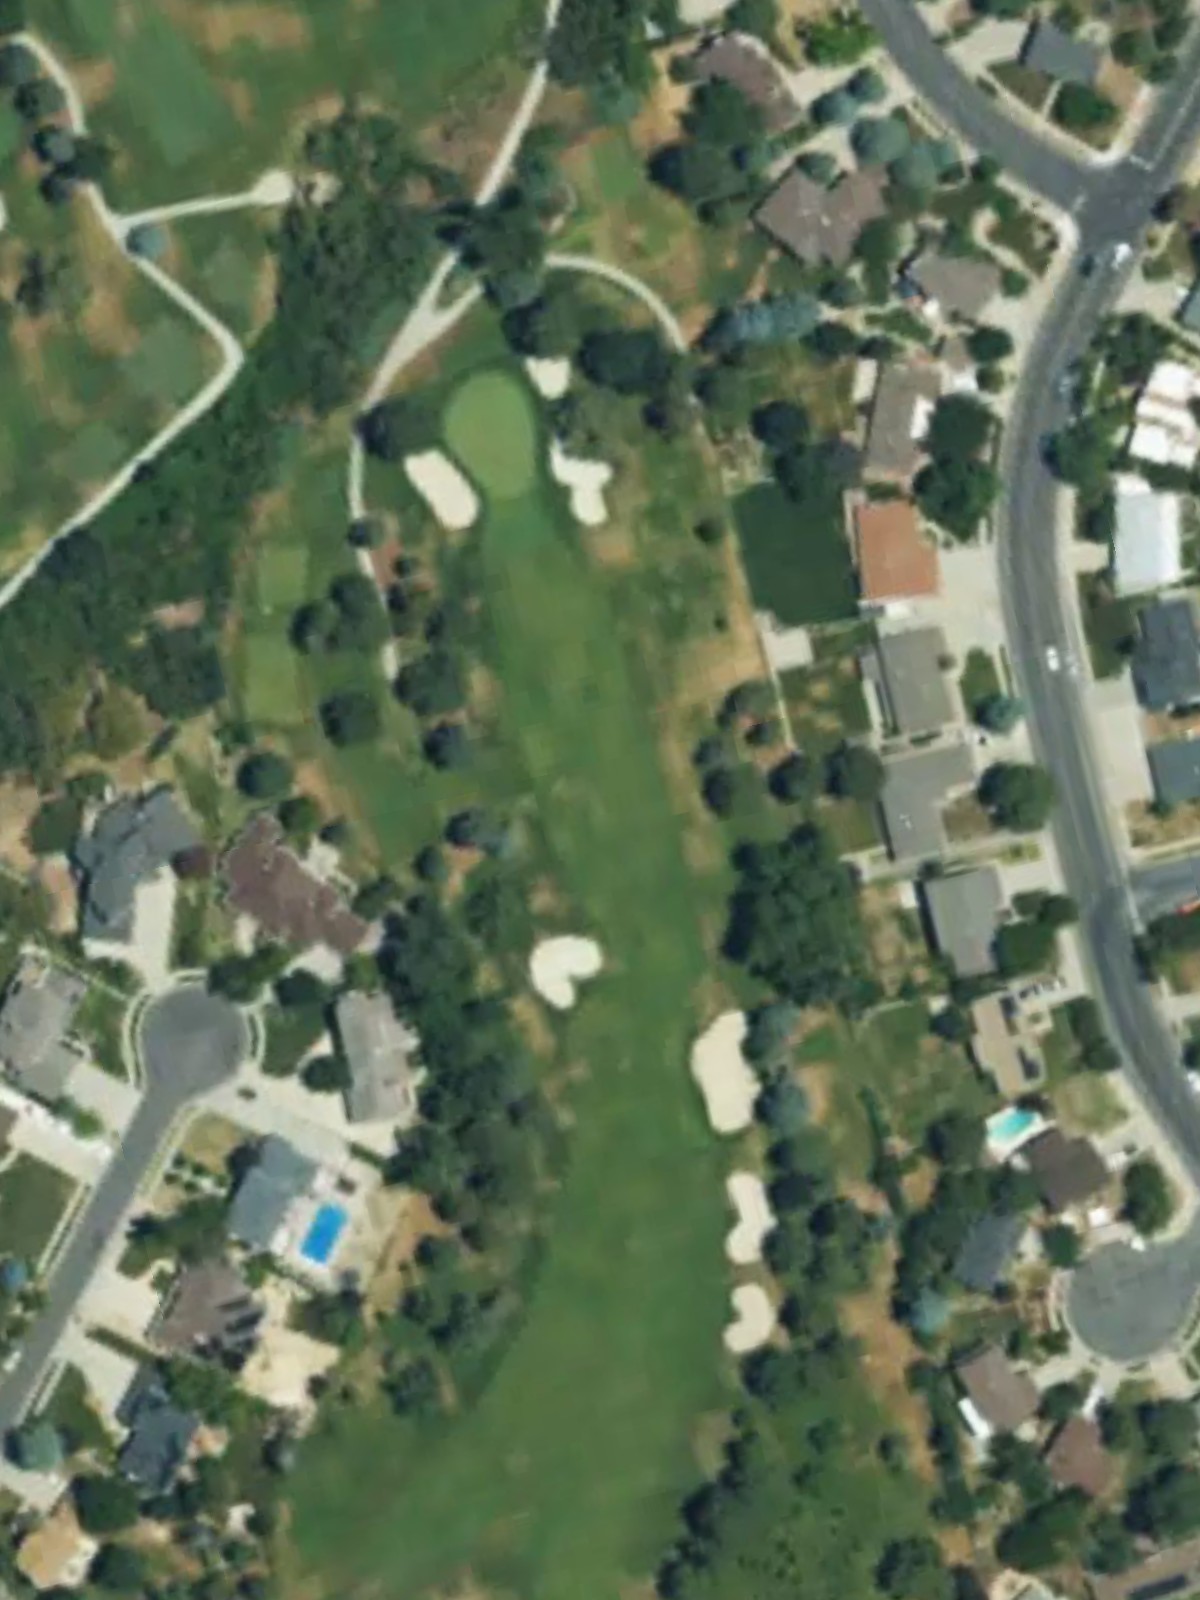
A par 5 that doglegs slightly left through a corridor of trees, requiring two solid shots to set up a manageable approach. Water left of the fairway and bunkers guarding the left side of the green add strategic complexity to this three-shot hole.
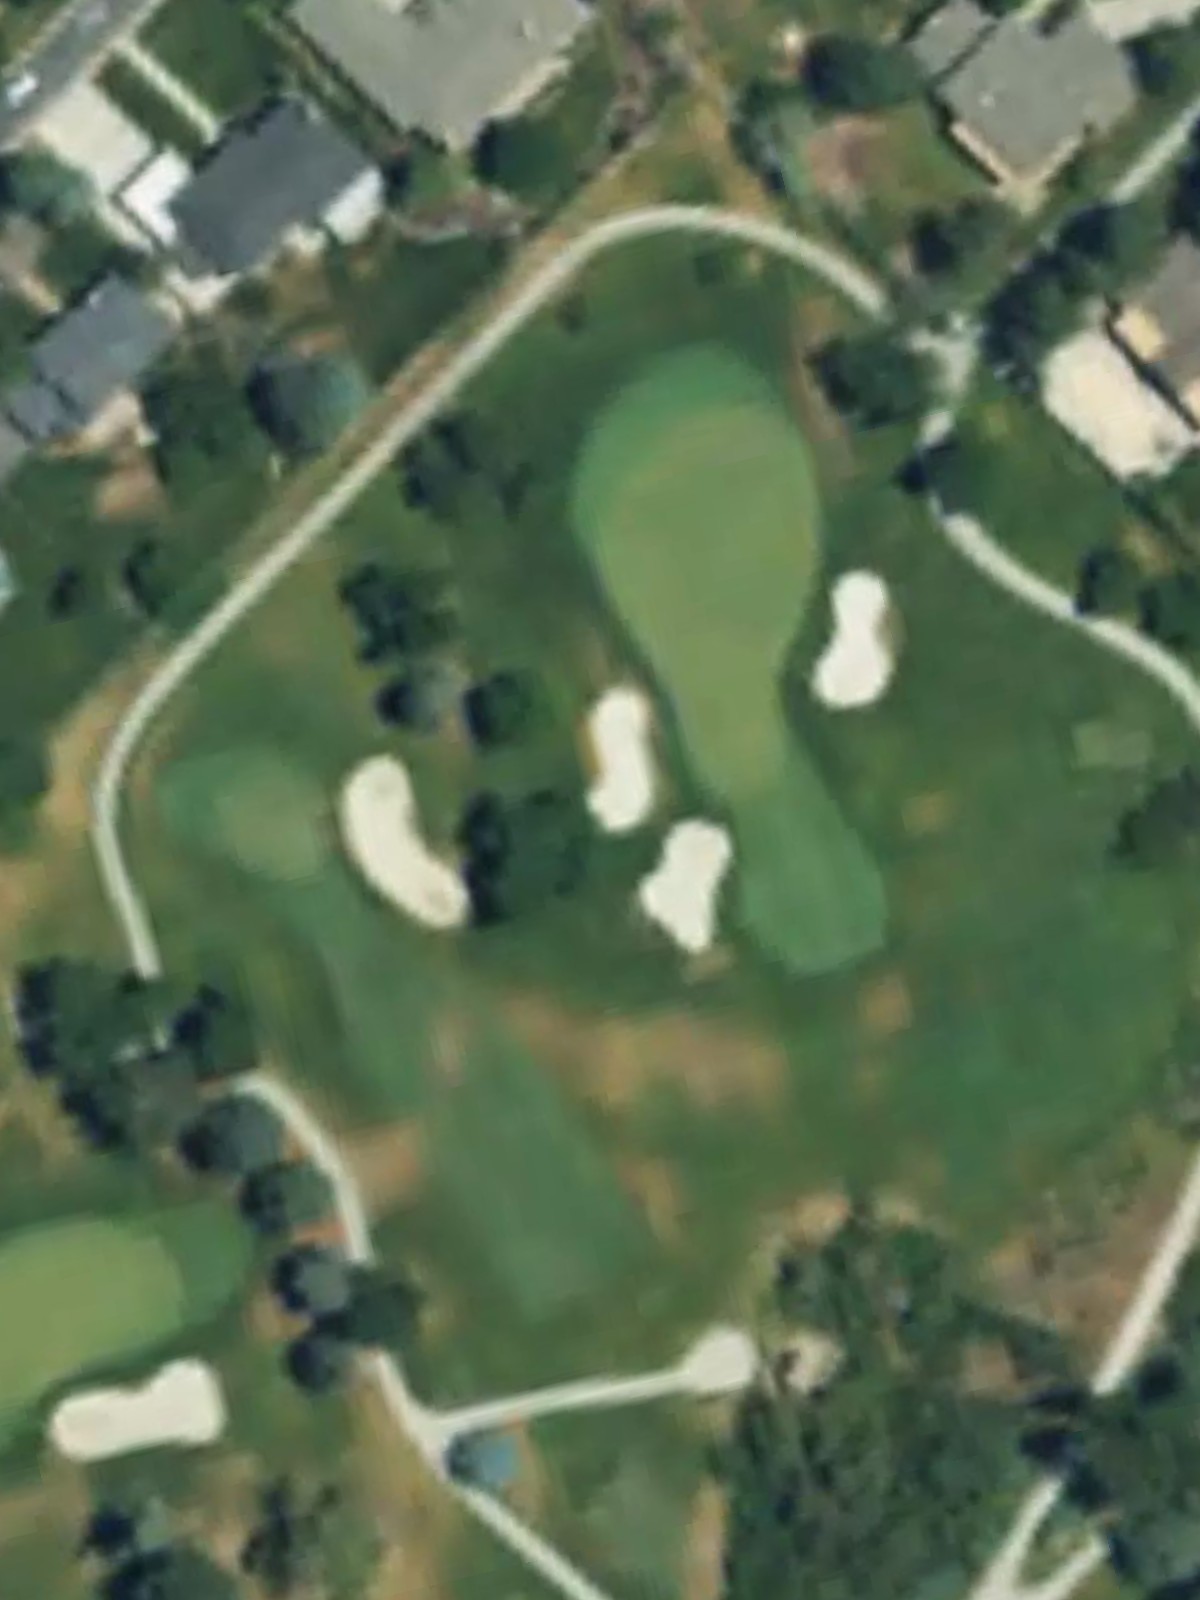
The course's most difficult hole, this par 4 is a long test with a narrow fairway that tightens approaching the green. Bunkers frame both sides of the green, and the overall length leaves little room for error on the approach shot.
A short par 3 over relatively open terrain to a modest green. The brevity of the hole makes the green a straightforward target, though wind exposure can influence club selection.
A par 4 with a fairway that narrows progressively toward the green, creating a strategic challenge for positioning. Bunkers guard the right side of the approach, and the tight finish rewards accurate mid-iron play.
A mid-range par 3 playing to a green surrounded by bunkers on multiple sides. The isolated green and bunker gauntlet make this a demanding short par.
A short but treacherous par 4 with tight fairway corridors and little margin for error. Bunkers and rough line both sides of the fairway, and the green is well-defended, making precision essential on this dramatic uphill hole.
A par 4 with a fairway that widens in the middle before narrowing near the green. Bunkers frame the approach area, and the modest length allows scoring opportunities for those who find the fairway.
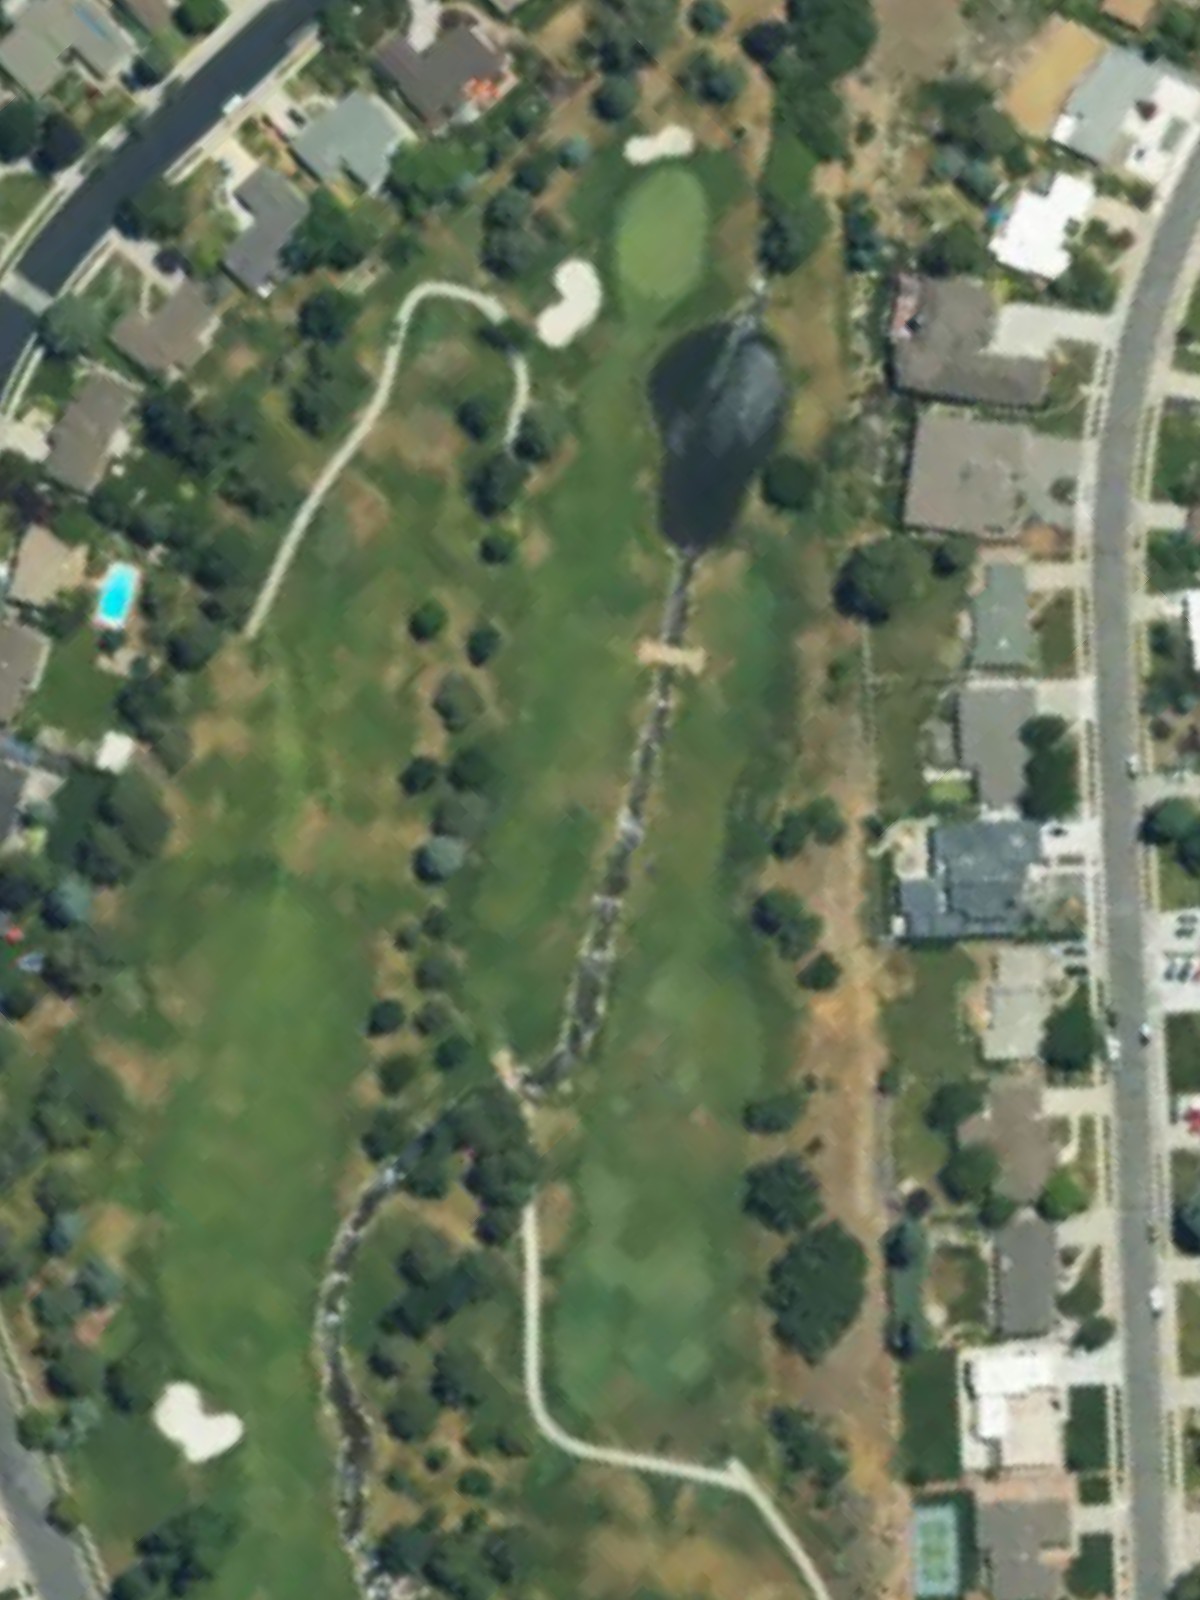
A generous par 5 with a wide-open fairway and straightforward routing. Water left of the fairway on the approach and bunkers guarding the left side of the green add strategic interest to this birdie hole.
A dramatic short par 3 with a hazard or tight green complex creating a signature moment. The hole demands precision despite its brevity, playing as the course's second-toughest par 3.
A par 5 with a fairway that doglegs slightly, offering length and routing variety for the three-shot approach. Bunkers and water hazards frame the fairway and green, making position and planning critical.

The second-hardest hole on the course, this par 4 features a demanding fairway layout with hazards in key positions. The tight conditions and strategic bunker placement make this a defining test of golf.
A mid-length par 4 with a fairway that presents strategic options off the tee. Bunkers guard the approach to the green, and the overall design allows scoring for those who navigate the hazards.
A short and quirky par 3 that plays as the easiest hole on the course. Despite its diminutive length, subtle green contouring and modest bunkering create interest.

A par 4 with a fairway that demands precise positioning off the tee to set up a manageable approach. Bunkers strategically placed left and right frame the landing area and green, rewarding accurate shotmaking.
A compelling par 5 with length and routing that creates strategic options for three-shot play. Hazards in the fairway and around the green add complexity to this finishing hole.
The stroke index 18 hole, this short par 4 offers a reachable finishing opportunity with relatively open approach angles. The modest length provides a chance for players to end their round with a birdie.
Scorecard
| Hole | 1 | 2 | 3 | 4 | 5 | 6 | 7 | 8 | 9 | Out | 10 | 11 | 12 | 13 | 14 | 15 | 16 | 17 | 18 | In | Tot |
|---|---|---|---|---|---|---|---|---|---|---|---|---|---|---|---|---|---|---|---|---|---|
| Par | 5 | 3 | 5 | 4 | 3 | 4 | 3 | 4 | 4 | 35 | 5 | 3 | 5 | 4 | 4 | 3 | 4 | 5 | 4 | 37 | 72 |
| HCP | 17 | 5 | 15 | 1 | 13 | 7 | 11 | 3 | 9 | 14 | 4 | 12 | 2 | 8 | 16 | 6 | 10 | 18 | |||
| black | 547 | 206 | 545 | 466 | 180 | 432 | 206 | 421 | 398 | 3401 | 581 | 222 | 572 | 379 | 384 | 163 | 384 | 550 | 344 | 3579 | 6980 |
| blue | 514 | 194 | 531 | 445 | 163 | 386 | 184 | 359 | 373 | 3149 | 514 | 176 | 528 | 363 | 366 | 136 | 365 | 527 | 321 | 3296 | 6445 |
| blue/white combo | 481 | 168 | 531 | 437 | 163 | 386 | 184 | 344 | 373 | 3067 | 514 | 155 | 475 | 363 | 366 | 136 | 315 | 491 | 321 | 3136 | 6203 |
| white | 481 | 168 | 494 | 437 | 133 | 369 | 137 | 344 | 352 | 2915 | 488 | 155 | 475 | 334 | 347 | 124 | 315 | 491 | 282 | 3011 | 5926 |