Williamsburg National Golf Club is an 18-hole golf course in Williamsburg, VA with a par of 72. It offers 7 tee sets: black (6,929 yards, slope 130, rating 73.4), blue (6,446 yards, slope 127, rating 71.6), powhatan (blue/white) (6,212 yards, slope 124, rating 70.3), white (6,003 yards, slope 122, rating 69.5), discovery (white/gold) (5,715 yards, slope 118, rating 67.9), gold (5,498 yards, slope 115, rating 66.5), green (5,052 yards, slope 111, rating 64.3). The hardest hole is #4, a par 4 playing 409 yards from the first tee.
Williamsburg National Golf Club
Williamsburg, VA
Get PDF Yardage Book
We'll email you the PDF link. No spam, ever.
Create Your Game Plan
Pick your tees, enter your bag, and get a personalized shot-by-shot strategy for every hole.

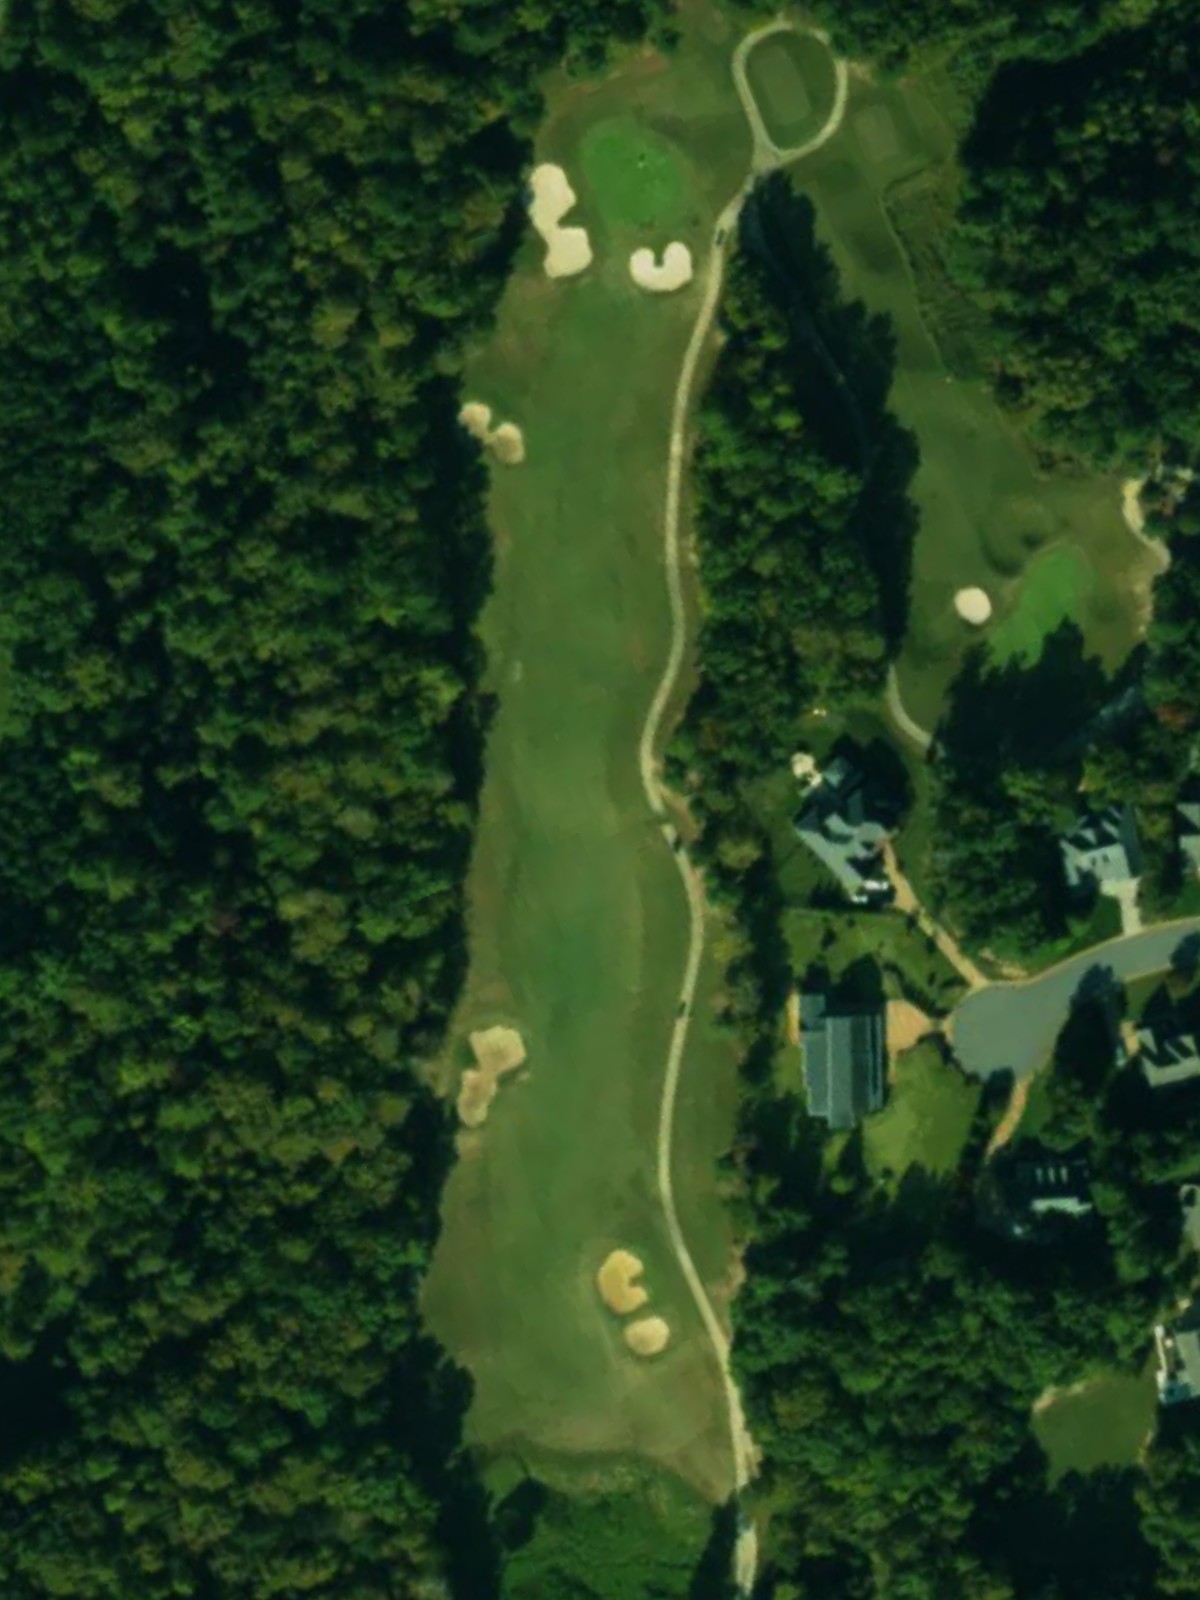
A straightforward par 4 that plays as a solid opening hole with a fairway that gradually narrows as it approaches the green. Bunkers guard the right side of the putting surface, requiring accuracy on the approach shot.

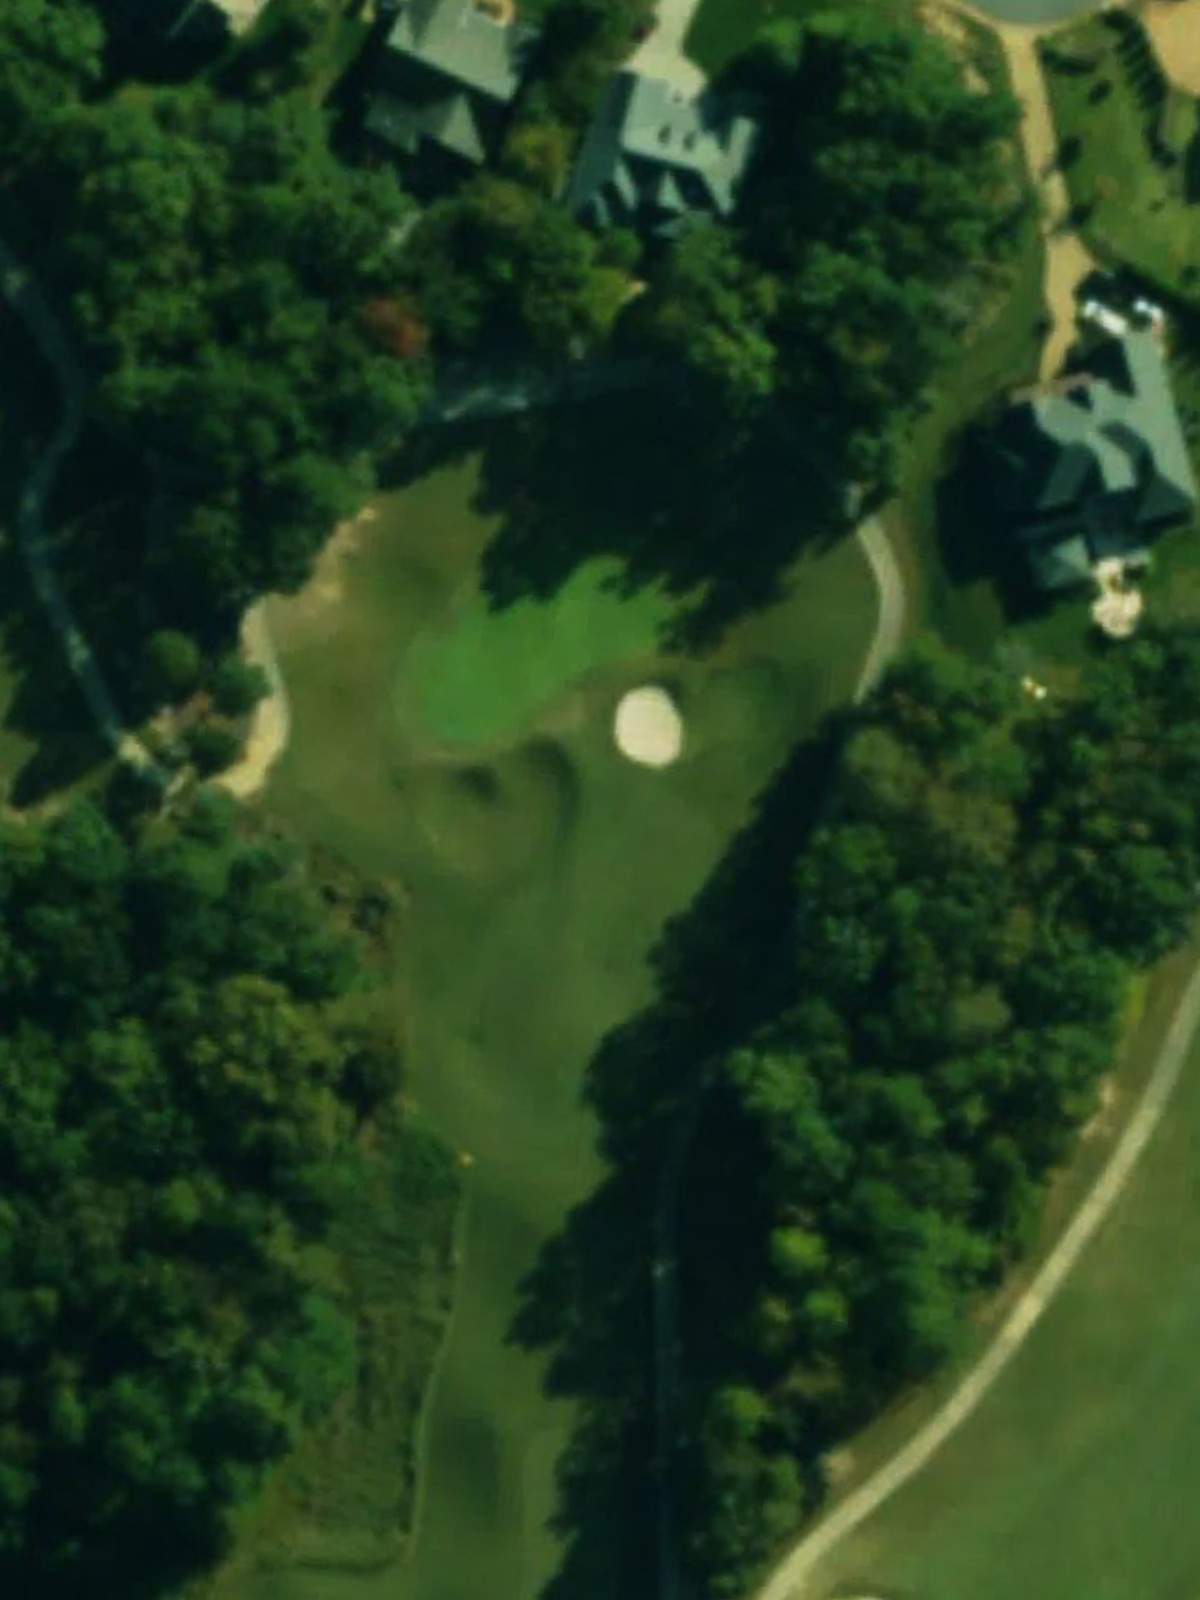
A short par 4 that offers an early birdie opportunity with a receptive fairway and modest length. A bunker near the green demands precision on the approach to avoid a difficult recovery.
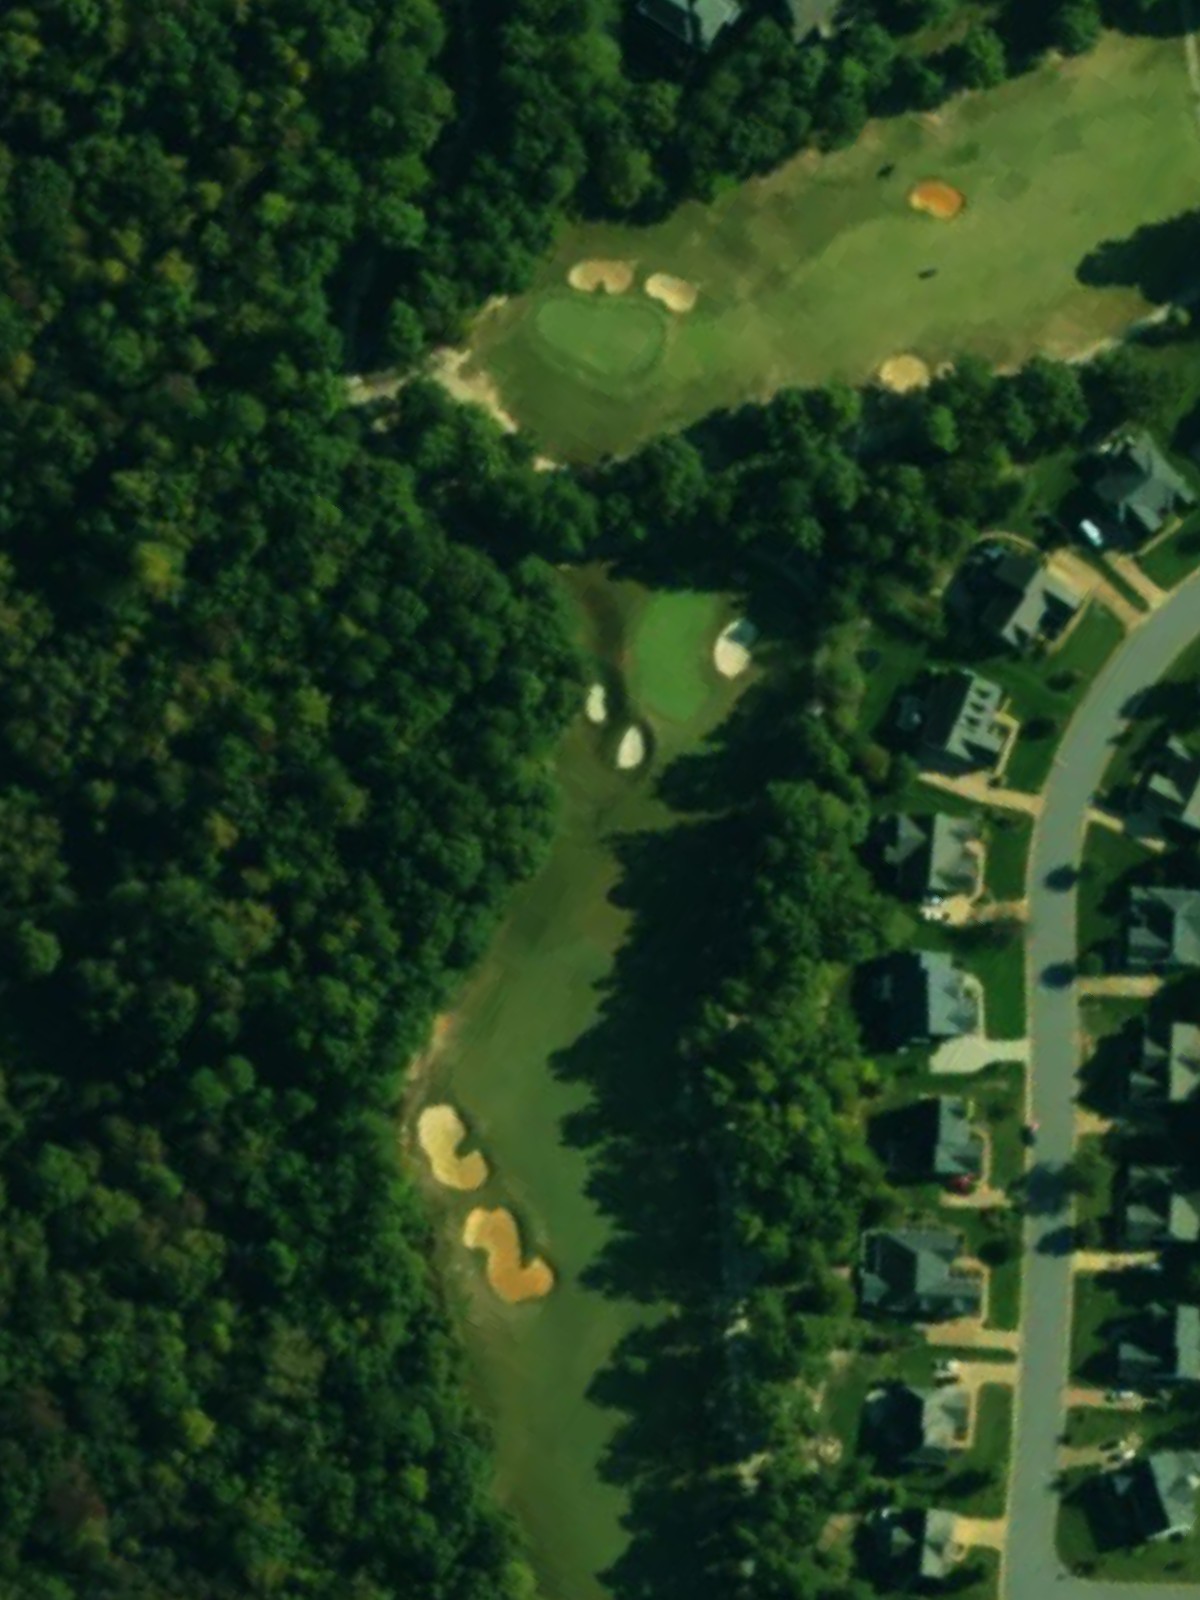
A demanding par 5 with length and strategic bunkering throughout the hole that requires thoughtful positioning. The bunkers are positioned to challenge players attempting to reach the green in two shots.
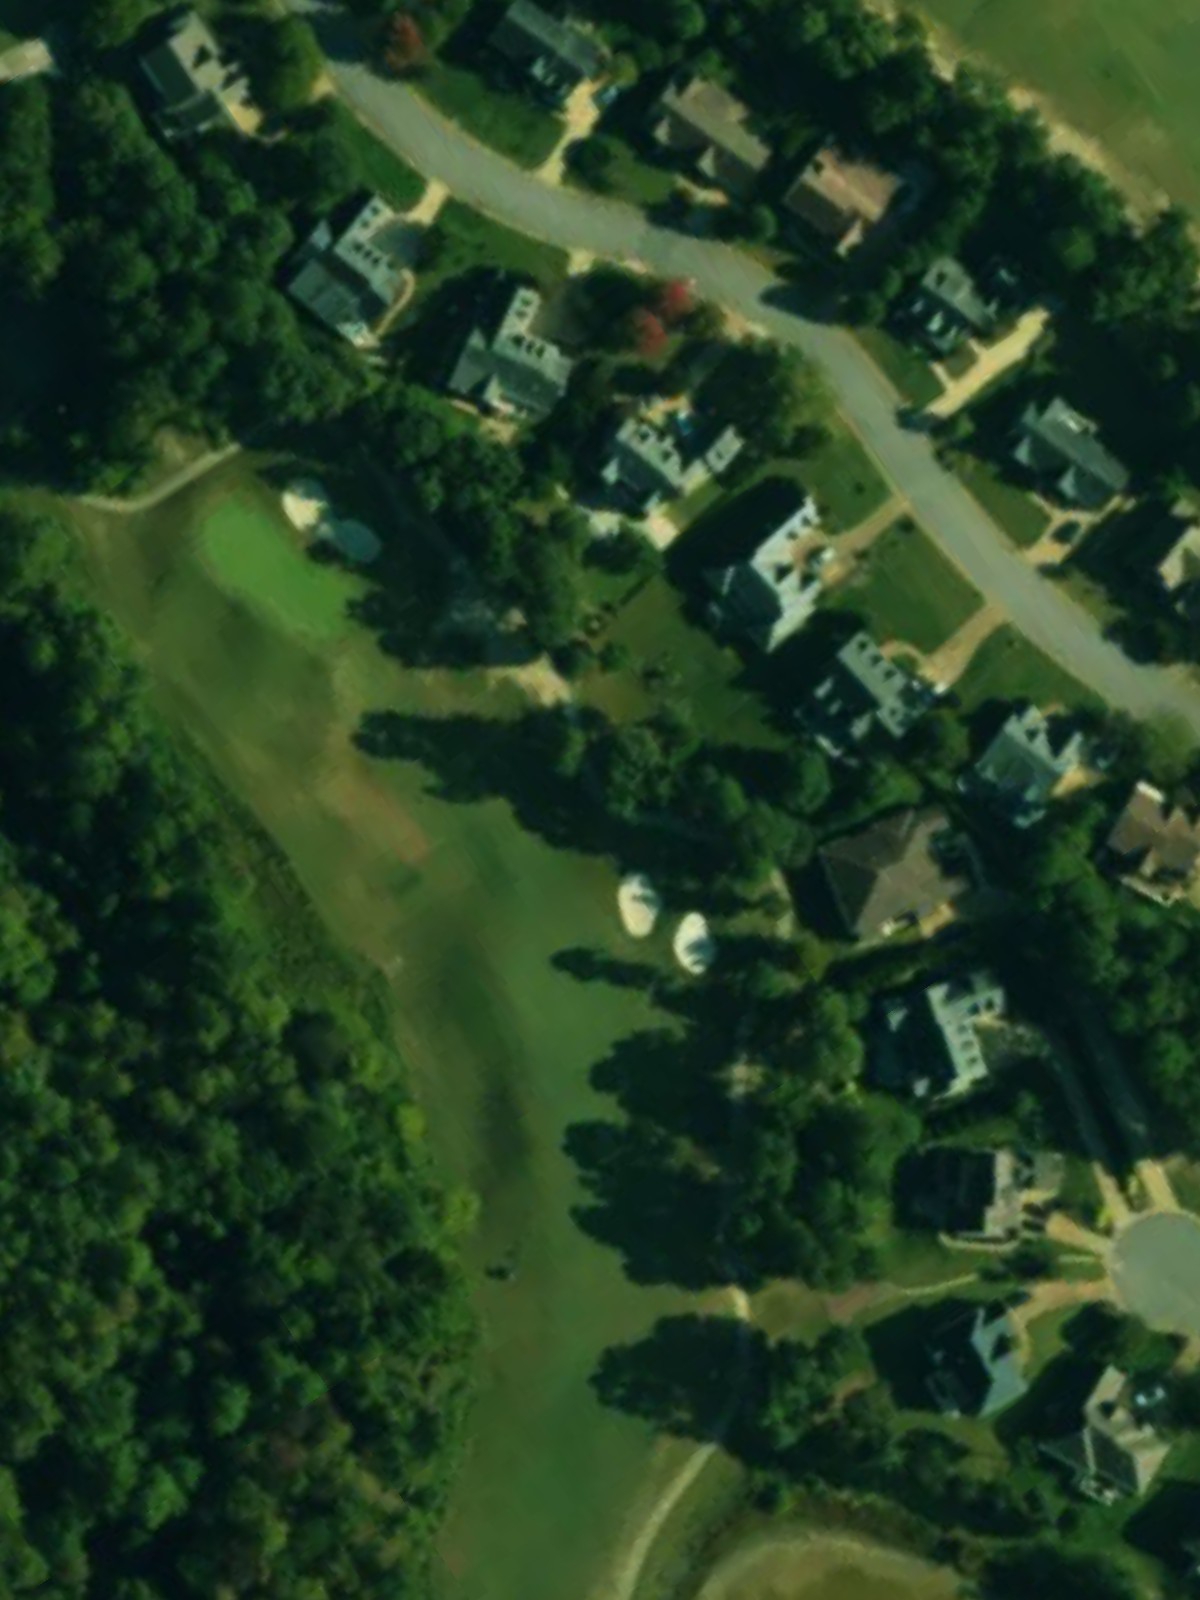
The course's #1 handicap hole, a formidable par 4 that plays as the strongest test on the front nine with substantial length. Bunkers protect the green and demand an accurate second shot to a well-defended target.
A short par 3 that provides a brief respite with modest yardage but bunkers surrounding the green that punish imprecision. The compact green and surrounding hazards make accuracy from the tee essential.
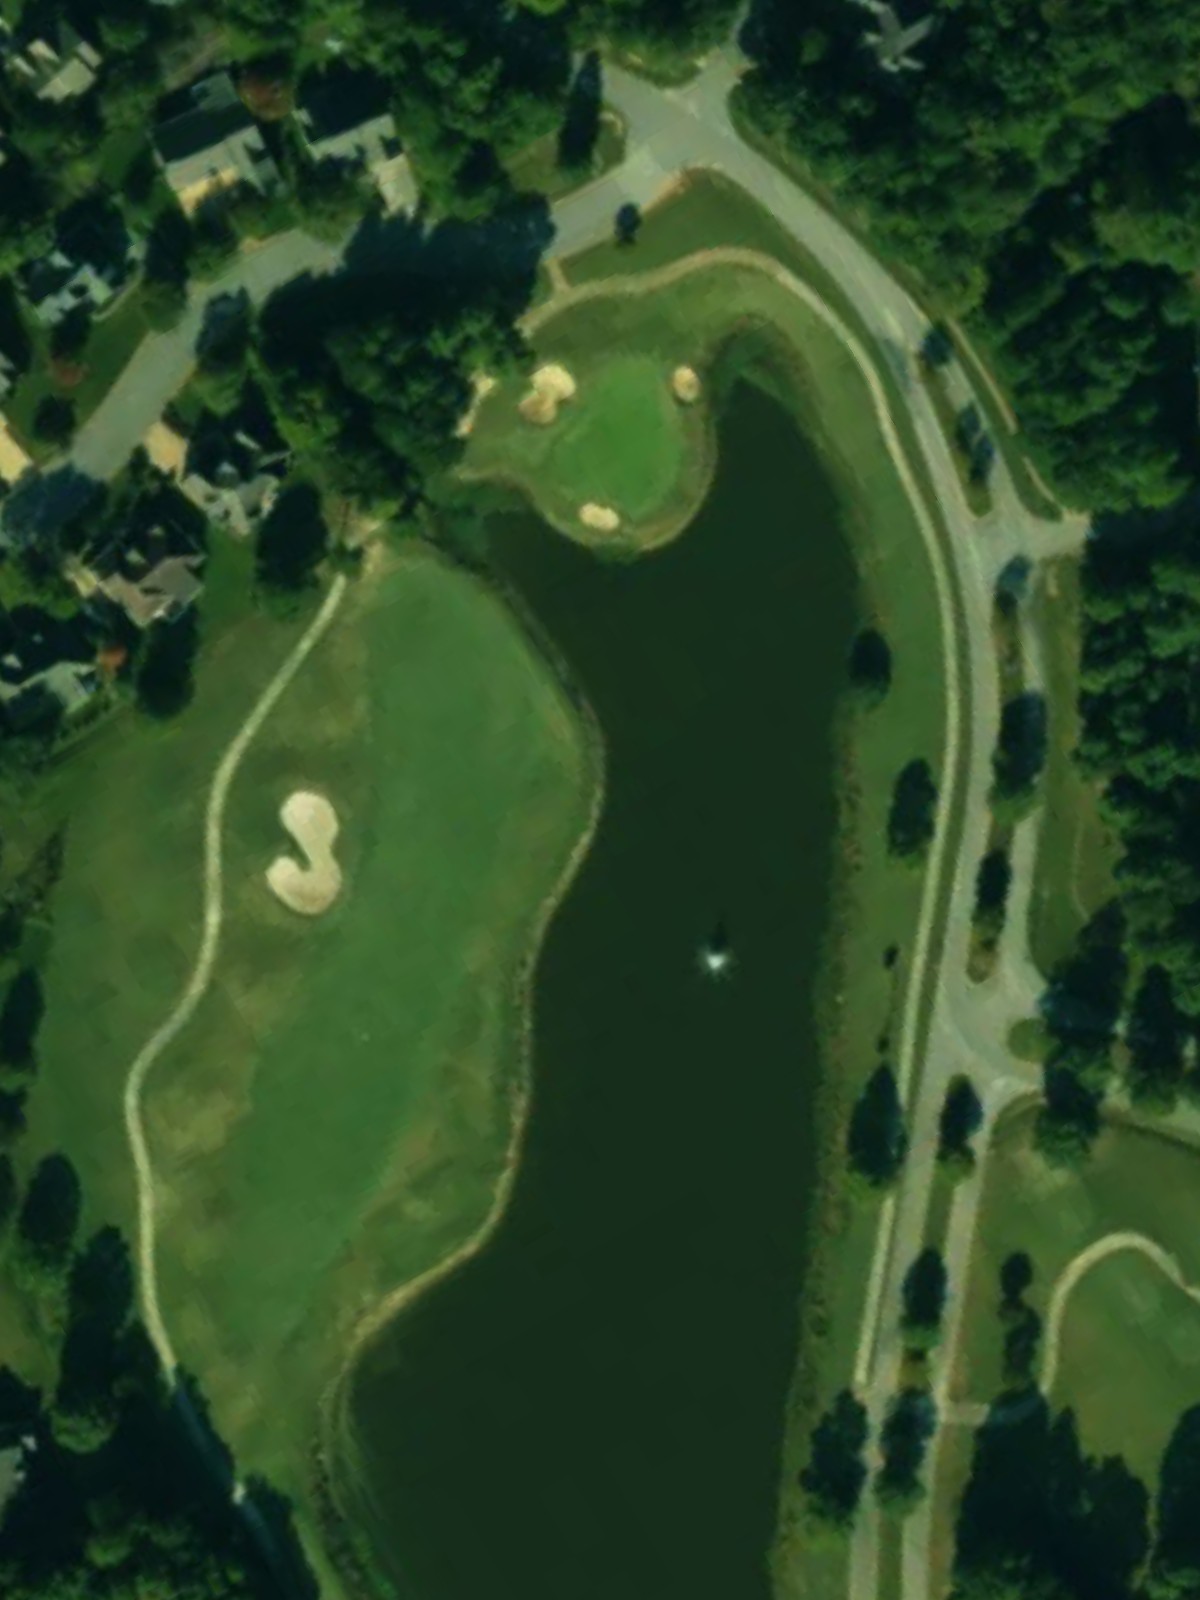
A par 4 with water hazards coming into play on the approach to the green, adding complexity to the hole's risk-reward equation. Strategic bunkering near the putting surface compounds the challenge of finding the green safely.
A par 5 with a lateral water hazard running along the fairway that affects positioning for longer hitters attempting to reach the green in two. The fairway itself provides ample room, but bunkers and water create a strategic puzzle requiring careful club selection.

A petite par 3 that plays short but demands an accurate tee shot to avoid the bunker guarding the green. The small target area leaves little margin for error despite the modest yardage.

The #3 handicap hole, a challenging par 4 playing as one of the course's strongest tests with substantial length and a well-protected green. Bunkers frame the putting surface and demand a precise approach to secure a favorable position.

A mid-length par 3 with bunker protection around the green that demands an accurate tee shot to avoid scrambling for par. The green complex requires careful distance control to find the proper tier or section.
A well-bunkered par 4 with strategic sand placements throughout that reward precise shot-making and proper positioning. The bunkers frame the fairway and guard the green, making this a demanding test of accuracy.

A short par 4 with water hazards that come into play, requiring players to navigate the danger on their approach to the green. The water positioning adds complexity to what might otherwise play as a straightforward hole.
A strong par 4 ranked as the #4 handicap hole that plays with good length and minimal fairway width, demanding a controlled tee shot. The narrow approach to the green leaves little room for error on the second shot.

A generous par 5 offering scoring opportunities with strategic bunkering throughout the hole that guides play toward the green. Despite being the easiest handicap, length and sand hazards still present a challenge to reach the putting surface.
A shorter par 4 with bunker protection around the green that plays as a potential scoring hole with proper execution. The compact design and greenside hazards create a strategic risk-reward opportunity.
A mid-length par 3 with a clean green complex and modest length that provides a brief respite within the back nine stretch. The relatively straightforward hole offers a chance to settle into the final holes with confidence.

A strong par 5 ranked as the #6 handicap hole with good length and strategic bunkering that rewards accurate positioning through the fairway. The bunkers guide players' routing and protect a well-designed green complex.

A finishing par 4 ranked as the #2 handicap hole that demands precision and length, providing a strong closing test with bunkers guarding the green. This demanding finale requires an accurate approach to end the round on a positive note.
Scorecard
| Hole | 1 | 2 | 3 | 4 | 5 | 6 | 7 | 8 | 9 | Out | 10 | 11 | 12 | 13 | 14 | 15 | 16 | 17 | 18 | In | Tot |
|---|---|---|---|---|---|---|---|---|---|---|---|---|---|---|---|---|---|---|---|---|---|
| Par | 4 | 4 | 5 | 4 | 3 | 4 | 5 | 3 | 4 | 36 | 3 | 4 | 4 | 4 | 5 | 4 | 3 | 5 | 4 | 36 | 72 |
| HCP | 7 | 13 | 5 | 1 | 15 | 9 | 11 | 17 | 3 | 16 | 8 | 12 | 4 | 18 | 10 | 14 | 6 | 2 | |||
| black | 430 | 322 | 583 | 449 | 175 | 429 | 530 | 138 | 455 | 3511 | 177 | 412 | 365 | 417 | 506 | 354 | 202 | 539 | 446 | 3418 | 6929 |
| blue | 400 | 302 | 560 | 409 | 151 | 388 | 478 | 122 | 435 | 3245 | 169 | 384 | 351 | 387 | 472 | 325 | 179 | 526 | 408 | 3201 | 6446 |
| powhatan (blue/white) | 368 | 302 | 551 | 370 | 151 | 344 | 478 | 122 | 416 | 3102 | 161 | 370 | 351 | 387 | 472 | 319 | 161 | 526 | 363 | 3110 | 6212 |
| white | 368 | 272 | 551 | 370 | 140 | 344 | 442 | 113 | 416 | 3016 | 161 | 370 | 344 | 338 | 440 | 319 | 161 | 491 | 363 | 2987 | 6003 |
| discovery (white/gold) | 368 | 272 | 501 | 333 | 126 | 344 | 442 | 113 | 327 | 2826 | 146 | 370 | 344 | 310 | 440 | 319 | 140 | 491 | 329 | 2889 | 5715 |
| gold | 332 | 263 | 501 | 333 | 126 | 324 | 426 | 97 | 327 | 2729 | 146 | 345 | 325 | 310 | 430 | 280 | 140 | 464 | 329 | 2769 | 5498 |
| green | 324 | 227 | 475 | 323 | 109 | 318 | 402 | 74 | 321 | 2573 | 144 | 211 | 314 | 300 | 418 | 222 | 123 | 422 | 325 | 2479 | 5052 |