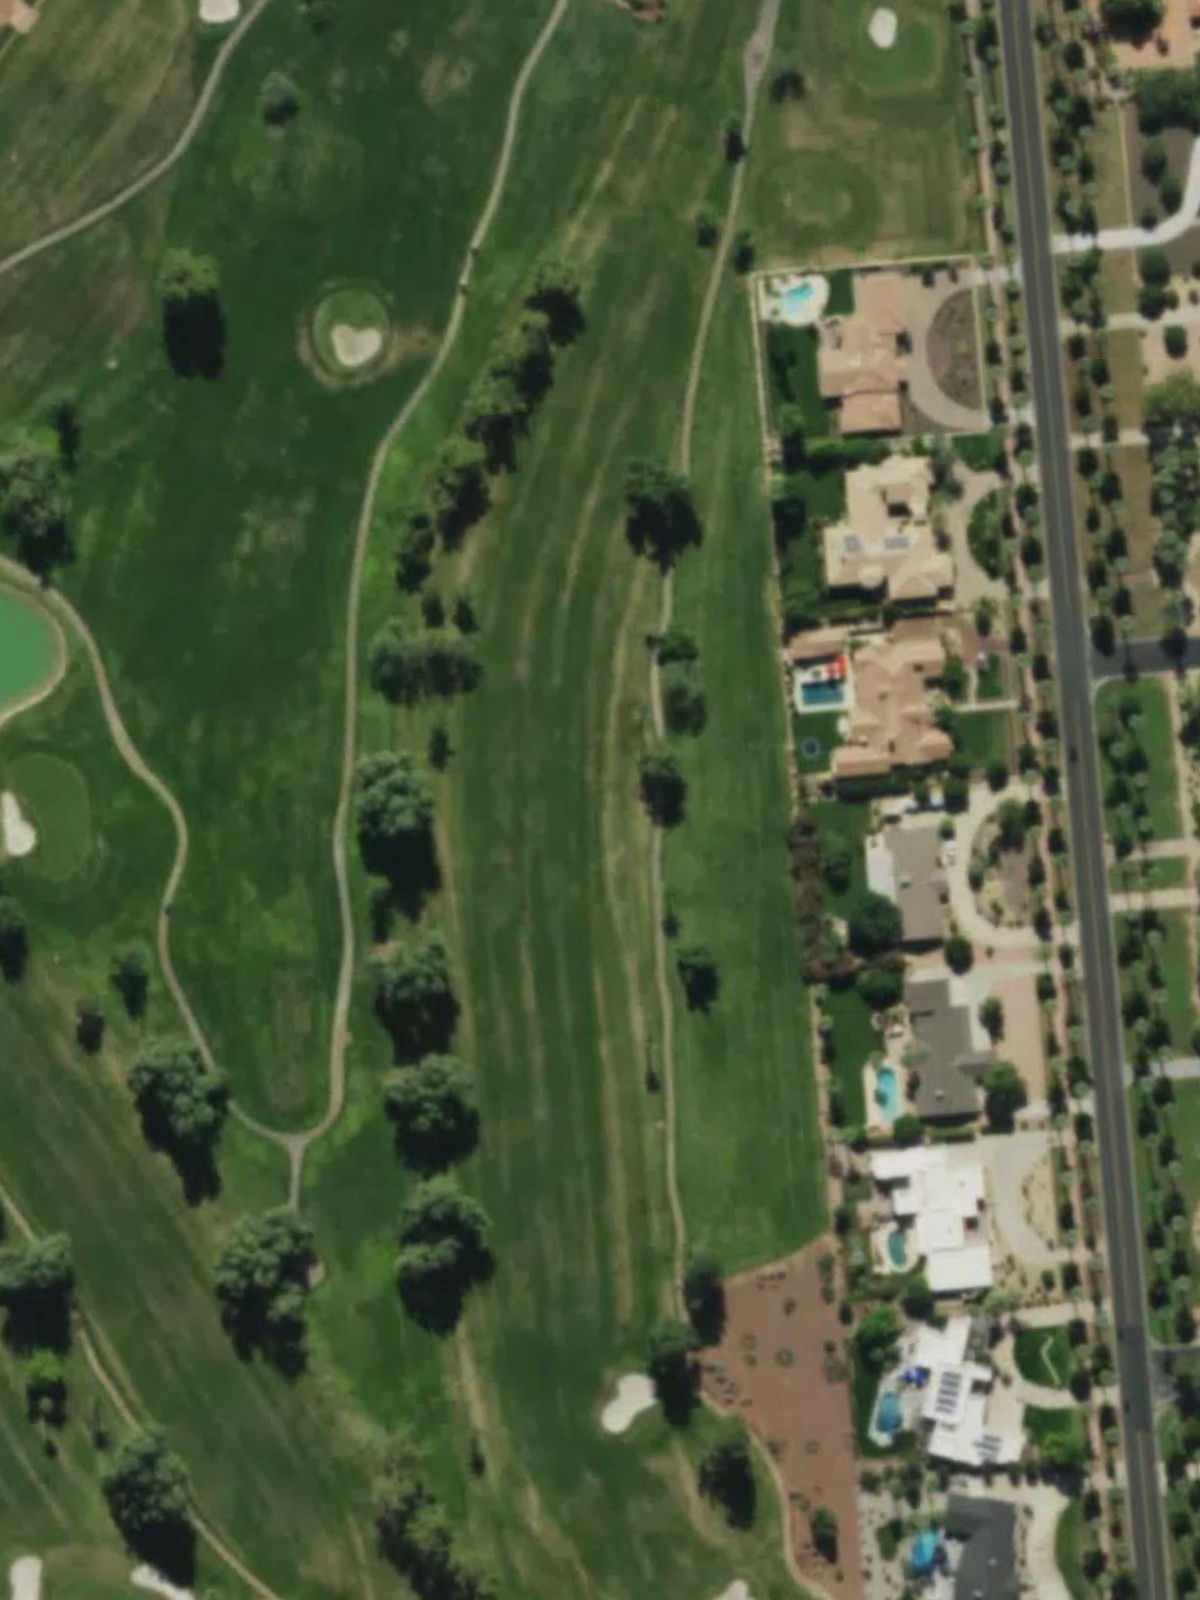
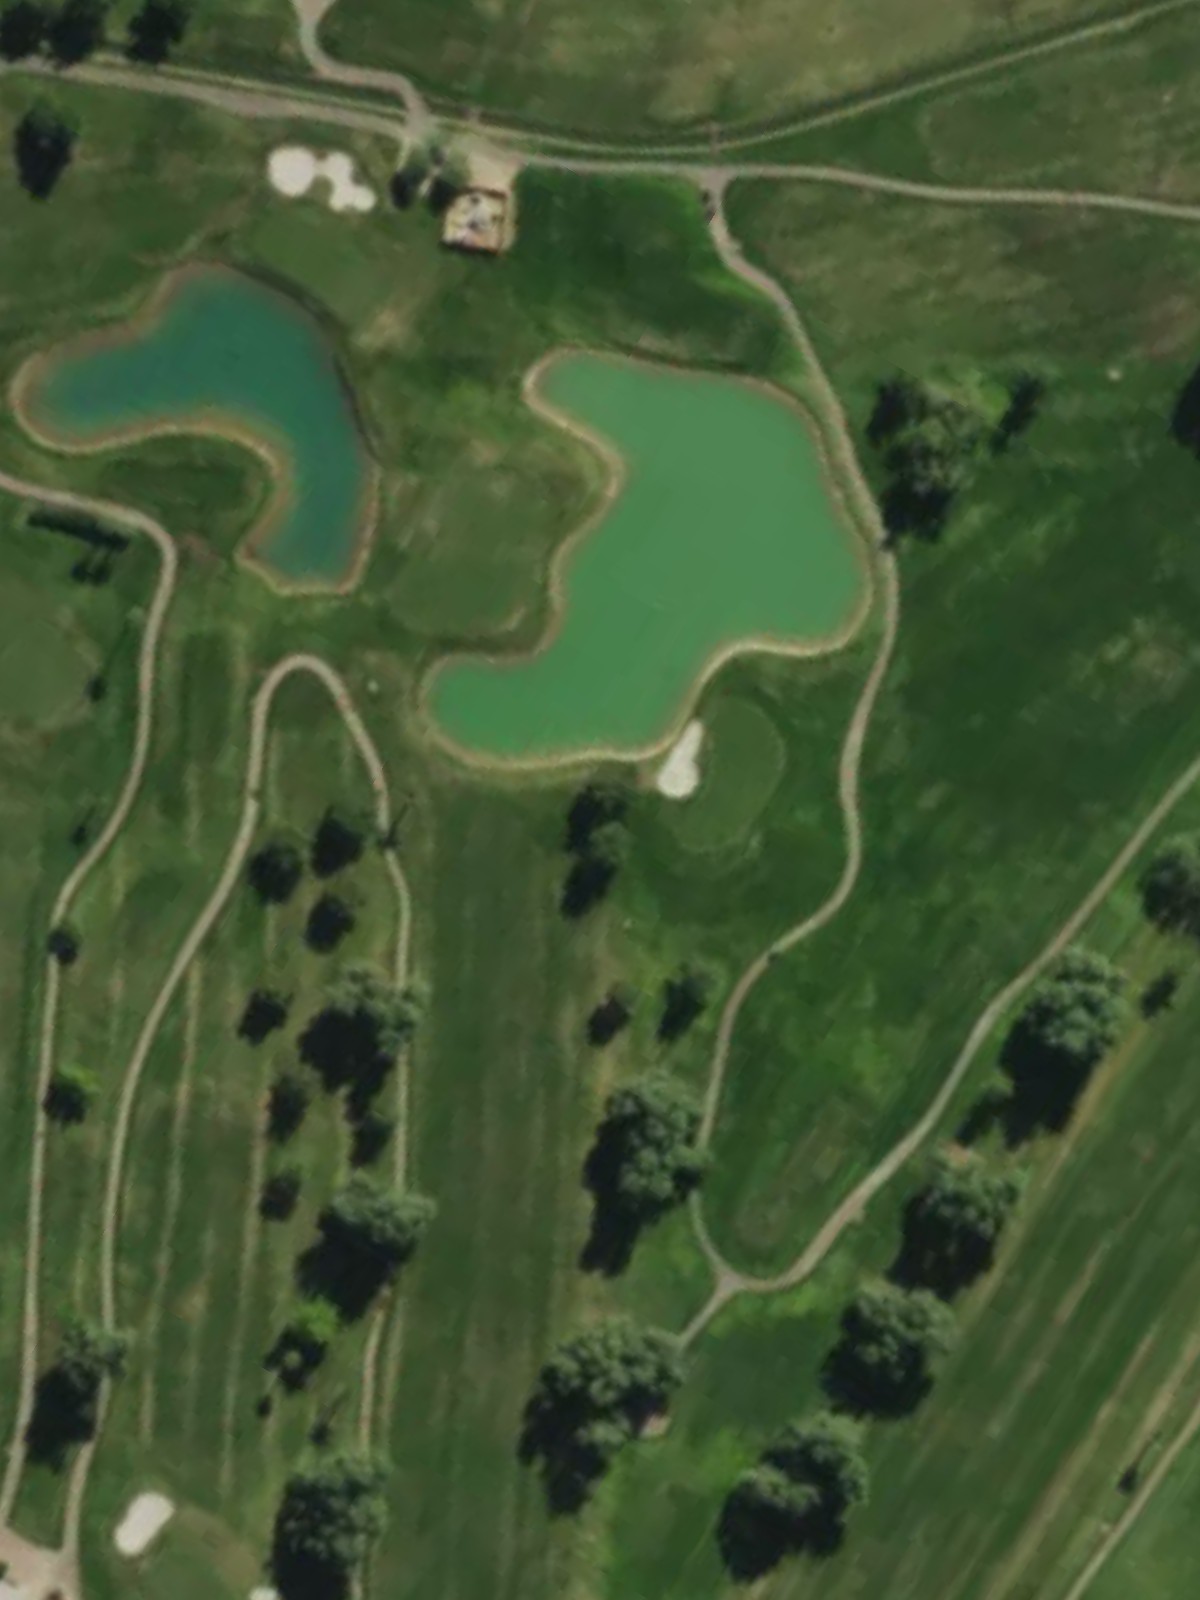
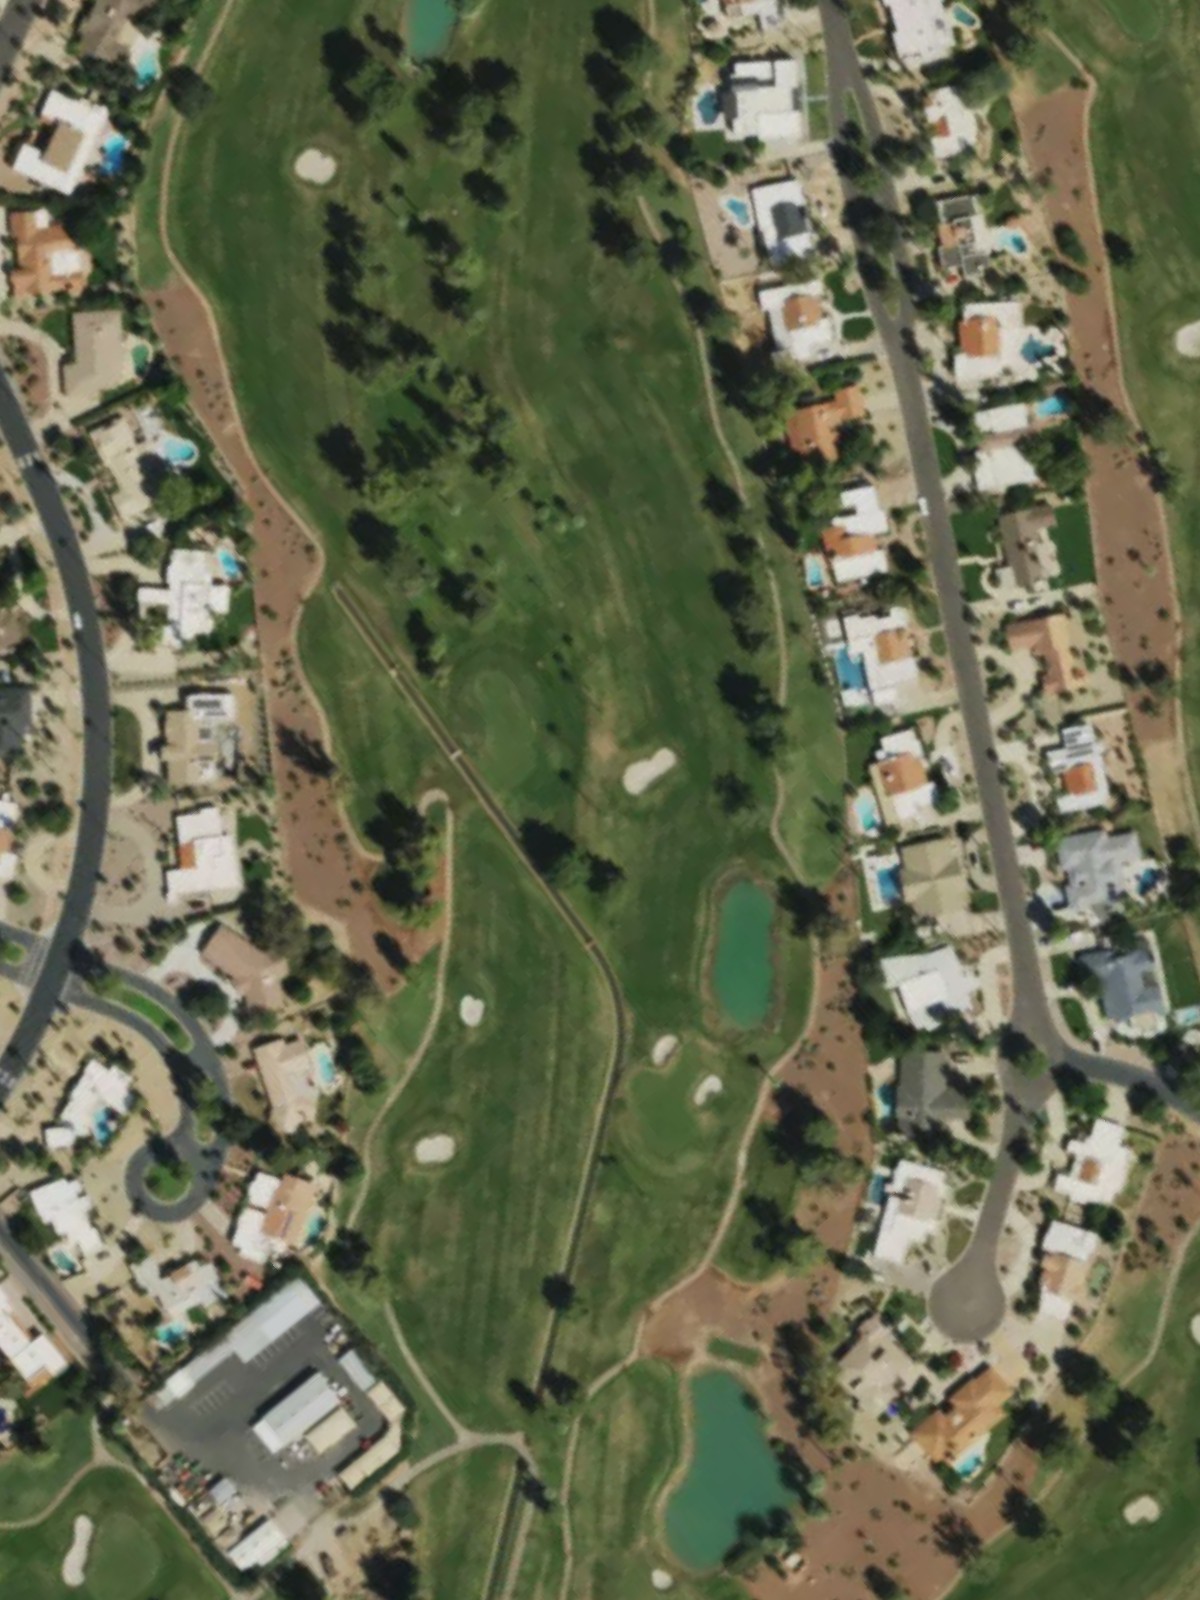
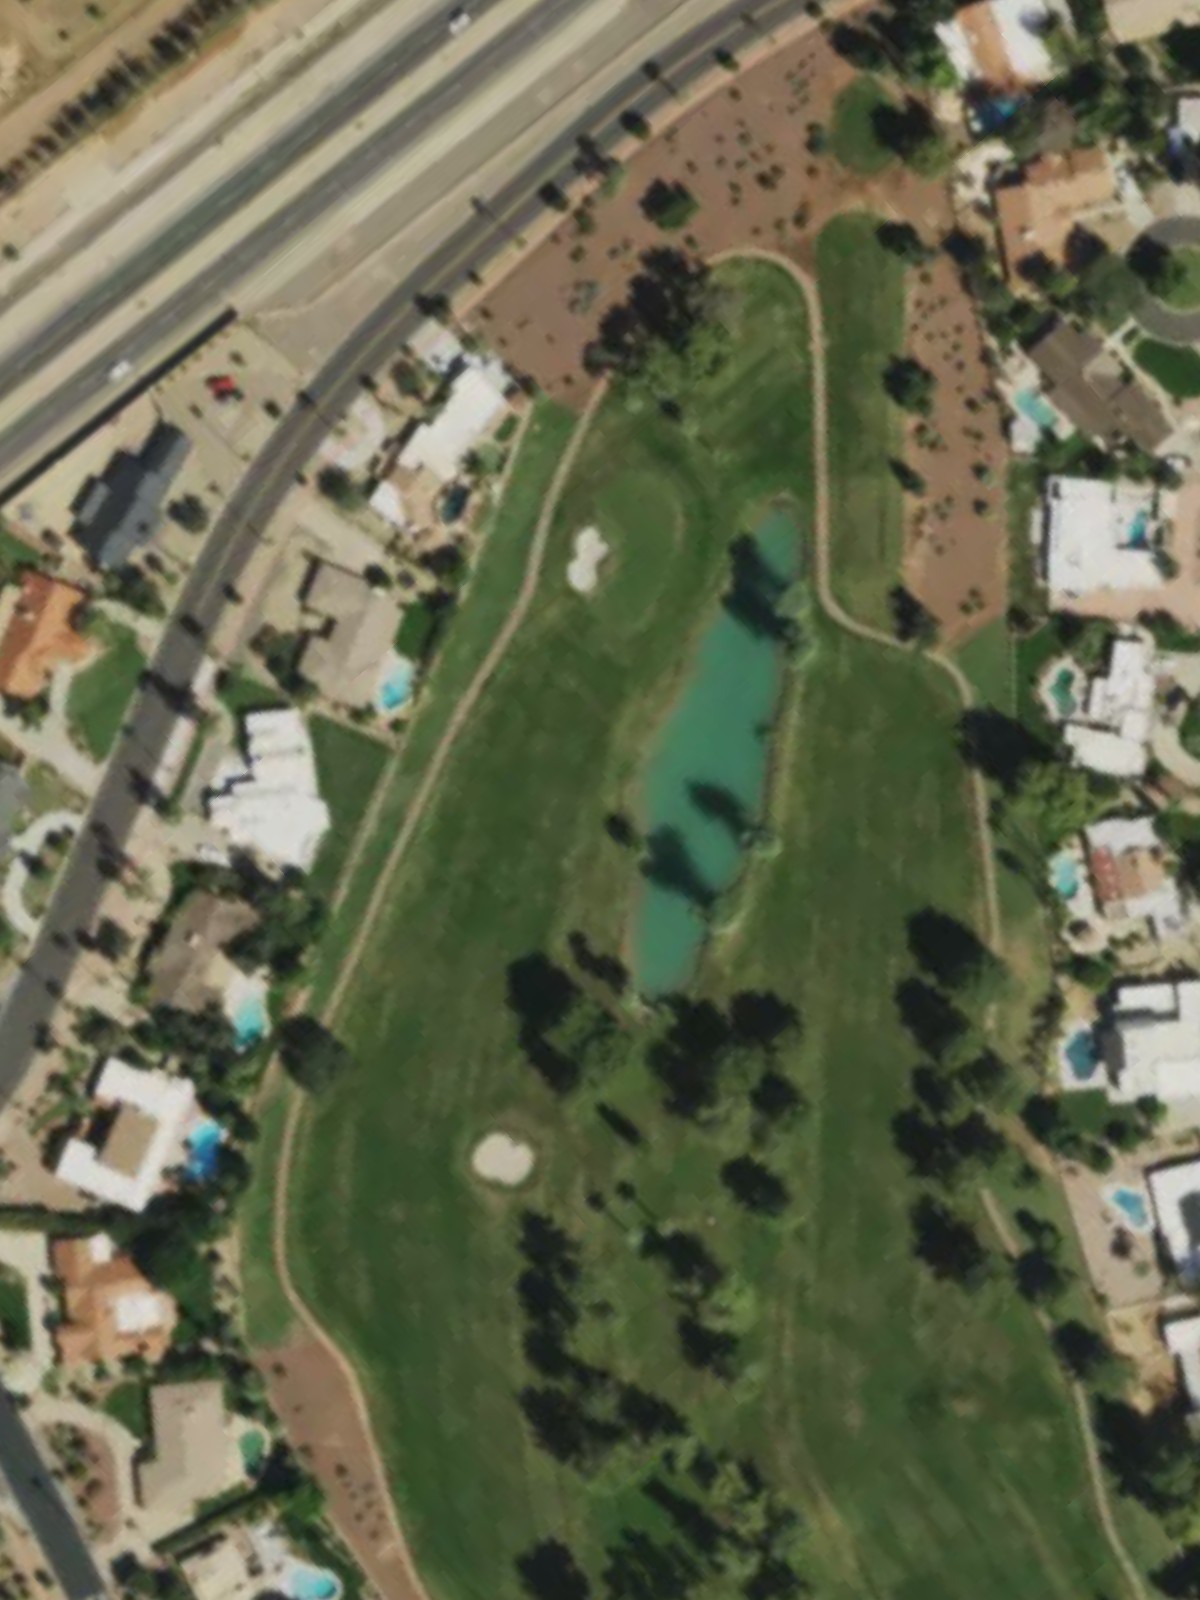
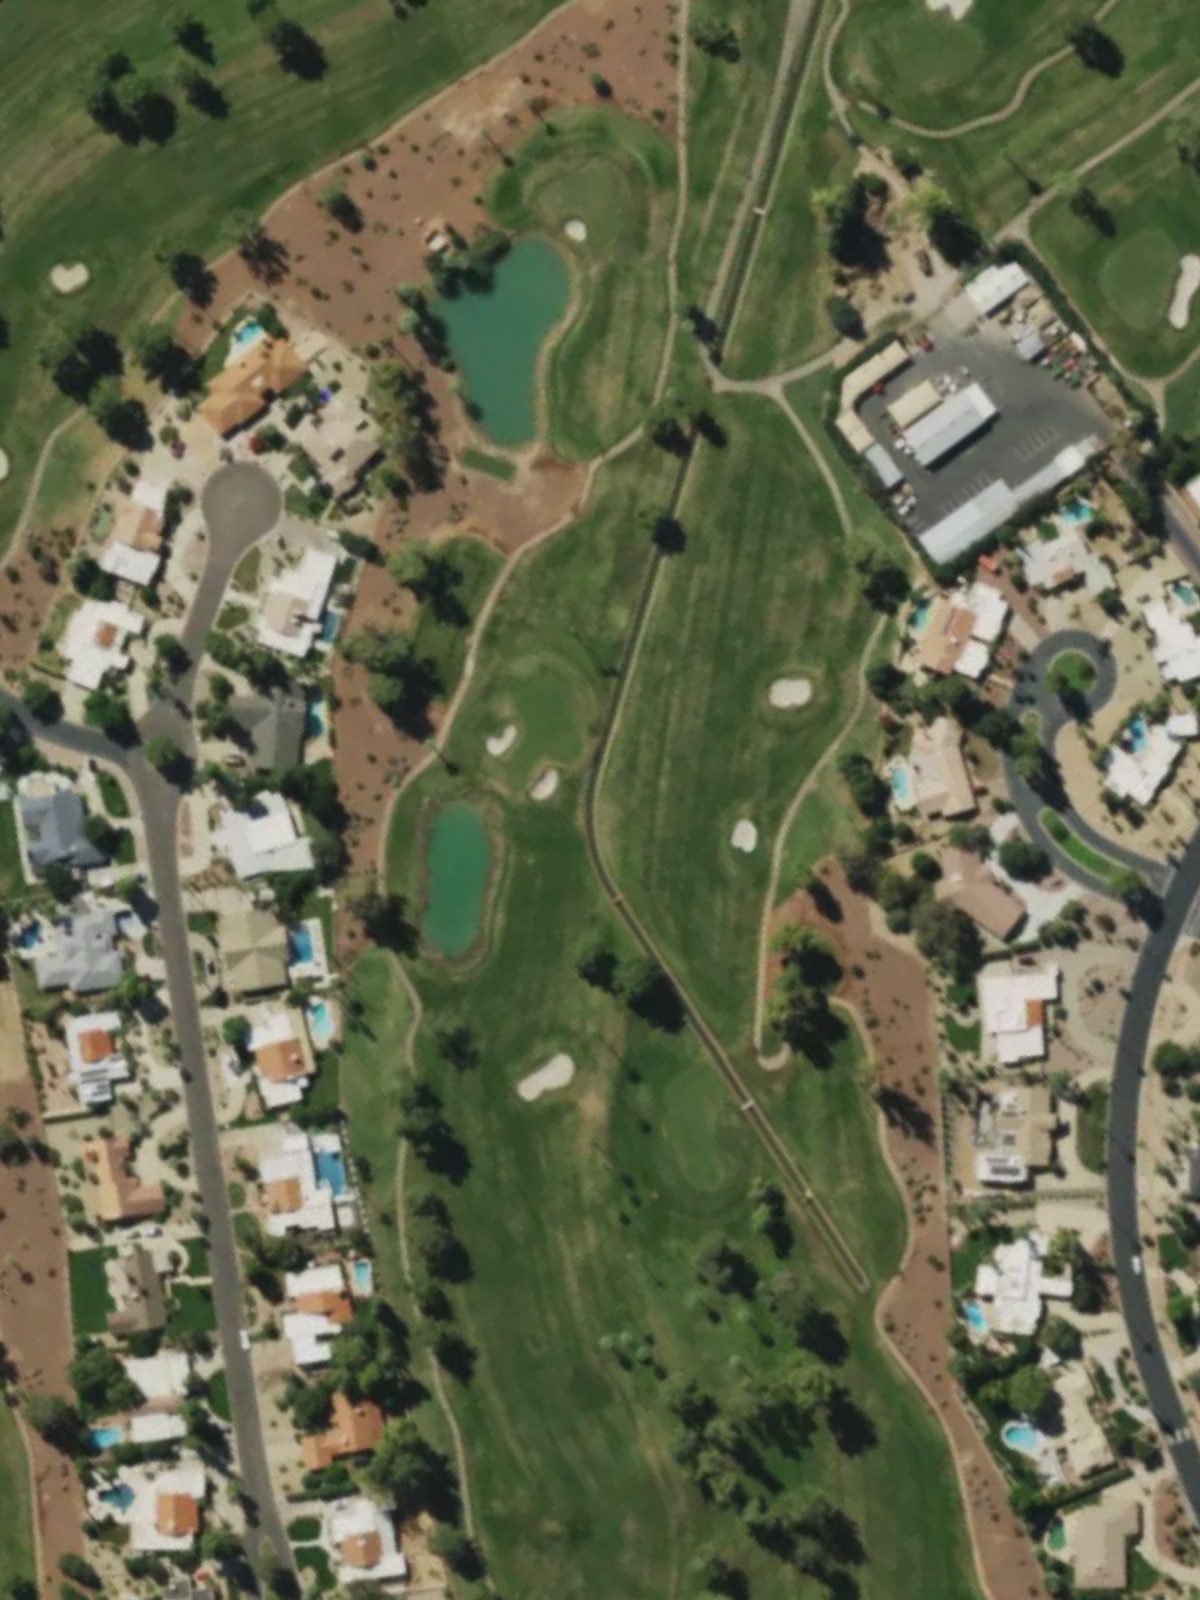
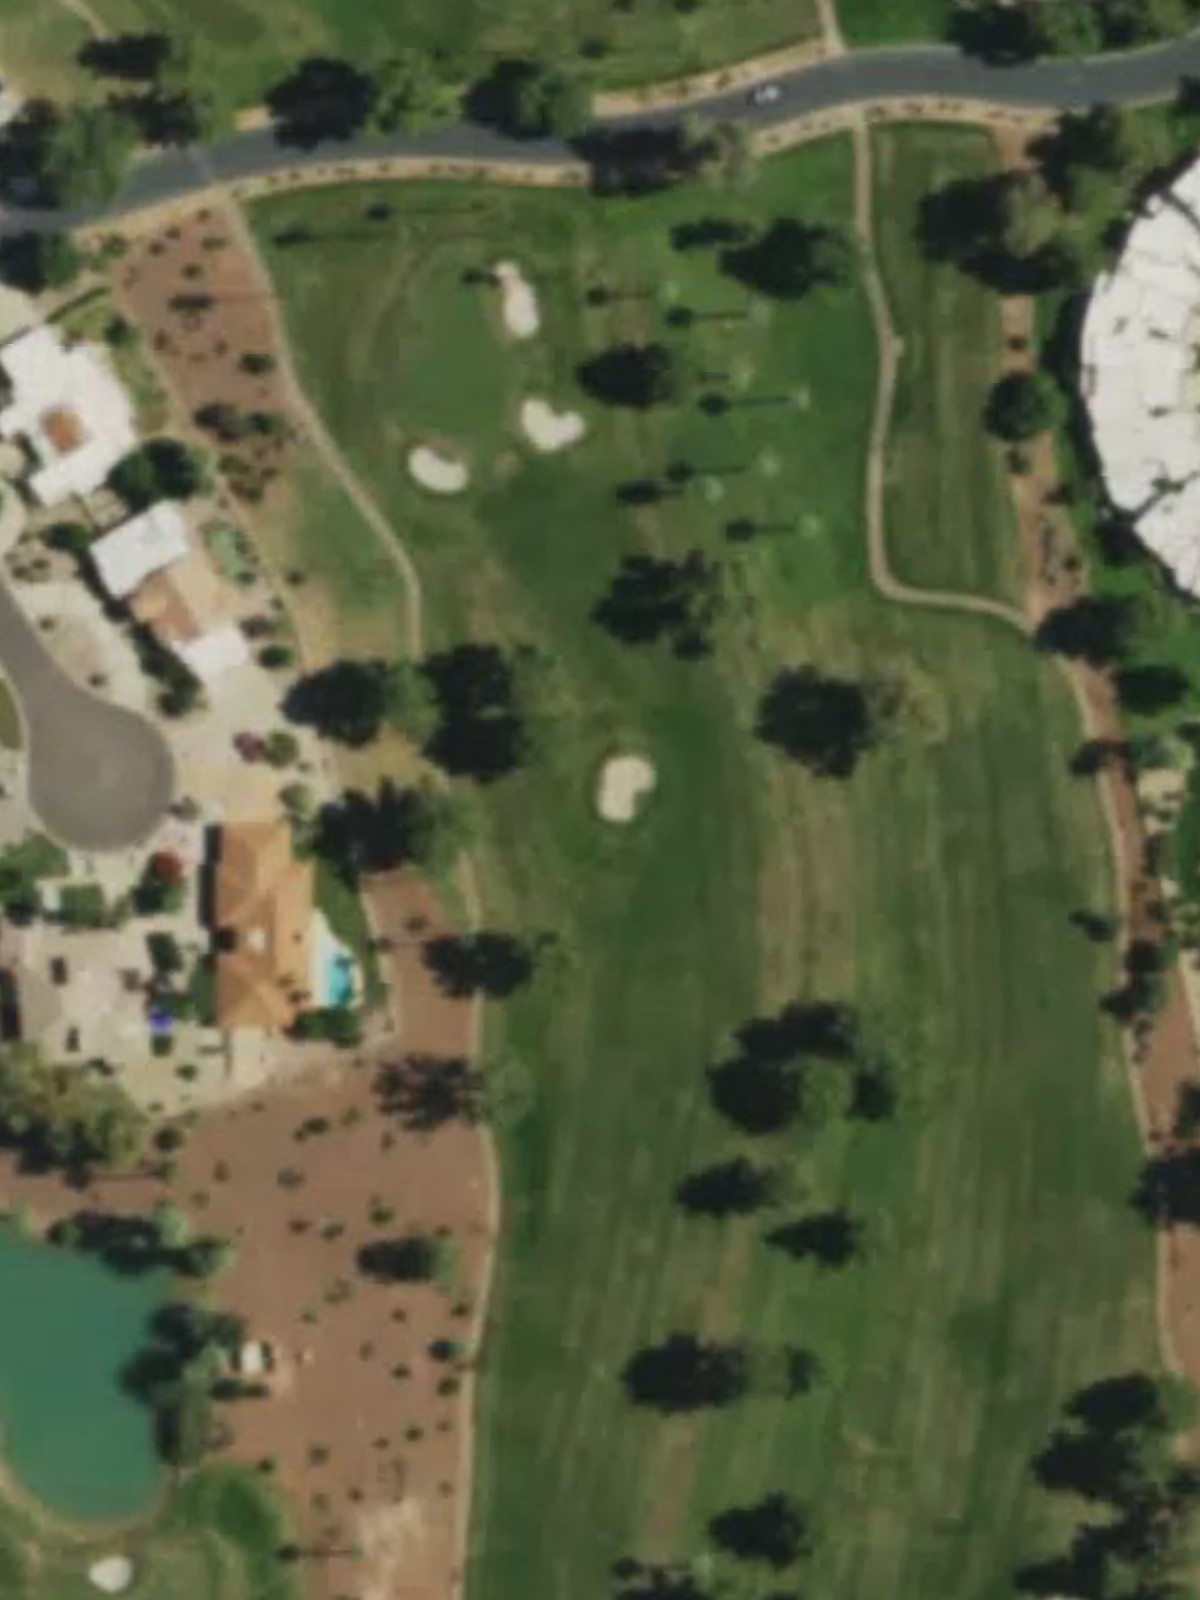
Wigwam G & Cc is an 18-hole golf course in Litchfield Park, AZ with a par of 72. It offers 7 tee sets: jones (7,345 yards, slope 137, rating 75), combo (7,021 yards, slope 133, rating 73.3), championship (6,830 yards, slope 130, rating 72.4), club (6,348 yards, slope 125, rating 70.3), forward (5,885 yards, slope 120, rating 67.9), forward combo (5,342 yards, slope 115, rating 65.4), teal (4,849 yards, slope 113, rating 63.1). The hardest hole is #8, a par 4 playing 377 yards from the first tee.
Wigwam G & Cc
Litchfield Park, AZ
Get PDF Yardage Book
We'll email you the PDF link. No spam, ever.
Create Your Game Plan
Pick your tees, enter your bag, and get a personalized shot-by-shot strategy for every hole.
A lengthy par 5 with room to work with off the tee, though the fairway narrows as it approaches the green. The hole's length and positioning of hazards around the landing areas make accuracy important on the second and third shots.
A short but demanding par 4 that plays as the third-hardest hole on the course. Tight fairway conditions and strategic bunkering near the green demand precision from tee to finish.
A mid-length par 3 with elevation change and a green that requires a confident shot. Bunkers frame the putting surface, making accuracy off the tee essential to avoid trouble.

A long par 5 offering good birdie potential for those who can navigate its length. The fairway has room to work with, but hazards positioned strategically reward smart positioning on the second shot.

A moderate par 4 that plays shorter than its yardage suggests, with a fairway that requires attention to detail. The approach shot to the green is the key test on this hole.
A short par 3 playing downhill to a well-protected green. Bunkers guard the approach, and the brief length offers no room for error despite the reduced yardage.

A mid-length par 4 with a fairway that gradually narrows toward the green. Strategic bunker placement and the hole's configuration make club selection and accuracy important throughout.
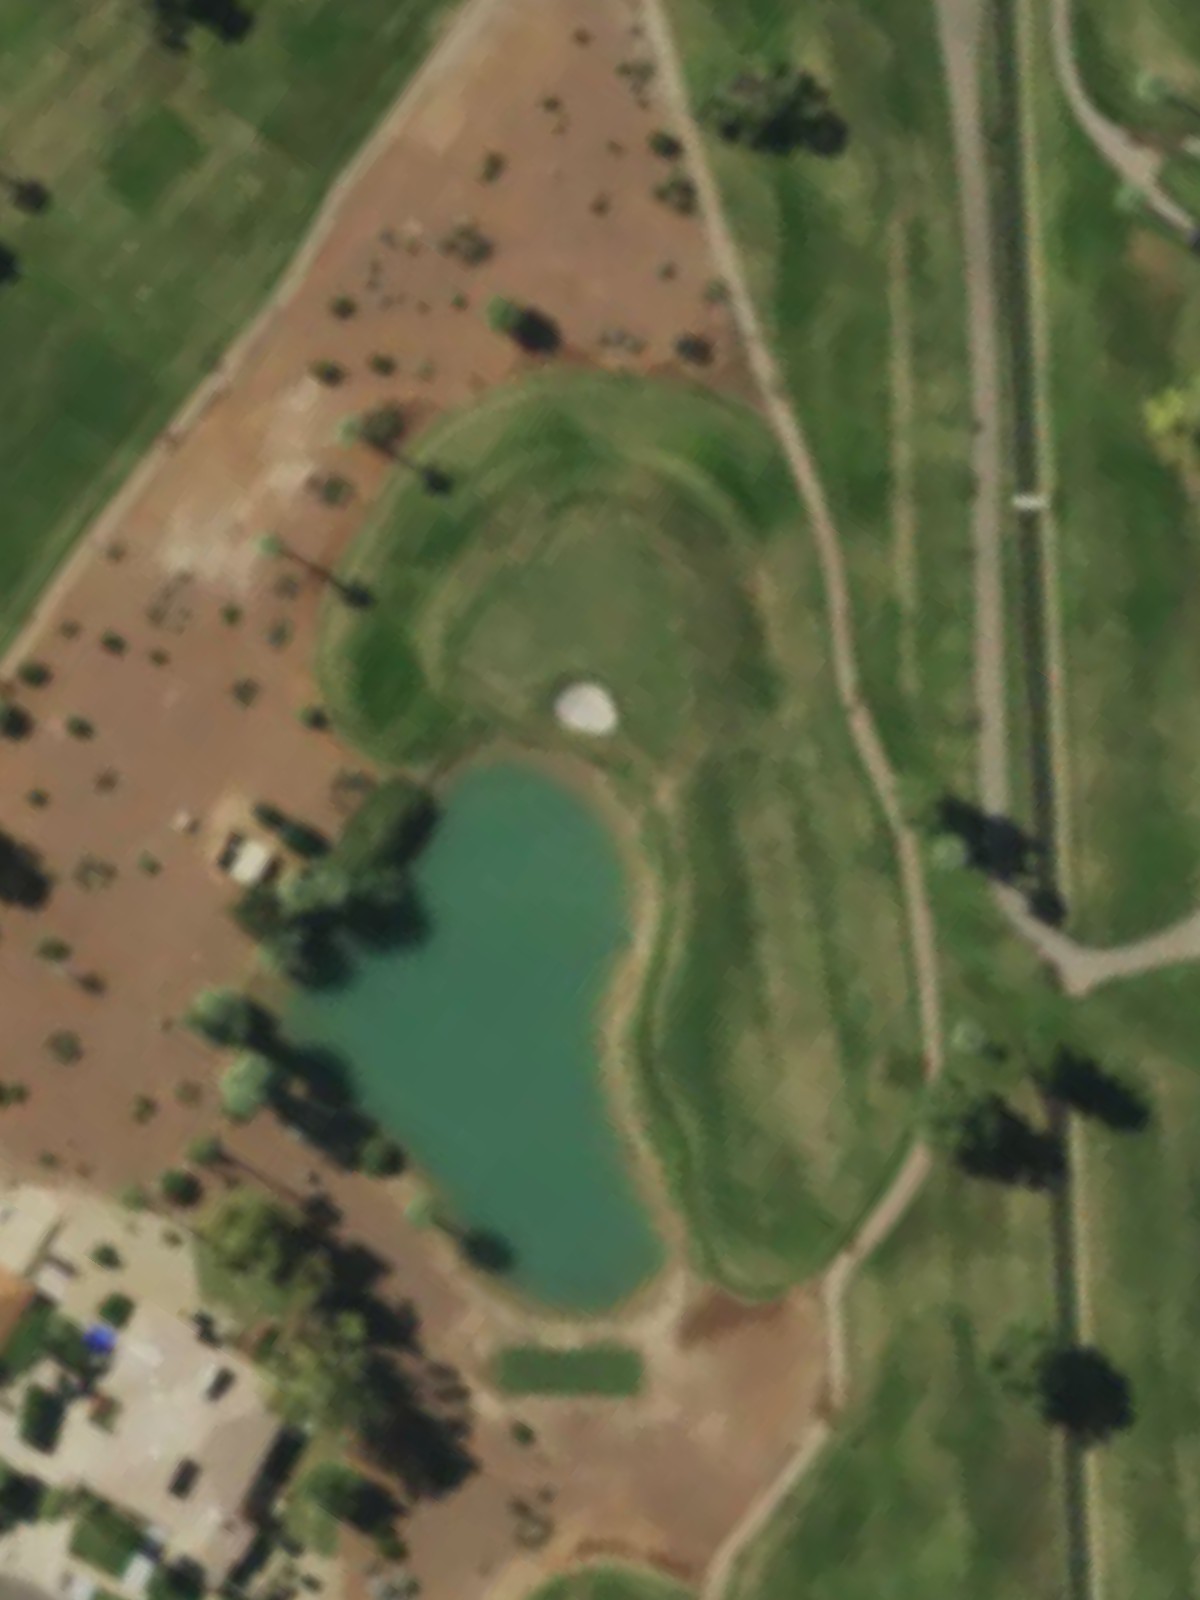
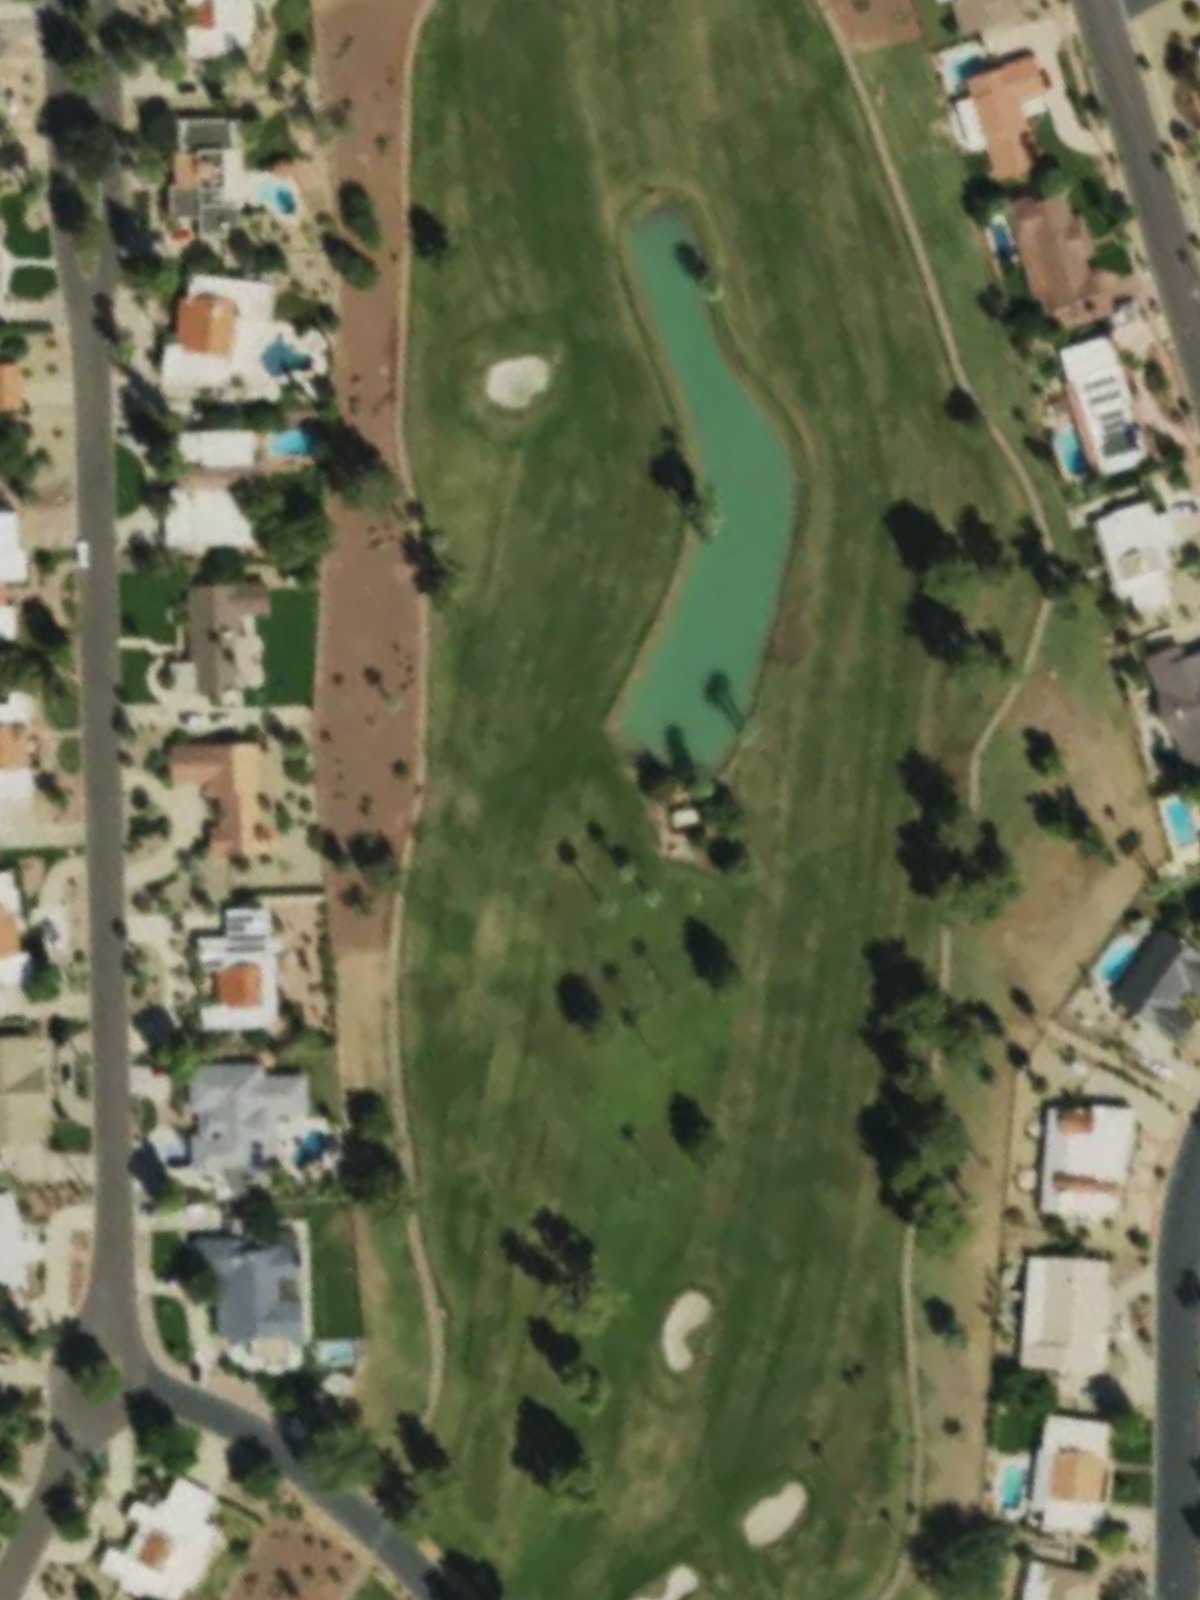
The most difficult par 4 on the course, this hole demands precision off the tee and an accurate approach. Water and bunker hazards are positioned to penalize both distance and direction miscues.
A strong par 4 that ranks among the course's toughest tests. The fairway tightens approaching the green, where bunkers guard critical areas and leave little margin for error on the approach shot.
A dramatic par 5 and one of the course's premier holes, offering length and scenic appeal. The hole's design rewards aggressive play but punishes poor positioning with strategically placed hazards throughout.
A short par 3 that plays deceptively difficult despite its reduced length. The green's placement and surrounding bunkers demand a precise tee shot to avoid scrambling.
A mid-length par 4 with a straightforward design that belies its challenge. Fairway width decreases as the hole progresses, putting emphasis on both distance control and accuracy into the green.
A strategic par 4 where positioning off the tee determines the difficulty of the approach. Bunkers and other hazards reward good angles while punishing those who stray from the ideal line.

The easiest par 5 on the course in terms of handicap, but still a full test of length and accuracy. The fairway provides decent working room, though hazards around the green demand respect on the final shot.

A relatively short par 4 that offers good scoring opportunity despite its mid-handicap rating. The key is avoiding hazards that frame the fairway and green approach areas.
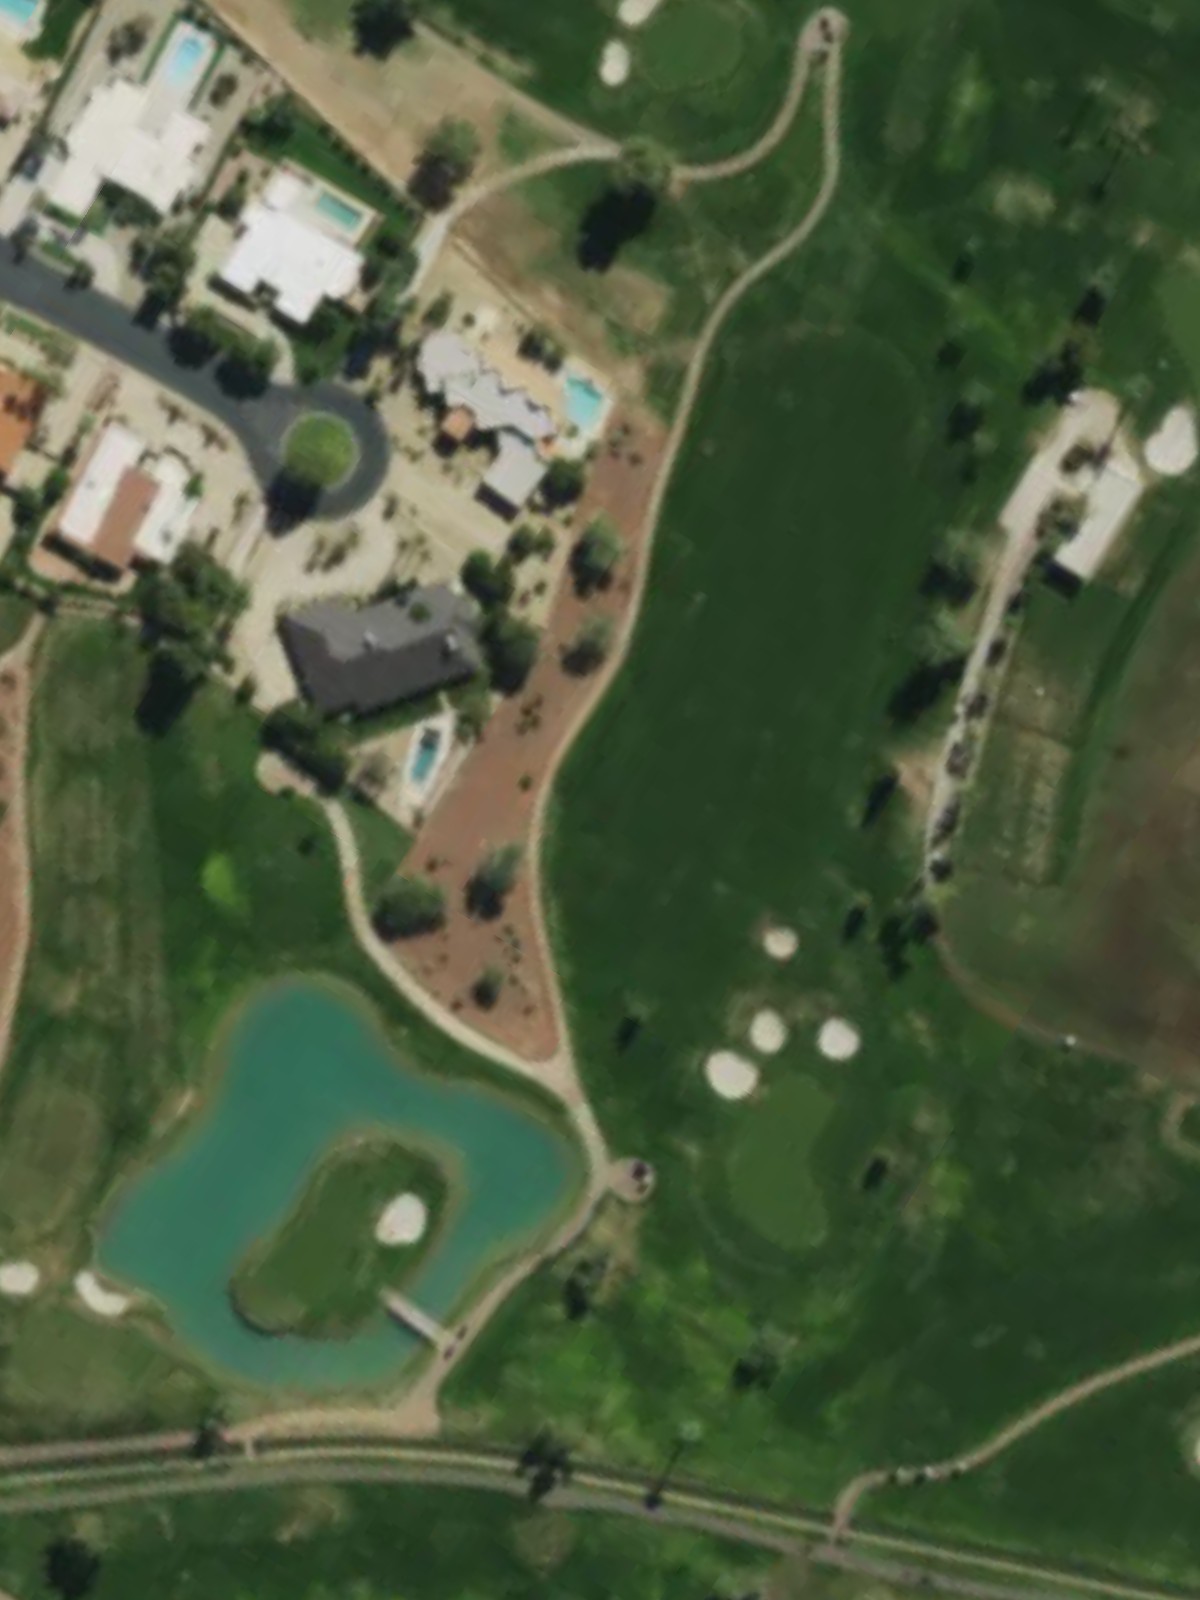
A very short par 3 with significant elevation change and limited bailout room. The dramatic yardage variance between tees reflects the challenge of distance control to a small, hazard-ringed target.

The second-most difficult par 4 on the course, this hole presents a comprehensive test of shotmaking. Strategic hazard placement and narrow fairway corridors leave no room for wayward shots.
A strong finishing par 4 that provides a meaningful conclusion to the round. The fairway configuration and green-side hazards combine to demand accuracy and commitment on both the tee and approach.
Scorecard
| Hole | 1 | 2 | 3 | 4 | 5 | 6 | 7 | 8 | 9 | Out | 10 | 11 | 12 | 13 | 14 | 15 | 16 | 17 | 18 | In | Tot |
|---|---|---|---|---|---|---|---|---|---|---|---|---|---|---|---|---|---|---|---|---|---|
| Par | 5 | 4 | 3 | 5 | 4 | 3 | 4 | 4 | 4 | 36 | 5 | 3 | 4 | 4 | 5 | 4 | 3 | 4 | 4 | 36 | 72 |
| HCP | 11 | 3 | 7 | 15 | 9 | 17 | 13 | 1 | 5 | 4 | 8 | 14 | 12 | 18 | 10 | 16 | 2 | 6 | |||
| jones | 548 | 391 | 223 | 654 | 405 | 213 | 429 | 433 | 452 | 3748 | 660 | 190 | 384 | 430 | 535 | 366 | 170 | 422 | 440 | 3597 | 7345 |
| combo | 548 | 391 | 219 | 575 | 405 | 196 | 429 | 398 | 416 | 3577 | 590 | 190 | 384 | 383 | 535 | 366 | 170 | 422 | 404 | 3444 | 7021 |
| championship | 533 | 374 | 219 | 575 | 380 | 196 | 412 | 398 | 416 | 3503 | 590 | 163 | 368 | 383 | 522 | 354 | 161 | 382 | 404 | 3327 | 6830 |
| club | 506 | 358 | 172 | 540 | 356 | 176 | 347 | 377 | 390 | 3222 | 562 | 144 | 347 | 362 | 488 | 323 | 146 | 367 | 387 | 3126 | 6348 |
| forward | 483 | 341 | 158 | 510 | 335 | 156 | 325 | 322 | 370 | 3000 | 527 | 126 | 321 | 323 | 467 | 298 | 135 | 355 | 333 | 2885 | 5885 |
| forward combo | 383 | 341 | 118 | 510 | 299 | 156 | 260 | 332 | 279 | 2678 | 523 | 116 | 292 | 272 | 415 | 301 | 97 | 351 | 297 | 2664 | 5342 |
| teal | 383 | 300 | 118 | 405 | 265 | 130 | 260 | 280 | 279 | 2420 | 427 | 120 | 292 | 272 | 400 | 245 | 76 | 300 | 297 | 2429 | 4849 |