Wente Vineyards (Course At) is an 18-hole golf course in Livermore, CA with a par of 72. It offers 6 tee sets: black (7,135 yards, slope 144, rating 74.7), gold (6,816 yards, slope 140, rating 73.4), gold/blue combo (6,580 yards, slope 134, rating 72.3), blue (6,227 yards, slope 127, rating 70.9), blue/white combo (5,969 yards, slope 126, rating 69.6), white (5,614 yards, slope 121, rating 68.4). The hardest hole is #9, a par 4 playing 404 yards from the first tee.
Wente Vineyards (Course At)
Livermore, CA
Get PDF Yardage Book
We'll email you the PDF link. No spam, ever.
Create Your Game Plan
Pick your tees, enter your bag, and get a personalized shot-by-shot strategy for every hole.
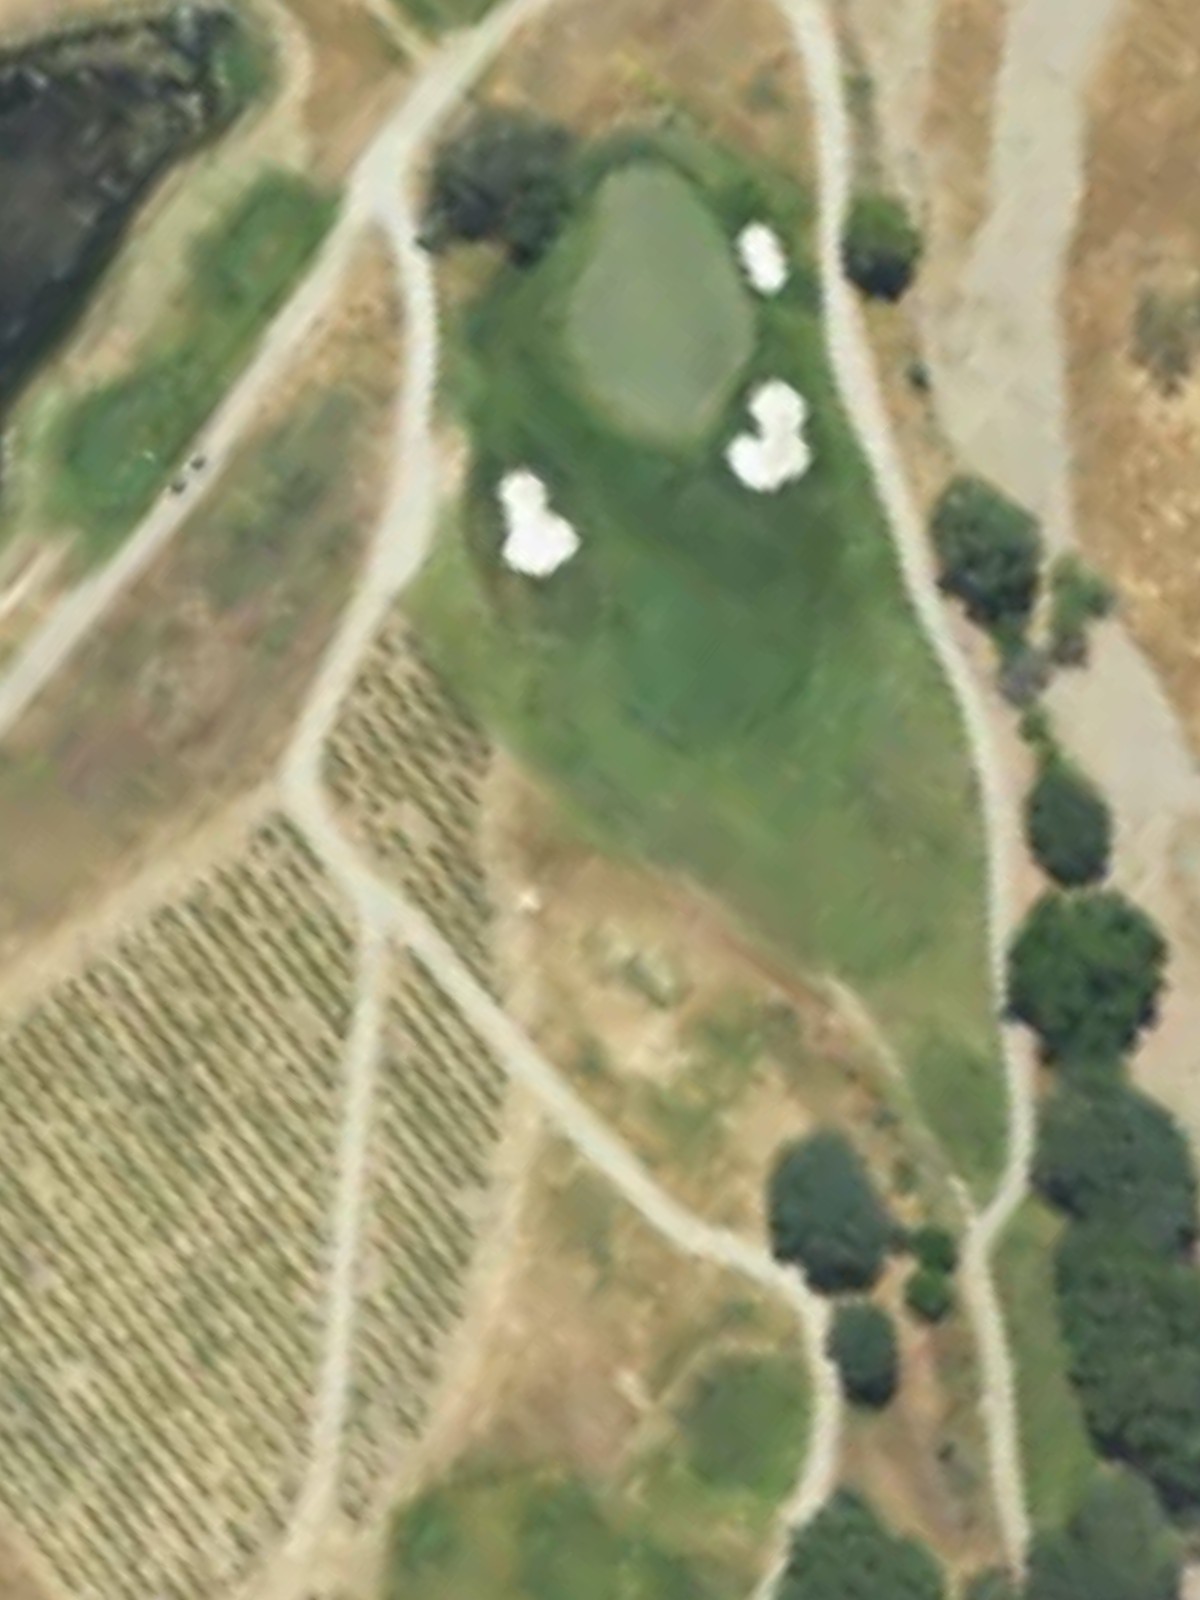
A straightforward par 4 that opens with a wide fairway before narrowing as it approaches the green. Bunkers protect the right side of the green, requiring accuracy on the approach shot to avoid sand play.
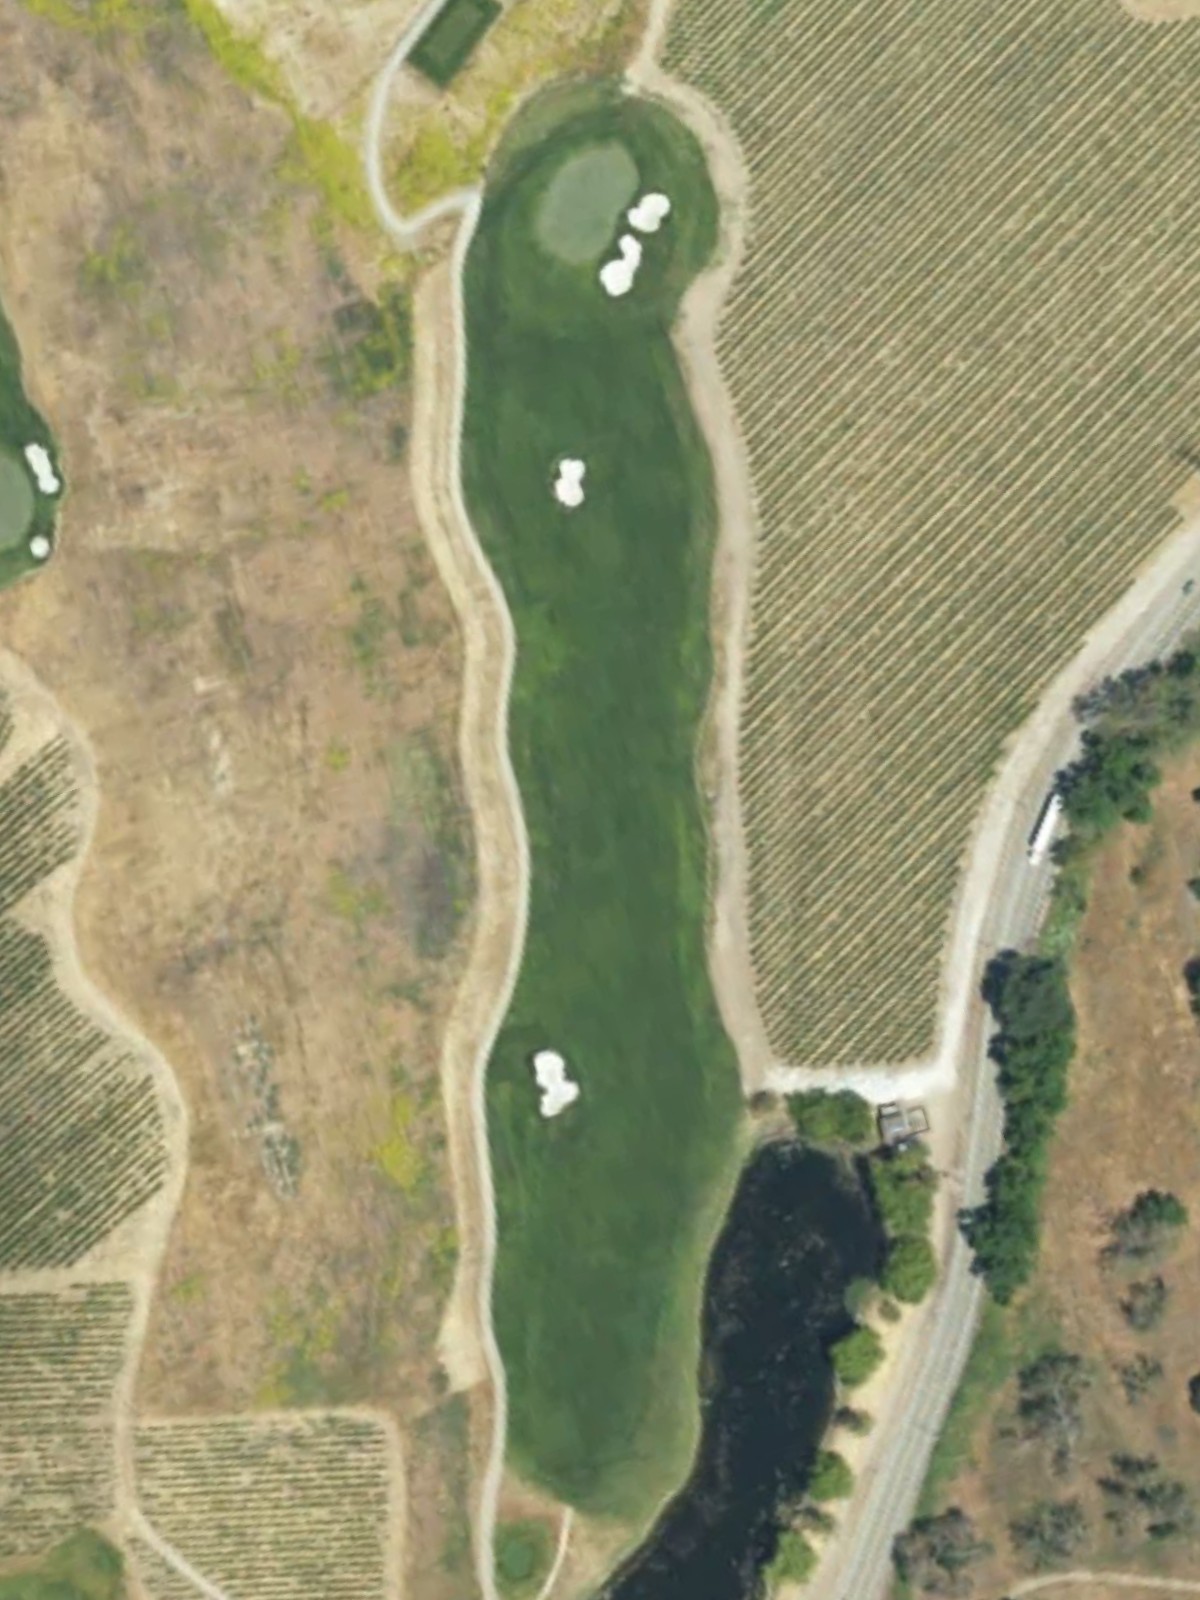
A short par 4 that plays downhill toward the green, offering a scoring opportunity for accurate players. The compact length makes precision more valuable than distance, with the green's tight target area presenting the main challenge.
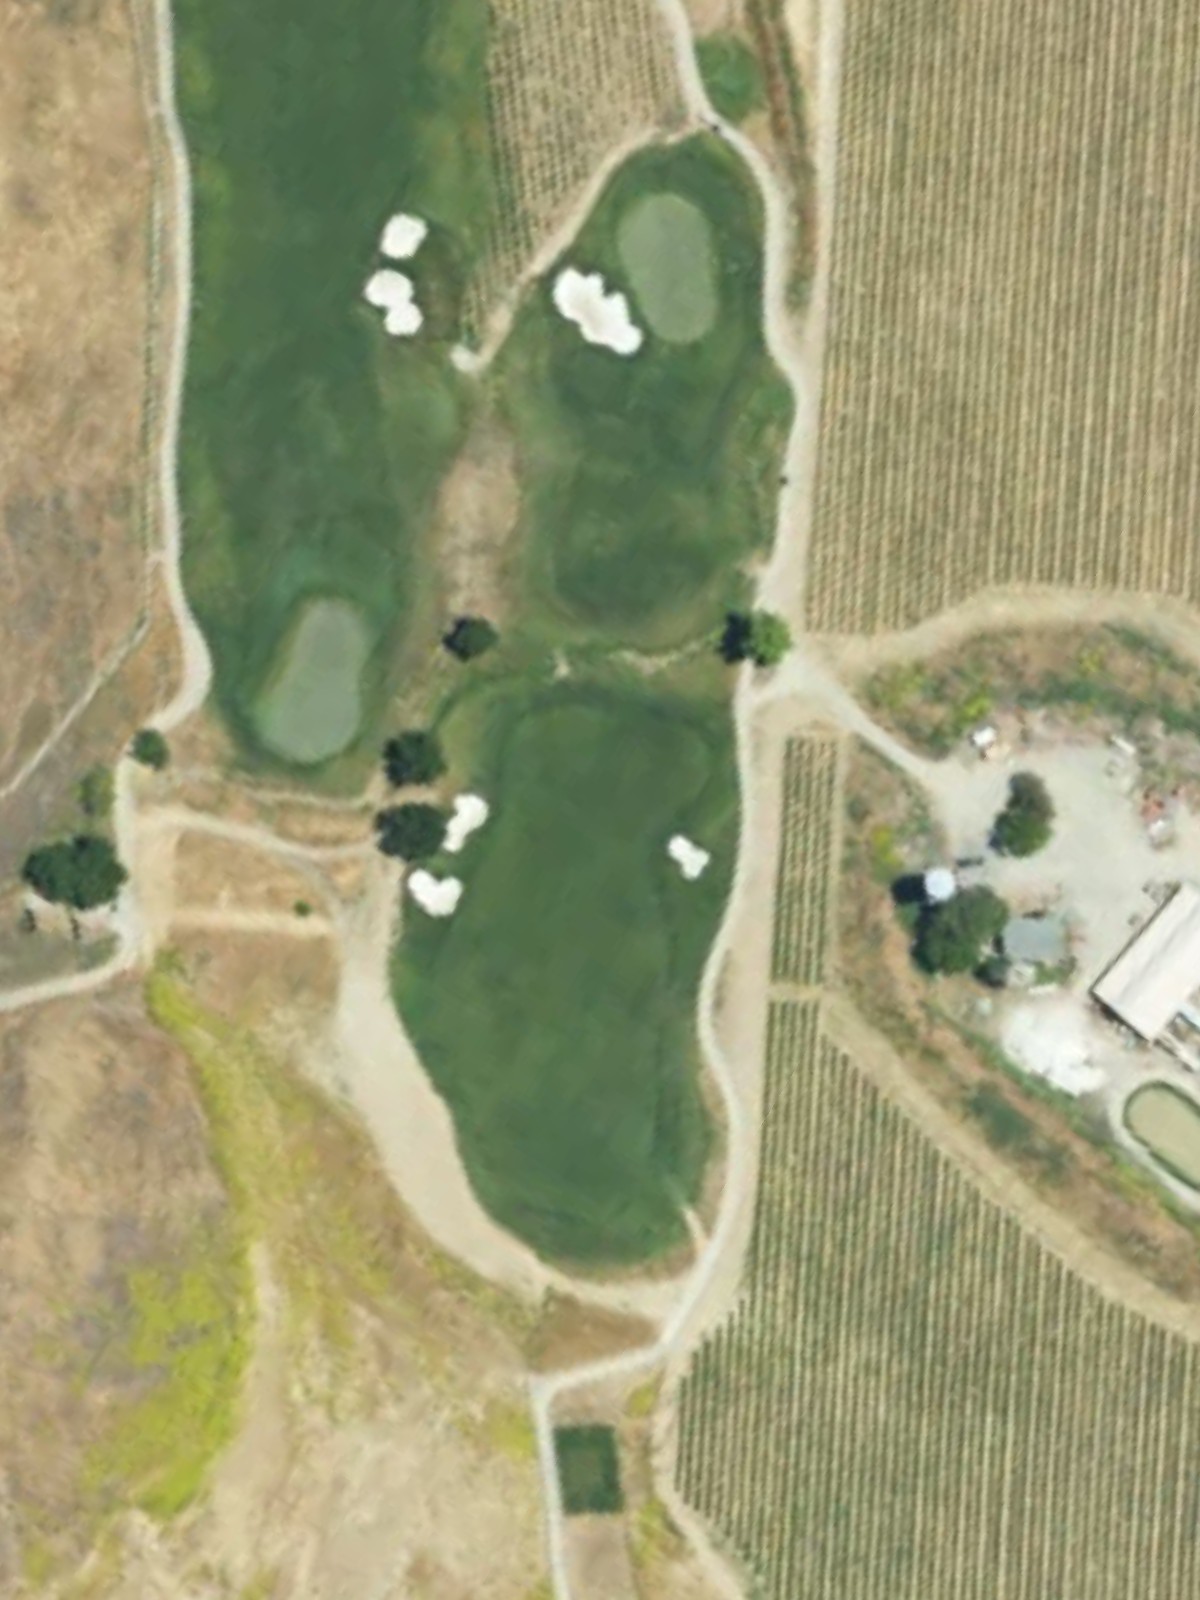
A short par 3 with a narrow target that demands an accurate tee shot over a modest distance. The small, well-defined green leaves little room for error despite the short yardage.
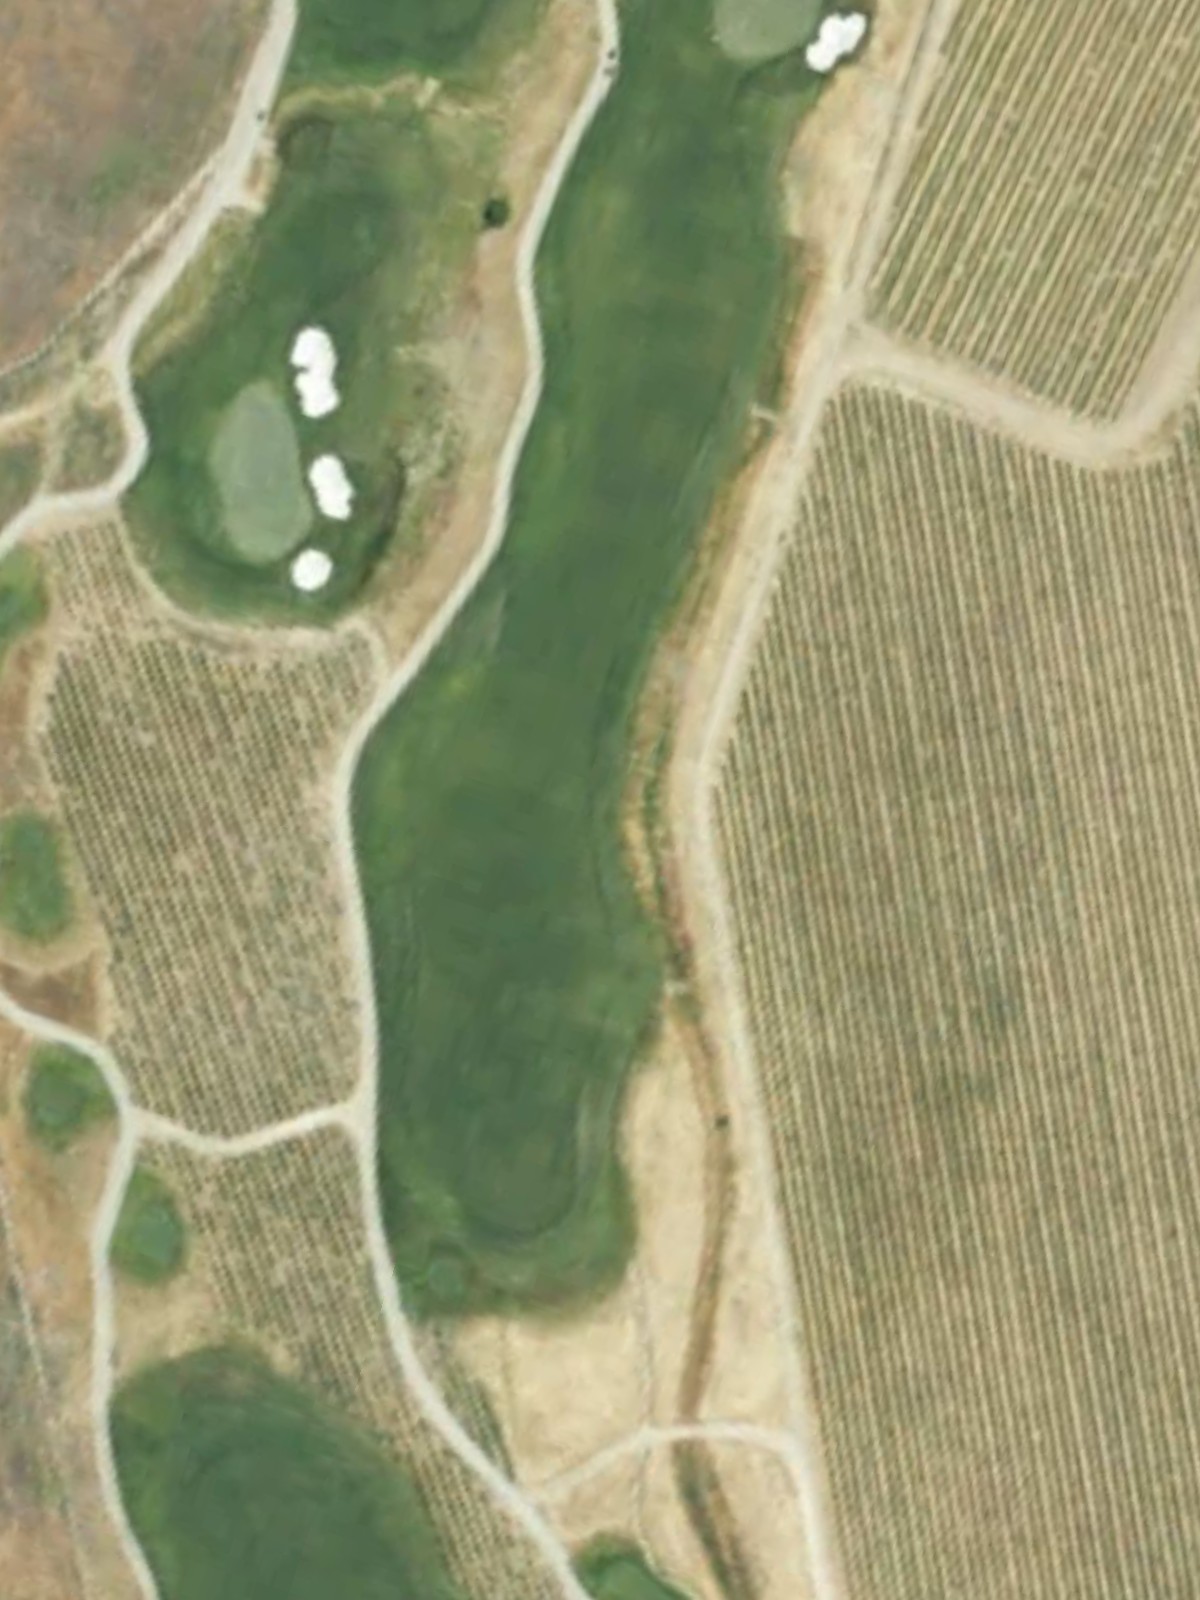
A mid-length par 4 featuring a fairly direct routing to the green with moderate width throughout. The hole's main challenge lies in positioning the approach shot to avoid hazards surrounding the green complex.
A reachable par 5 that stretches across the landscape with a fairway that maintains reasonable width. The length and hazard placement demand strategic positioning on both the drive and second shot to set up a manageable approach.
A short par 4 playing downhill with a relatively open approach to the green. The reduced length offers birdie potential, though the downhill nature requires careful distance control on the approach.
A testing par 3 of moderate length with a well-defined green that requires a solid tee shot. Bunkers and natural hazards frame the green, making precision essential despite the mid-range yardage.

The course's longest par 5, stretching significantly and playing as one of the toughest holes at Wente. The extended yardage and strategic hazard placement demand three well-executed shots to reach the green in regulation.
The most difficult hole on the course, a demanding par 4 that tests all facets of shot-making with its length and hazard layout. Bunkers and other obstacles guard the approach, making this a pivotal scoring hole in the round.
A short par 4 offering a reprieve after the difficult back nine start, with a relatively straightforward routing. The compact yardage creates a birdie opportunity for those who can find the fairway and position their approach accurately.
A mid-length par 3 with a moderate target that requires solid fundamentals from the tee. The green is protected by bunkers and natural features that punish inaccurate shots.
A substantial par 5 with width and strategic complexity throughout the hole. Hazards are positioned to challenge both the drive and second shot, rewarding careful course management over power.
A straightforward par 4 of moderate length with fair width from tee to green. The approach shot into a protected green represents the main challenge, with bunkers or water guarding the target.
A mid-length par 3 with a clearly defined green that requires an accurate tee shot to avoid surrounding hazards. The hole's design emphasizes precision over power on the approach to the putting surface.
A long par 5 requiring strategic planning across all three shots to avoid hazards effectively. The extended yardage and hazard placement make this a significant test of skill and course management.
A solid par 4 with moderate length and width that demands accuracy into a well-protected green. Bunkers frame the green complex, requiring a precise approach to secure a favorable finishing position.
A challenging par 4 of considerable length that plays as one of the course's toughest finishing holes. Strategic hazards guard the fairway and green, demanding two strong shots to reach the putting surface.
The closing par 4 presents a demanding finish with significant length and hazard placement throughout. Bunkers and other obstacles frame both the fairway and green, making a solid final hole that determines the round's outcome.
Scorecard
| Hole | 1 | 2 | 3 | 4 | 5 | 6 | 7 | 8 | 9 | Out | 10 | 11 | 12 | 13 | 14 | 15 | 16 | 17 | 18 | In | Tot |
|---|---|---|---|---|---|---|---|---|---|---|---|---|---|---|---|---|---|---|---|---|---|
| Par | 4 | 4 | 3 | 4 | 5 | 4 | 3 | 5 | 4 | 36 | 4 | 3 | 5 | 4 | 3 | 5 | 4 | 4 | 4 | 36 | 72 |
| HCP | 7 | 15 | 17 | 11 | 13 | 9 | 5 | 3 | 1 | 18 | 16 | 6 | 10 | 12 | 14 | 8 | 4 | 2 | |||
| black | 476 | 307 | 137 | 420 | 583 | 352 | 225 | 594 | 491 | 3585 | 301 | 172 | 565 | 410 | 171 | 567 | 446 | 445 | 473 | 3550 | 7135 |
| gold | 422 | 302 | 132 | 384 | 520 | 352 | 199 | 589 | 465 | 3365 | 301 | 167 | 558 | 402 | 163 | 552 | 406 | 441 | 461 | 3451 | 6816 |
| gold/blue combo | 402 | 302 | 132 | 384 | 520 | 352 | 199 | 540 | 404 | 3235 | 301 | 167 | 541 | 402 | 163 | 552 | 406 | 401 | 412 | 3345 | 6580 |
| blue | 402 | 278 | 121 | 335 | 471 | 298 | 180 | 540 | 404 | 3029 | 278 | 163 | 541 | 368 | 163 | 499 | 373 | 401 | 412 | 3198 | 6227 |
| blue/white combo | 378 | 278 | 121 | 335 | 471 | 298 | 180 | 473 | 351 | 2885 | 278 | 163 | 487 | 368 | 163 | 499 | 373 | 386 | 367 | 3084 | 5969 |
| white | 378 | 253 | 107 | 289 | 417 | 267 | 150 | 473 | 351 | 2685 | 253 | 150 | 487 | 334 | 149 | 471 | 332 | 386 | 367 | 2929 | 5614 |