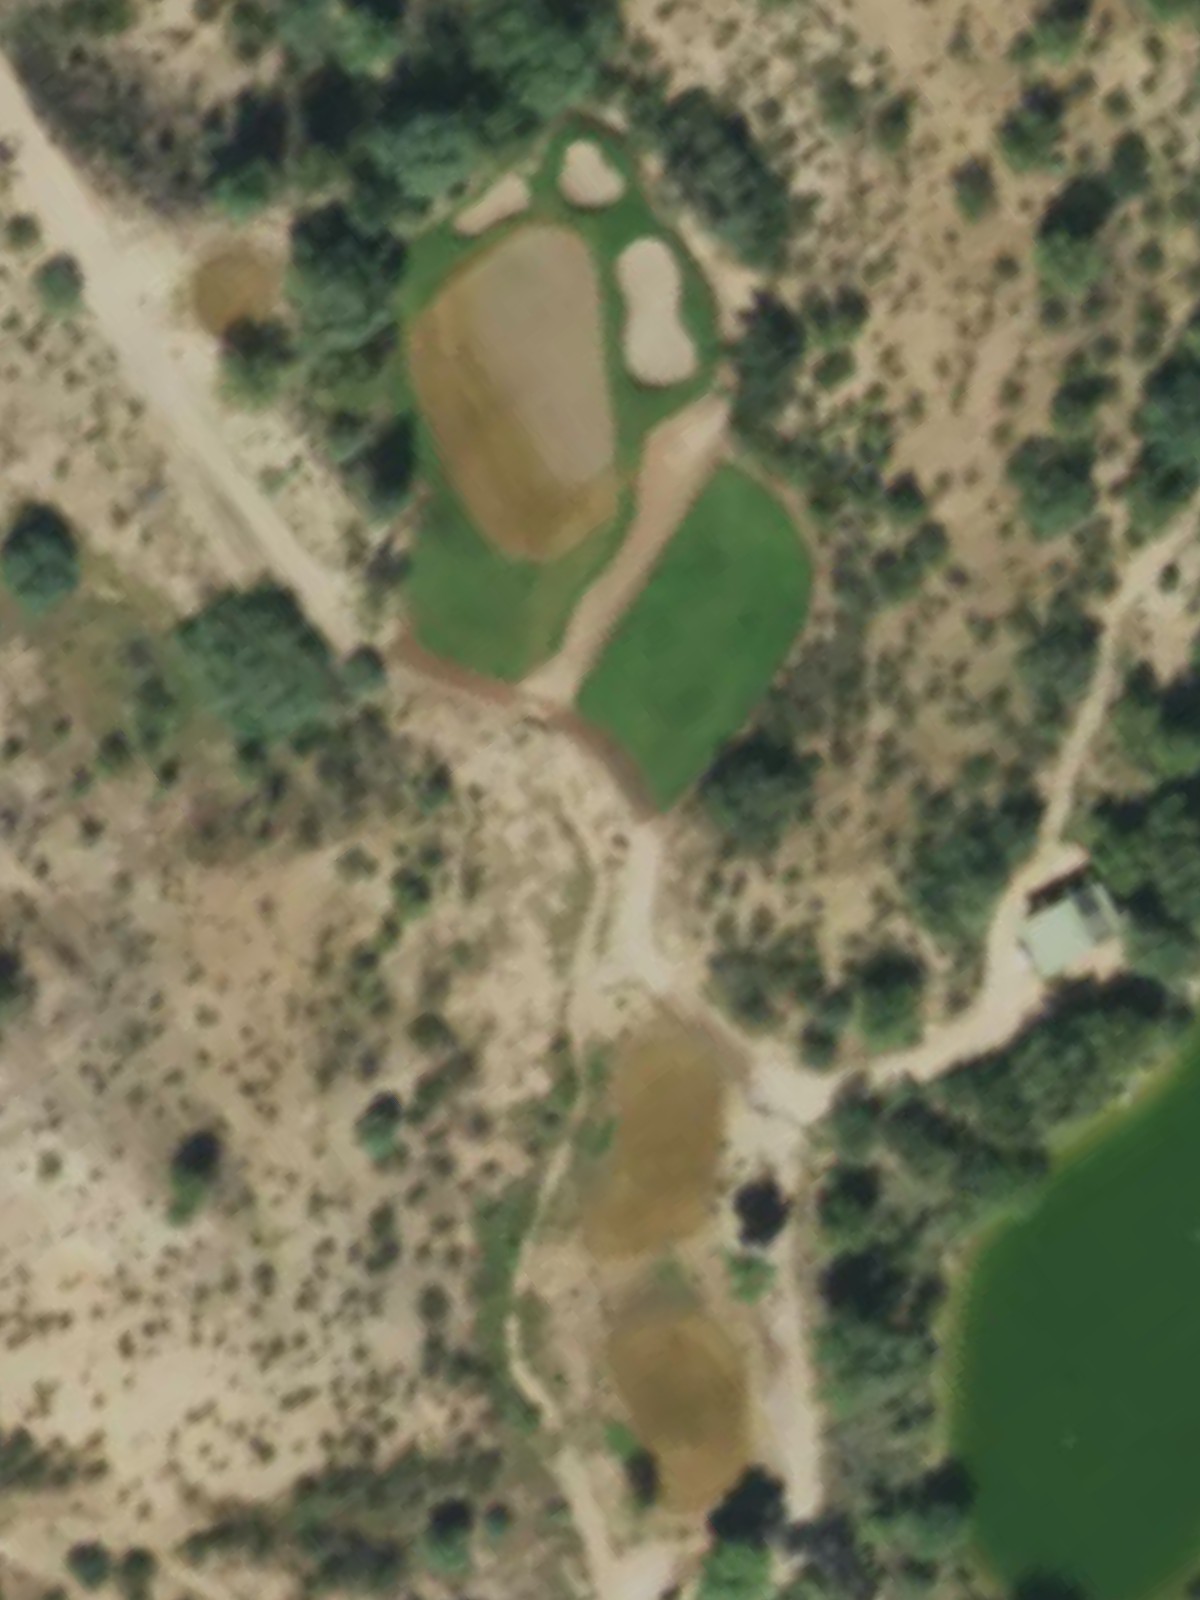
We-Ko-Pa Golf Club is an 18-hole golf course in Fountain Hills, AZ with a par of 71. It offers 4 tee sets: saguaro (6,829 yards, slope 137, rating 72), purple (6,524 yards, slope 132, rating 70.2), white (6,187 yards, slope 125, rating 68.8), composite (5,786 yards, slope 120, rating 66.9). The hardest hole is #4, a par 5 playing 590 yards from the first tee.
We-Ko-Pa Golf Club
Fountain Hills, AZ
Get PDF Yardage Book
We'll email you the PDF link. No spam, ever.
Create Your Game Plan
Pick your tees, enter your bag, and get a personalized shot-by-shot strategy for every hole.
A relatively straightforward par 4 opening hole with a fairway that gradually narrows as it approaches the green. Bunkers guard the right side of the green, requiring accuracy on the approach shot to avoid sand play.
A short par 4 that plays as one of the easiest holes on the course. The modest length and open approach make this an opportunity hole, though precision is still required to set up a birdie opportunity.
A mid-length par 4 with a relatively direct routing to a well-bunkered green. The green's defenses demand an accurate approach shot to find the putting surface.
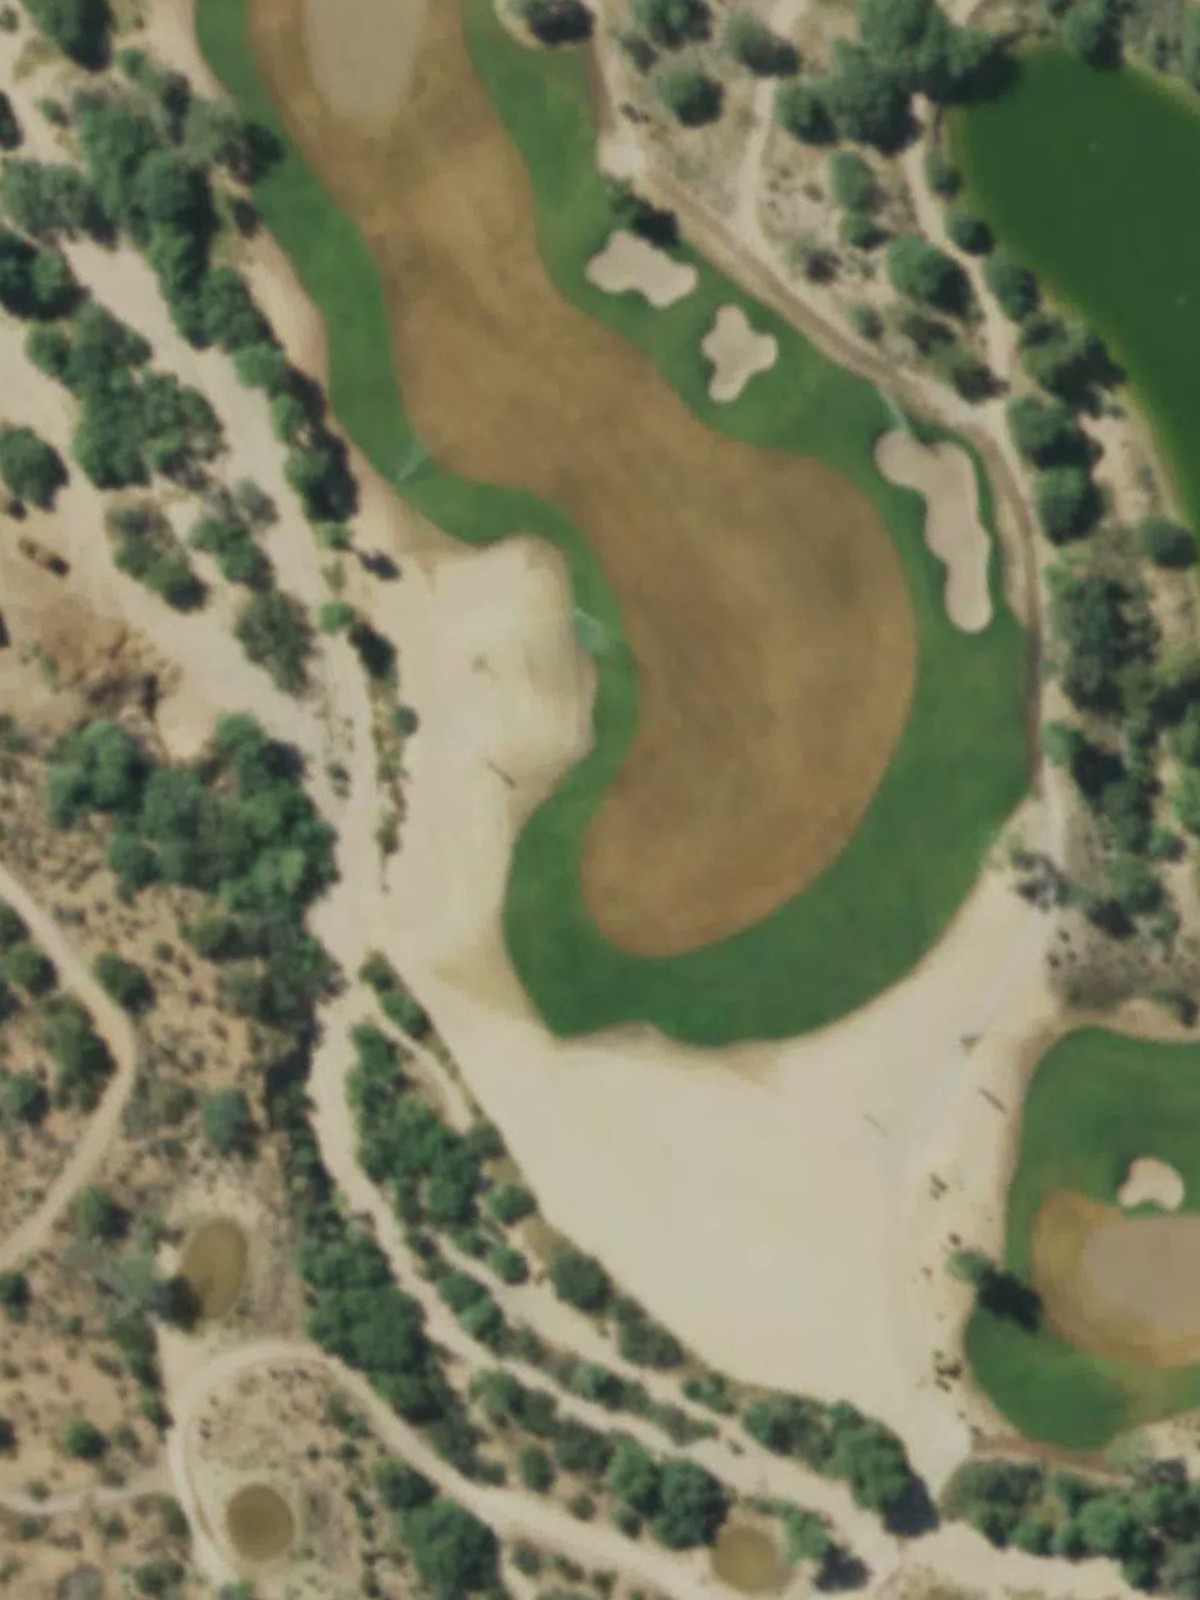
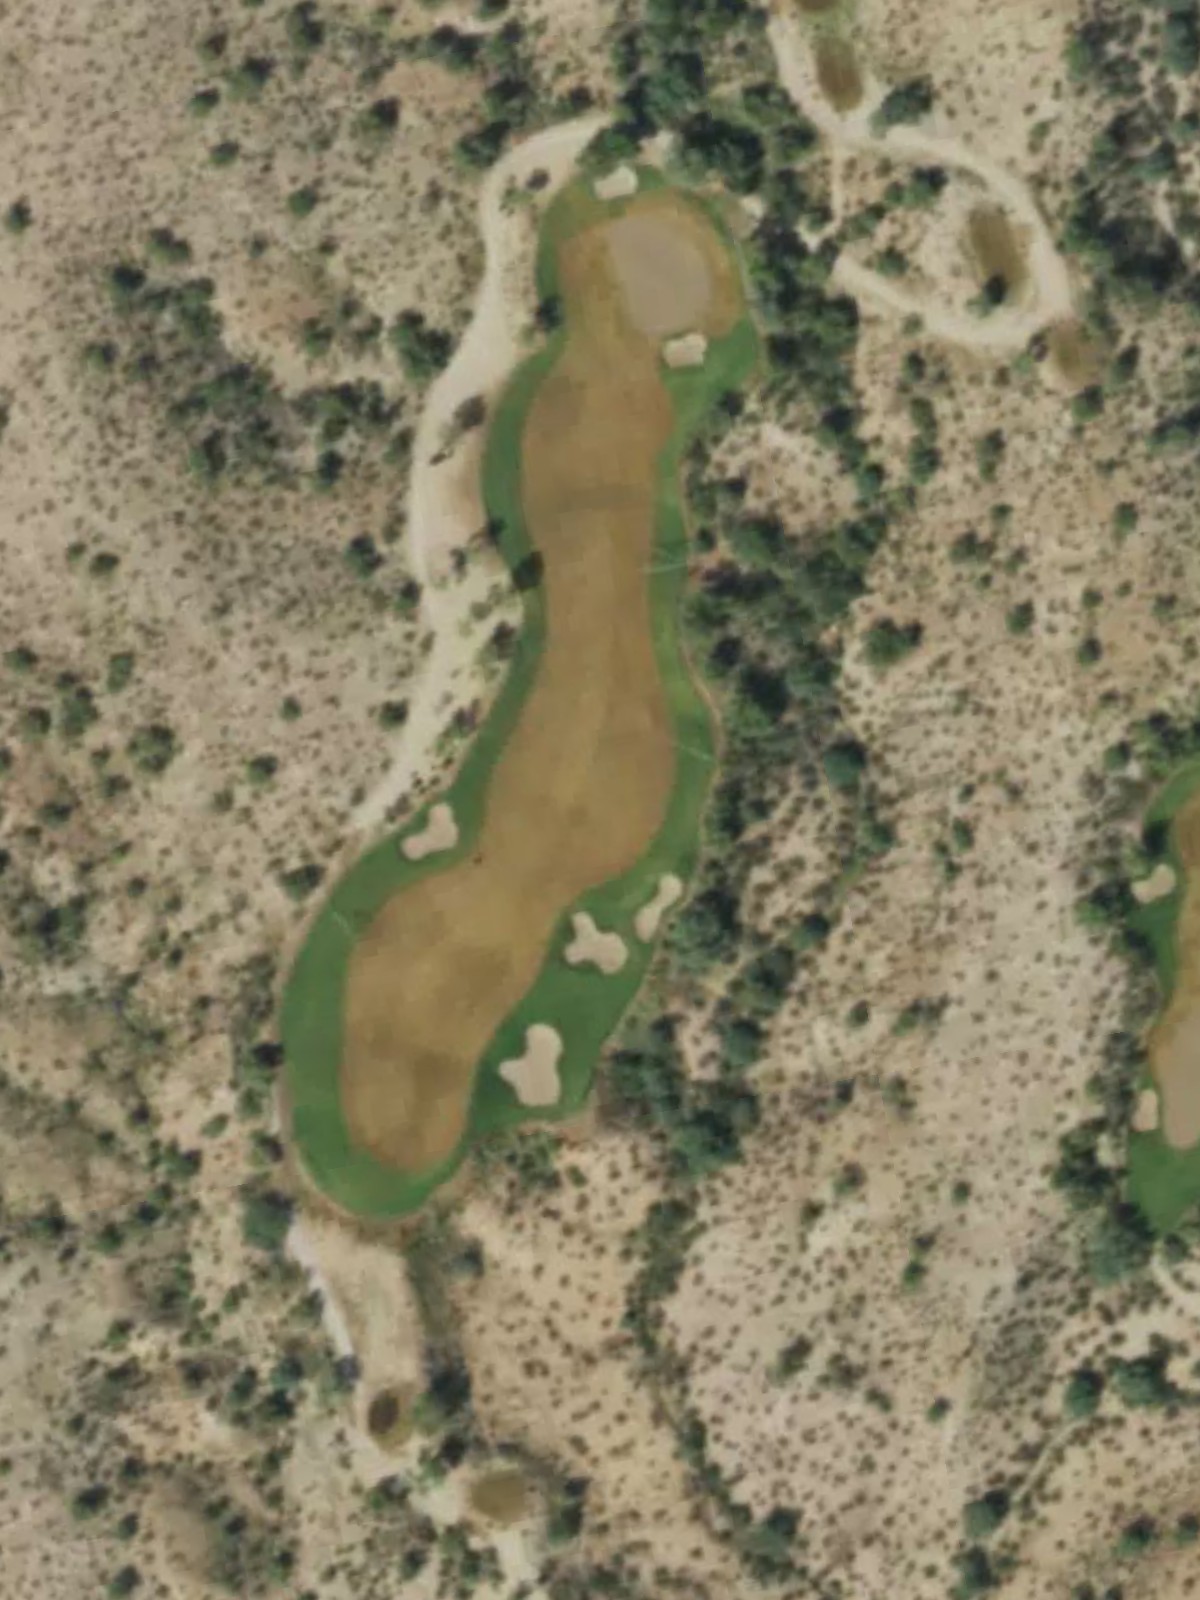
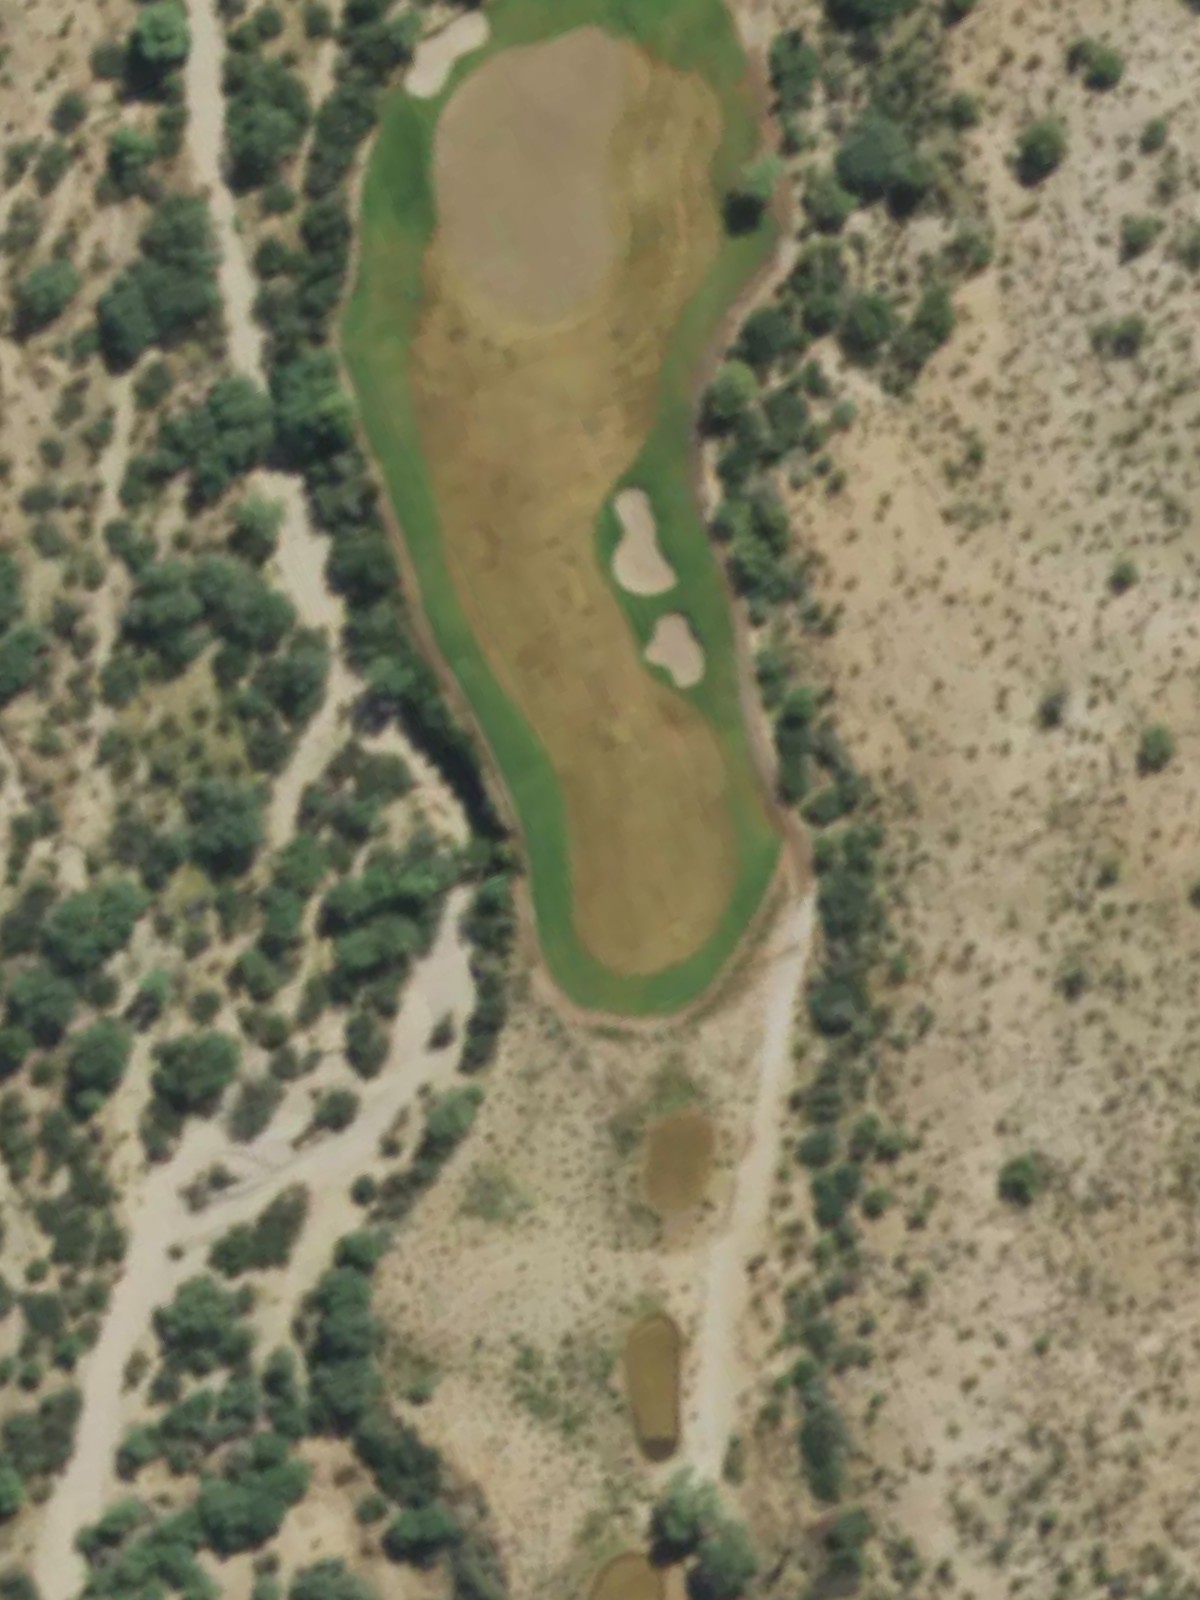
The course's number-one handicap hole, this lengthy par 5 presents a significant challenge over its full distance. Strategic positioning is required to attack this hole effectively, with hazards positioned to penalize wayward shots.
A short par 3 with a modest length and straightforward character. The hole's brevity makes it a scoring opportunity, though the green's defenses demand an accurate tee shot.
A mid-length par 4 with character defined by its hazards and green complex. The approach shot must navigate the hole's defenses to find a receptive putting surface.

A relatively short par 4 that offers a birdie opportunity despite its challenging handicap rating. Accuracy off the tee and on the approach is key to maximizing scoring potential on this hole.
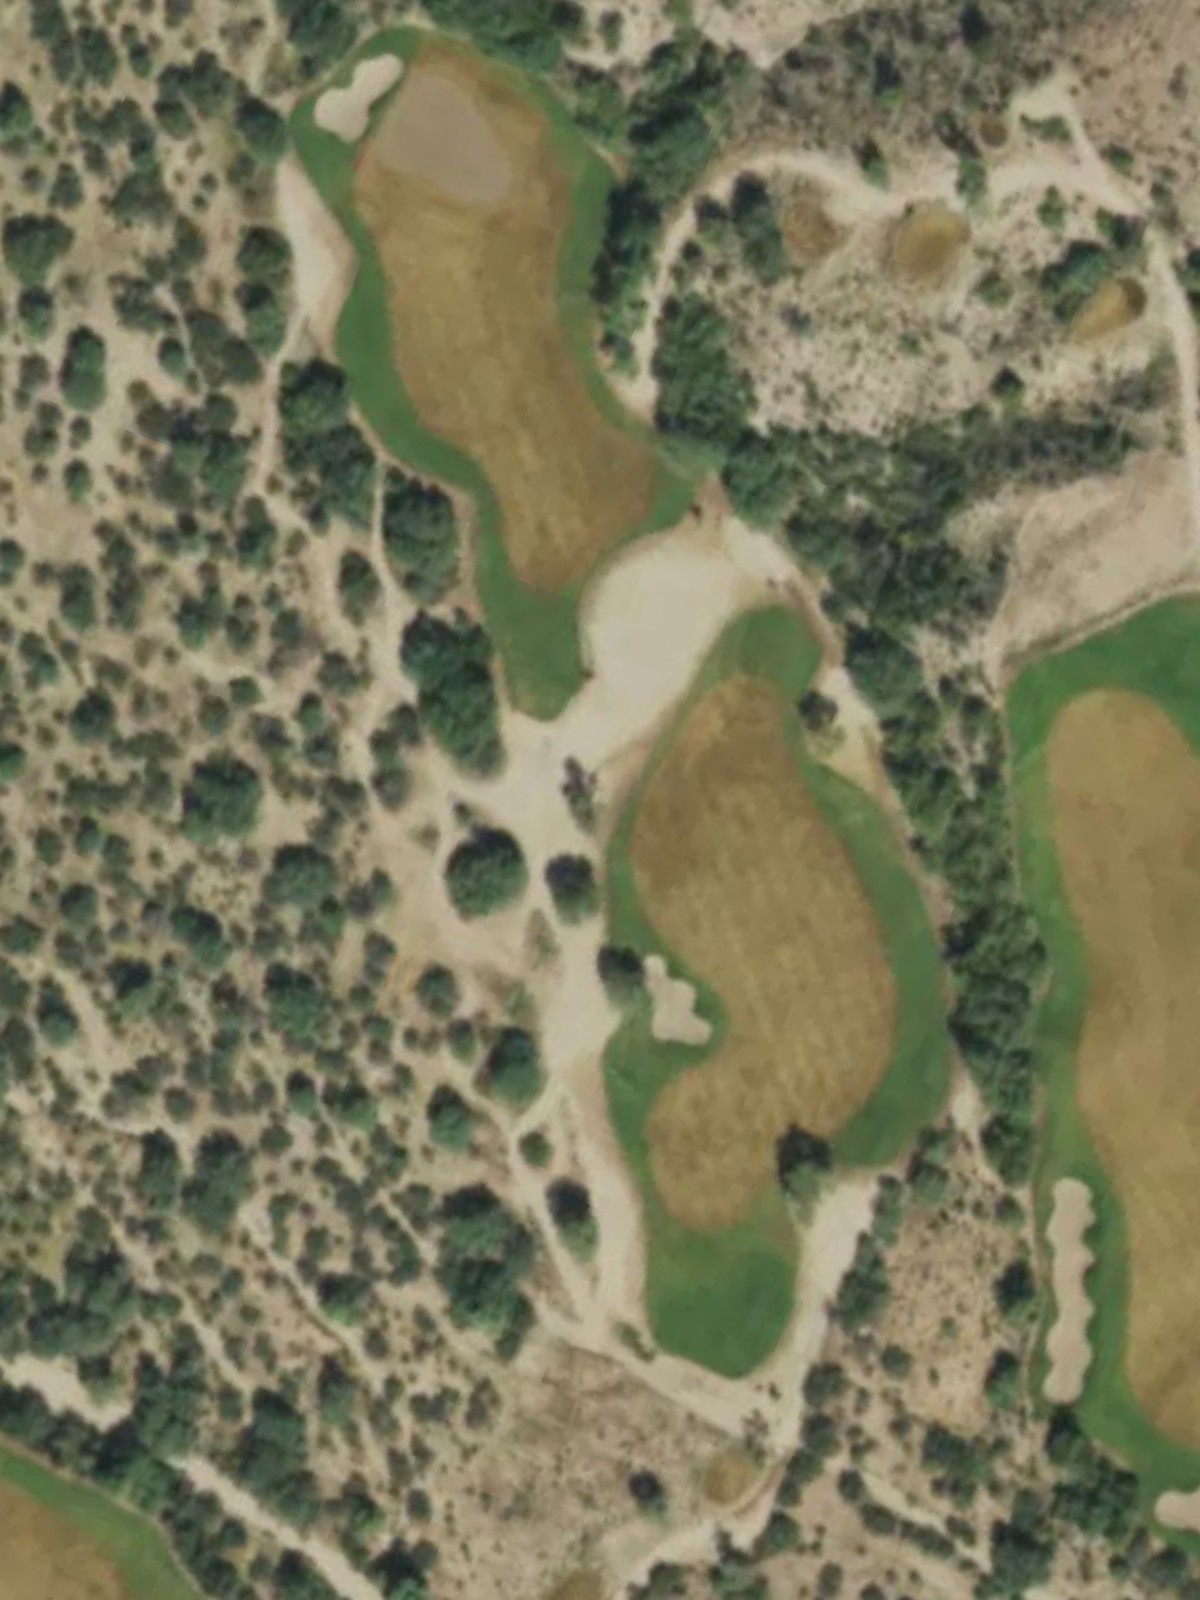
A substantial par 5 ranking third in difficulty, this hole demands careful strategy over its full length. Hazards and the green's design require thoughtful placement of both tee and approach shots.
The course's shortest par 3, this hole plays as a genuine scoring opportunity. The modest distance and straightforward nature make this an ideal birdie chance.
A short par 4 with a modest length that presents an opportunity for good scoring. Strategic positioning off the tee sets up the approach to a well-defined green complex.
The easiest hole on the course, this par 3 plays to a manageable distance with a relatively open design. The hole's brevity and lack of excessive hazards make it an ideal birdie opportunity.

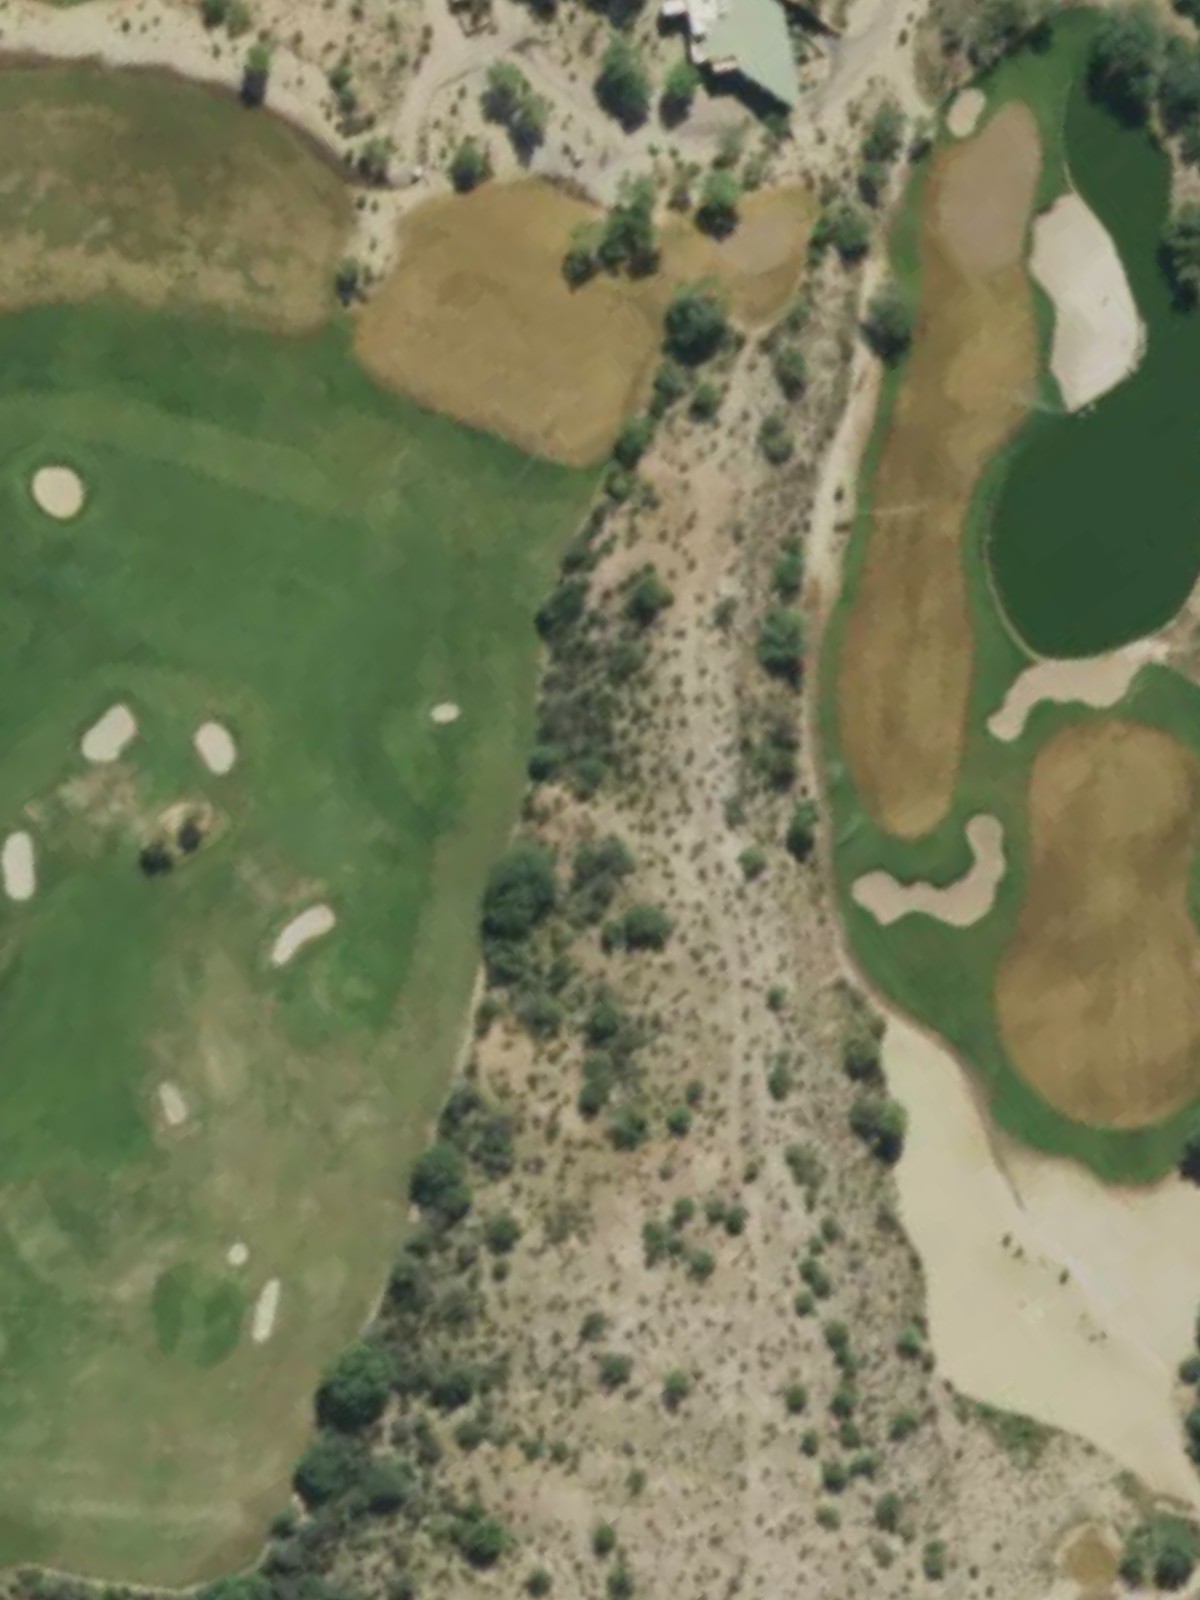
A testing par 4 ranked sixth in difficulty, this hole features a solid length and strategic hazards. The green complex demands precision on the approach shot to avoid trouble.
A challenging par 4 with a strong length and well-guarded green. The hole's difficulty is enhanced by strategic bunkering and hazard placement that punishes poor positioning.
The second-toughest hole on the course, this lengthy par 5 demands careful strategy from tee to green. Multiple hazards and the extended yardage combine to create a formidable challenge.
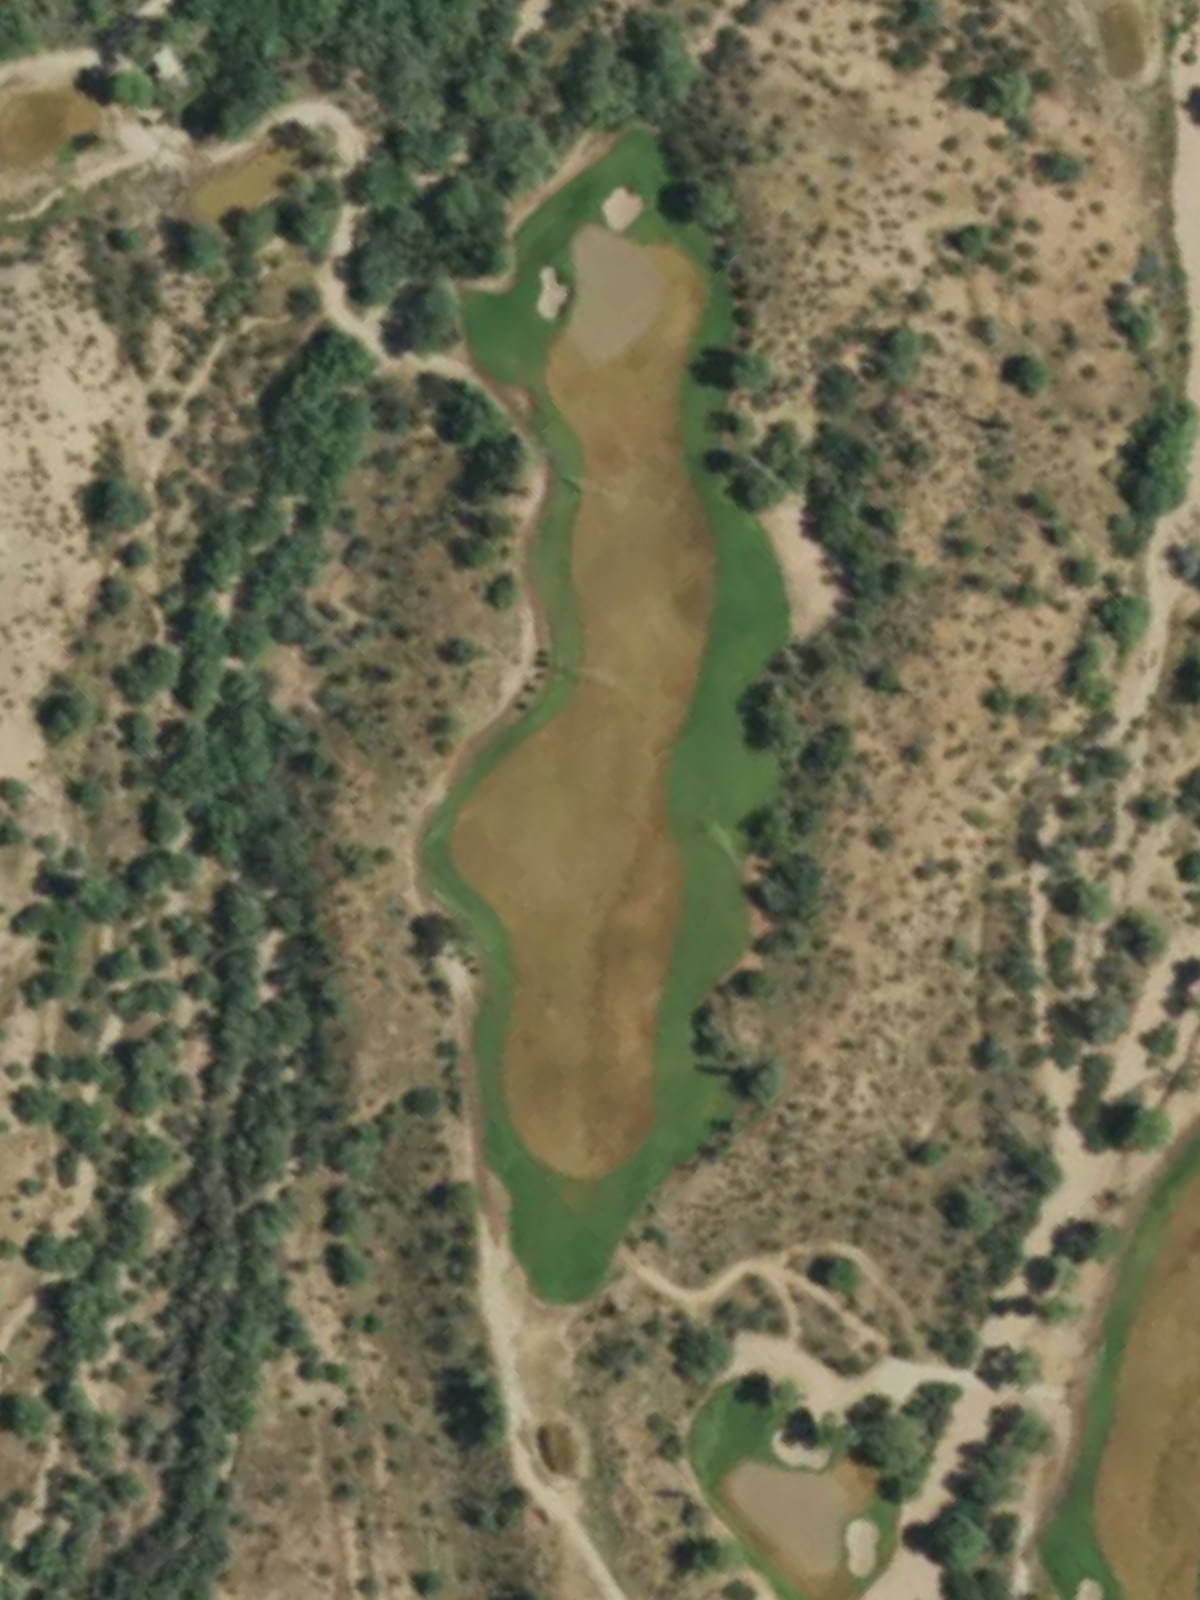
A substantial par 3 that ranks among the more difficult one-shot holes on the course. The extended yardage and green-side hazards require a well-executed tee shot to find the putting surface.
A short par 4 that plays as a relative birdie opportunity despite its ranking. The modest length allows for aggressive play, though accuracy remains essential for good scores.

A mid-length par 4 with solid difficulty ranking that tests all aspects of play. Strategic hazards and the green's design demand accurate execution on both tee and approach shots.
A strong finishing par 4 ranking fourth in course difficulty, this hole features a substantial length and strategic hazards. The closing hole demands a solid approach shot to a well-bunkered green to sign for a good score.
Scorecard
| Hole | 1 | 2 | 3 | 4 | 5 | 6 | 7 | 8 | 9 | Out | 10 | 11 | 12 | 13 | 14 | 15 | 16 | 17 | 18 | In | Tot |
|---|---|---|---|---|---|---|---|---|---|---|---|---|---|---|---|---|---|---|---|---|---|
| Par | 4 | 4 | 4 | 5 | 3 | 4 | 4 | 5 | 3 | 36 | 4 | 3 | 4 | 4 | 5 | 3 | 4 | 4 | 4 | 35 | 71 |
| HCP | 5 | 11 | 9 | 1 | 15 | 7 | 13 | 3 | 17 | 14 | 18 | 6 | 8 | 2 | 16 | 12 | 10 | 4 | |||
| saguaro | 468 | 310 | 412 | 622 | 160 | 433 | 312 | 508 | 135 | 3360 | 333 | 193 | 471 | 466 | 531 | 250 | 323 | 394 | 508 | 3469 | 6829 |
| purple | 425 | 299 | 375 | 604 | 157 | 397 | 303 | 494 | 126 | 3180 | 316 | 189 | 459 | 454 | 525 | 230 | 311 | 372 | 488 | 3344 | 6524 |
| white | 424 | 282 | 358 | 590 | 144 | 378 | 286 | 480 | 116 | 3058 | 301 | 170 | 416 | 413 | 511 | 215 | 280 | 355 | 468 | 3129 | 6187 |
| composite | 330 | 288 | 362 | 494 | 146 | 283 | 290 | 482 | 121 | 2796 | 306 | 154 | 332 | 417 | 513 | 209 | 290 | 358 | 411 | 2990 | 5786 |