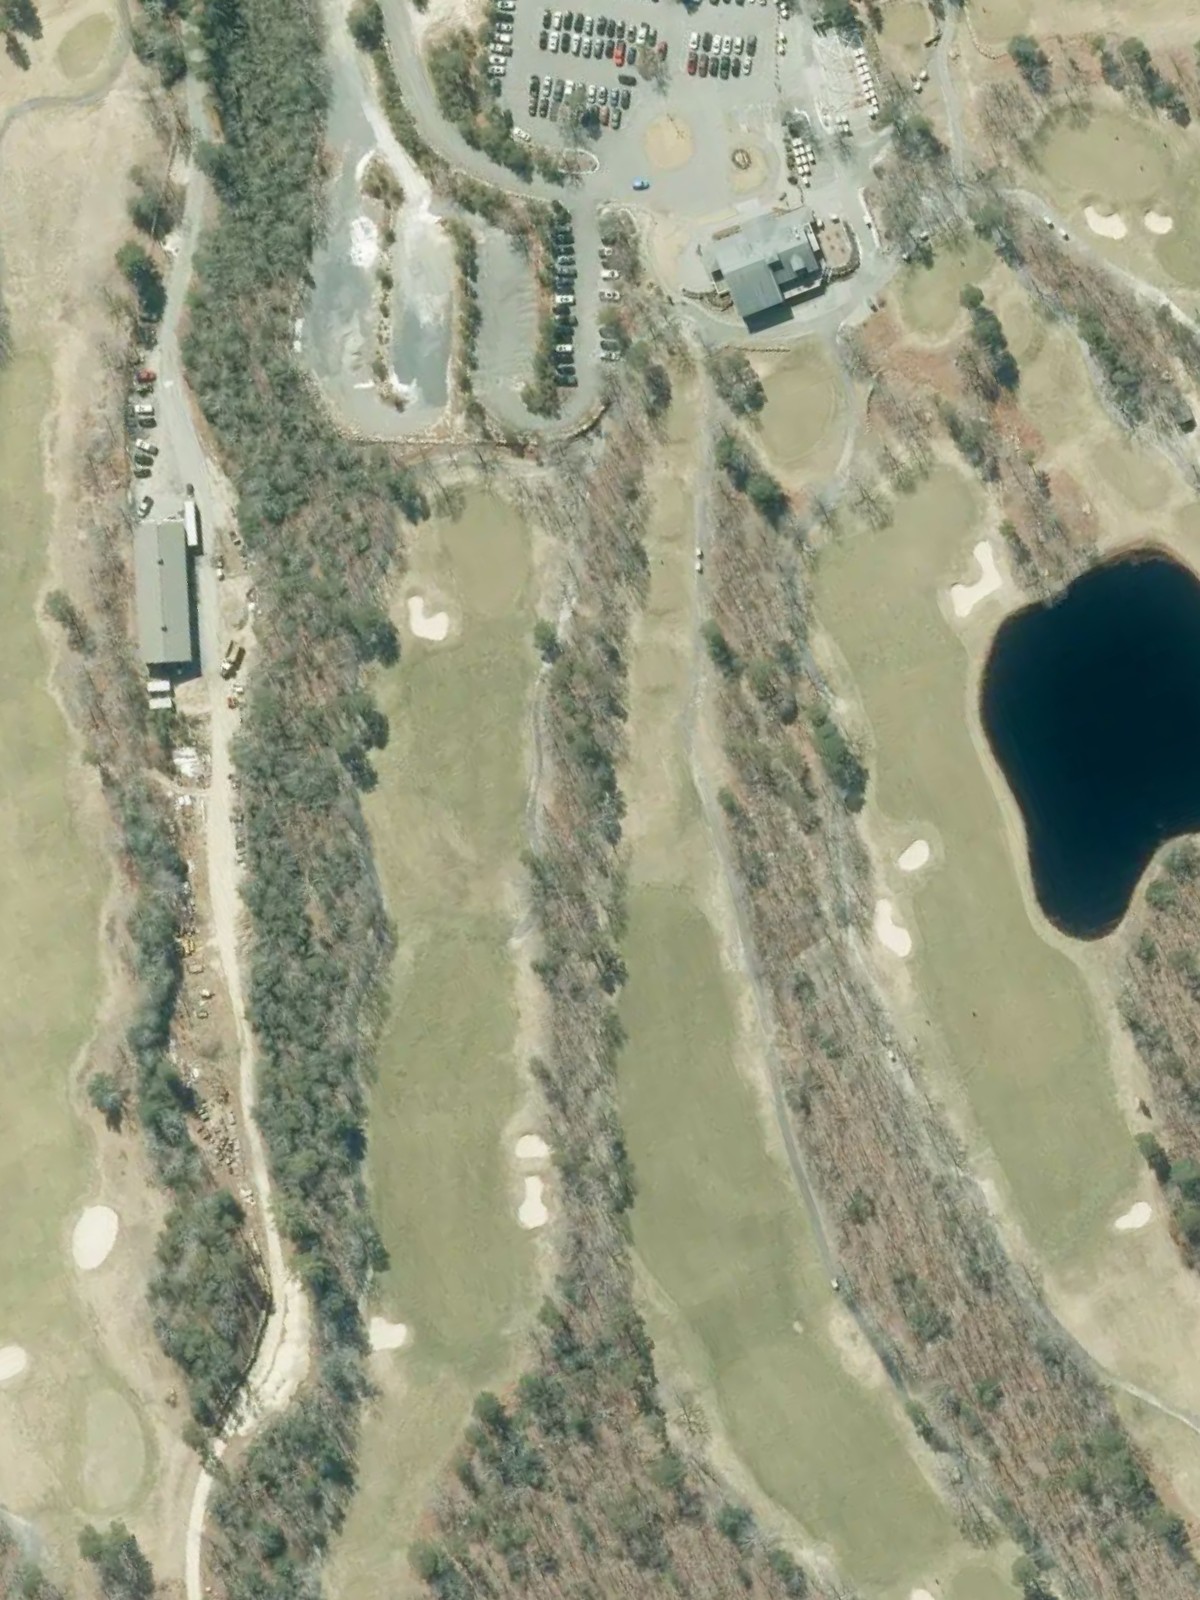
Waverly Oaks Golf Club is an 18-hole golf course in Plymouth, MA with a par of 64. It offers 2 tee sets: gold (4,528 yards, slope 109, rating 65.2), blue (4,044 yards, slope 107, rating 62.8).
Waverly Oaks Golf Club
Plymouth, MA
Get PDF Yardage Book
We'll email you the PDF link. No spam, ever.
Create Your Game Plan
Pick your tees, enter your bag, and get a personalized shot-by-shot strategy for every hole.
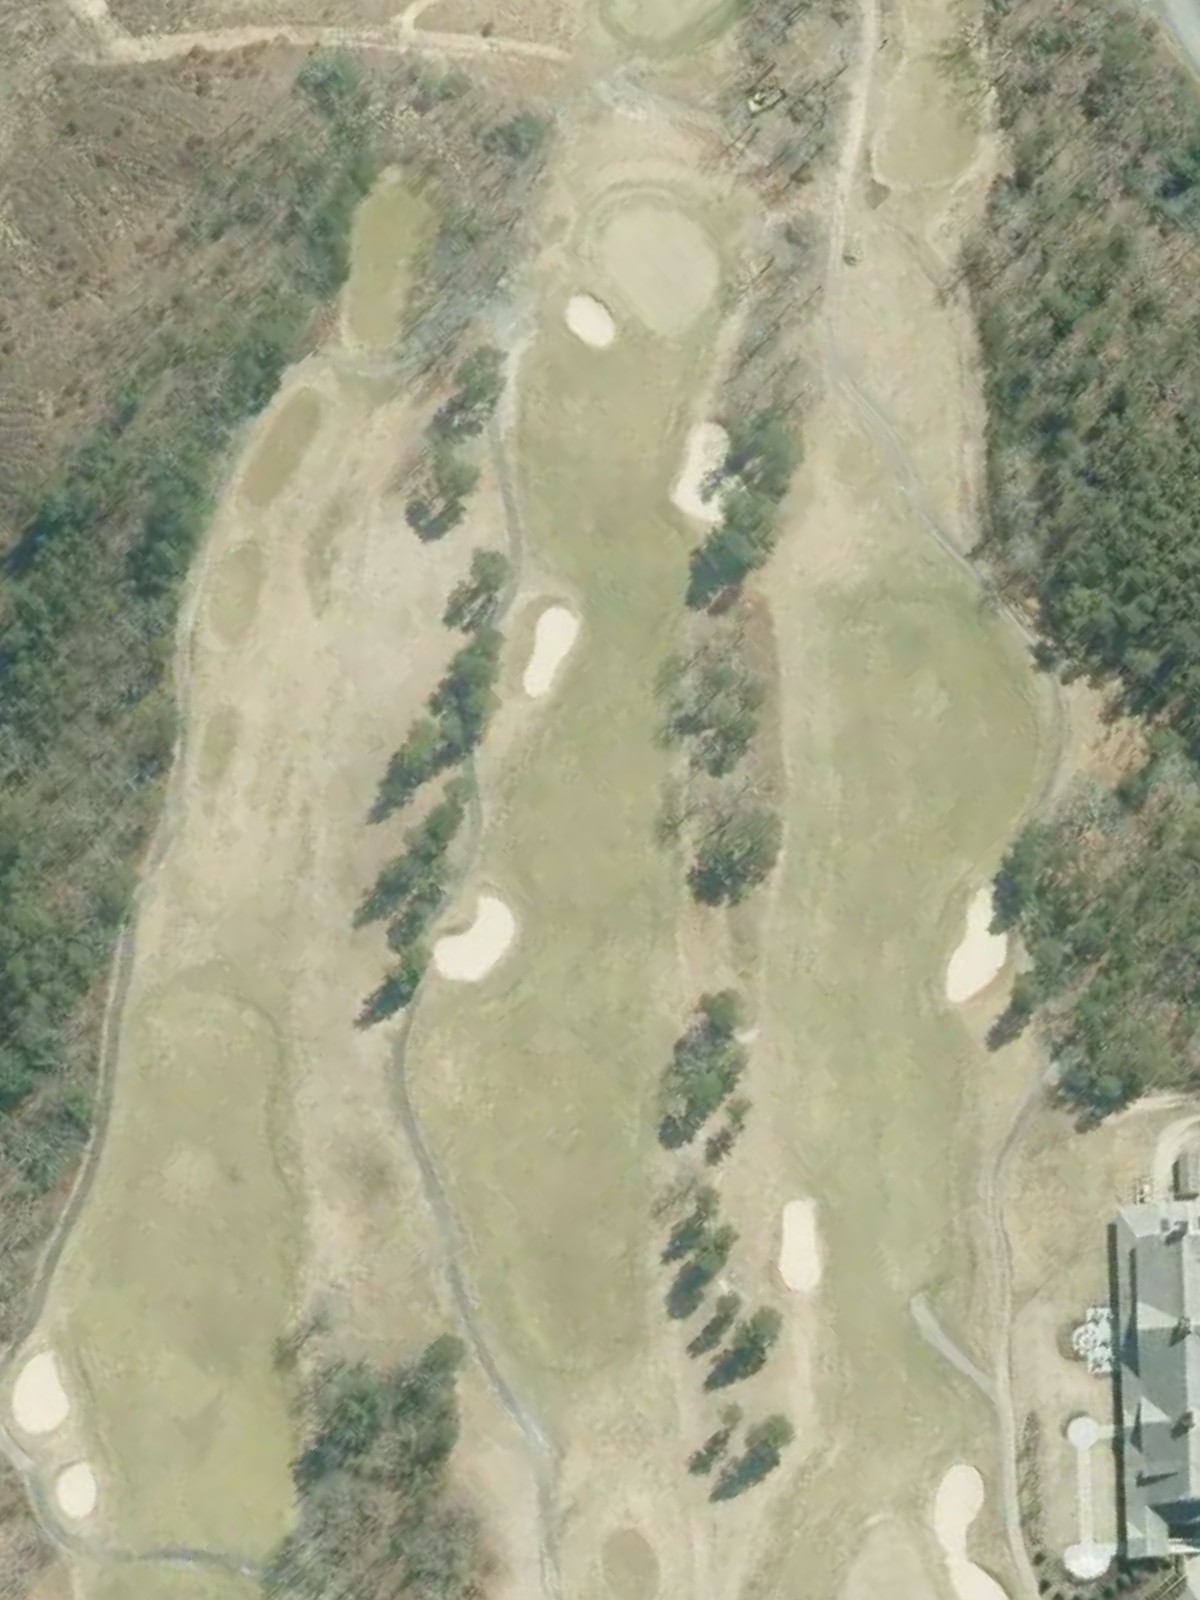
A straightforward opening par 4 with a wide fairway that gradually narrows as it approaches the green. Bunkers protect the right side of the green, while the left offers a safer approach for longer approach shots.
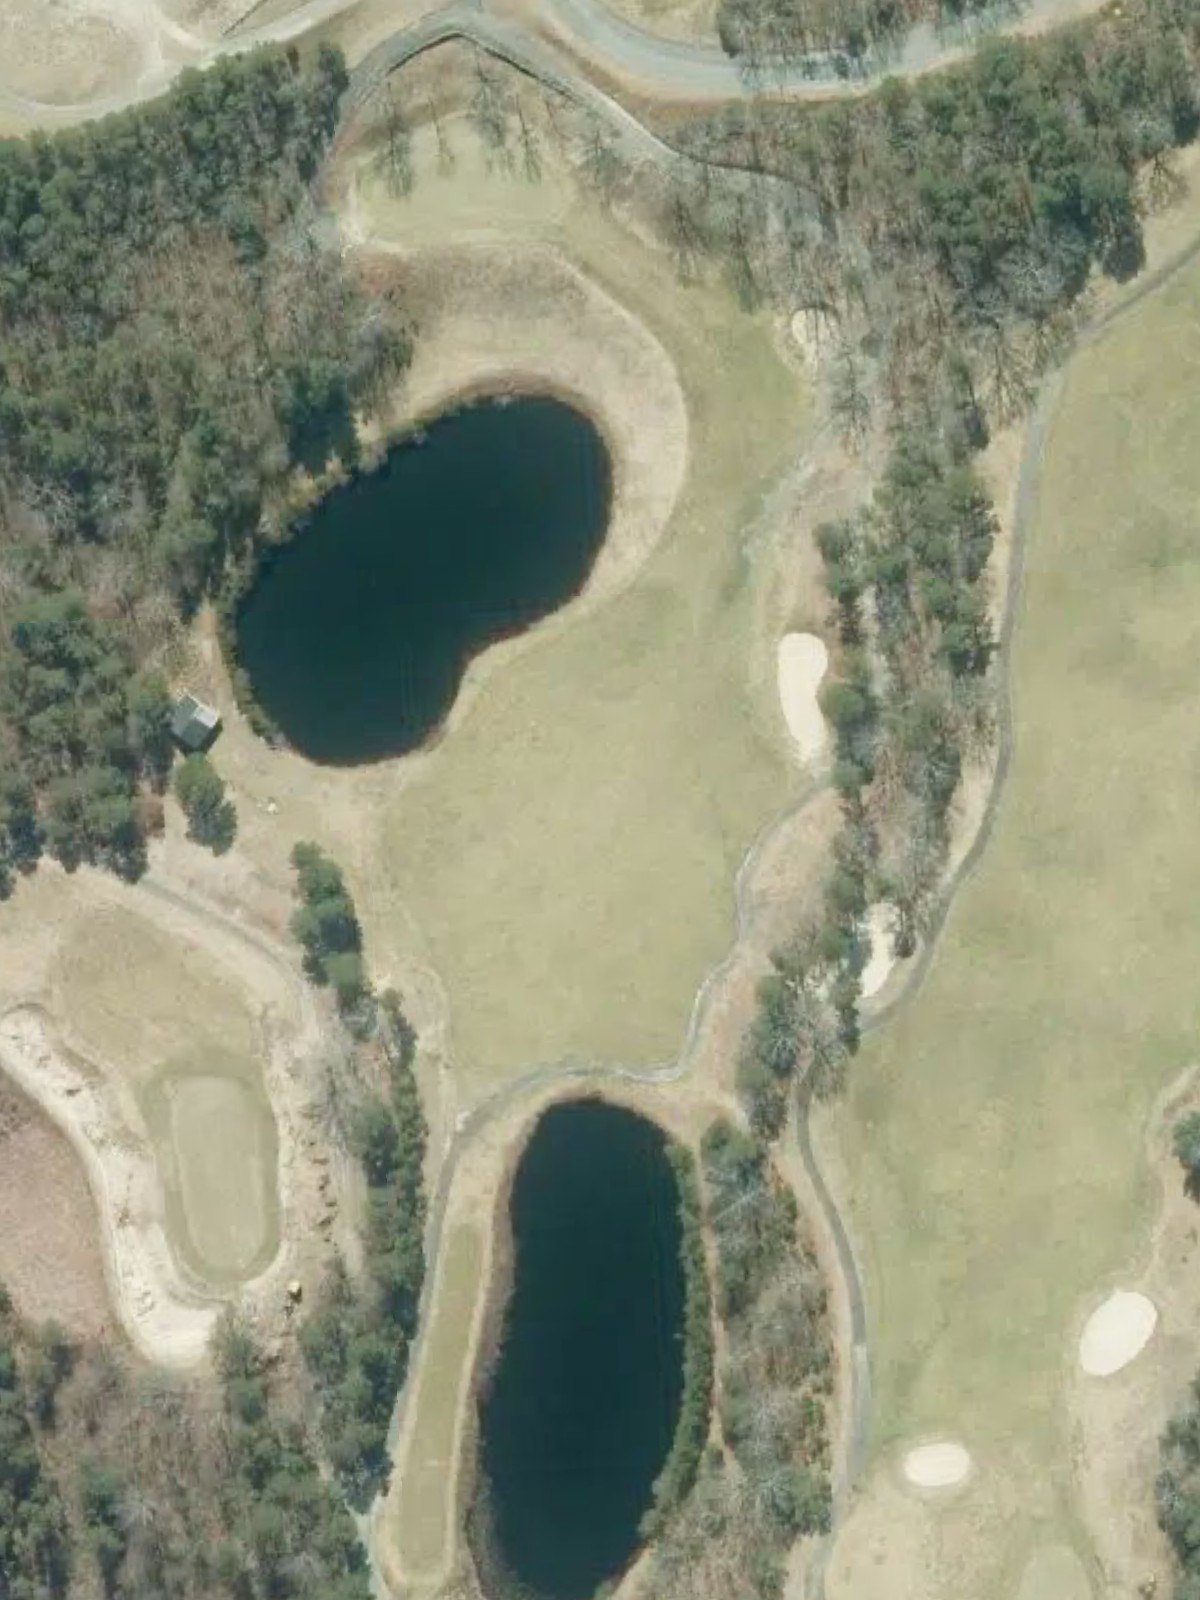
A moderate par 4 that plays relatively straight with a well-defined fairway corridor. Water hazards line the left side from tee to green, making precision off the tee essential to avoid trouble.
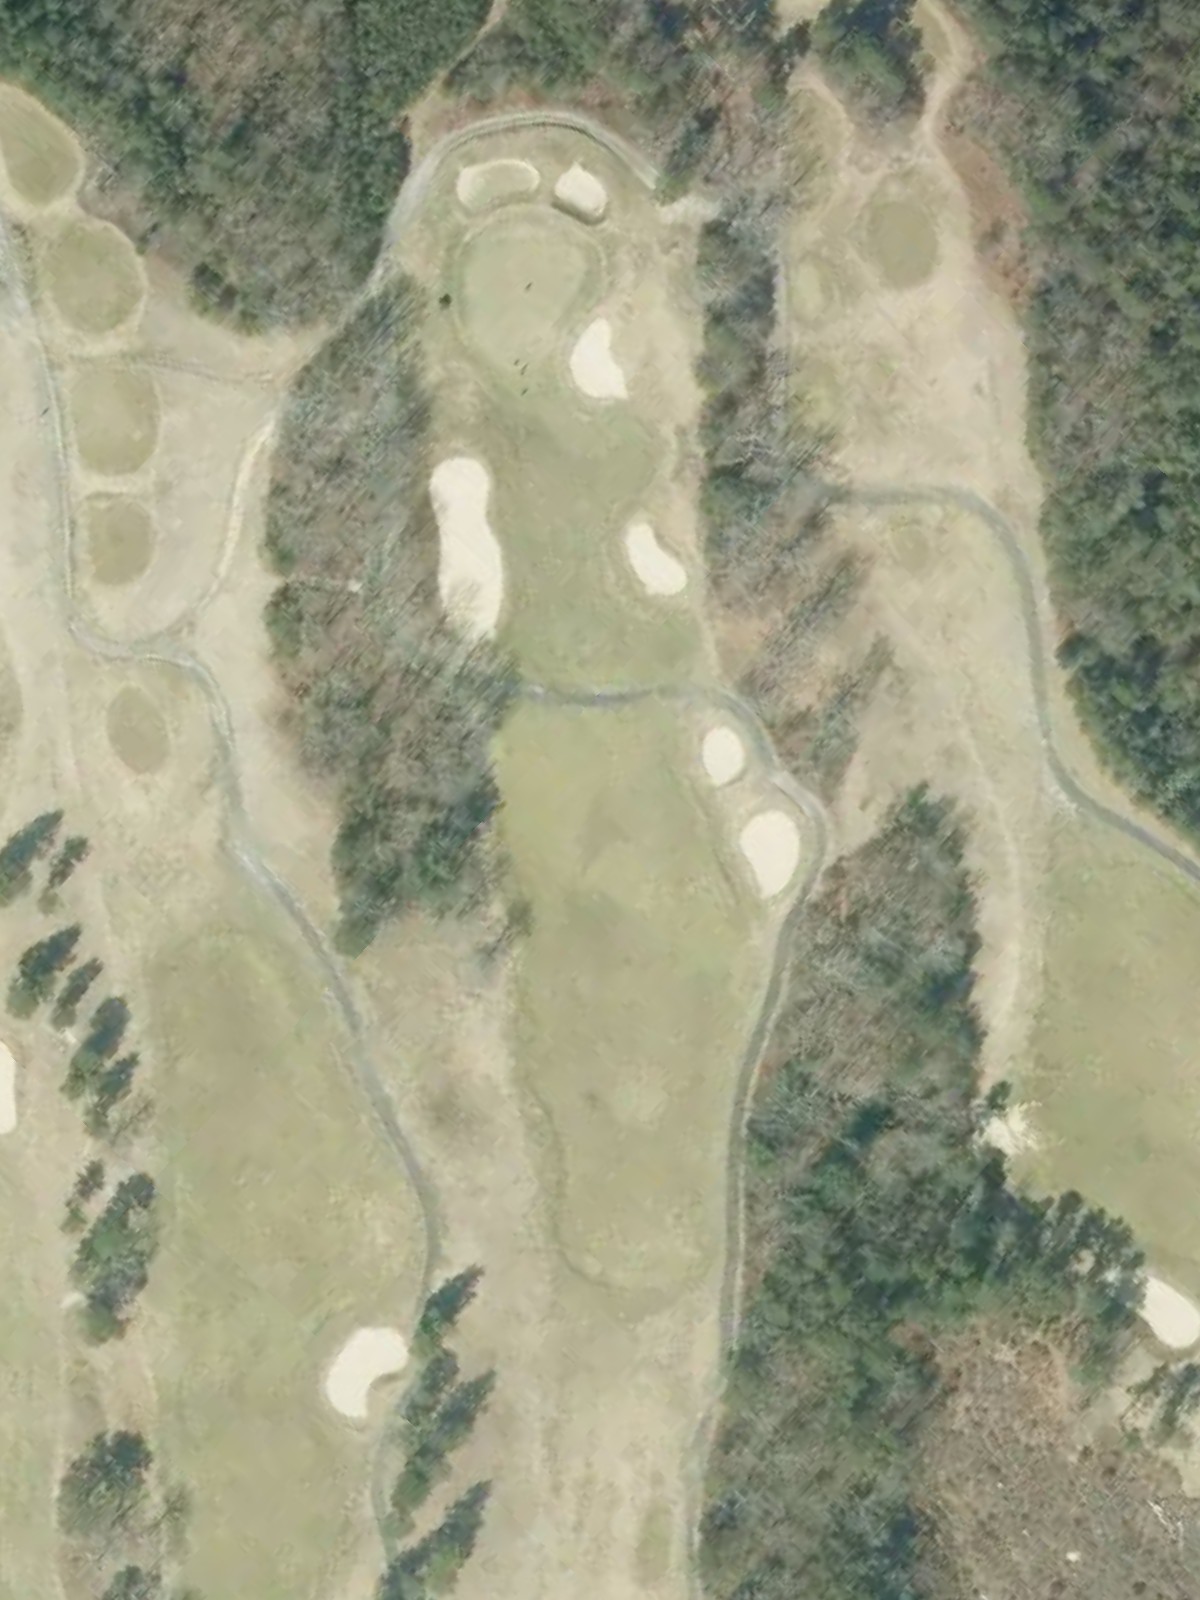
A mid-length par 3 playing to an elevated green protected by bunkers on both sides. The raised putting surface demands an accurate approach, as short shots will fall back into the hazards below.
A short par 3 with a tight, well-bunkered green that requires precision over distance. The small target area makes this a delicate short-iron test despite its modest yardage.
A challenging par 4 with a fairway that doglegs left and narrows significantly in the landing zone. Trees line both sides throughout, with a bunkered green that punishes imprecise approach shots.
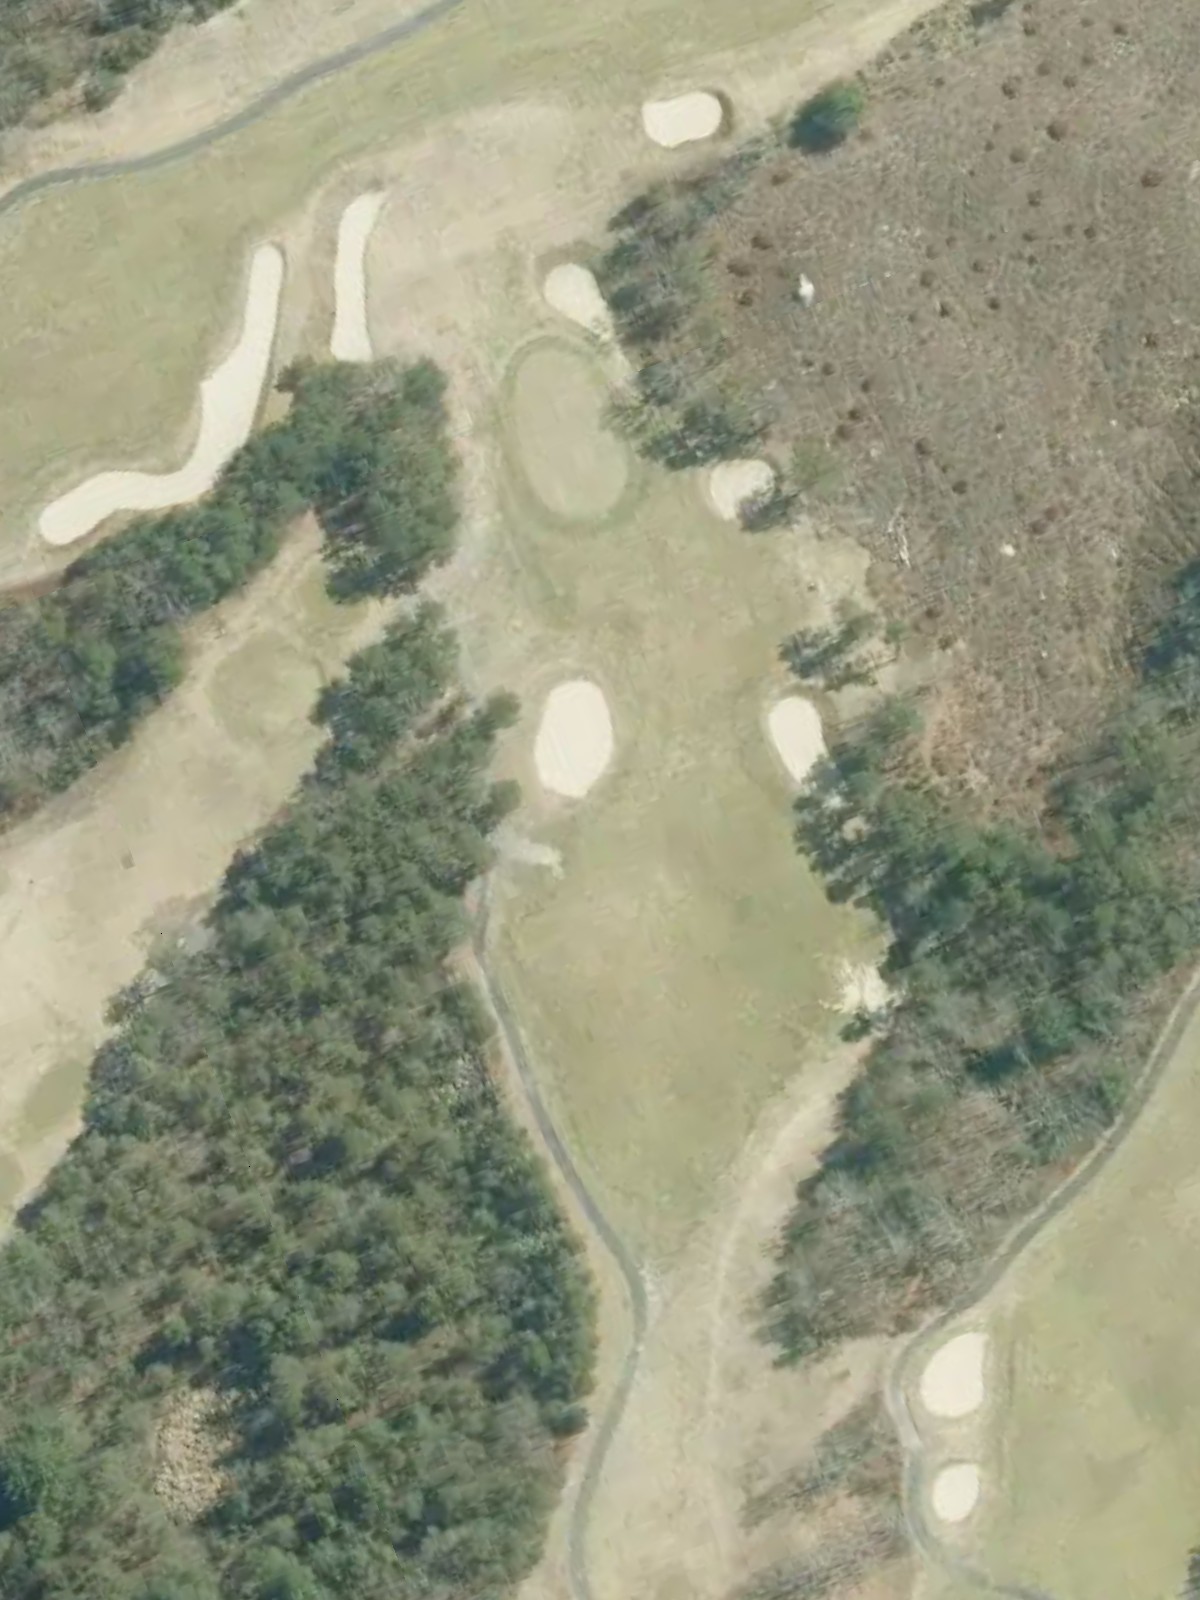
A shorter par 4 with a straightforward layout and relatively open fairway. A single large bunker guards the front-right of the green, leaving the left side as the preferred approach angle.
A compact par 4 playing downhill from an elevated tee to a fairway that slopes away. Bunkers frame the green on the right, while out-of-bounds threatens the left side near the putting surface.
A medium-length par 3 with an island green surrounded by hazards on all sides. Accurate distance control is critical, as any miss will find water or sand around this well-protected target.
A short par 3 played to a elevated green with minimal bunkering but challenging slopes. The compact green rewards accurate placement but provides little margin for error in positioning.
A straightforward par 4 with a fairway that gradually narrows near the green. Bunkers protect the right side of the green, while the left offers a safer approach for longer approach shots.
A moderate par 4 that plays relatively straight with a well-defined fairway corridor. Water hazards line the left side from tee to green, making precision off the tee essential to avoid trouble.
A mid-length par 3 playing to an elevated green protected by bunkers on both sides. The raised putting surface demands an accurate approach, as short shots will fall back into the hazards below.
A short par 3 with a tight, well-bunkered green that requires precision over distance. The small target area makes this a delicate short-iron test despite its modest yardage.
A challenging par 4 with a fairway that doglegs left and narrows significantly in the landing zone. Trees line both sides throughout, with a bunkered green that punishes imprecise approach shots.
A shorter par 4 with a straightforward layout and relatively open fairway. A single large bunker guards the front-right of the green, leaving the left side as the preferred approach angle.

A compact par 4 playing downhill from an elevated tee to a fairway that slopes away. Bunkers frame the green on the right, while out-of-bounds threatens the left side near the putting surface.
A medium-length par 3 with an island green surrounded by hazards on all sides. Accurate distance control is critical, as any miss will find water or sand around this well-protected target.

A short par 3 played to an elevated green with minimal bunkering but challenging slopes. The compact green rewards accurate placement but provides little margin for error in positioning.
Scorecard
| Hole | 1 | 2 | 3 | 4 | 5 | 6 | 7 | 8 | 9 | Out | 10 | 11 | 12 | 13 | 14 | 15 | 16 | 17 | 18 | In | Tot |
|---|---|---|---|---|---|---|---|---|---|---|---|---|---|---|---|---|---|---|---|---|---|
| Par | 4 | 4 | 3 | 3 | 4 | 4 | 4 | 3 | 3 | 32 | 4 | 4 | 3 | 3 | 4 | 4 | 4 | 3 | 3 | 32 | 64 |
| HCP | - | - | - | - | - | - | - | - | - | - | - | - | - | - | - | - | - | - | |||
| gold | 316 | 328 | 227 | 126 | 371 | 295 | 297 | 190 | 114 | 2264 | 316 | 328 | 227 | 126 | 371 | 295 | 297 | 190 | 114 | 2264 | 4528 |
| blue | 292 | 294 | 200 | 106 | 331 | 263 | 283 | 153 | 100 | 2022 | 292 | 294 | 200 | 106 | 331 | 263 | 283 | 153 | 100 | 2022 | 4044 |