Wandering Creek Golf Course is an 18-hole golf course in Marshalltown, IA with a par of 72. It offers 3 tee sets: blue (5,994 yards, slope 112, rating 69.4), white (5,690 yards, slope 105, rating 68.2), red (4,818 yards, slope 98, rating 64.2). The hardest hole is #5, a par 4 playing 275 yards from the first tee.
Wandering Creek Golf Course
Marshalltown, IA
Get PDF Yardage Book
We'll email you the PDF link. No spam, ever.
Create Your Game Plan
Pick your tees, enter your bag, and get a personalized shot-by-shot strategy for every hole.
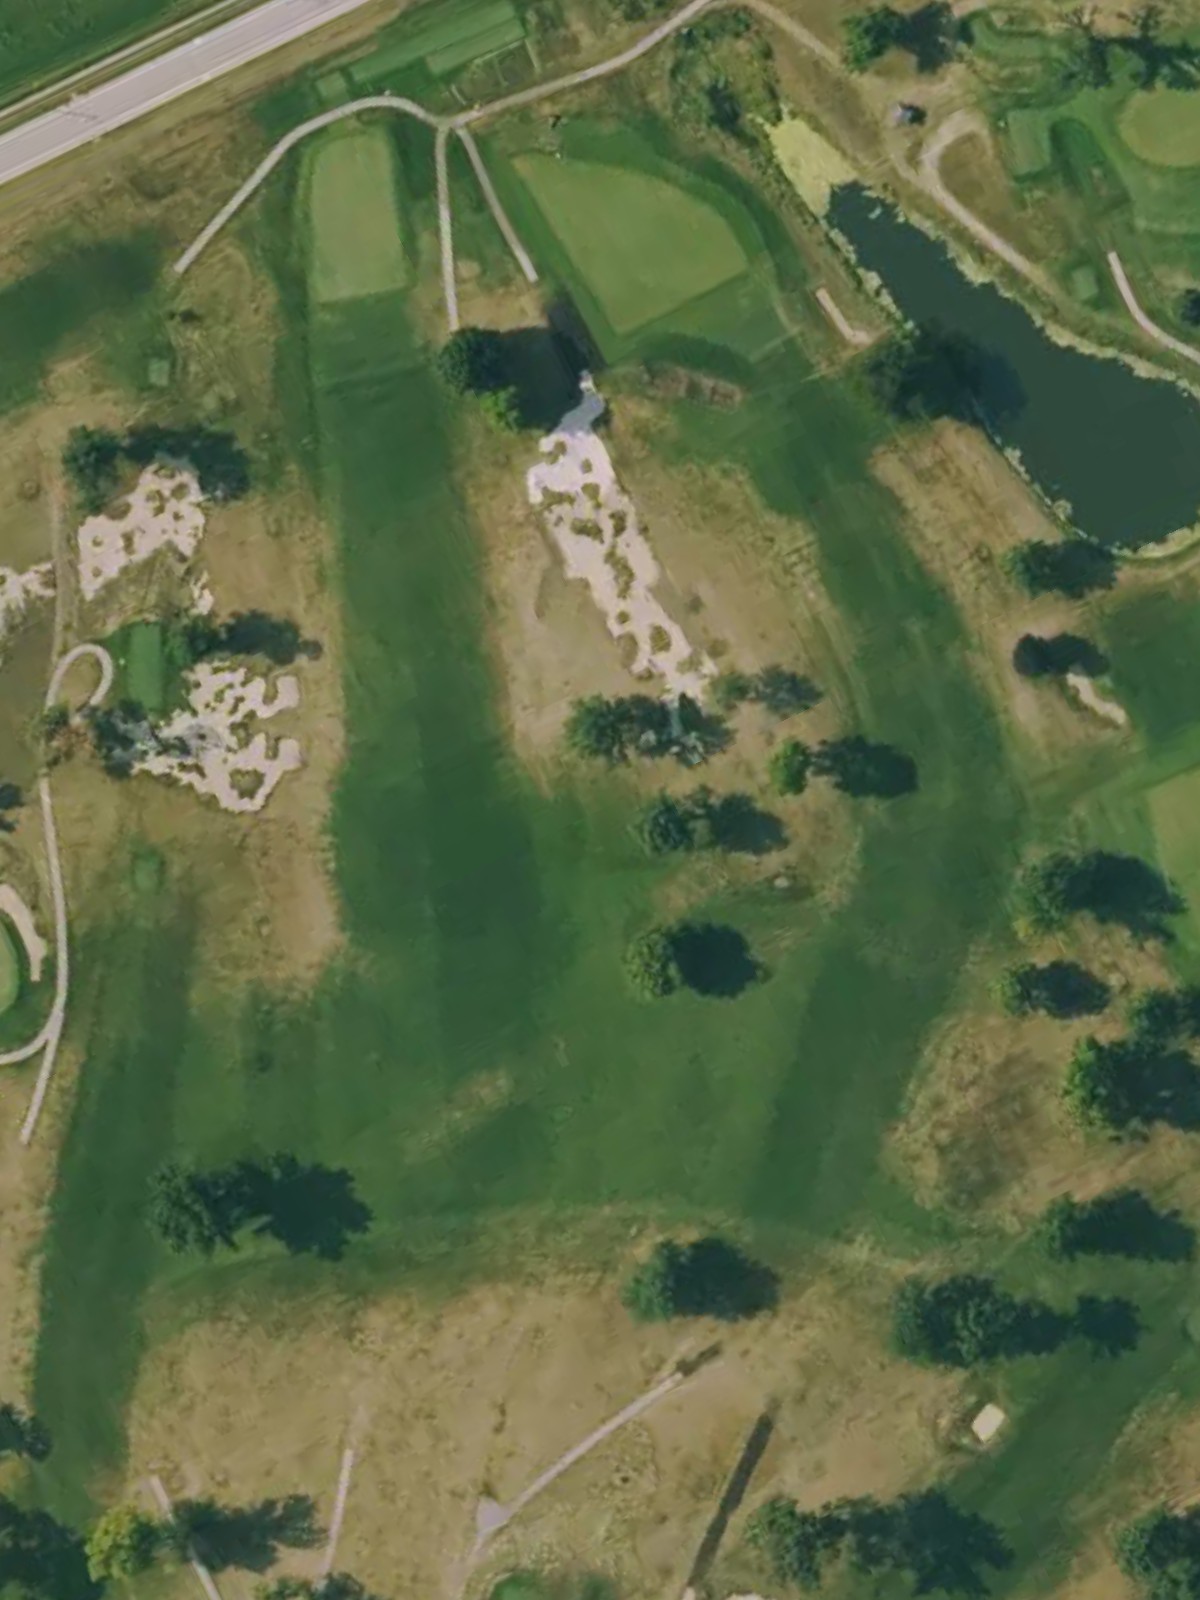
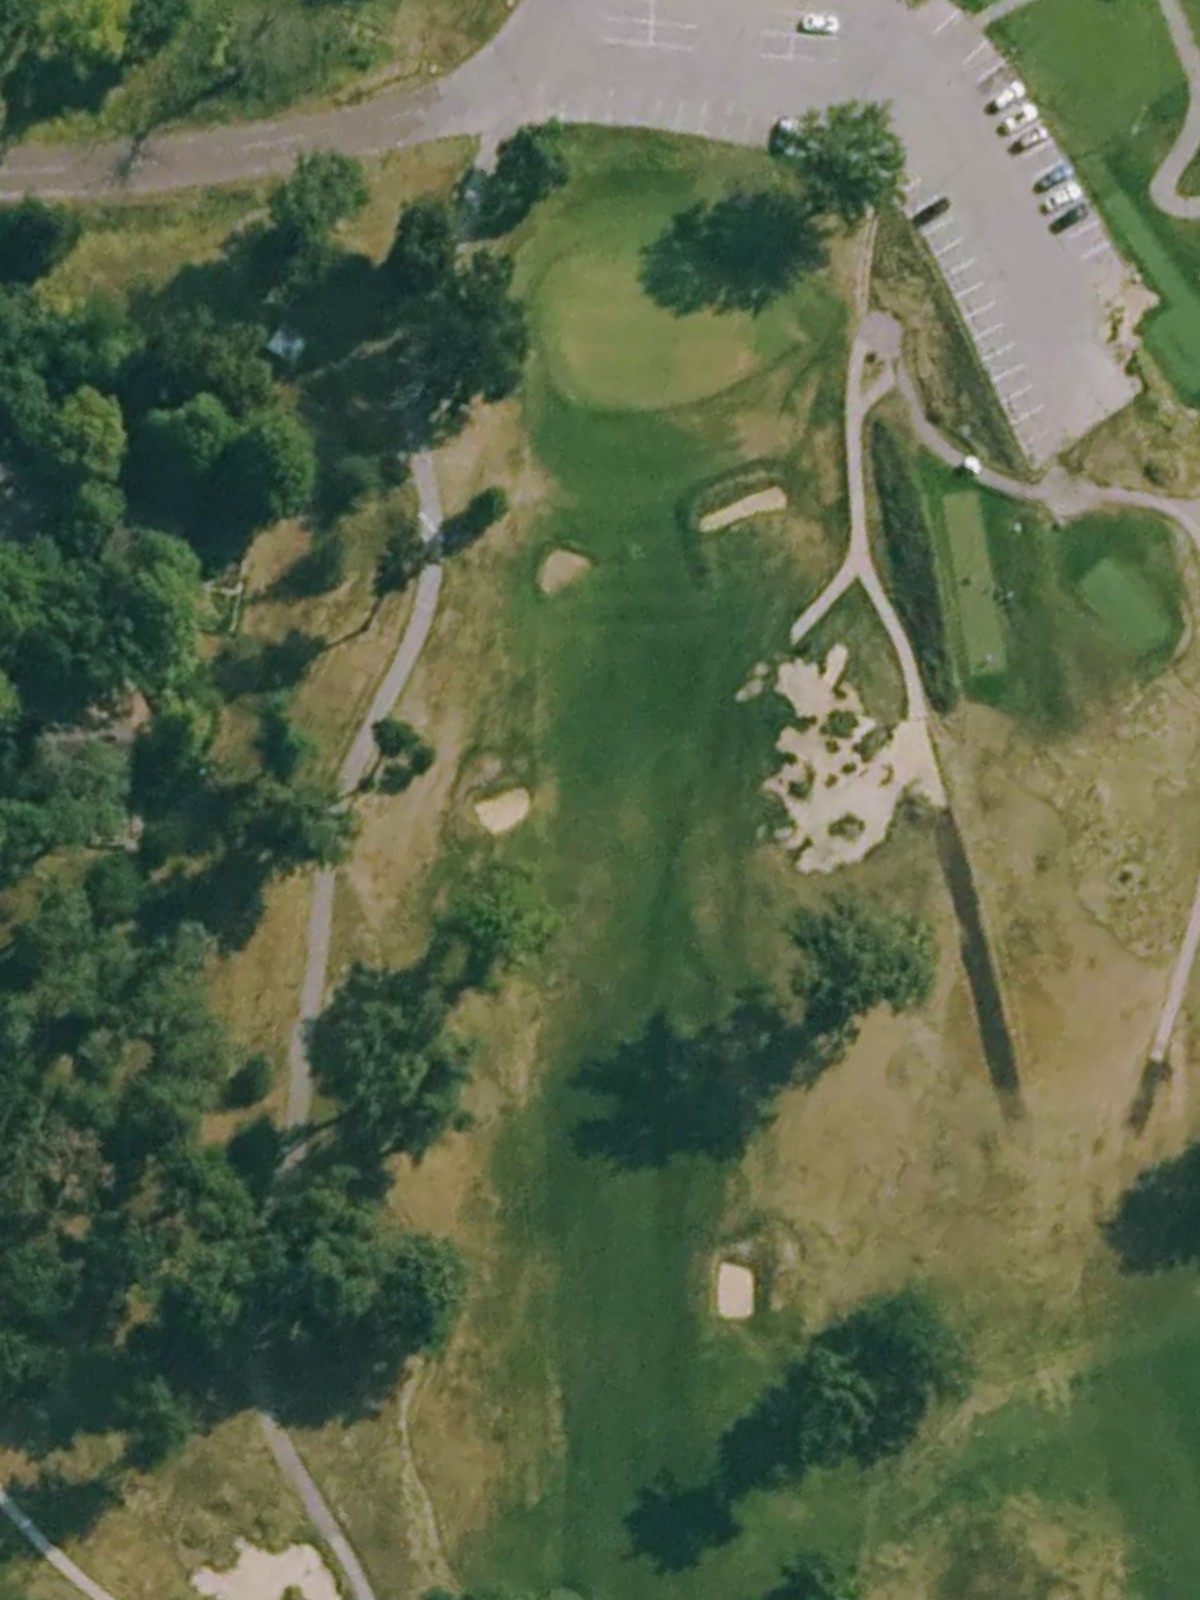
A straightforward par 4 with a welcoming fairway that gradually narrows as it approaches the green. Bunkers guard both sides of the landing area, demanding accuracy off the tee for a clear approach.
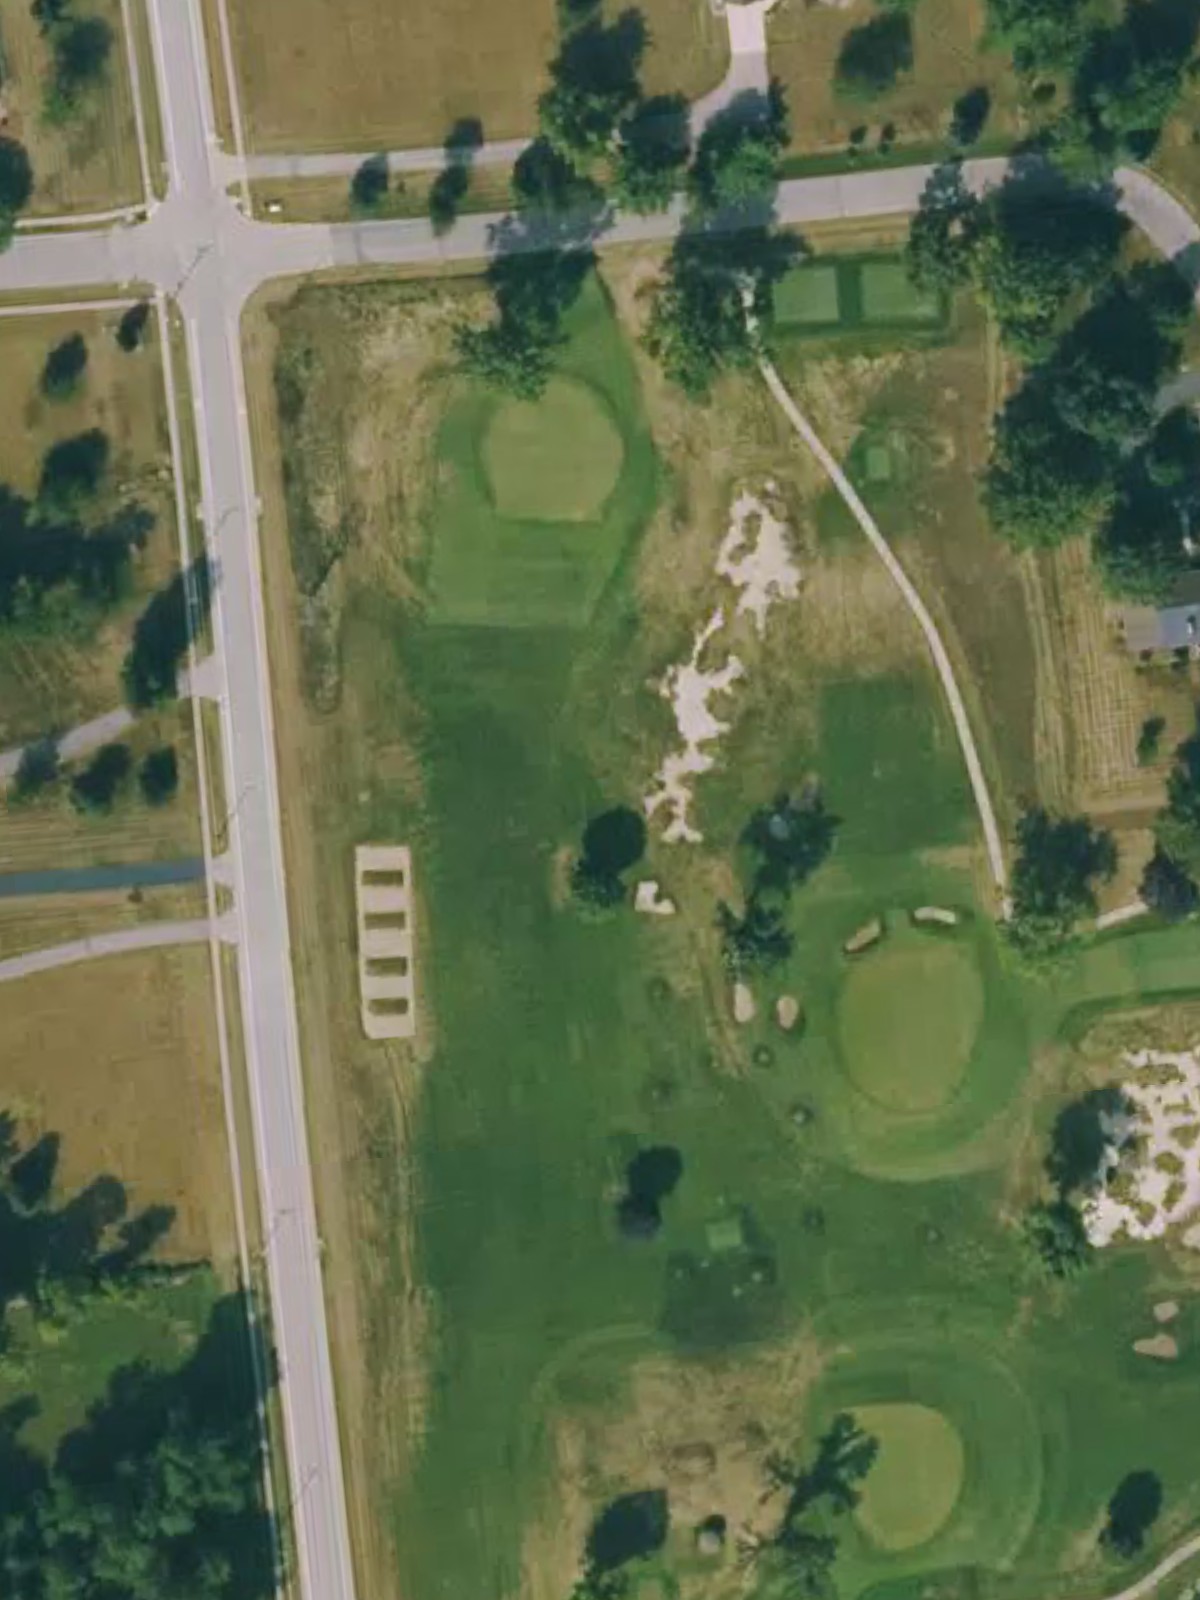
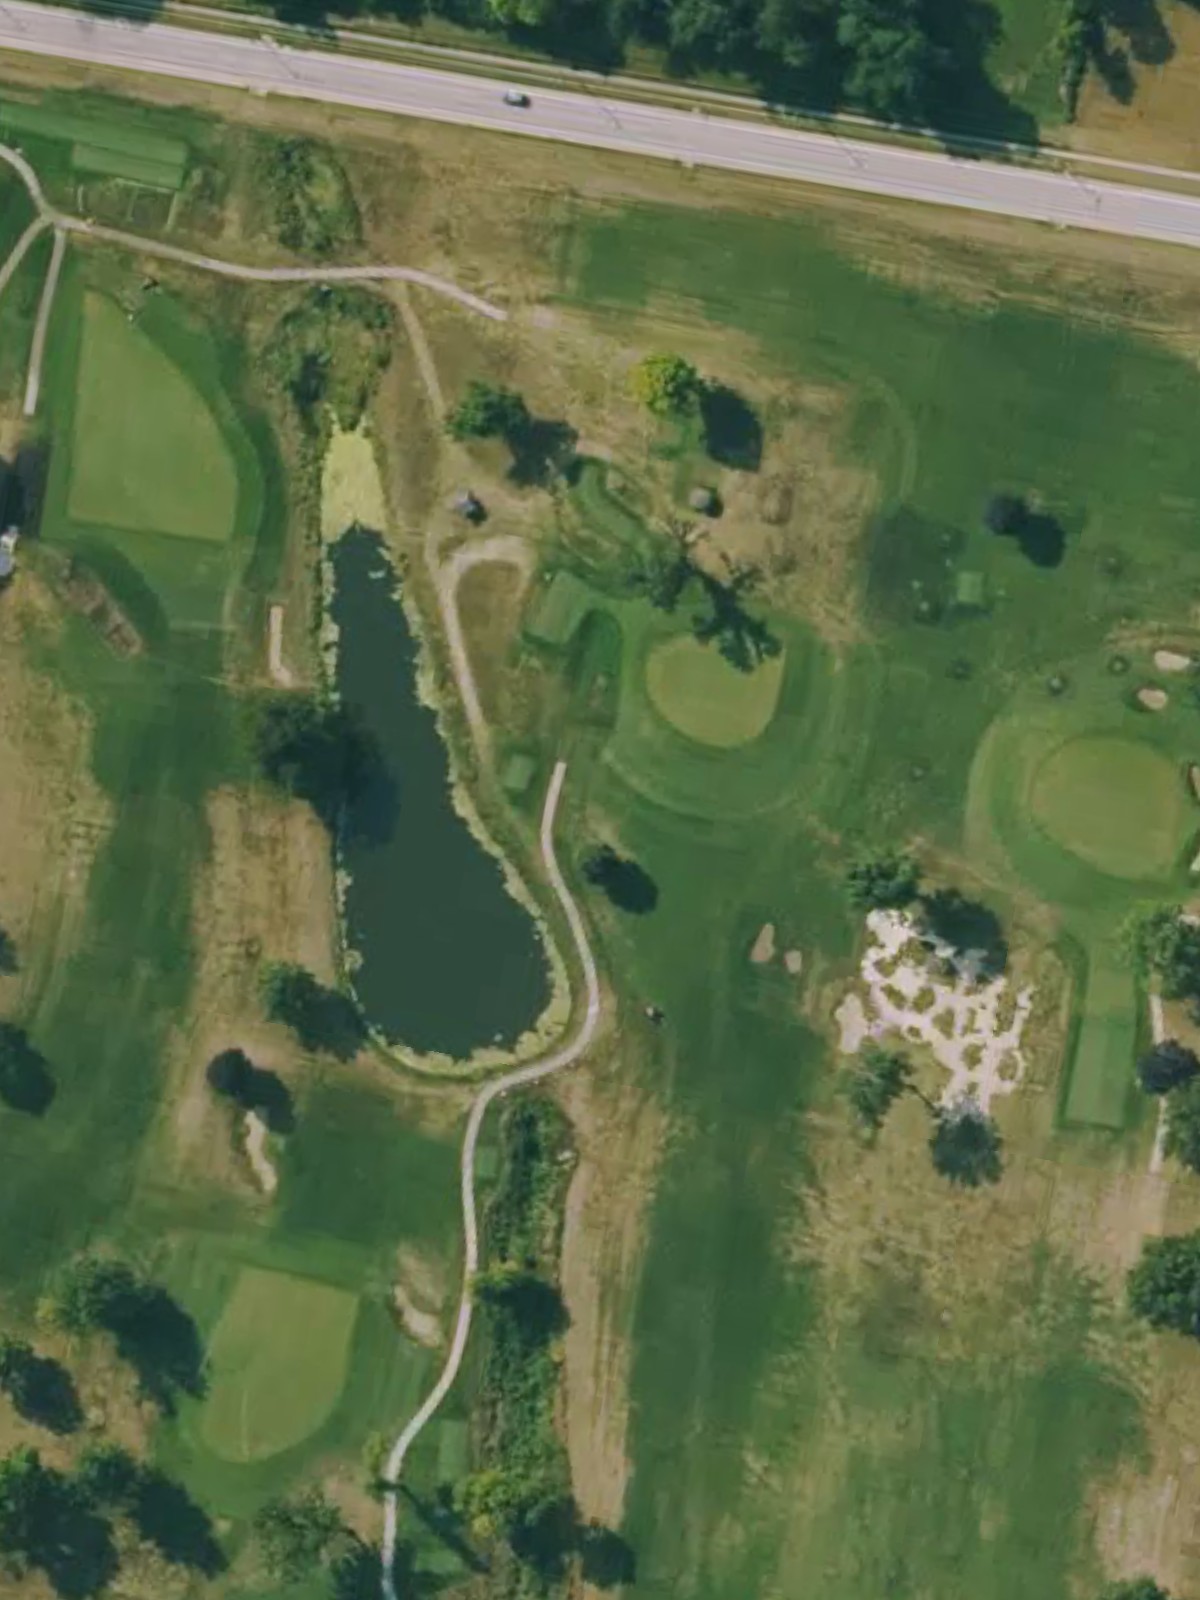
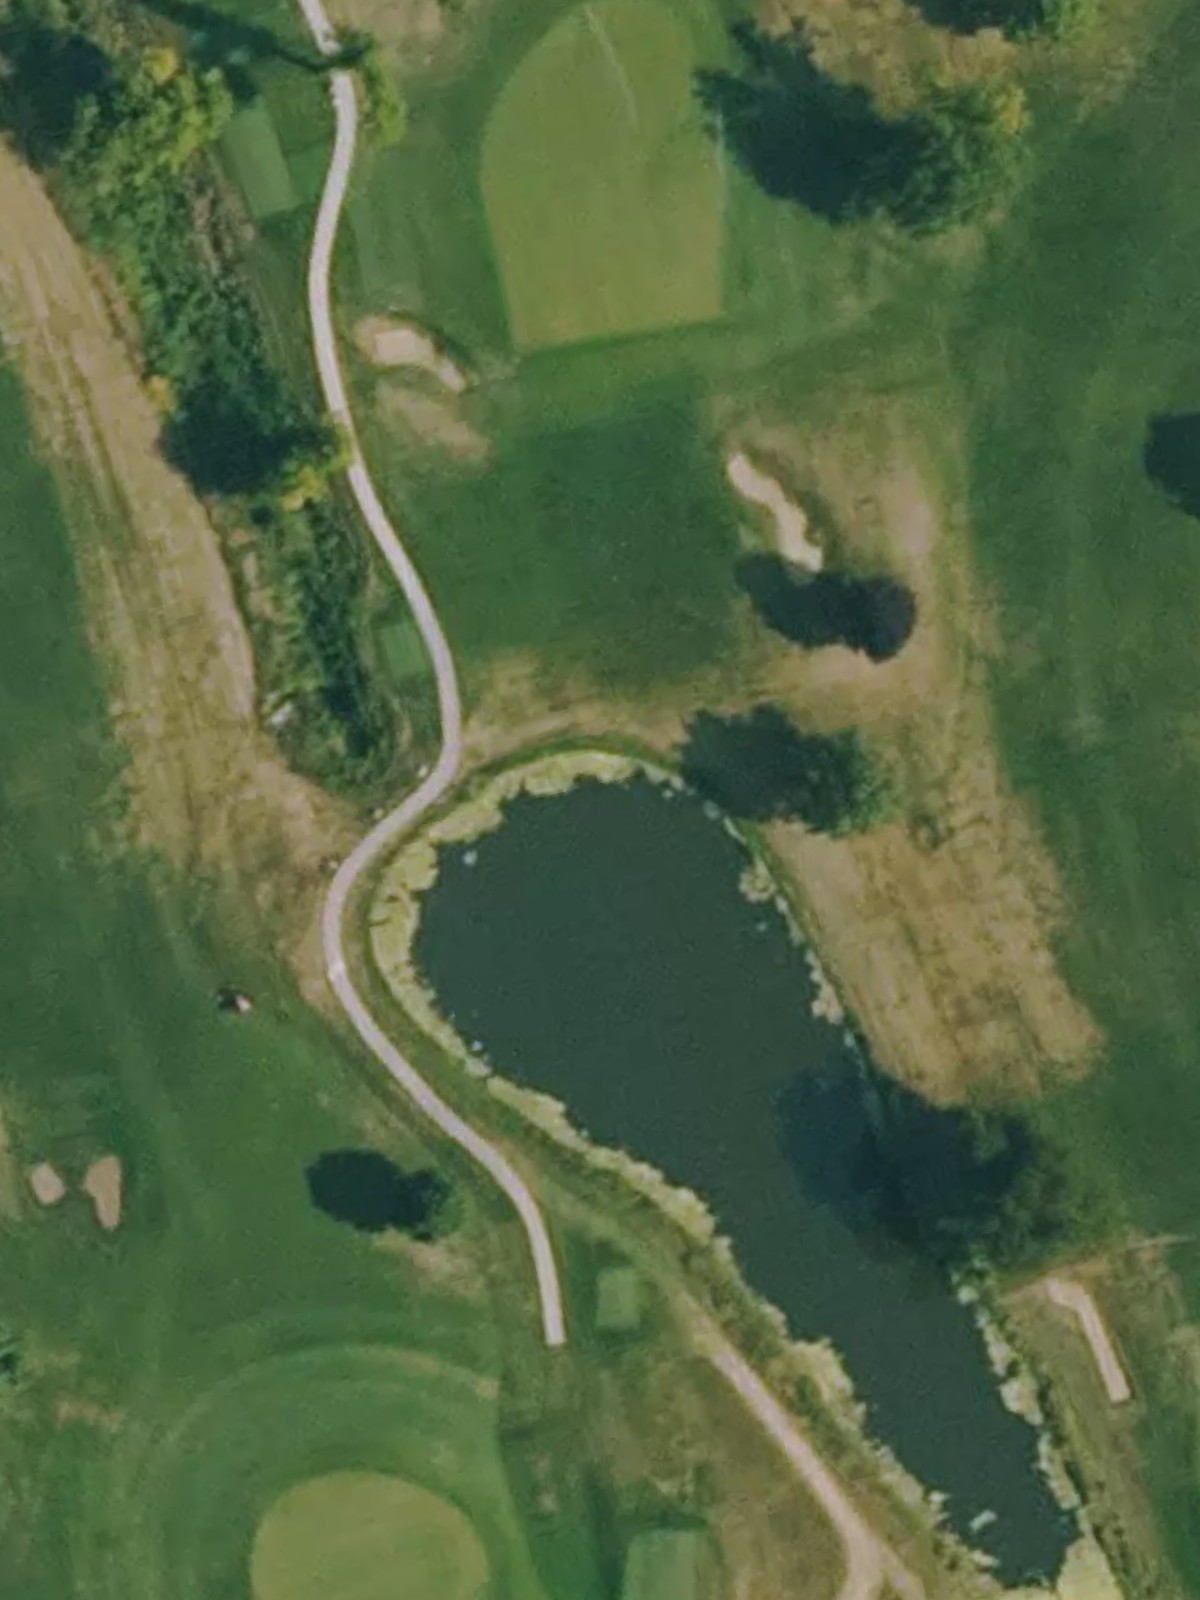
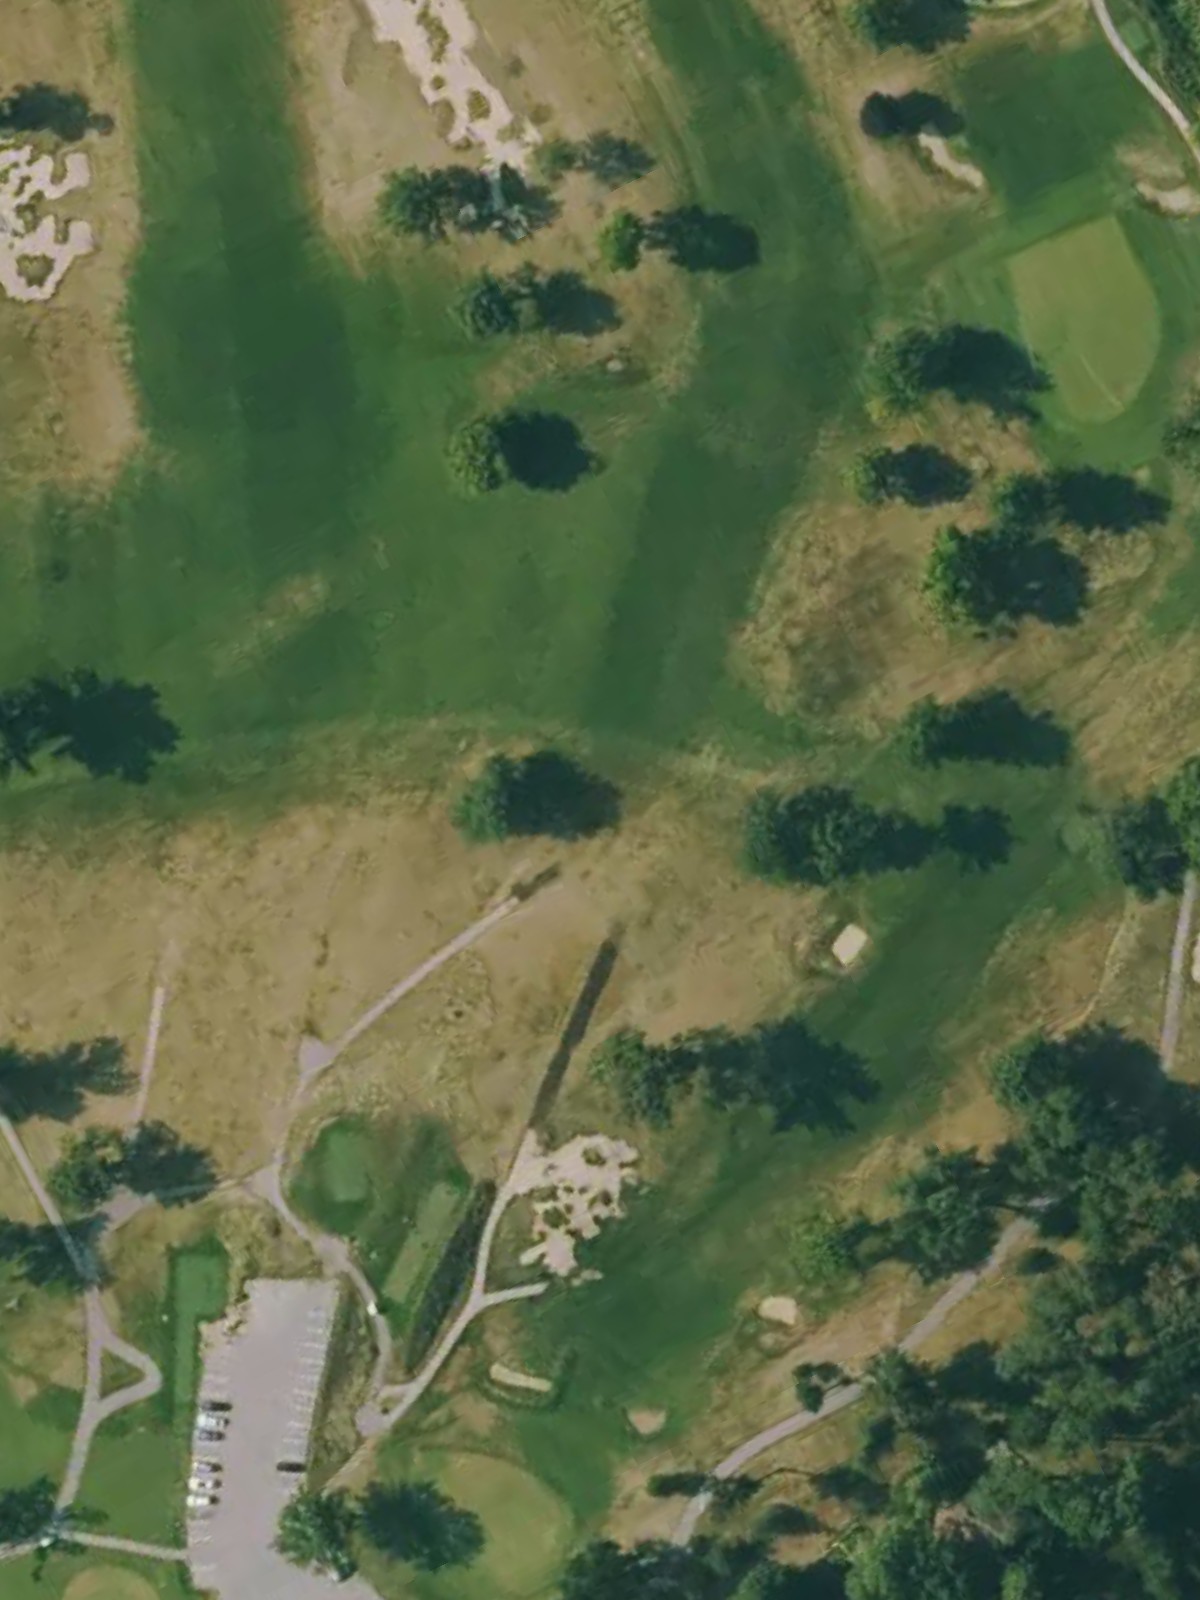
A demanding par 4 that plays significantly longer from the blue tees, with a dogleg-right design that tightens considerably at the green. Water hazards frame the right side of the fairway, punishing aggressive lines toward the corner.
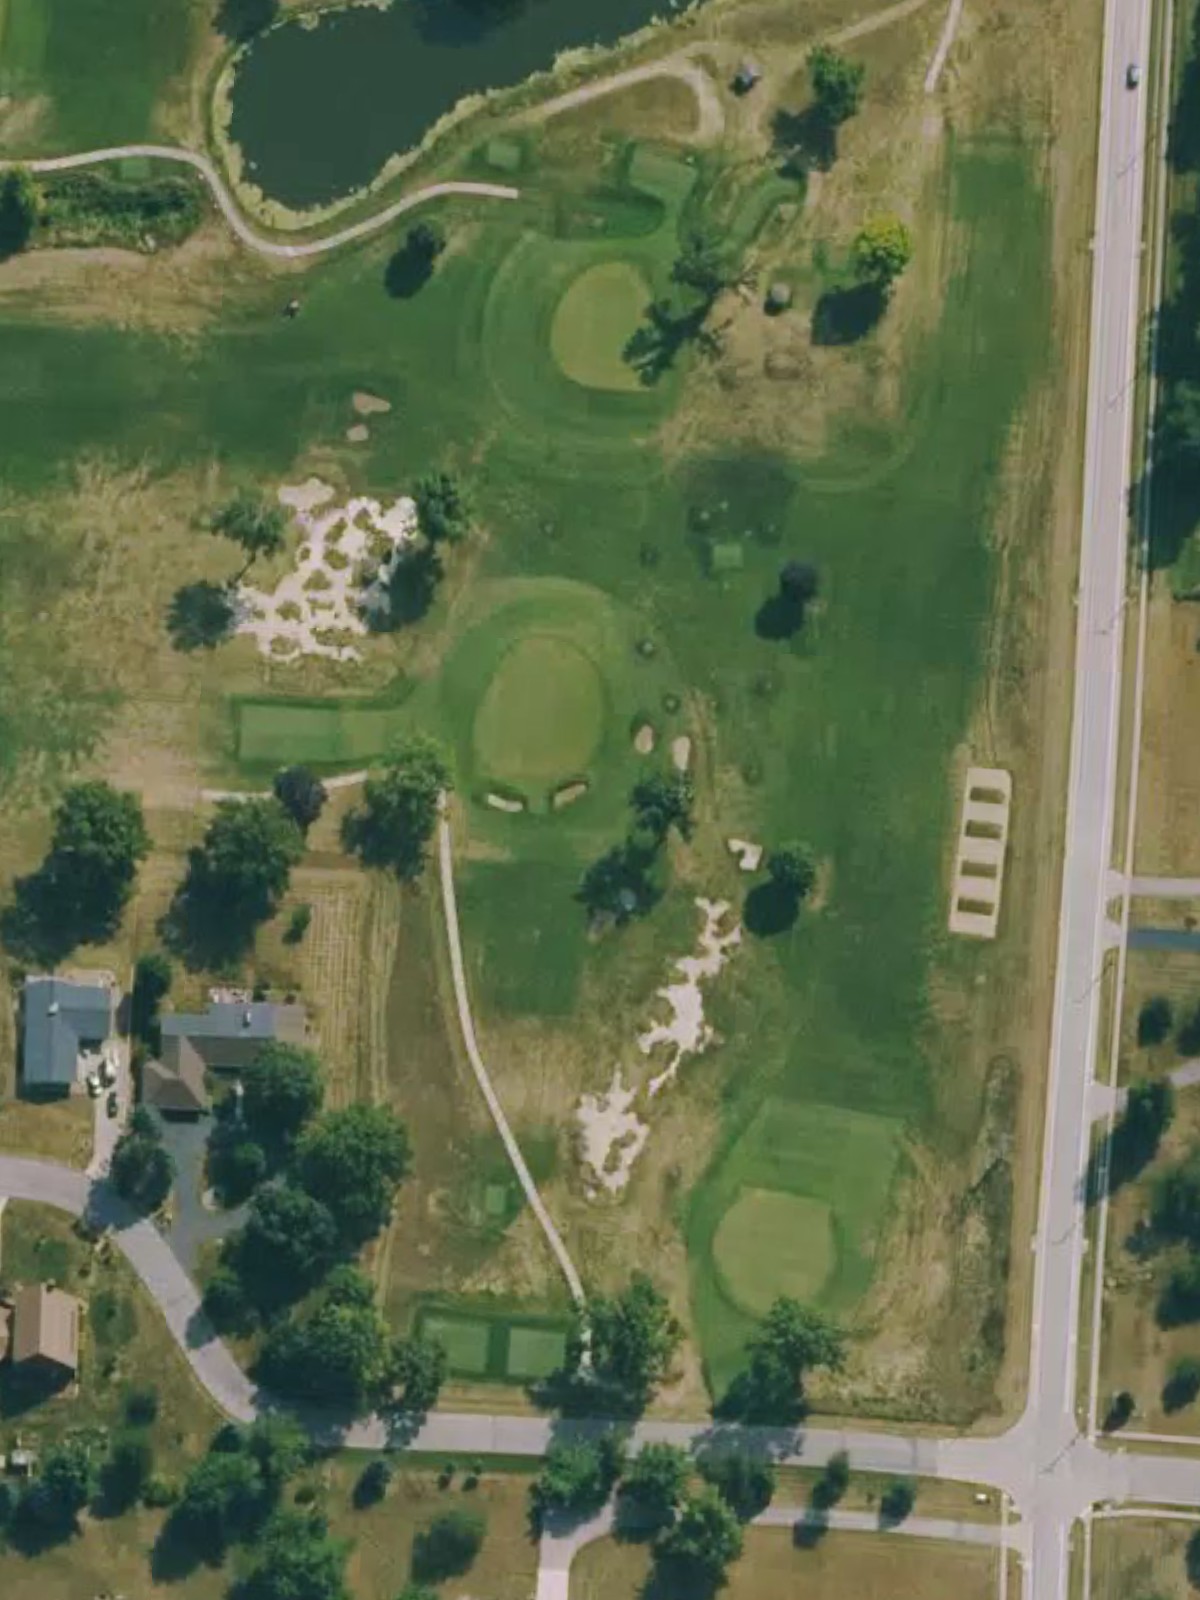
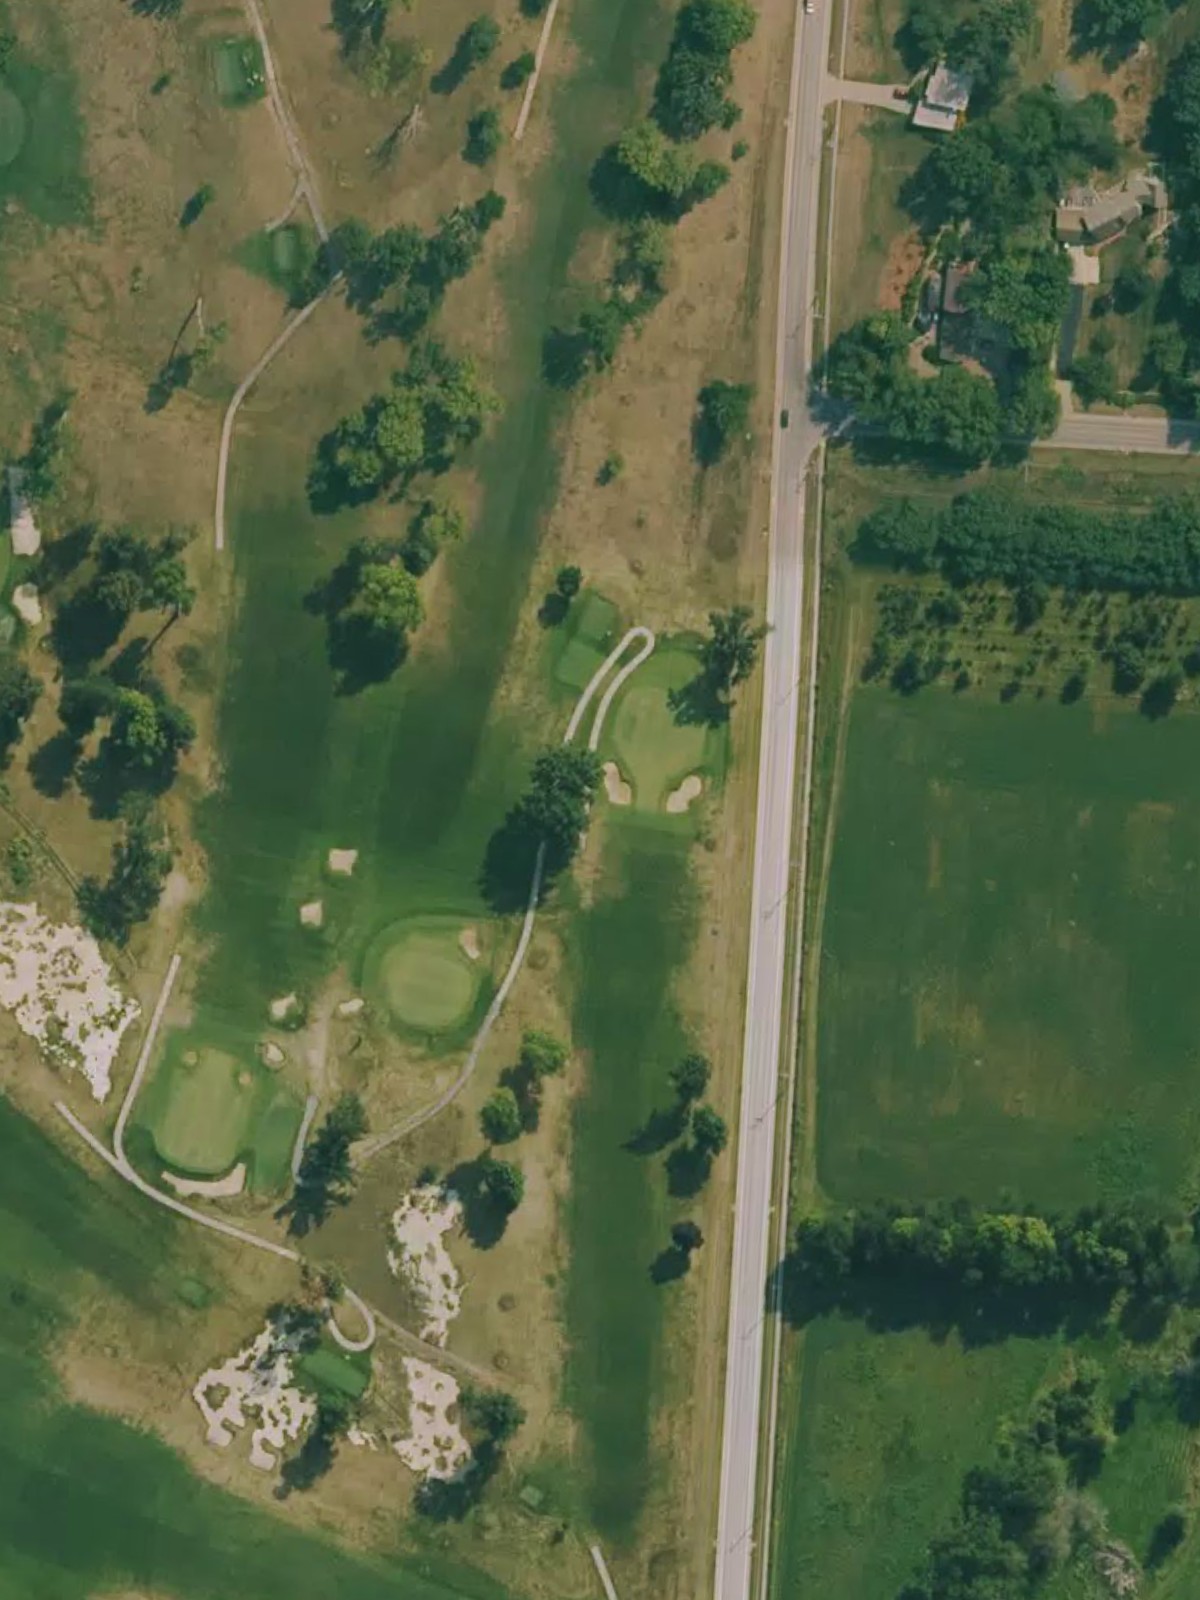
A short par 3 playing downhill to a shallow green protected by a single frontal bunker. The green's modest size requires precision over distance, making club selection critical despite the modest yardage.
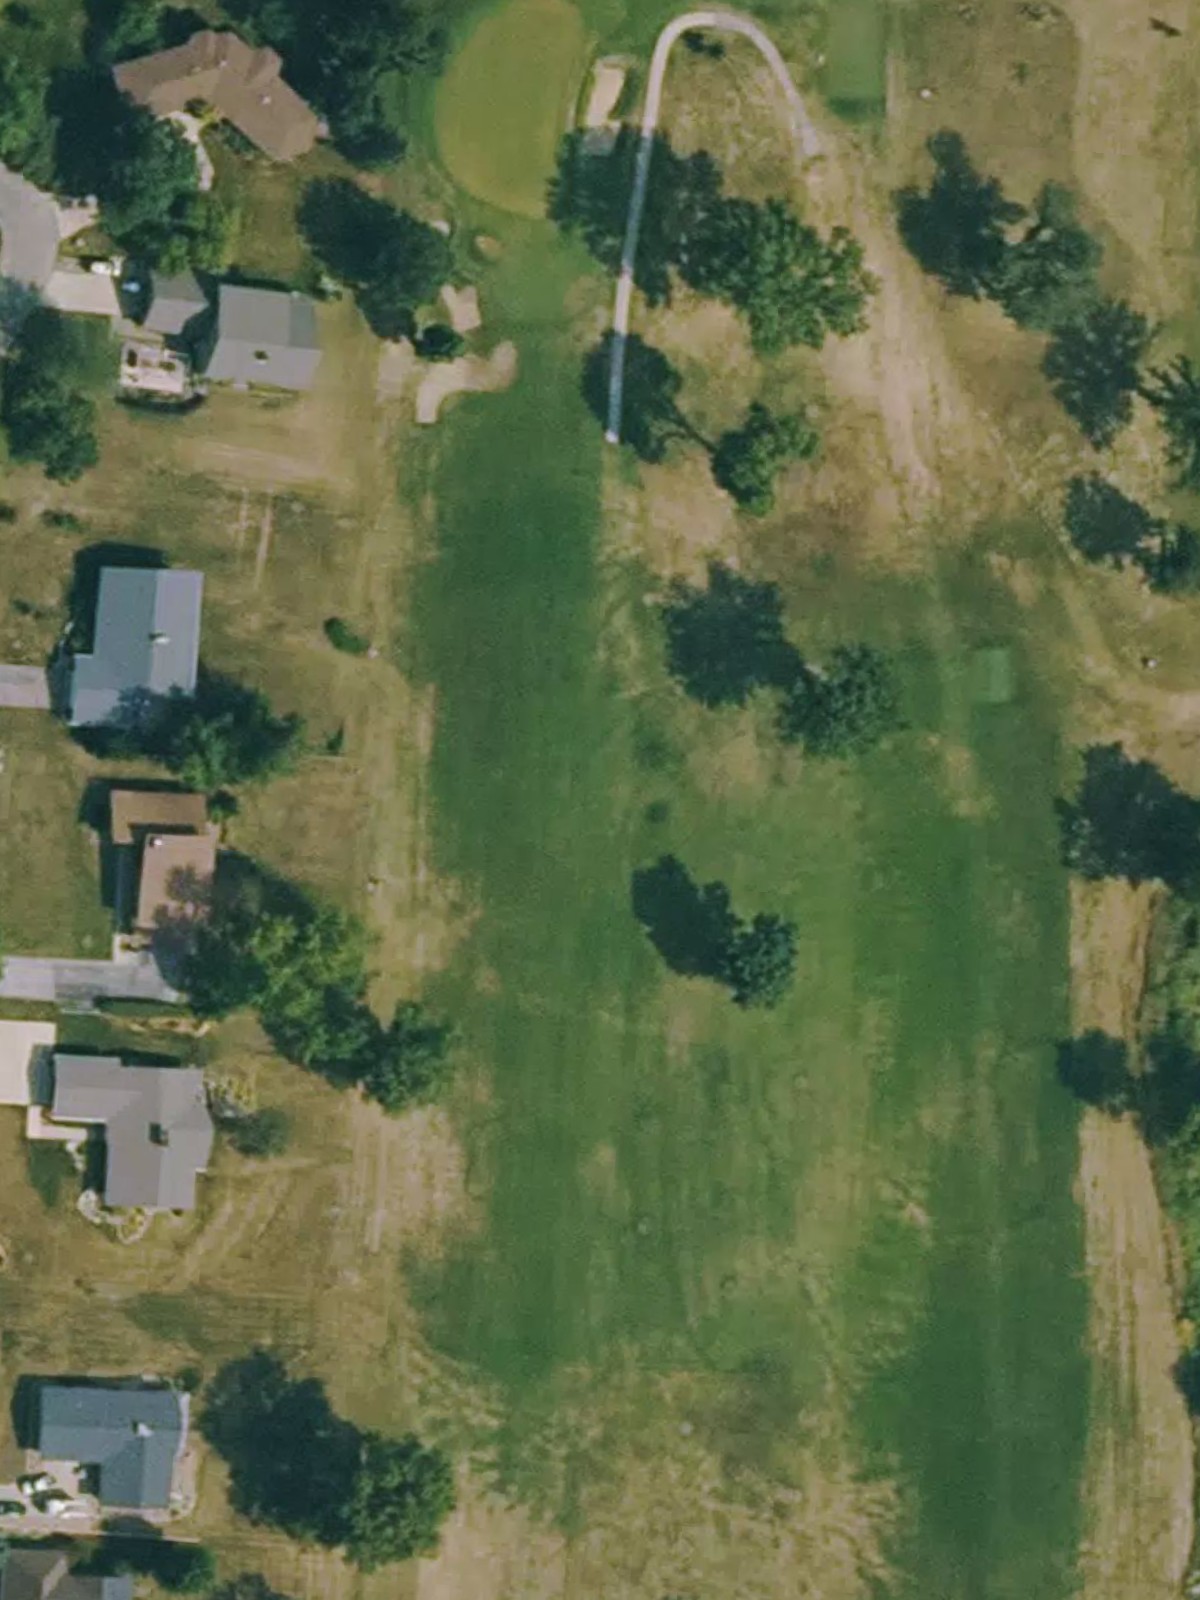
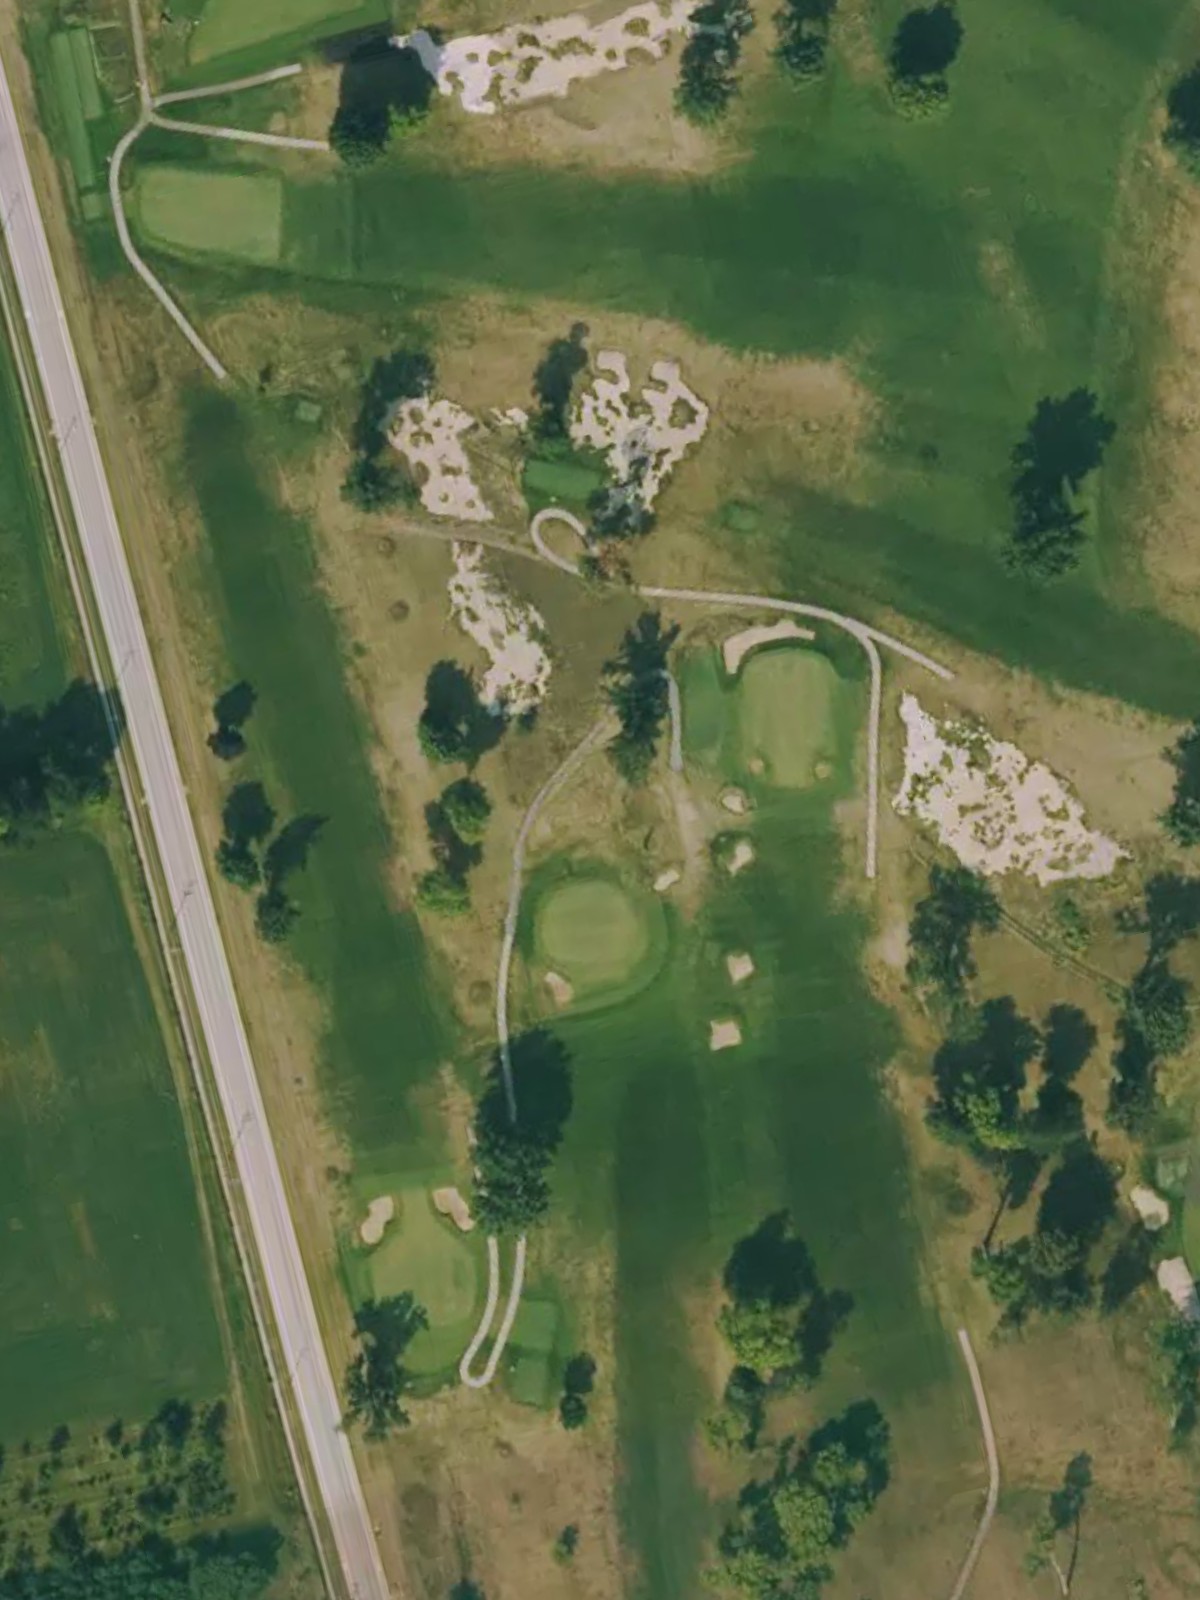
An accessible par 5 with a relatively open fairway that allows for a methodical three-shot approach. Light bunkering along the fairway and around the green keeps play straightforward for this birdie opportunity.
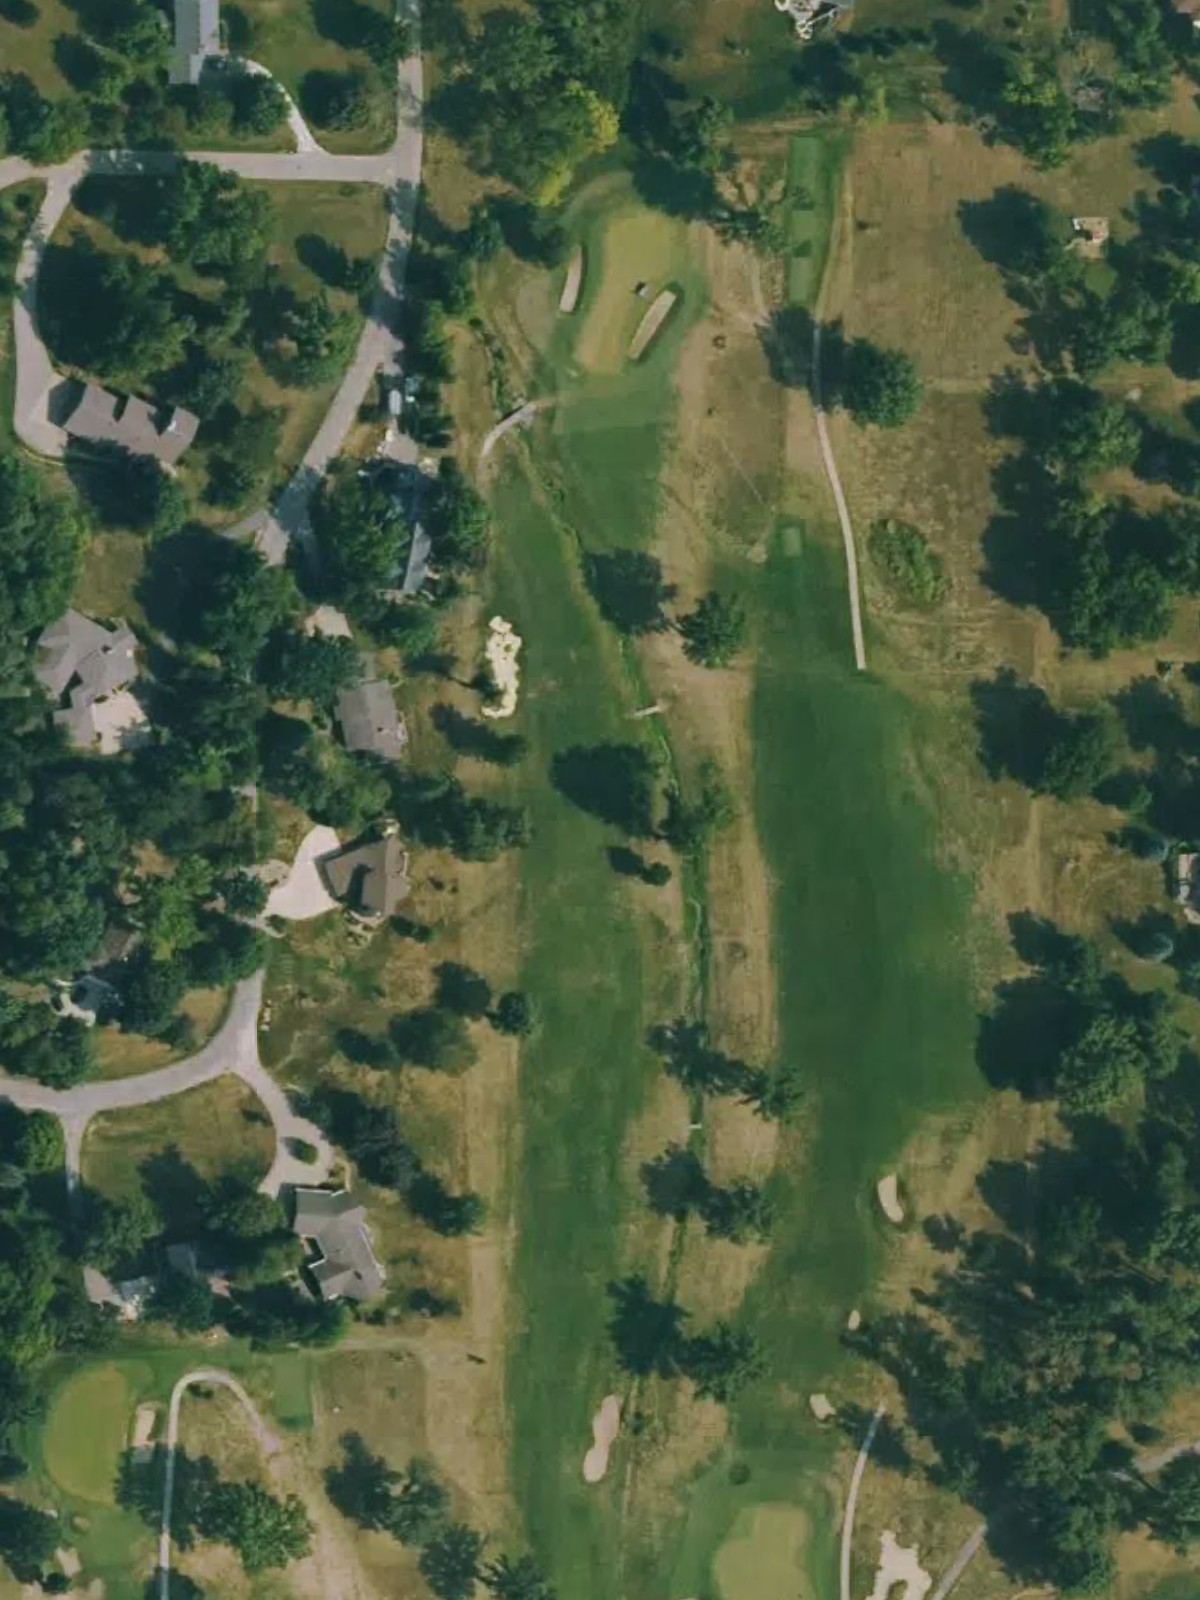
The most difficult hole on the course, this par 4 is a rigorous test that demands two precise shots to reach the well-protected green. Hazards frame both sides of the fairway, with bunkers tightening the approach corridor.
A sprawling par 5 with a generous fairway that opens opportunities for aggressive play. Bunkers scattered throughout the hole and guarding the green provide strategic obstacles without creating a single defined threat.
An unremarkable short par 3 featuring a straightforward shot to an open green with minimal bunkering. The hole's simplicity makes it a welcome respite on the front nine despite its length handicap.
A well-balanced par 4 with a fairway that remains relatively open throughout its length. Modest bunkering near the green encourages a controlled approach, making this a fair test of overall shotmaking.
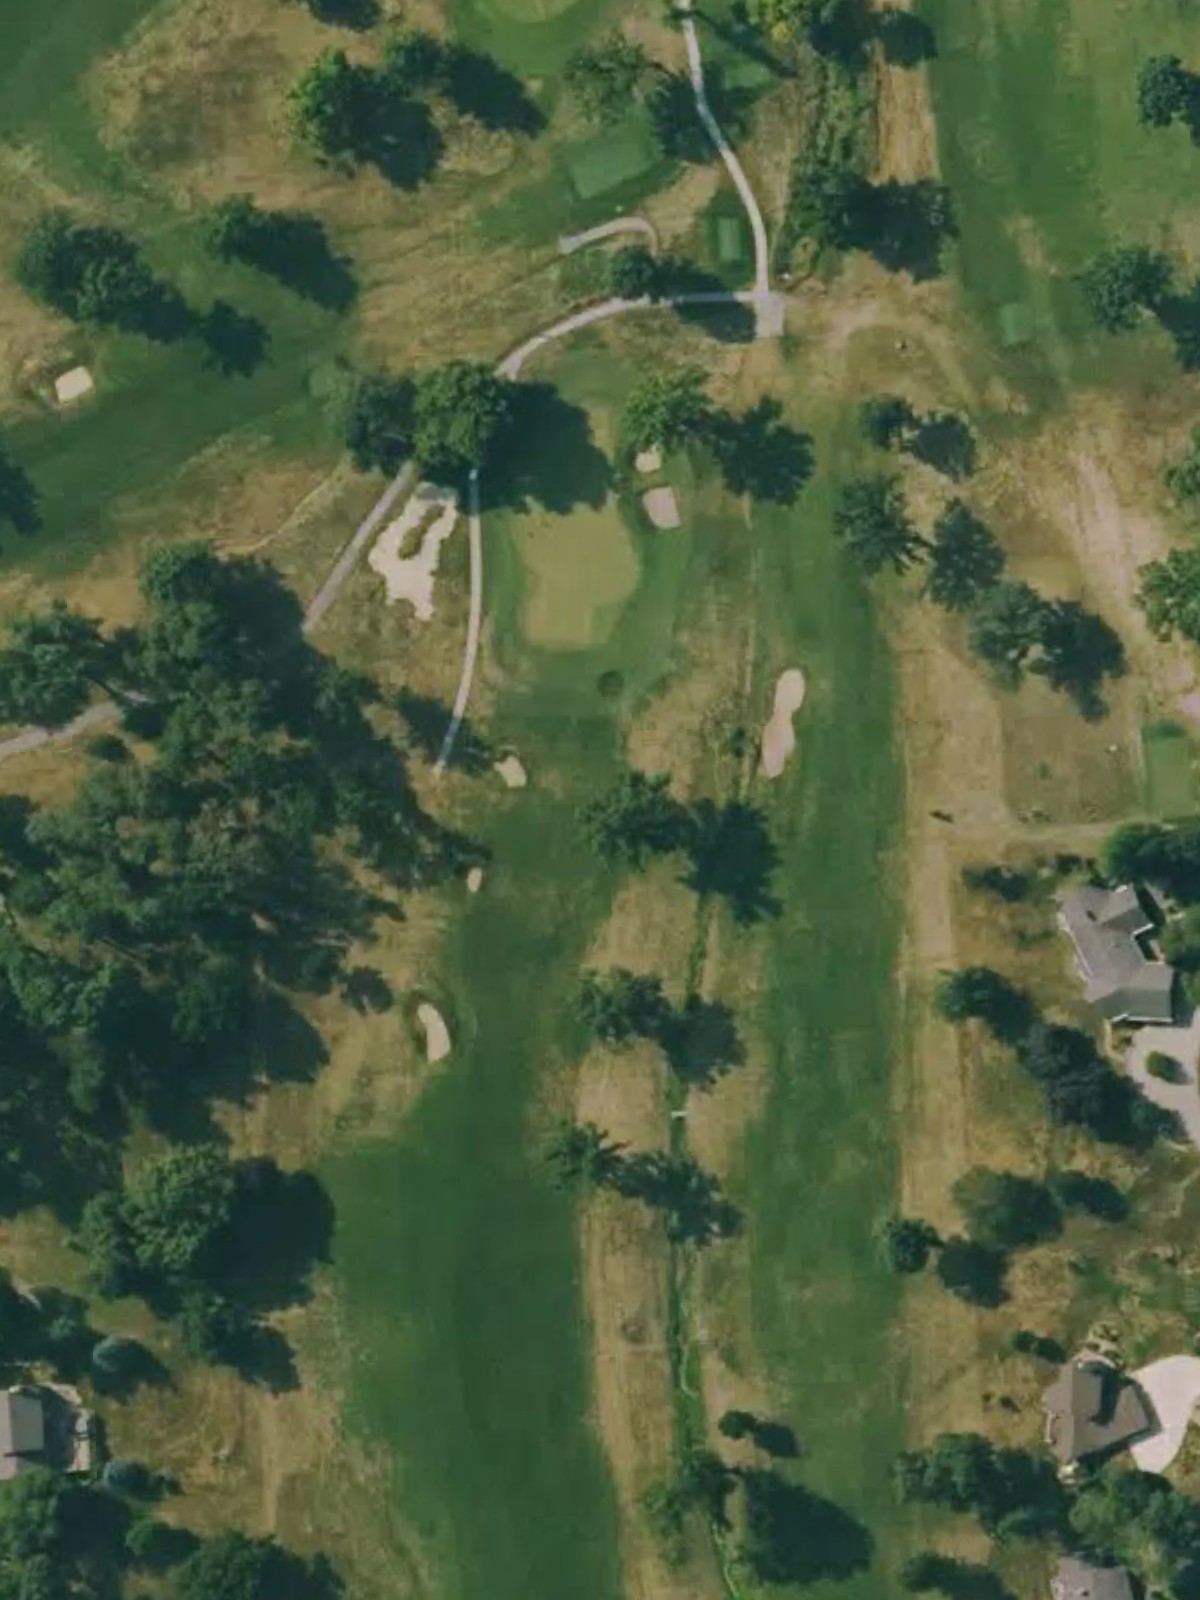
A challenging finishing hole for the front nine, this par 4 demands two solid shots to a green that is well-guarded by strategic bunkering. The fairway configuration requires thought off the tee to set up the best angle of approach.
Similar in character to Hole 1, this par 4 features a forgiving fairway that becomes more restrictive near the green. Well-positioned bunkers frame the approach area, rewarding accurate positioning from the tee.
A lengthy par 4 that presents a significant challenge, particularly from the back tees, with water hazards along the right side of the hole. The fairway narrows considerably as it approaches the green, demanding accuracy on both shots.
A modest par 3 with an open green and minimal bunkering, offering a straightforward scoring opportunity. The hole's simplicity provides balance after the difficulty of Hole 11.
A reachable par 5 with a fairway that allows for multiple strategic approaches to the green. Bunkers positioned throughout the hole provide visual interest while remaining fair for players of varying skill levels.
The second-most difficult hole on the course, this par 4 is a stern test that requires two excellent shots for a scoring chance. Strategic hazards frame the hole's defining features, creating a memorable and challenging finish.
A substantial par 5 that provides genuine scoring opportunities for those who can navigate its length and bunkering wisely. The hole opens with a generous fairway that narrows as it approaches a well-guarded green.
The most forgiving par 3 on the course, this short hole features an open green with minimal hazard protection. Its simplicity offers a welcome confidence-builder before the demanding closing stretch.
A solid par 4 with a fairway that maintains consistent width throughout, presenting a balanced challenge without any single dominant hazard. Bunkers around the green encourage precision on the approach shot.
A demanding final hole, this par 4 finishes the round with a strategic layout that requires two precise shots to a protected green. Water or out-of-bounds hazards frame the hole, making a strong finish difficult to achieve.
Scorecard
| Hole | 1 | 2 | 3 | 4 | 5 | 6 | 7 | 8 | 9 | Out | 10 | 11 | 12 | 13 | 14 | 15 | 16 | 17 | 18 | In | Tot |
|---|---|---|---|---|---|---|---|---|---|---|---|---|---|---|---|---|---|---|---|---|---|
| Par | 4 | 4 | 3 | 5 | 4 | 5 | 3 | 4 | 4 | 36 | 4 | 4 | 3 | 5 | 4 | 5 | 3 | 4 | 4 | 36 | 72 |
| HCP | 9 | 5 | 13 | 15 | 1 | 11 | 17 | 7 | 3 | 10 | 6 | 14 | 16 | 2 | 12 | 18 | 8 | 4 | |||
| blue | 295 | 392 | 160 | 450 | 360 | 485 | 110 | 315 | 430 | 2997 | 295 | 392 | 160 | 450 | 360 | 485 | 110 | 315 | 430 | 2997 | 5994 |
| white | 290 | 376 | 122 | 430 | 332 | 475 | 105 | 305 | 410 | 2845 | 290 | 376 | 122 | 430 | 332 | 475 | 105 | 305 | 410 | 2845 | 5690 |
| red | 280 | 275 | 103 | 346 | 275 | 365 | 100 | 300 | 365 | 2409 | 280 | 275 | 103 | 346 | 275 | 365 | 100 | 300 | 365 | 2409 | 4818 |