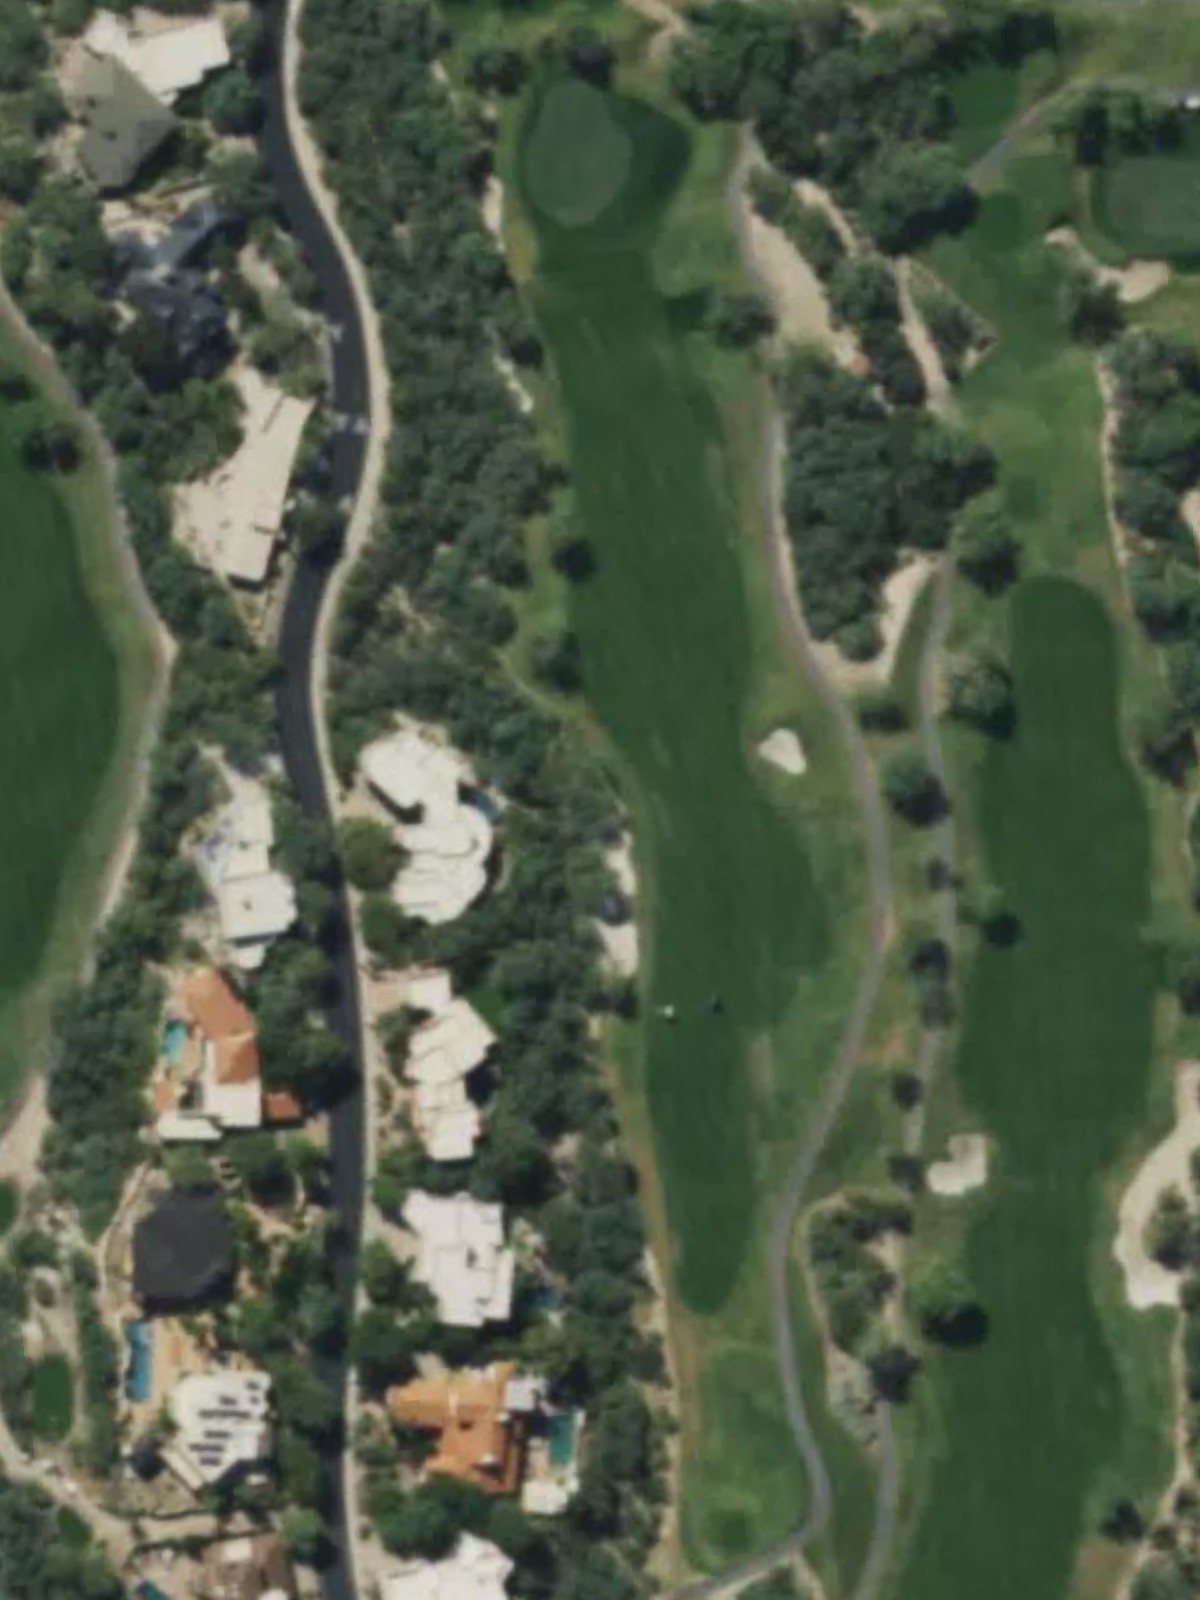
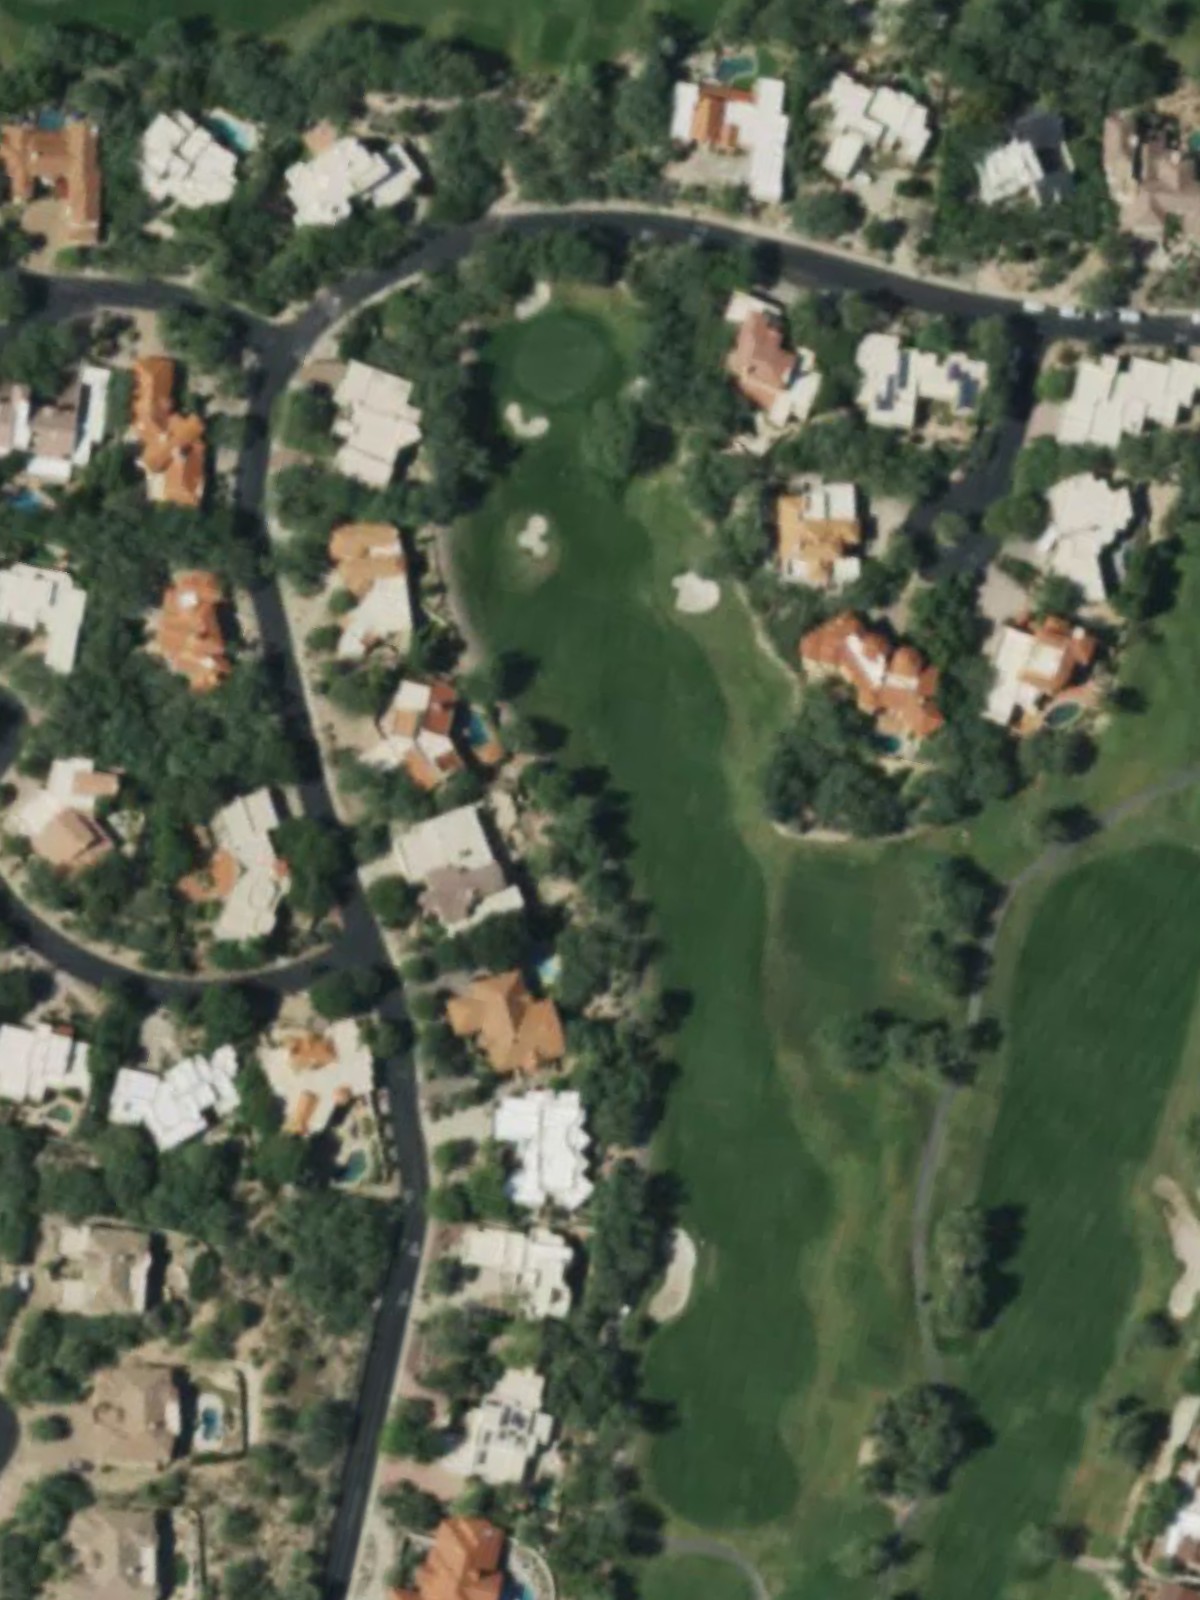
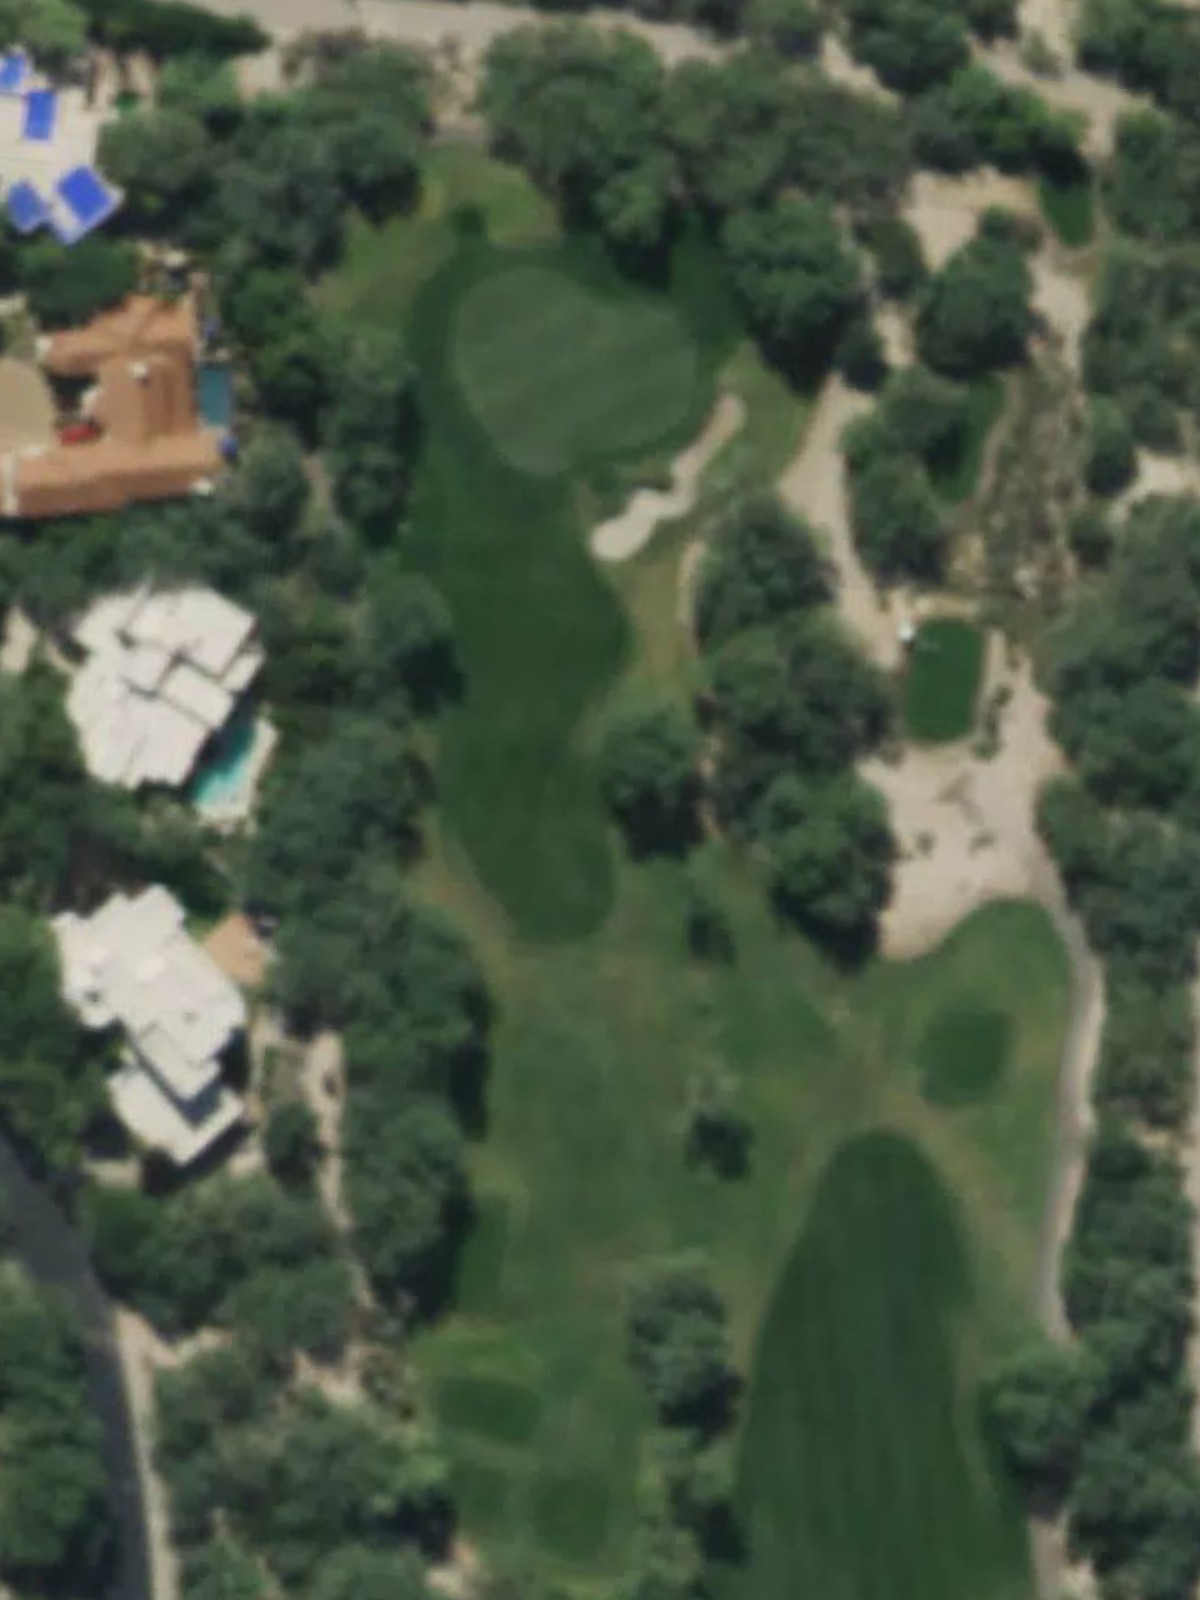
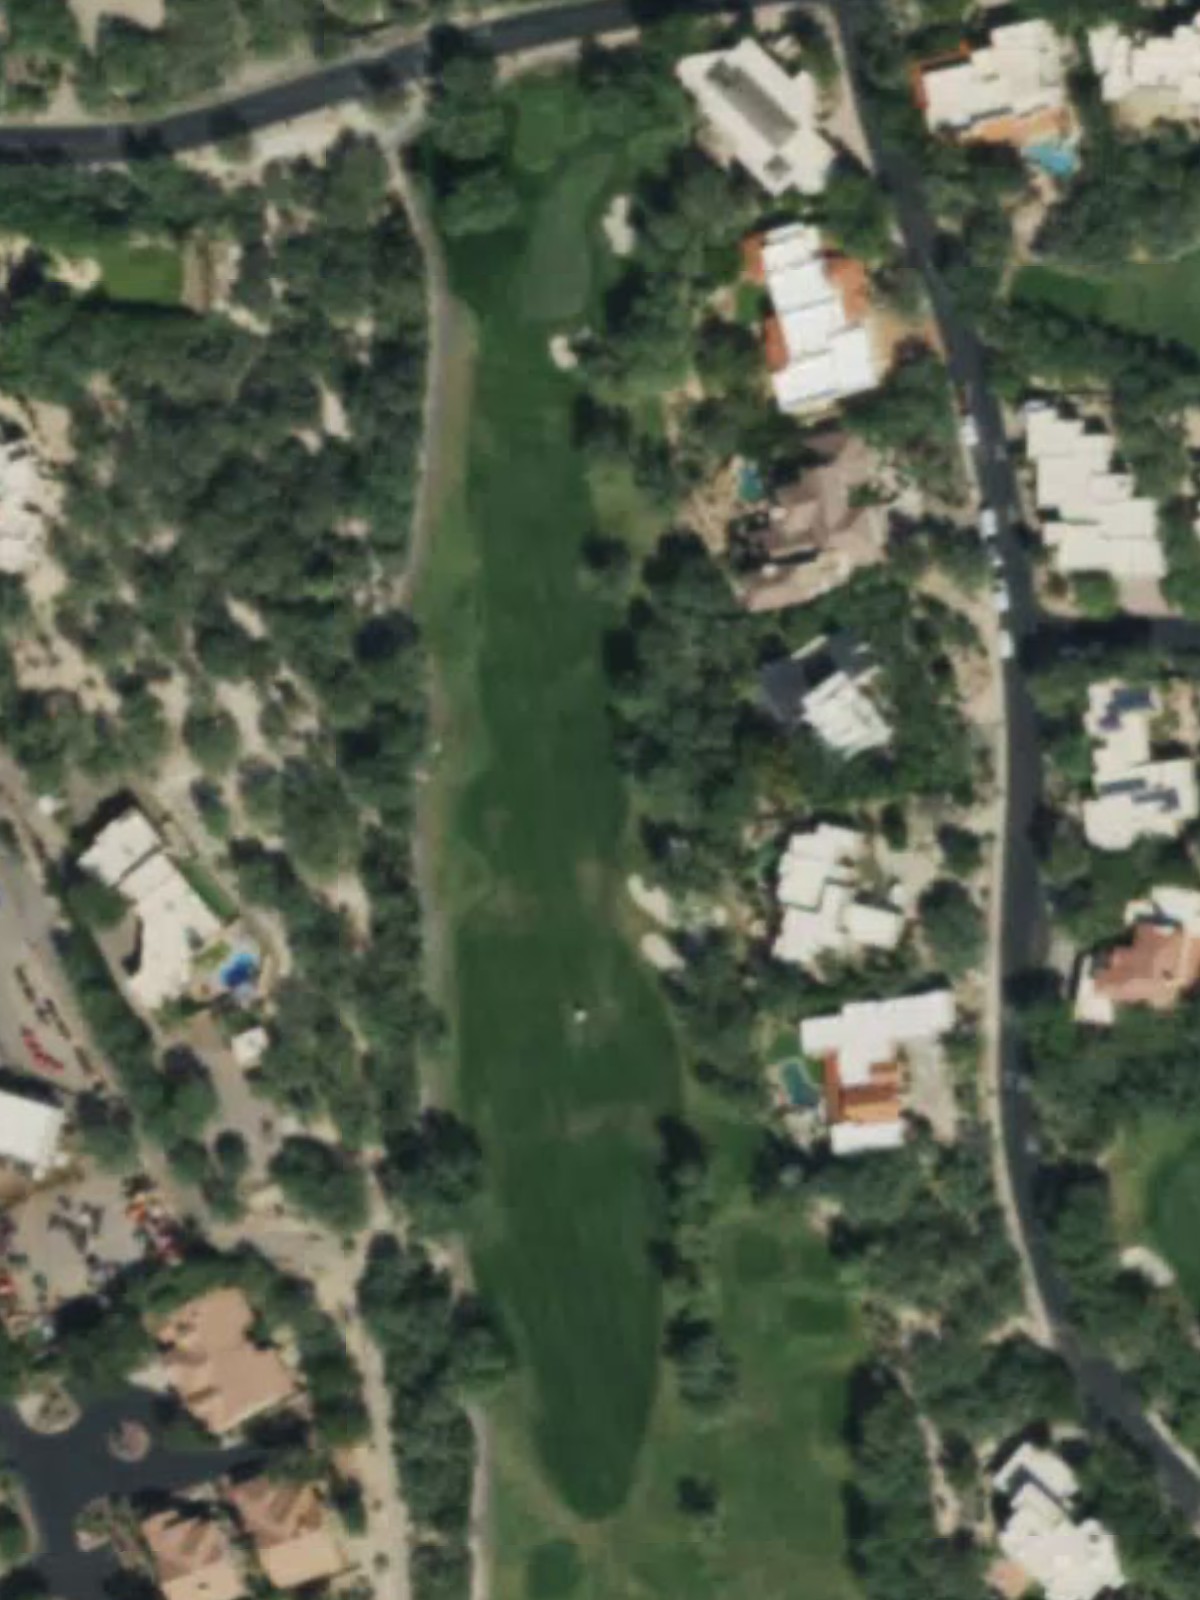
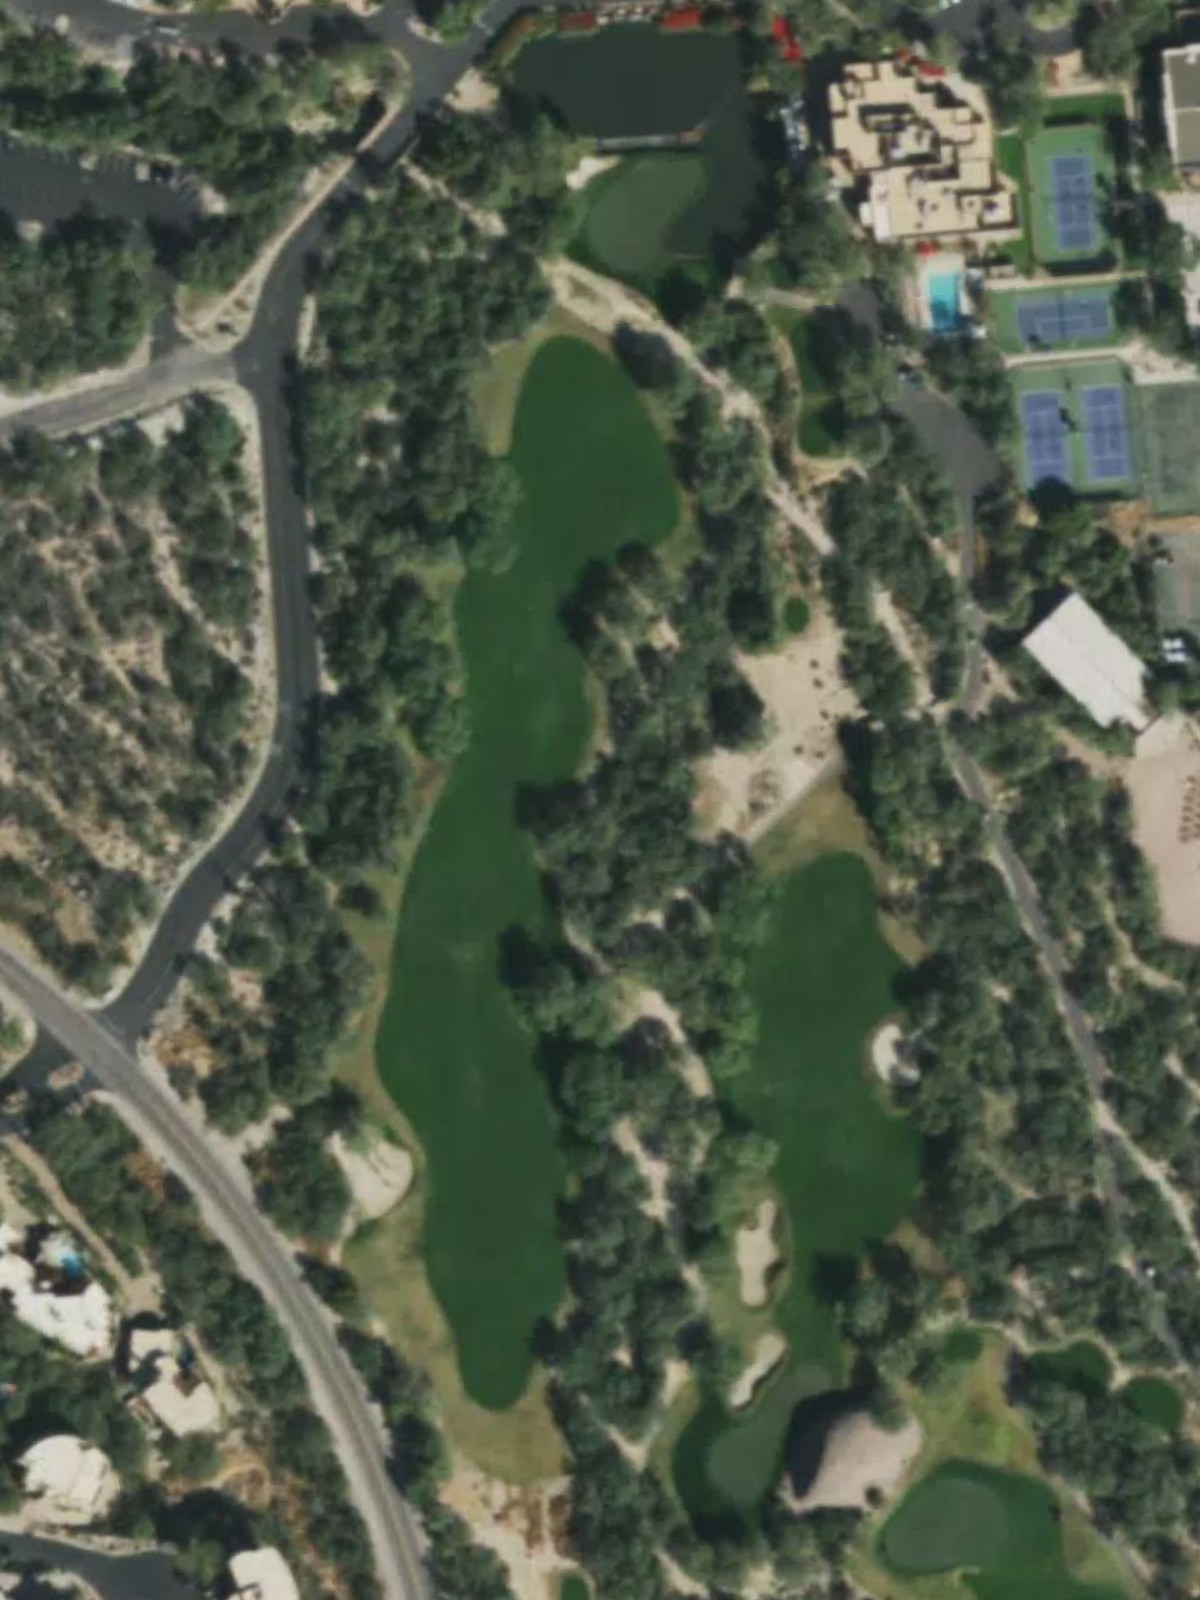
Ventana Canyon is an 18-hole golf course in Tucson, AZ with a par of 72. It offers 7 tee sets: black (6,836 yards, slope 137, rating 72.1), green (6,537 yards, slope 135, rating 71.1), gold (6,299 yards, slope 132, rating 70.2), blue (5,982 yards, slope 128, rating 68.6), silver (5,822 yards, slope 125, rating 68), turquoise (5,442 yards, slope 121, rating 66.3), copper (4,939 yards, slope 114, rating 64.1). The hardest hole is #15, a par 4 playing 374 yards from the first tee.
Ventana Canyon
Tucson, AZ
Get PDF Yardage Book
We'll email you the PDF link. No spam, ever.
Create Your Game Plan
Pick your tees, enter your bag, and get a personalized shot-by-shot strategy for every hole.
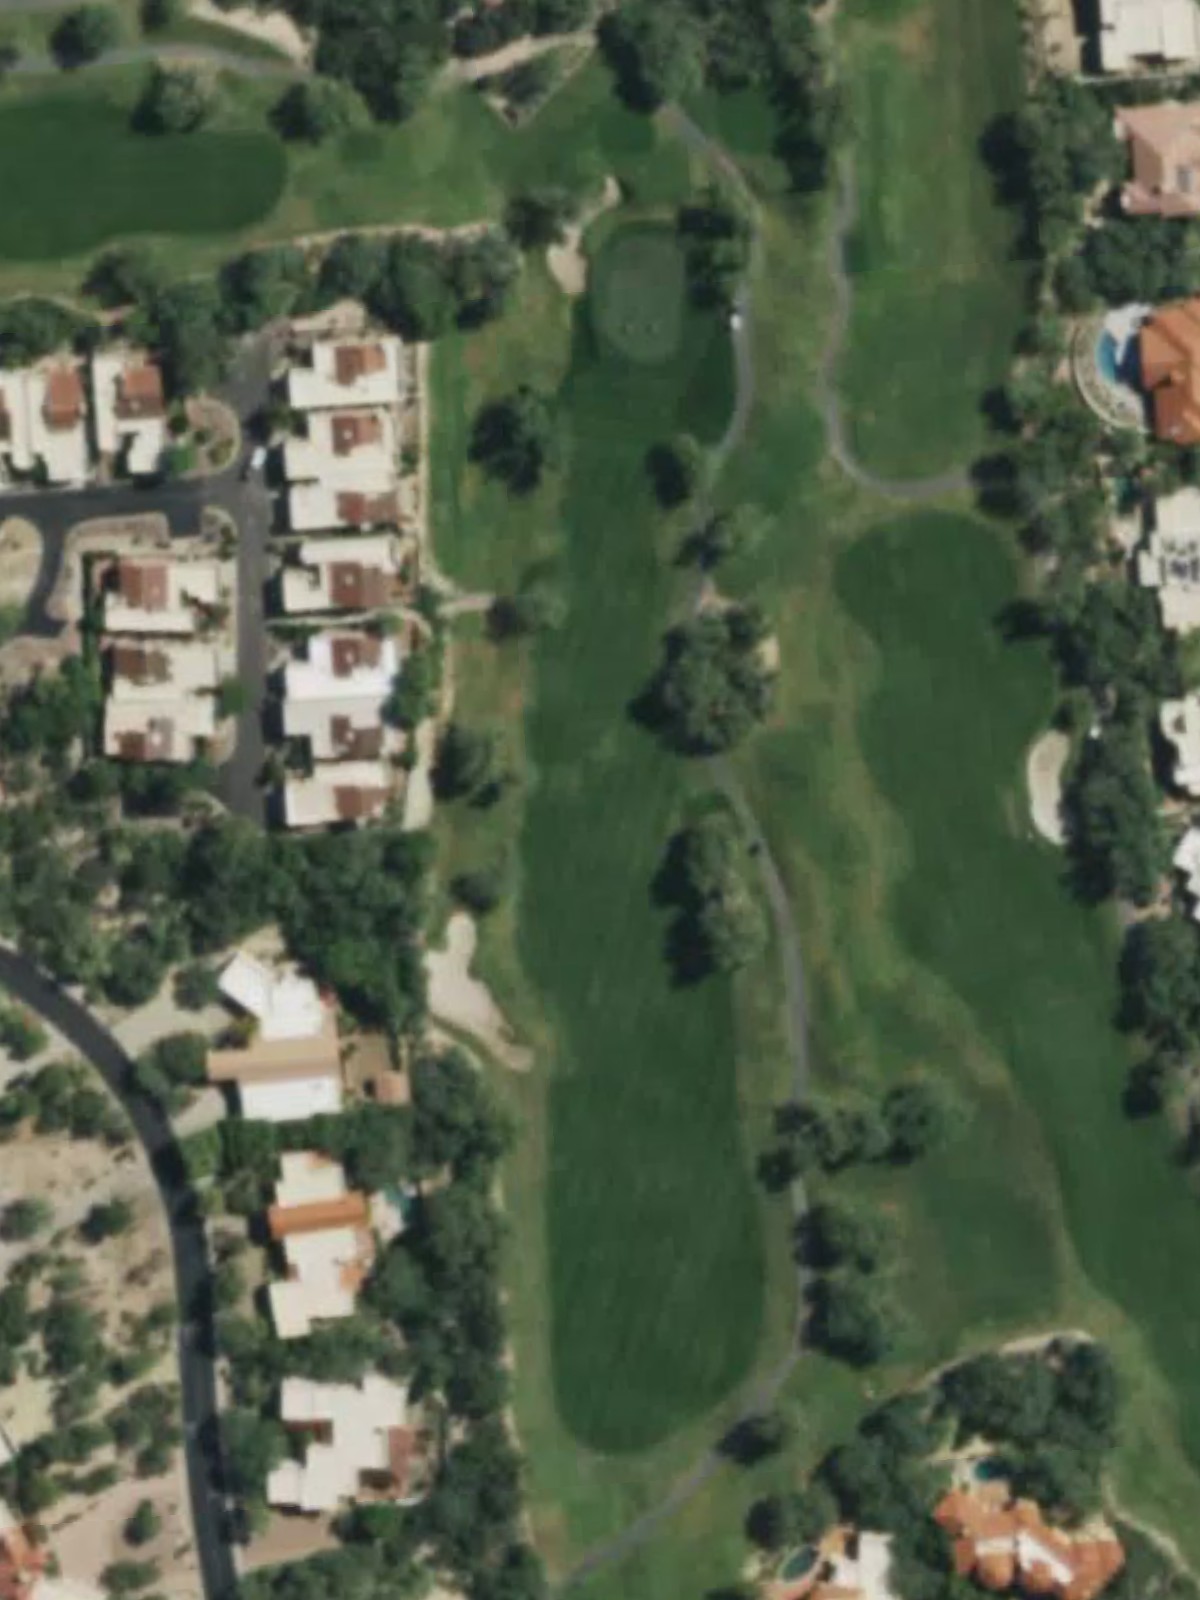
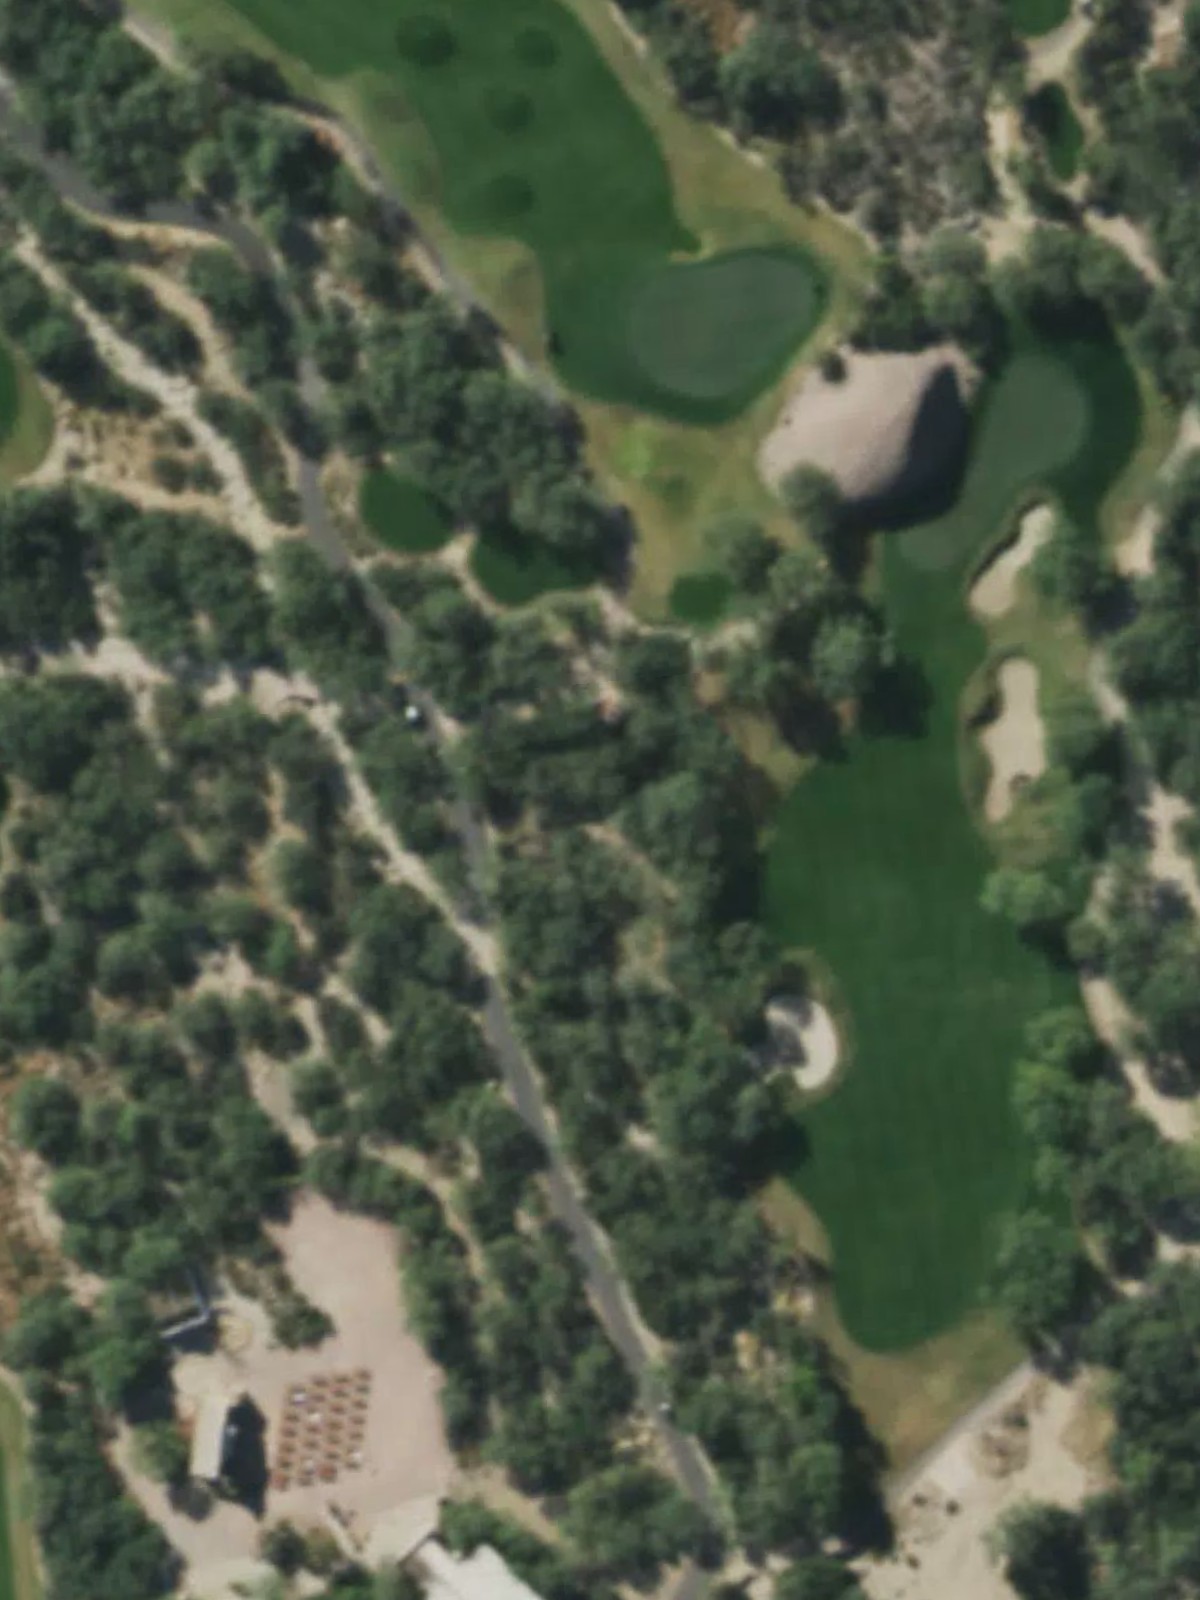
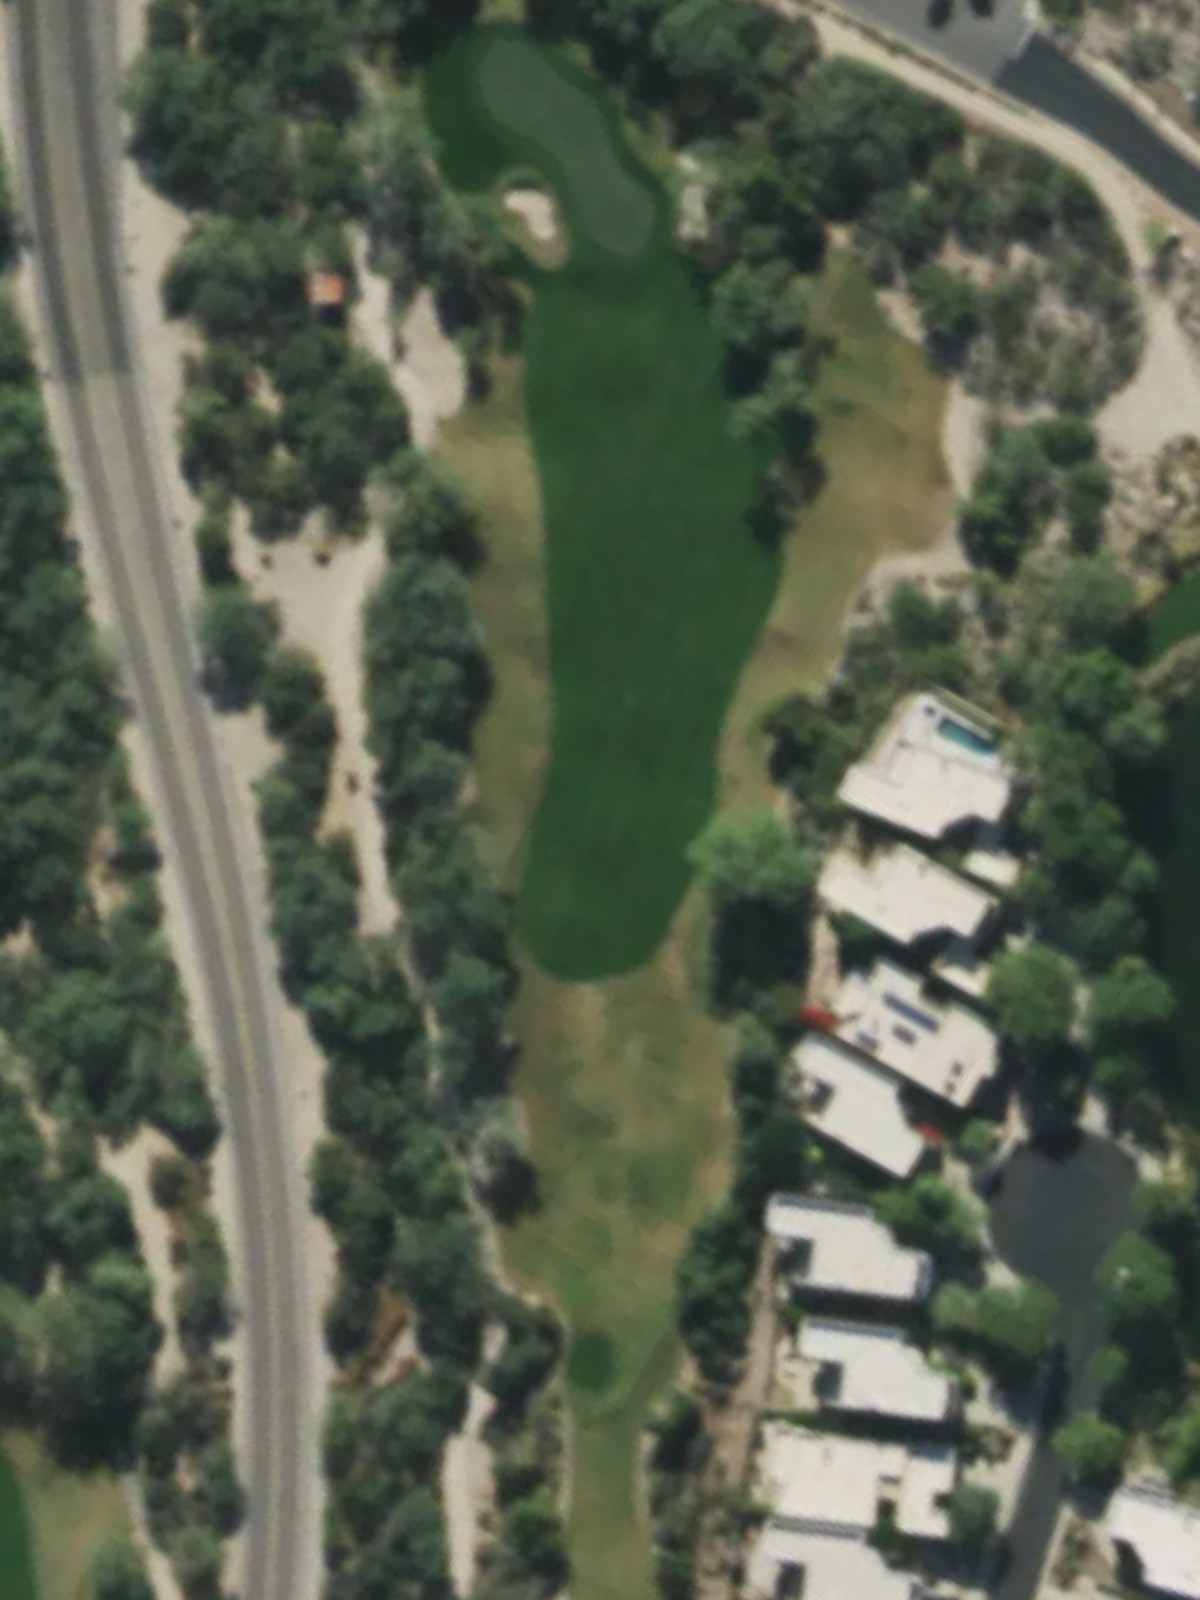
A straightforward opening par 4 that plays relatively short and inviting. The fairway is generous off the tee but narrows as it approaches the green, where bunkers protect the right side and demand accuracy on the approach shot.

A reachable par 5 that rewards aggressive play but features water hazards left that can penalize wayward tee shots and second shots. The hole's length varies significantly across tee positions, creating an interesting risk-reward dynamic.
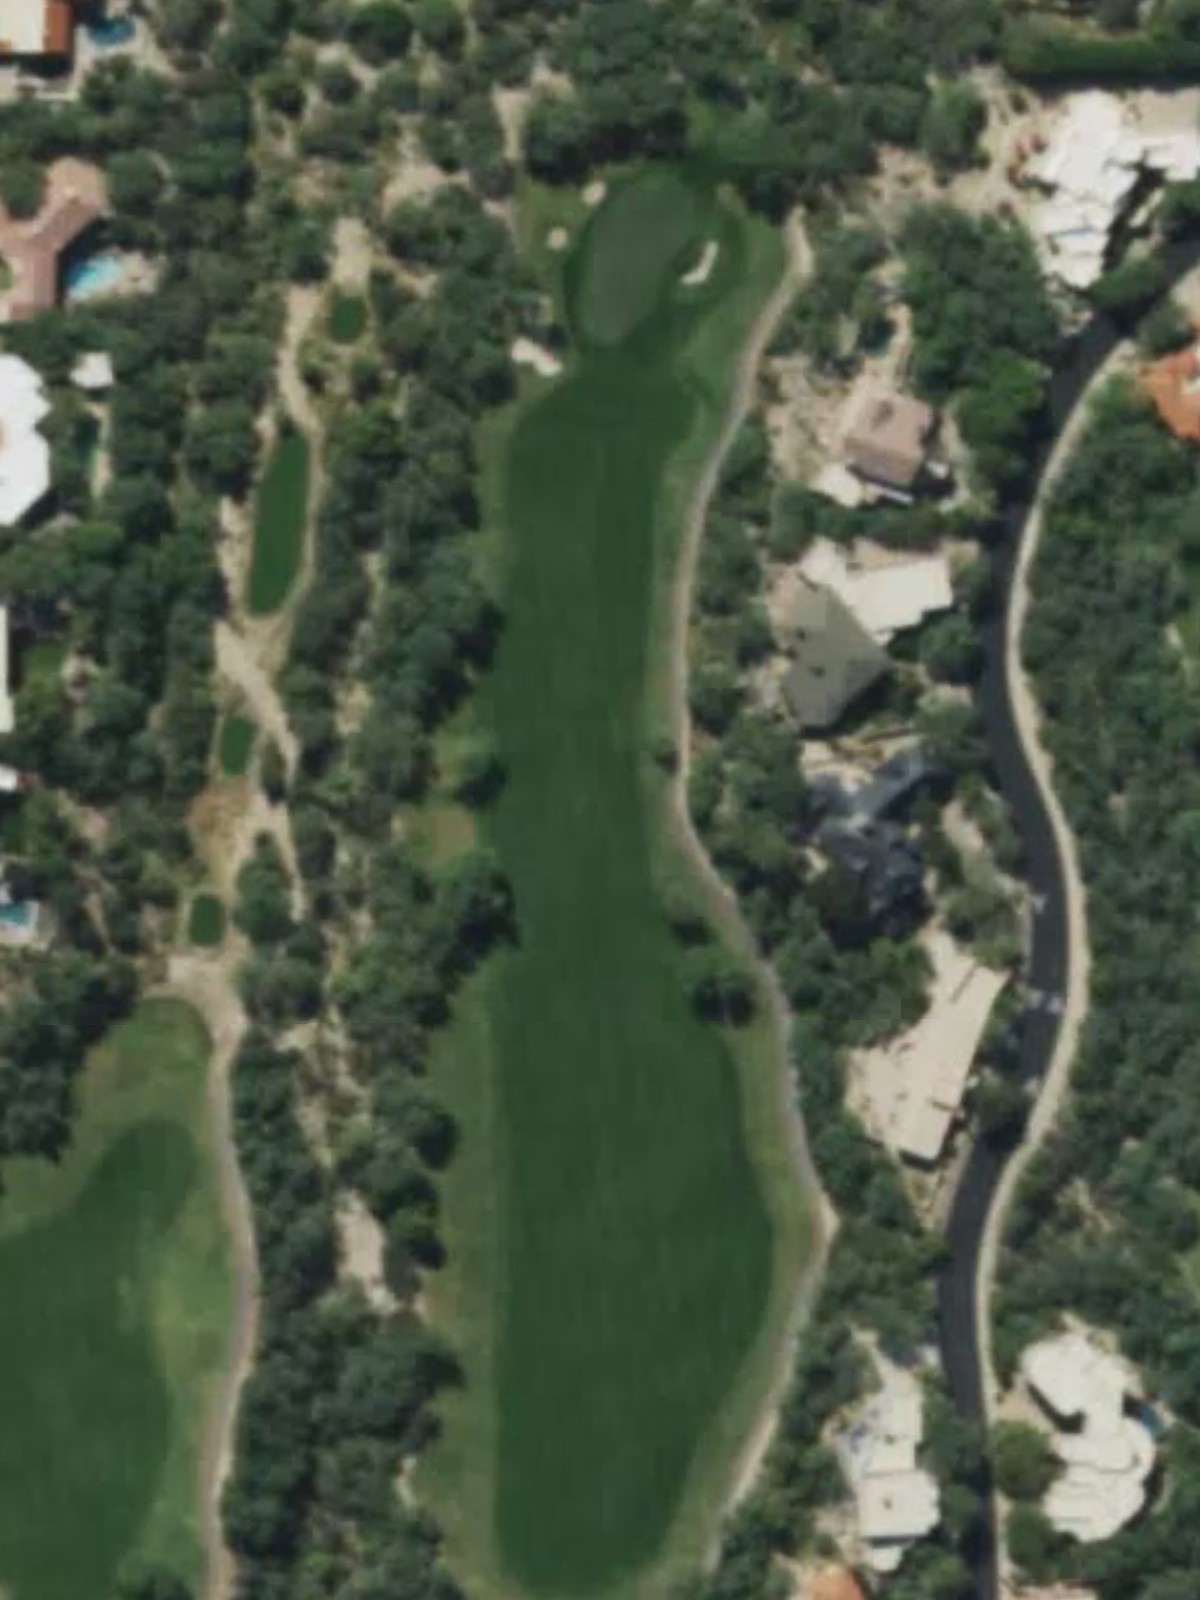
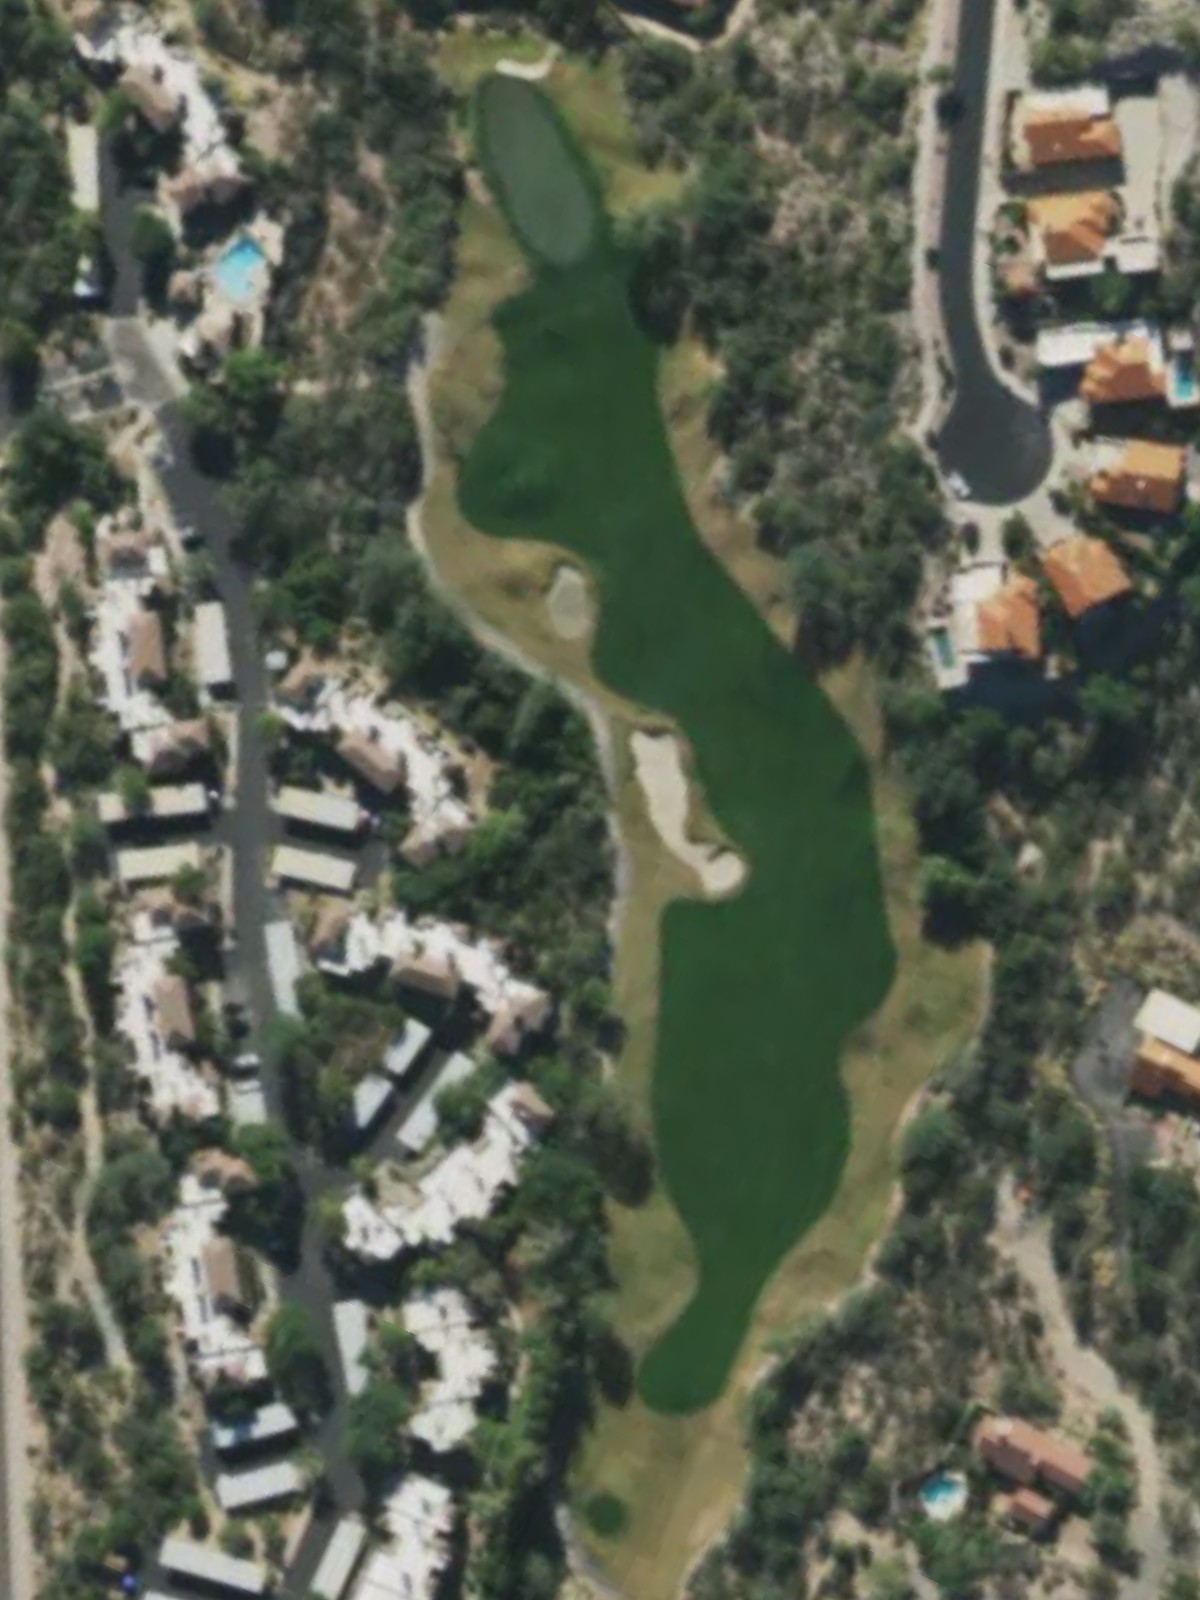
The course's most difficult hole, this par 4 features a tight, demanding layout that requires precision off the tee and into a well-bunkered green. Water and out-of-bounds lurk along the line to create a challenging test of accuracy.
A short par 4 that plays significantly shorter from forward tees, offering a rare birdie opportunity for most players. The compact design and minimal hazards make this the course's most generous handicap hole.
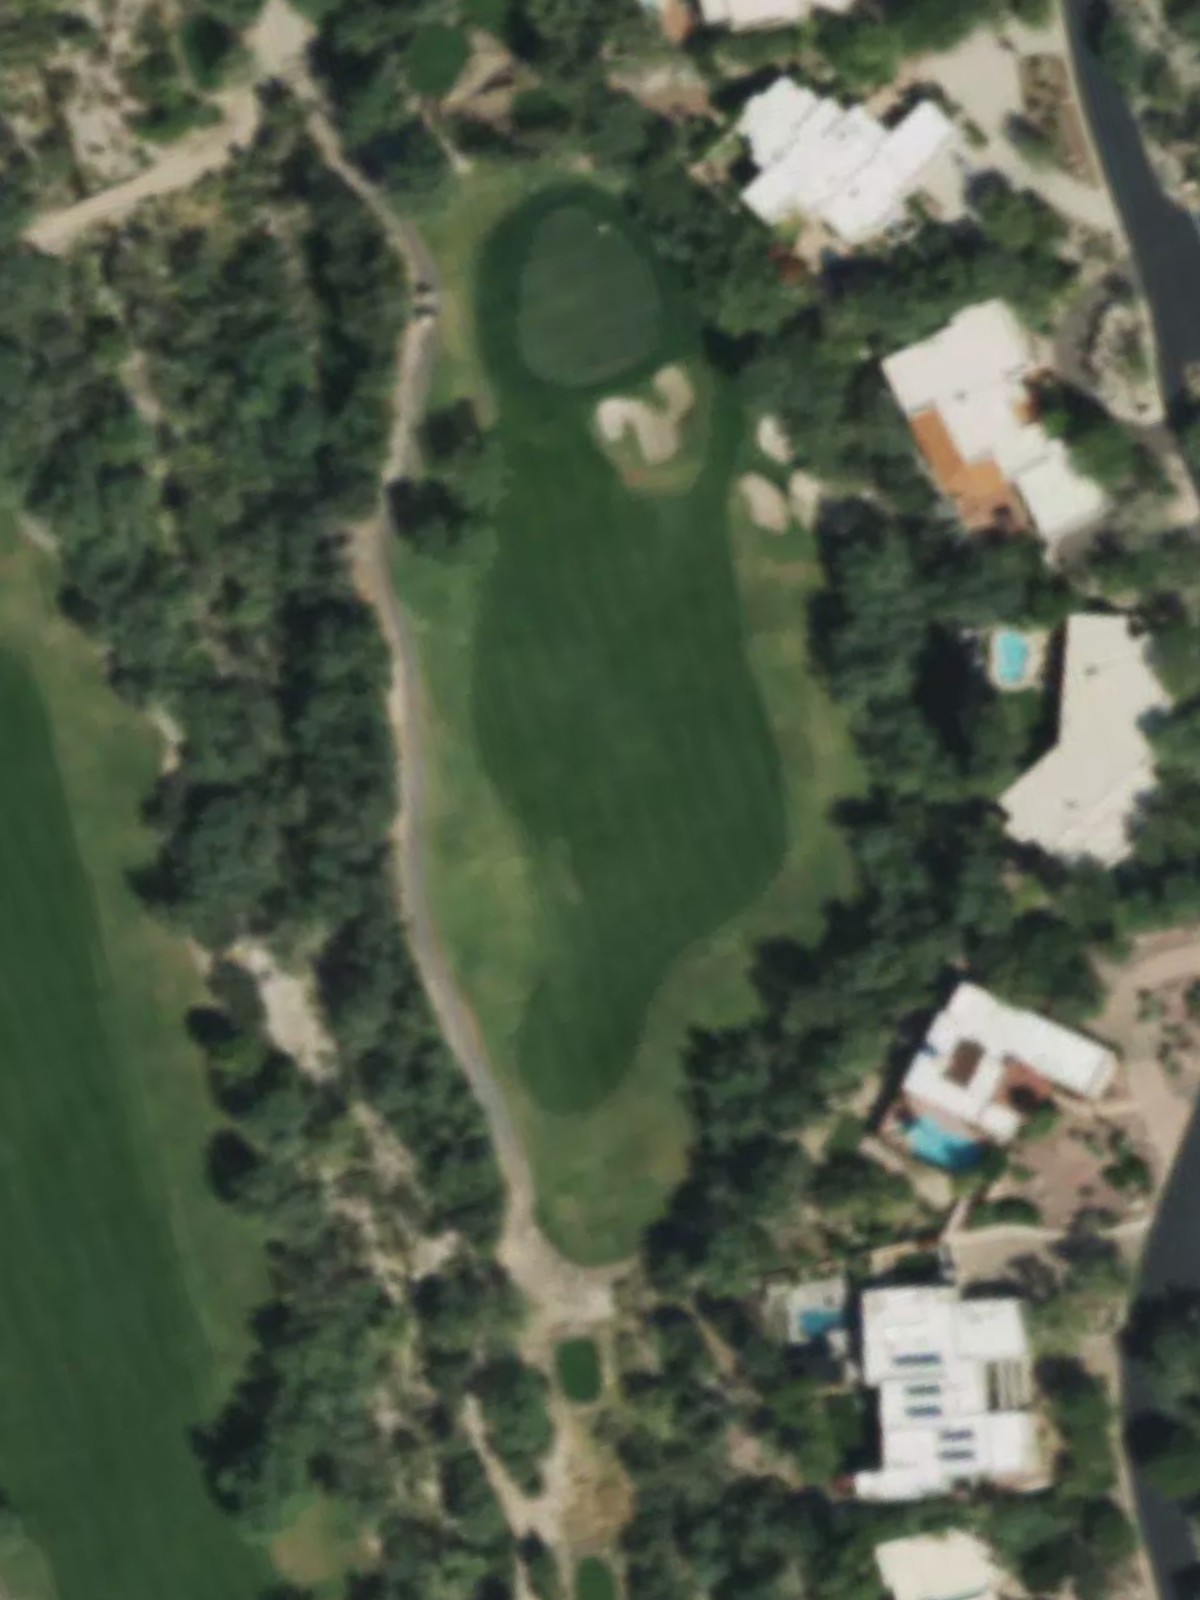
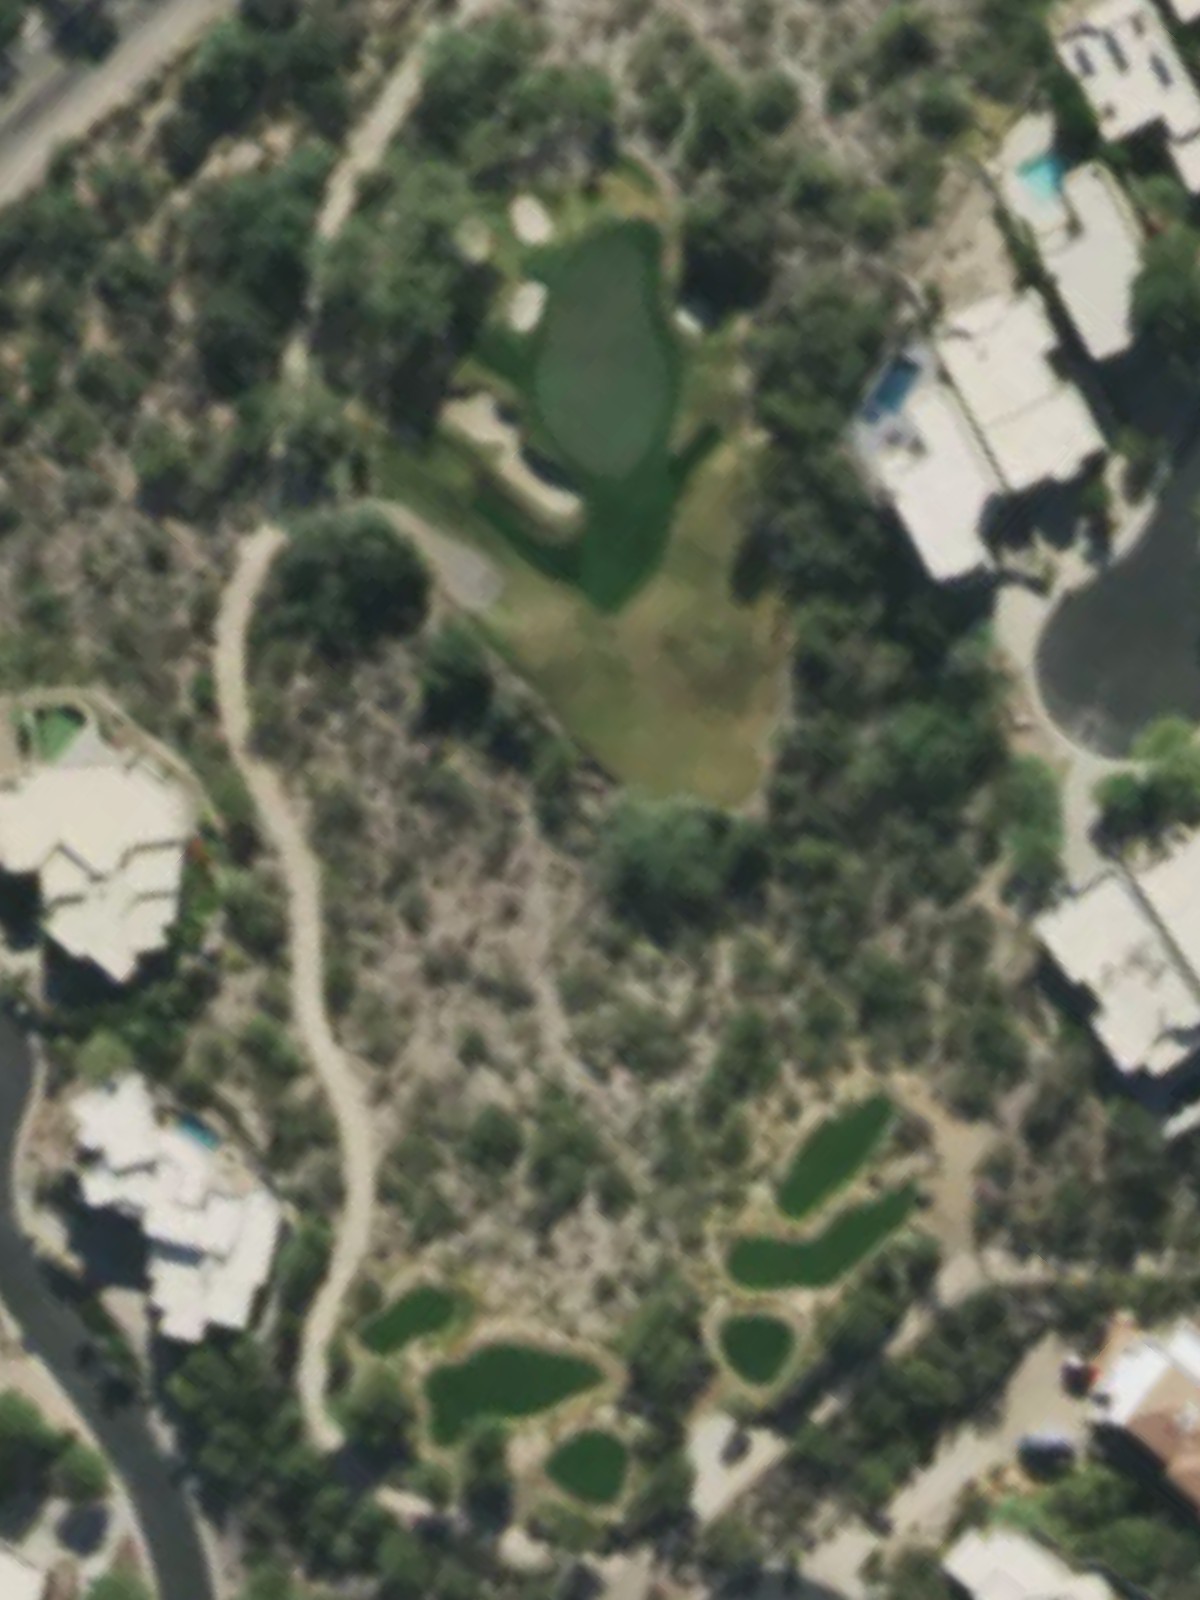
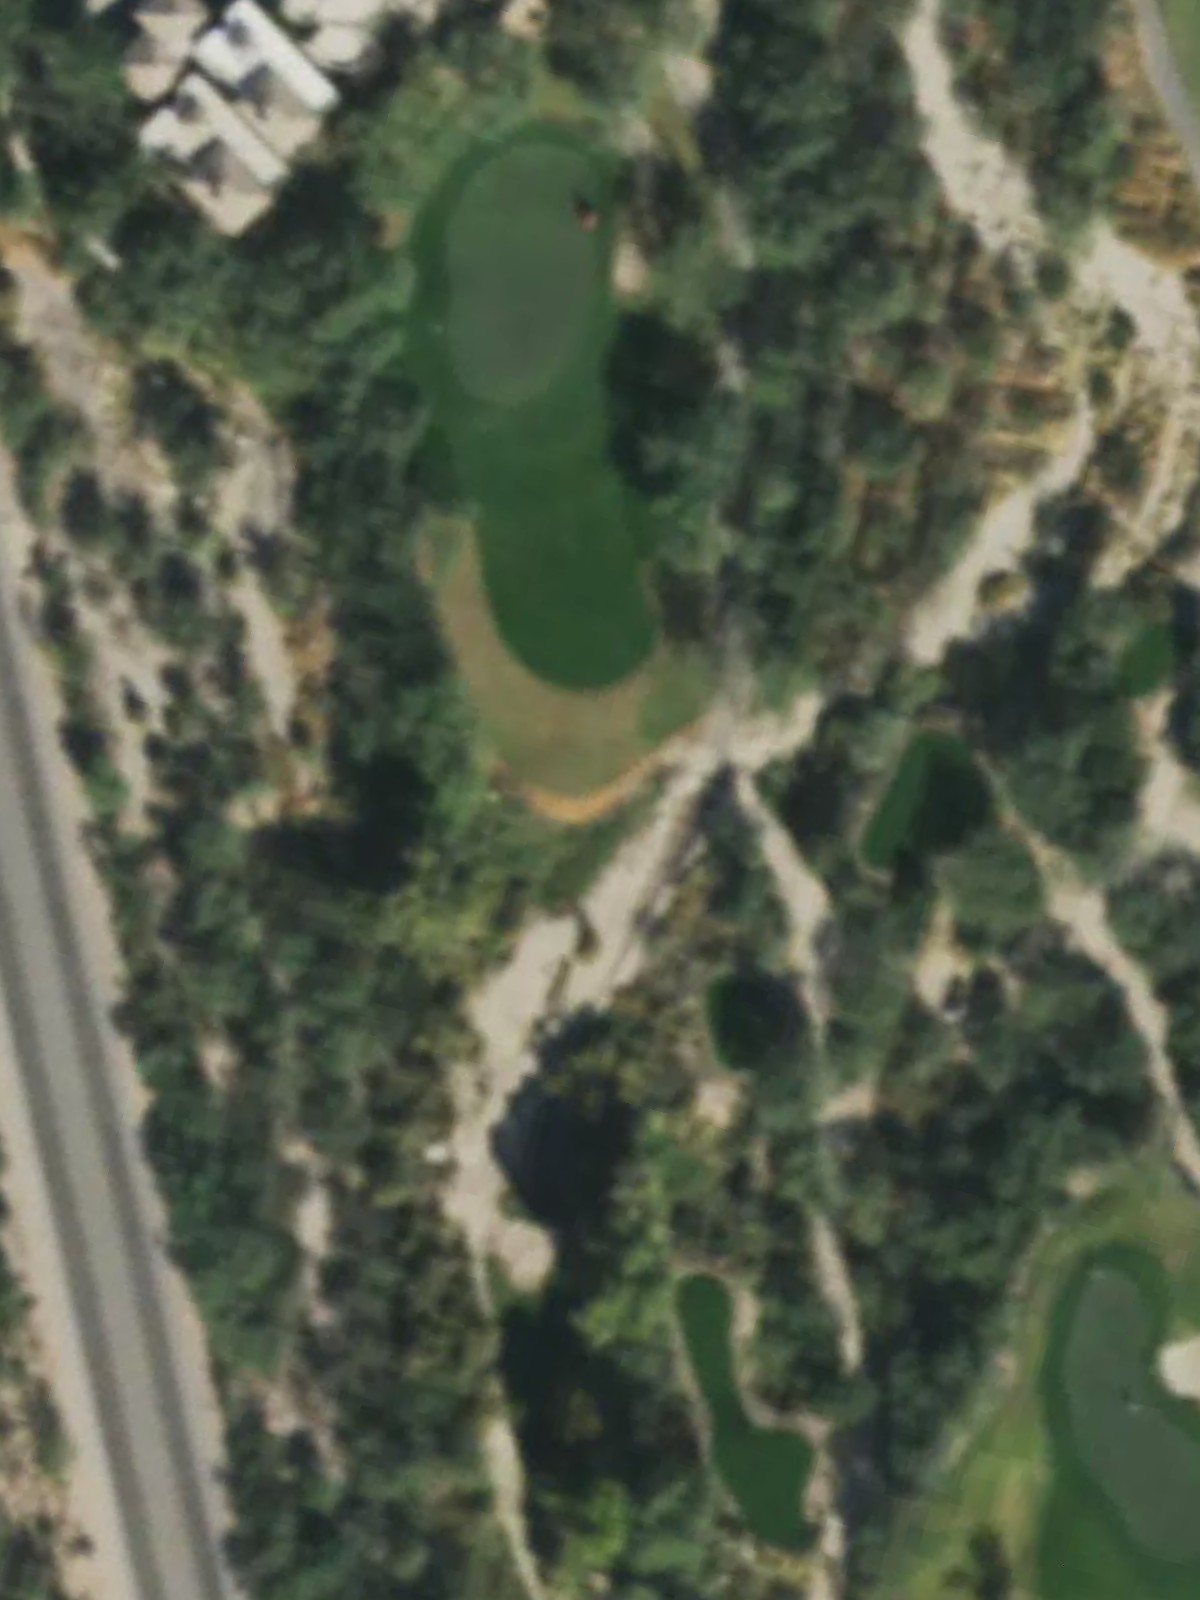
A brief par 3 that demands accuracy over distance, with water left and a narrow green surface creating a tight target. The hole's small size and hazard placement require a precise tee shot.
A mid-length par 4 that features a dogleg configuration with bunkers strategically placed to challenge both the drive and approach. Water hazards frame the hole and require careful positioning to set up a manageable second shot.
A substantial par 5 that lengthens considerably from the back tees, with water hazards affecting the entire routing along one side. The hole's length and water placement reward accuracy over distance and create a demanding three-shot challenge.
A mid-range par 3 with a well-bunkered green that requires a precise tee shot to avoid greenside hazards. The hole's character changes significantly based on tee selection, with the longest version presenting a considerable challenge.
The second-most difficult par 4 on the course, this hole features a demanding layout with water and bunkers creating a narrow corridor to the green. The tight fairway and well-guarded approach demand accuracy throughout the hole.
A short and straightforward par 4 that plays well under 300 yards from forward positions, offering an accessible hole that contrasts with the course's more demanding stretches. The compact design and minimal hazards provide a scoring opportunity.
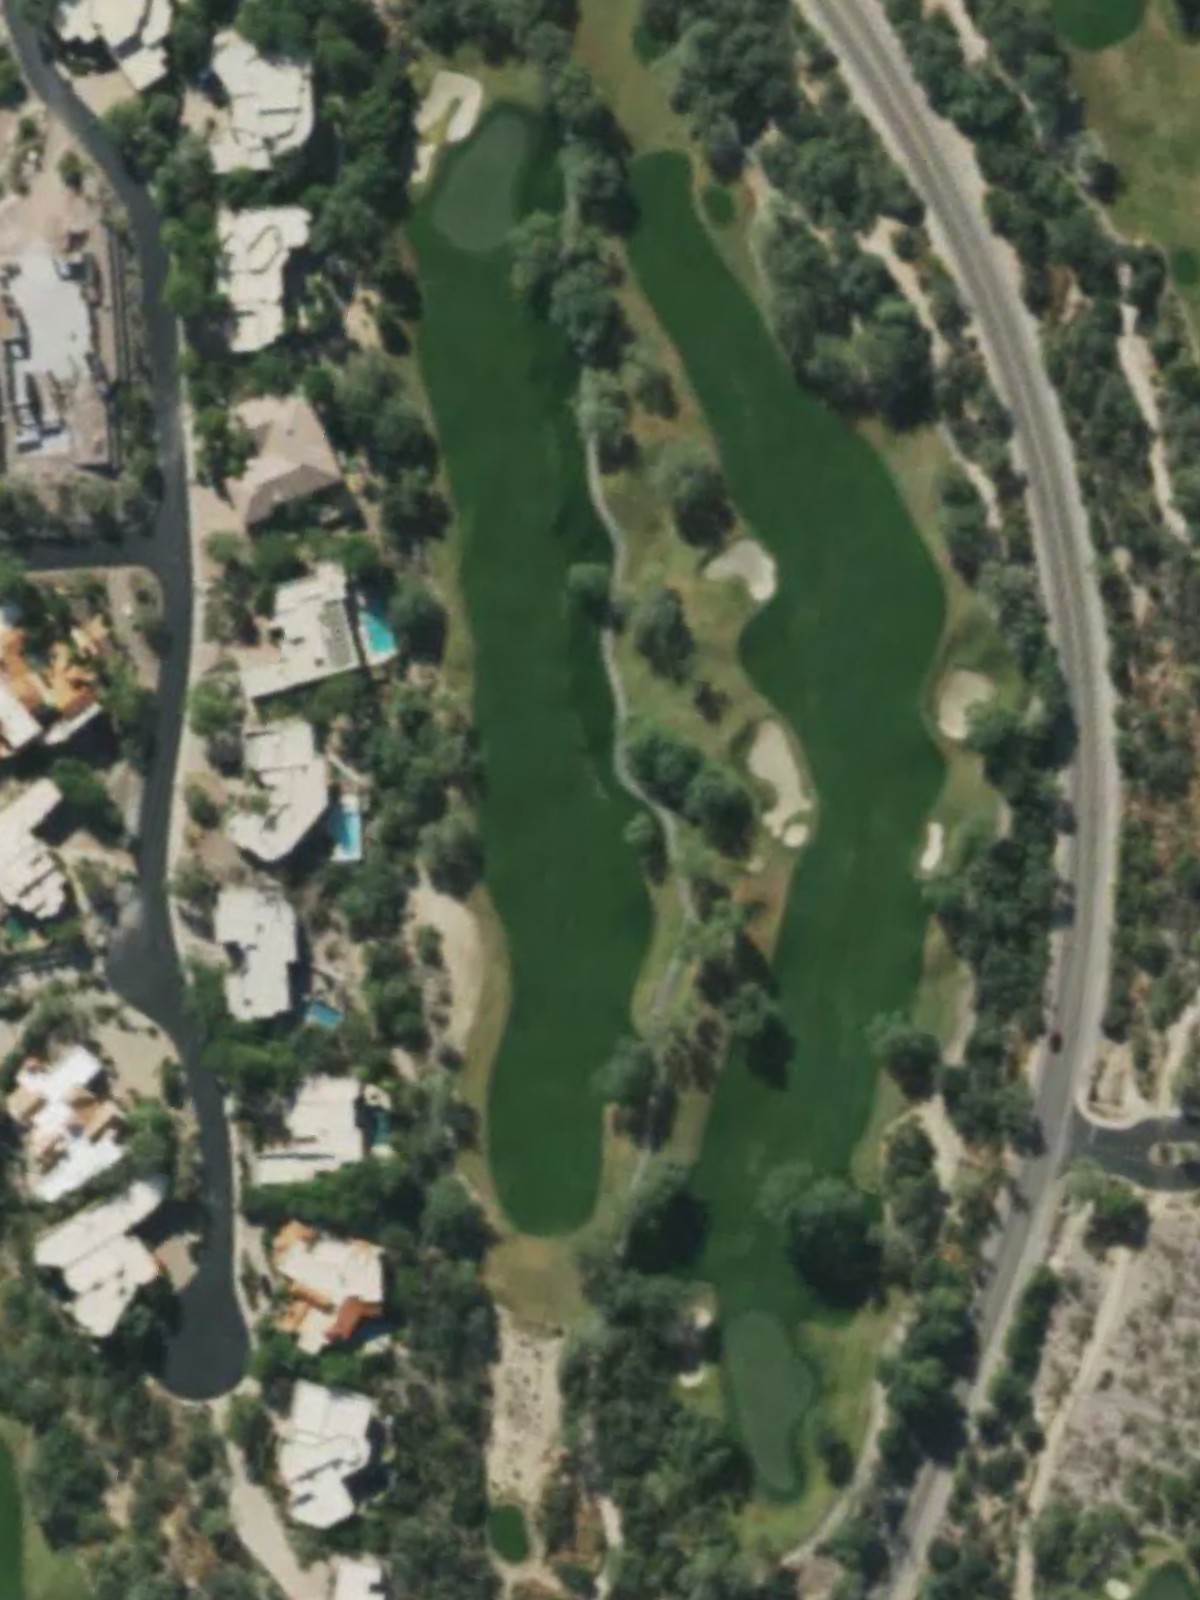
The third-most difficult hole on the course, this par 4 features significant length from the back tees and water hazards that frame the entire hole. The tight, demanding nature of the routing requires precision placement from tee to green.
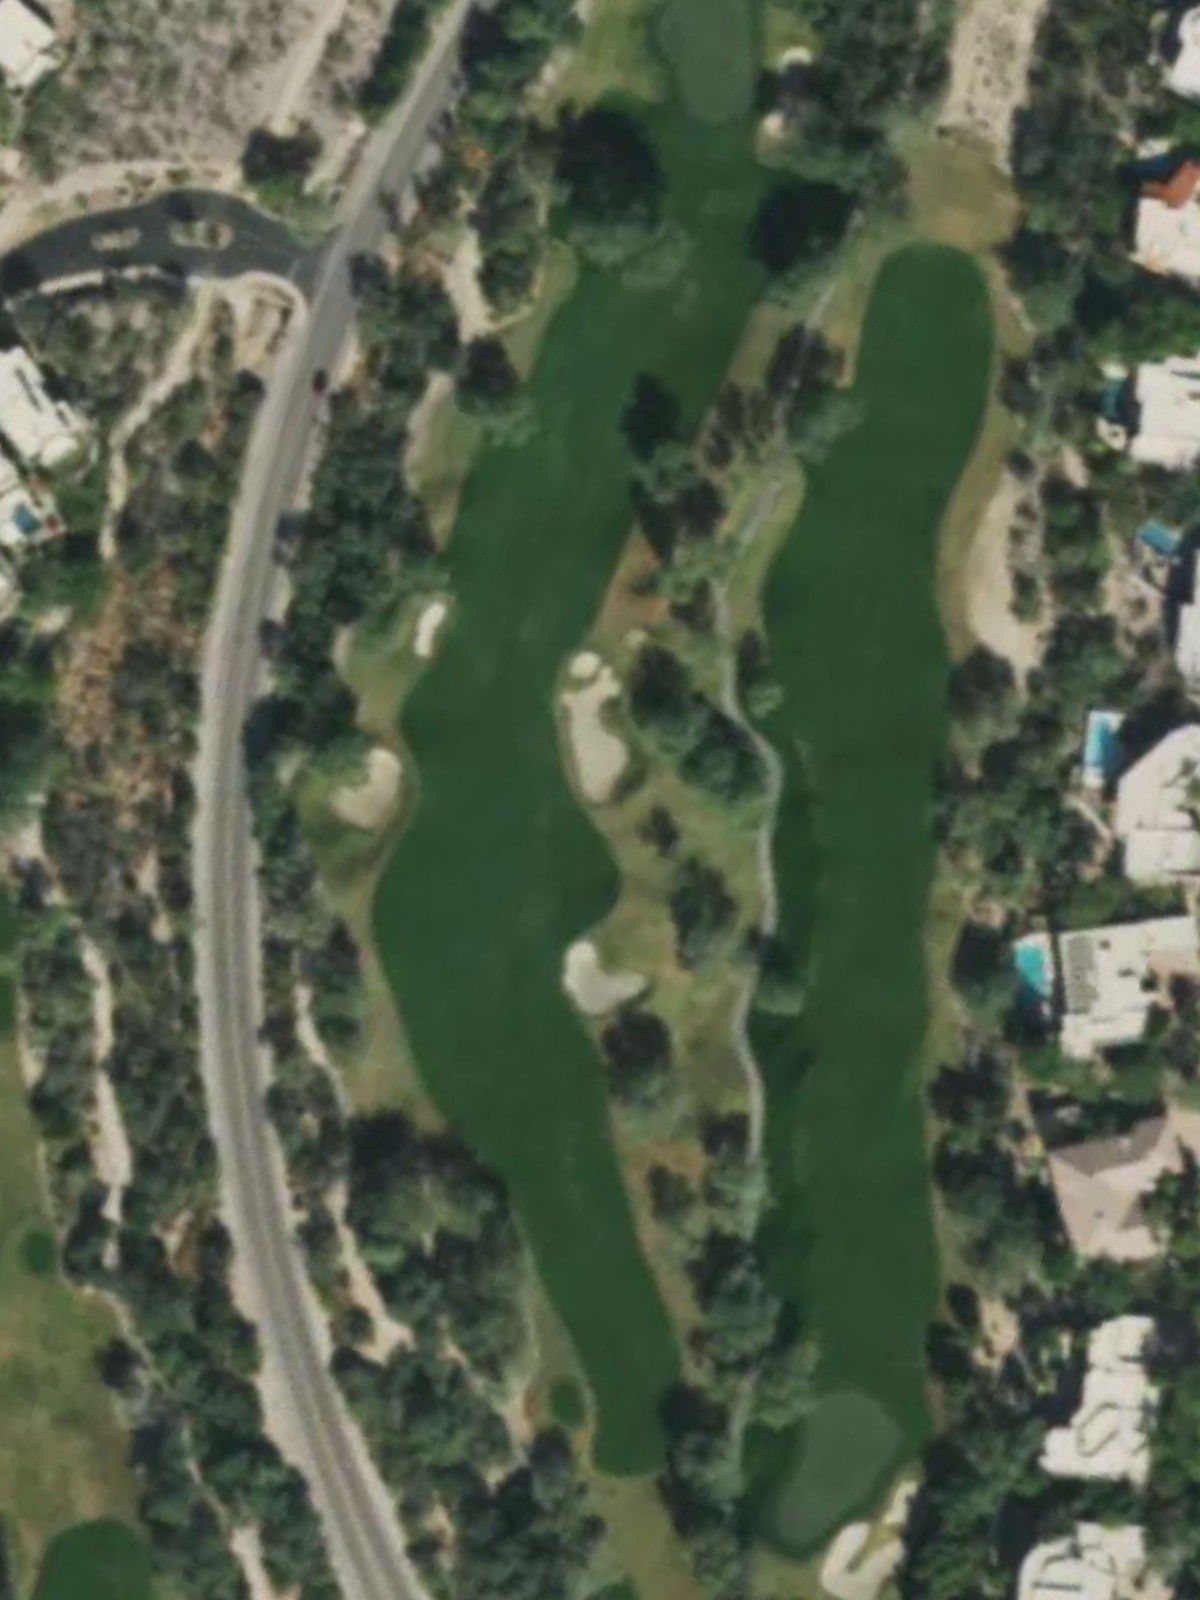
A long par 5 that stretches well over 500 yards from the blue tees and can exceed 570 from the back, with water hazards affecting the second-shot corridor. The substantial length and hazard placement create a demanding three-shot test for most players.
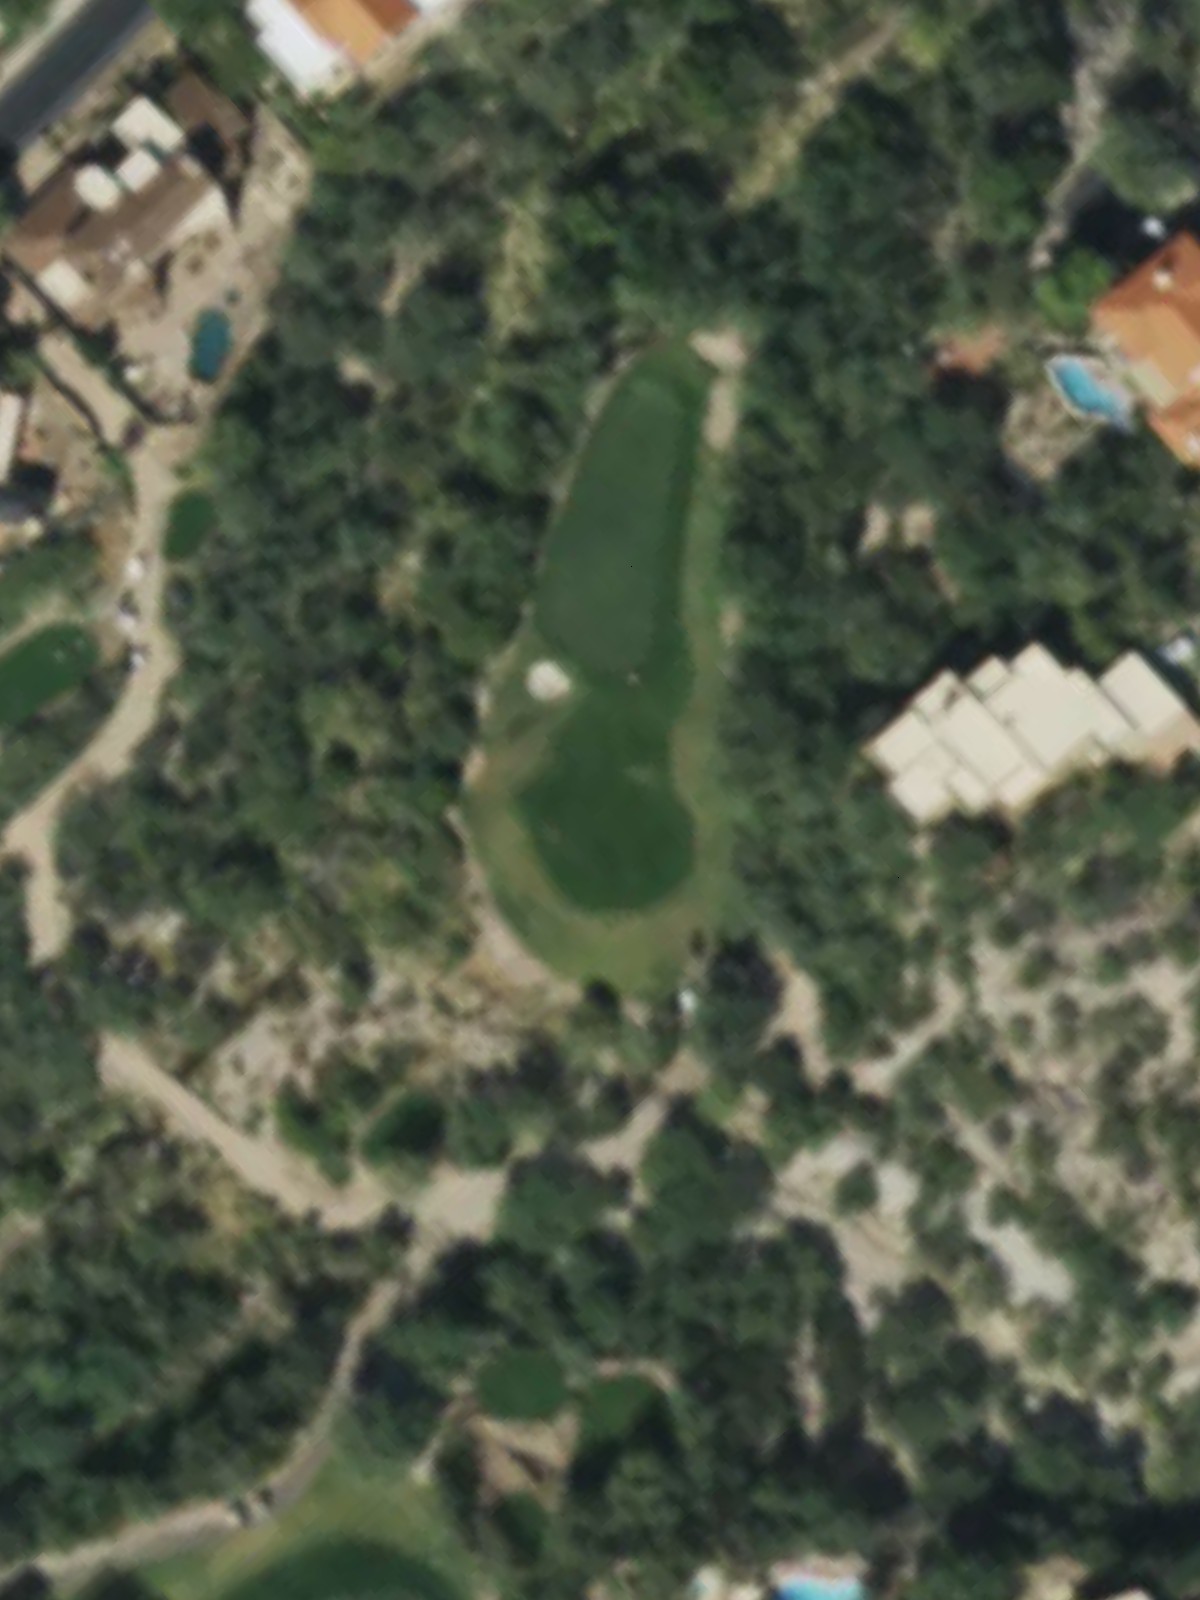
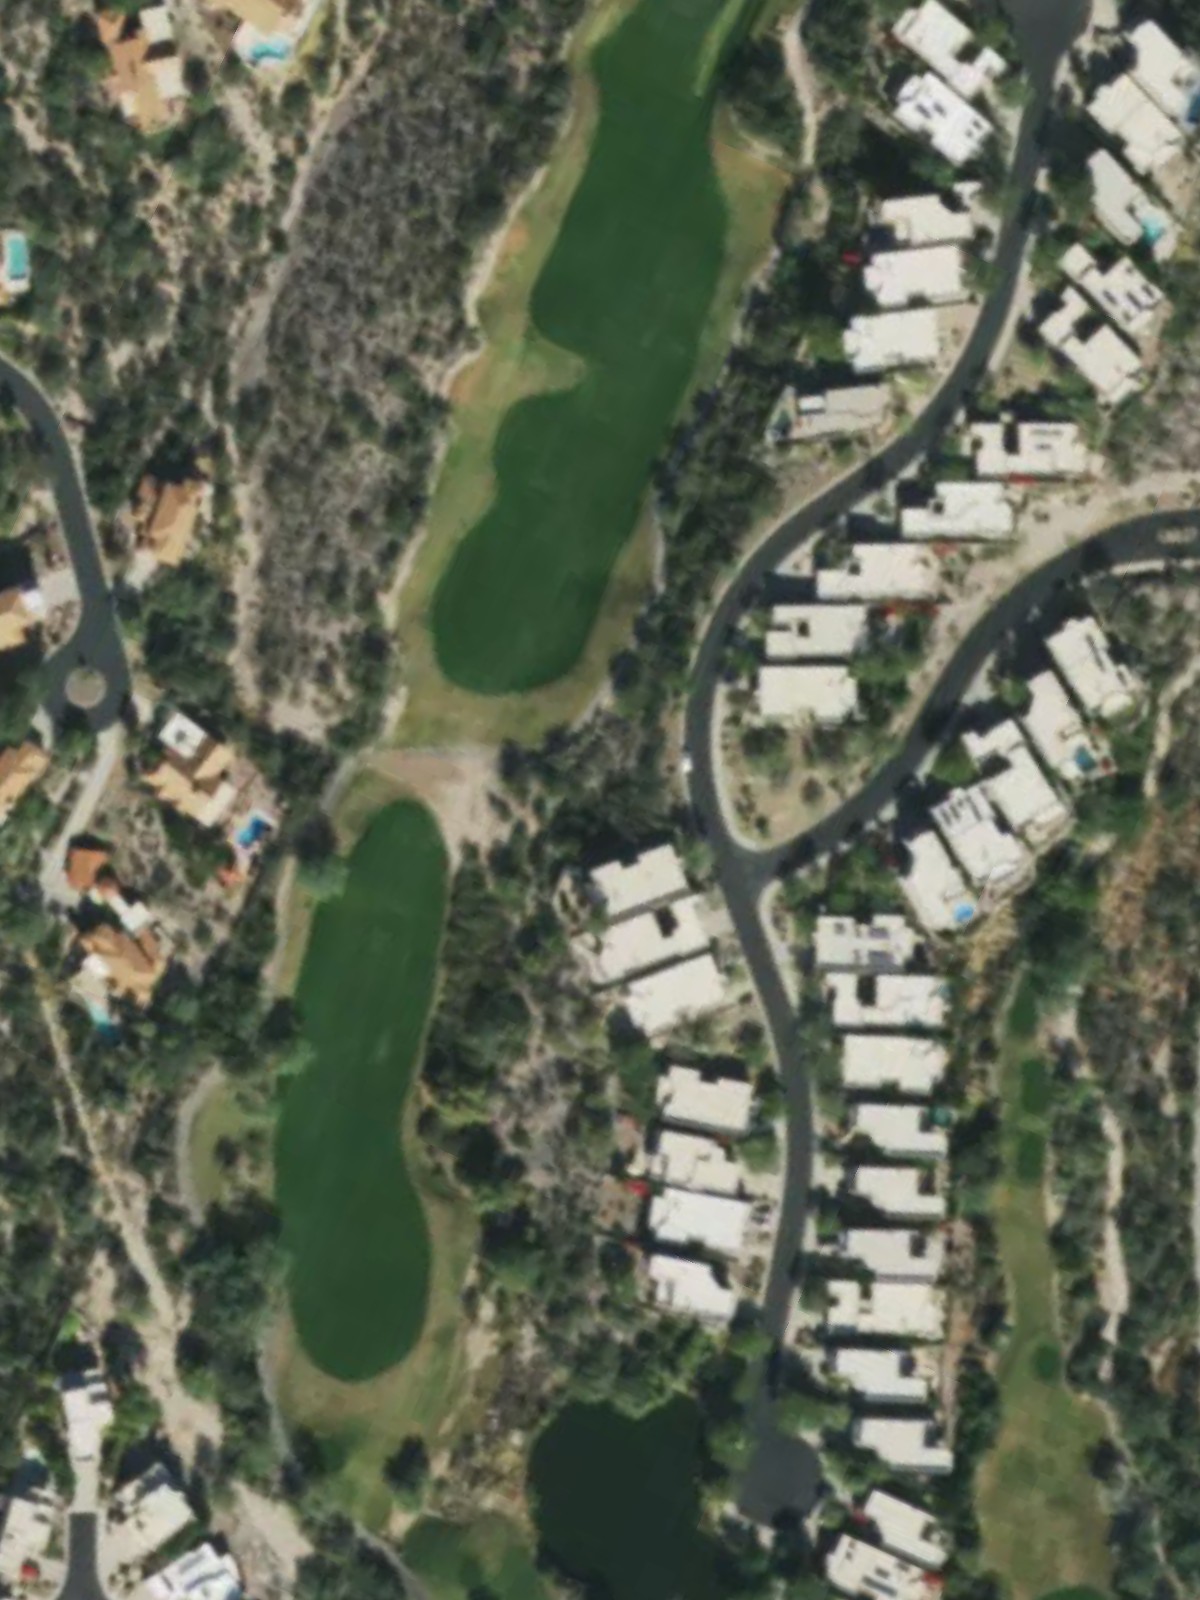
A short par 3 with minimal length but with hazards that demand a precise tee shot regardless of distance. The small green and surrounding bunkers create a deceptively challenging target despite the hole's modest yardage.
The second-shortest par 4 on the course, this hole offers a rare scoring opportunity with its compact design and minimal hazard placement. The short length and generous fairway make this one of the course's most forgiving holes.
The course's most difficult hole, this par 4 plays significantly longer from the back tees and features water hazards that frame much of the routing. The demanding length and hazard placement require both power and precision to reach the green successfully.
A short par 3 with considerable length variation across tee selections, ranging from under 120 yards to over 220 from the back tees. Water and bunkers guarding the green create a challenging target that grows more demanding from the longer tees.
A demanding par 4 with length and water hazards that frame much of the hole's routing, particularly affecting second shots into the green. The combination of yardage and hazard placement creates a tight, challenging test throughout.
A finishing par 5 that offers a dramatic conclusion with water hazards affecting play along the entire hole and a well-bunkered green requiring accuracy on the approach. The hole's length and hazard placement reward solid execution but can punish mistakes at the course's end.
Scorecard
| Hole | 1 | 2 | 3 | 4 | 5 | 6 | 7 | 8 | 9 | Out | 10 | 11 | 12 | 13 | 14 | 15 | 16 | 17 | 18 | In | Tot |
|---|---|---|---|---|---|---|---|---|---|---|---|---|---|---|---|---|---|---|---|---|---|
| Par | 4 | 5 | 4 | 4 | 3 | 4 | 5 | 3 | 4 | 36 | 4 | 4 | 5 | 3 | 4 | 4 | 3 | 4 | 5 | 36 | 72 |
| HCP | 8 | 12 | 2 | 18 | 16 | 6 | 10 | 14 | 4 | 11 | 3 | 9 | 15 | 17 | 1 | 13 | 5 | 7 | |||
| black | 408 | 483 | 401 | 338 | 148 | 433 | 552 | 183 | 416 | 3362 | 336 | 463 | 574 | 158 | 303 | 474 | 221 | 442 | 503 | 3474 | 6836 |
| green | 408 | 483 | 401 | 338 | 148 | 386 | 526 | 183 | 378 | 3251 | 336 | 423 | 535 | 158 | 303 | 452 | 173 | 403 | 503 | 3286 | 6537 |
| gold | 398 | 472 | 376 | 290 | 124 | 386 | 526 | 156 | 378 | 3106 | 314 | 423 | 535 | 140 | 276 | 452 | 173 | 403 | 477 | 3193 | 6299 |
| blue | 366 | 472 | 376 | 290 | 124 | 349 | 470 | 156 | 350 | 2953 | 314 | 392 | 535 | 140 | 276 | 374 | 148 | 373 | 477 | 3029 | 5982 |
| silver | 366 | 453 | 363 | 272 | 116 | 349 | 470 | 142 | 350 | 2881 | 286 | 392 | 515 | 140 | 252 | 374 | 148 | 373 | 461 | 2941 | 5822 |
| turquoise | 366 | 388 | 363 | 228 | 116 | 349 | 402 | 123 | 350 | 2685 | 286 | 392 | 428 | 135 | 252 | 374 | 111 | 373 | 406 | 2757 | 5442 |
| copper | 316 | 388 | 324 | 183 | 94 | 313 | 402 | 123 | 292 | 2435 | 244 | 335 | 428 | 127 | 202 | 330 | 111 | 321 | 406 | 2504 | 4939 |