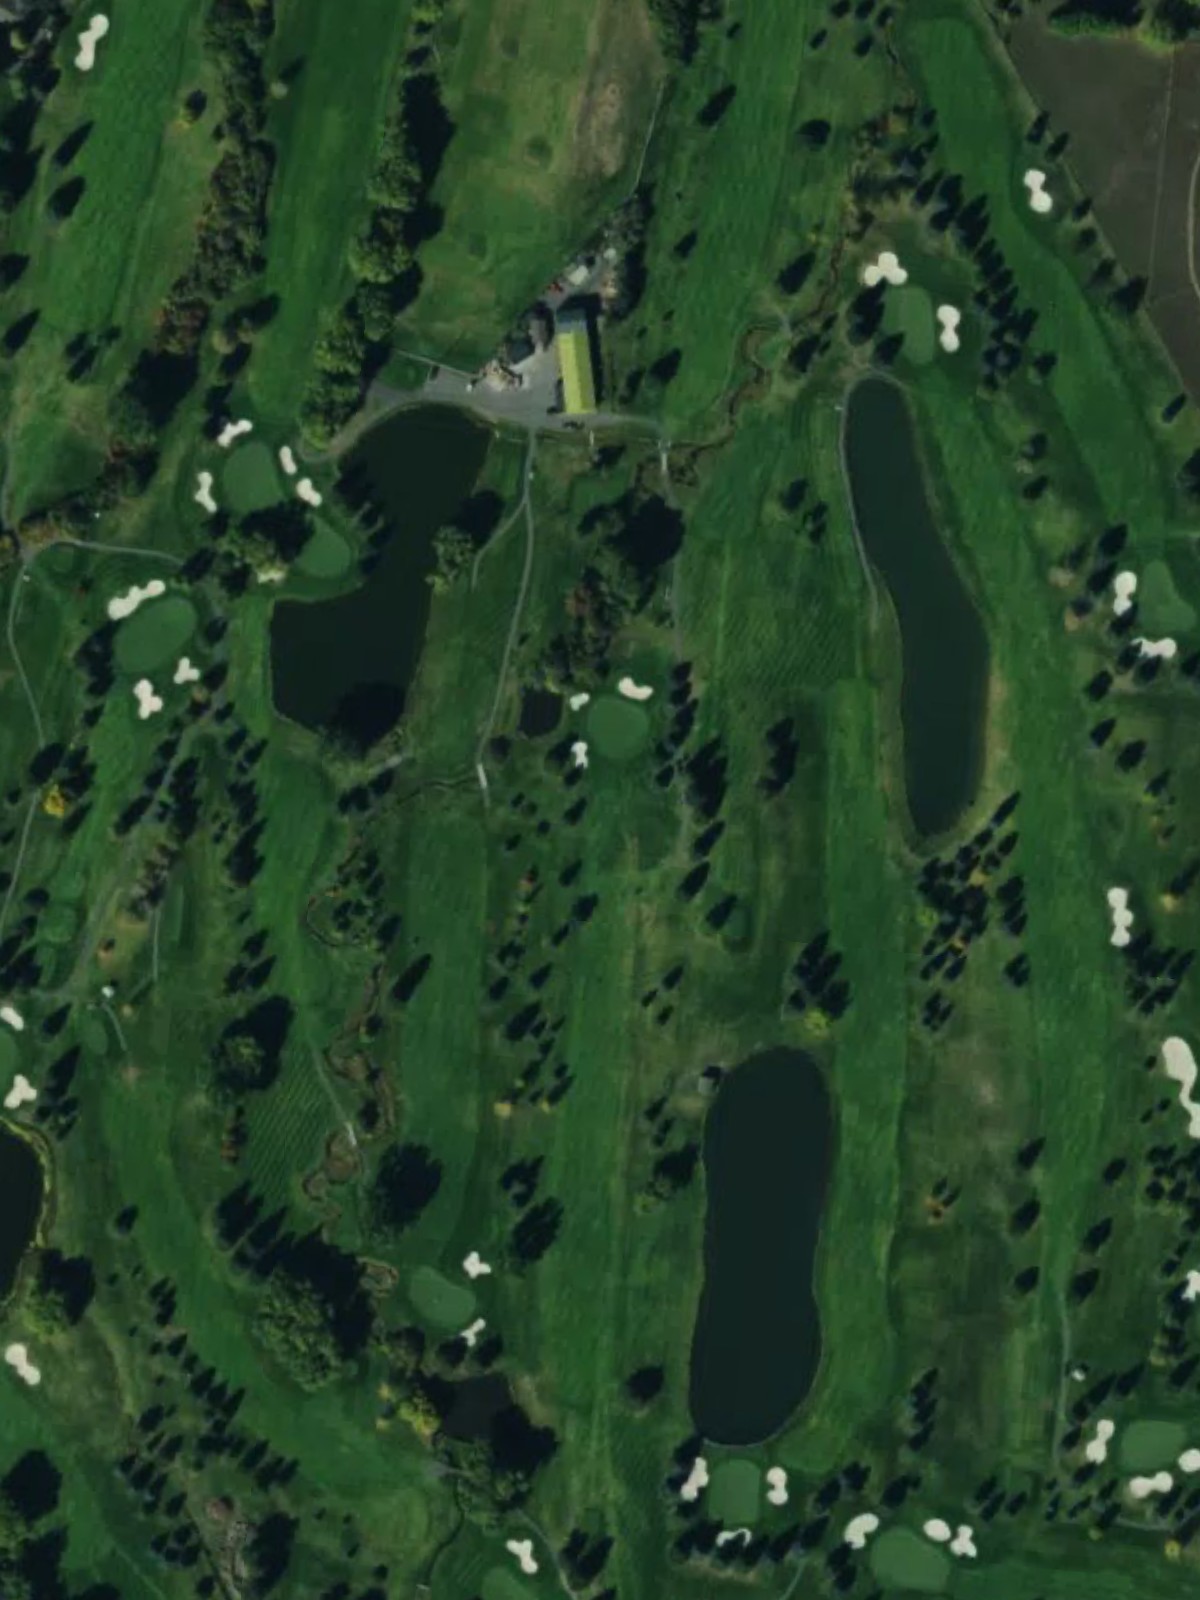
Valley View Golf Club is an 18-hole golf course in Bozeman, MT with a par of 70. It offers 5 tee sets: black (6,473 yards, slope 125, rating 70.5), blue (6,269 yards, slope 123, rating 69.6), white (5,855 yards, slope 121, rating 67.1), gold (5,444 yards, slope 118, rating 65.4), red (5,293 yards, slope 112, rating 64.1). The hardest hole is #1, a par 4 playing 344 yards from the first tee.
Valley View Golf Club
Bozeman, MT
Get PDF Yardage Book
We'll email you the PDF link. No spam, ever.
Create Your Game Plan
Pick your tees, enter your bag, and get a personalized shot-by-shot strategy for every hole.
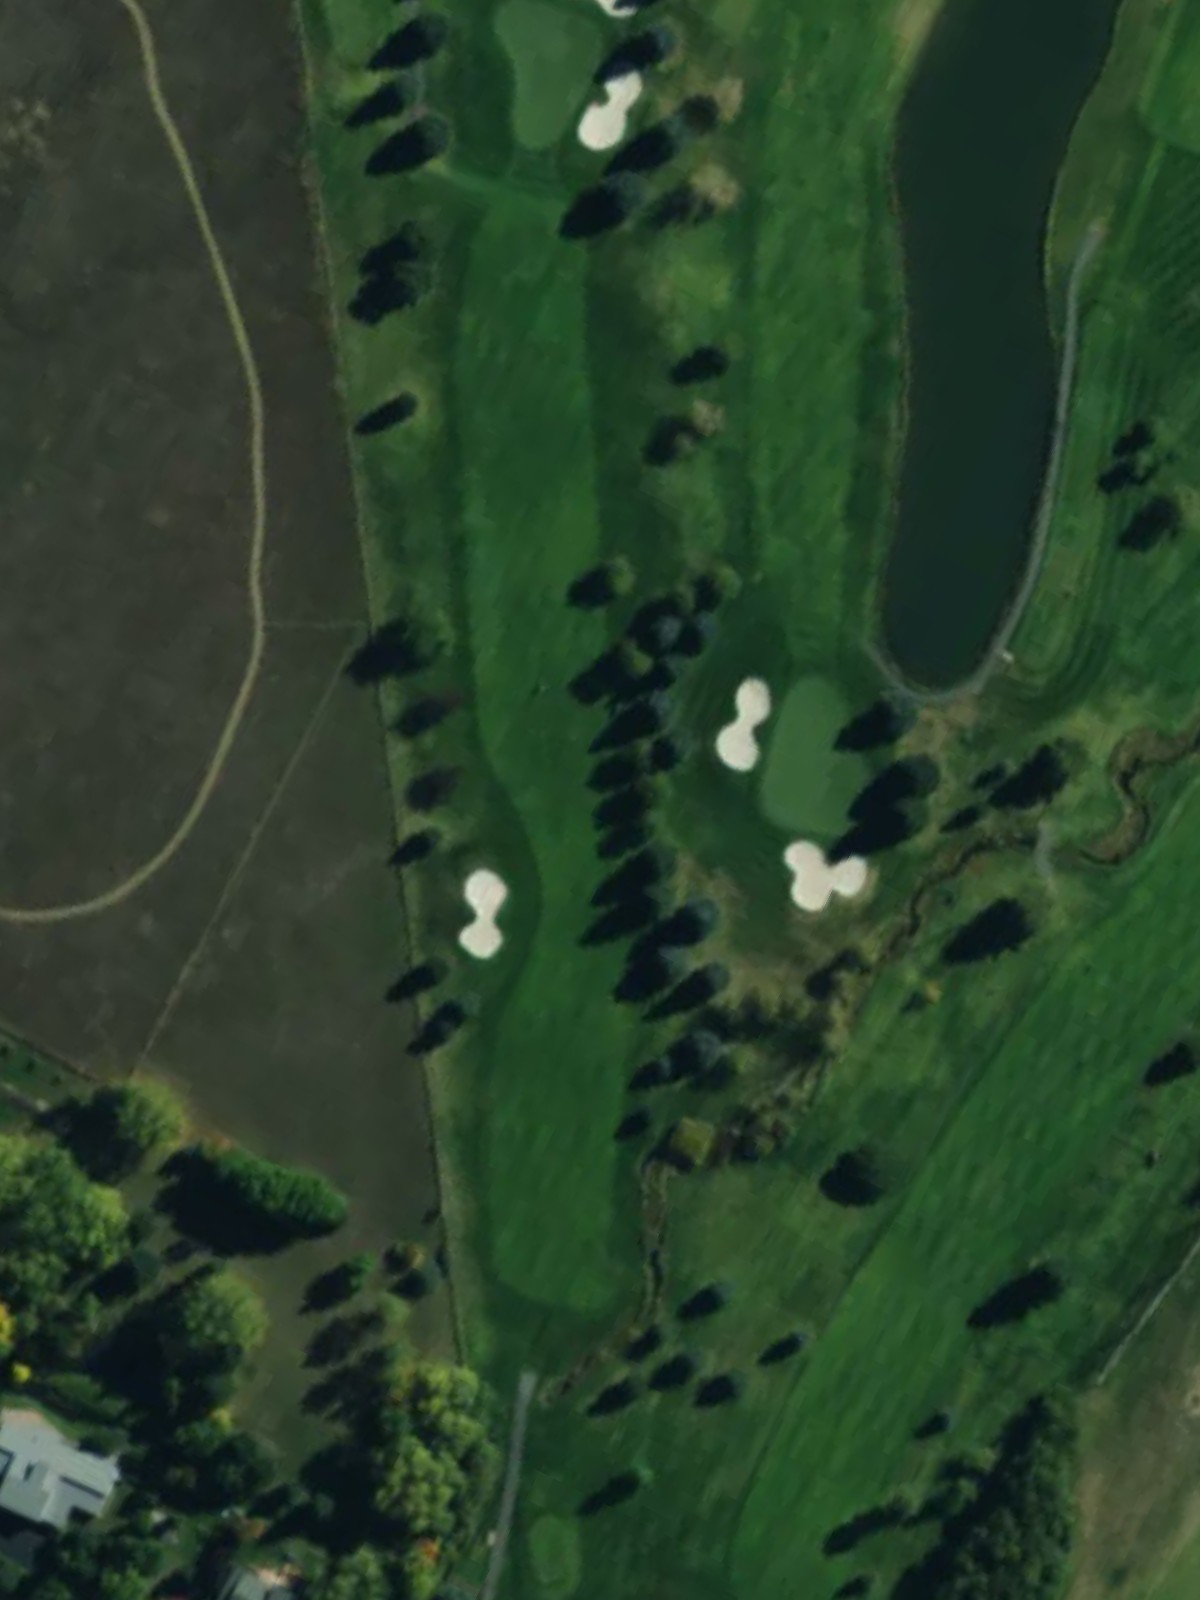
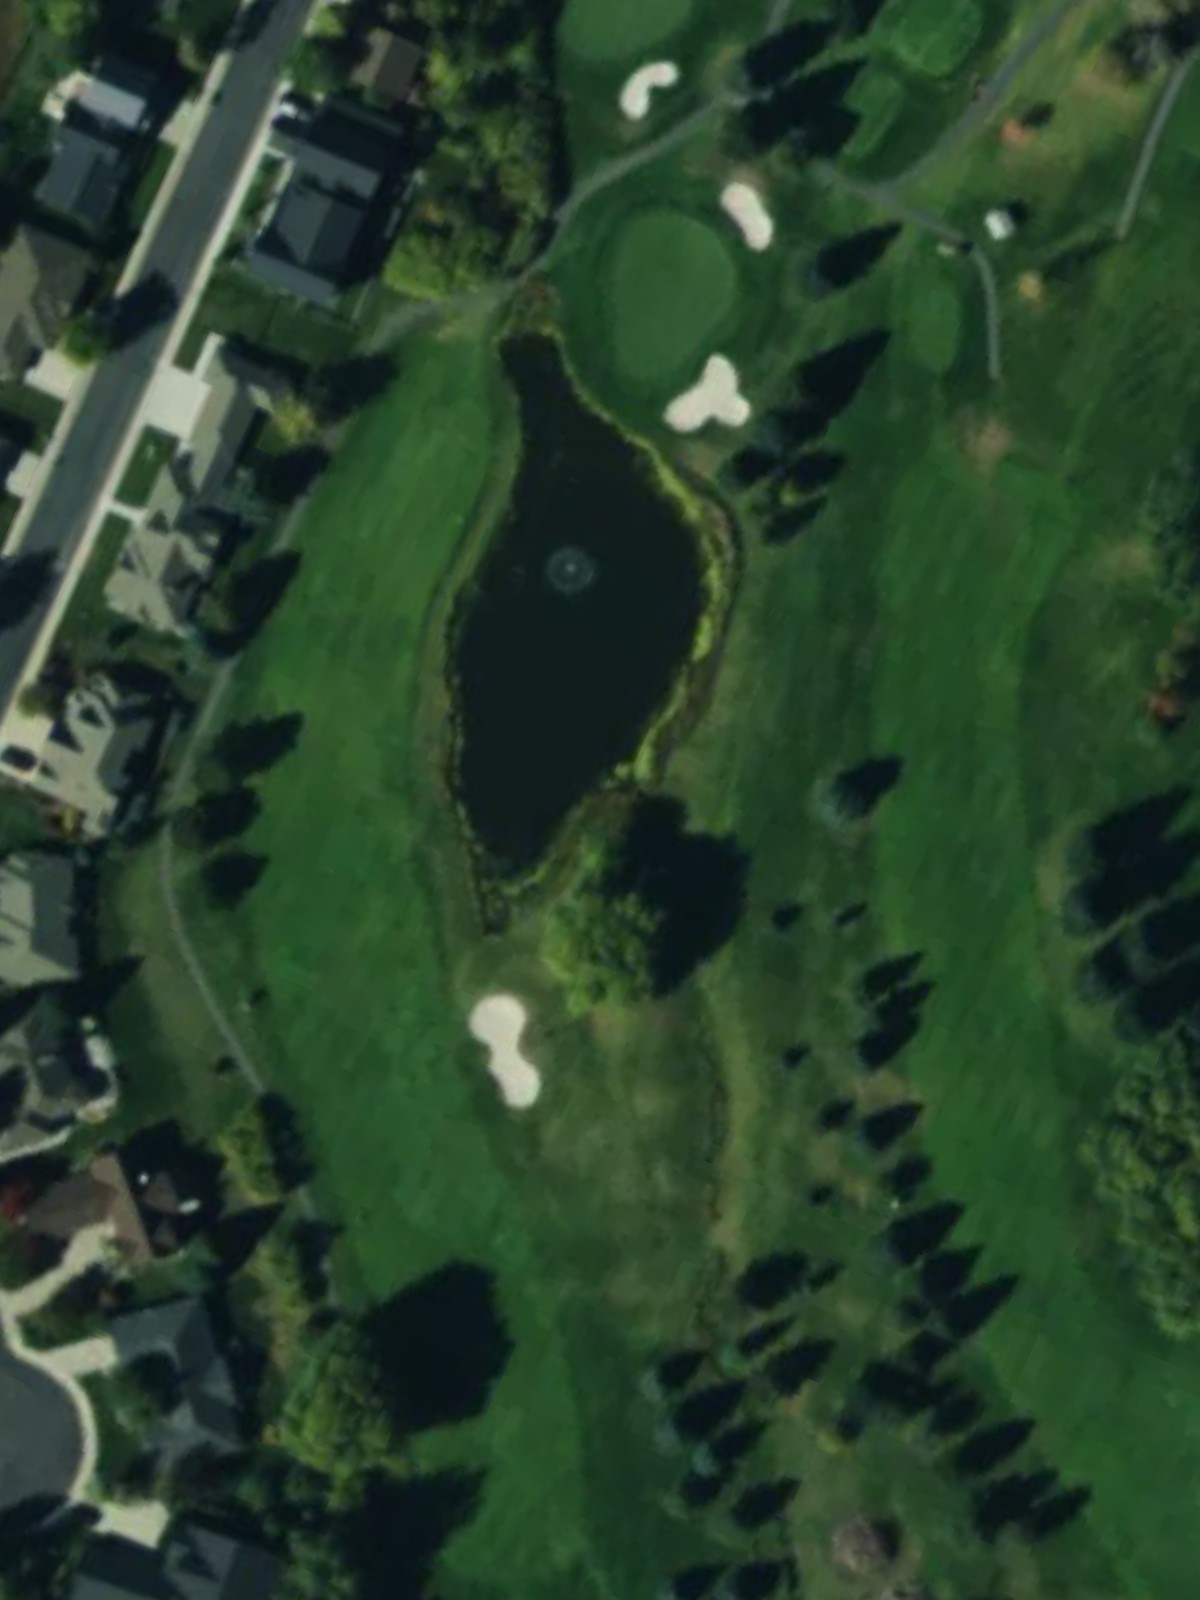
Valley View's opening hole is a straight par 4 that demands respect as the #1 handicap hole. The fairway is relatively open off the tee, but narrows as it approaches a well-bunkered green, with hazards tightening the landing area around 250 yards.
A short par 4 that plays to a tight green complex surrounded by strategic bunkers. The relatively modest length makes accuracy from the tee essential, as the fairway constricts significantly in the approach zone.

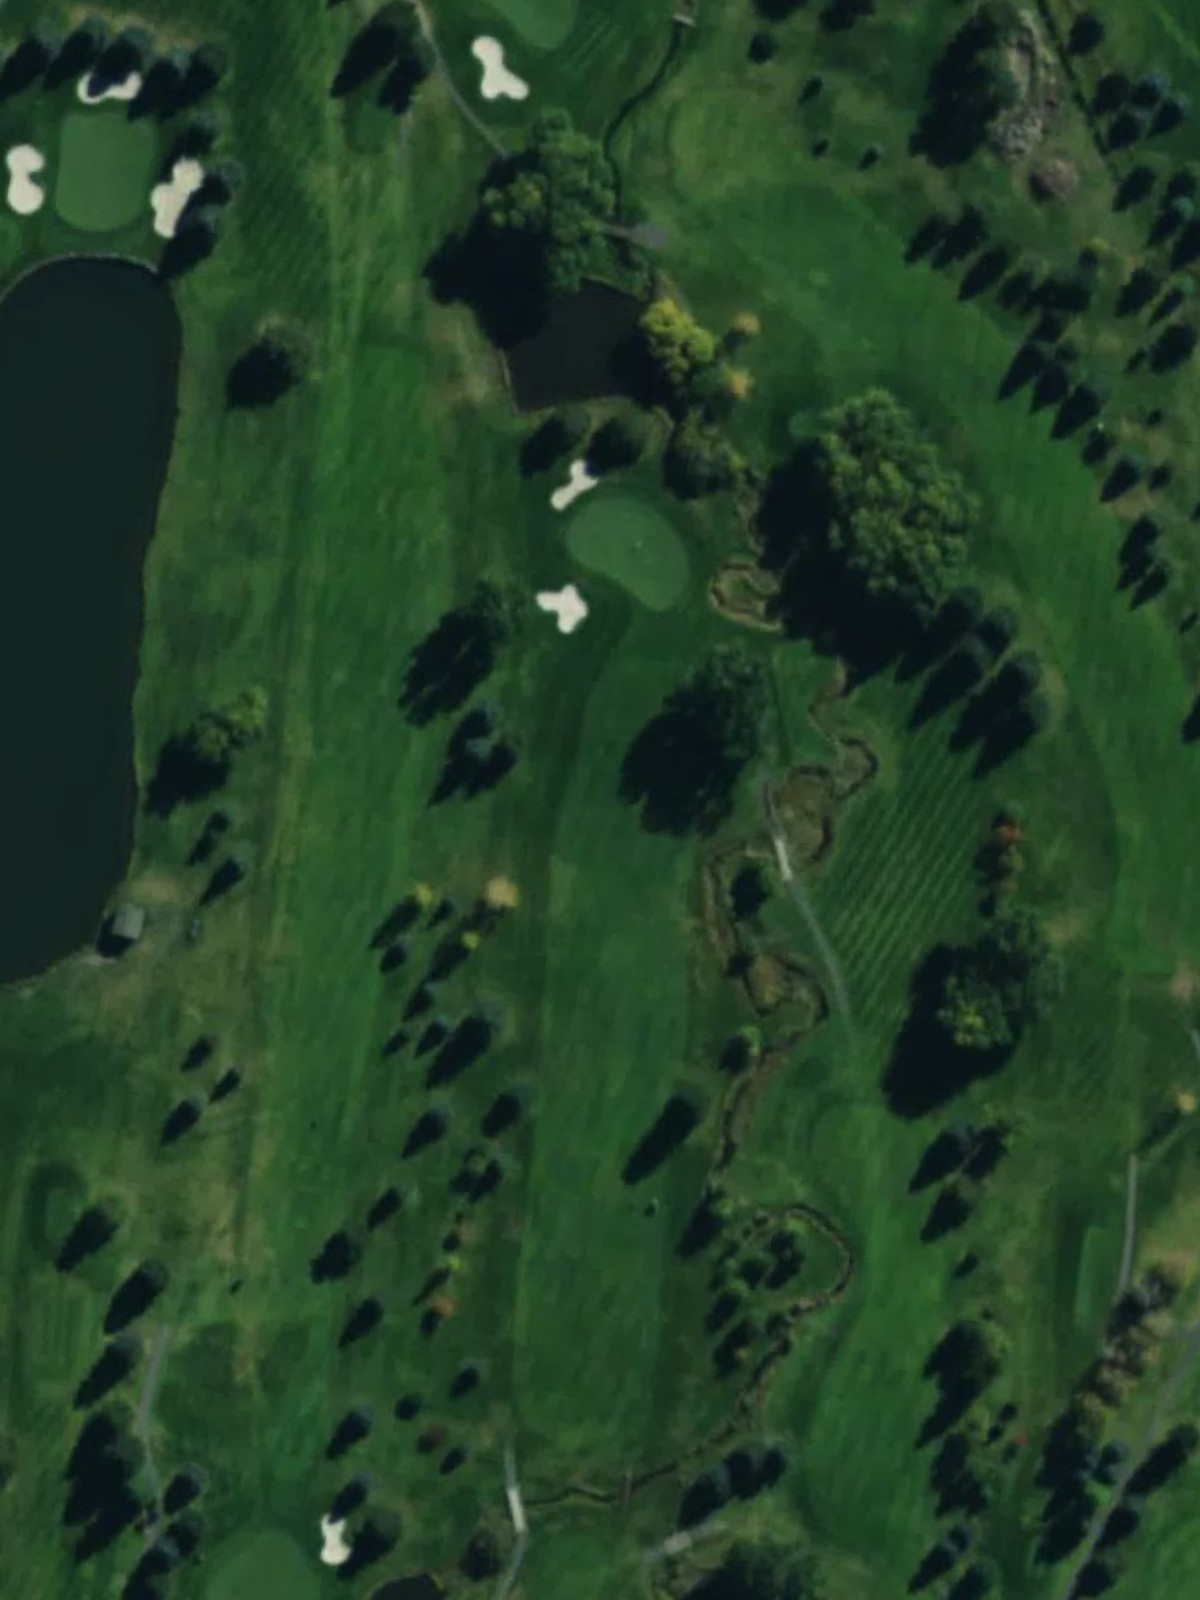
A short par 3 that requires a precise tee shot to a compact green. The hole's brevity makes club selection critical, with bunkers and rough surrounding the target area to punish wayward shots.

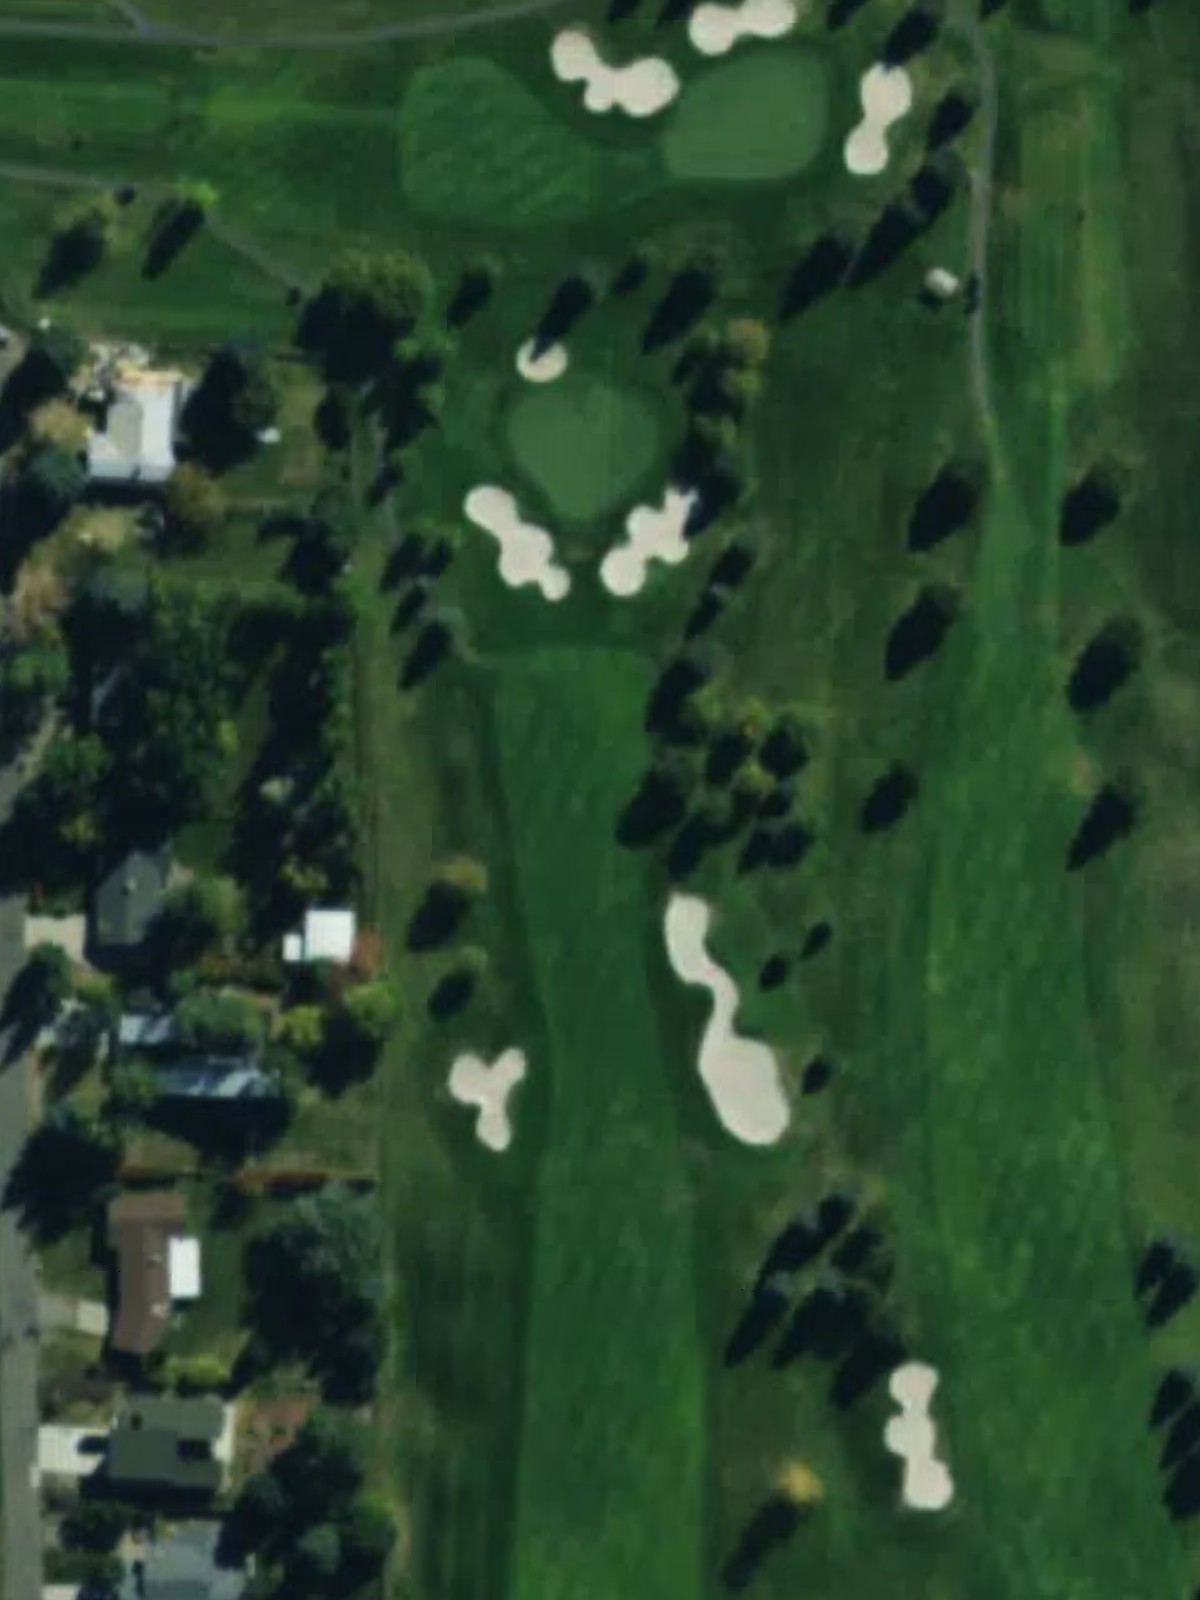
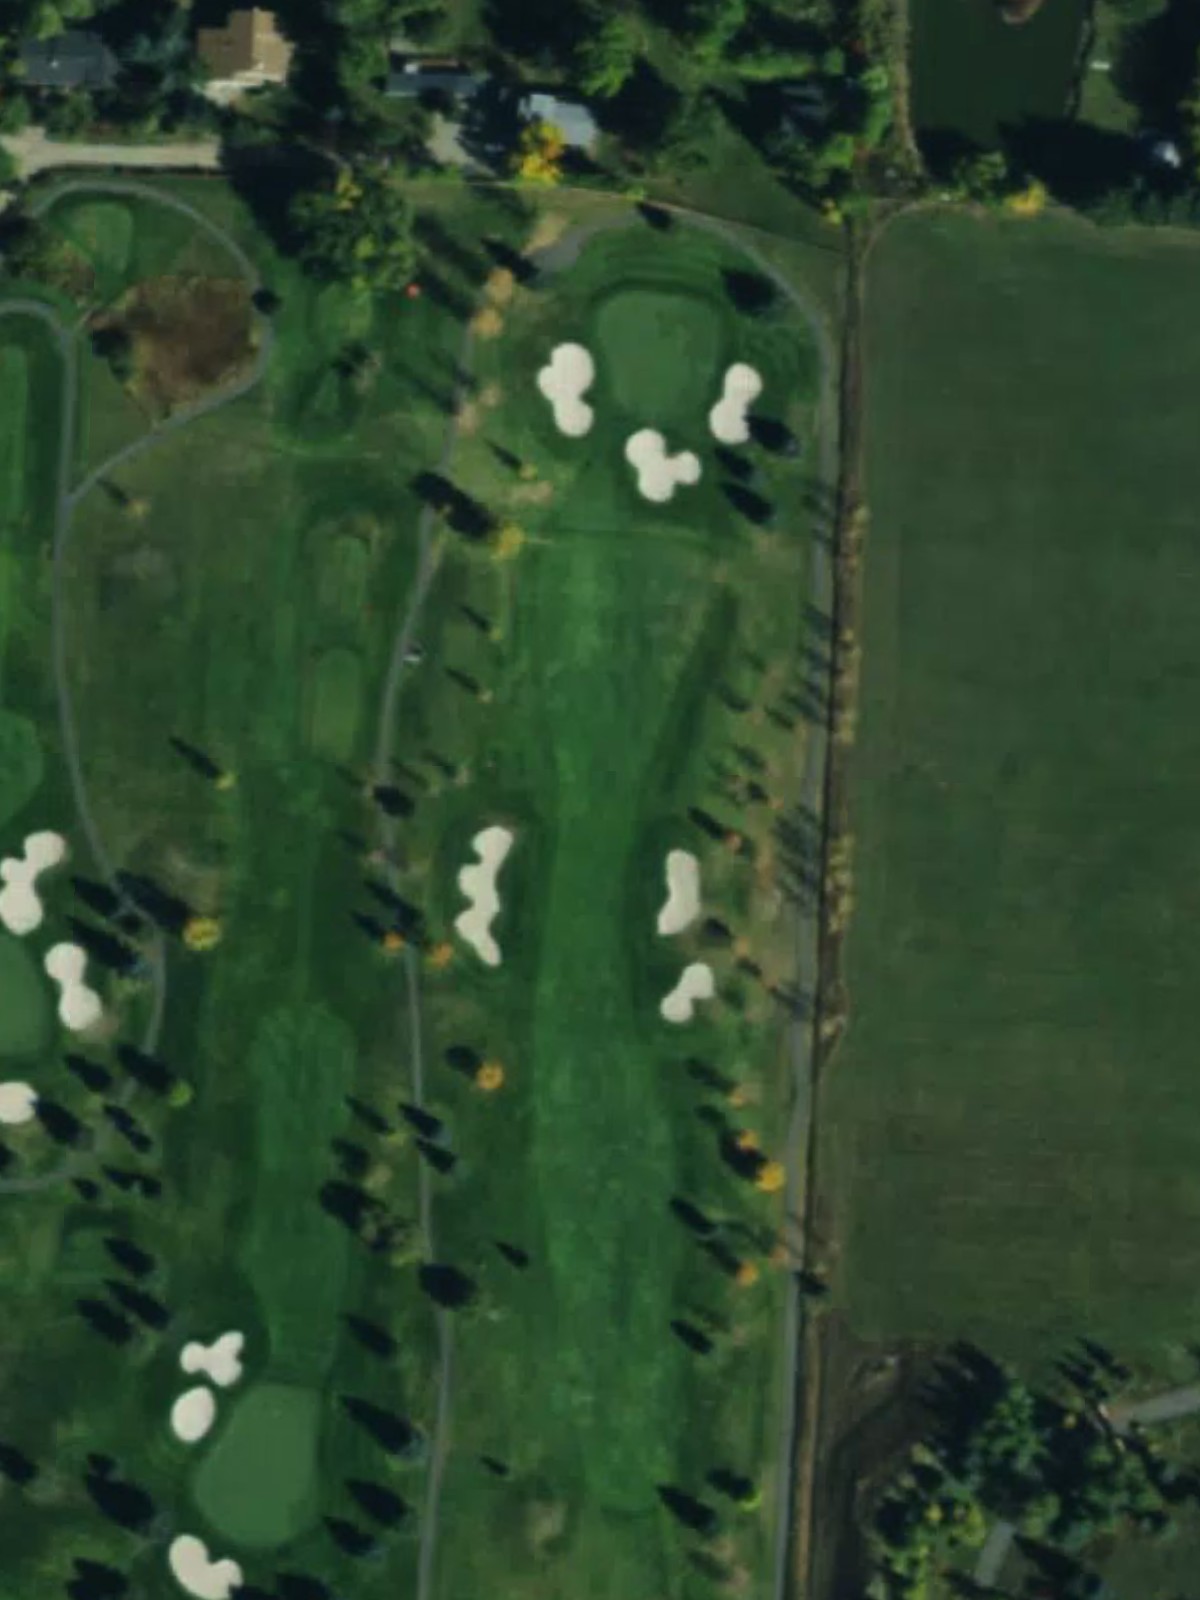
A generous par 5 with ample fairway width that allows a strategic approach to reaching the green in regulation. The hole's length and relatively open character provide multiple routing options, though greenside bunkering will test the final approach.
A classic par 5 ranked as the #7 handicap that curves and presents a reachable target for longer hitters. The fairway rewards good position-play, with hazards likely guarding the approach to a well-defined green complex.
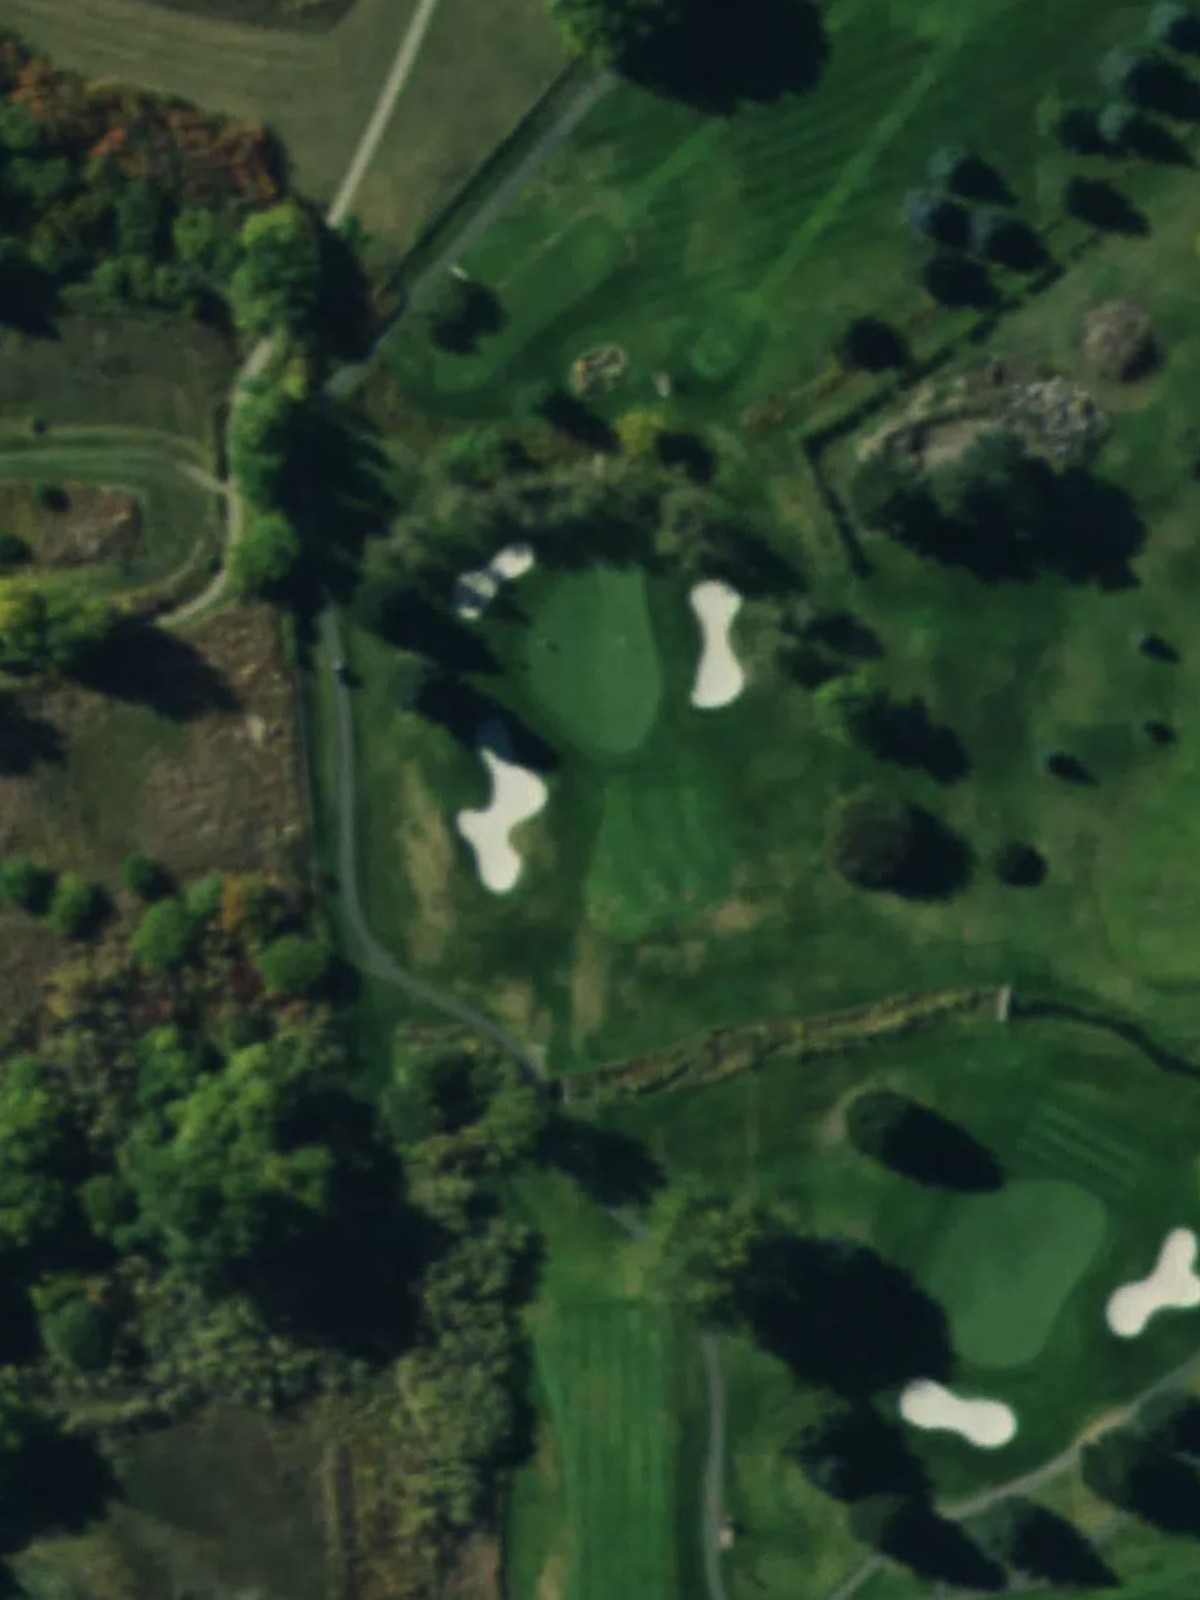
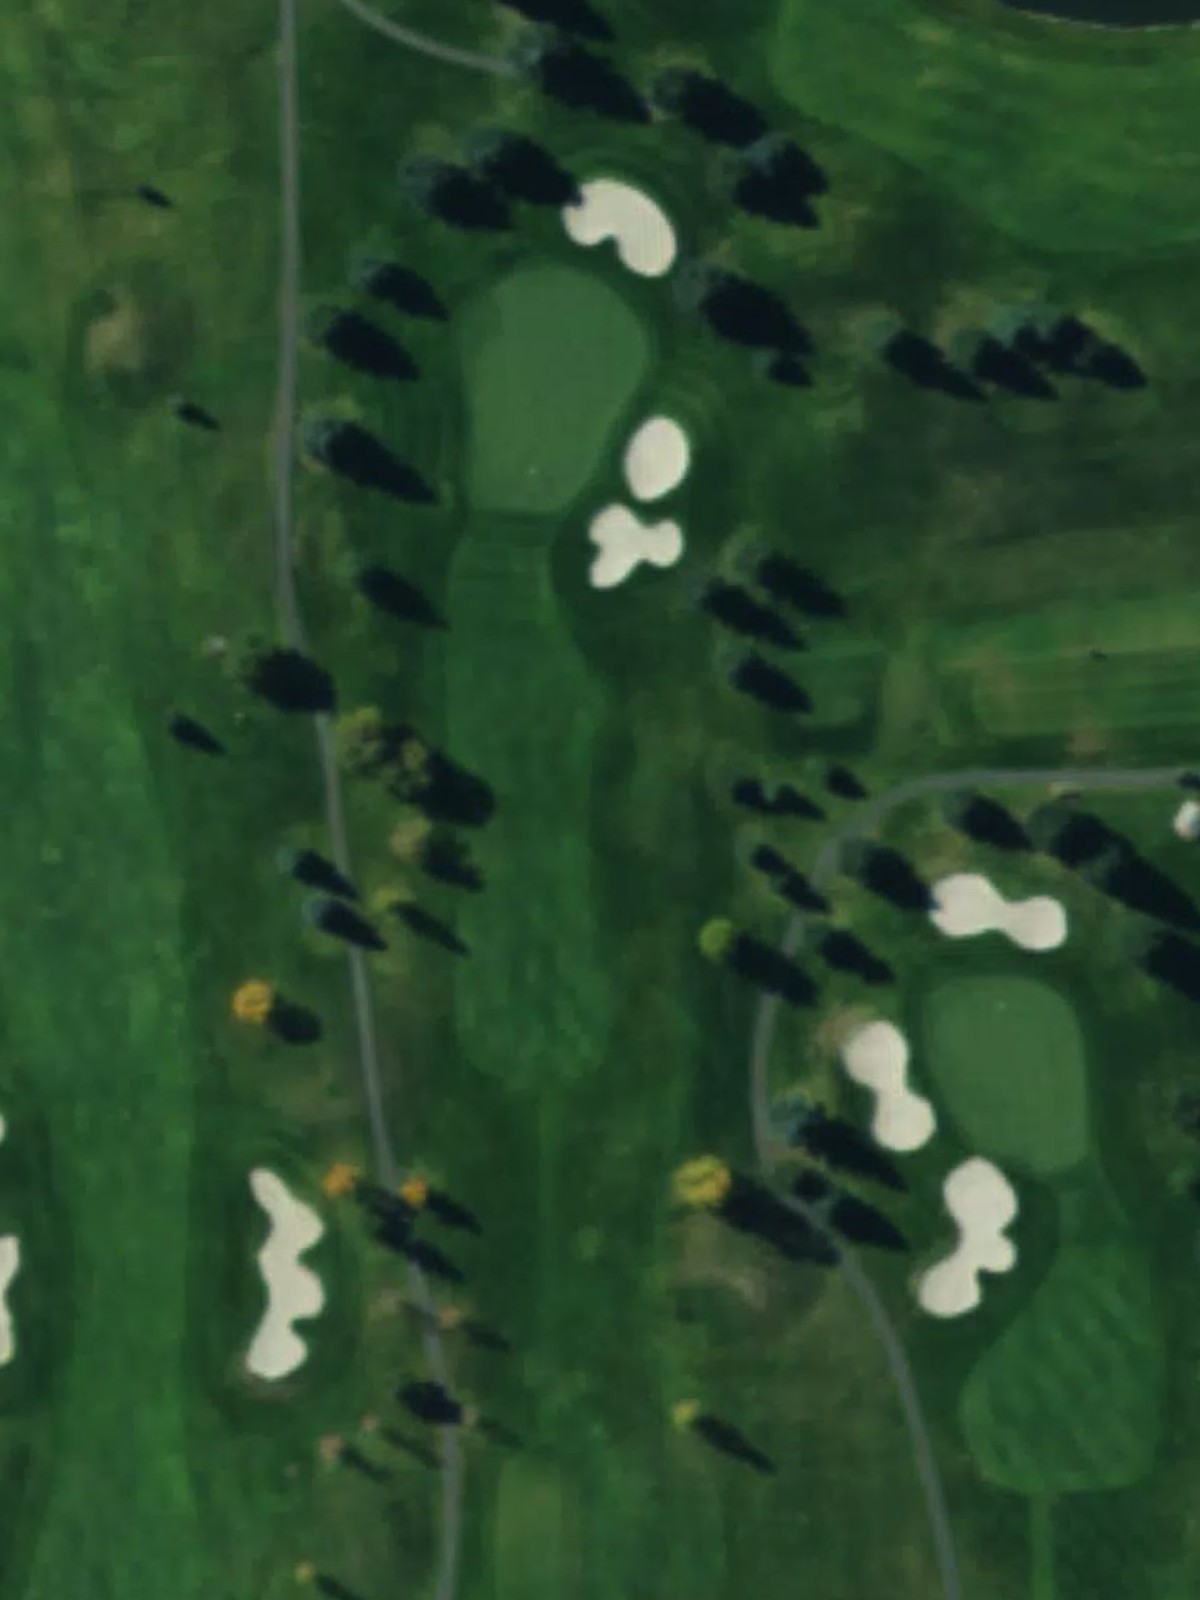
A very short par 3 where precision trumps distance off the tee. The diminutive yardage places a premium on accuracy, with the small green and surrounding trouble making even short shots consequential.
The #3 handicap par 4 is Valley View's second-toughest hole and features a tight, demanding test from tee to green. Fairway constriction and strategic bunkering create a dogleg-like character that challenges even strong players.

An isolated par 3 with minimal yardage but enough hazards to demand careful club selection and true aim. The small target and surrounding challenges make this diminutive hole play tougher than its length suggests.

The #5 handicap par 4 is a stern test with fairway narrowing at a critical distance from the tee. Bunkers and rough frame the approach zone, creating a tactical puzzle that requires both length and placement.

A moderate par 4 with a fairway that opens reasonably off the tee but tightens toward the green. Bunkers guard the approach, and the green's positioning rewards accurate shot-making.
A straightforward par 4 with adequate fairway width that gradually narrows toward the green complex. Strategic bunkering protects the approach, making the final shot the hole's primary test.

A short but deceptive par 4 where the modest length can tempt aggressive play off the tee. The fairway constricts significantly in the critical landing area, and greenside hazards punish imprecision on the approach.

A mid-length par 3 that demands an accurate tee shot to a well-guarded green. Bunkers and rough surround the target, making this the course's stiffest par 3 test relative to yardage.

The #4 handicap par 4 is one of Valley View's most challenging holes, featuring tight fairway borders and strategic hazards throughout. The hole's length and unforgiving character demand both power and precision.
A par 4 marked as the #18 handicap—the easiest hole on the course—with generous fairway width and an approachable green. Despite being the most benign test, placement and execution remain important for a good score.
The #6 handicap par 3 is a mid-range test that requires a true tee shot to a well-defined green. Bunkers and surrounding trouble create strategic depth, making club selection and alignment critical.
The #2 handicap par 4 is Valley View's second-most-difficult hole, featuring a tight, unforgiving layout from tee through green. Fairway constriction and hazard placement create a claustrophobic feel that separates good scores from great ones.

A finishing par 5 that offers a birdie opportunity for those positioned properly through the fairway. The hole's length and likely strategic bunkering provide a dramatic closing test to the round.
Scorecard
| Hole | 1 | 2 | 3 | 4 | 5 | 6 | 7 | 8 | 9 | Out | 10 | 11 | 12 | 13 | 14 | 15 | 16 | 17 | 18 | In | Tot |
|---|---|---|---|---|---|---|---|---|---|---|---|---|---|---|---|---|---|---|---|---|---|
| Par | 4 | 4 | 3 | 5 | 5 | 3 | 4 | 3 | 4 | 35 | 4 | 4 | 4 | 3 | 4 | 4 | 3 | 4 | 5 | 35 | 70 |
| HCP | 1 | 9 | 13 | 11 | 7 | 15 | 3 | 17 | 5 | 12 | 14 | 8 | 10 | 4 | 18 | 6 | 2 | 16 | |||
| black | 427 | 339 | 174 | 539 | 508 | 175 | 352 | 161 | 415 | 3090 | 365 | 431 | 377 | 187 | 449 | 374 | 240 | 425 | 535 | 3383 | 6473 |
| blue | 427 | 339 | 174 | 519 | 508 | 143 | 352 | 161 | 415 | 3038 | 365 | 389 | 350 | 187 | 430 | 374 | 203 | 425 | 508 | 3231 | 6269 |
| white | 415 | 327 | 138 | 505 | 475 | 129 | 322 | 141 | 400 | 2852 | 352 | 380 | 309 | 170 | 382 | 363 | 179 | 411 | 457 | 3003 | 5855 |
| gold | 344 | 327 | 138 | 491 | 446 | 129 | 322 | 122 | 329 | 2648 | 352 | 335 | 309 | 170 | 335 | 349 | 167 | 369 | 410 | 2796 | 5444 |
| red | 344 | 315 | 116 | 491 | 446 | 110 | 302 | 122 | 329 | 2575 | 336 | 335 | 260 | 157 | 335 | 349 | 167 | 369 | 410 | 2718 | 5293 |