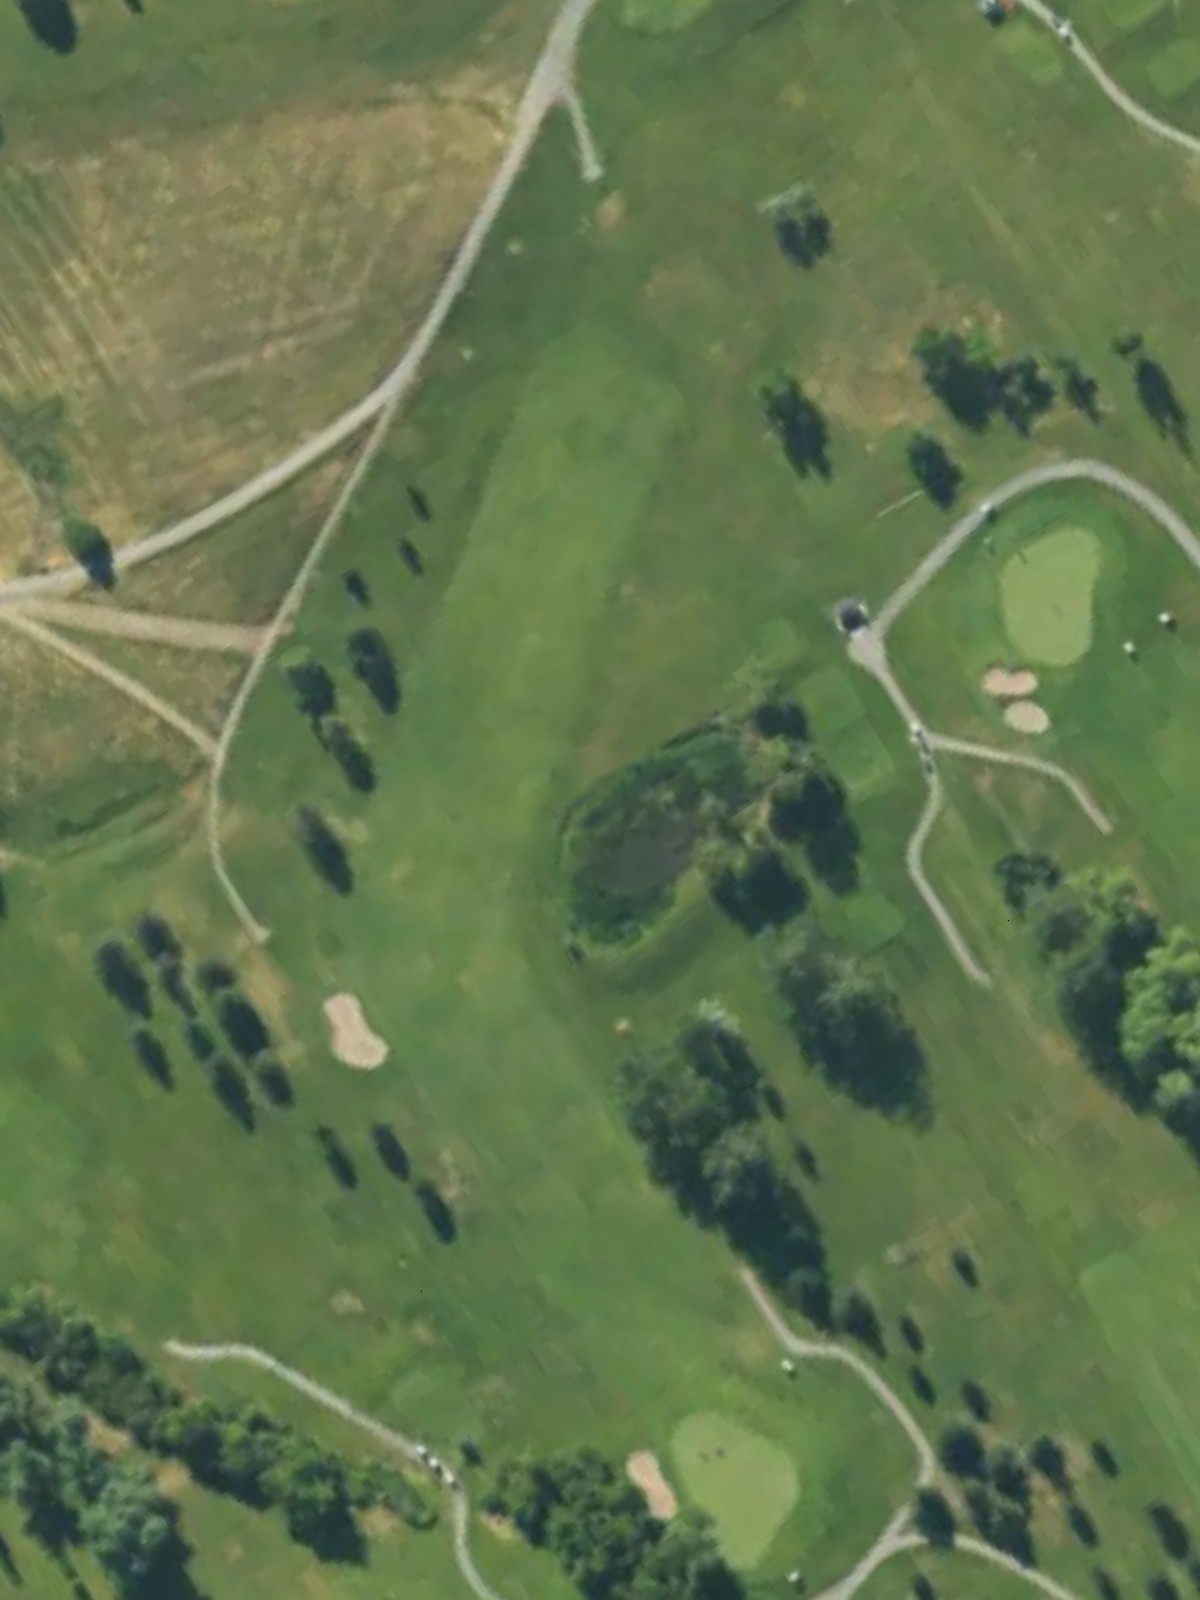
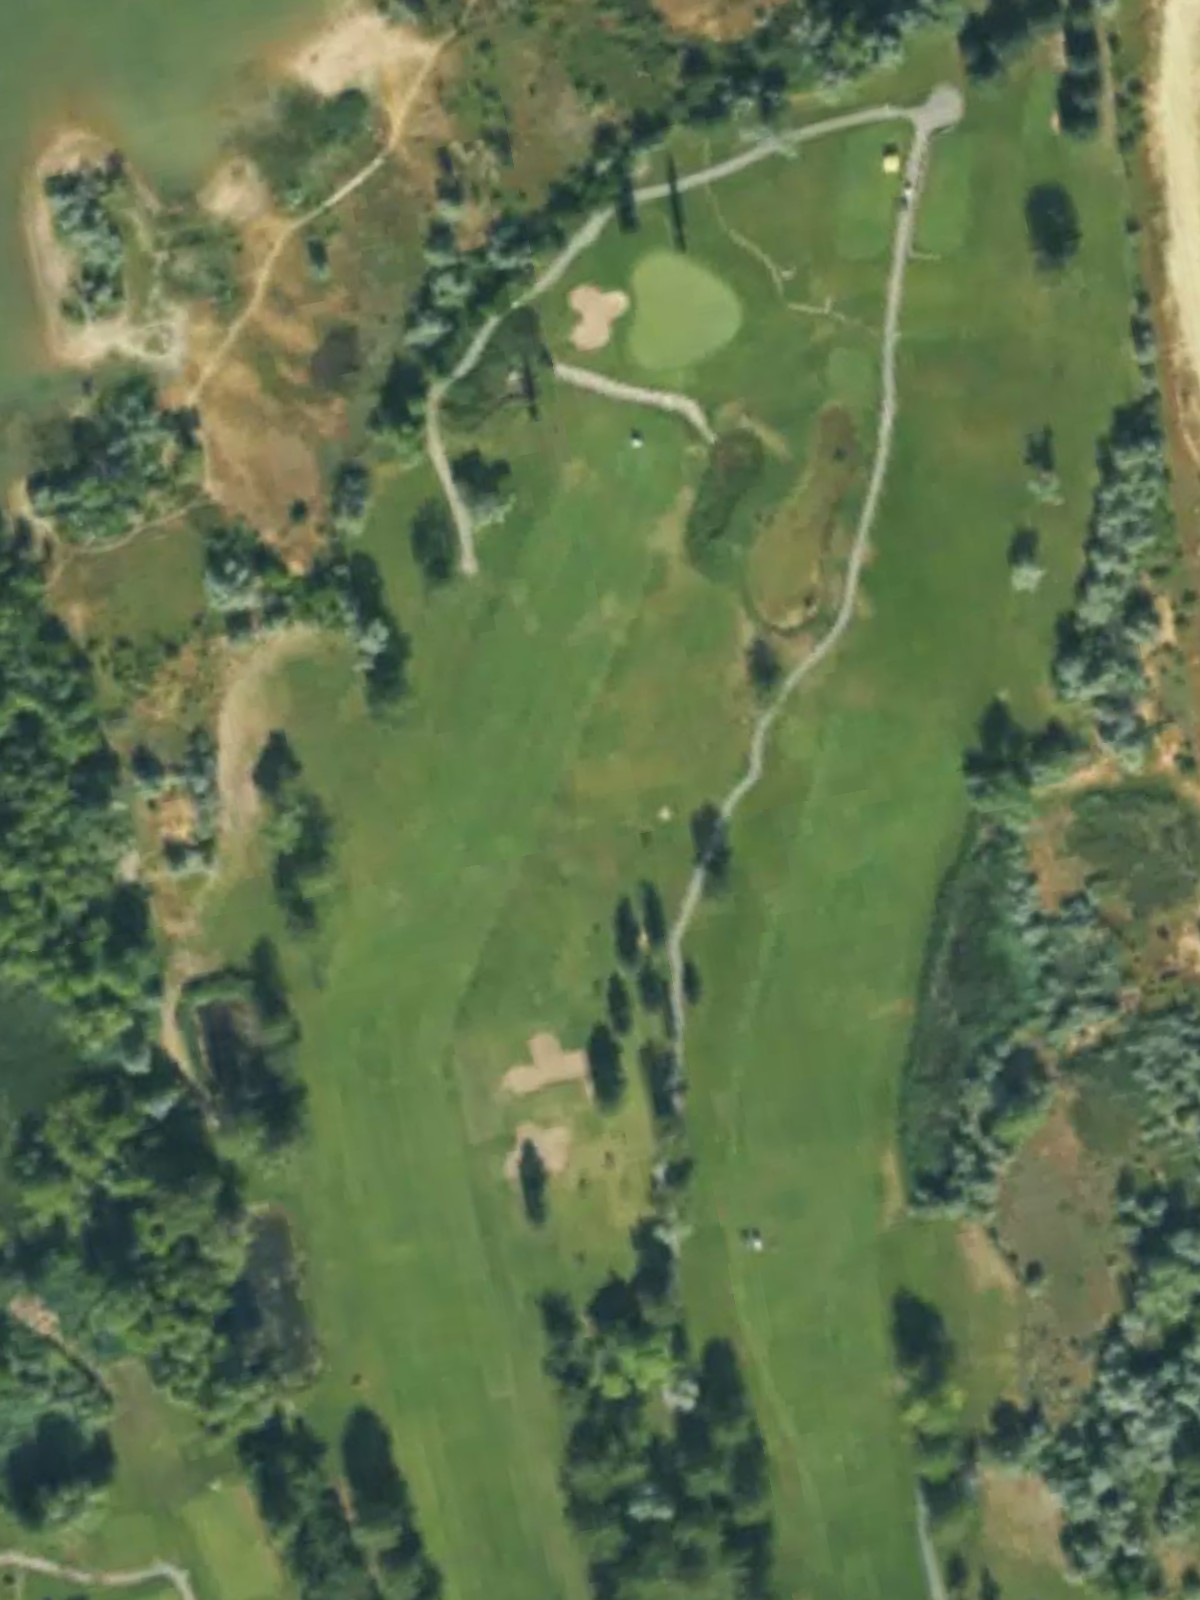
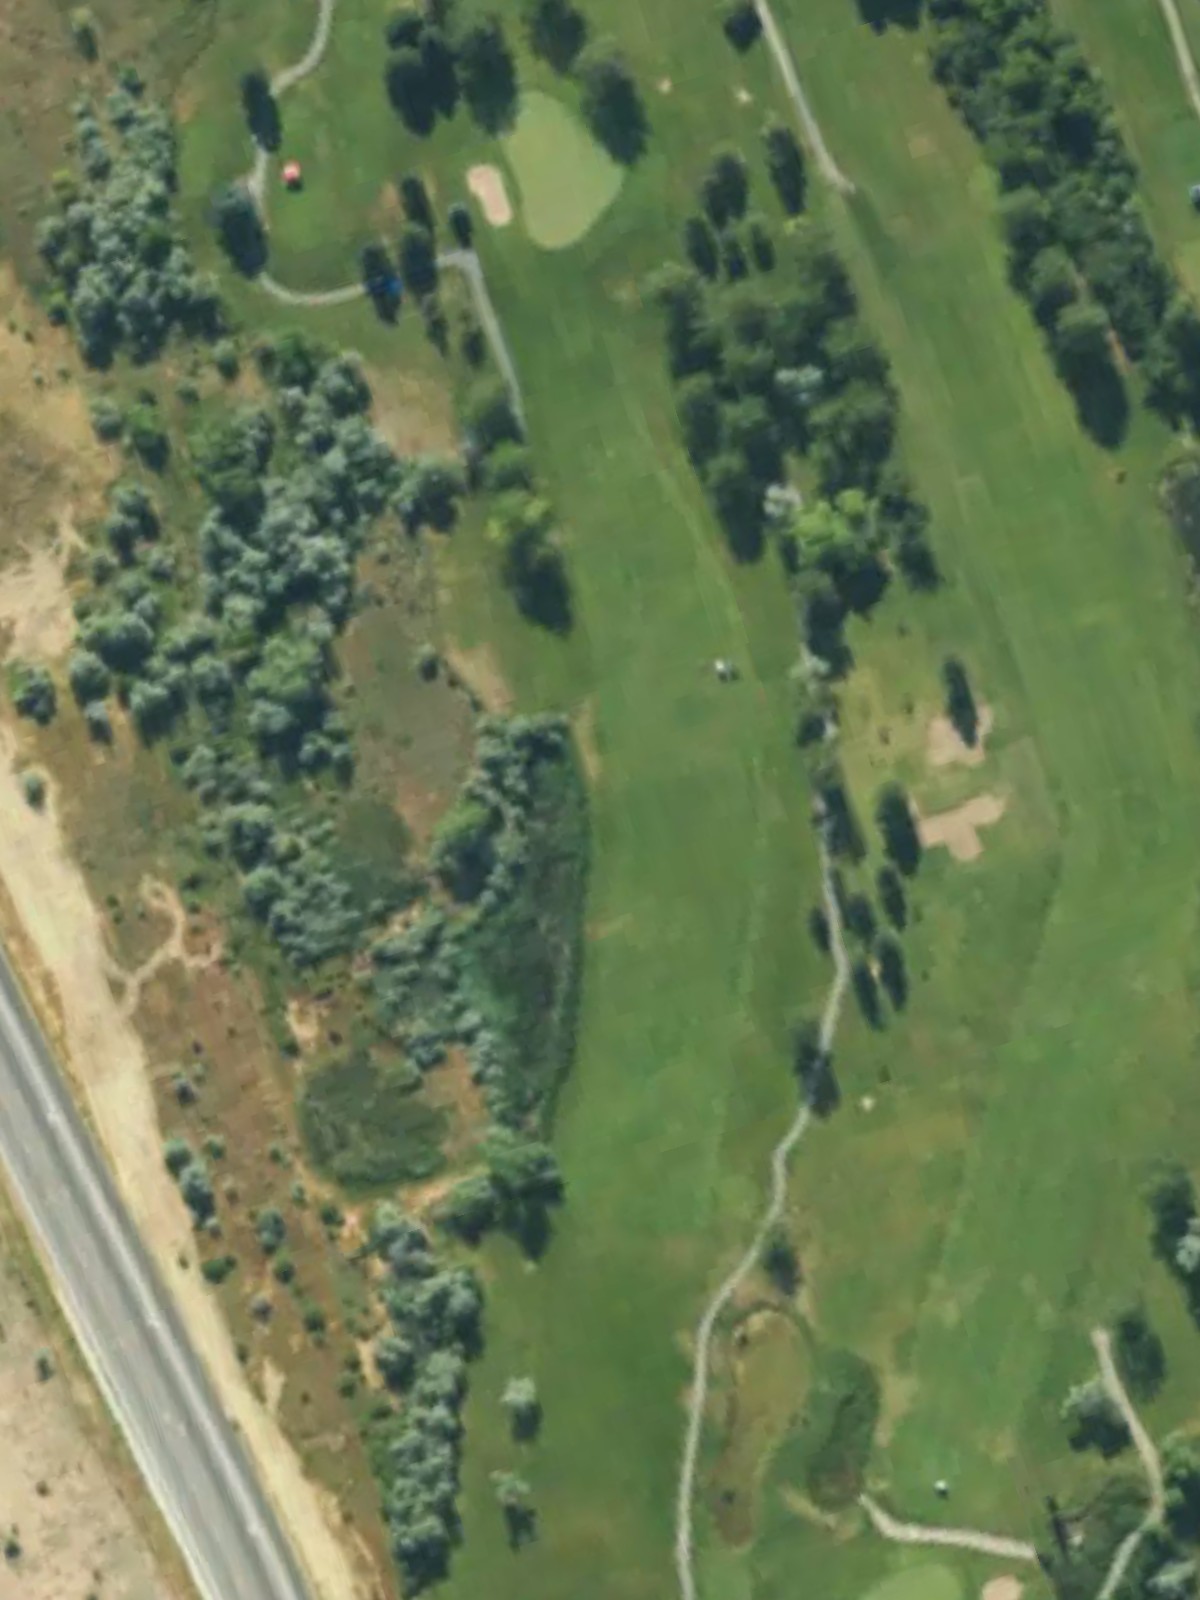
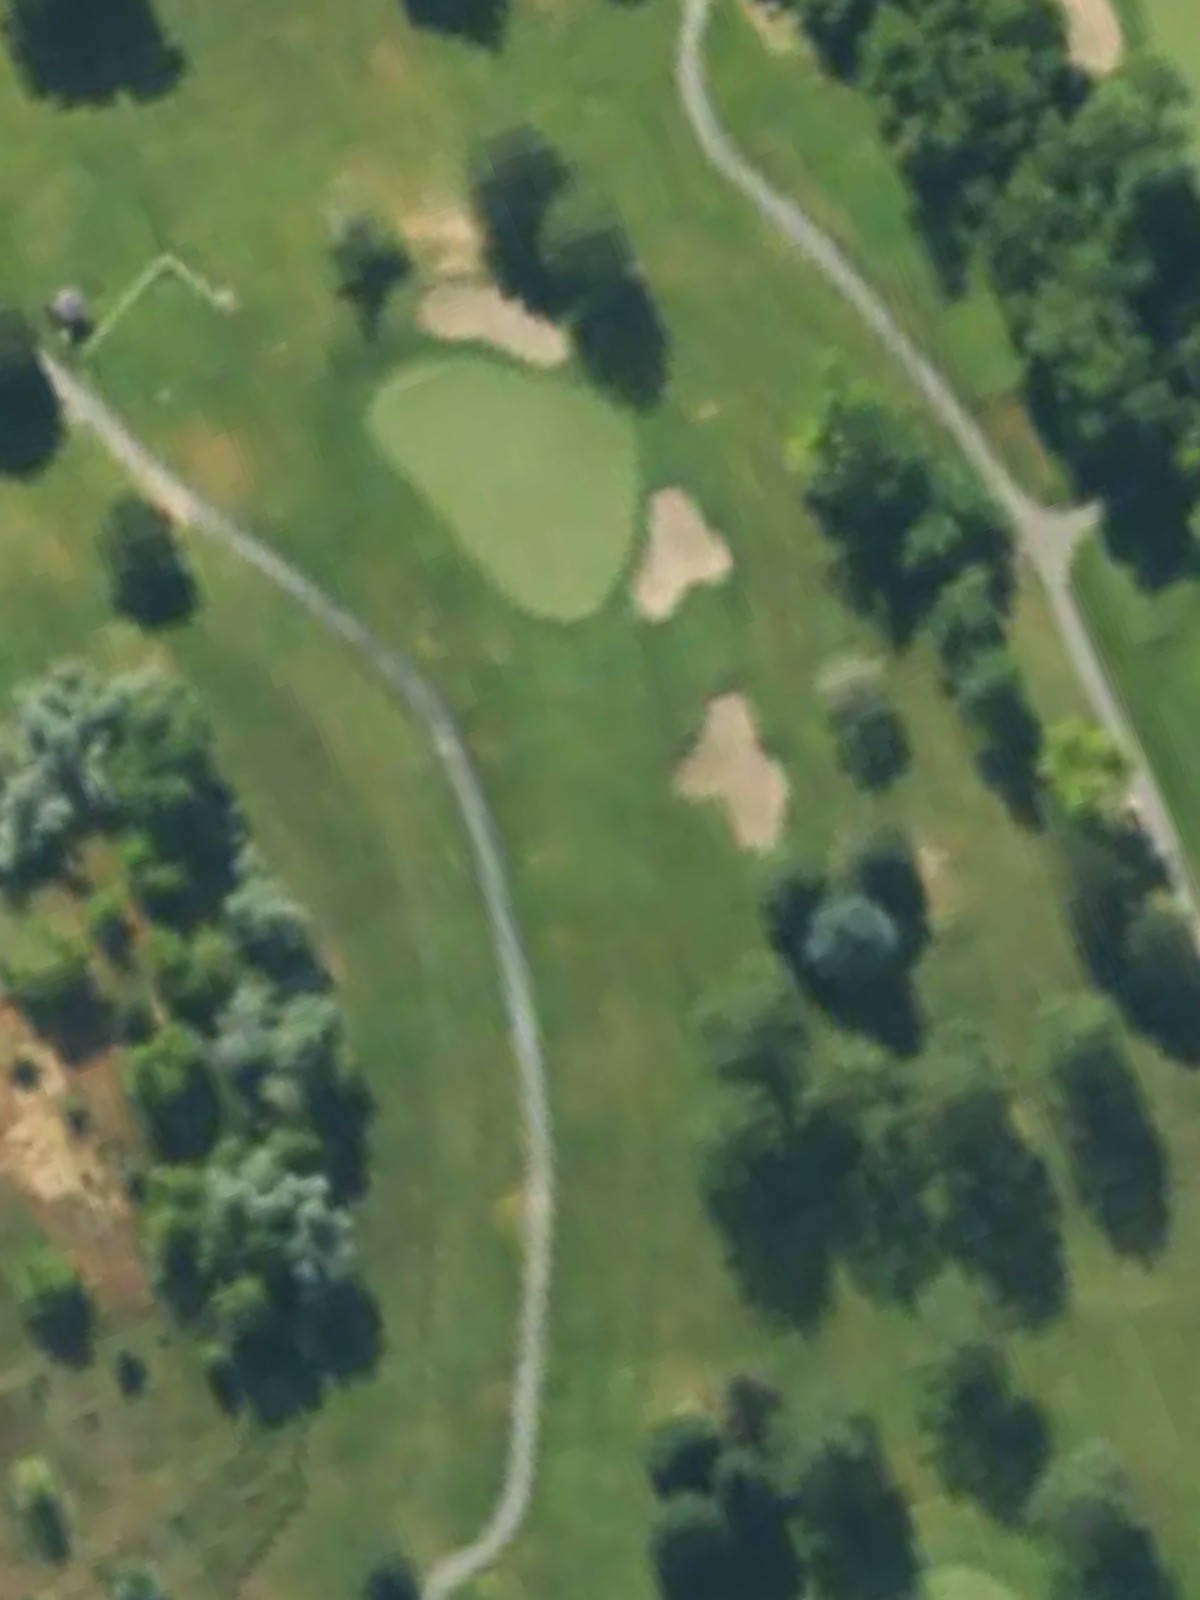
Valley View Gc is an 18-hole golf course in Layton, UT with a par of 72. It offers 5 tee sets: black (7,153 yards, slope 132, rating 74), blue (6,626 yards, slope 129, rating 71.7), white (6,214 yards, slope 126, rating 69.8), silver (5,668 yards, slope 117, rating 66.8), yellow (4,863 yards, slope 110, rating 63.1). The hardest hole is #3, a par 4 playing 415 yards from the first tee.
Valley View Gc
Layton, UT
Get PDF Yardage Book
We'll email you the PDF link. No spam, ever.
Create Your Game Plan
Pick your tees, enter your bag, and get a personalized shot-by-shot strategy for every hole.
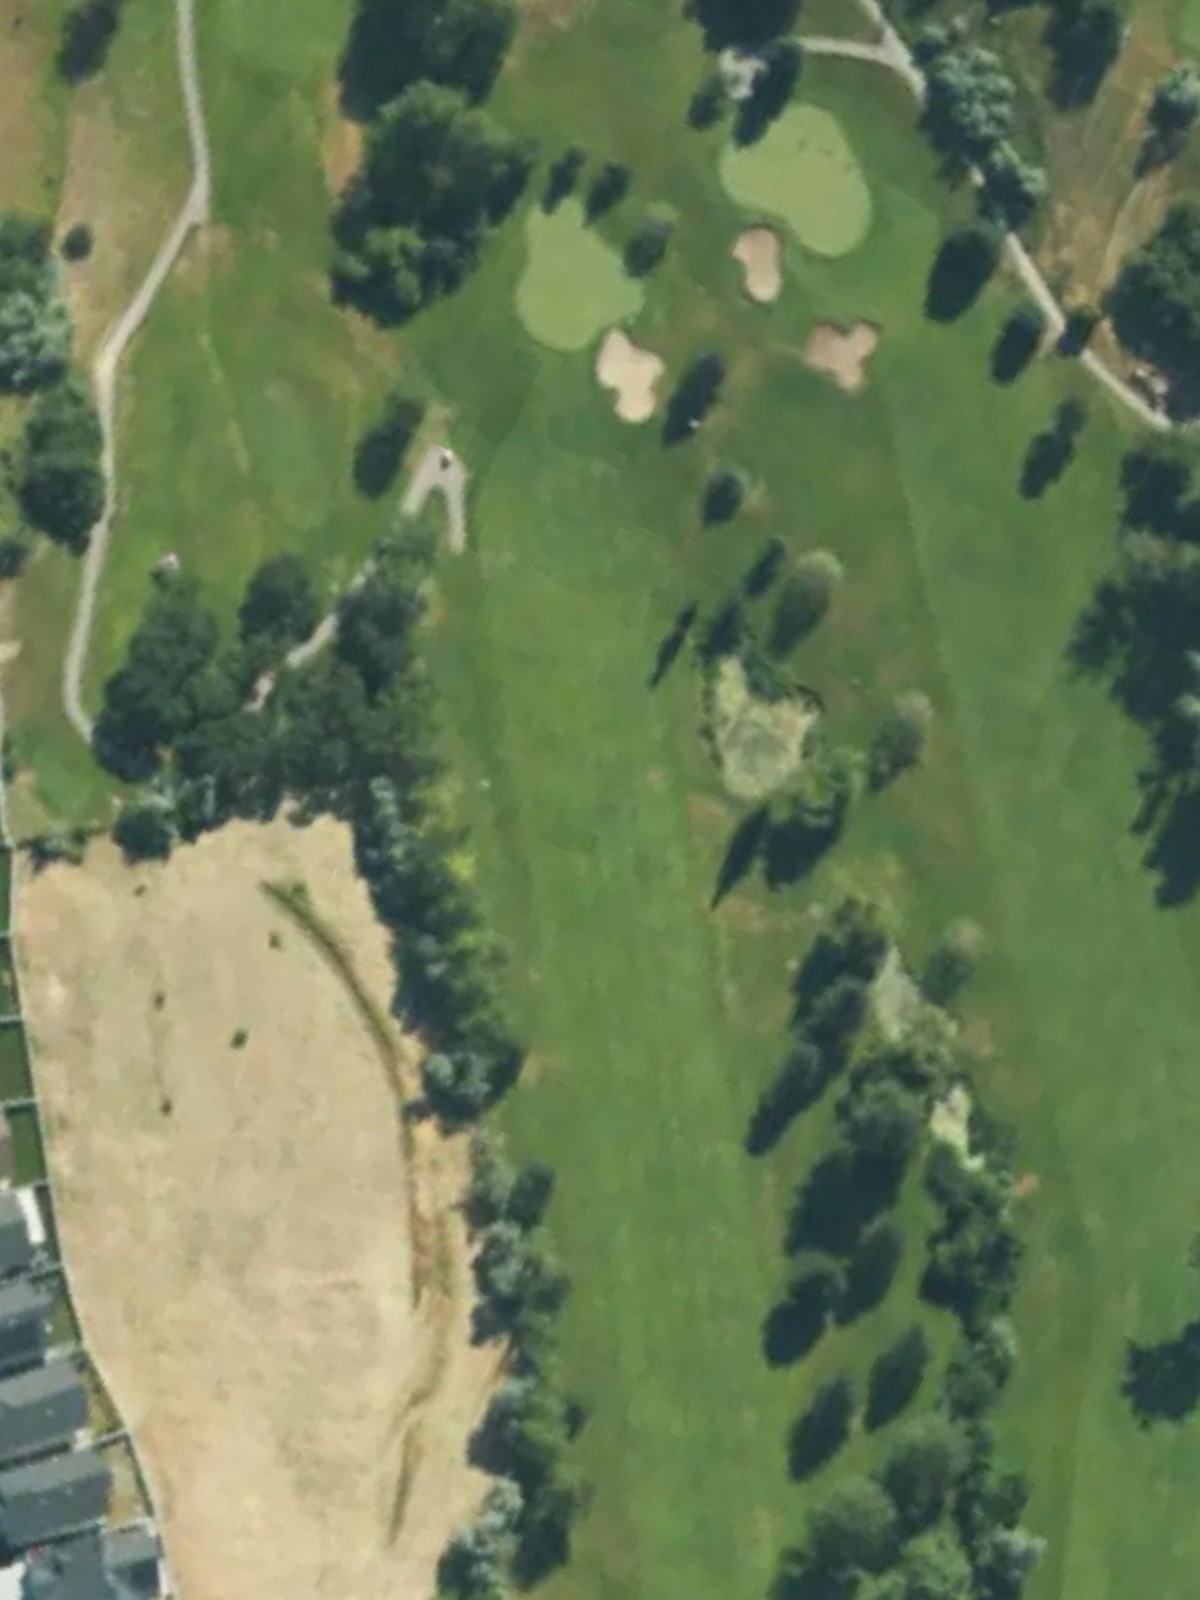
A straightforward par 4 opening hole with a fairway that gradually narrows as it approaches the green. Bunkers guard the right side of the green, while the left presents a safer approach for the opening shot of the round.
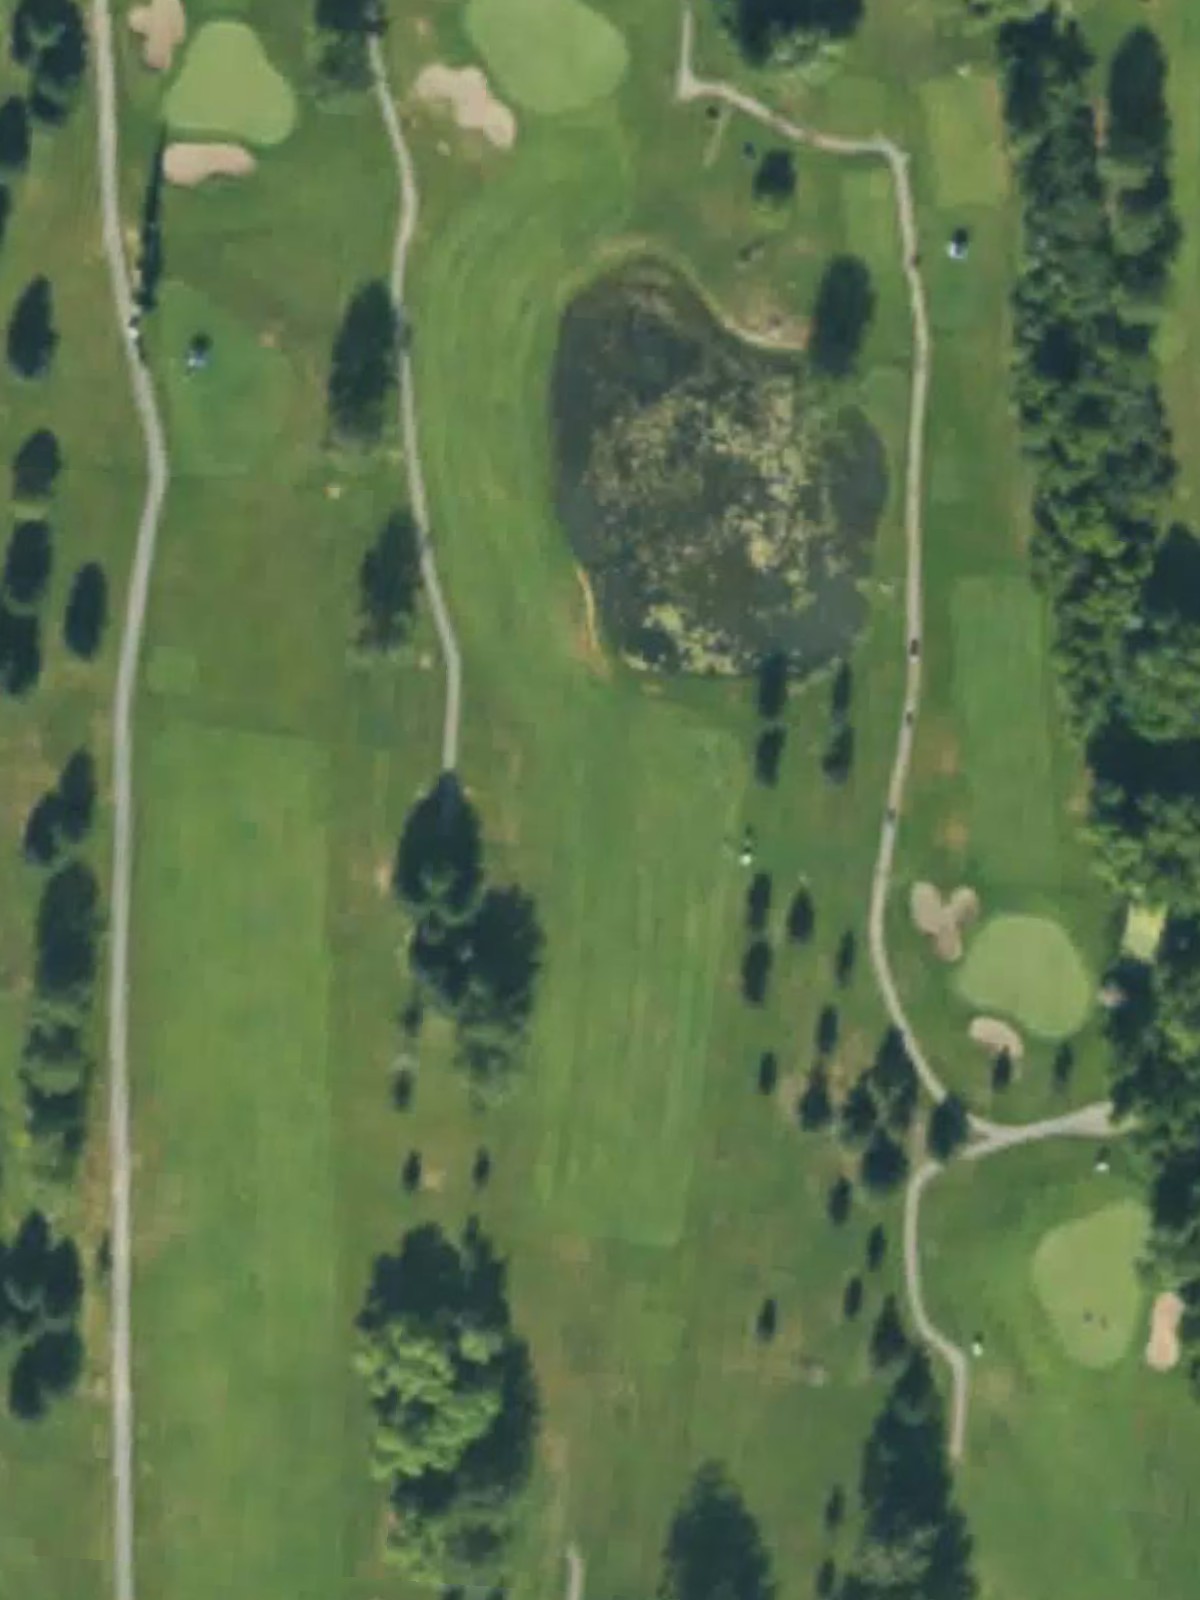
A generous par 5 that offers multiple routes to the green for players of varying distances. The hole's length and lack of severe hazards make it a relatively forgiving three-shot hole, though positioning off the tee is important.
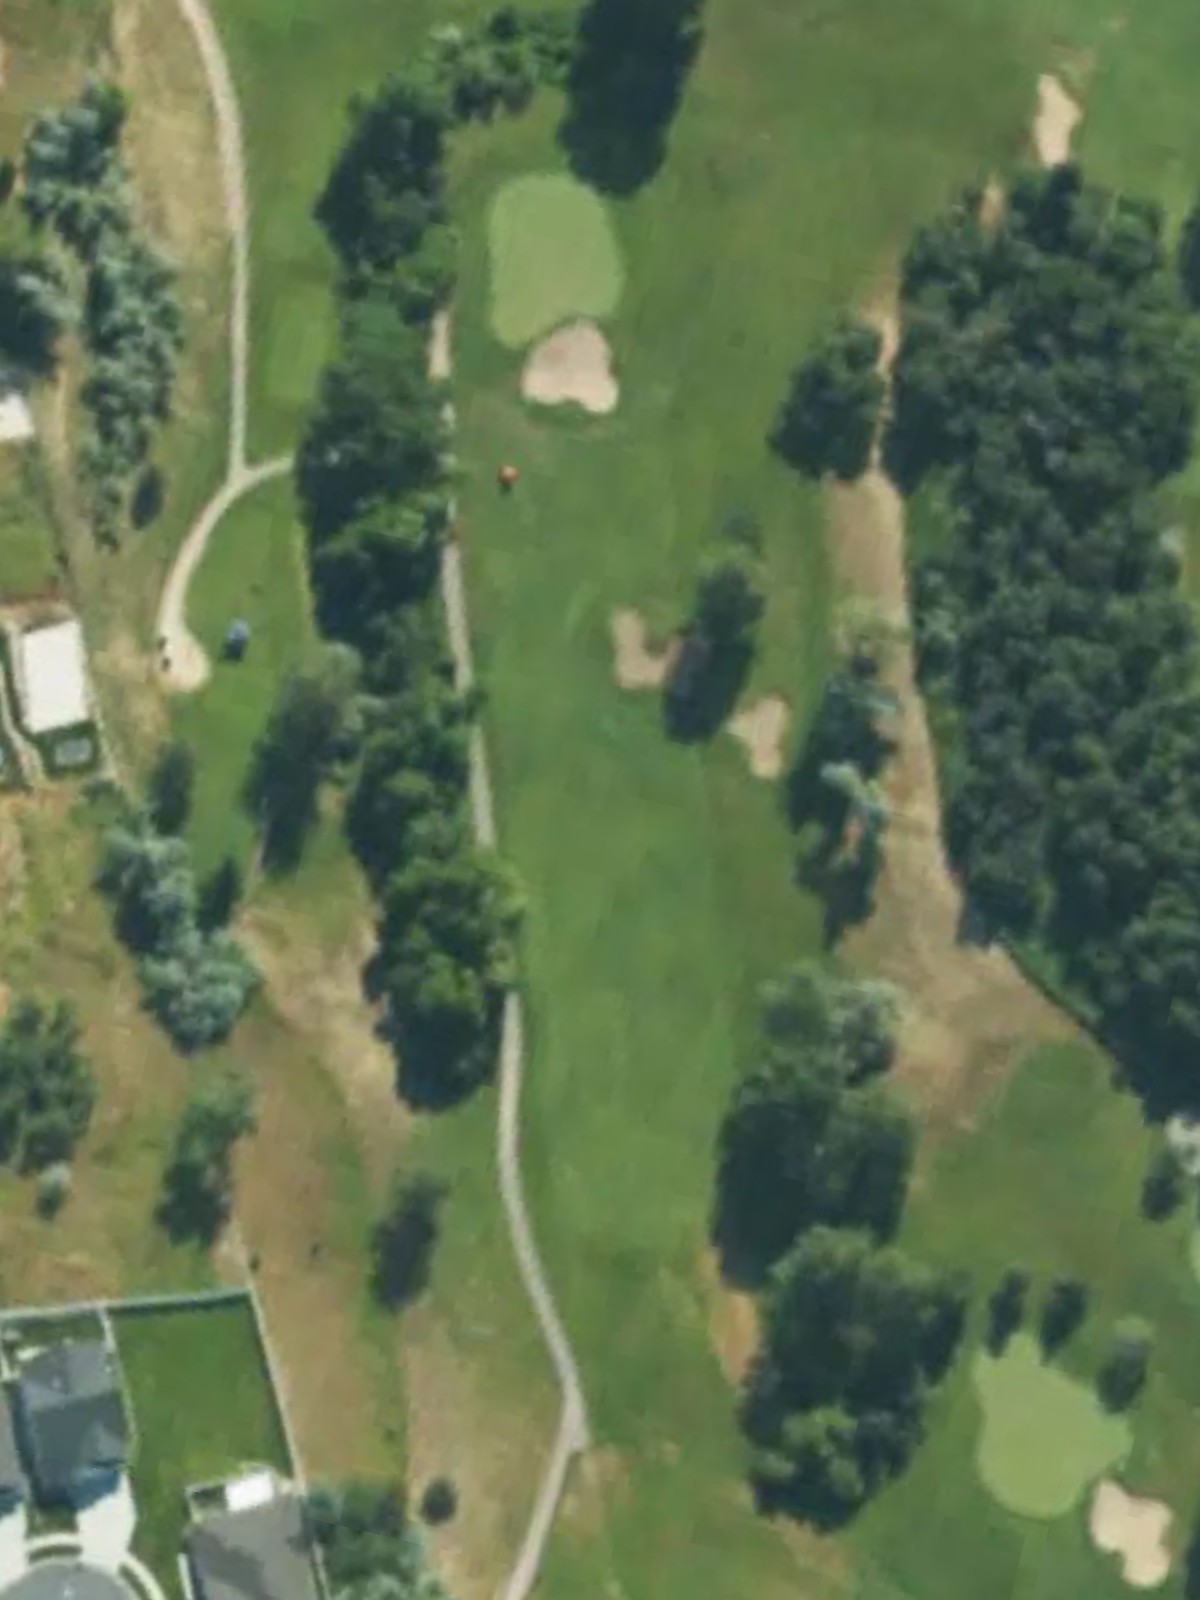
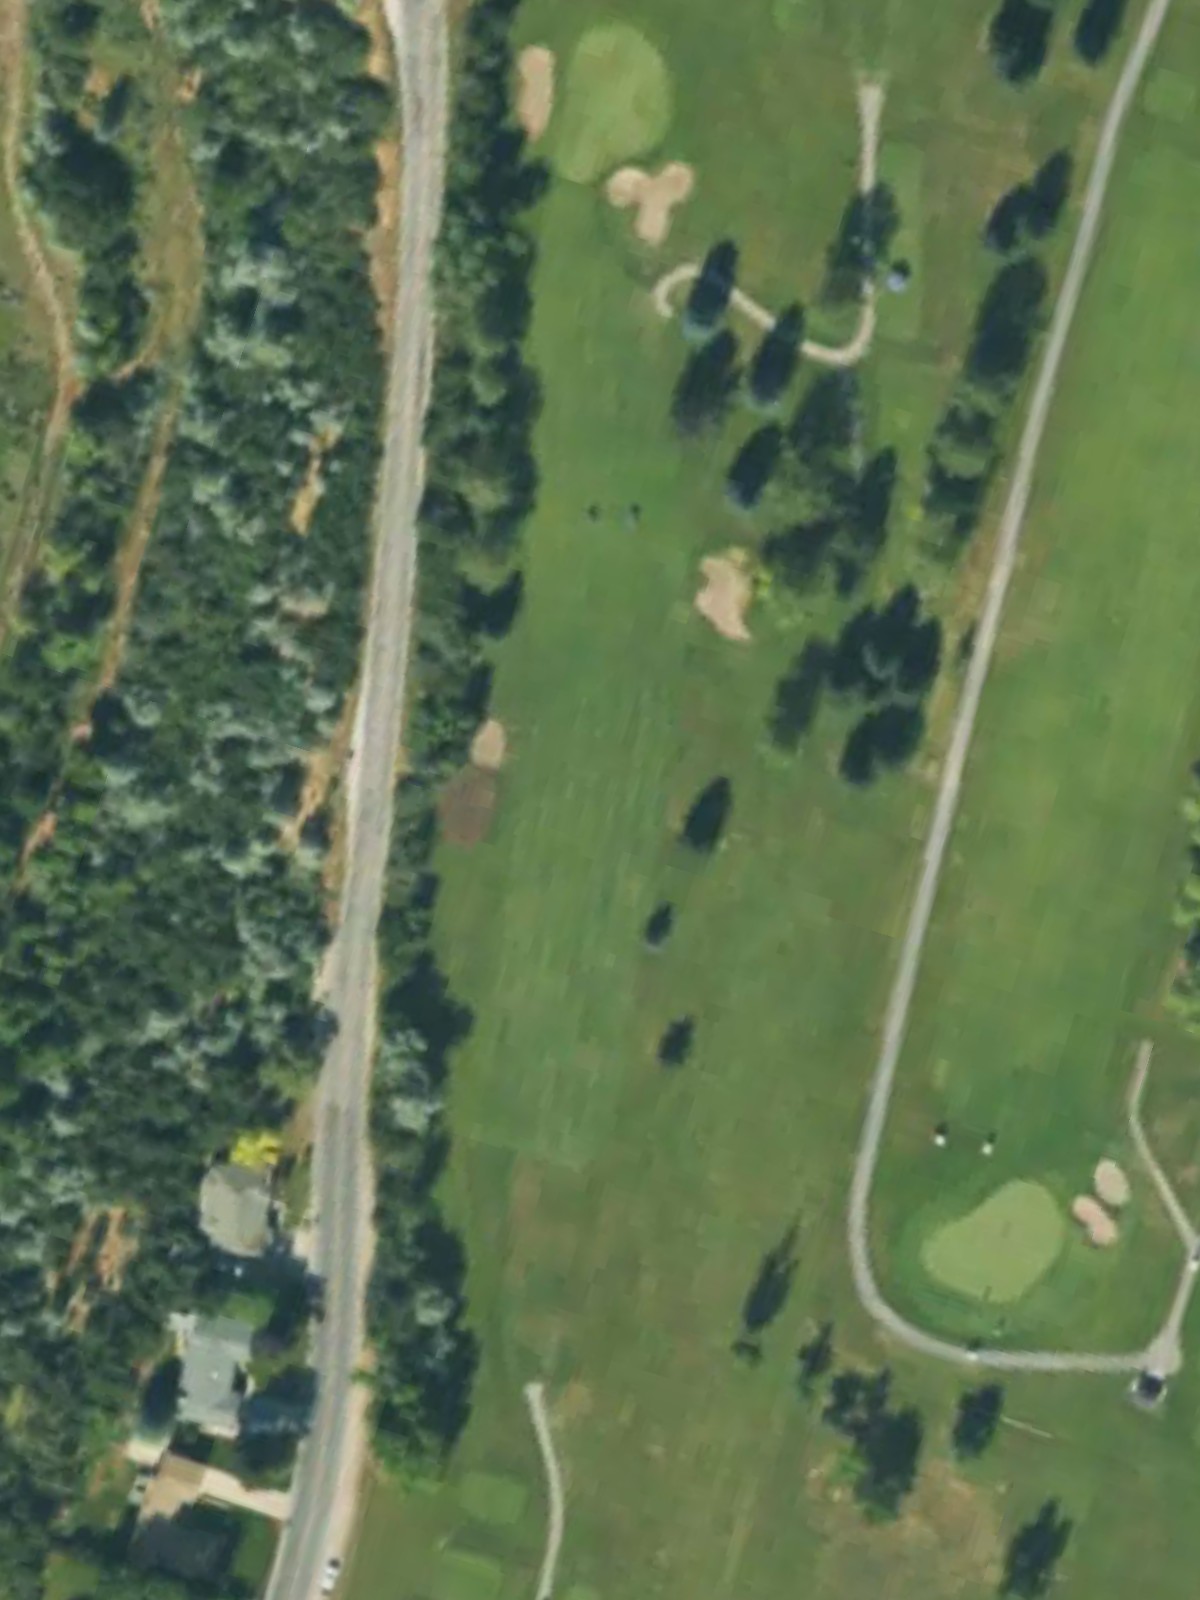
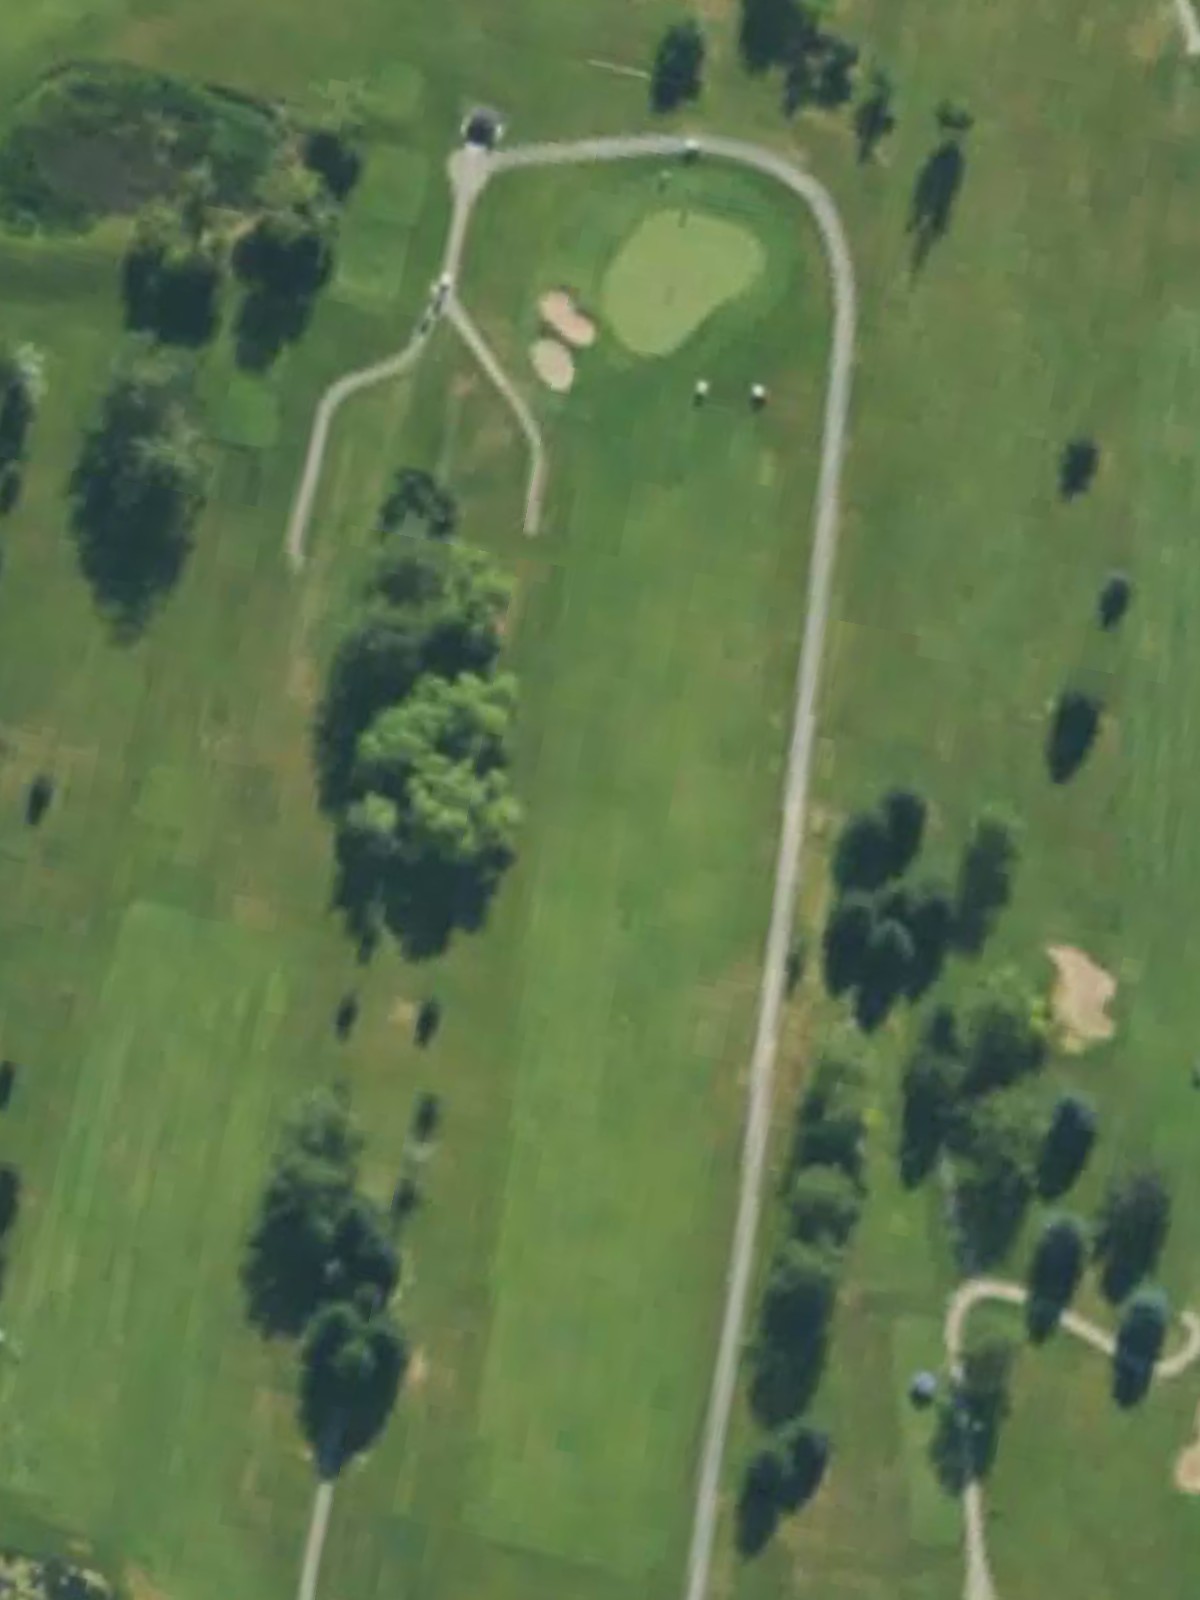
The most difficult hole on the course, this par 4 demands precision and length from the tee. A well-bunkered green and potentially tight landing areas make this a stern test early in the round.
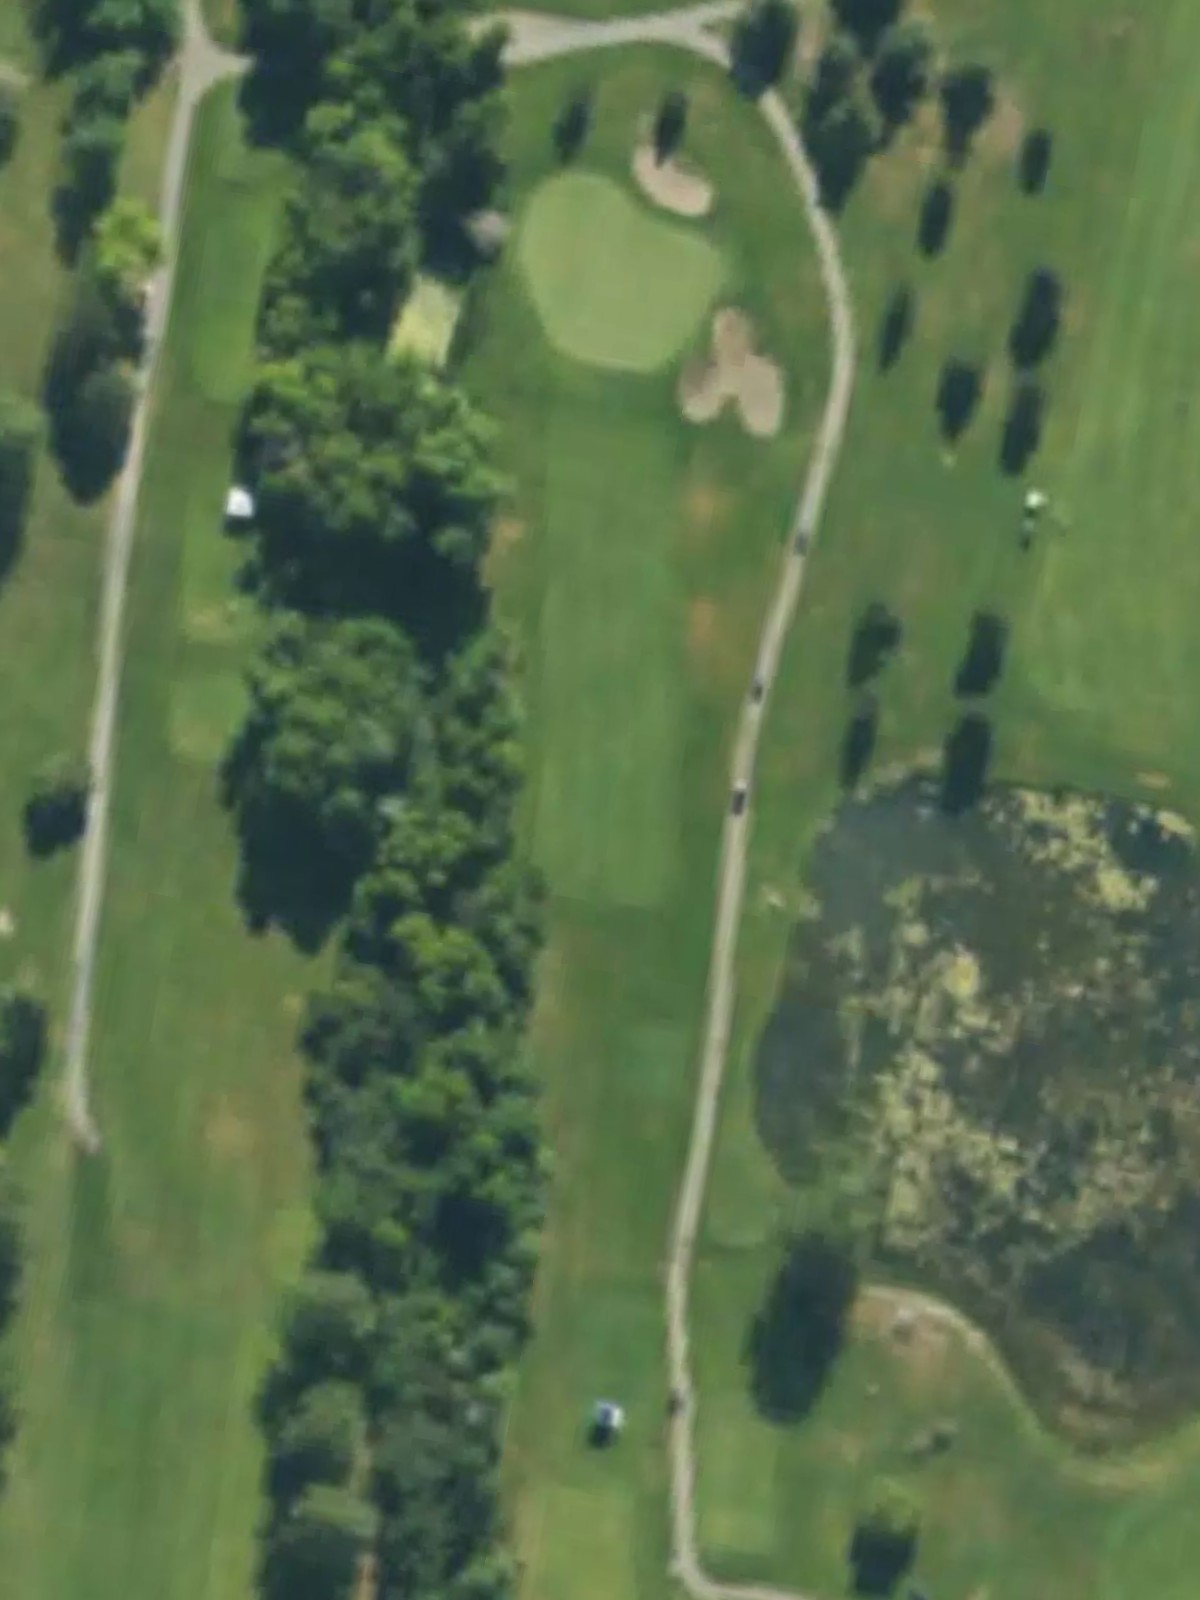
A short par 3 that plays to a relatively open green with modest hazards. The reduced length makes this a scoring opportunity despite its strategic bunkering around the putting surface.
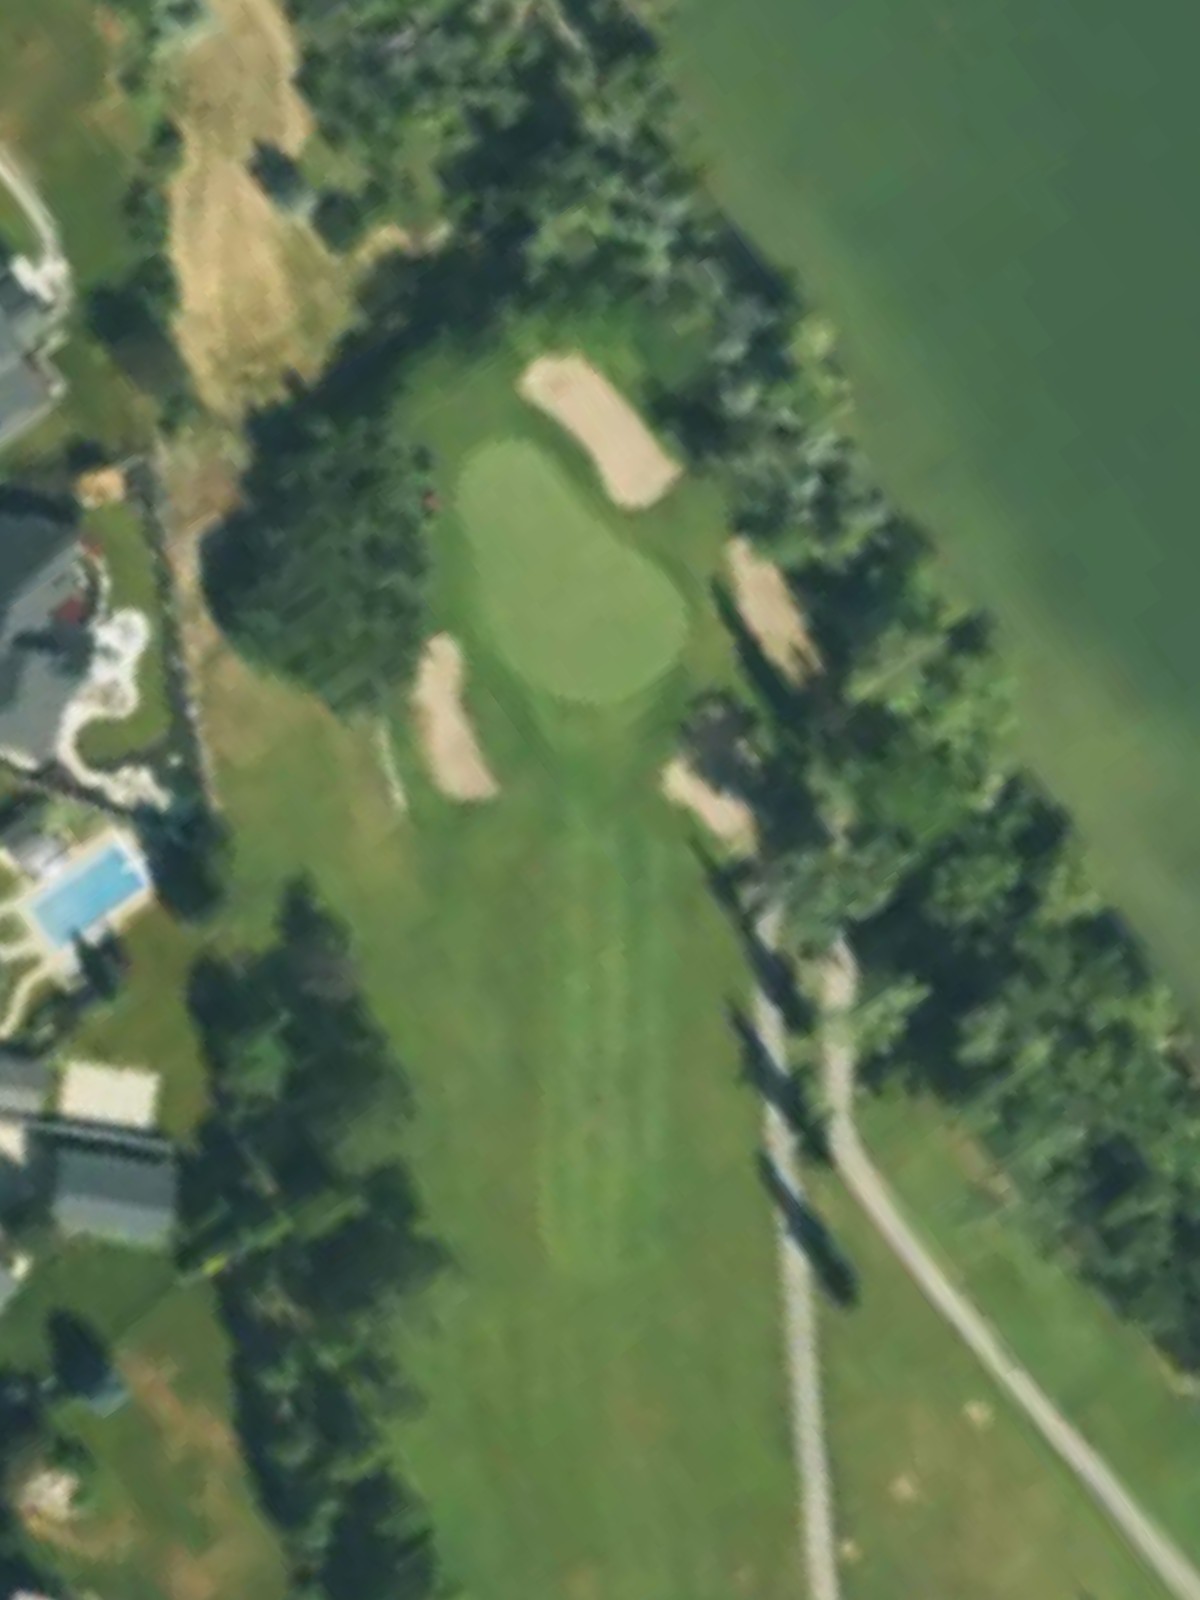
A challenging par 4 ranked as the third-most difficult hole on the course, requiring solid execution from tee to green. Hazards frame the hole strategically, and accuracy is essential to find the green in regulation.
A notably short par 4 that plays downhill to a compact green, offering a chance for aggressive play. The hole's brevity is offset by precise bunkering and the risk-reward nature of the approach shot.
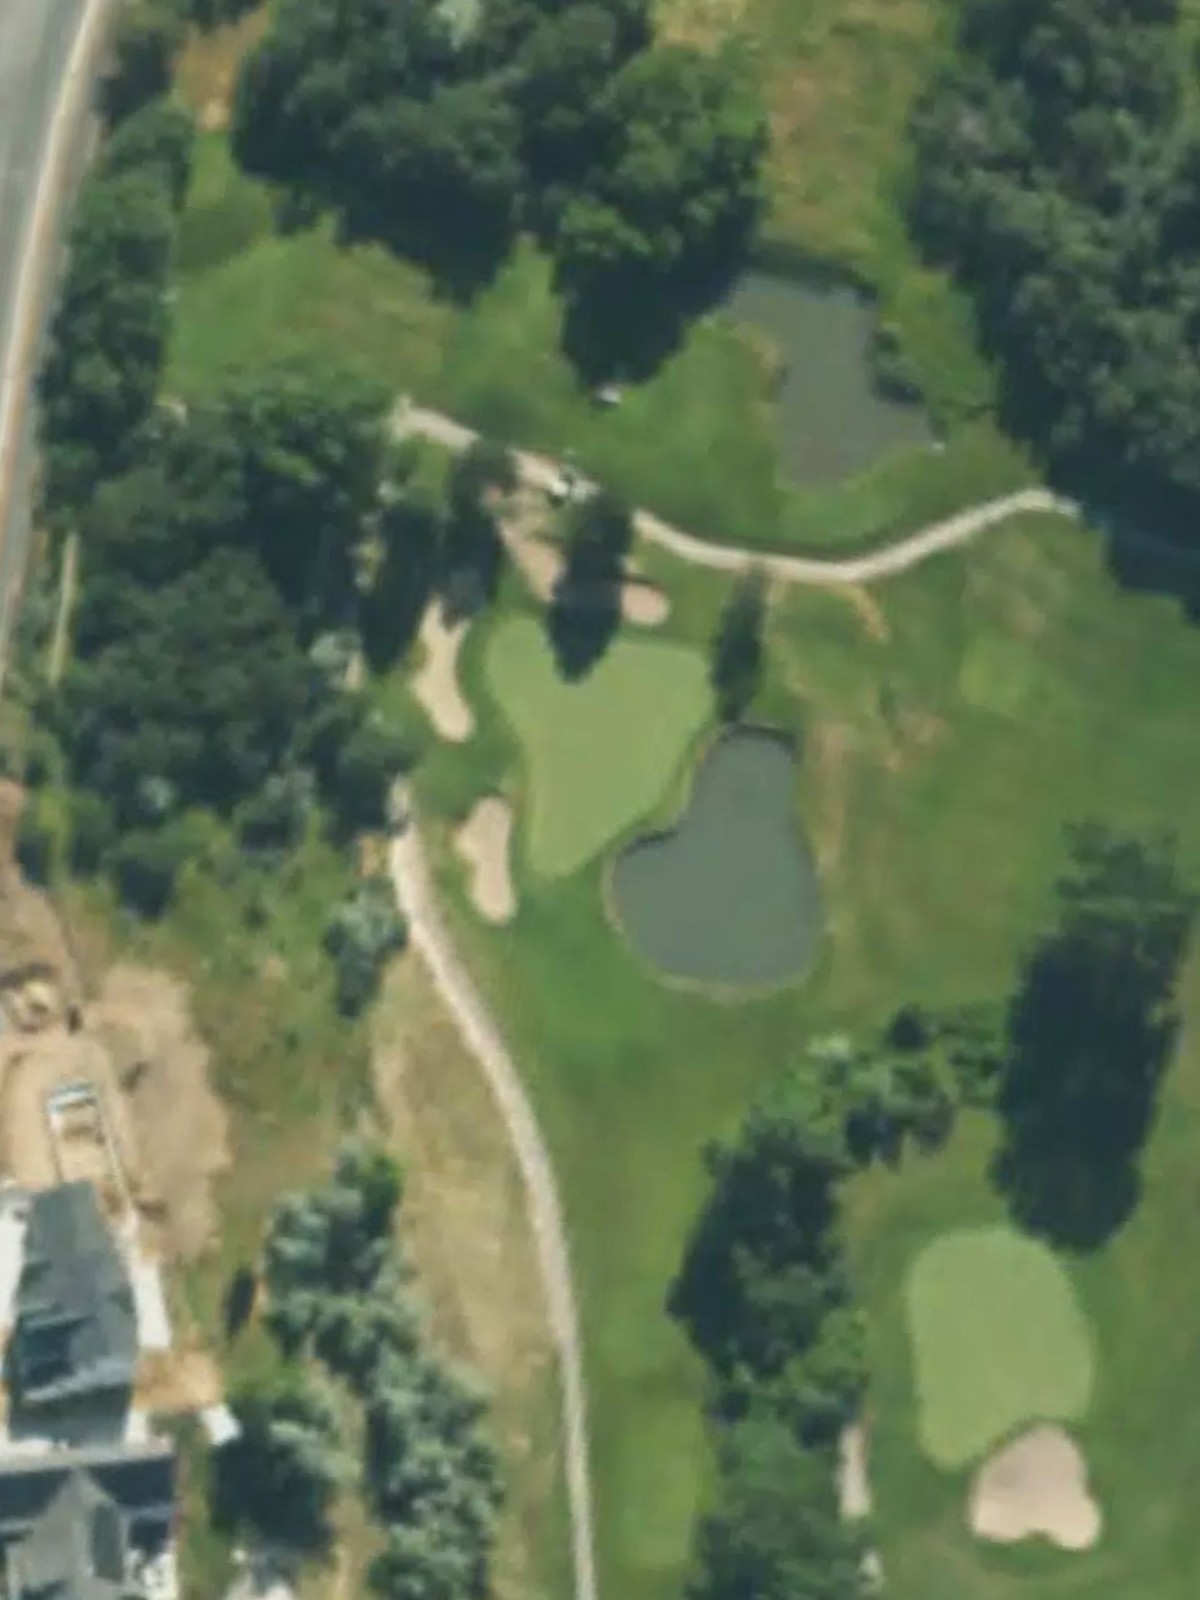
A mid-length par 3 with elevation change and bunkers protecting the green from approach shots. The hole's yardage varies significantly from the back tees, making club selection critical.
A short par 4 with limited hazards that plays to an accessible green. This hole provides a birdie opportunity within the round, though accurate approach play remains important.

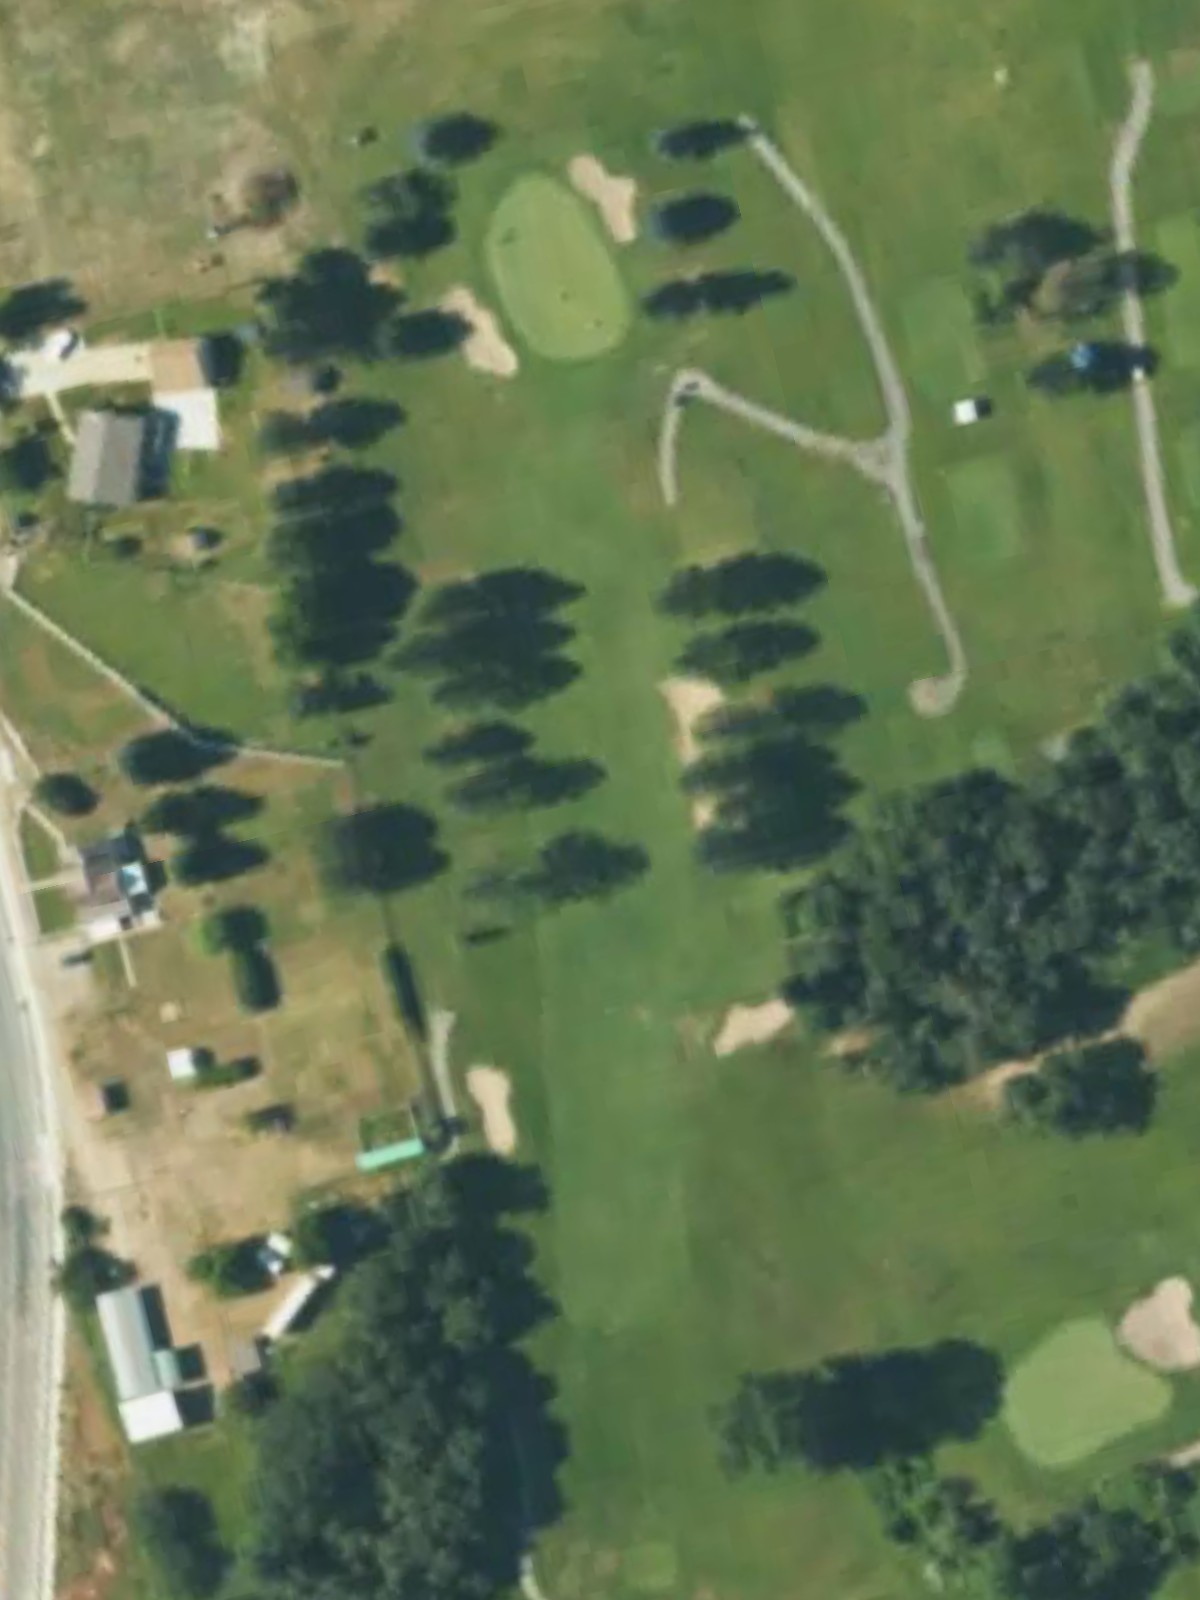
A generous par 5 that ranks as the easiest hole on the course, allowing most players a realistic birdie opportunity. The relatively open nature of the hole rewards solid execution over the three shots.
A mid-length par 4 with a straightforward design and well-defined fairway. Strategic bunkering and green-side hazards require accurate approach play to secure a good score.
The longest hole on the course, this par 5 demands power and precision across its full length. The extra yardage makes it a genuine three-shot hole even for longer hitters, ranking as the most difficult par 5.
A challenging par 3 with significant length variance across the tee boxes and bunkers guarding the approach. The hole's difficulty is evident from its high handicap index, requiring both distance and accuracy.
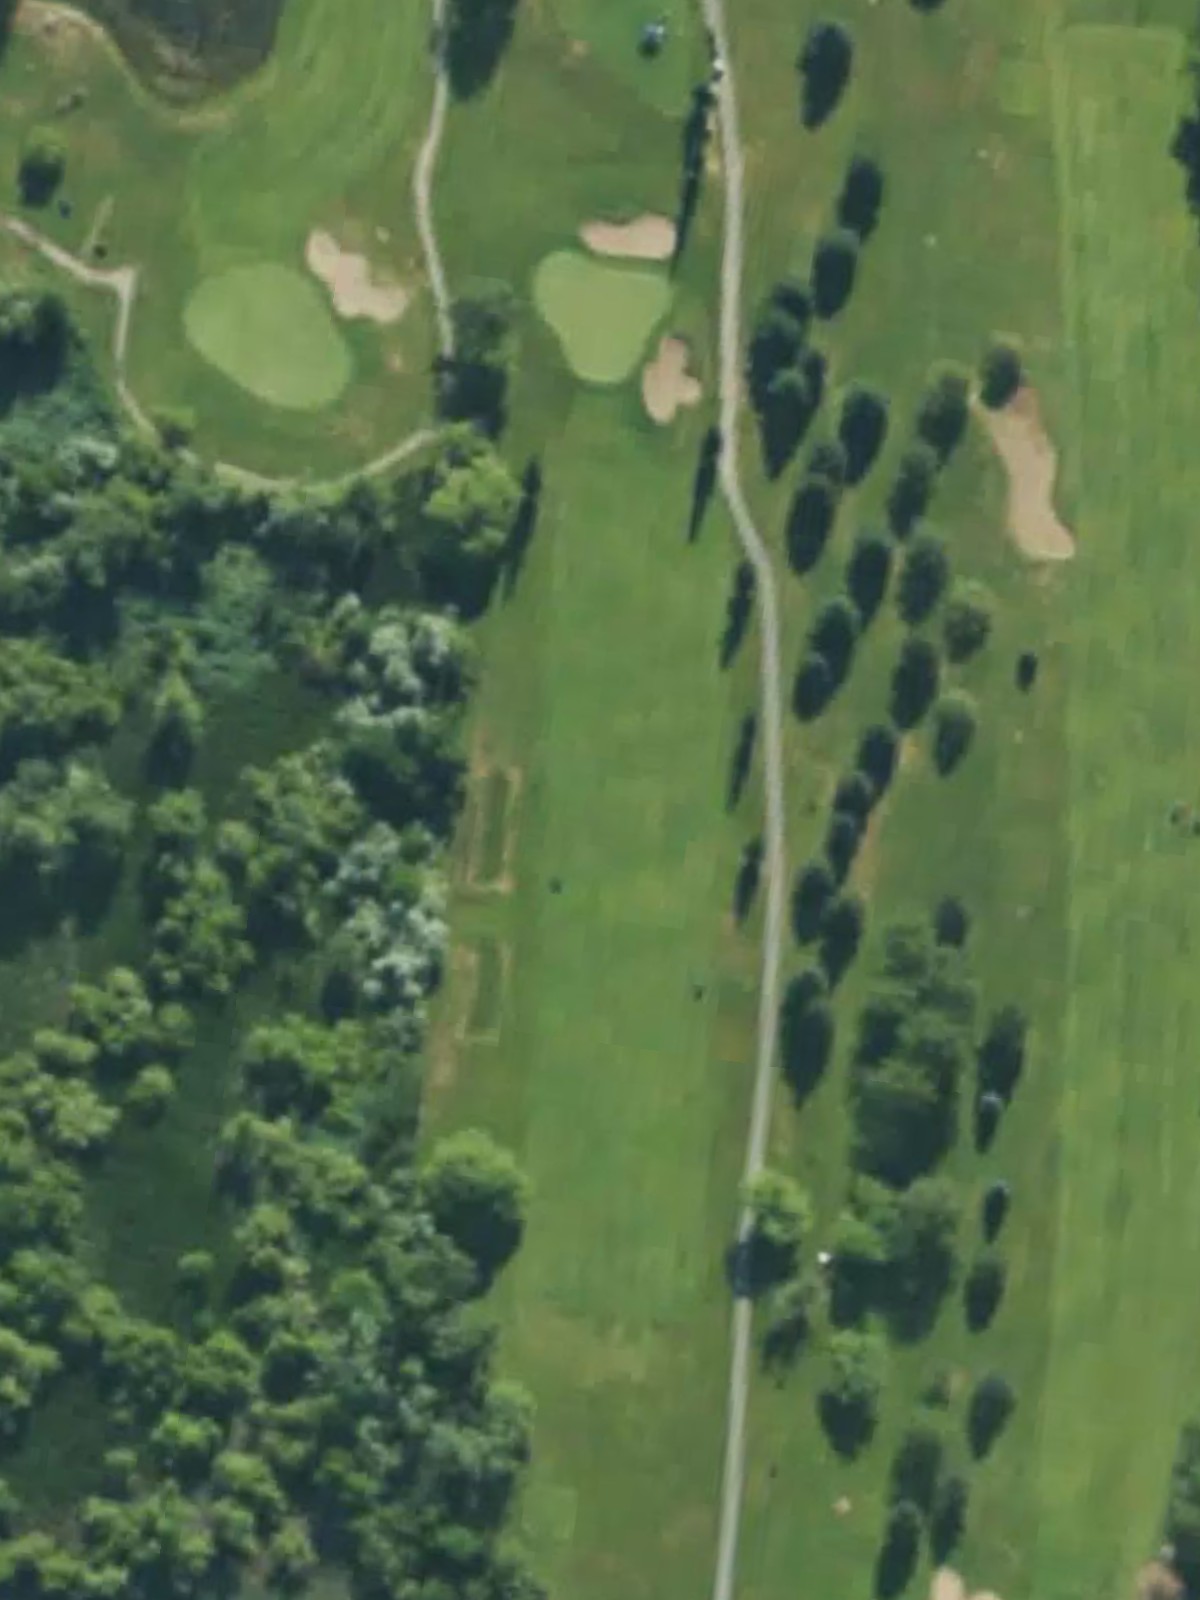
A mid-length par 4 with bunkers strategically placed to challenge the approach shot. The hole's design emphasizes precise positioning rather than pure length.
A shorter par 4 that presents a birdie opportunity with its modest yardage. Hazards remain a factor, keeping the hole playable yet scoring-friendly for solid swings.
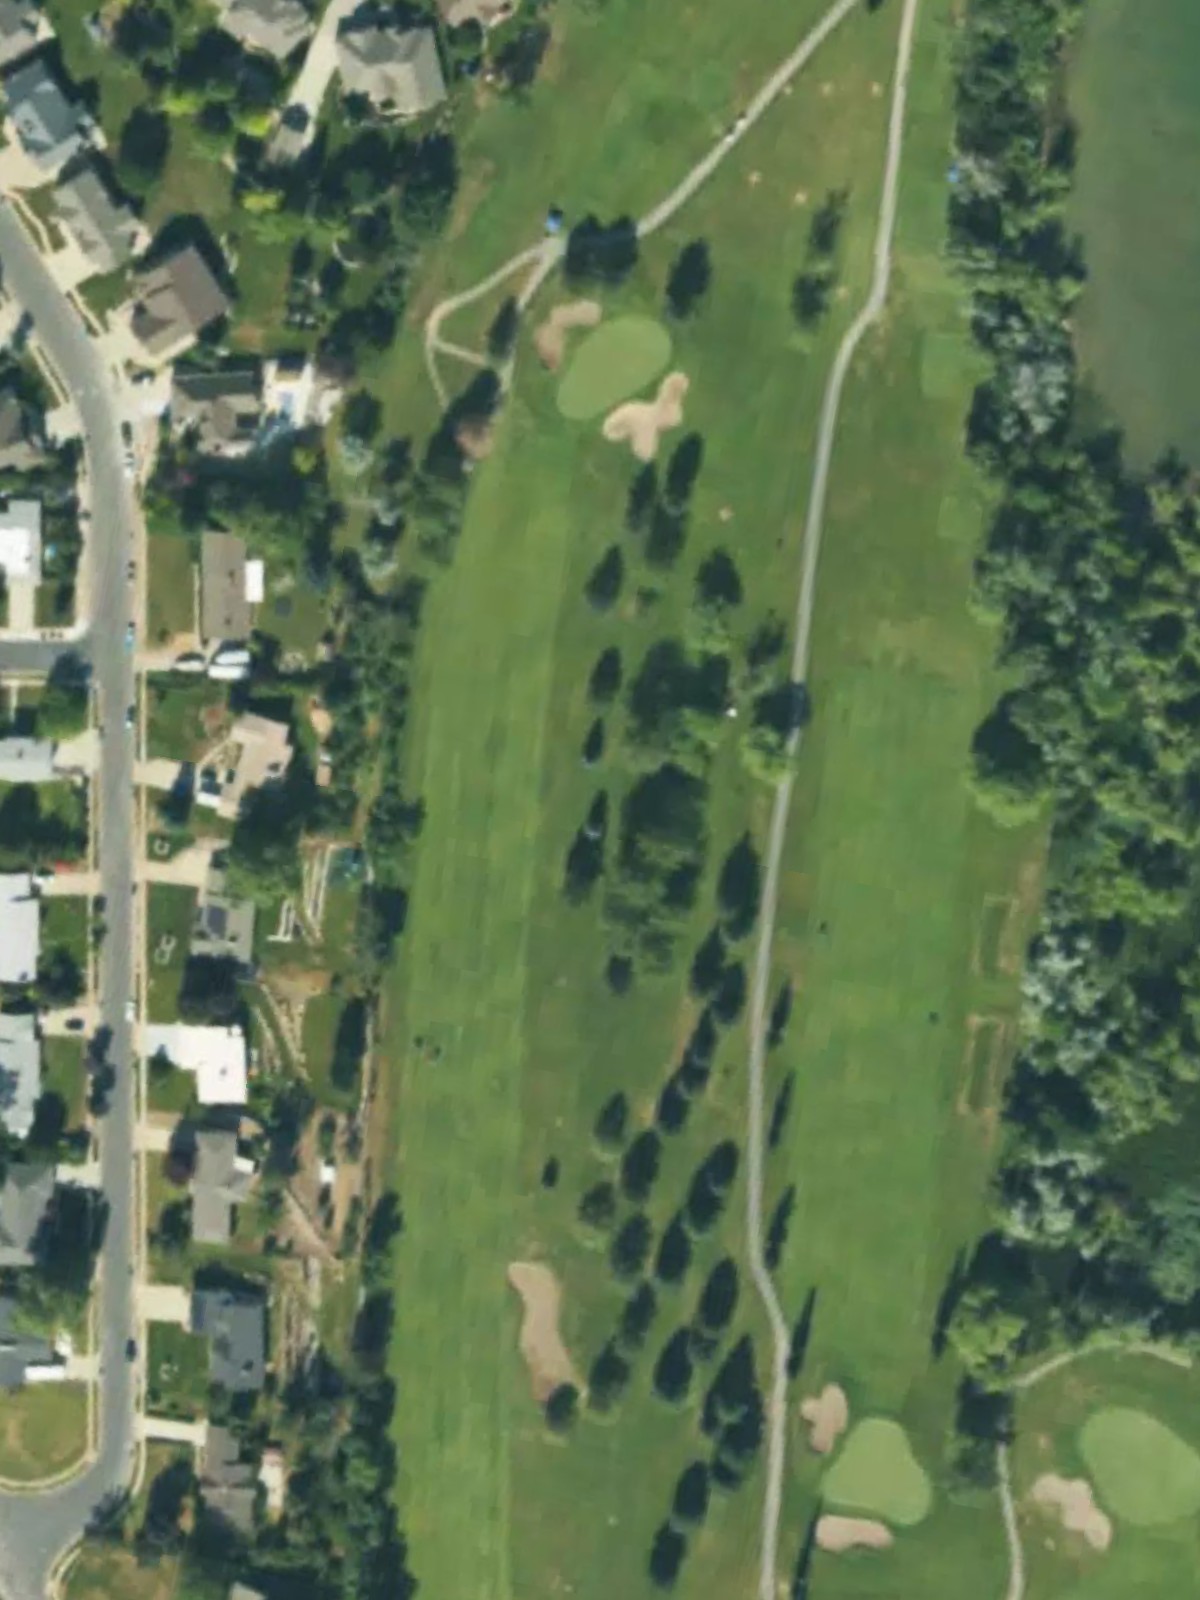
A strong par 4 ranking fourth in difficulty that demands both distance and accuracy from the tee. Hazards frame the hole strategically, and the green is well-protected to challenge the final approach.
A mid-length par 3 featuring bunkers and elevation changes that add complexity to club selection. The hole balances playability with strategic challenge through its layout.
A par 5 with moderate length that provides a realistic scoring opportunity despite its ranking among the more difficult par 5s. Strategic positioning from the tee is key to setting up the approach shots.

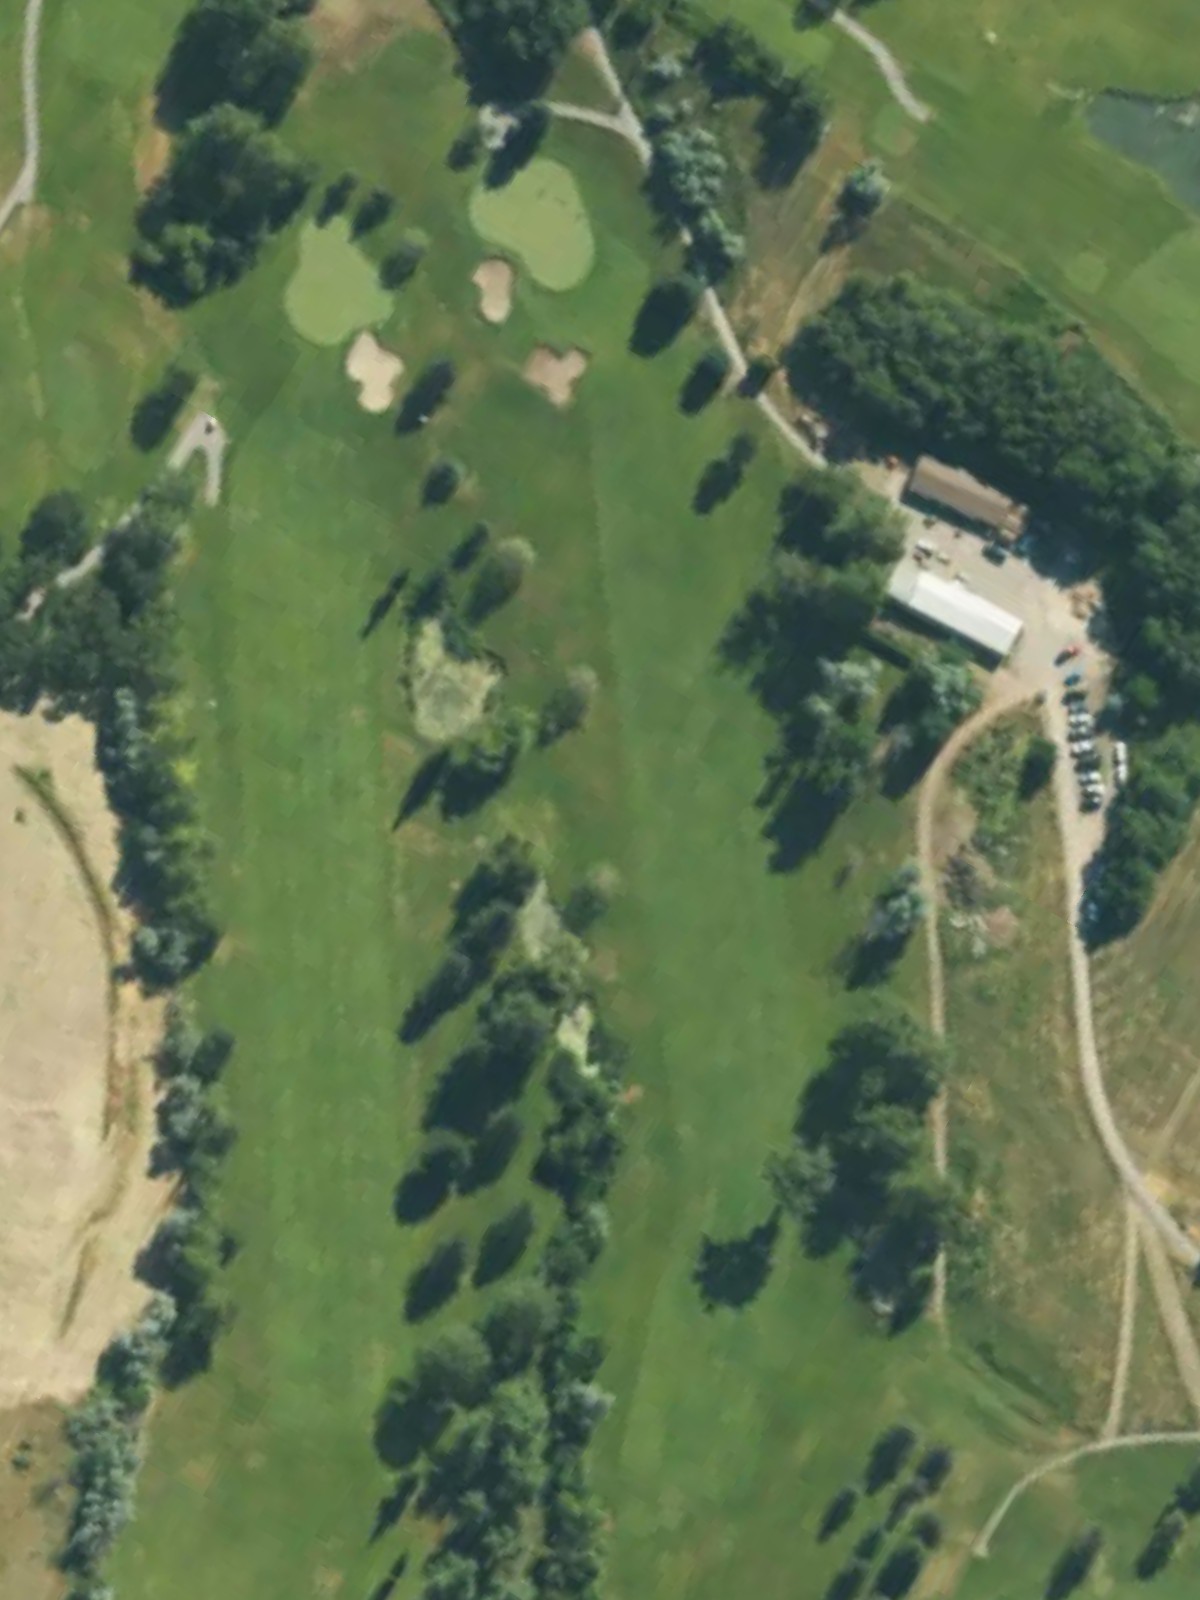
The finishing par 4 and second-most difficult hole on the course, demanding a strong closing effort. The hole's championship length and strategic hazards make it a memorable final test of the round.
Scorecard
| Hole | 1 | 2 | 3 | 4 | 5 | 6 | 7 | 8 | 9 | Out | 10 | 11 | 12 | 13 | 14 | 15 | 16 | 17 | 18 | In | Tot |
|---|---|---|---|---|---|---|---|---|---|---|---|---|---|---|---|---|---|---|---|---|---|
| Par | 4 | 5 | 4 | 3 | 4 | 4 | 3 | 4 | 5 | 36 | 4 | 5 | 3 | 4 | 4 | 4 | 3 | 5 | 4 | 36 | 72 |
| HCP | 5 | 11 | 1 | 15 | 3 | 9 | 7 | 13 | 17 | 6 | 18 | 12 | 10 | 16 | 4 | 8 | 14 | 2 | |||
| black | 447 | 525 | 437 | 169 | 438 | 360 | 192 | 368 | 545 | 3481 | 400 | 562 | 247 | 418 | 396 | 445 | 206 | 535 | 463 | 3672 | 7153 |
| blue | 423 | 504 | 415 | 155 | 426 | 320 | 156 | 326 | 497 | 3222 | 370 | 537 | 196 | 382 | 354 | 425 | 191 | 509 | 440 | 3404 | 6626 |
| white | 414 | 467 | 391 | 141 | 411 | 297 | 140 | 313 | 466 | 3040 | 349 | 495 | 176 | 349 | 337 | 405 | 179 | 467 | 417 | 3174 | 6214 |
| silver | 387 | 443 | 354 | 123 | 388 | 269 | 104 | 285 | 453 | 2806 | 328 | 437 | 143 | 310 | 324 | 380 | 138 | 411 | 391 | 2862 | 5668 |
| yellow | 387 | 369 | 253 | 123 | 318 | 269 | 79 | 257 | 367 | 2422 | 328 | 362 | 113 | 266 | 272 | 300 | 116 | 360 | 324 | 2441 | 4863 |