Union Cc is an 18-hole golf course in Dover, OH with a par of 72. It offers 5 tee sets: black (6,770 yards, slope 128, rating 72.4), blue (6,359 yards, slope 126, rating 70.3), white (6,012 yards, slope 123, rating 68.7), combo (5,556 yards, slope 116, rating 66.3), green (5,038 yards, slope 104, rating 63.7). The hardest hole is #4, a par 5 playing 555 yards from the first tee.
Union Cc
Dover, OH
Get PDF Yardage Book
We'll email you the PDF link. No spam, ever.
Create Your Game Plan
Pick your tees, enter your bag, and get a personalized shot-by-shot strategy for every hole.
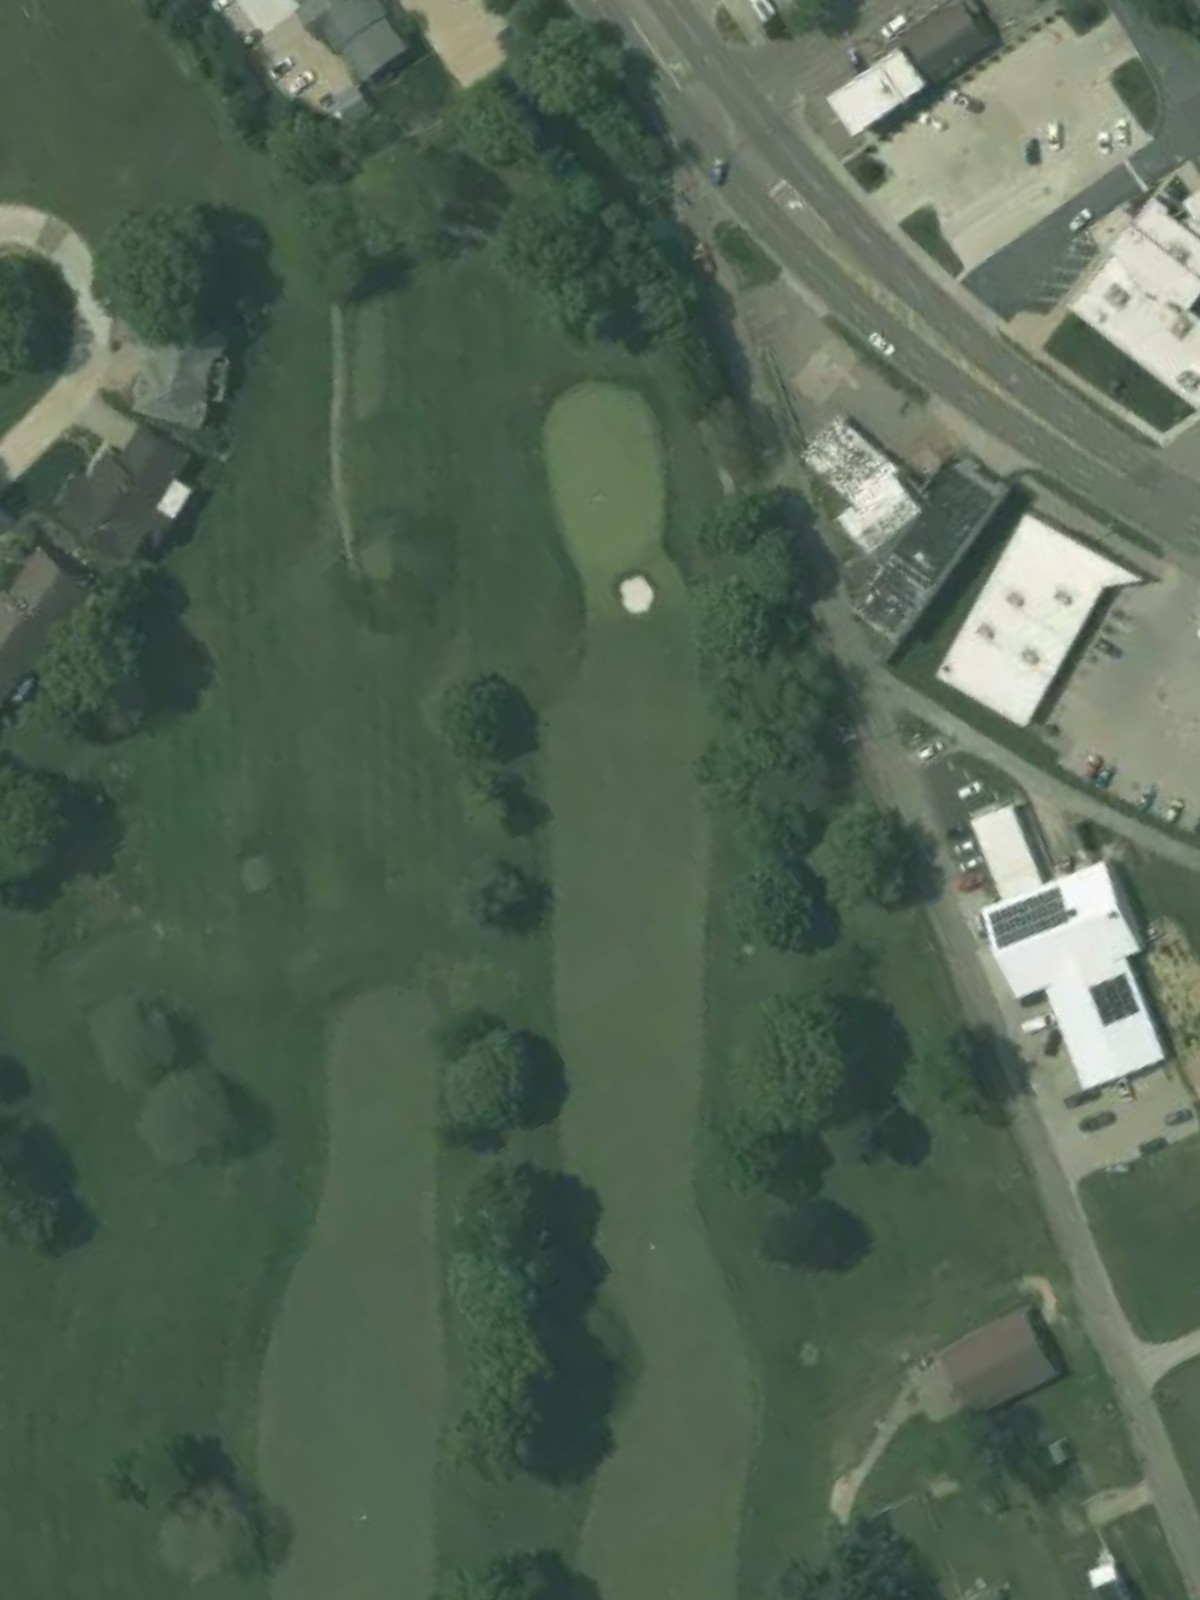
A short, straightforward par 4 that plays downhill with a welcoming fairway. The green is relatively open but flanked by bunkers on the right, making accuracy off the tee important for approach positioning.
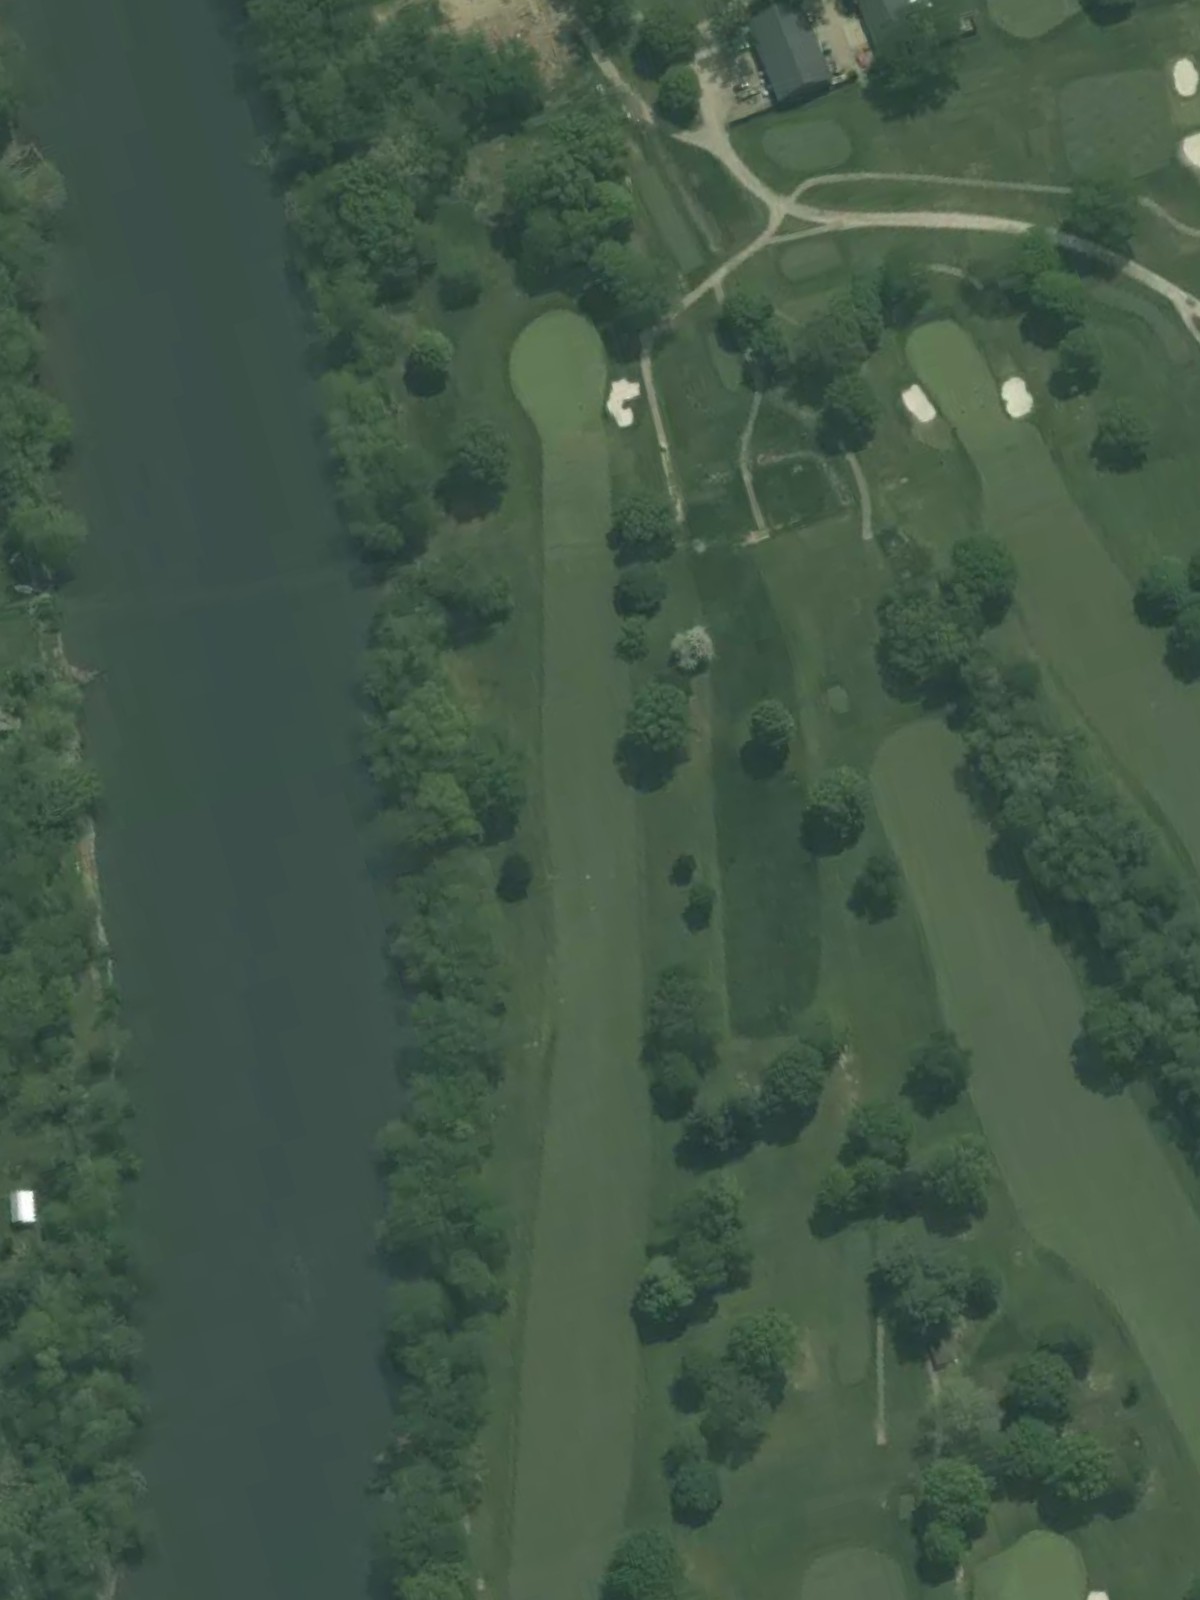
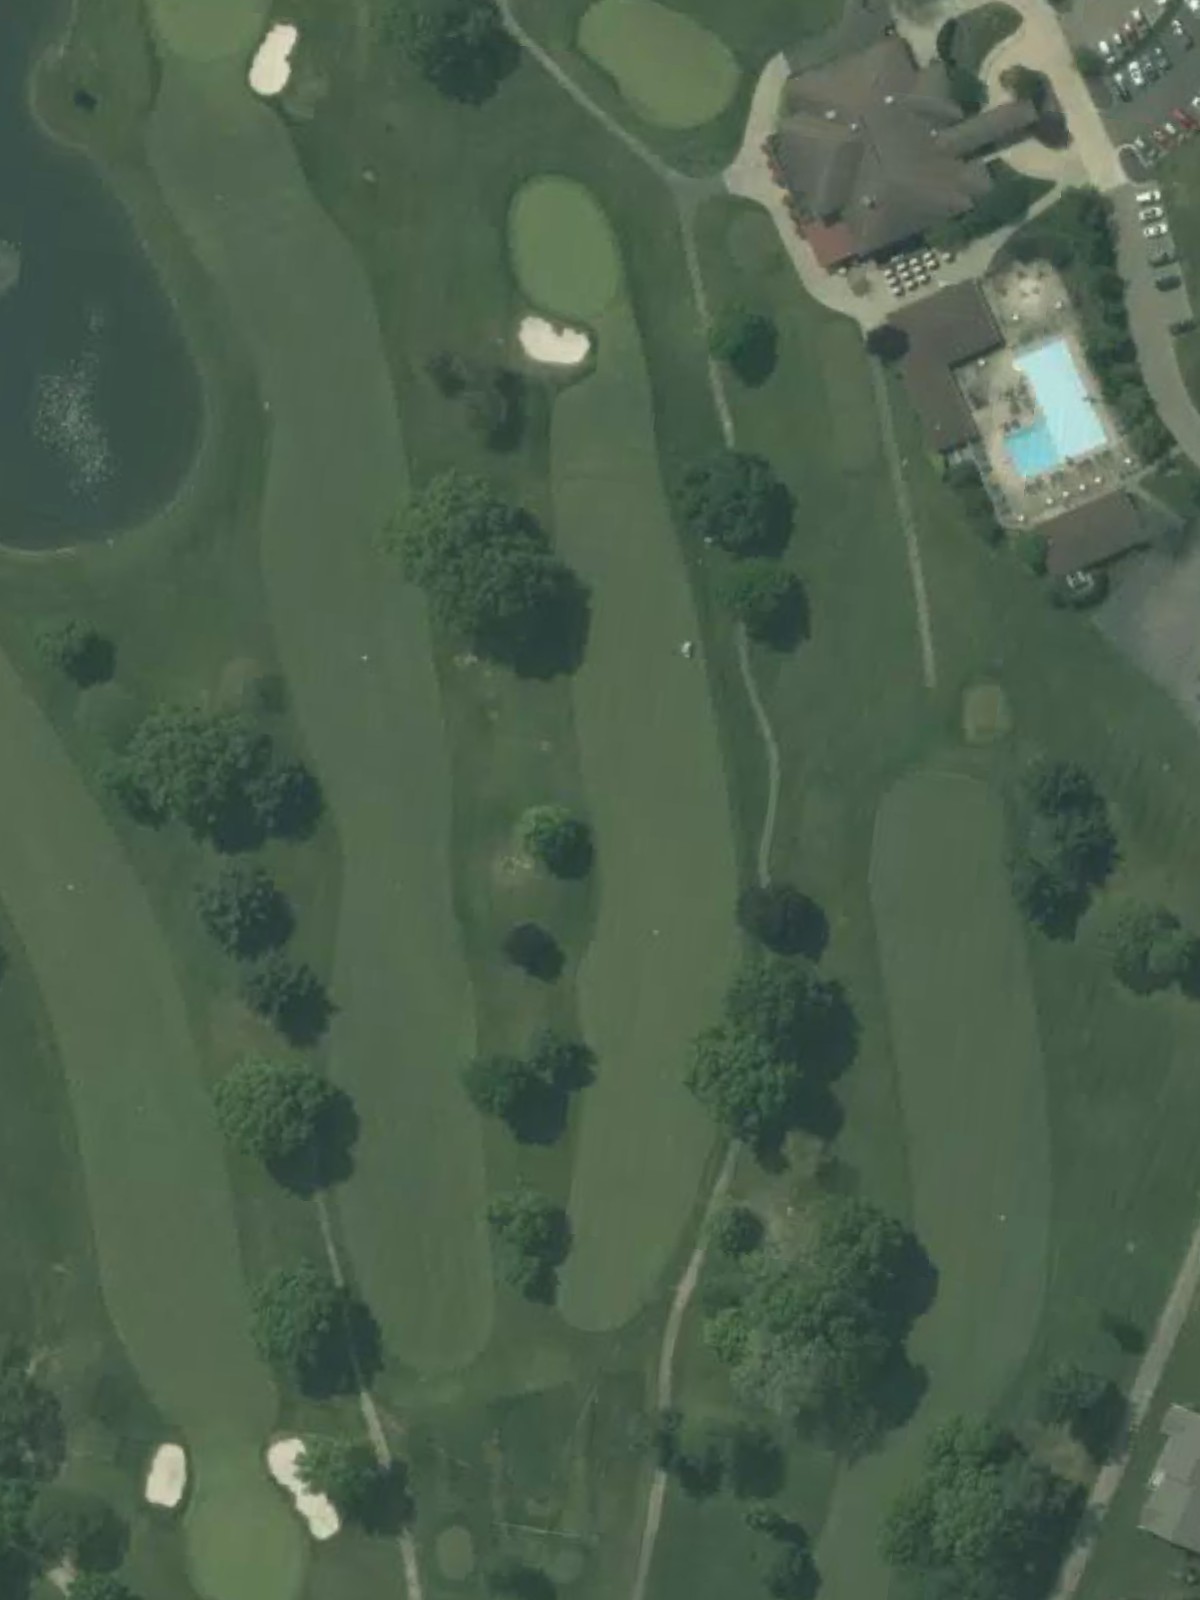
A challenging par 4 that ranks among the course's hardest holes, requiring two solid shots to reach the green. Water hazards frame the left side of the fairway, while bunkers guard the approach to a well-bunkered green.
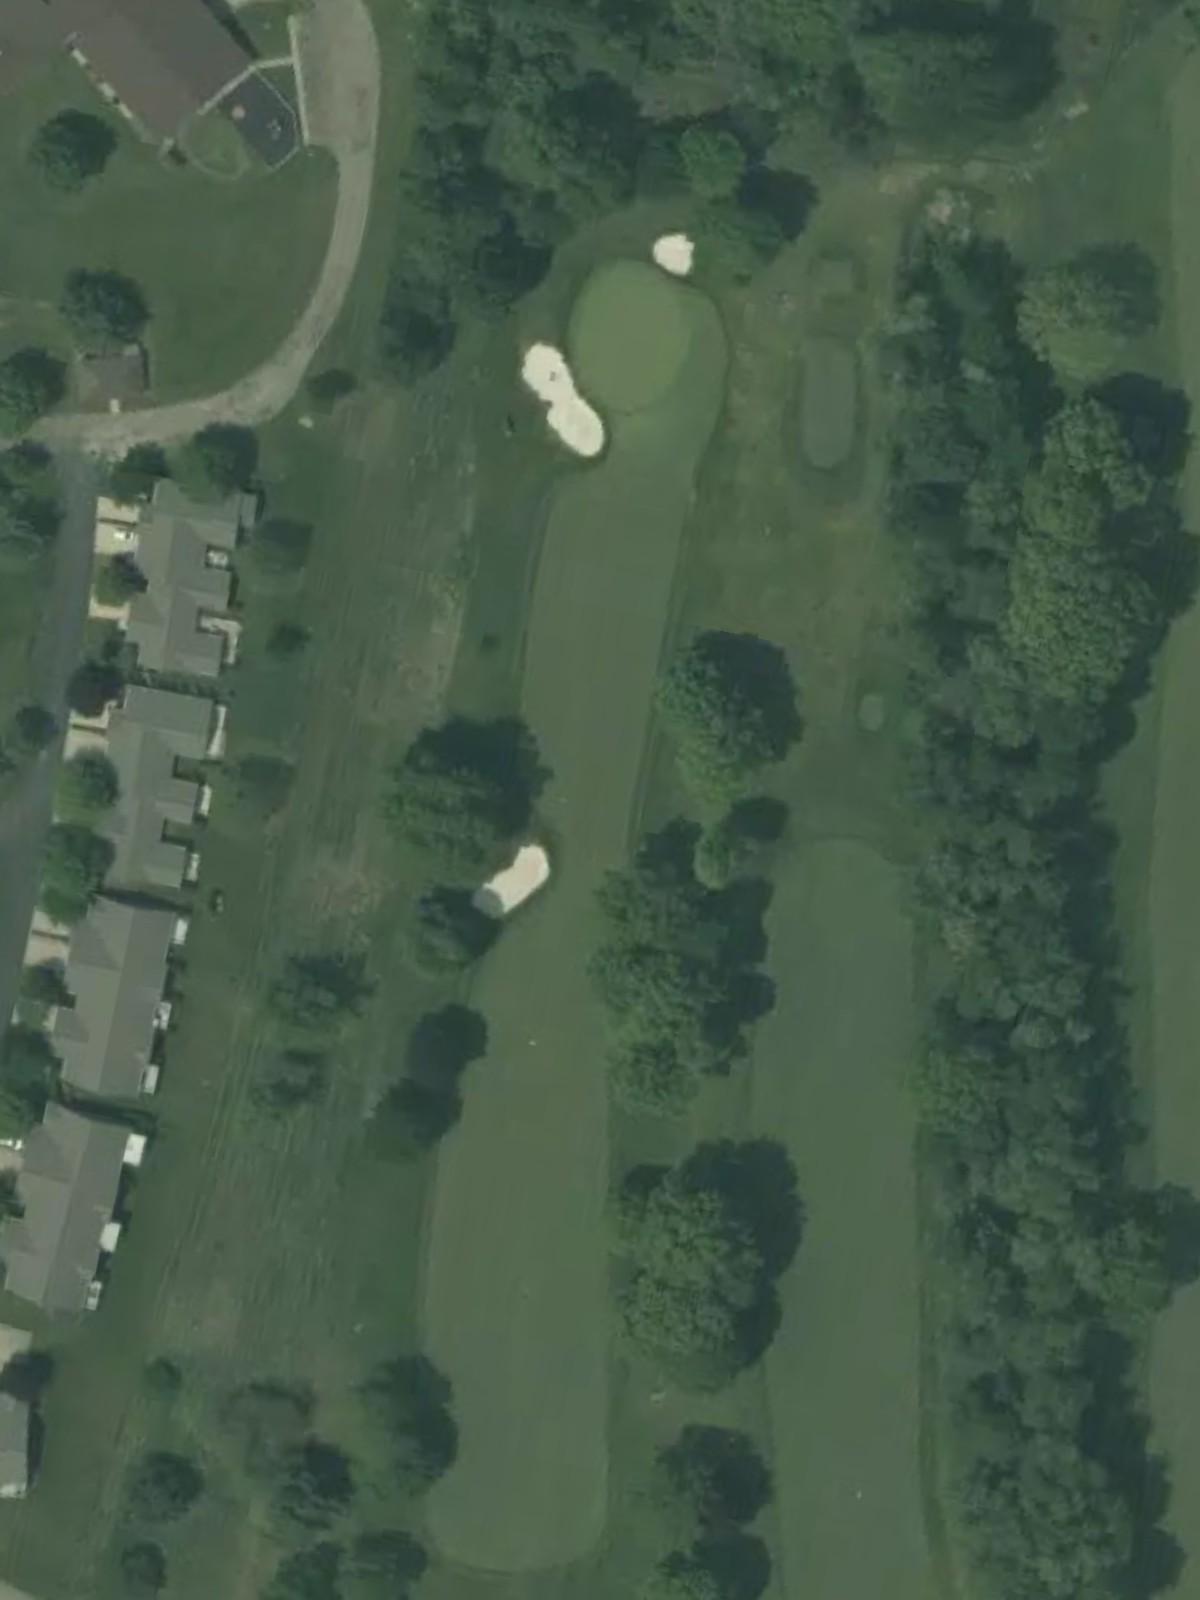
A mid-length par 4 with a narrow fairway that demands accuracy off the tee. Bunkers strategically placed along the right side and greenside create a testing approach shot to a small, well-defended putting surface.
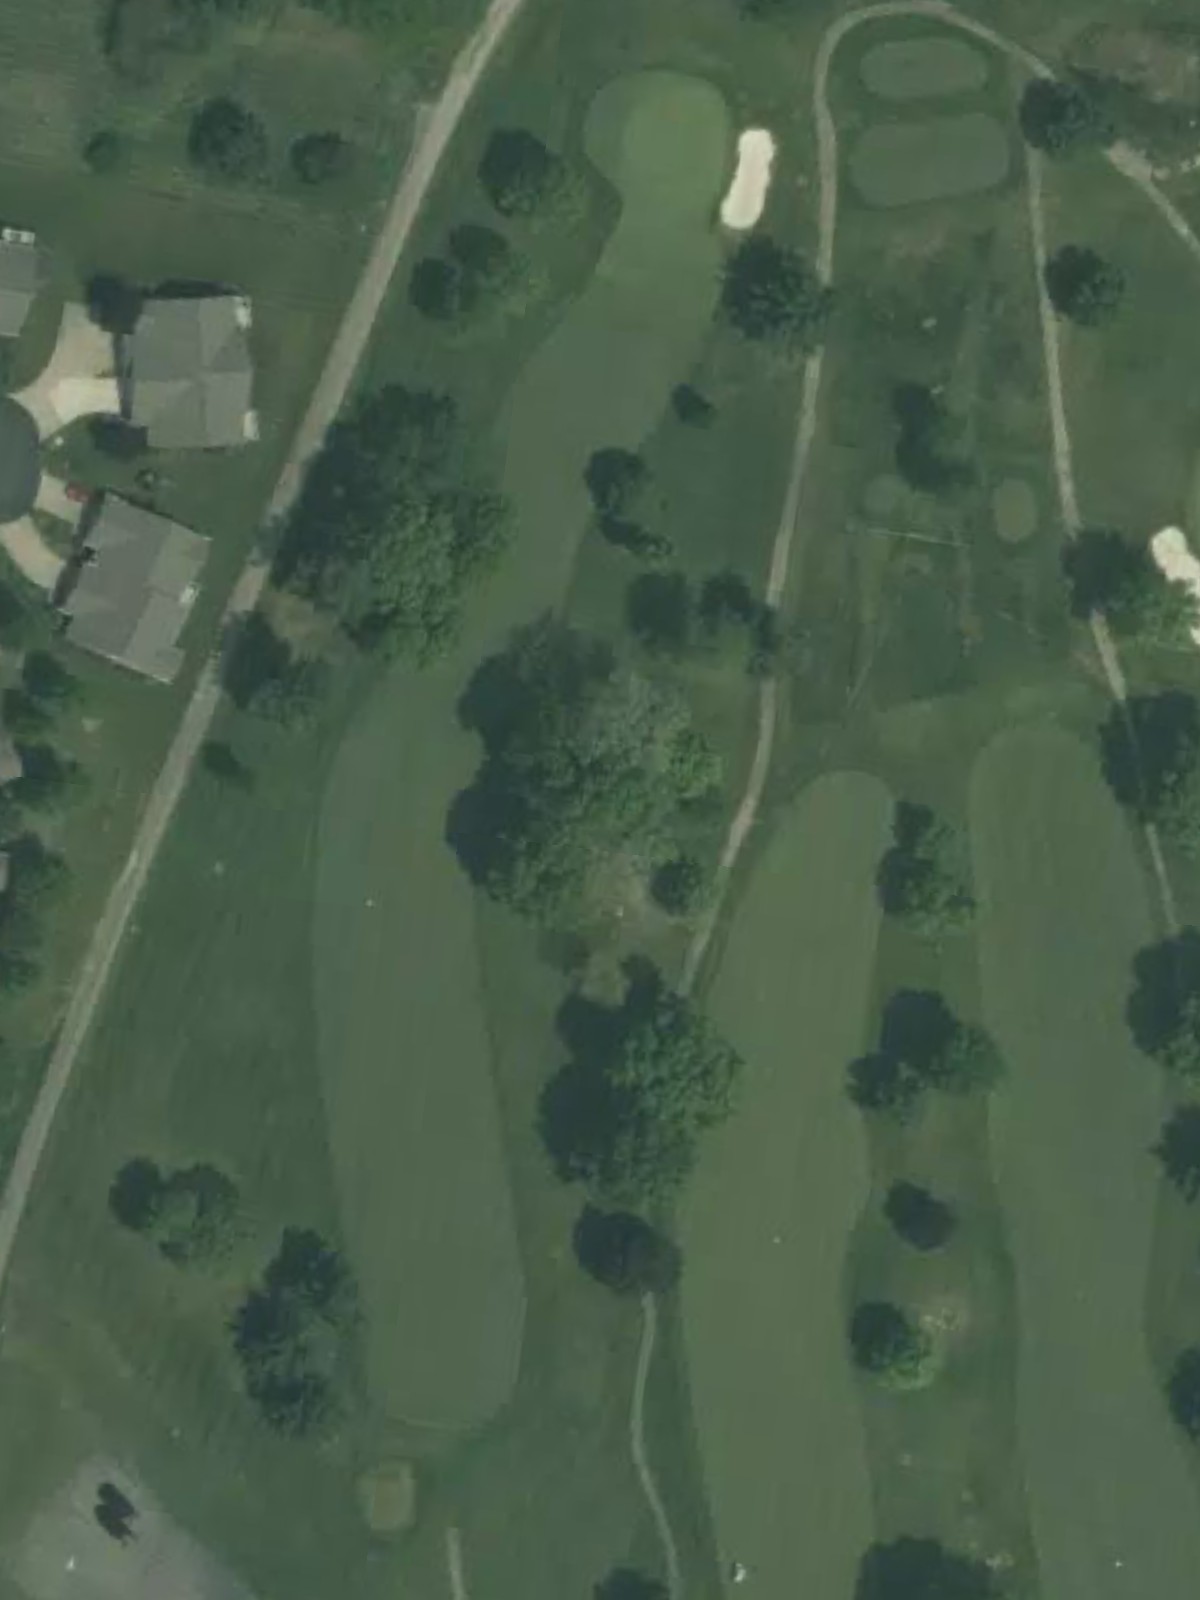
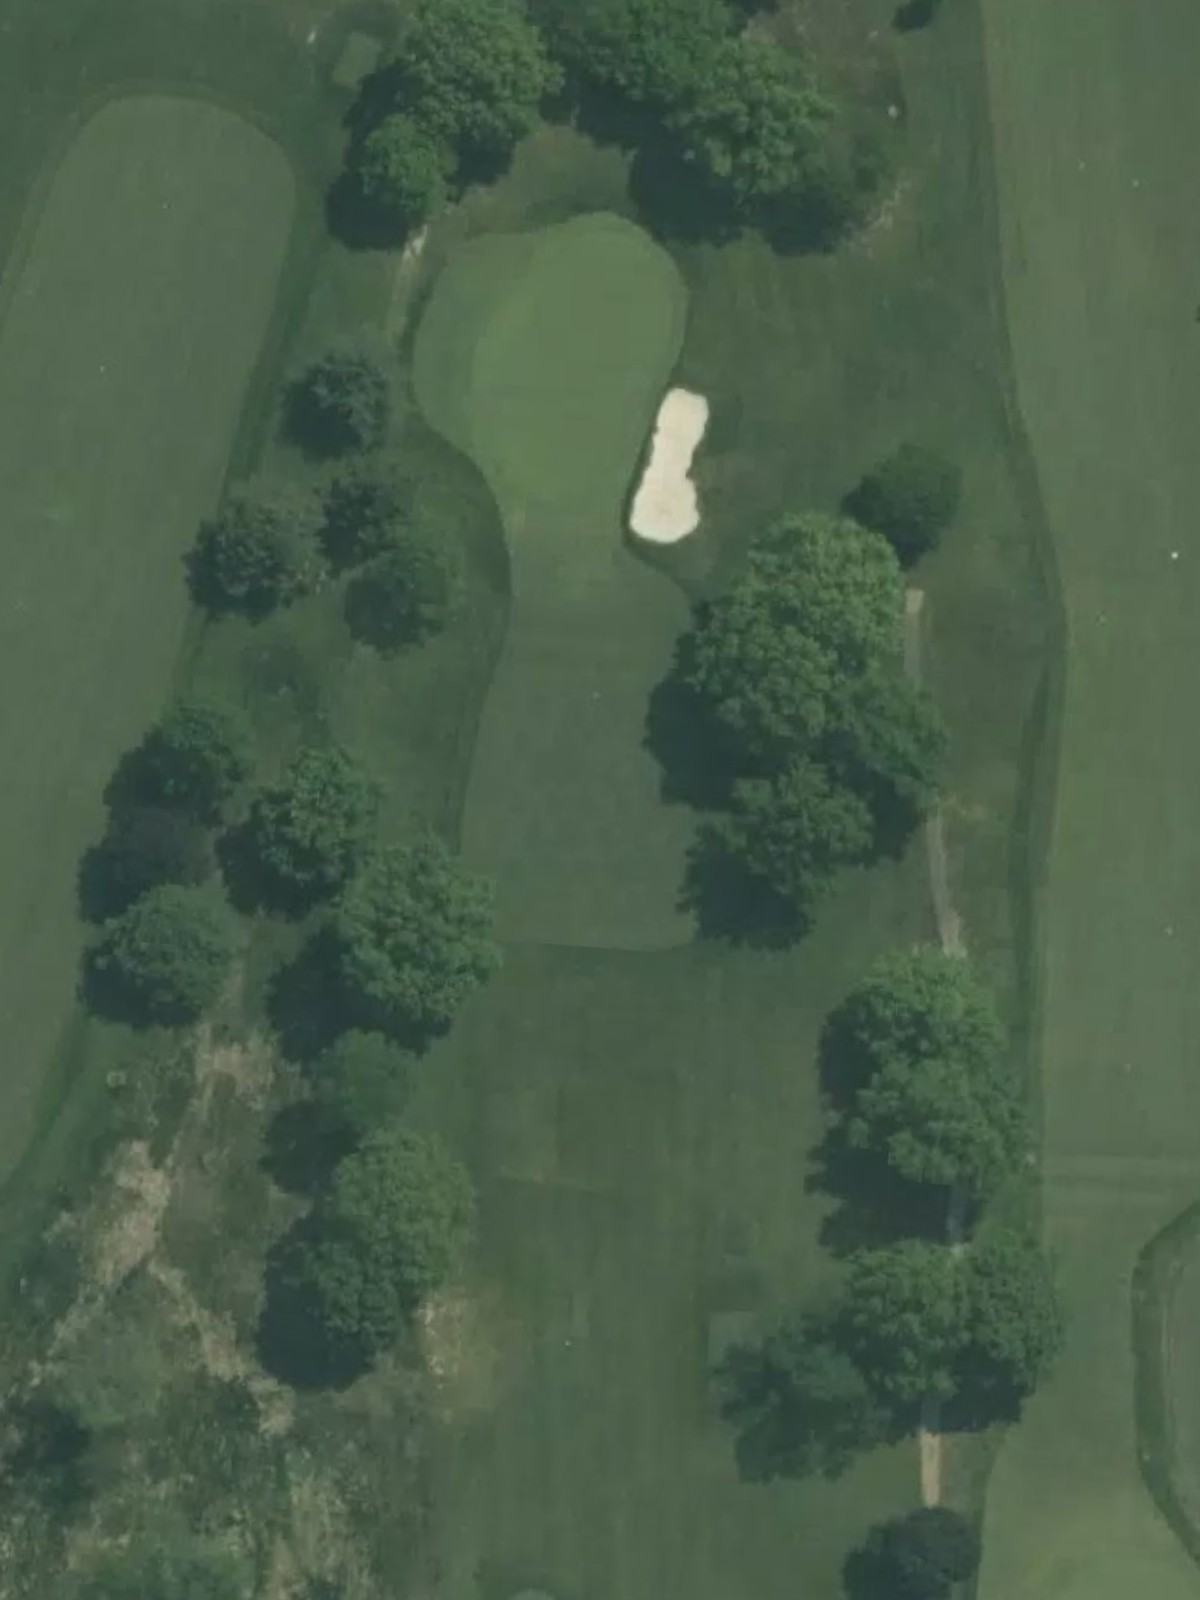
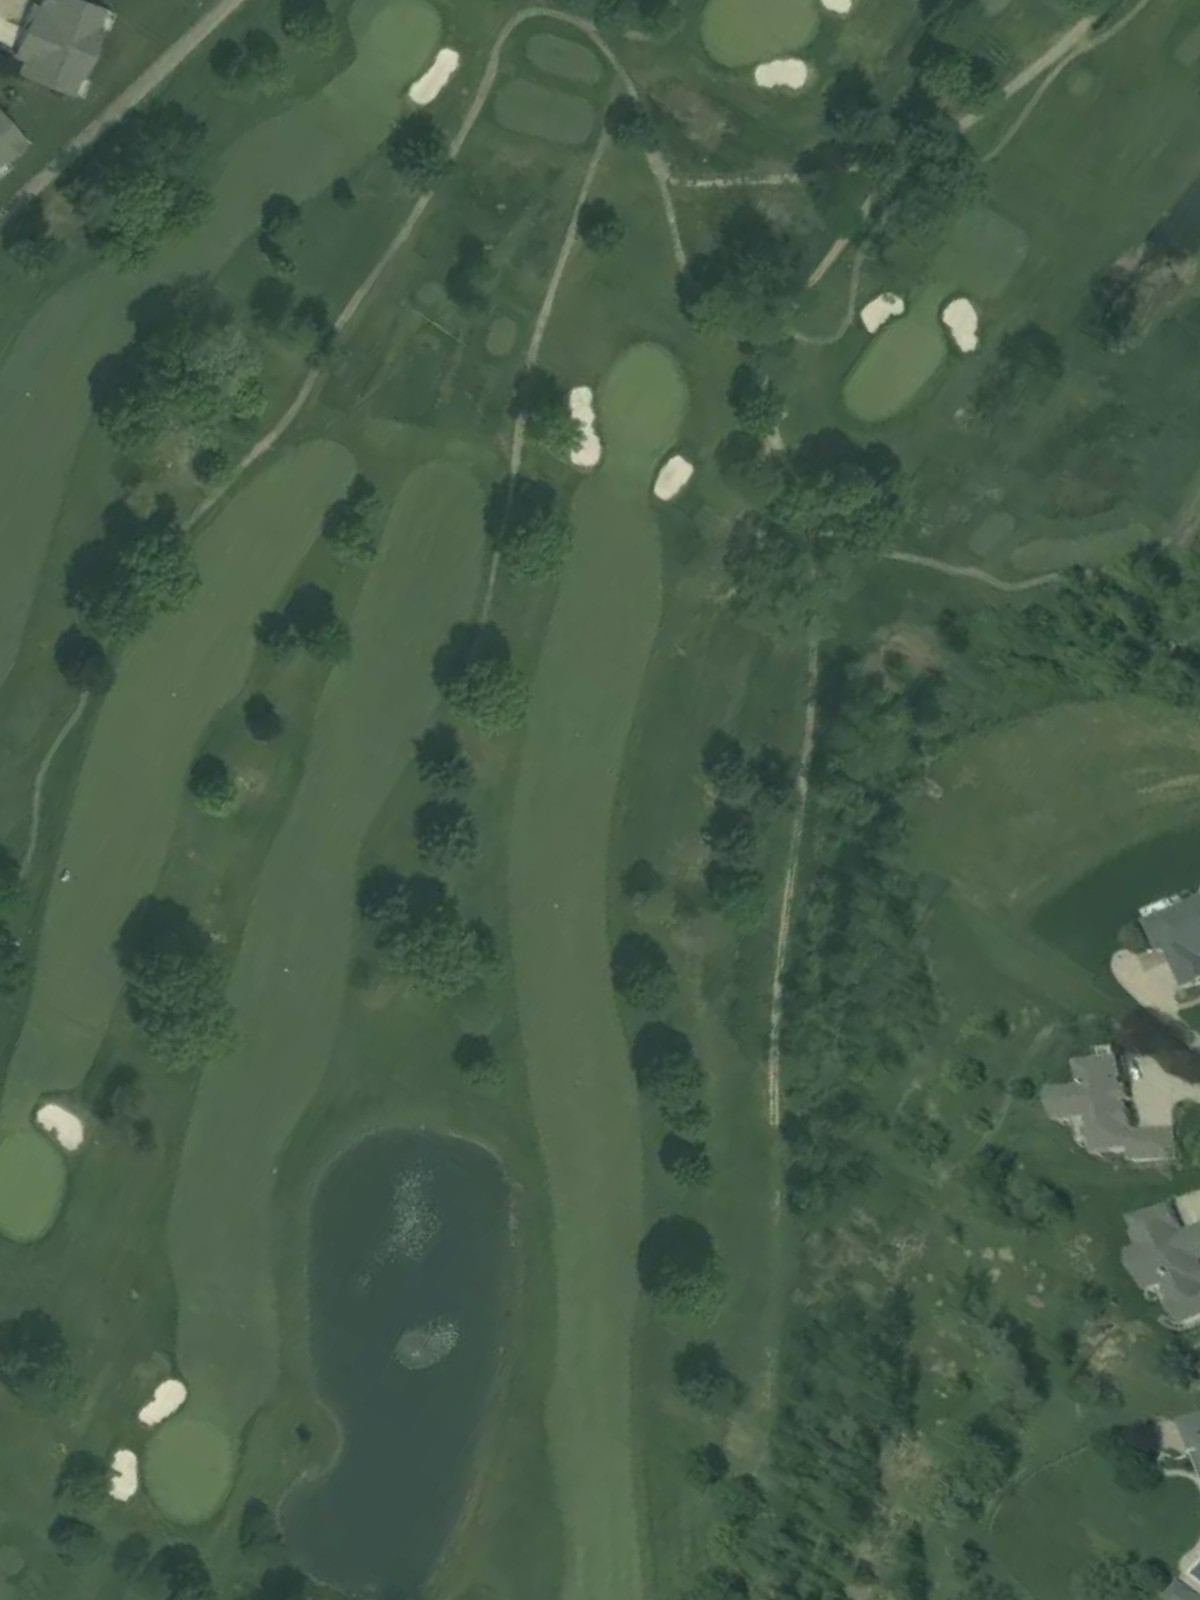
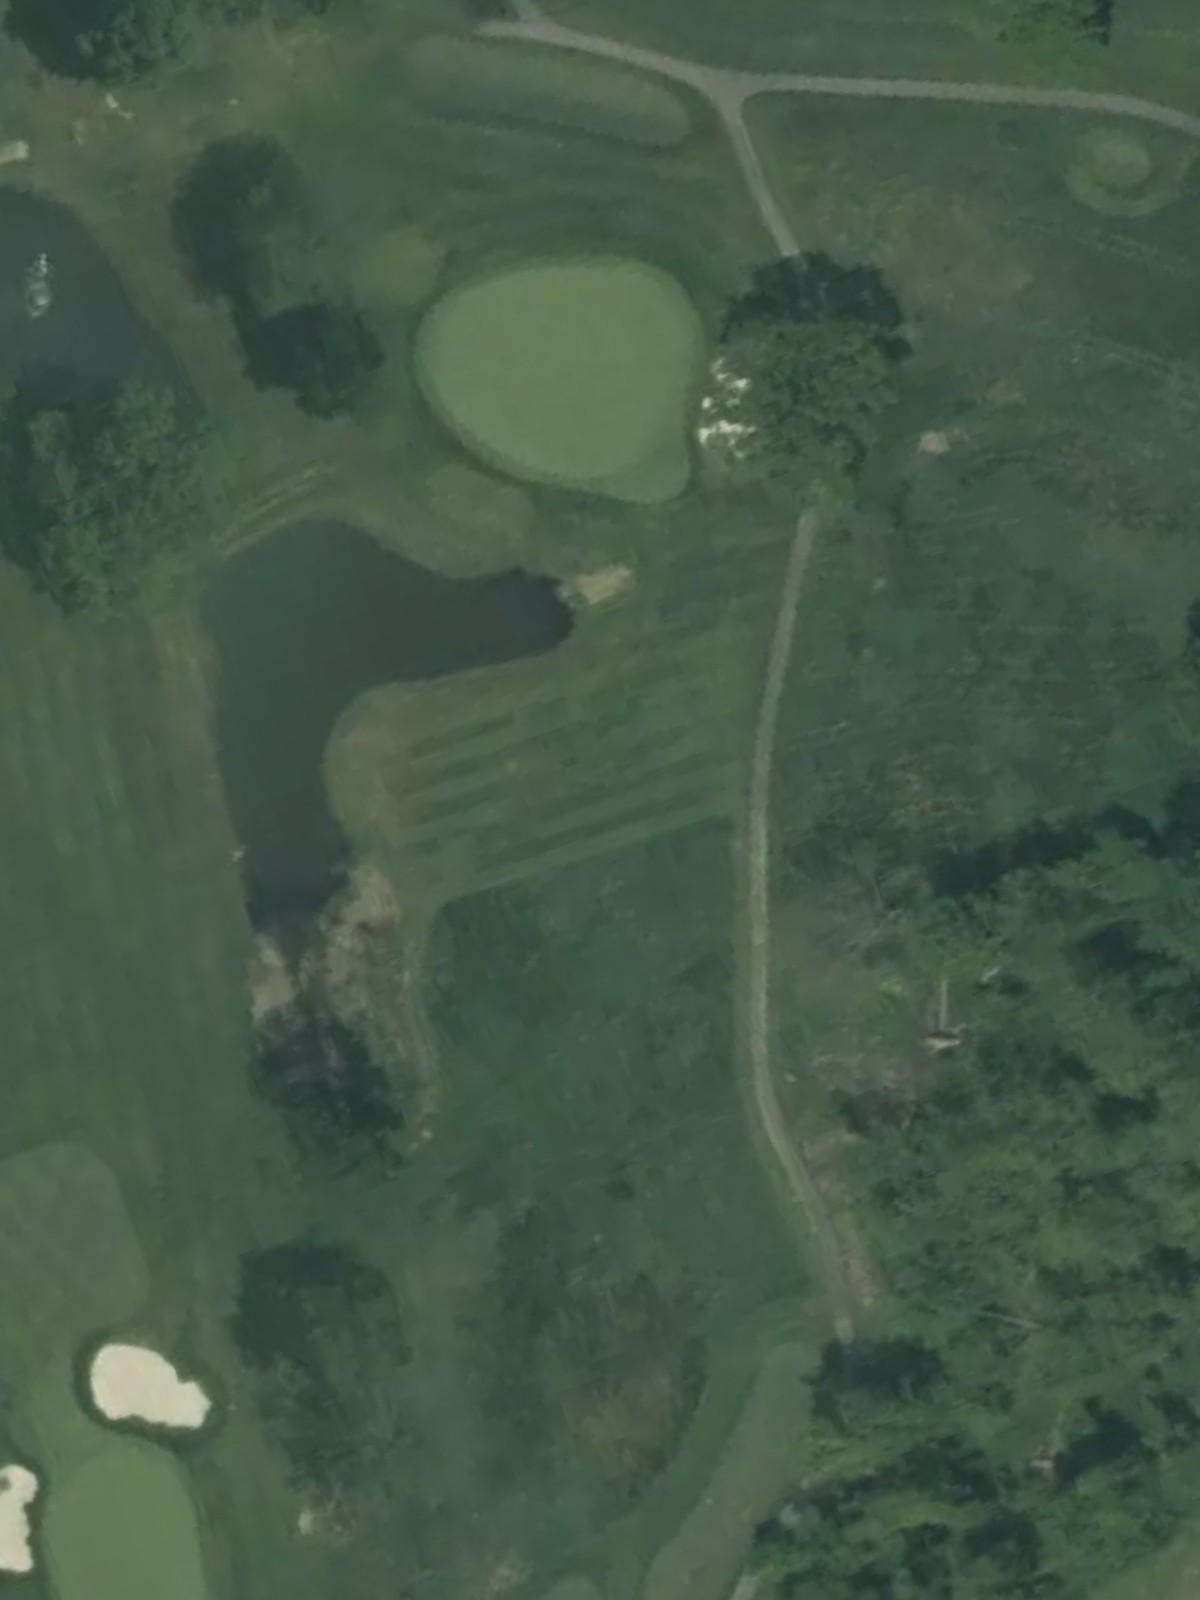
The course's signature par 5 and the number-one handicap hole, featuring length and complexity that requires precision placement on both the drive and second shot. Water or significant hazards come into play on the approach, rewarding patient, strategic play.
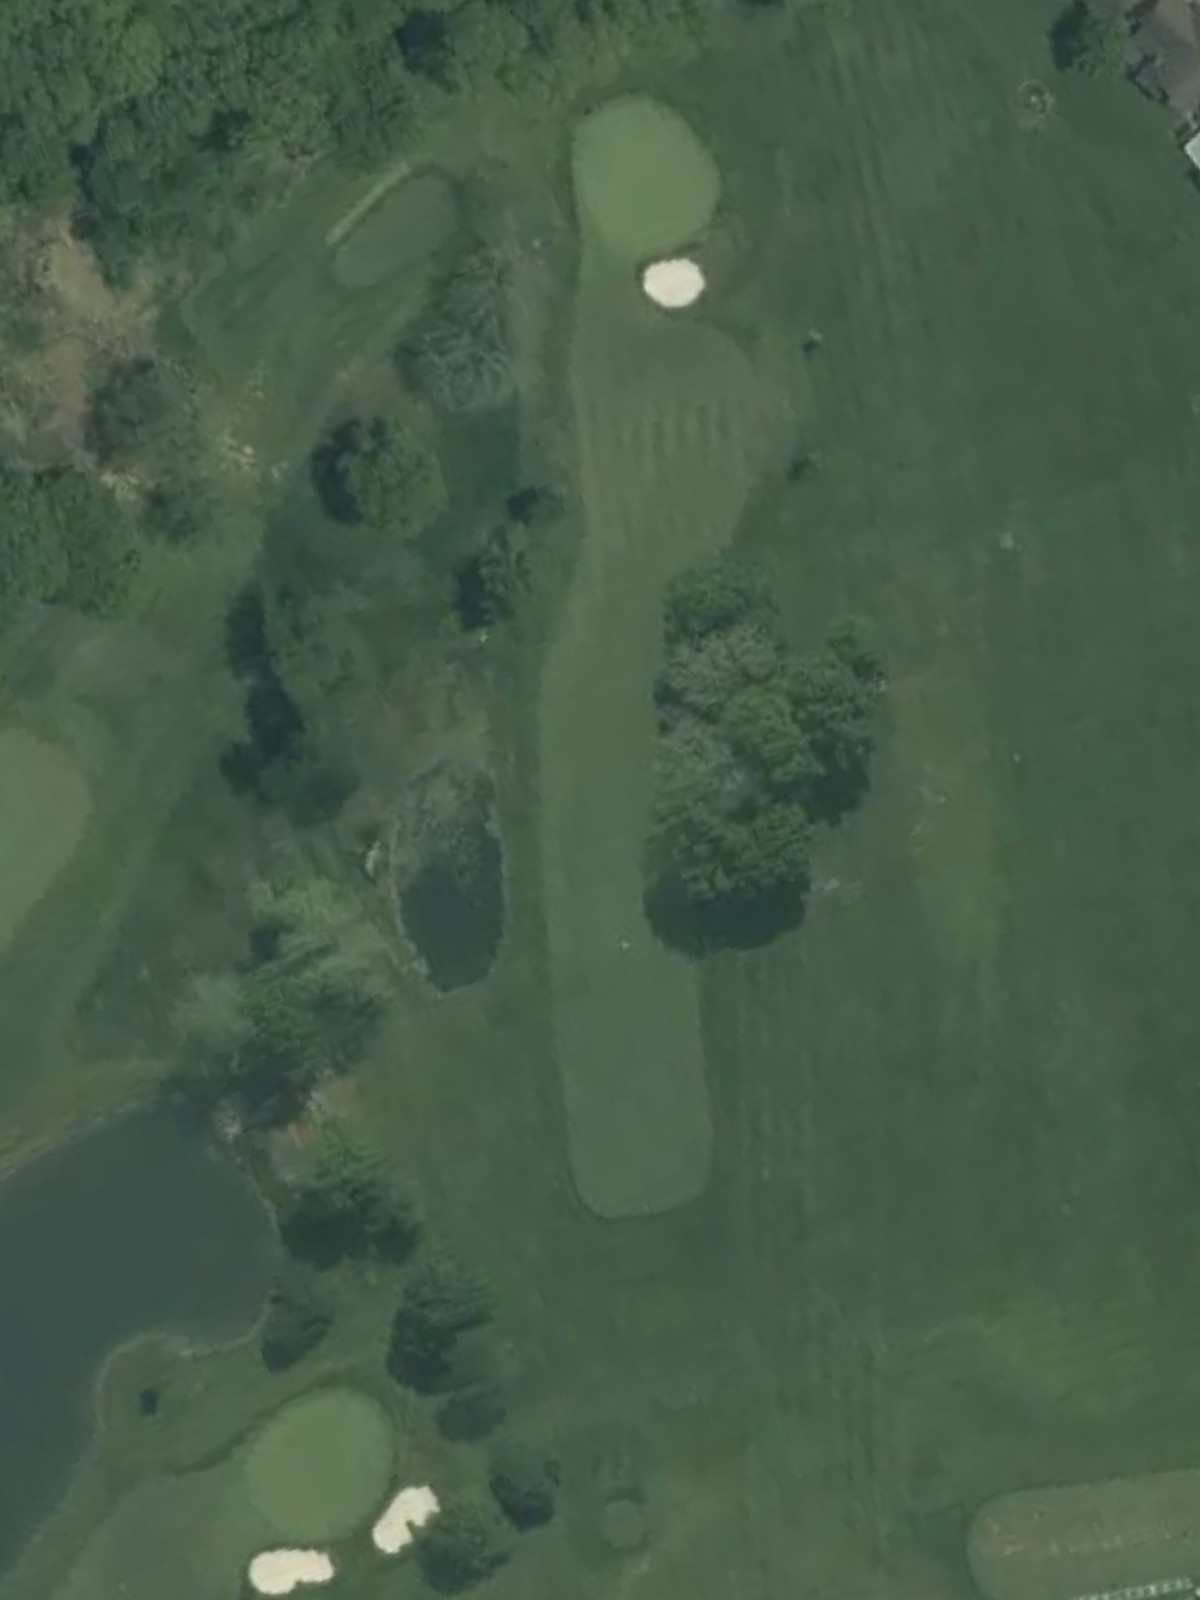
A short par 3 with a modest length that provides a welcome reprieve from longer holes. The small green is protected by bunkers, and the absence of water makes this a scoring opportunity for disciplined players.
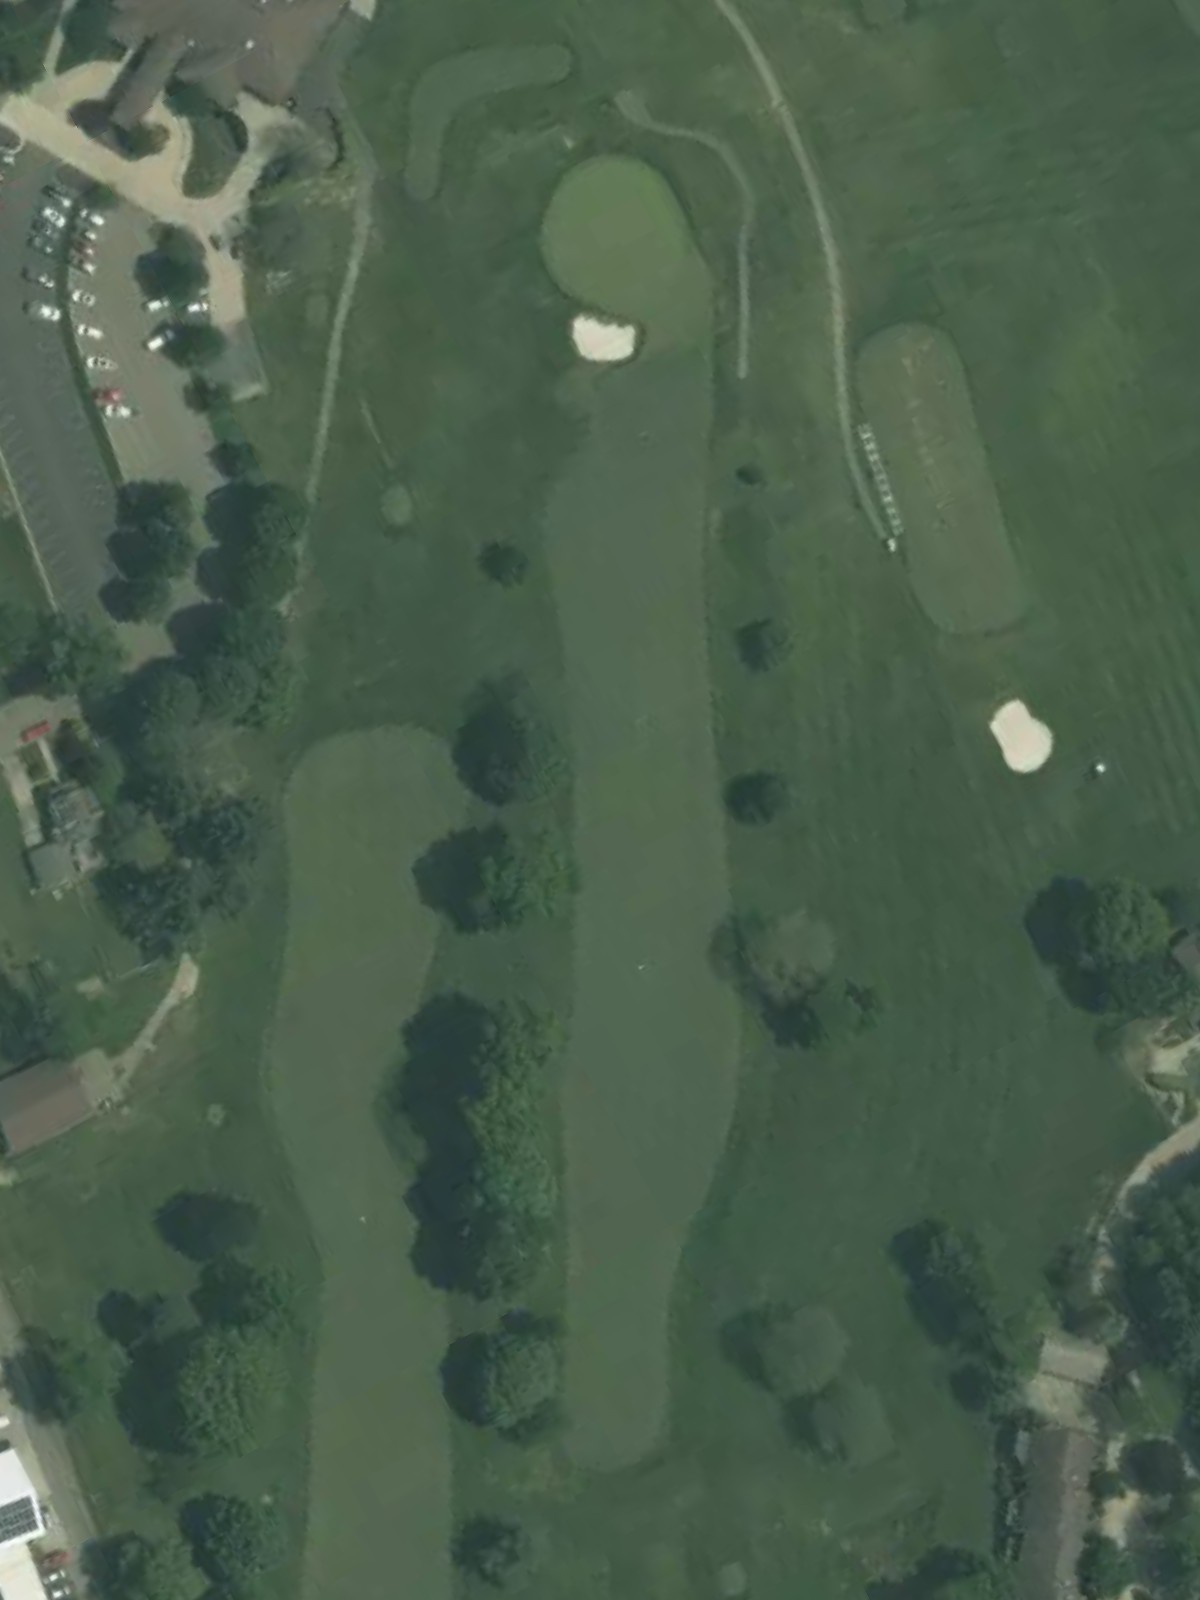
A relatively short par 4 that plays straightforward with a fairway that opens toward the green. Bunkers frame both sides of the green and guard the approach, requiring a precise short iron or wedge for position.
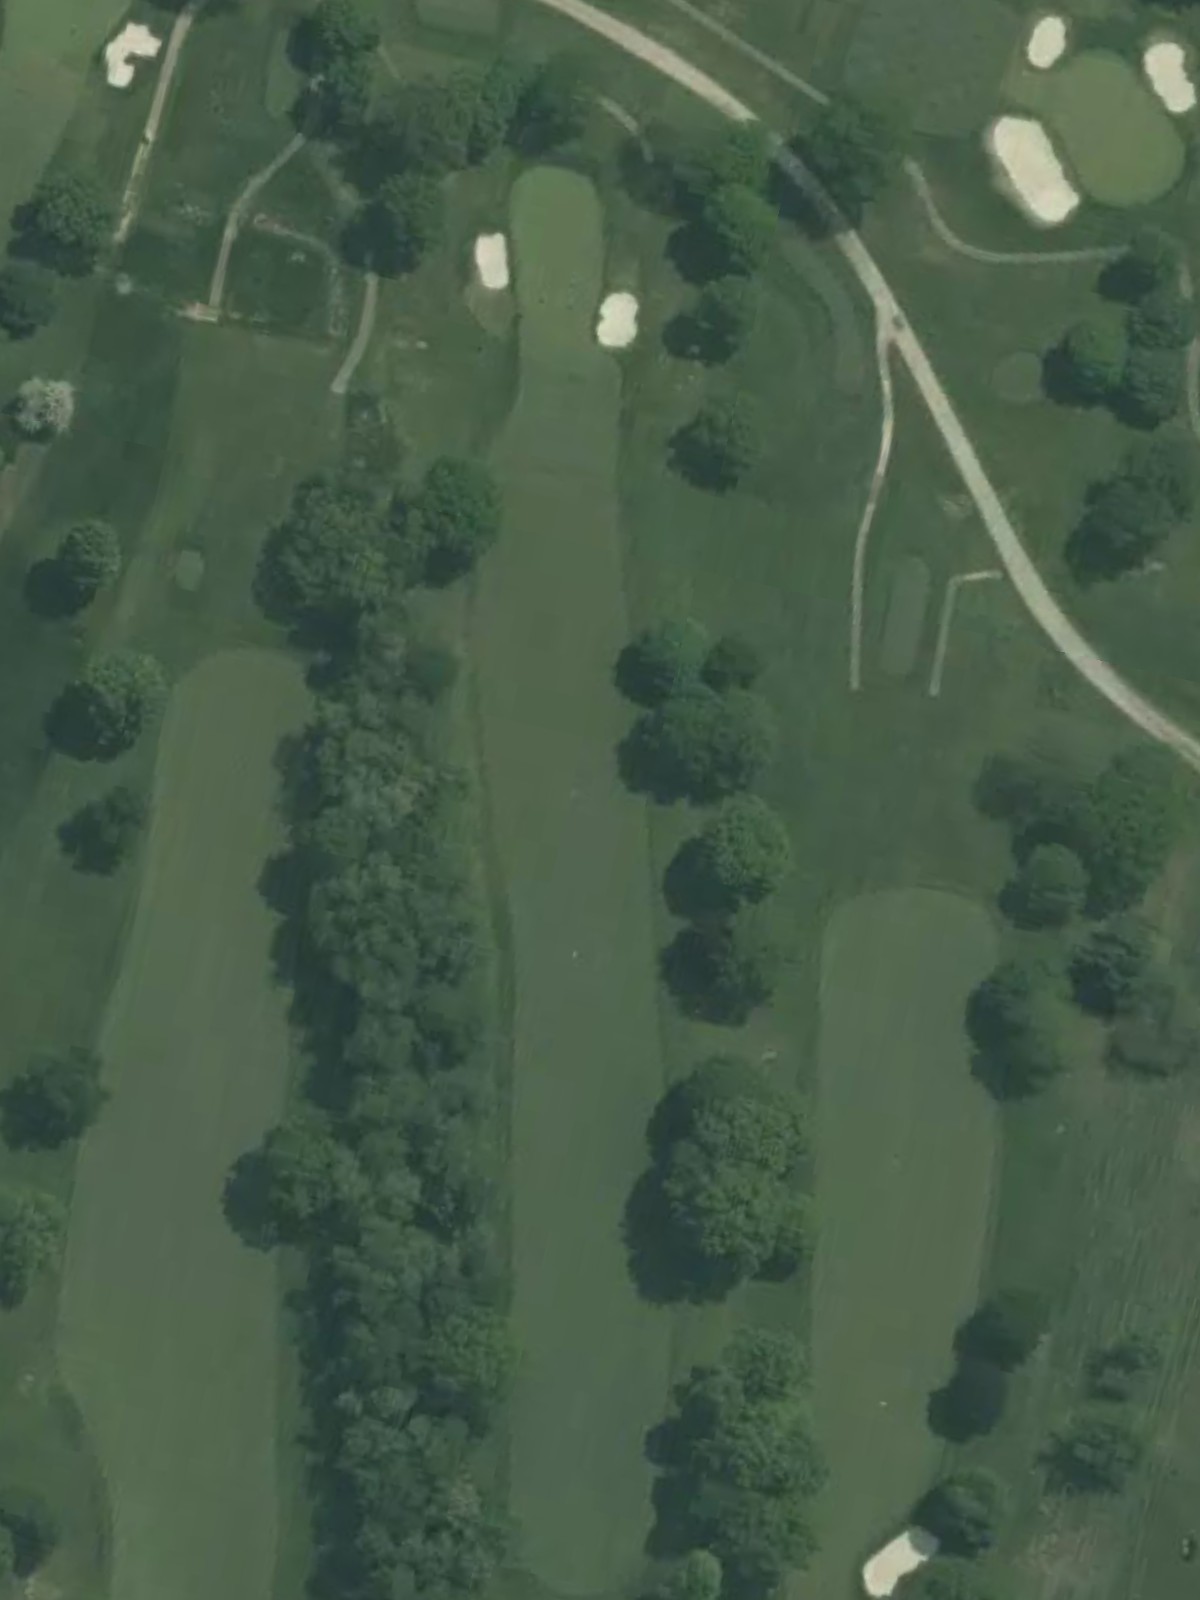
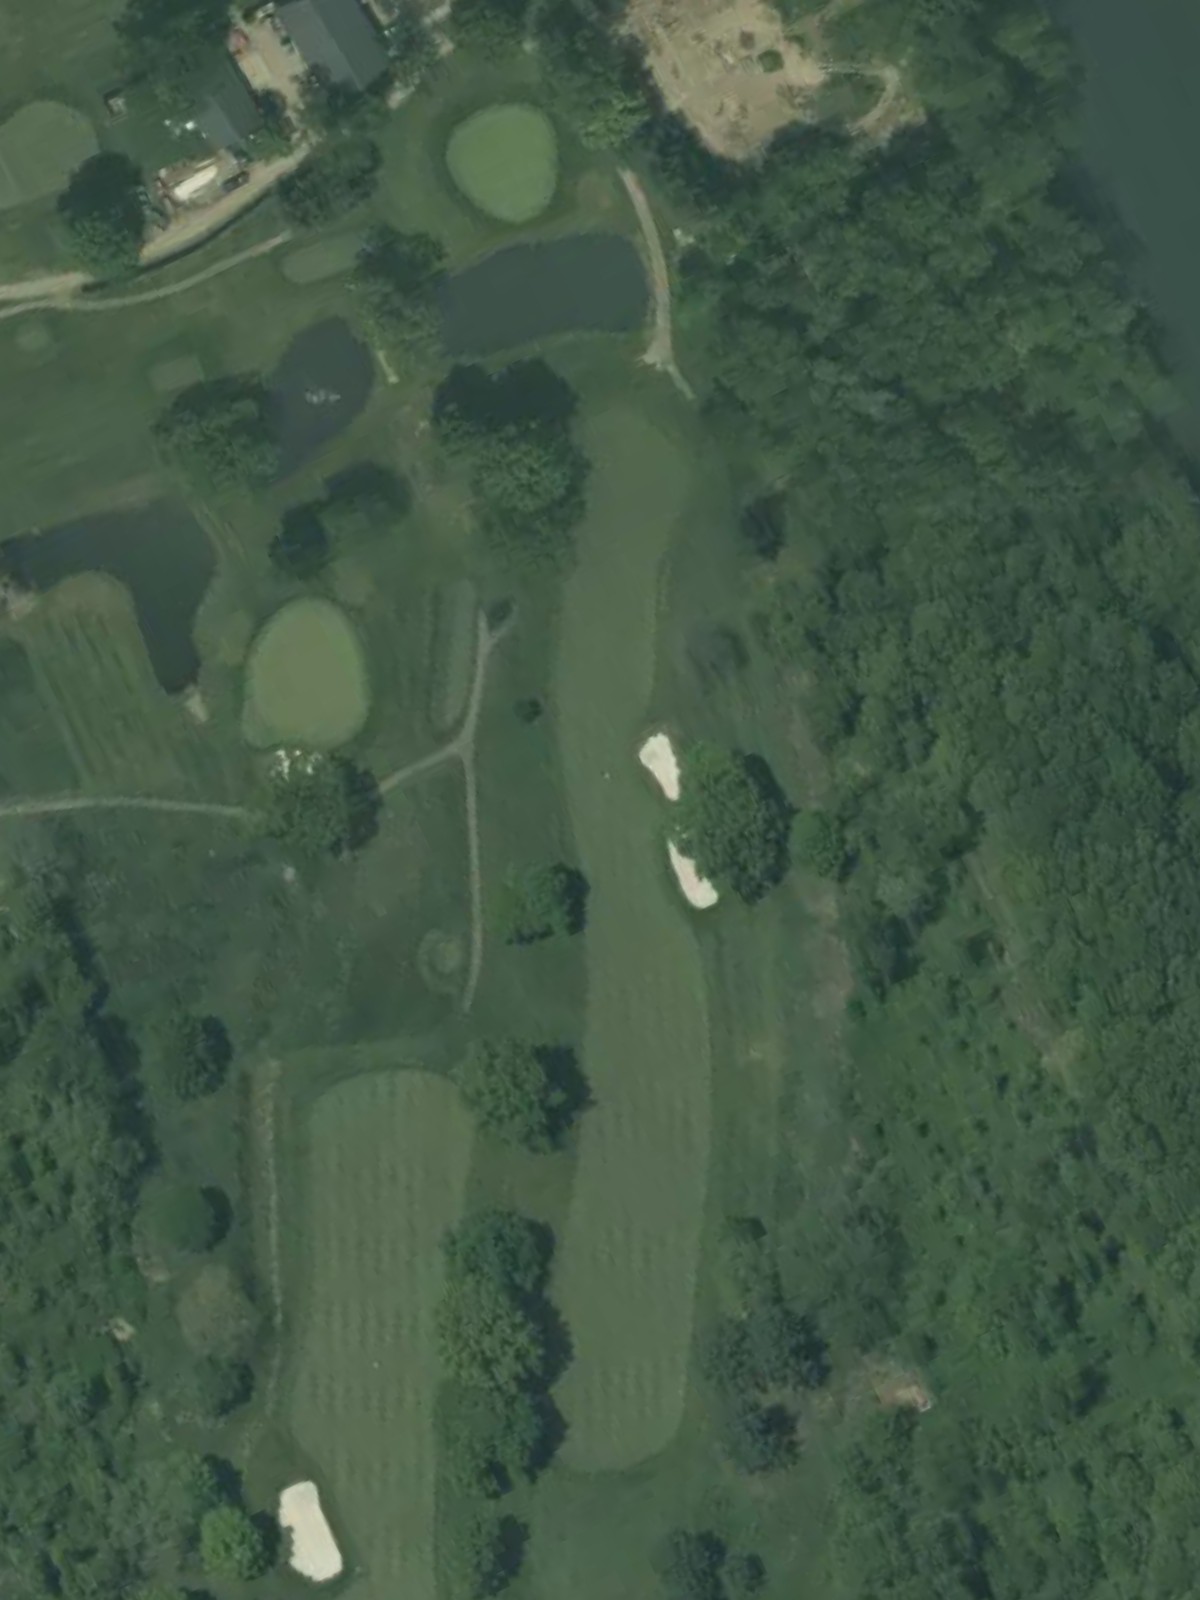
A lengthy par 5 that ranks third in difficulty and plays uphill with significant distance to cover. The fairway is tight in places, and strategic bunkering on the approach makes this a three-shot hole for most players.
A short par 3 with minimal length that plays to a compact green surrounded by protective bunkers. Accuracy and club selection are essential to avoid the sand and find the center of the green.
A mid-length par 4 with a fairway that narrows as it approaches the green, tightening the landing area for the approach shot. Bunkers and potential water hazards frame the green, making a solid tee shot crucial.
A straightforward par 4 of modest length with a relatively open fairway leading to the green. Greenside bunkers provide the primary defense, and the hole's accessibility makes it an opportunity to score well.
A mid-length par 4 that plays true with consistent width through the fairway and approach zones. Strategic bunkering near the green demands an accurate second shot to avoid sand and capitalize on the hole's scoring potential.
A short par 4 that offers excellent scoring opportunity with a wide fairway and relatively open approach to a receptive green. Bunkers guard select areas of the green, but the overall character is approachable for solid play.
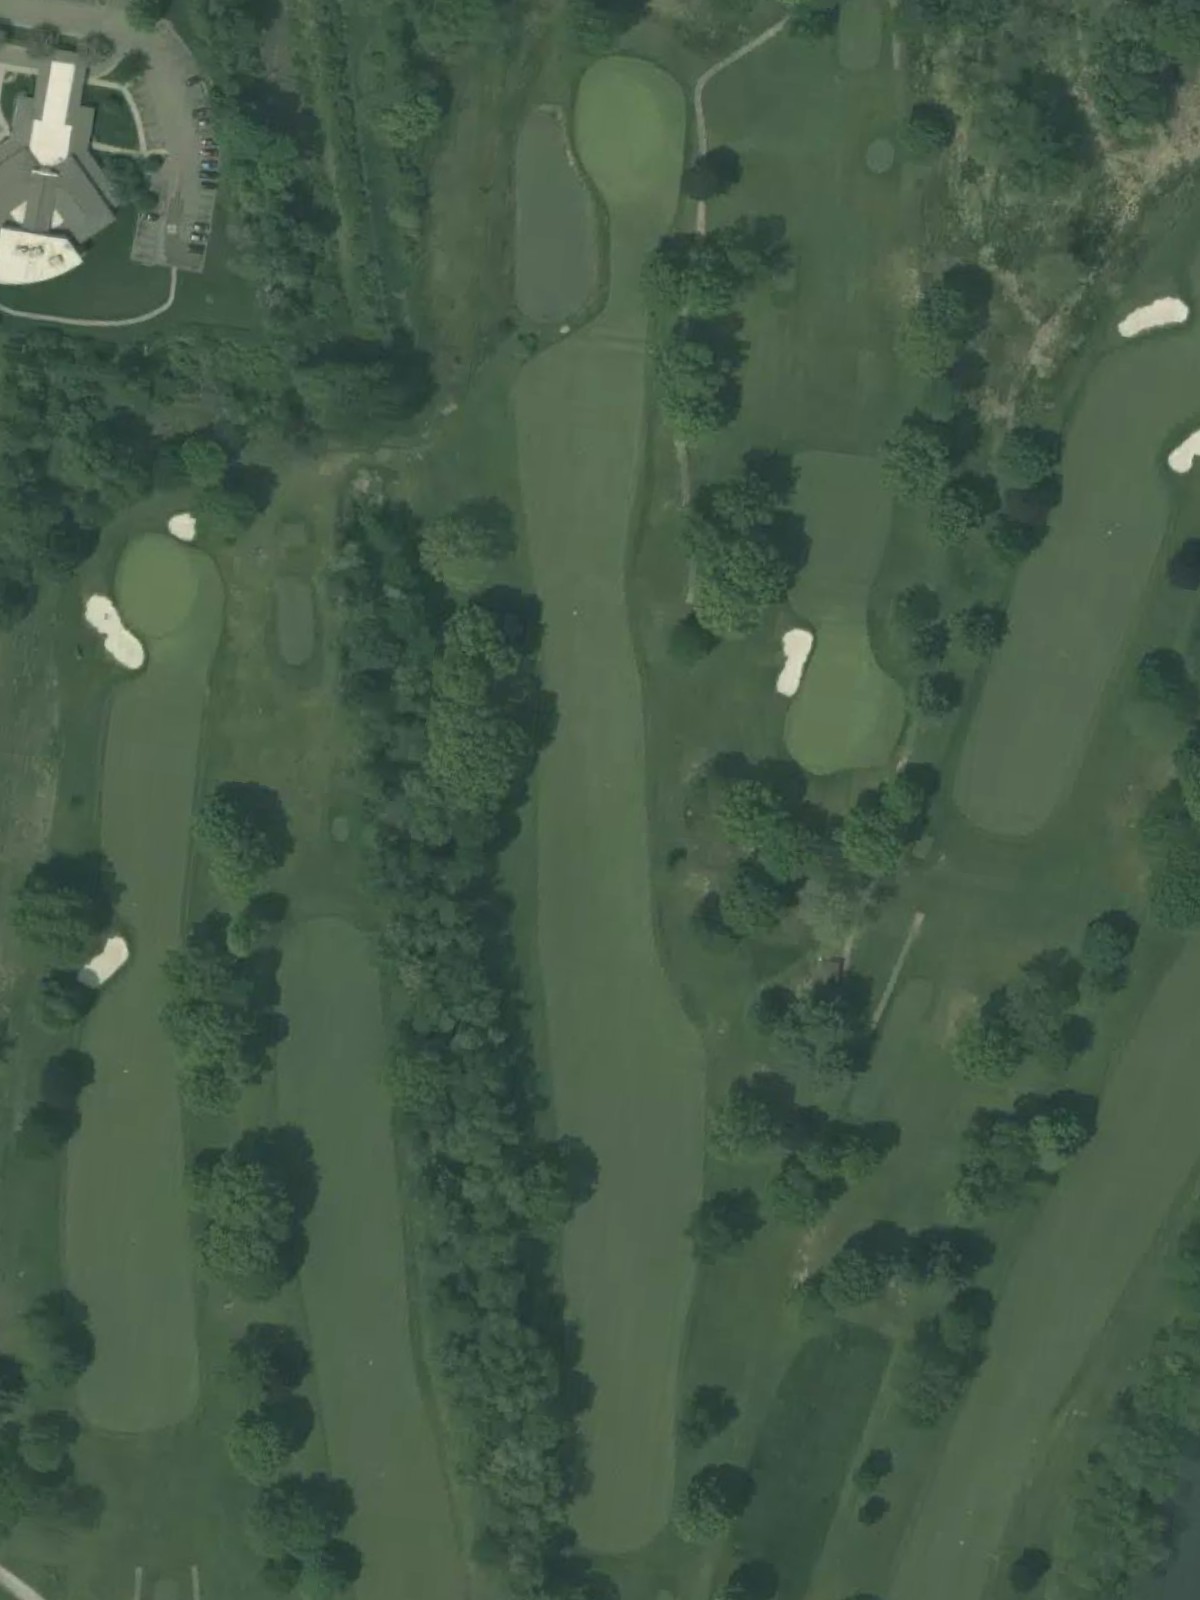
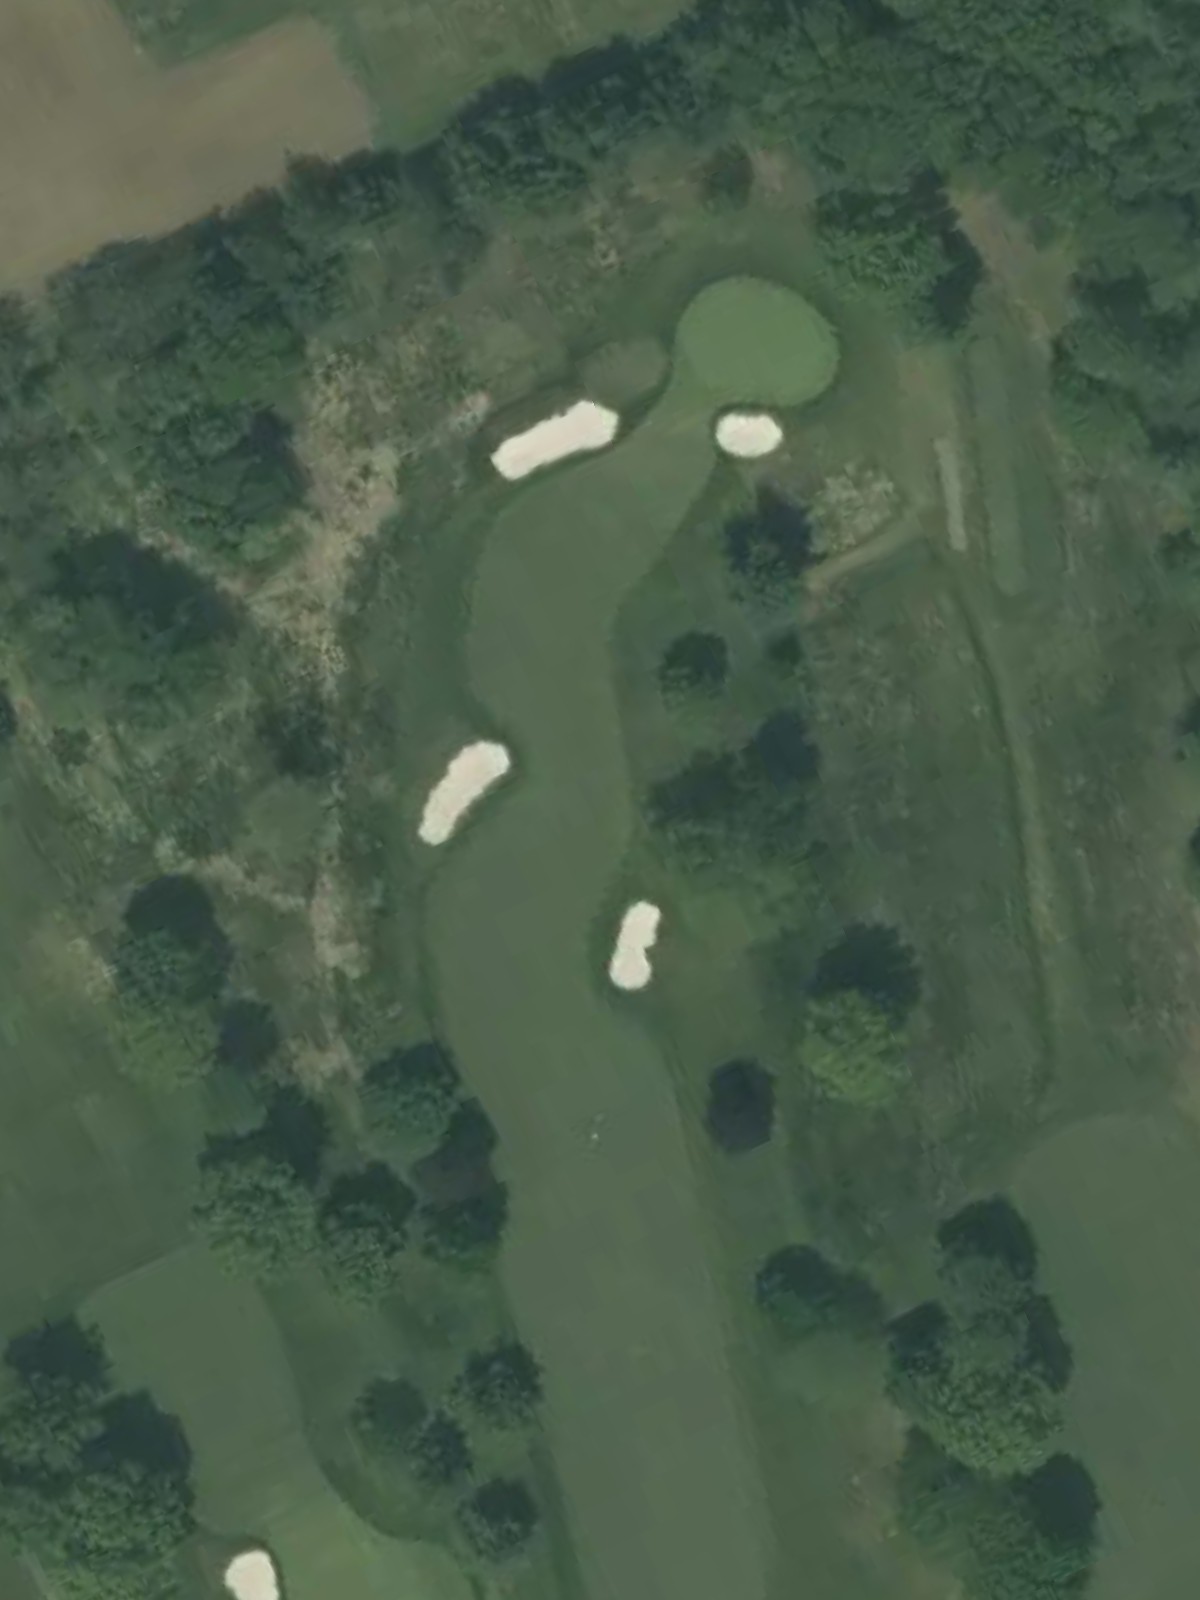
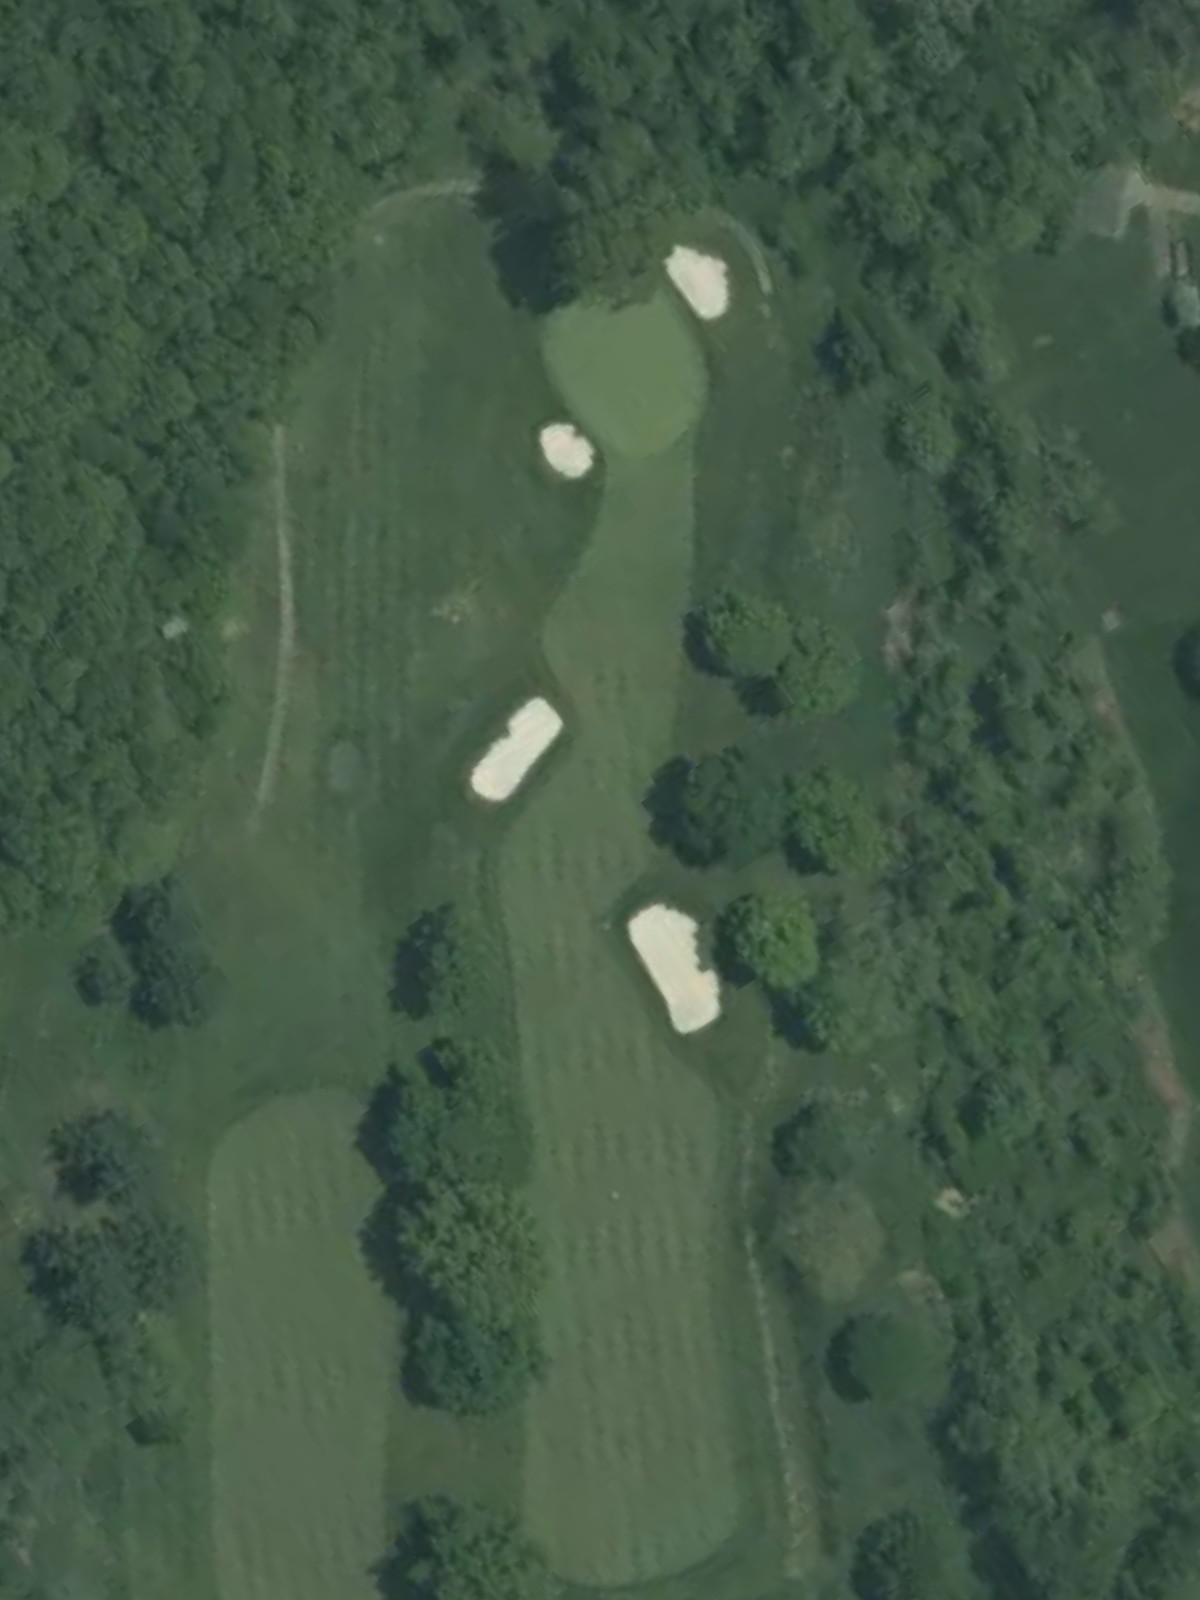
The second-most difficult par 5 on the course, presenting a formidable test with length and strategic bunkering throughout the routing. The approach shot is particularly demanding, with hazards guarding the entrance to the green.
A short par 3 and the easiest hole on the course, playing downhill to a relatively open green with minimal hazards. This scoring opportunity allows for aggressive play and a chance to recover strokes on the back nine.
A mid-length par 4 with a dogleg shape that requires thoughtful positioning off the tee to set up the approach shot. Bunkers frame the turn and guard the green, making strategic management of the fairway essential.
A shorter par 5 that plays more like a four-and-a-half, offering a genuine birdie opportunity with favorable yardages. Water or other hazards may come into play on the approach, and strategic club selection off the tee is important.

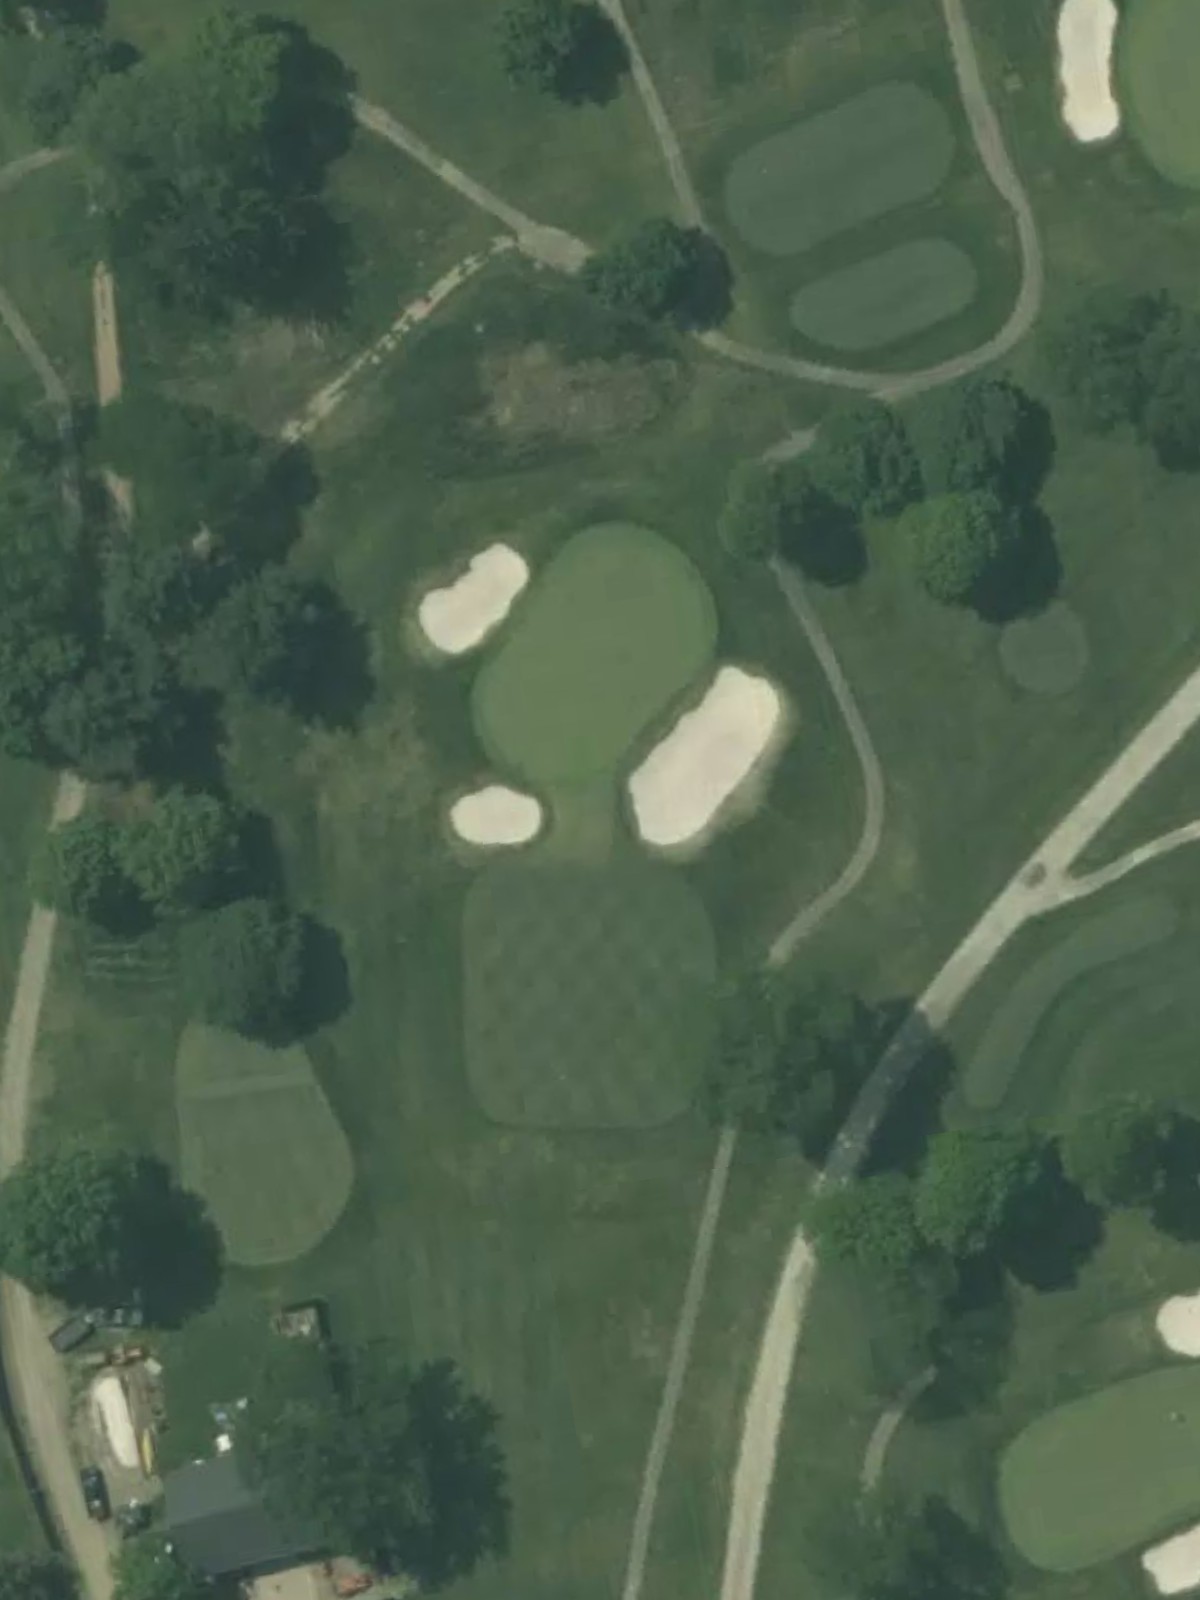
A mid-length par 3 with a compact, well-bunkered green that demands accuracy in both club selection and aim. The hole's isolated character and protective bunkering make it a true one-shot test.

A demanding finishing par 4 and the fourth-hardest hole on the course, requiring two high-quality shots to finish strong. Hazards frame the fairway and guard the green, creating a climactic conclusion that rewards precision and composure.
Scorecard
| Hole | 1 | 2 | 3 | 4 | 5 | 6 | 7 | 8 | 9 | Out | 10 | 11 | 12 | 13 | 14 | 15 | 16 | 17 | 18 | In | Tot |
|---|---|---|---|---|---|---|---|---|---|---|---|---|---|---|---|---|---|---|---|---|---|
| Par | 4 | 4 | 4 | 5 | 3 | 4 | 5 | 3 | 4 | 36 | 4 | 4 | 4 | 5 | 3 | 4 | 5 | 3 | 4 | 36 | 72 |
| HCP | 13 | 5 | 7 | 1 | 15 | 9 | 3 | 17 | 11 | 14 | 12 | 8 | 2 | 18 | 10 | 6 | 16 | 4 | |||
| black | 370 | 390 | 402 | 618 | 211 | 397 | 576 | 184 | 365 | 3513 | 385 | 385 | 350 | 551 | 161 | 364 | 460 | 179 | 422 | 3257 | 6770 |
| blue | 340 | 373 | 383 | 555 | 199 | 341 | 560 | 144 | 351 | 3246 | 366 | 372 | 341 | 517 | 155 | 333 | 450 | 168 | 411 | 3113 | 6359 |
| white | 325 | 320 | 370 | 549 | 169 | 324 | 540 | 139 | 345 | 3081 | 337 | 337 | 333 | 501 | 140 | 317 | 430 | 131 | 405 | 2931 | 6012 |
| combo | 325 | 320 | 370 | 449 | 169 | 324 | 429 | 139 | 290 | 2815 | 337 | 337 | 333 | 428 | 140 | 317 | 373 | 131 | 345 | 2741 | 5556 |
| green | 252 | 309 | 312 | 449 | 133 | 266 | 429 | 128 | 290 | 2568 | 299 | 277 | 265 | 428 | 134 | 249 | 373 | 100 | 345 | 2470 | 5038 |