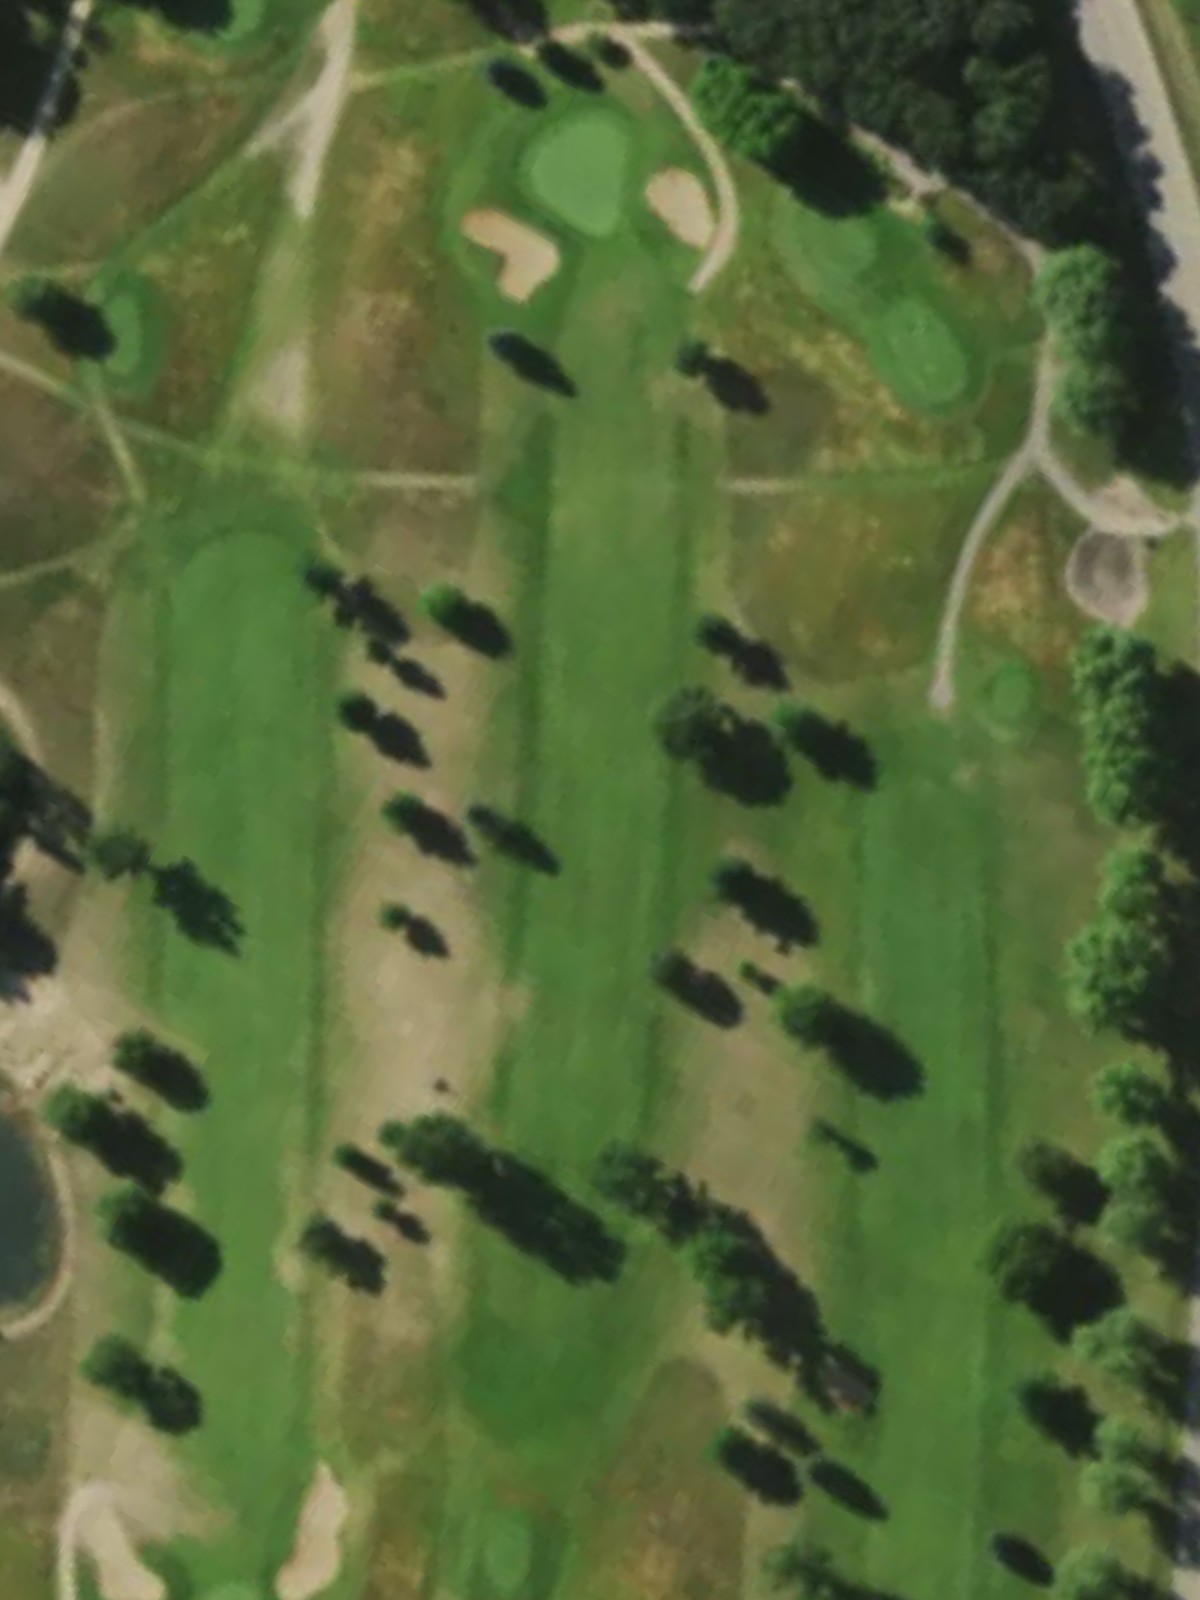
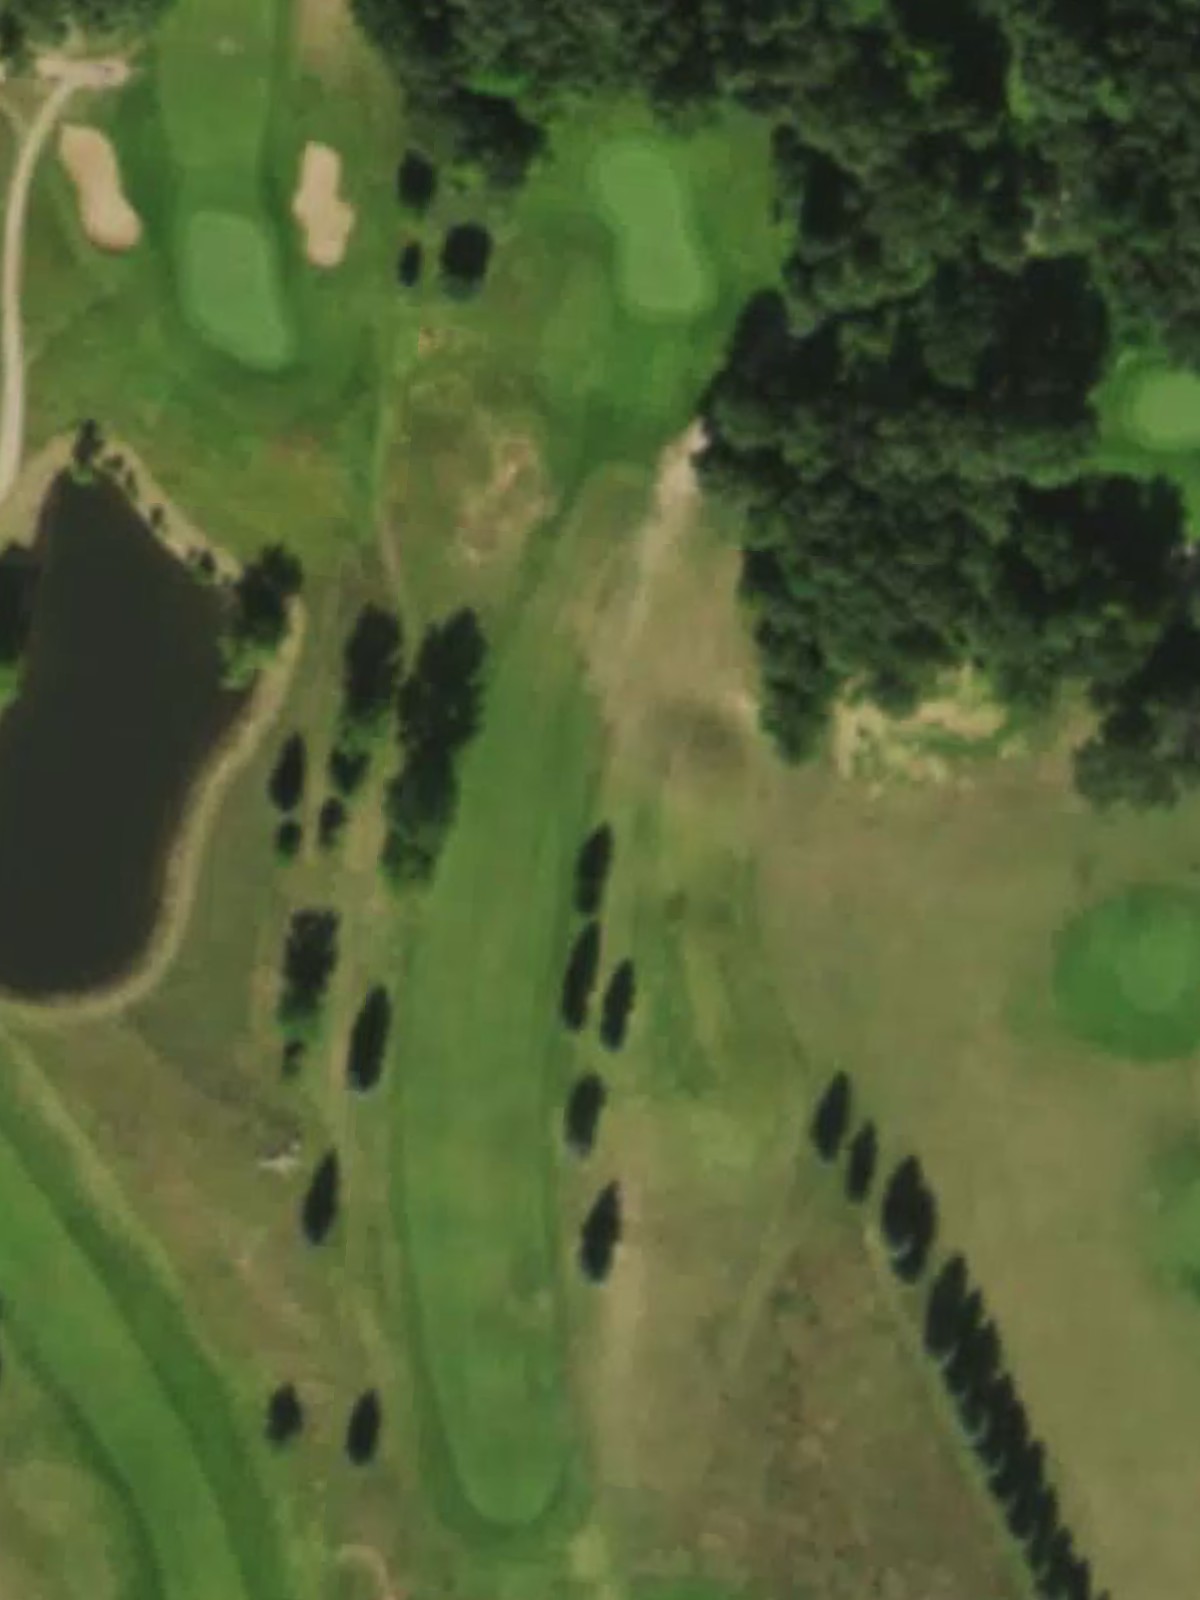
Two Oaks North is an 18-hole golf course in Wautoma, WI with a par of 72. It offers 4 tee sets: black (6,512 yards, slope 127, rating 71.1), white (6,079 yards, slope 124, rating 68.8), gold (5,485 yards, slope 113, rating 66.6), red (4,986 yards, slope 101, rating 64.1). The hardest hole is #9, a par 5 playing 392 yards from the first tee.
Two Oaks North
Wautoma, WI
Get PDF Yardage Book
We'll email you the PDF link. No spam, ever.
Create Your Game Plan
Pick your tees, enter your bag, and get a personalized shot-by-shot strategy for every hole.

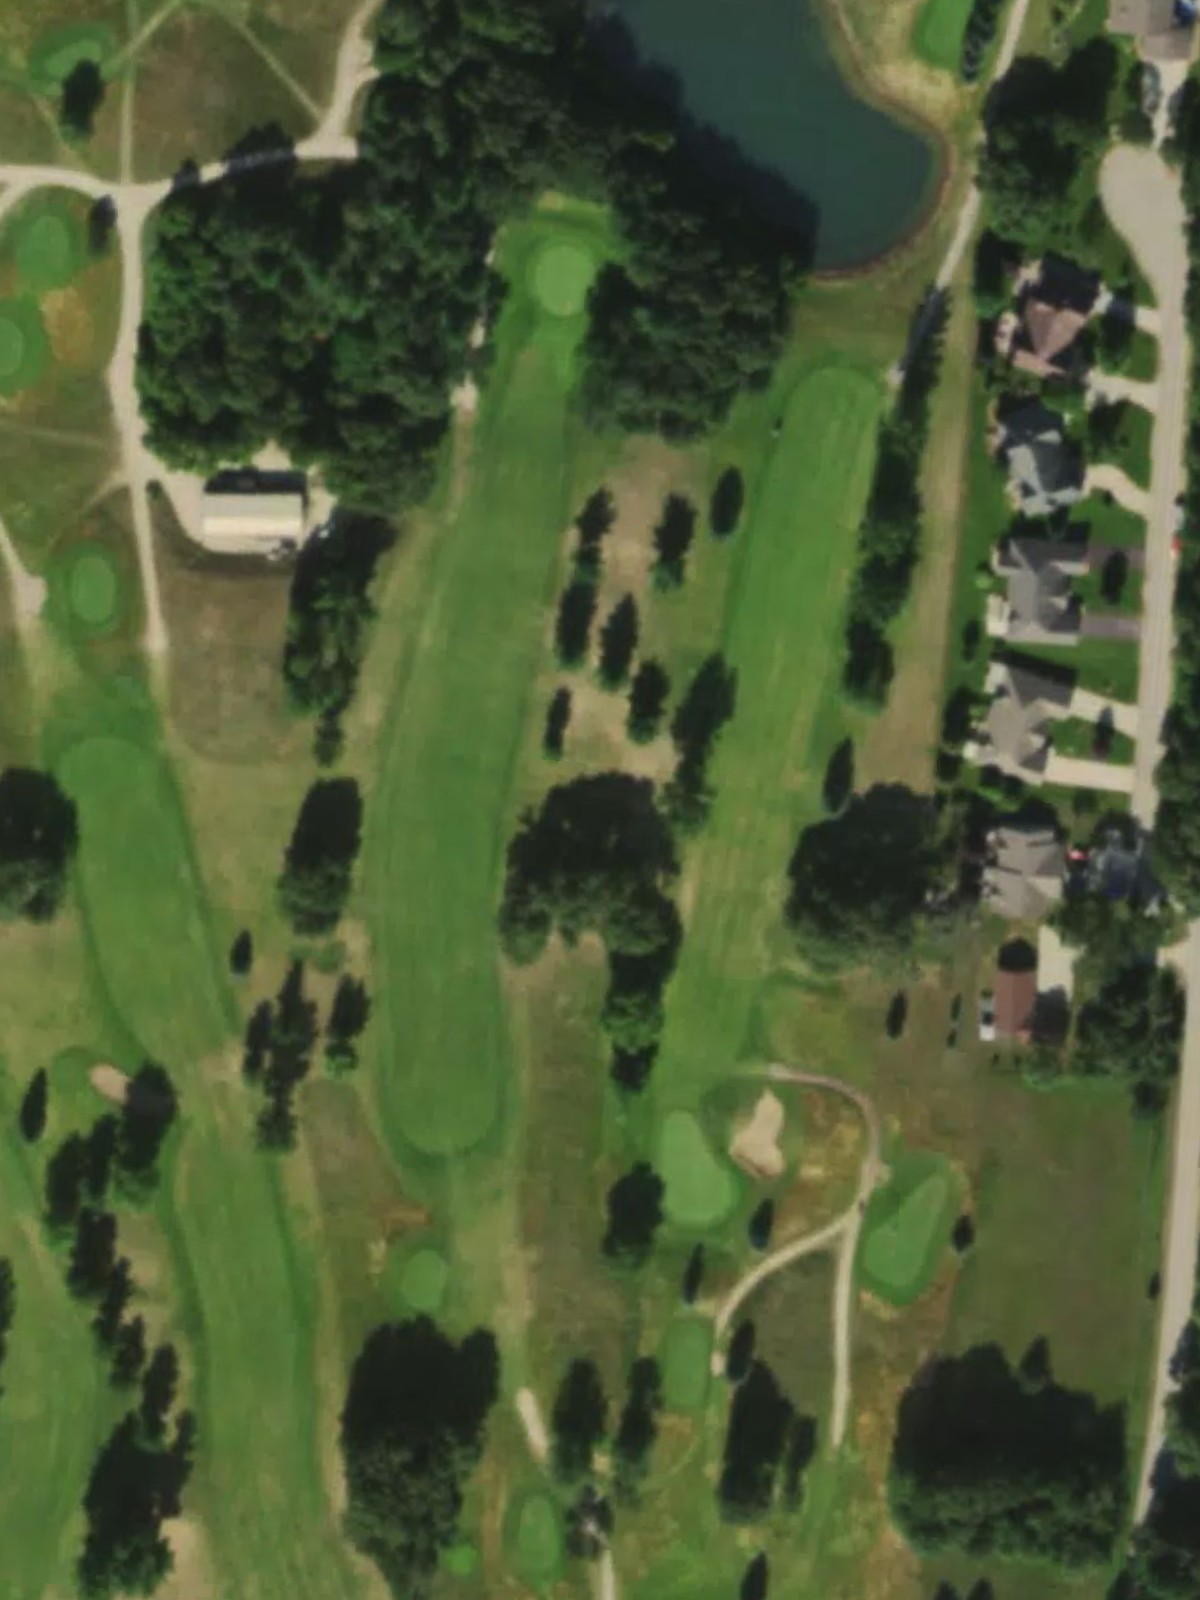
A relatively short, straightforward par 4 that plays downhill toward a green protected by bunkers on the right. The generous fairway provides a good opportunity to start the round, though accuracy into the green is important.
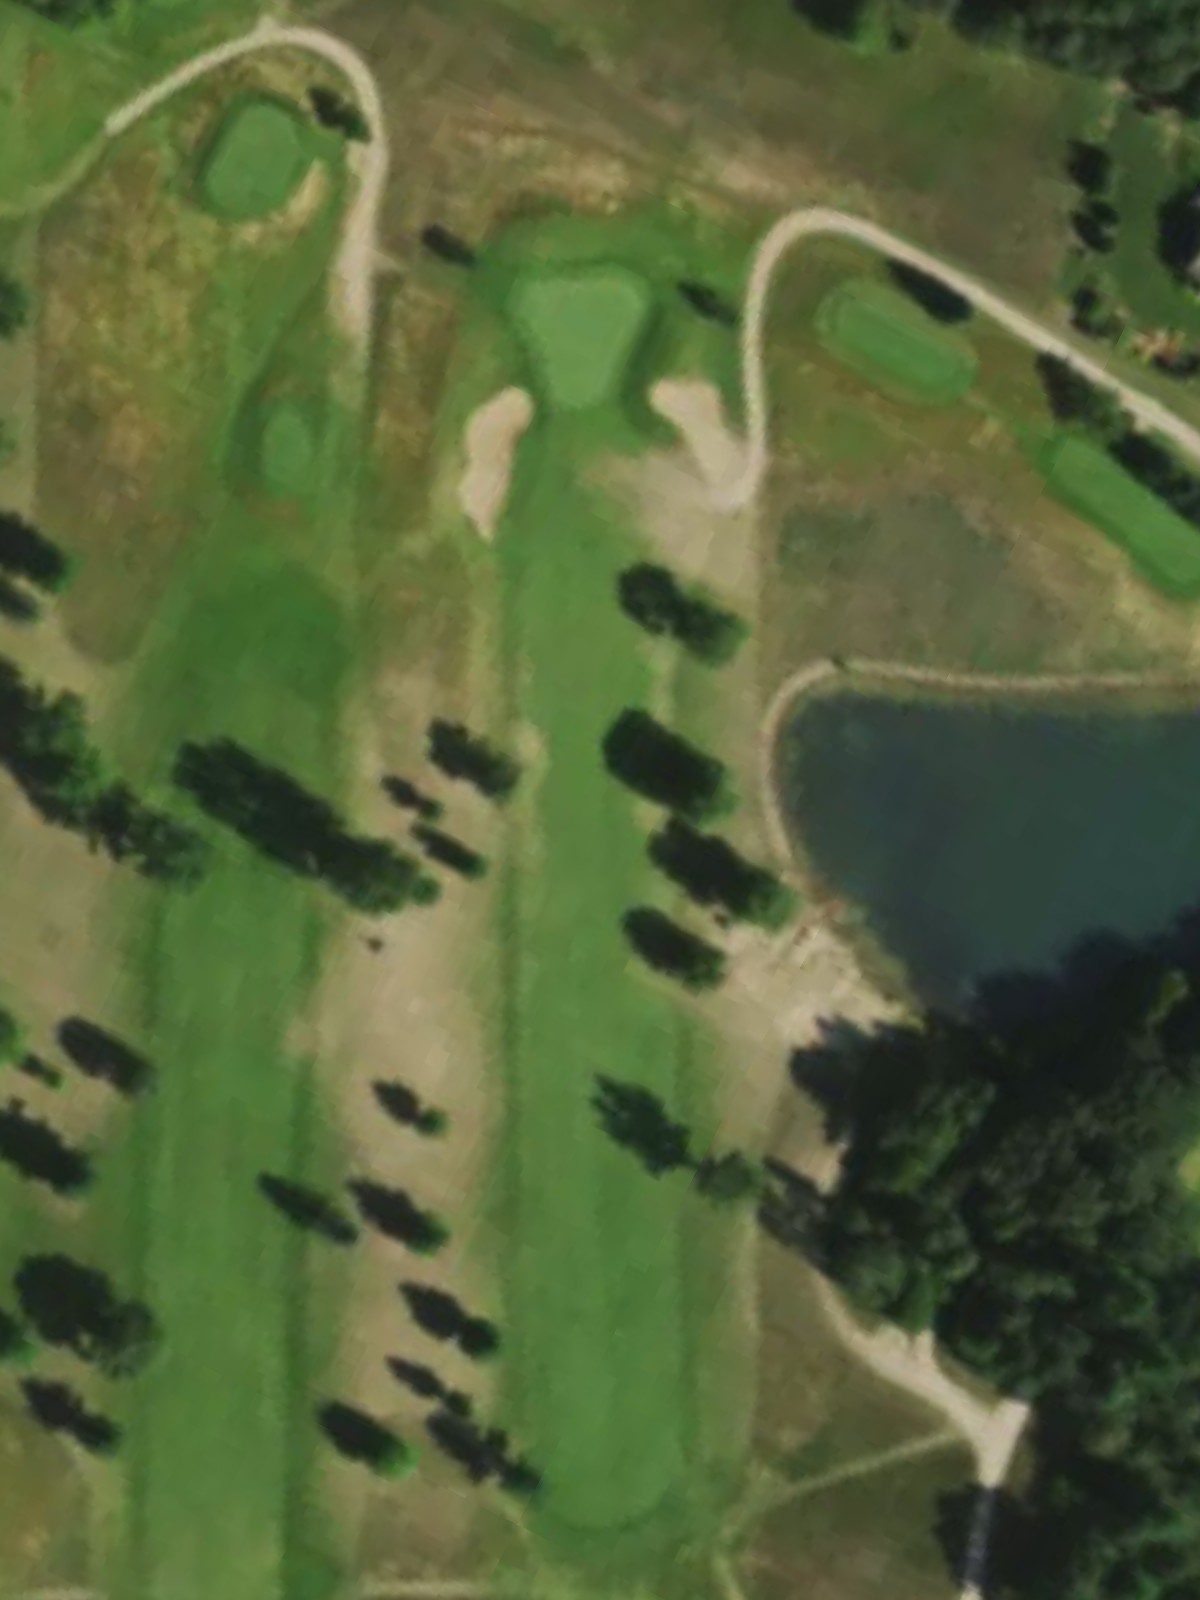
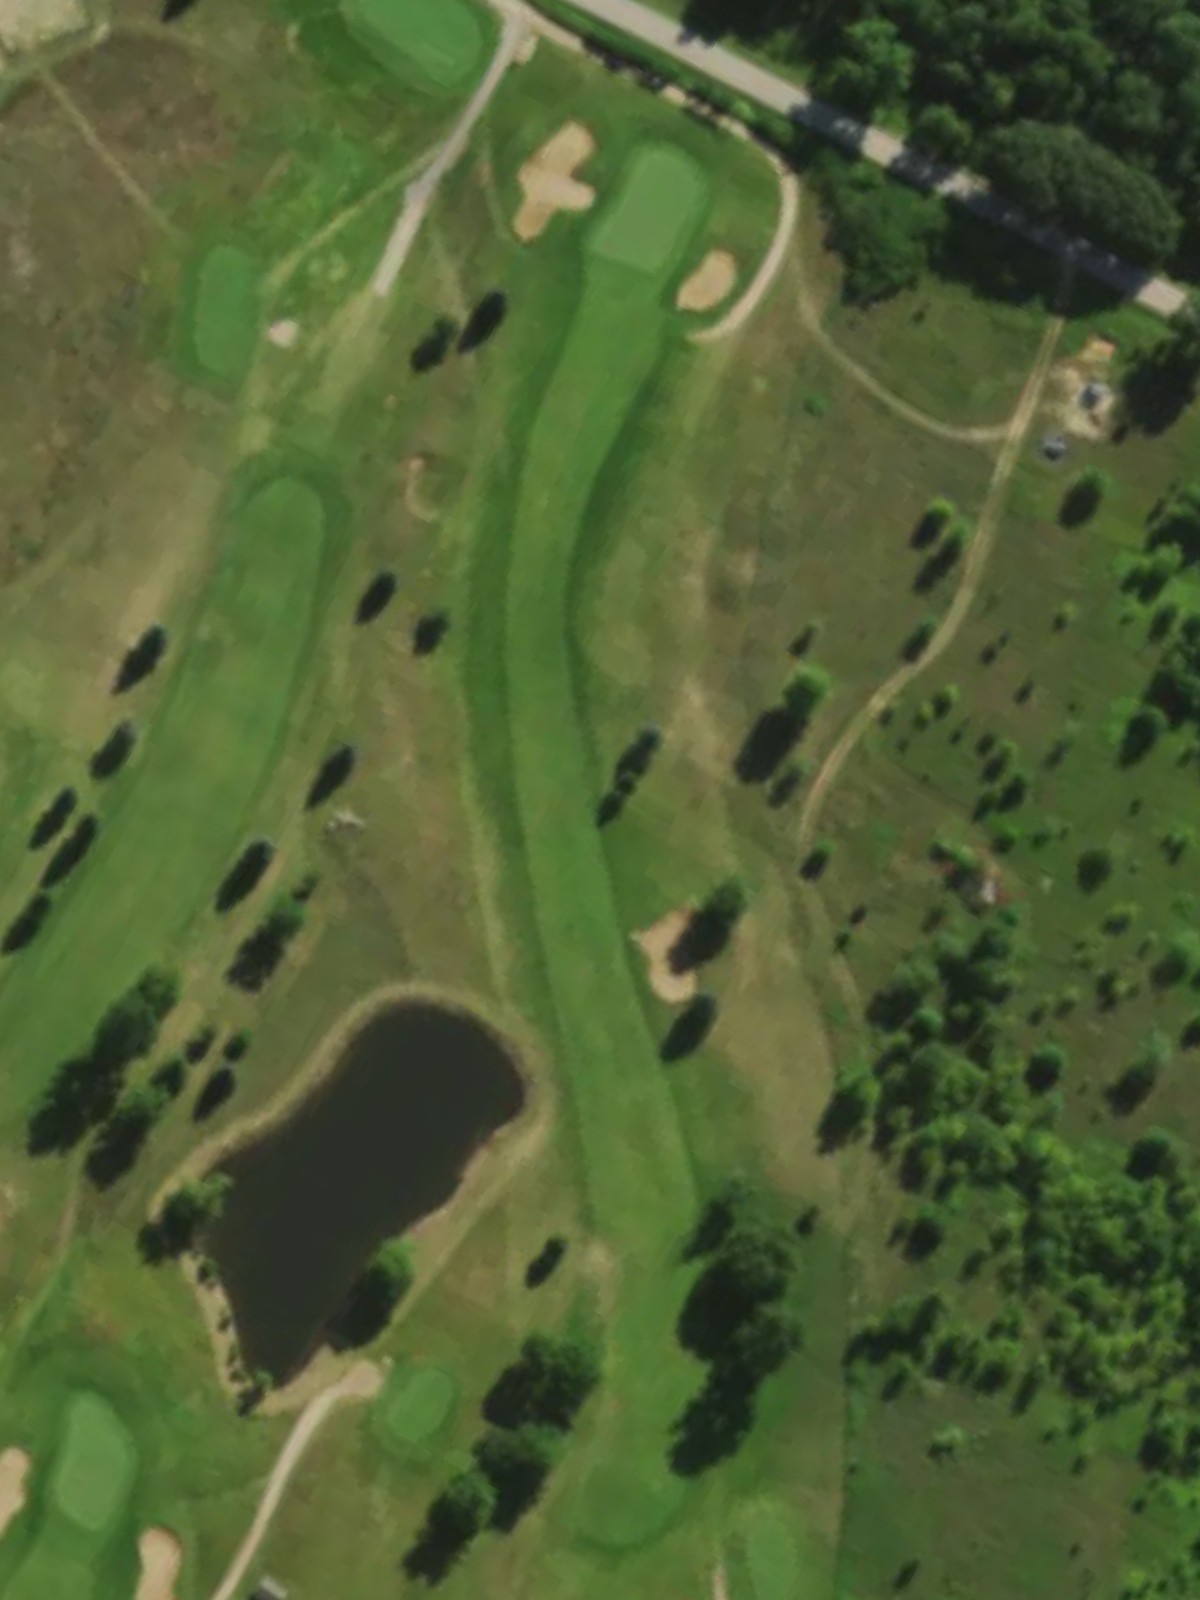
A sturdy par 4 playing from an elevated tee with water hazard left that extends toward the green. The hole demands accuracy off the tee and a precise approach to avoid the left-side water.
A mid-length par 4 with a dogleg right configuration. Bunkers guard the inside of the dogleg and right side of the green, requiring a well-placed approach shot to avoid them.
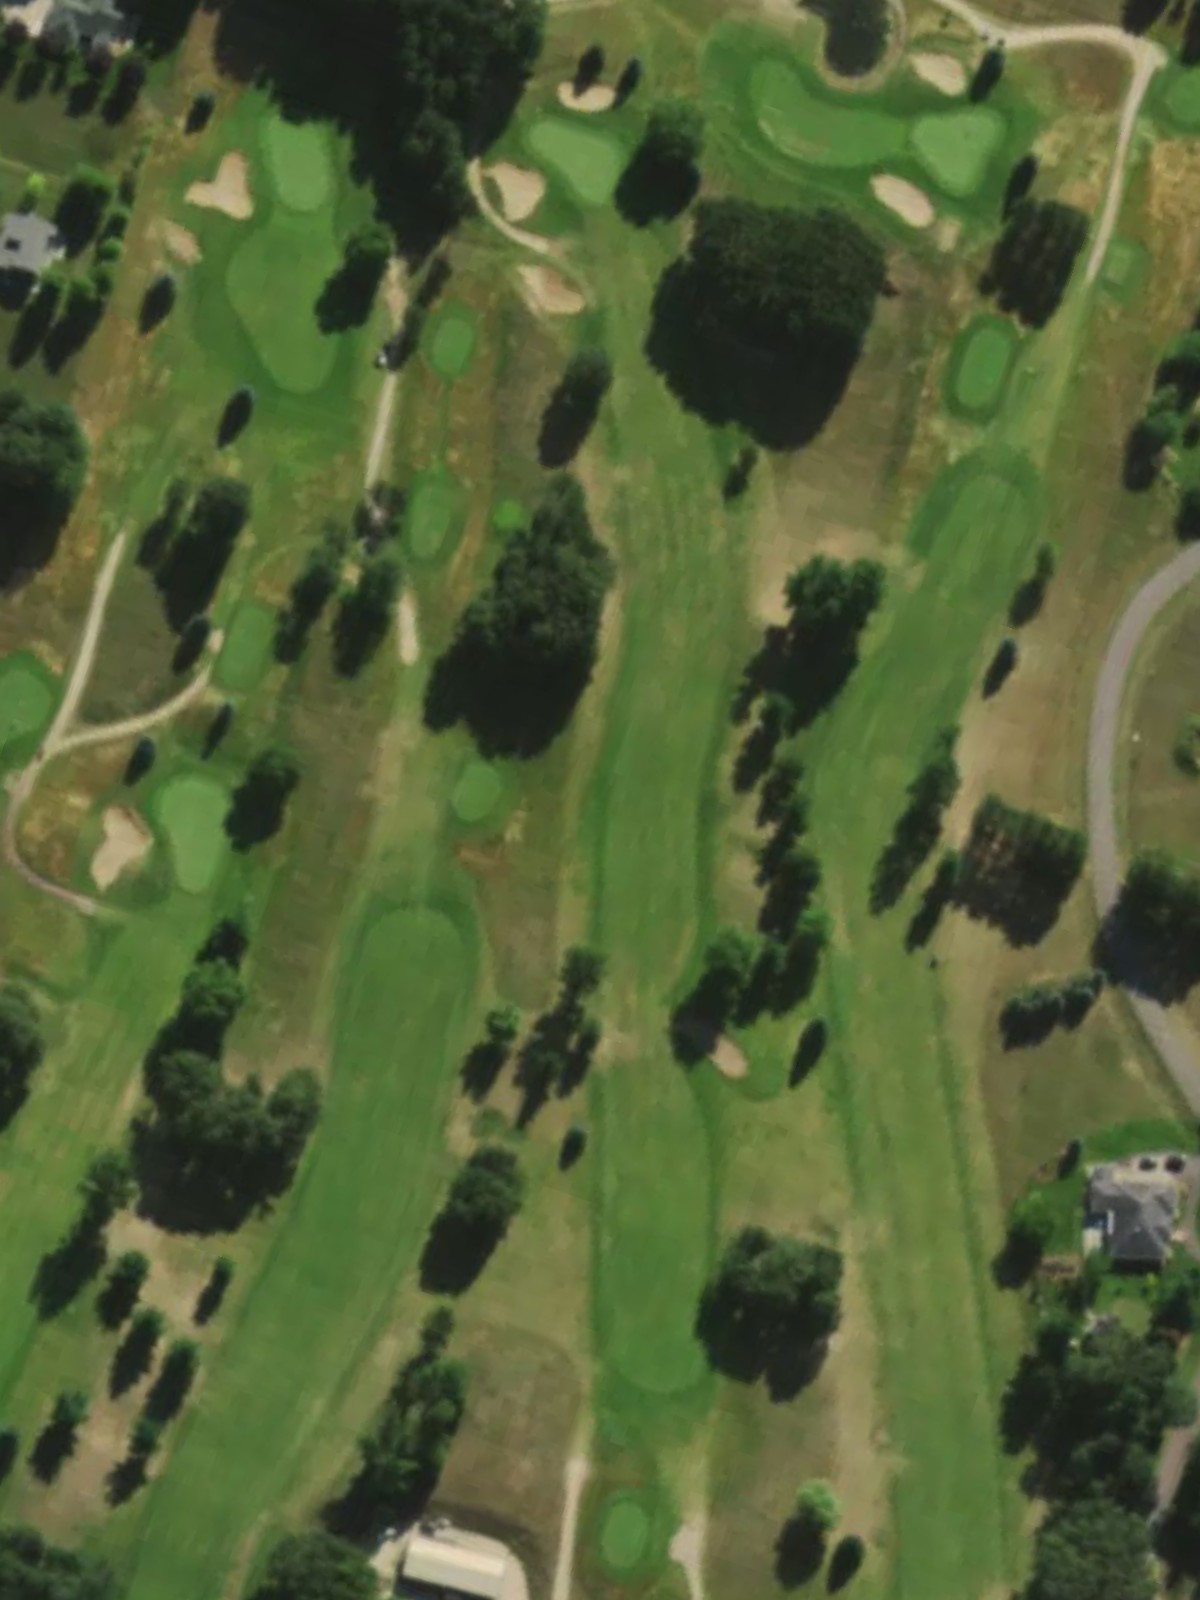
One of the course's most challenging par 4s, this hole plays longer and features a dogleg left with significant length. Out-of-bounds left and bunkers throughout the hole penalize wayward shots.
A short par 3 with a relatively open green complex. The modest length makes this an attainable hole, though bunker placement around the green demands accuracy with the tee shot.
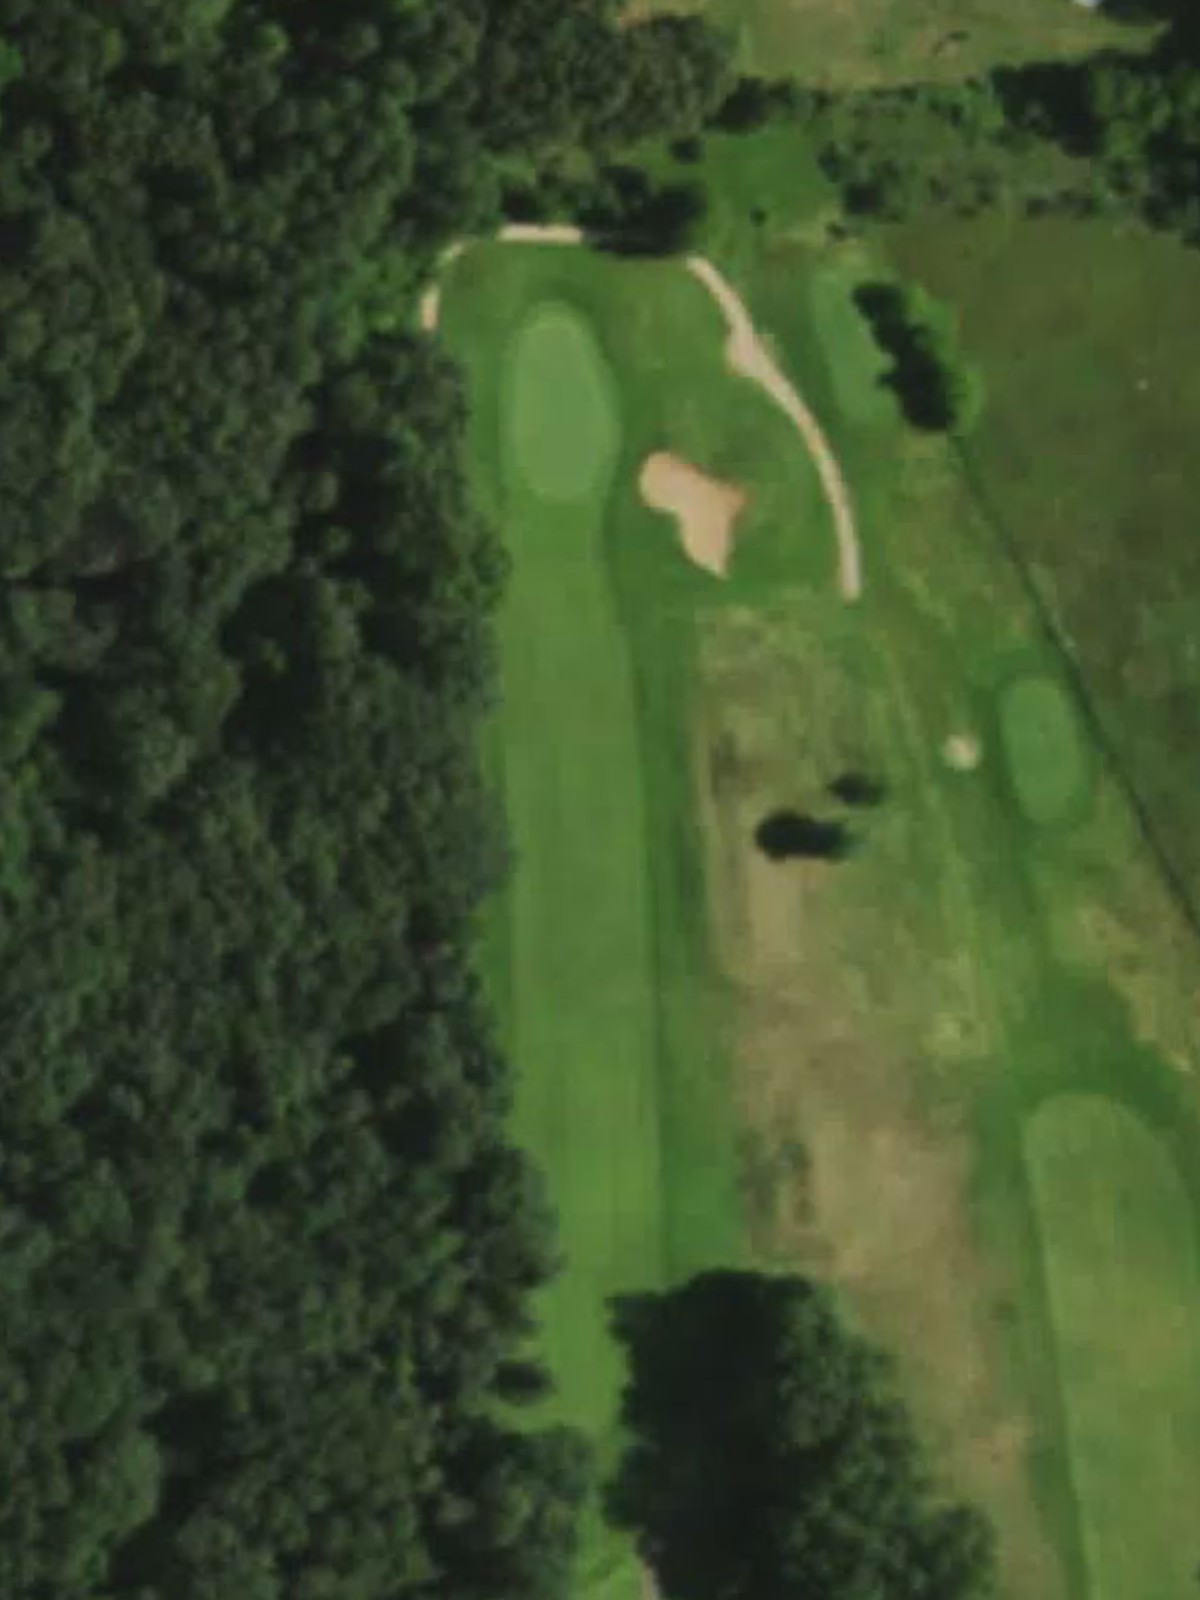
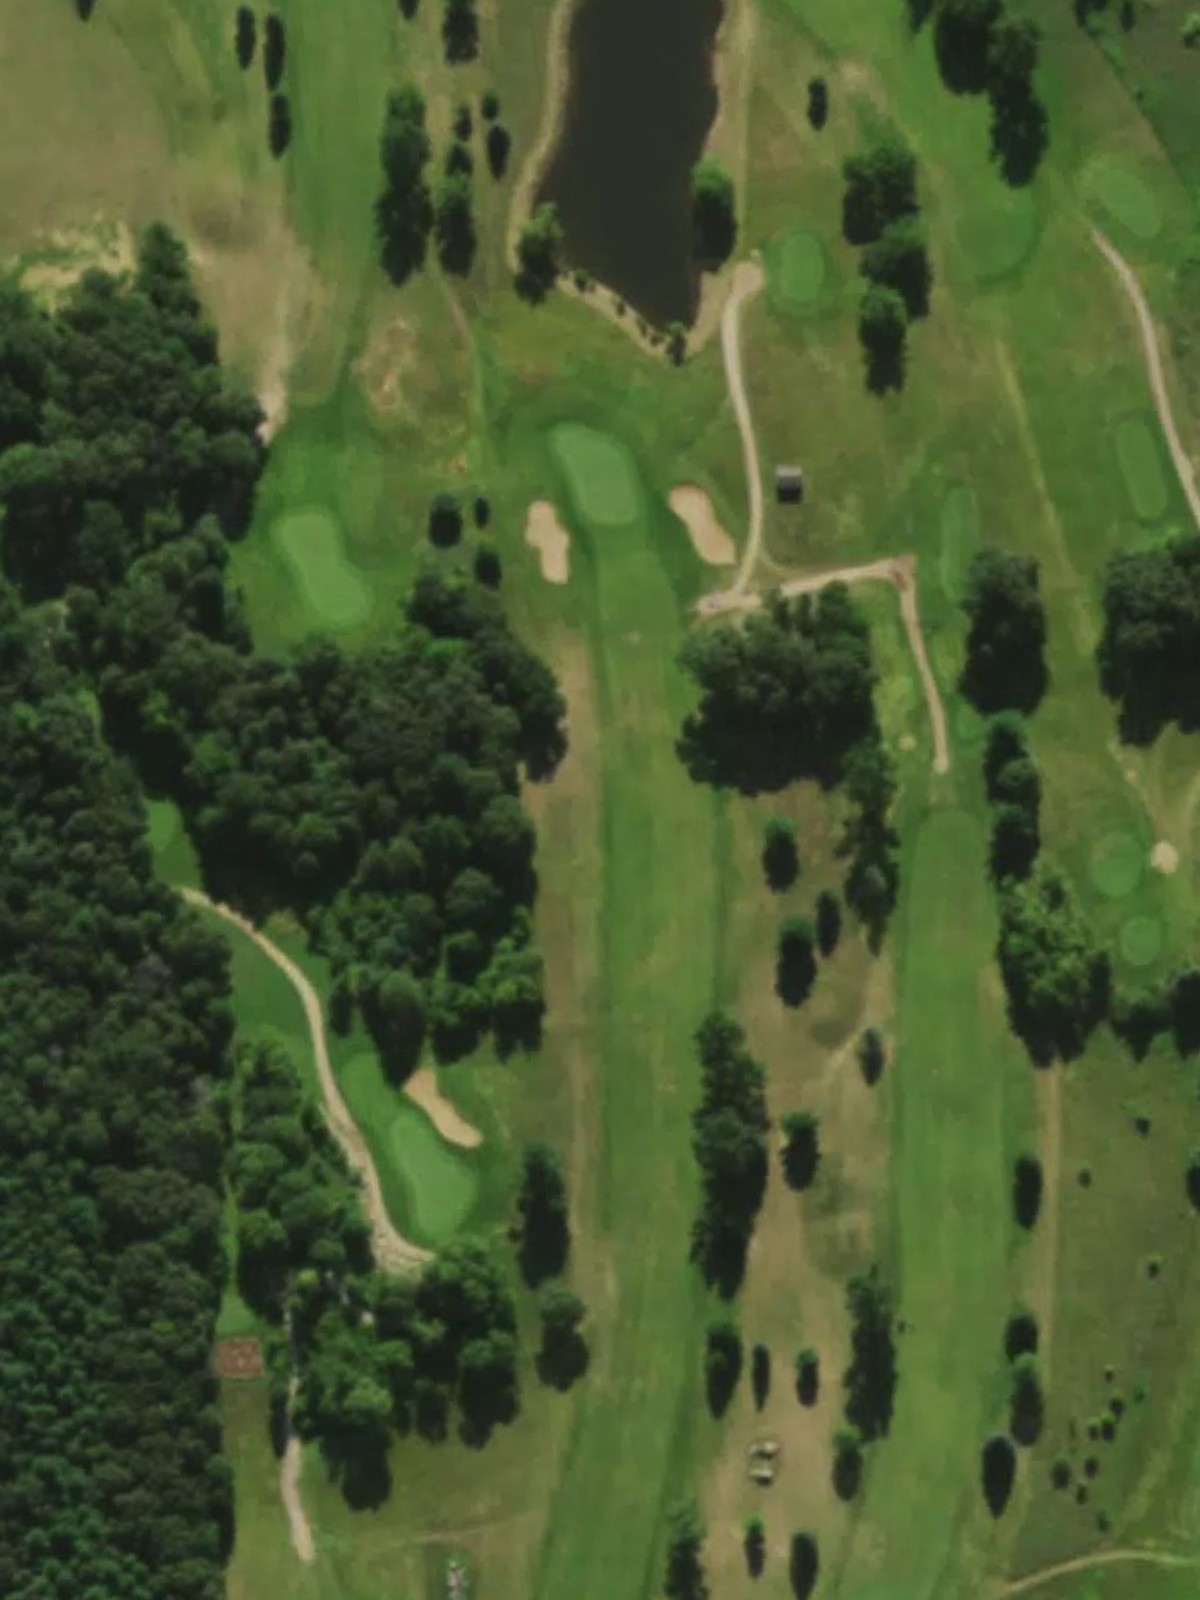
The course's signature hole, this dramatic par 4 plays to an elevated green and features significant hazards that frame both sides of the hole. The approach shot is elevated and demands precision.
A long, powerful par 5 that can be reached in three shots by most players. The hole's length and strategic bunker placement throughout require thoughtful course management.
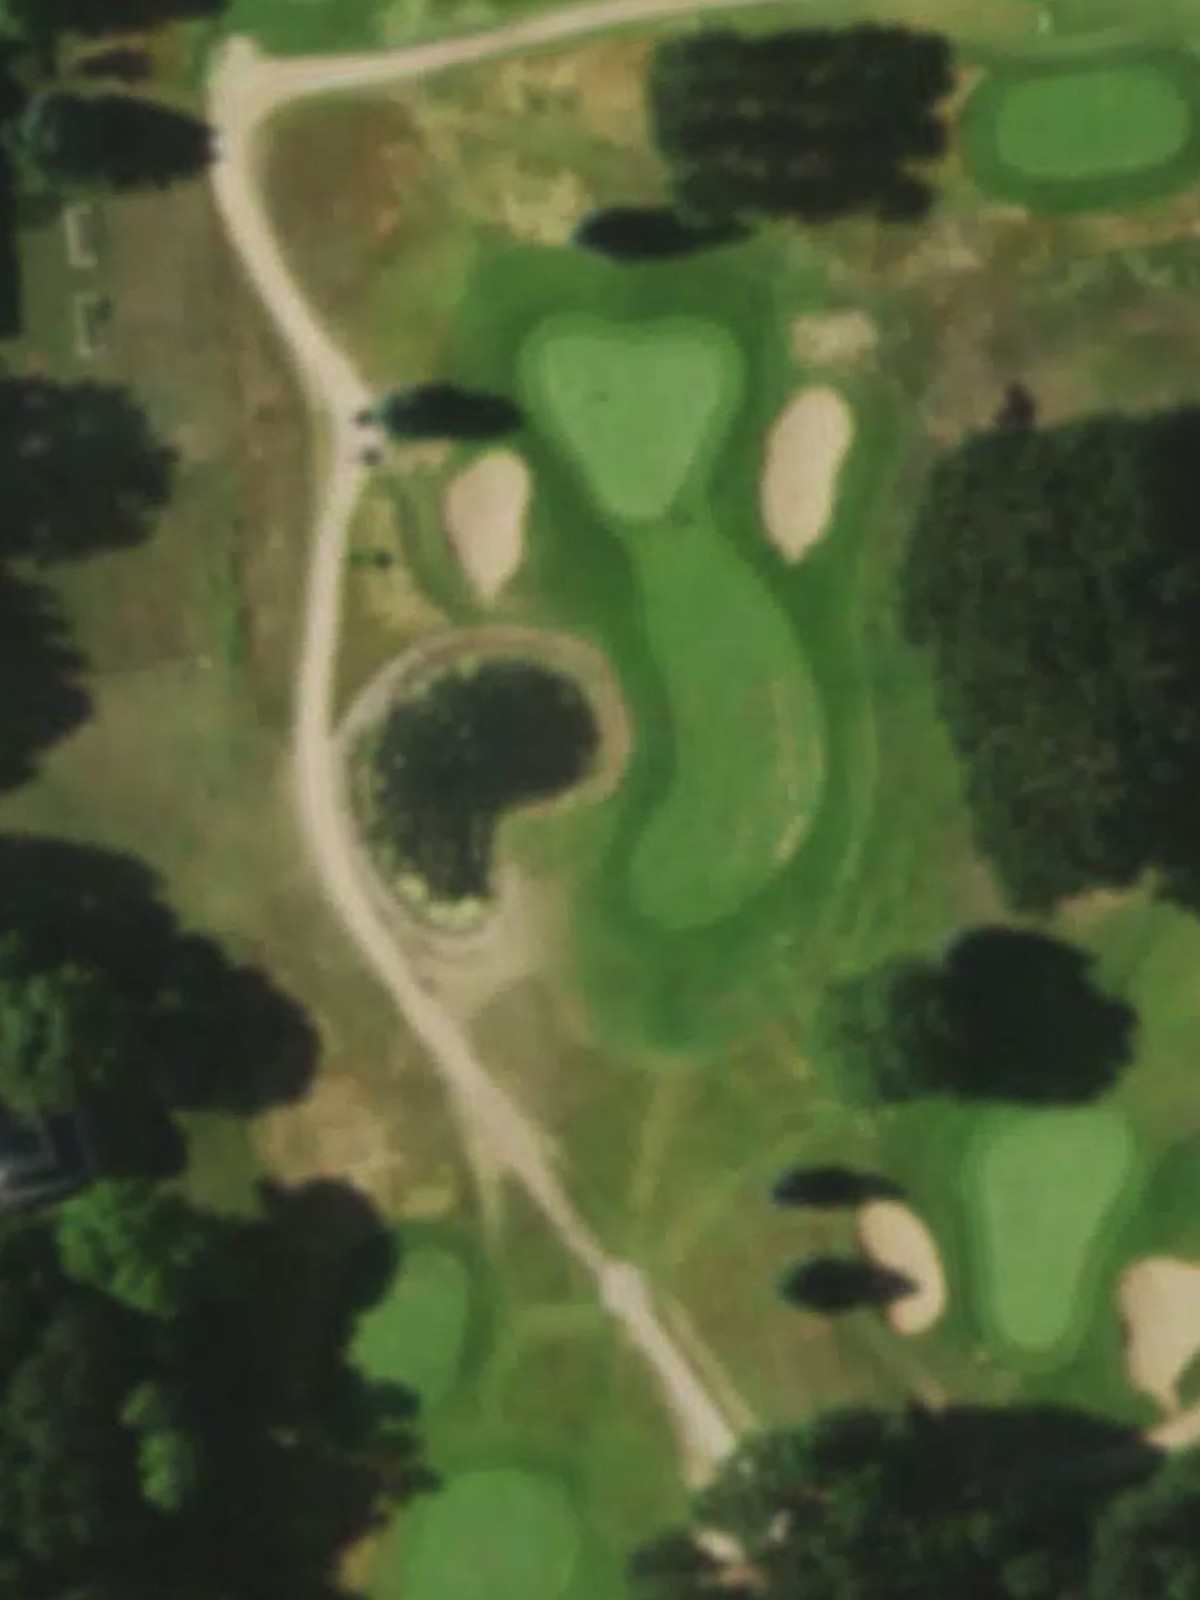
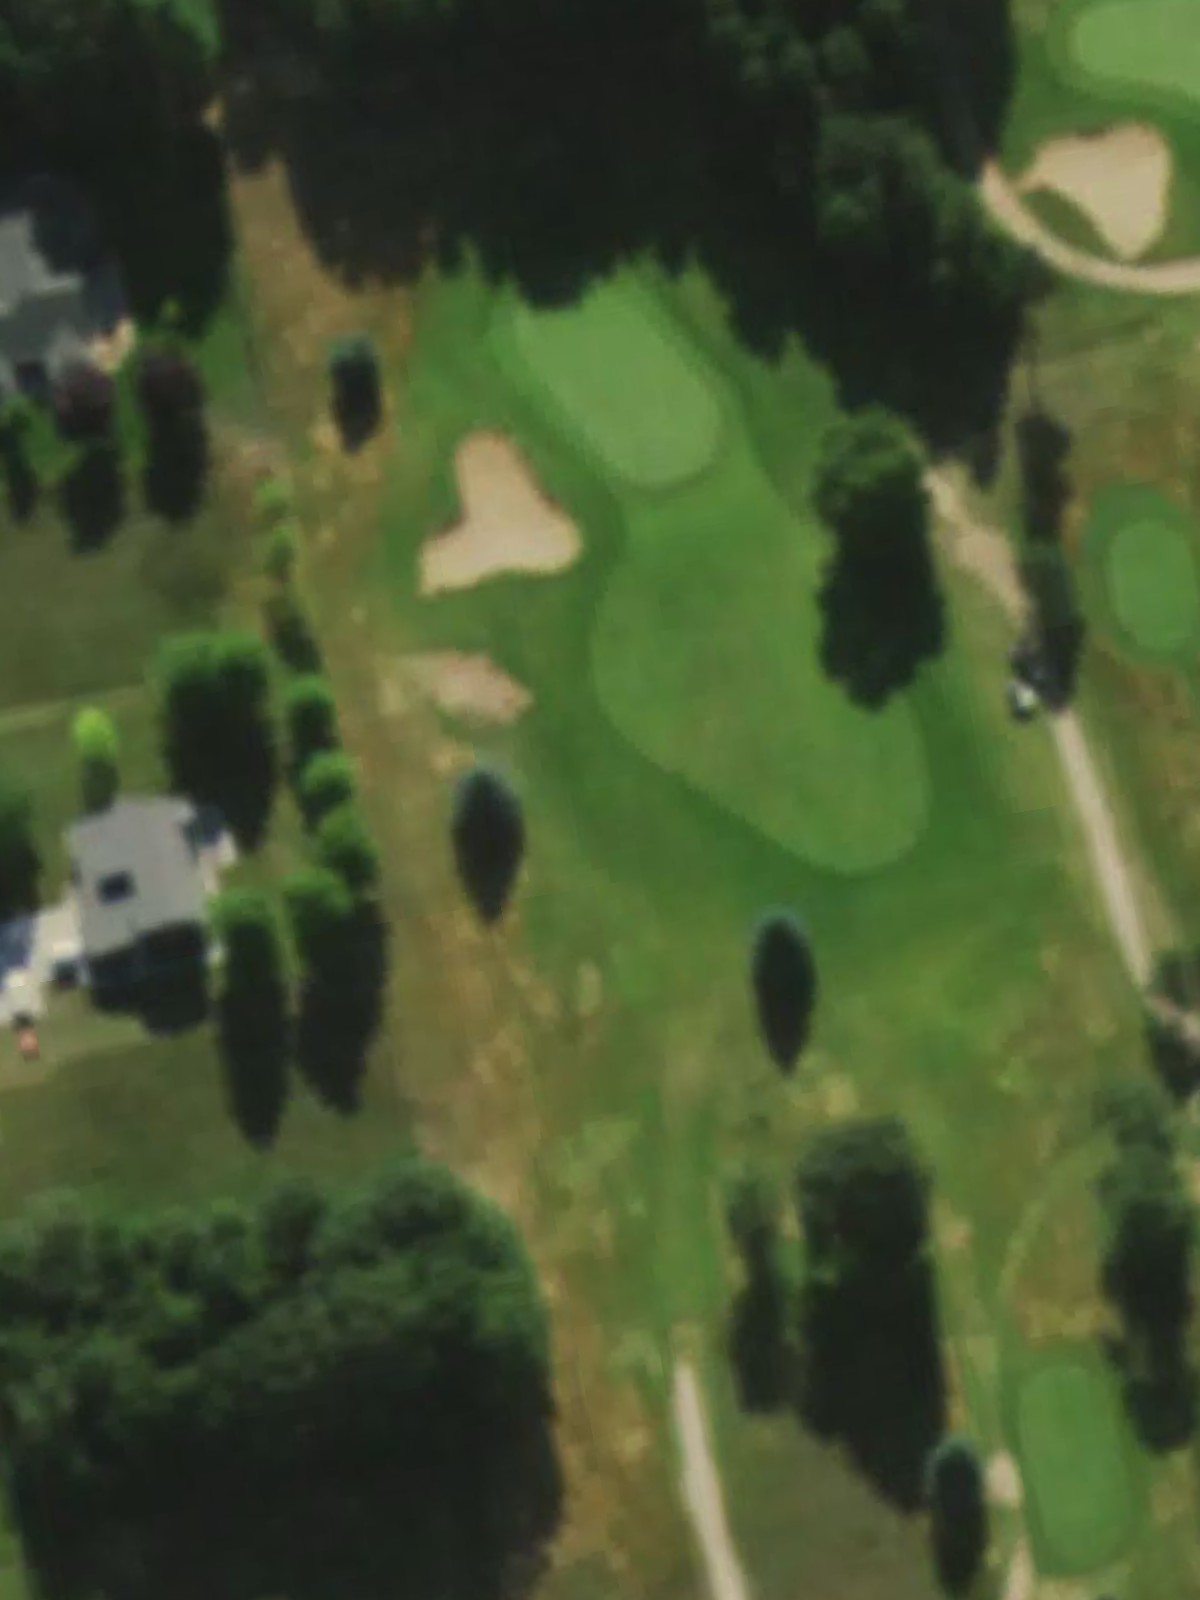
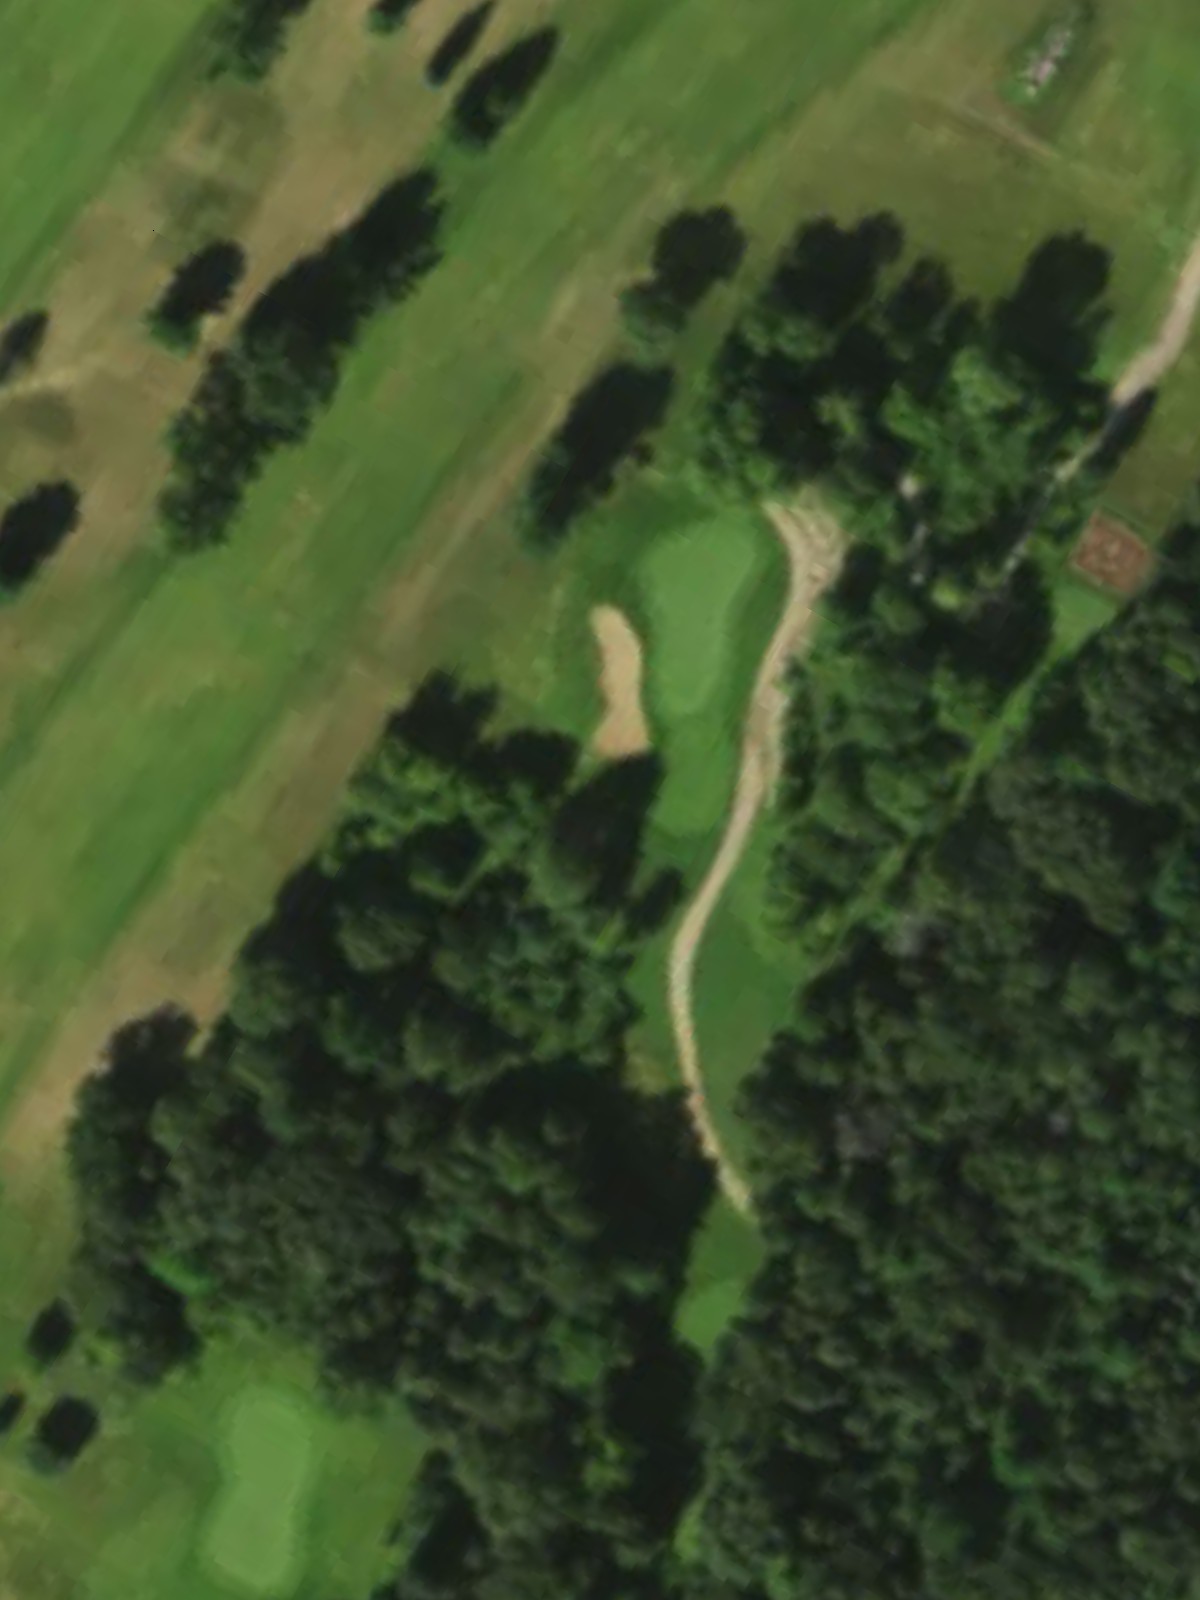
The shortest hole on the course, this intimate par 3 features a small, well-bunkered green that punishes imprecision. The compact green makes distance control critical.
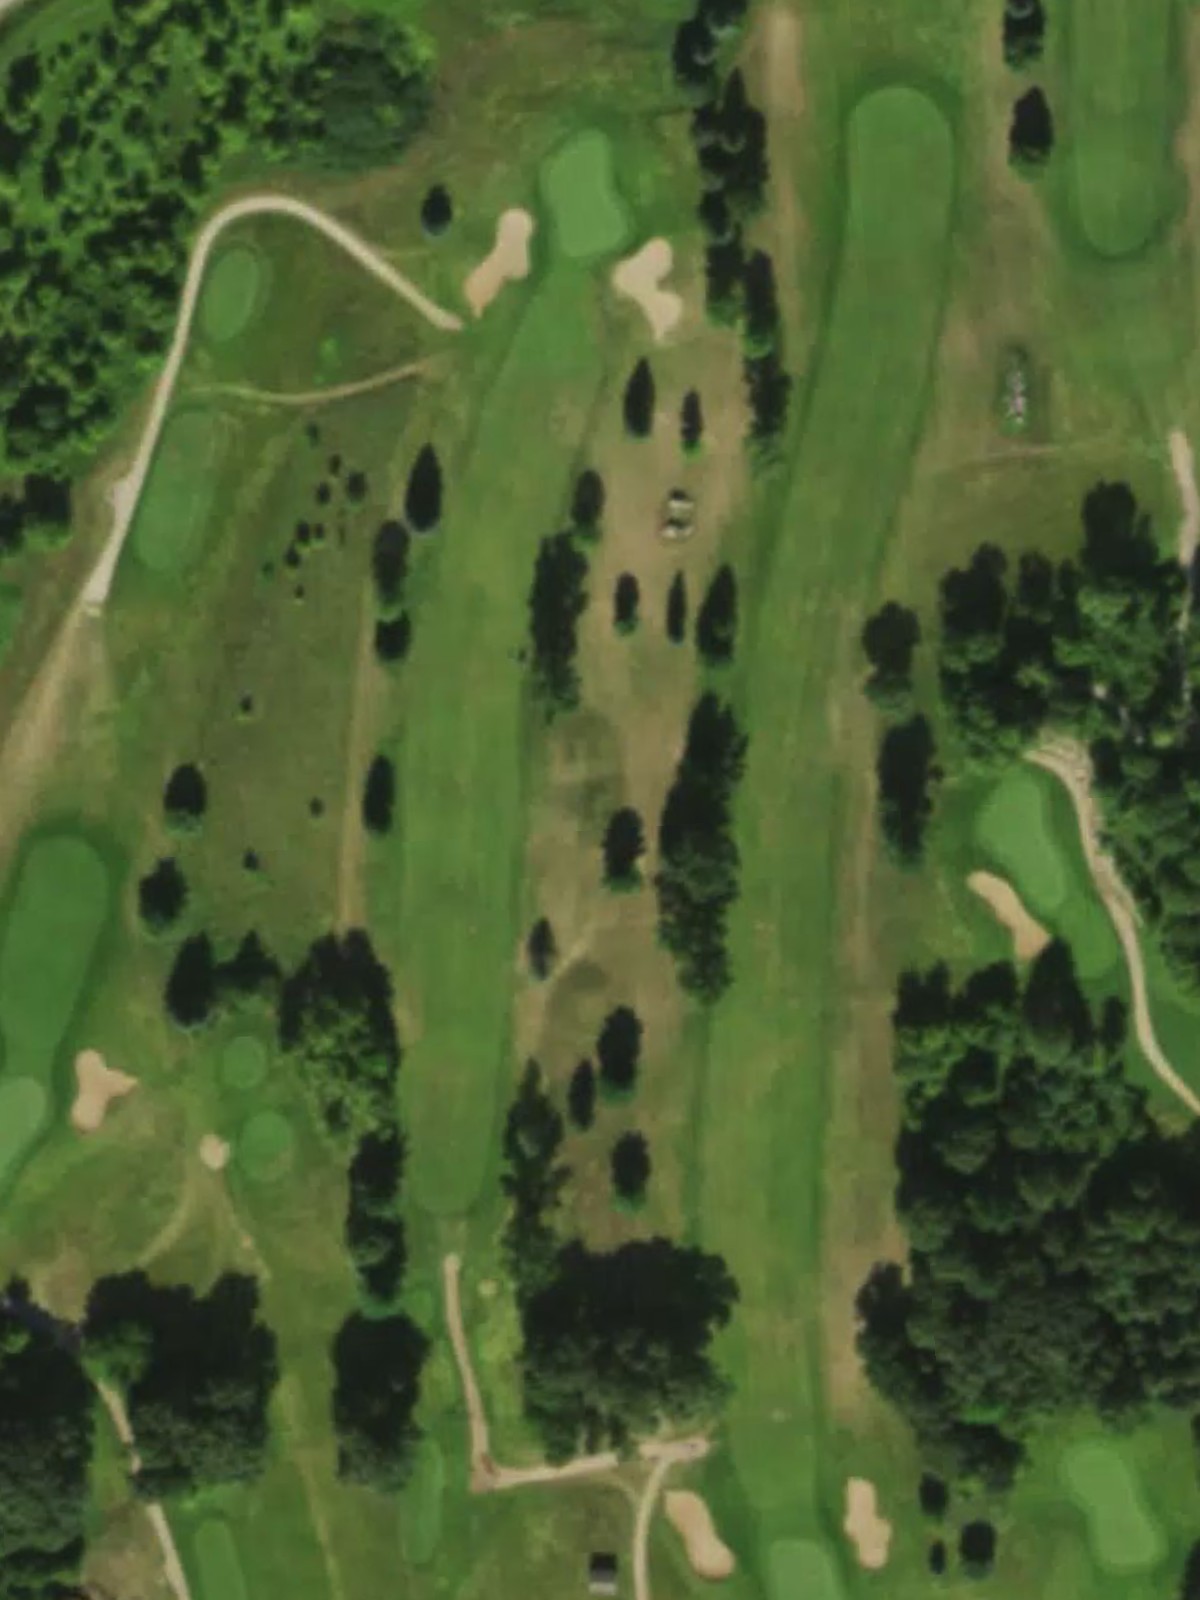
The course's longest and most demanding hole, this par 5 requires two strong shots to position for the approach. Strategic hazards and length make this the ultimate test at Two Oaks North.
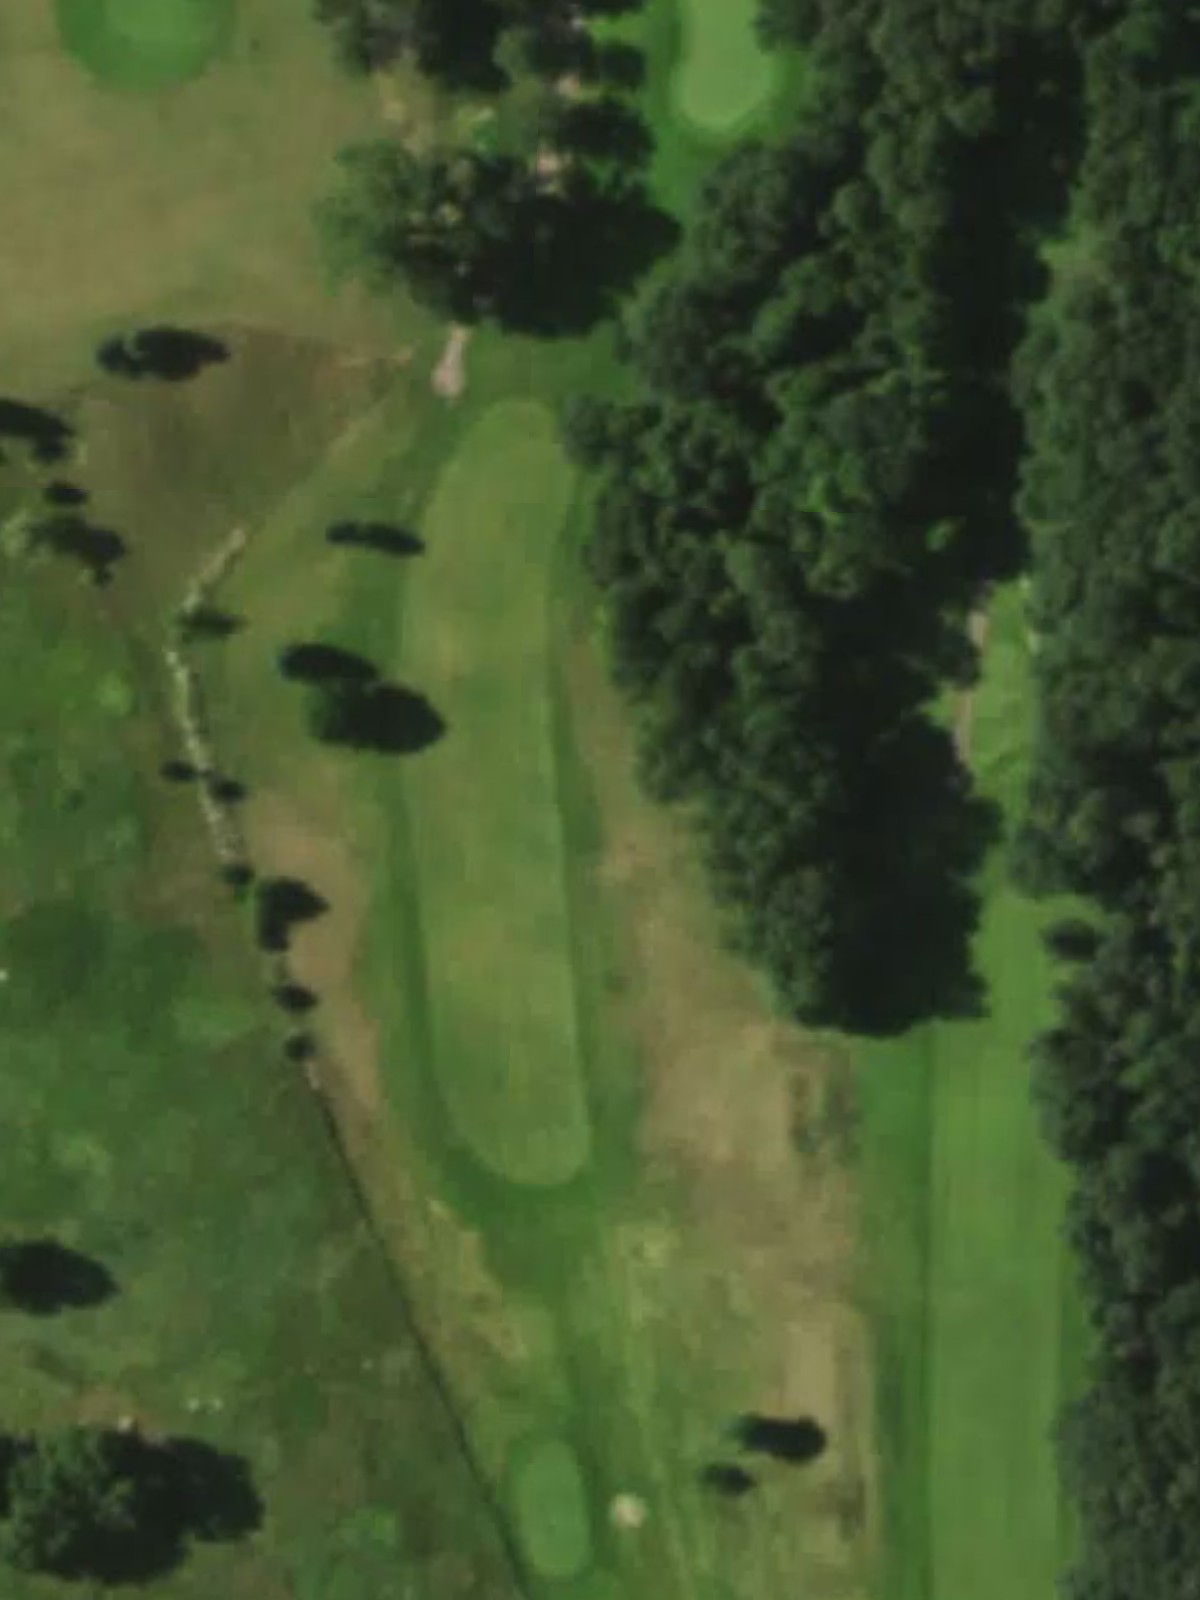
A mid-length par 4 that requires solid, consistent golf to two-putt. The fairway is relatively straightforward, but the green is well-defended by bunkers on both sides.
A short par 4 that rewards accuracy over length. The narrow fairway and bunkers around the green make precision off the tee and a controlled approach essential.
A well-balanced par 4 with character and strategic interest throughout. Hazards frame both sides of the fairway and guard the green, creating multiple decision points.
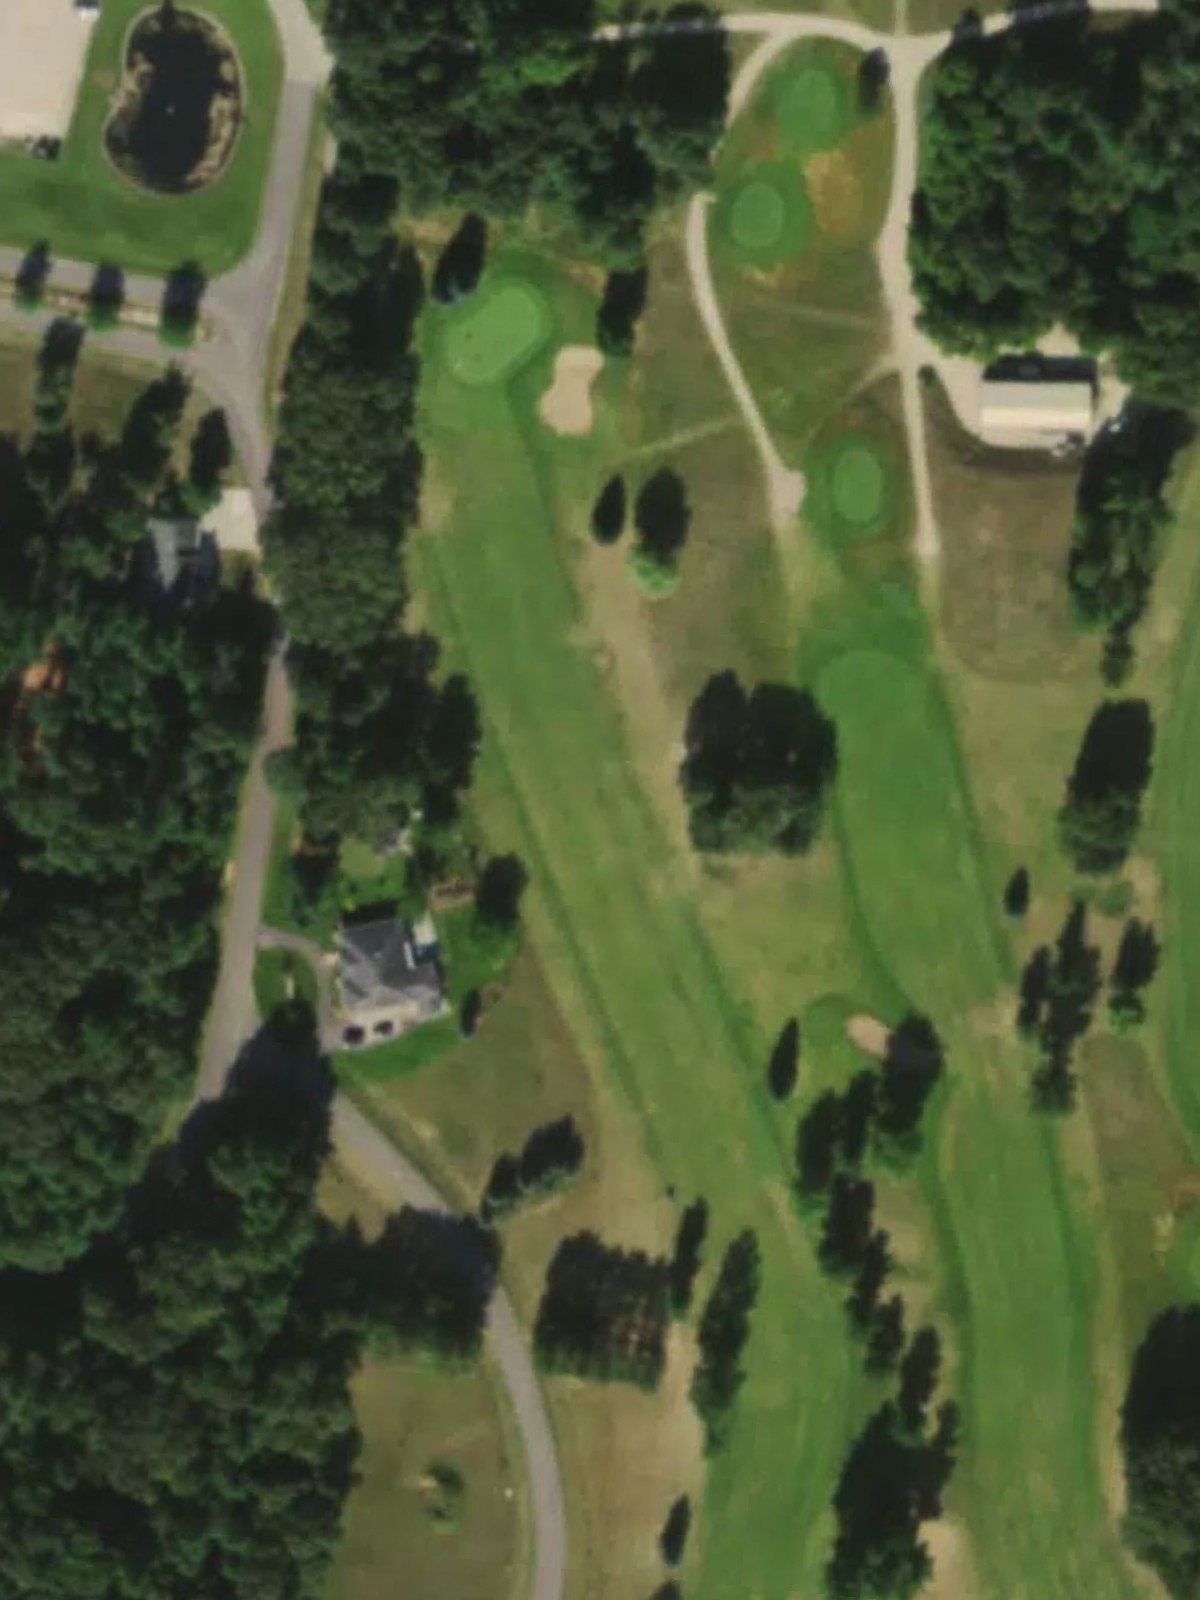
The course's most forgiving par 3, featuring a relatively large green without excessive bunkering. This hole provides a confidence-building opportunity in the middle of the back nine.

A medium-length par 4 with a slight dogleg that plays favorably for most players. The green complex features subtle contours and light bunkering that add challenge without overwhelming difficulty.
A substantial par 5 with length and strategic complexity throughout. Careful positioning is required on the first two shots to avoid bunkers and set up a manageable approach.
A powerful, uphill par 4 that plays significantly longer than its yardage suggests. Bunkers guard the fairway at distance and flank the elevated green, requiring strategic thought off the tee.

A mid-range par 3 featuring an elevated tee and a green that slopes away from the player. Precise distance control and accuracy are essential given the green's exposed position.
A majestic finishing par 5 that provides a compelling conclusion to the round. The hole's length and strategic hazards demand two solid shots to set up the approach to an inviting green.
Scorecard
| Hole | 1 | 2 | 3 | 4 | 5 | 6 | 7 | 8 | 9 | Out | 10 | 11 | 12 | 13 | 14 | 15 | 16 | 17 | 18 | In | Tot |
|---|---|---|---|---|---|---|---|---|---|---|---|---|---|---|---|---|---|---|---|---|---|
| Par | 4 | 4 | 4 | 4 | 3 | 4 | 5 | 3 | 5 | 36 | 4 | 4 | 4 | 3 | 4 | 5 | 4 | 3 | 5 | 36 | 72 |
| HCP | 13 | 9 | 11 | 7 | 15 | 5 | 3 | 17 | 1 | 10 | 12 | 8 | 18 | 14 | 2 | 6 | 16 | 4 | |||
| black | 360 | 374 | 368 | 396 | 190 | 405 | 493 | 149 | 506 | 3241 | 370 | 325 | 370 | 167 | 347 | 540 | 415 | 223 | 514 | 3271 | 6512 |
| white | 336 | 342 | 345 | 349 | 178 | 355 | 487 | 136 | 500 | 3028 | 364 | 311 | 359 | 155 | 329 | 526 | 338 | 177 | 492 | 3051 | 6079 |
| gold | 336 | 285 | 345 | 328 | 144 | 283 | 463 | 136 | 435 | 2755 | 287 | 311 | 286 | 128 | 329 | 439 | 338 | 161 | 451 | 2730 | 5485 |
| red | 266 | 285 | 272 | 328 | 144 | 283 | 392 | 118 | 392 | 2480 | 287 | 237 | 286 | 128 | 284 | 439 | 288 | 161 | 396 | 2506 | 4986 |