Two Harbors - Lakeview National Golf Course is an 18-hole golf course in Two Harbors, MN with a par of 72. It offers 3 tee sets: blue (6,773 yards, slope 132, rating 73.2), white (6,417 yards, slope 129, rating 71.4), gold (5,468 yards, slope 120, rating 67.1). The hardest hole is #7, a par 4 playing 474 yards from the first tee.
Two Harbors - Lakeview National Golf Course
Two Harbors, MN
Get PDF Yardage Book
We'll email you the PDF link. No spam, ever.
Create Your Game Plan
Pick your tees, enter your bag, and get a personalized shot-by-shot strategy for every hole.
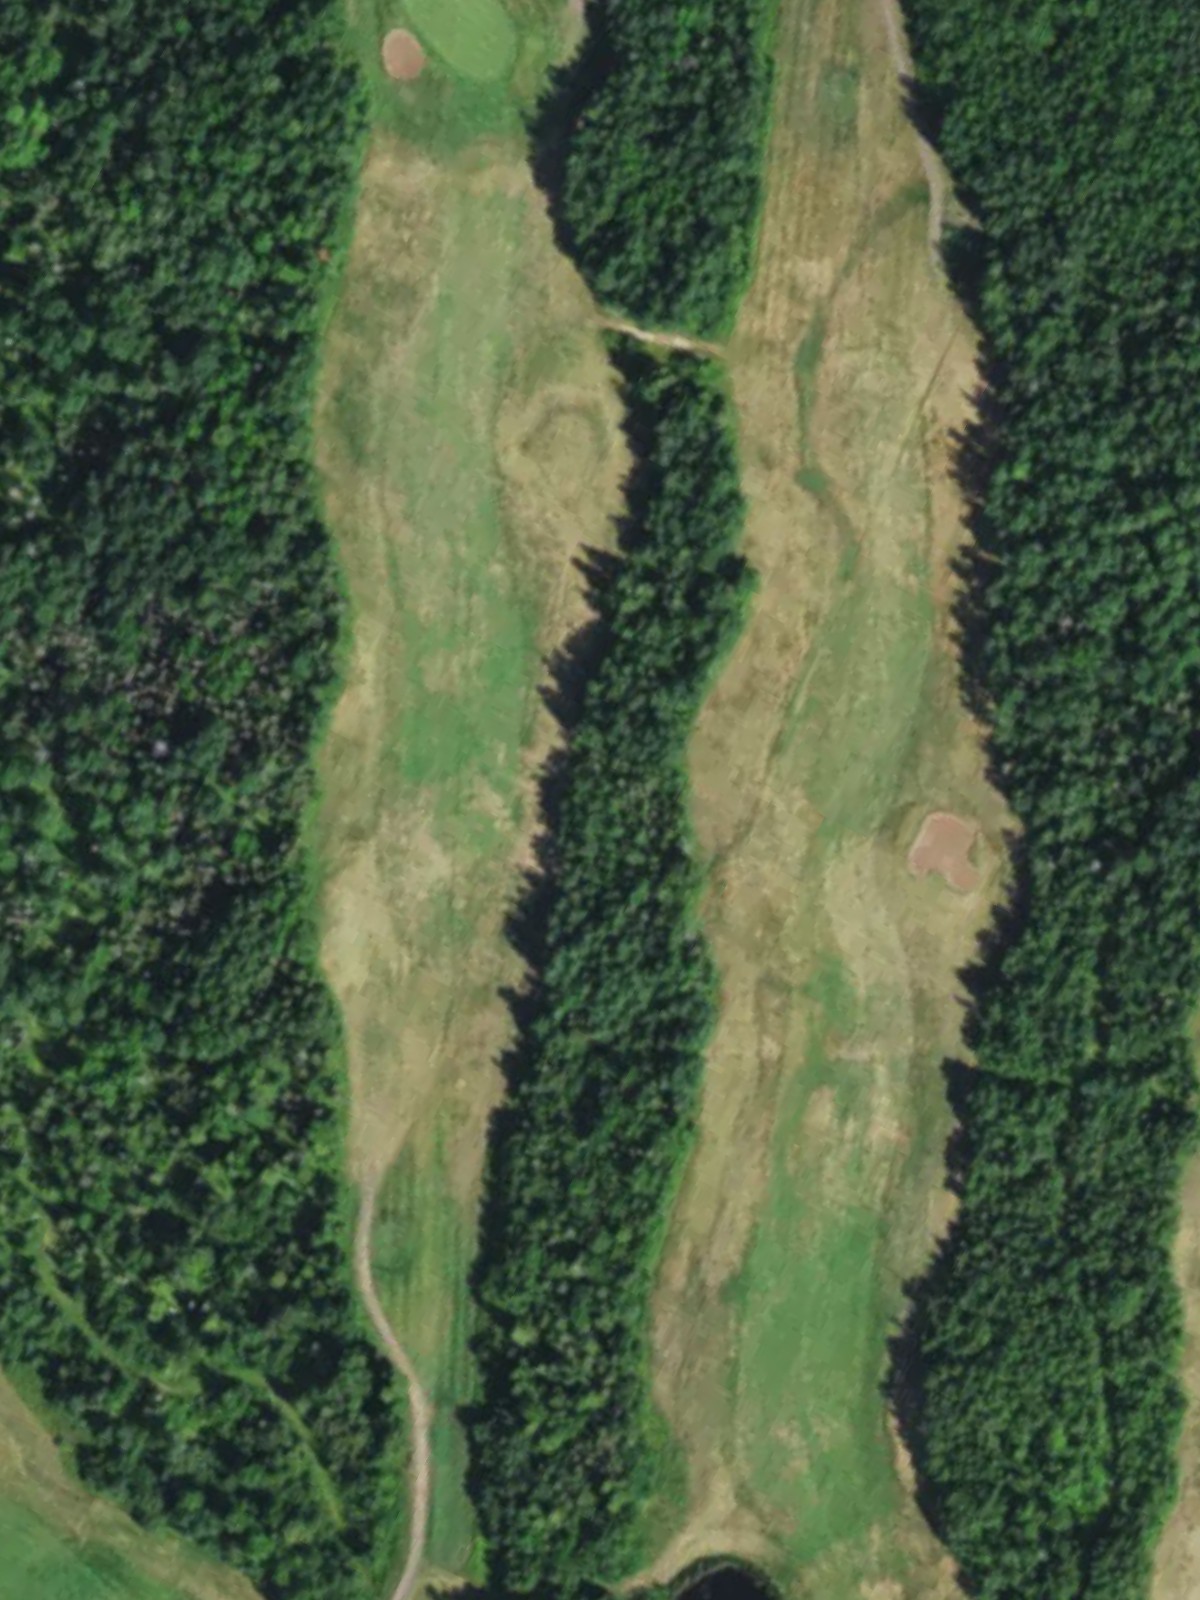
A lengthy par 5 that plays as a three-shot hole for most players, with a fairly open fairway that allows room for error off the tee. The approach to the green requires careful positioning, as the final stretch tightens considerably and demands a precise shot to find the putting surface.
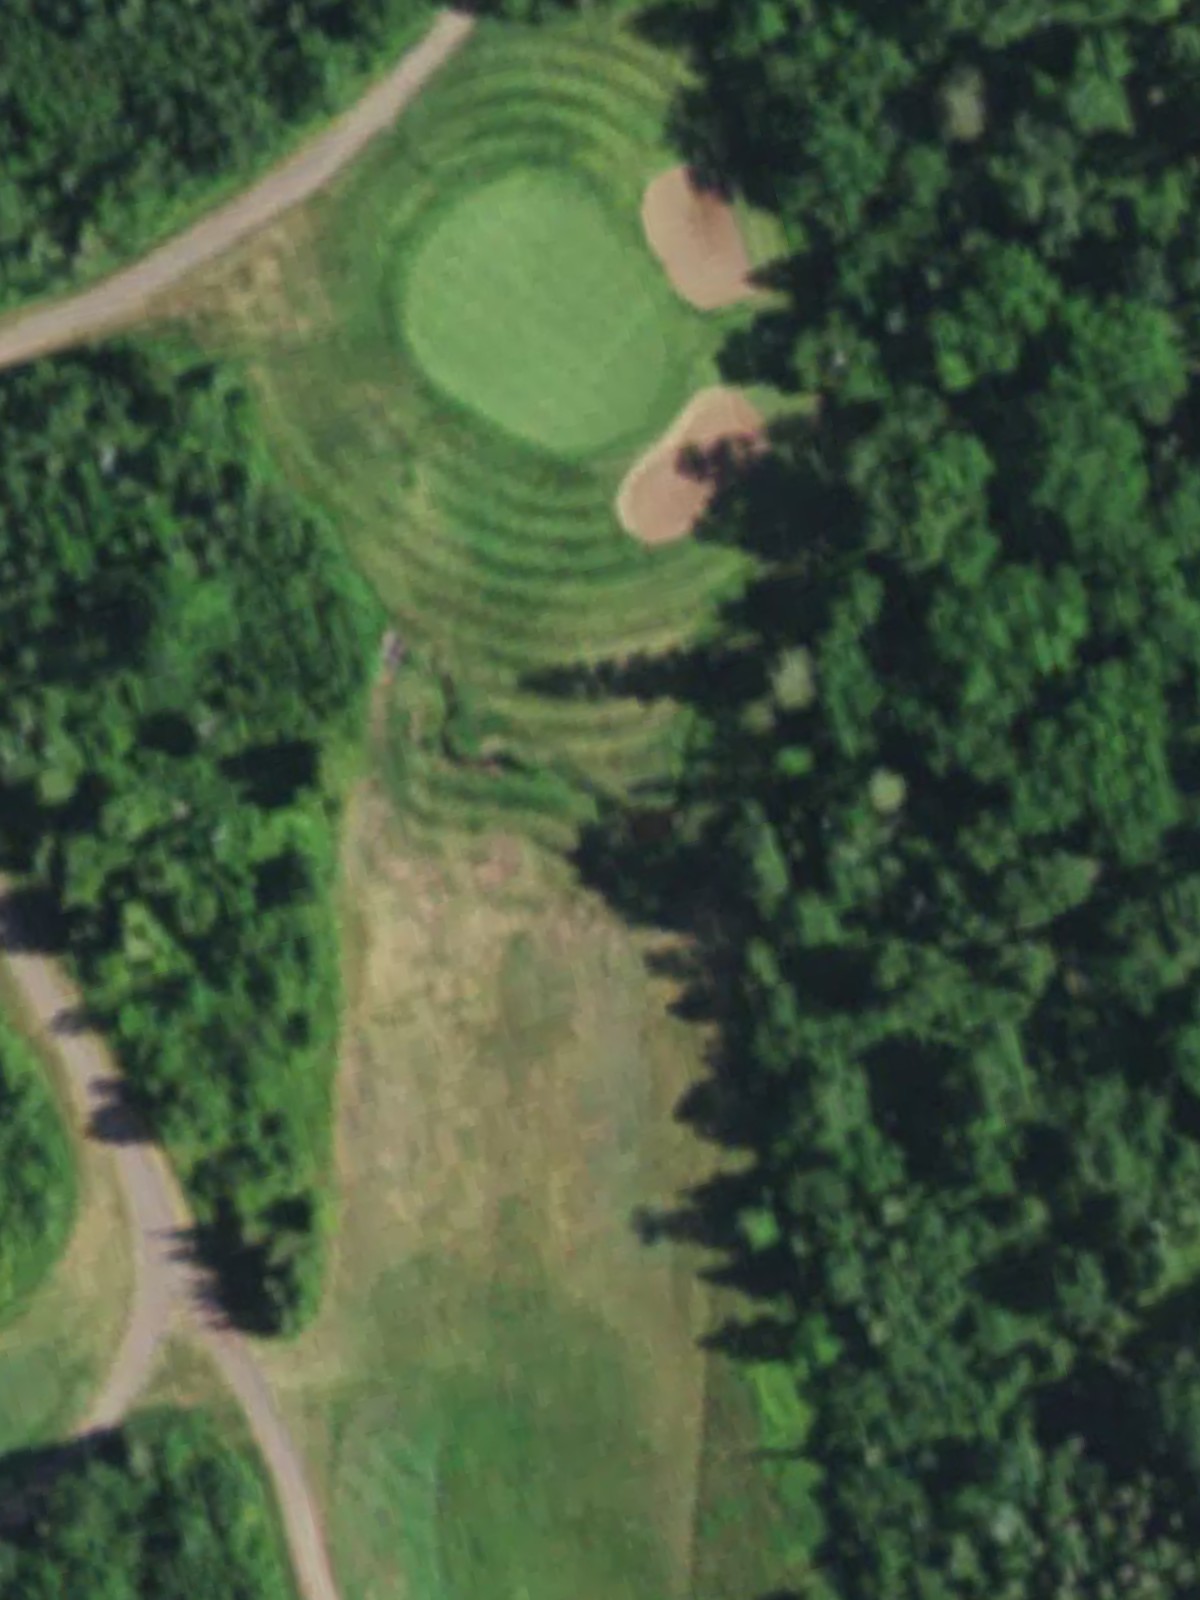
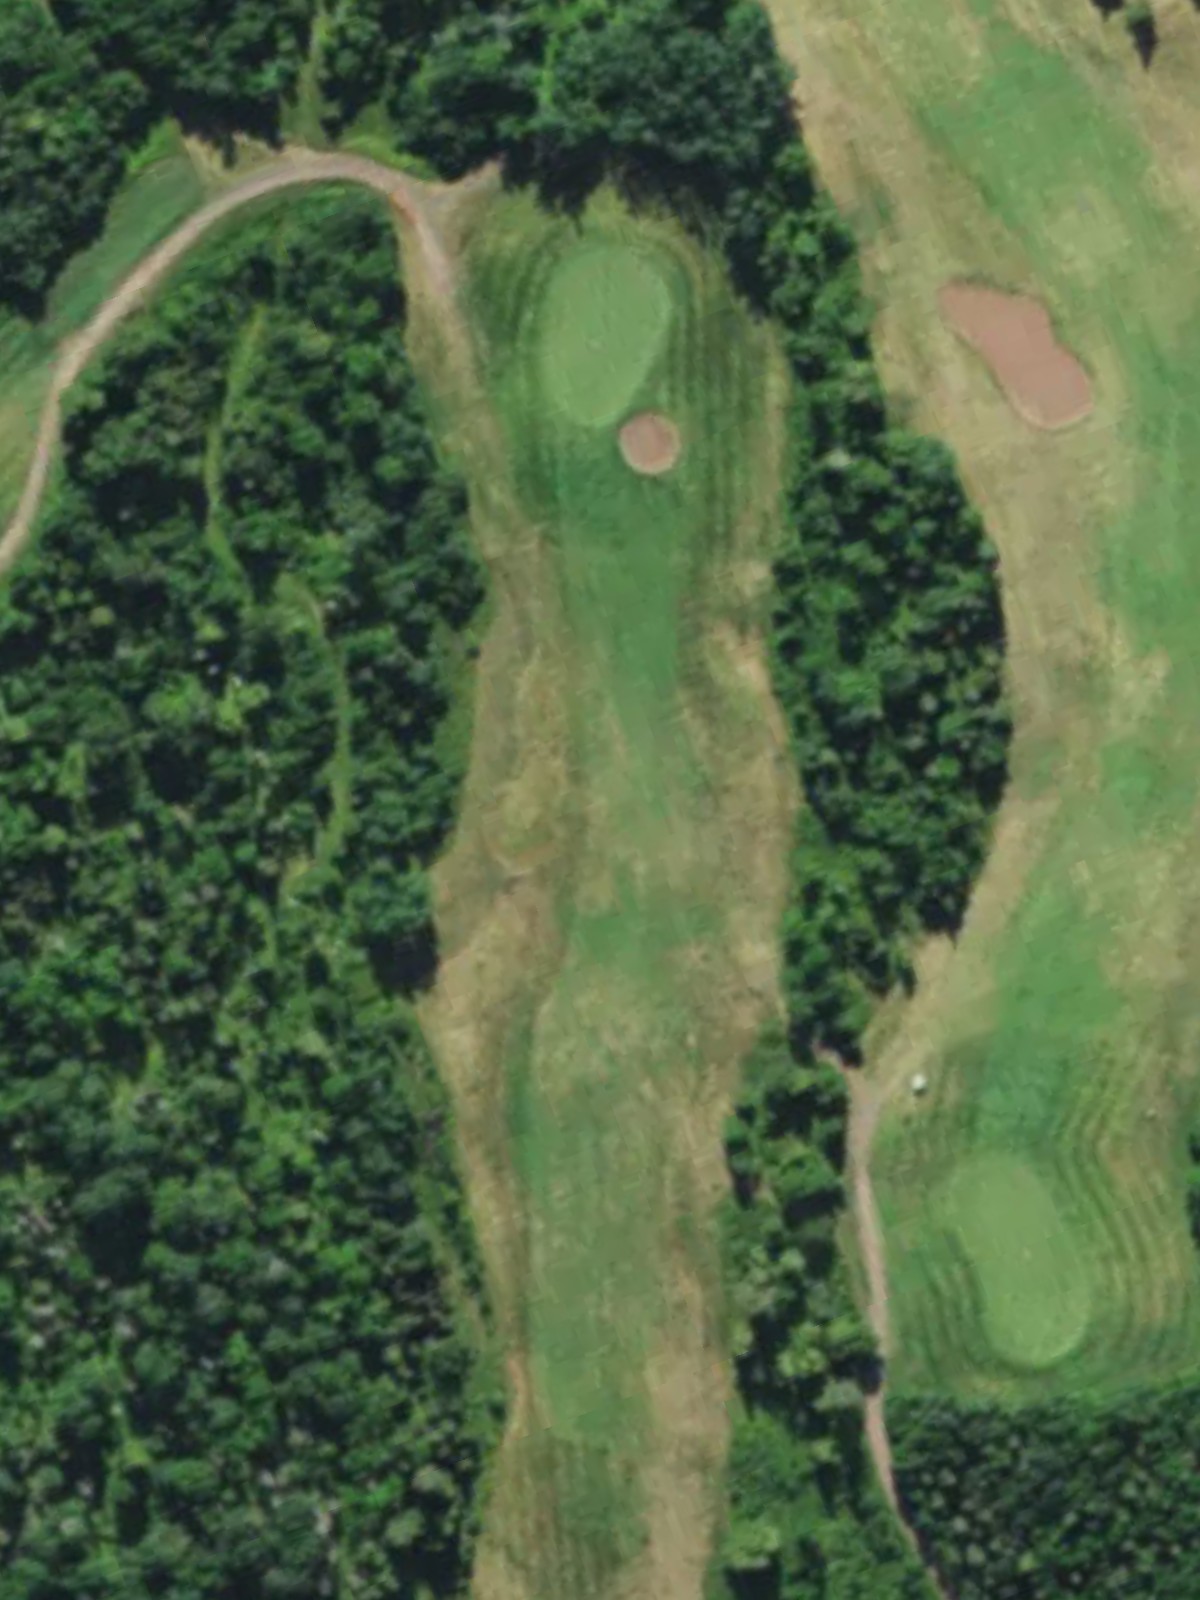
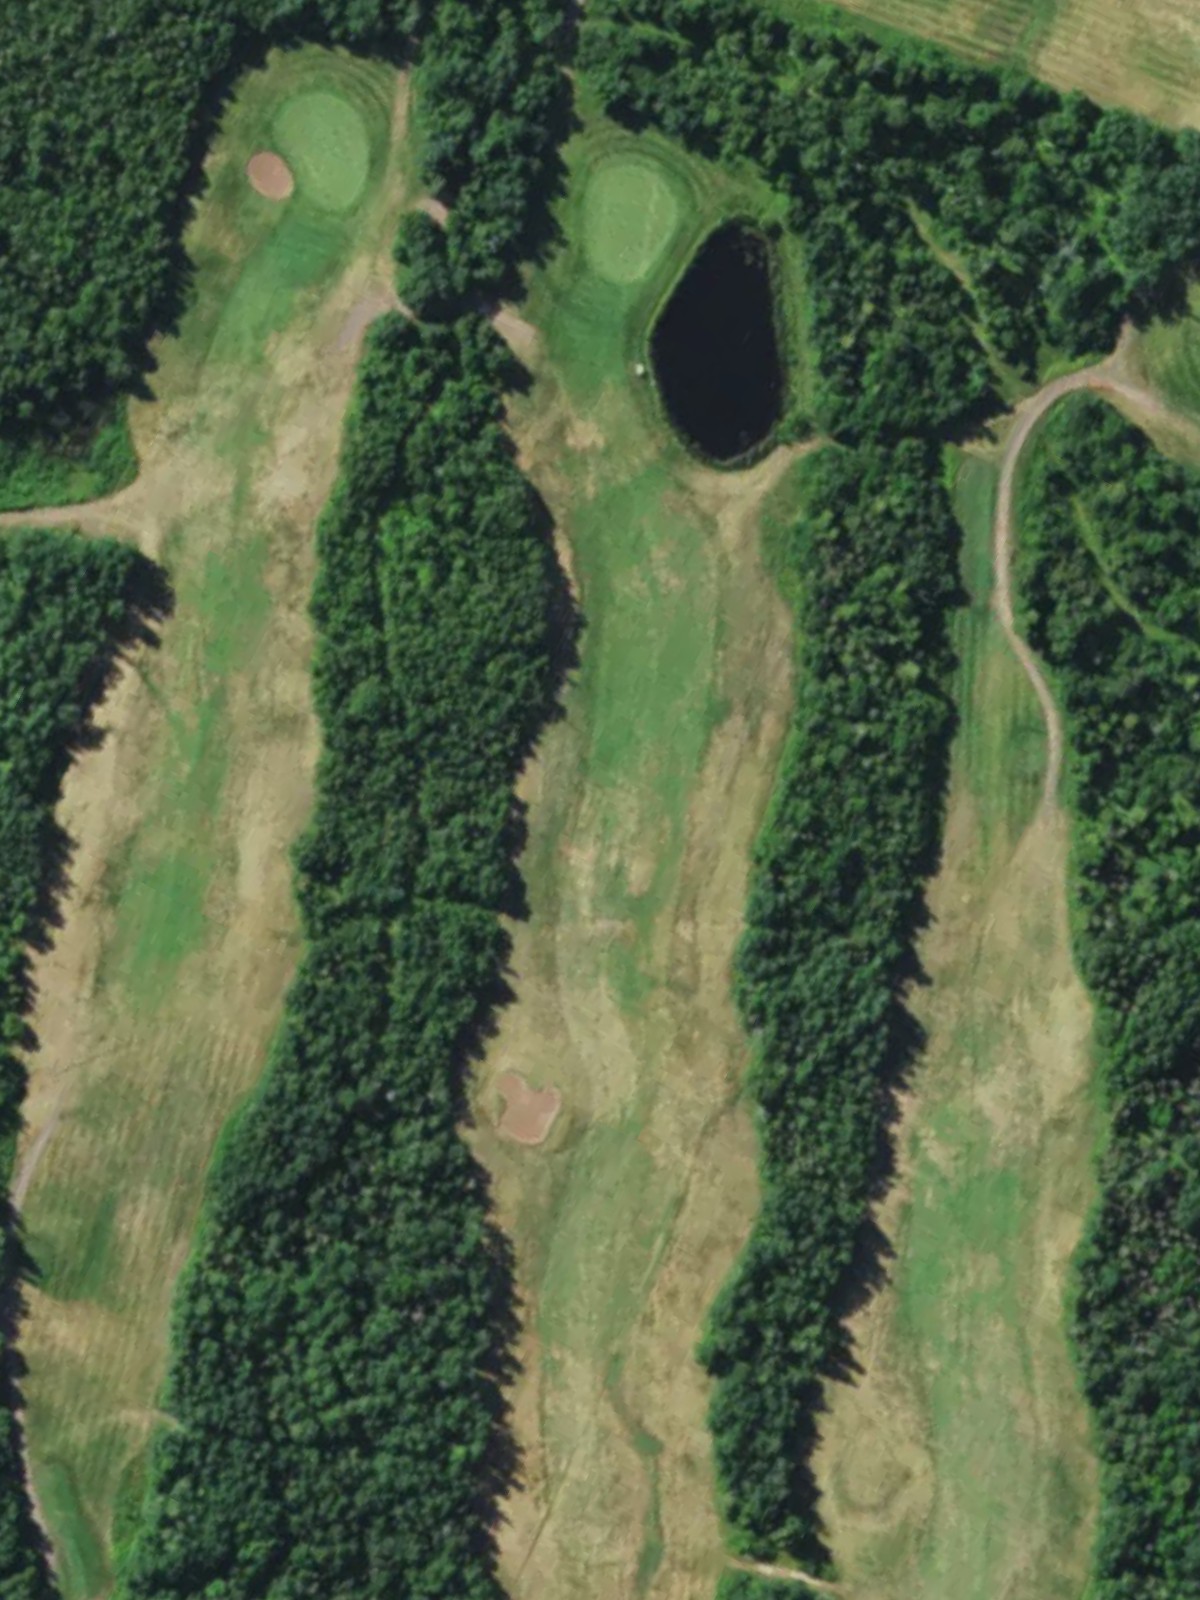
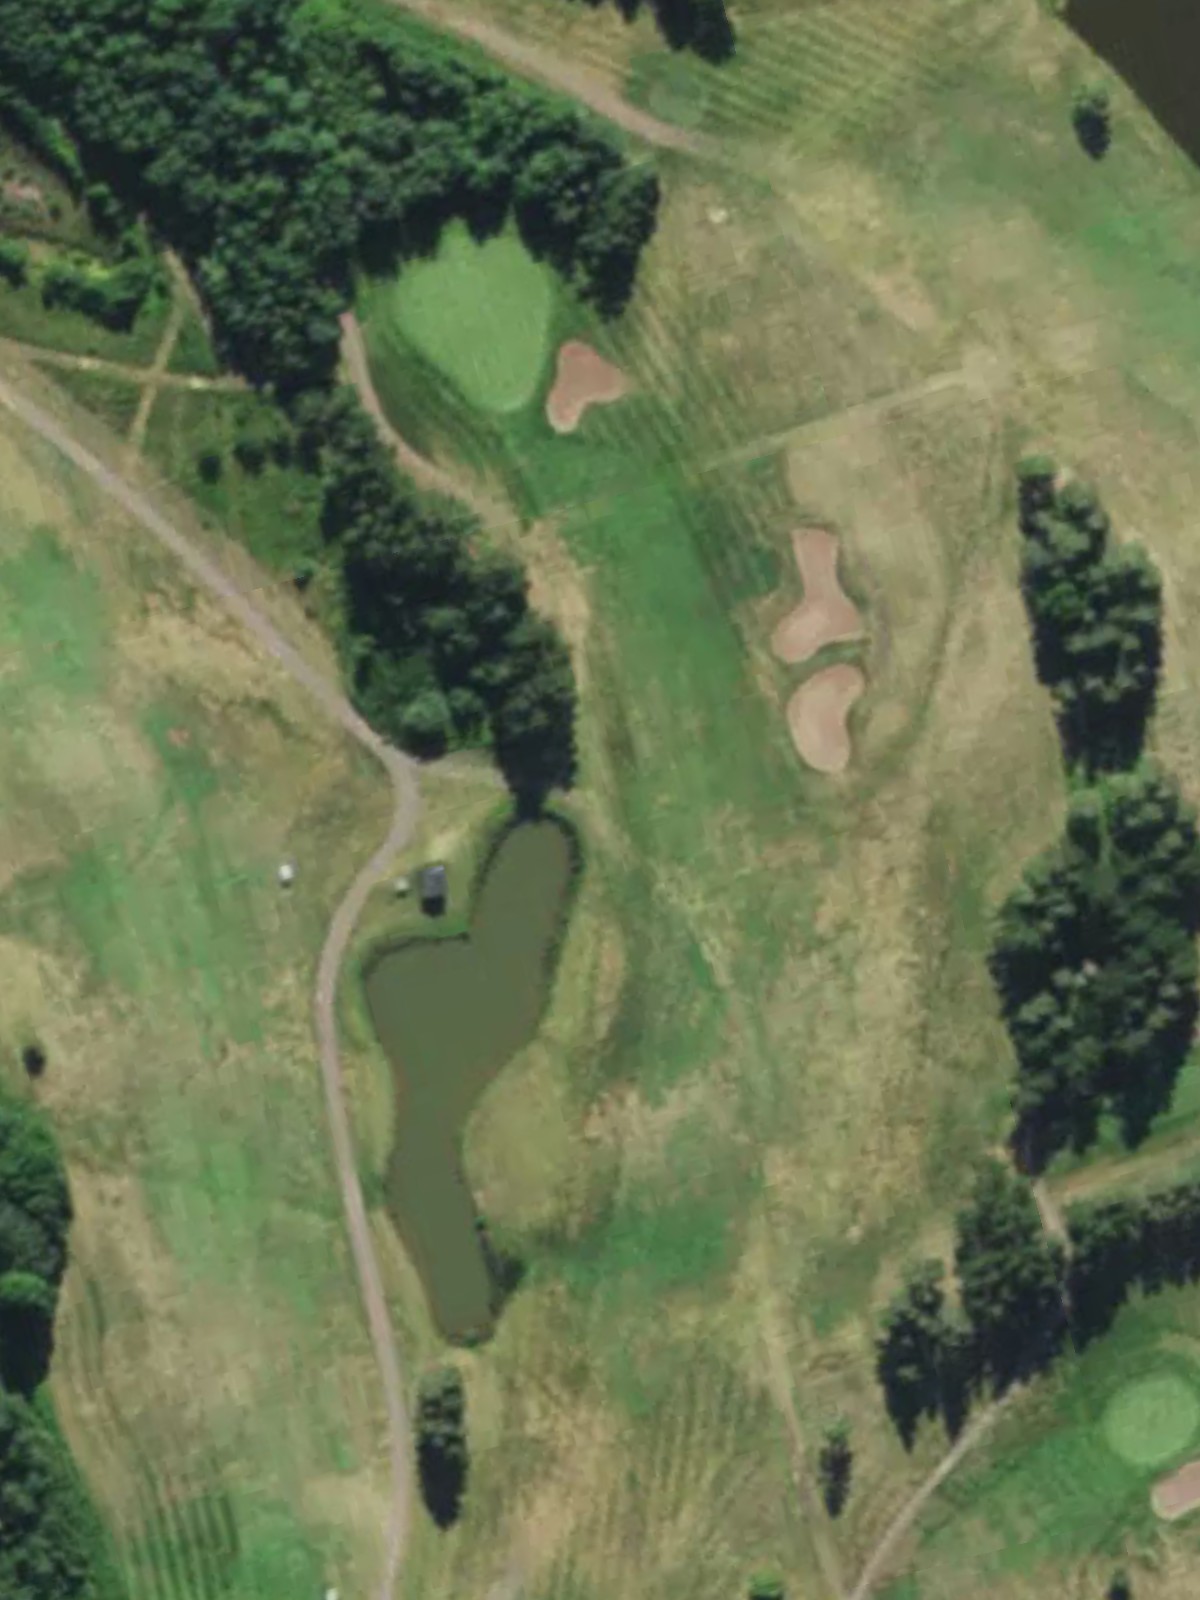
A mid-length par 3 that requires an accurate tee shot to a moderately sized green. Water hazards and bunkers surround the green, making club selection and execution critical on this straightforward but demanding one-shot hole.
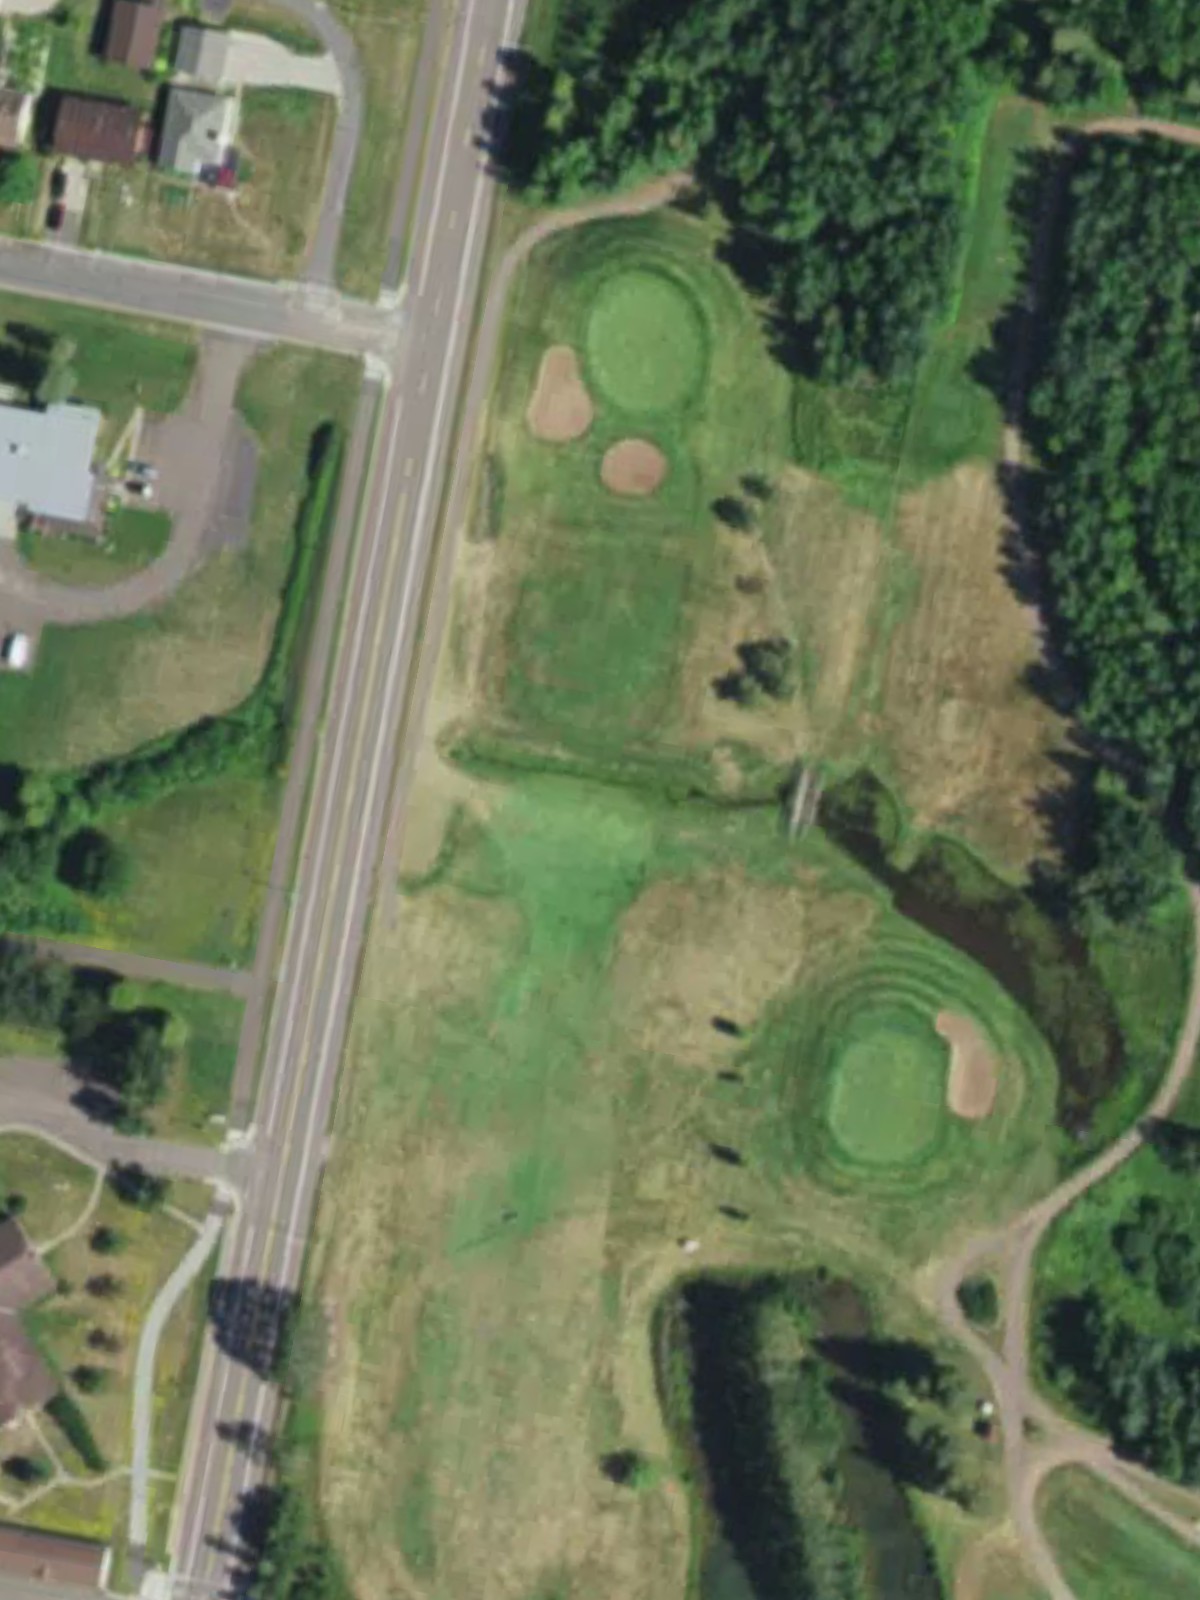
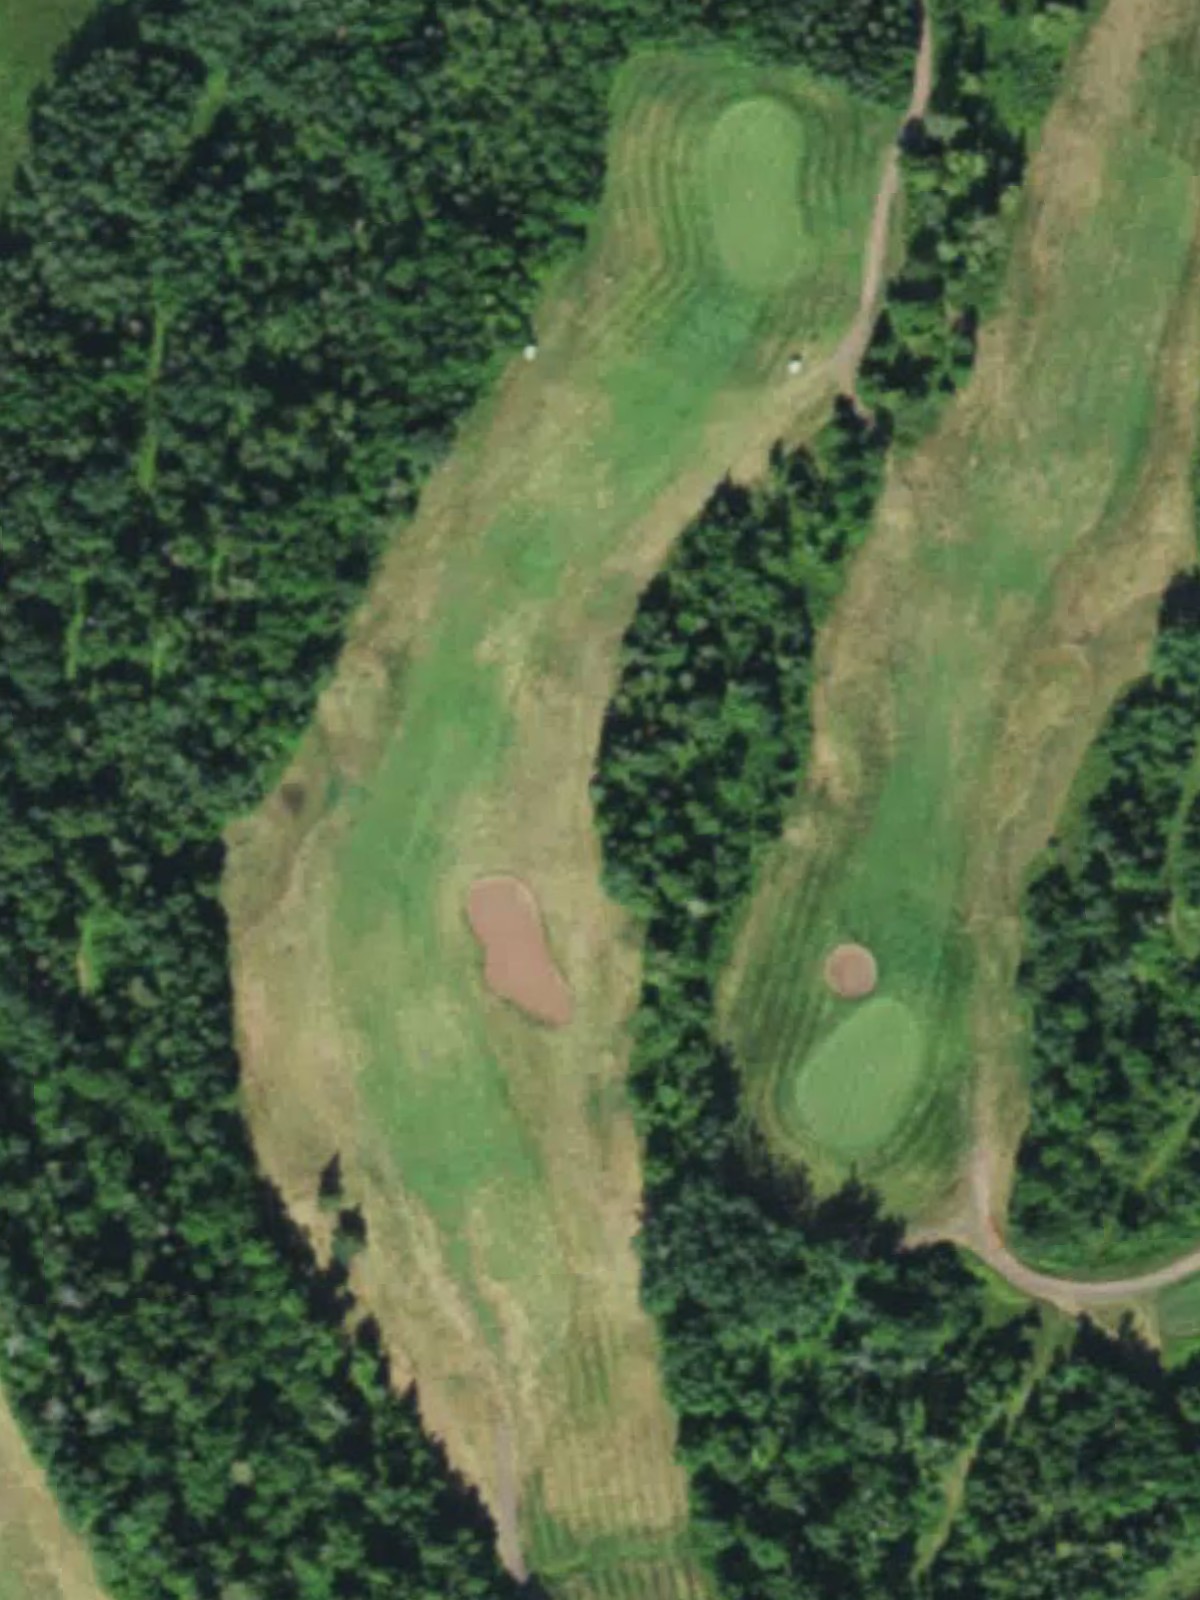
An excellent par 5 that features a dogleg configuration, rewarding accurate driving with a chance to reach in two. Water and rough rough line the outer edges of the fairway, while the green is well-protected and demands a quality third shot for birdie opportunities.
A drivable par 4 that punishes poor tee shots with out-of-bounds or water right, forcing golfers to choose between aggression and safety off the tee. The green sits tight with minimal forgiveness, making accuracy paramount on this short but tricky hole.
A short par 4 that appears deceptively simple but features subtle undulation and strategic bunkering around the green. The tight landing area and well-guarded putting surface make this a precision hole where length off the tee is less important than accuracy.
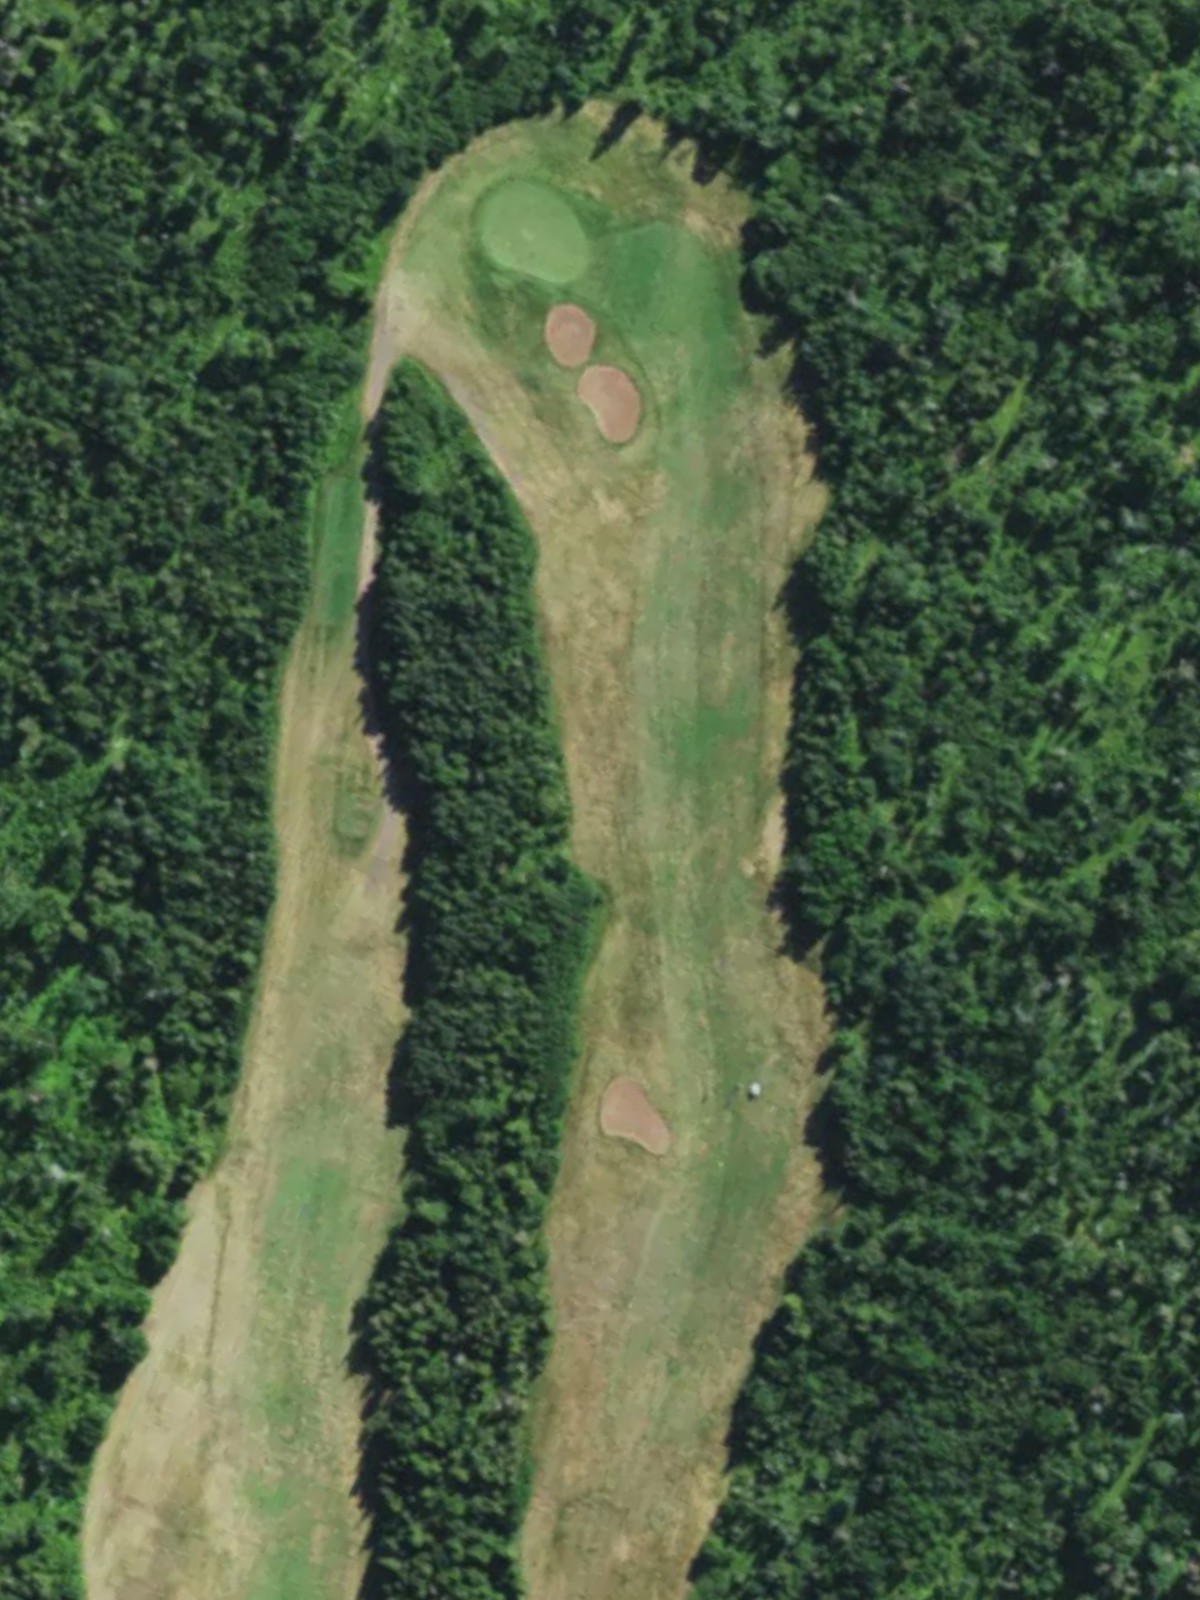
A stout par 4 that ranks among the course's most difficult, with a narrow fairway that demands an accurate drive to set up the approach. Bunkers frame both sides of the green, and the elevated putting surface adds another layer of difficulty to this strong finishing hole of the front nine.
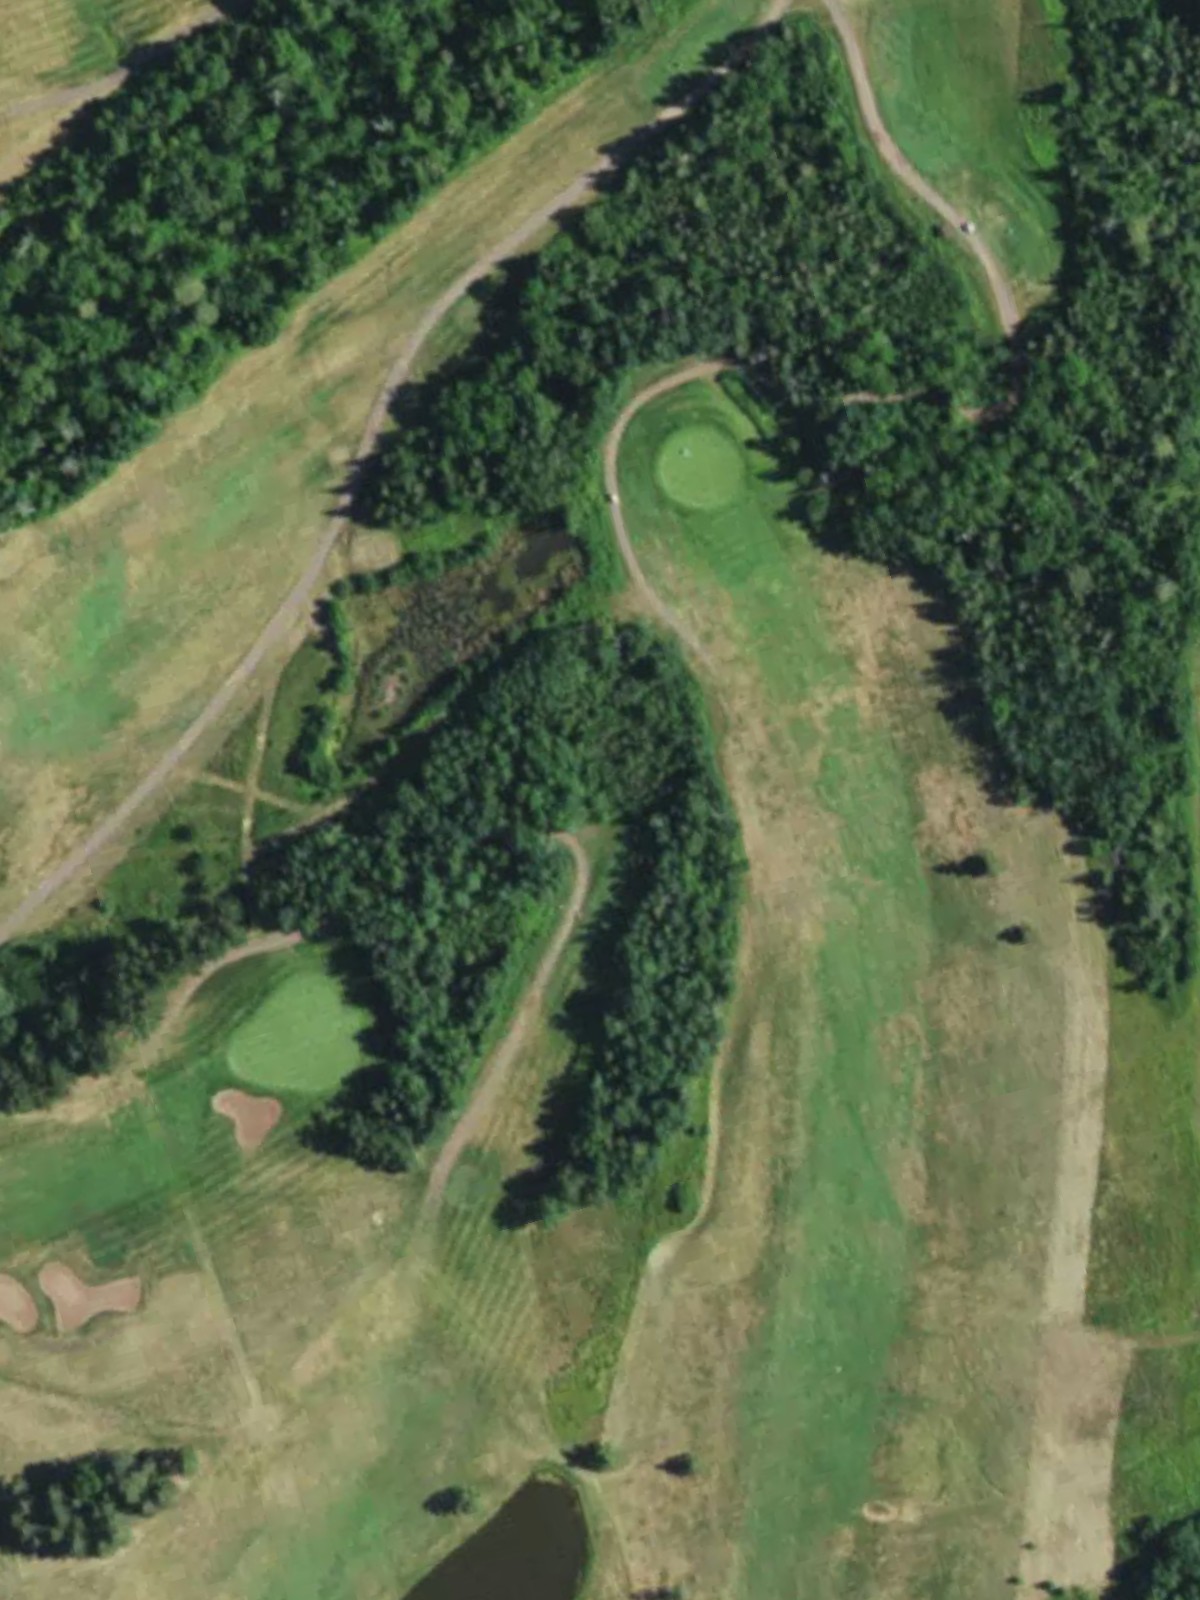
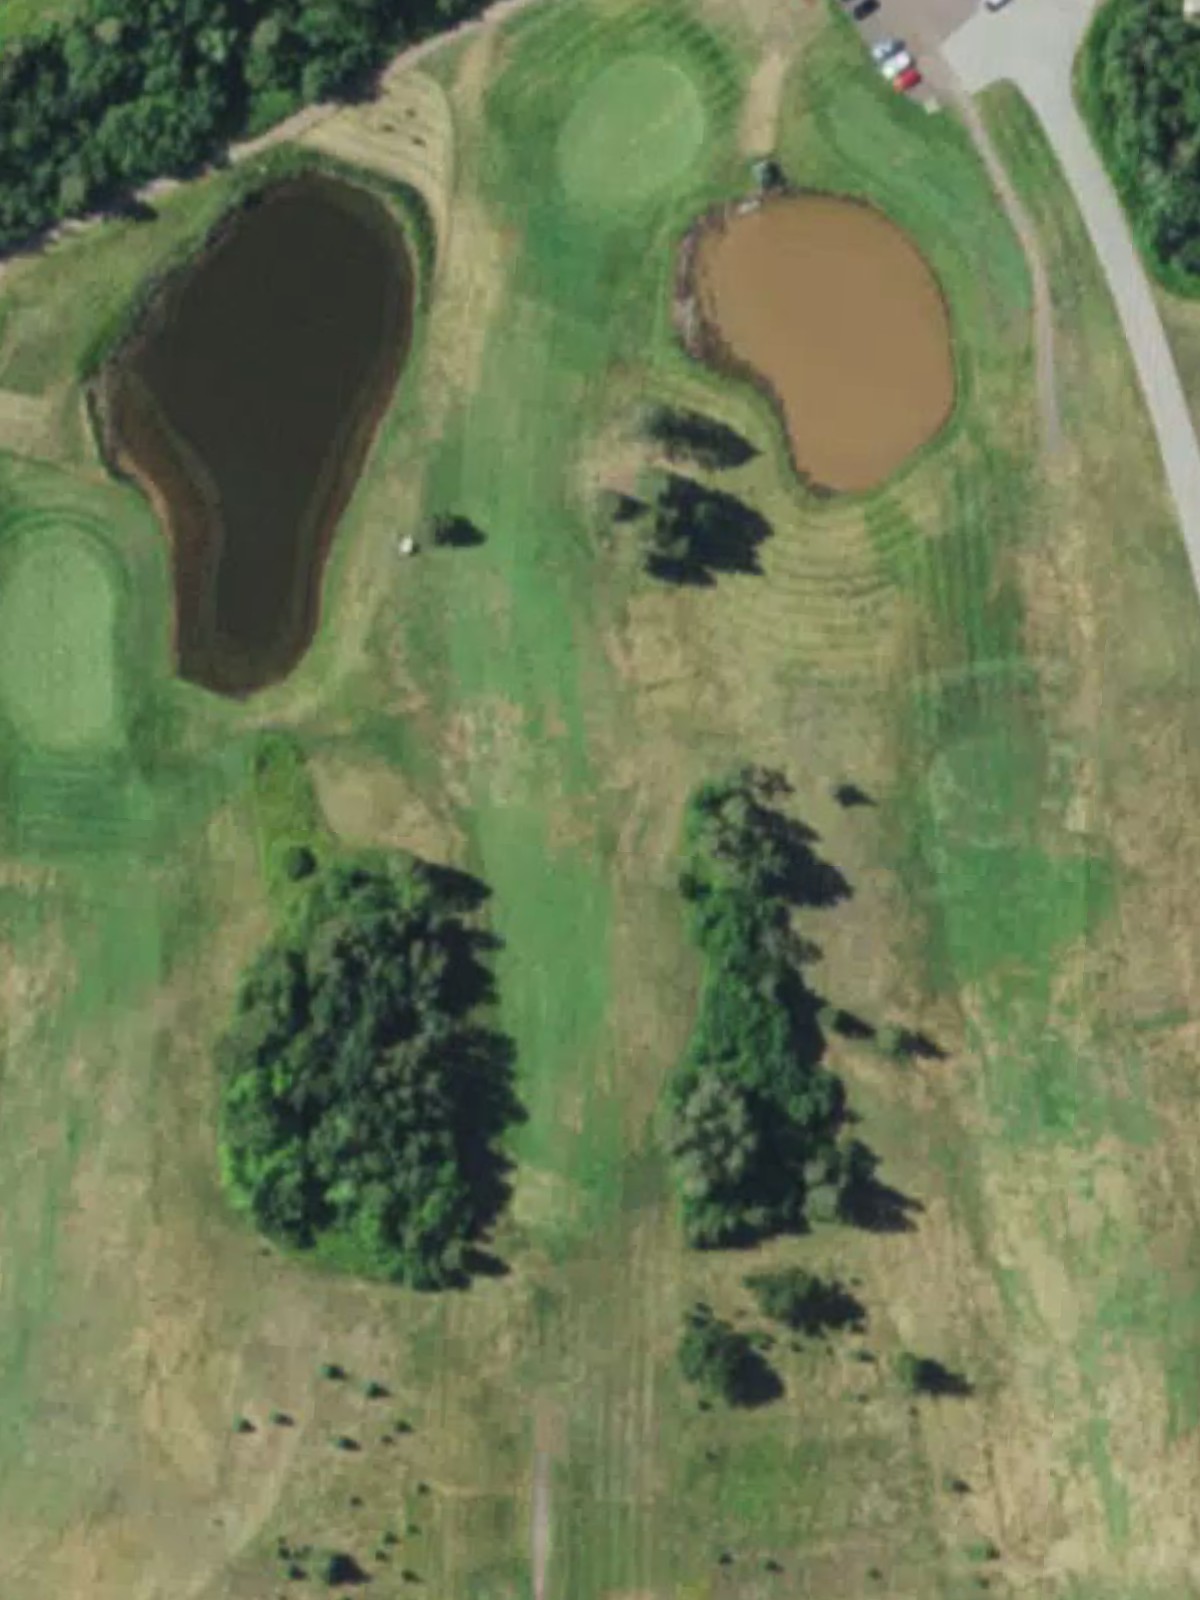
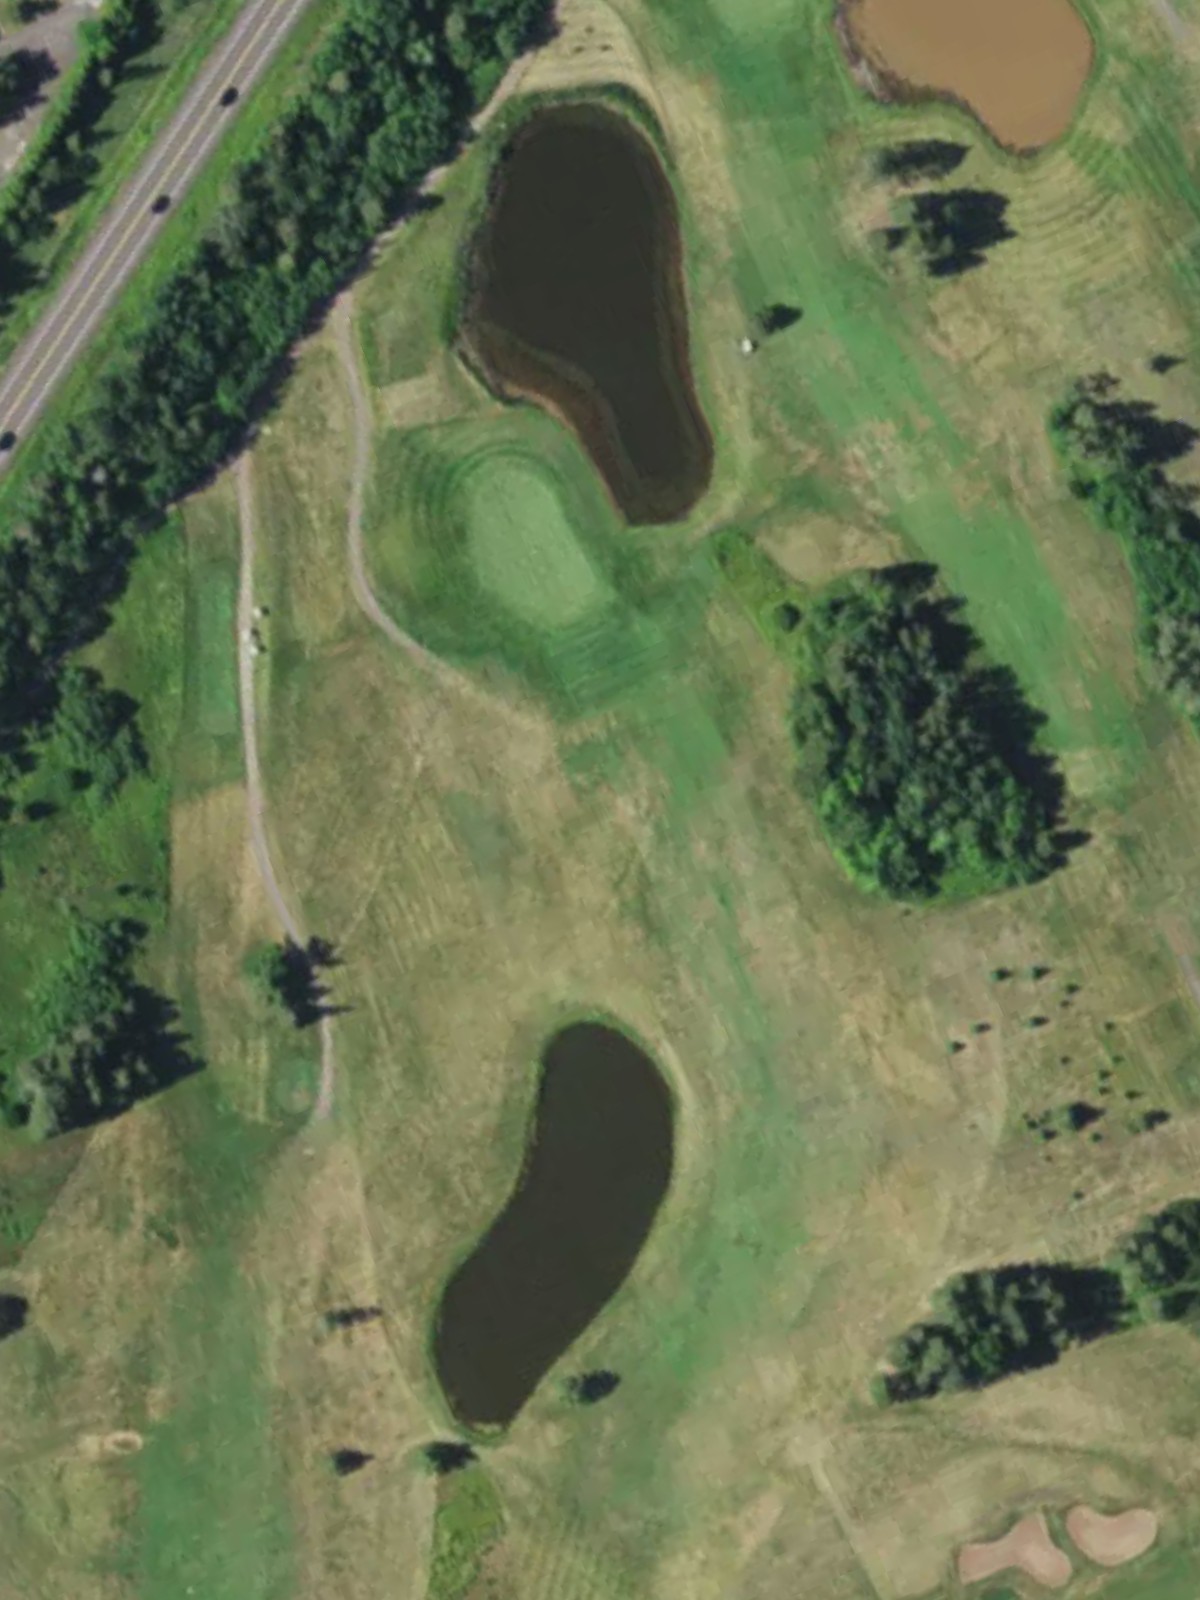
The course's most challenging hole, this par 4 plays long and features a dramatic dogleg that forces golfers to navigate around water and rough terrain. The approach shot is blind and must carry to a well-bunkered green, making this a true test of skill and nerve.
A short par 3 that belies its difficulty with a small, protected green surrounded by hazards on all sides. The narrow target and demanding approach make this an excellent risk-reward opportunity that can humble even skilled golfers.
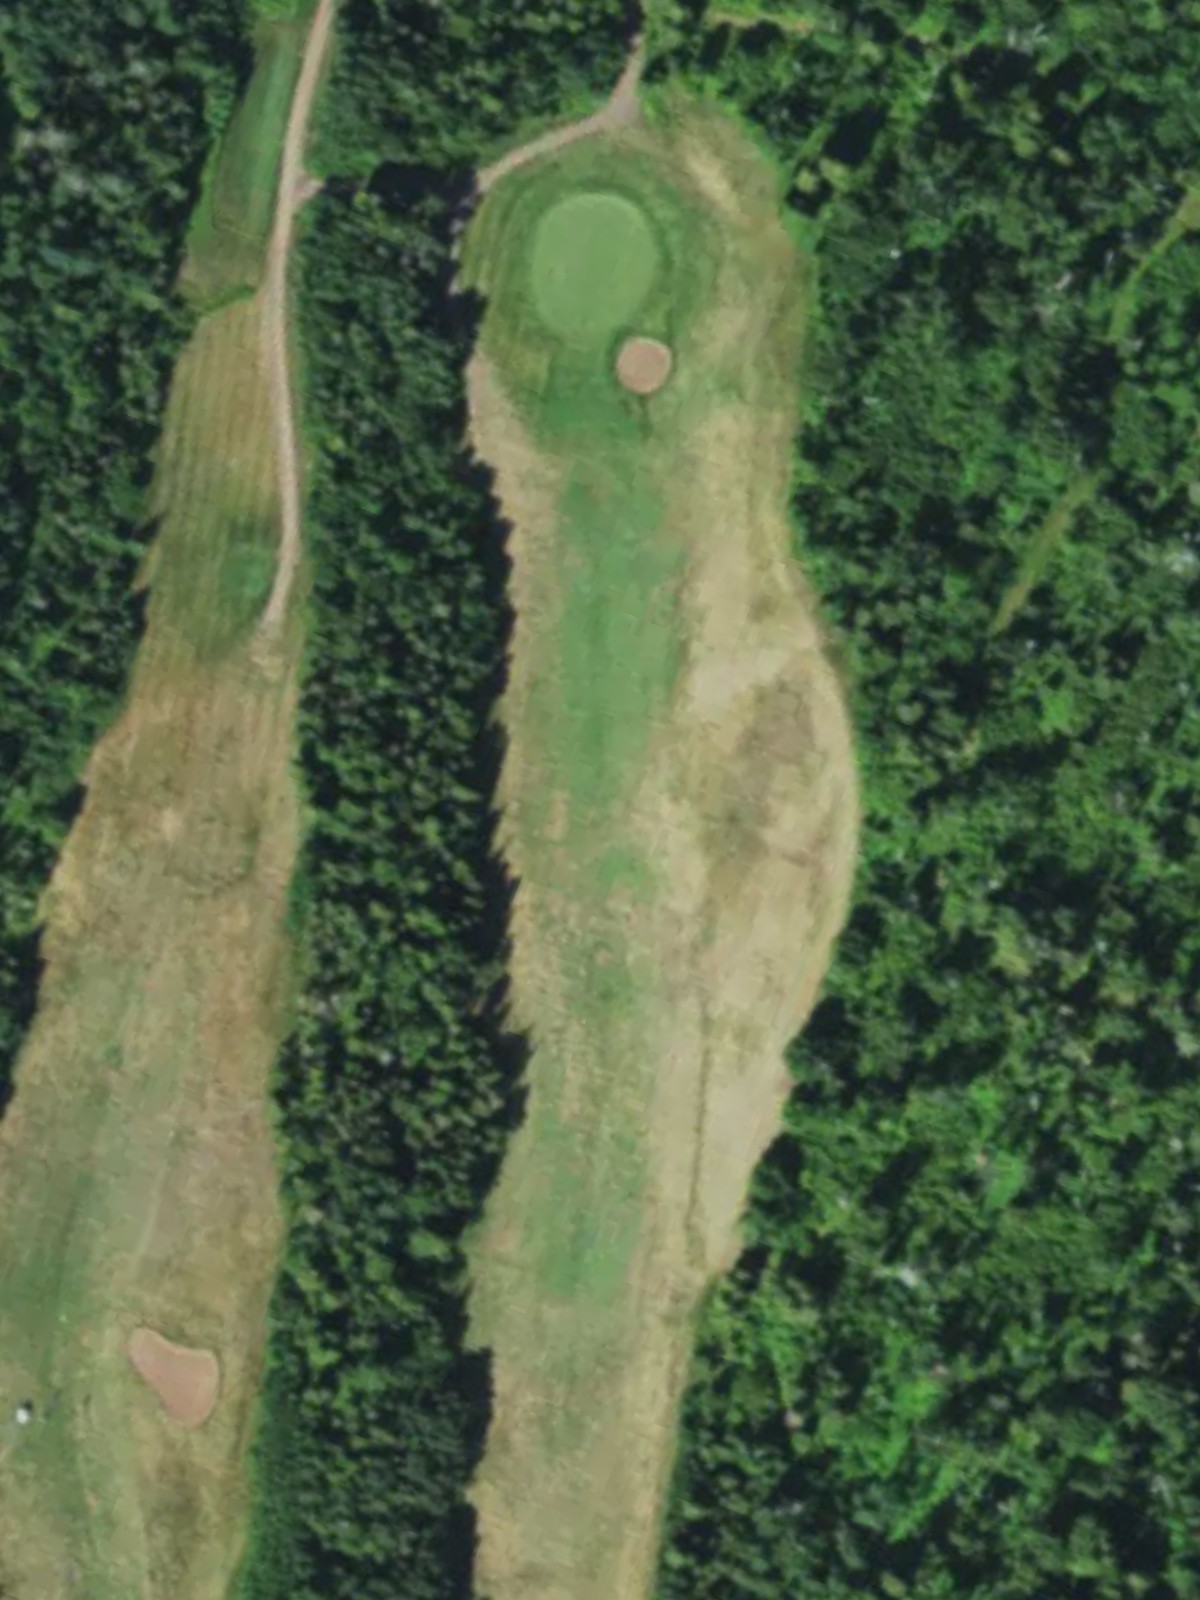
A straightforward par 4 with a relatively open fairway that gradually narrows as it approaches the green. Strategic bunkering near the putting surface requires precision on the approach shot, and the green's contours demand a thoughtful reading.
The easiest hole on the course, this short par 4 features a generous fairway and minimal hazards, offering an excellent scoring opportunity. The green is accessible and forgiving, making this an ideal birdie chance to start the back nine.
A mid-length par 4 with a dogleg that requires careful positioning off the tee to avoid trouble on the inside of the turn. Bunkers protect the green complex, and the slightly elevated putting surface adds dimension to the finishing approach.
A short par 4 that sits as one of the course's more playable holes, with a straightforward fairway and approachable green. Light bunkering and relatively open access to the putting surface make this a good scoring hole despite its length.
A solid par 4 with a fairly open fairway that requires a balanced approach between distance and accuracy off the tee. The green is well-guarded with bunkers and subtle slopes, demanding precision on the approach shot to set up a makeable putt.
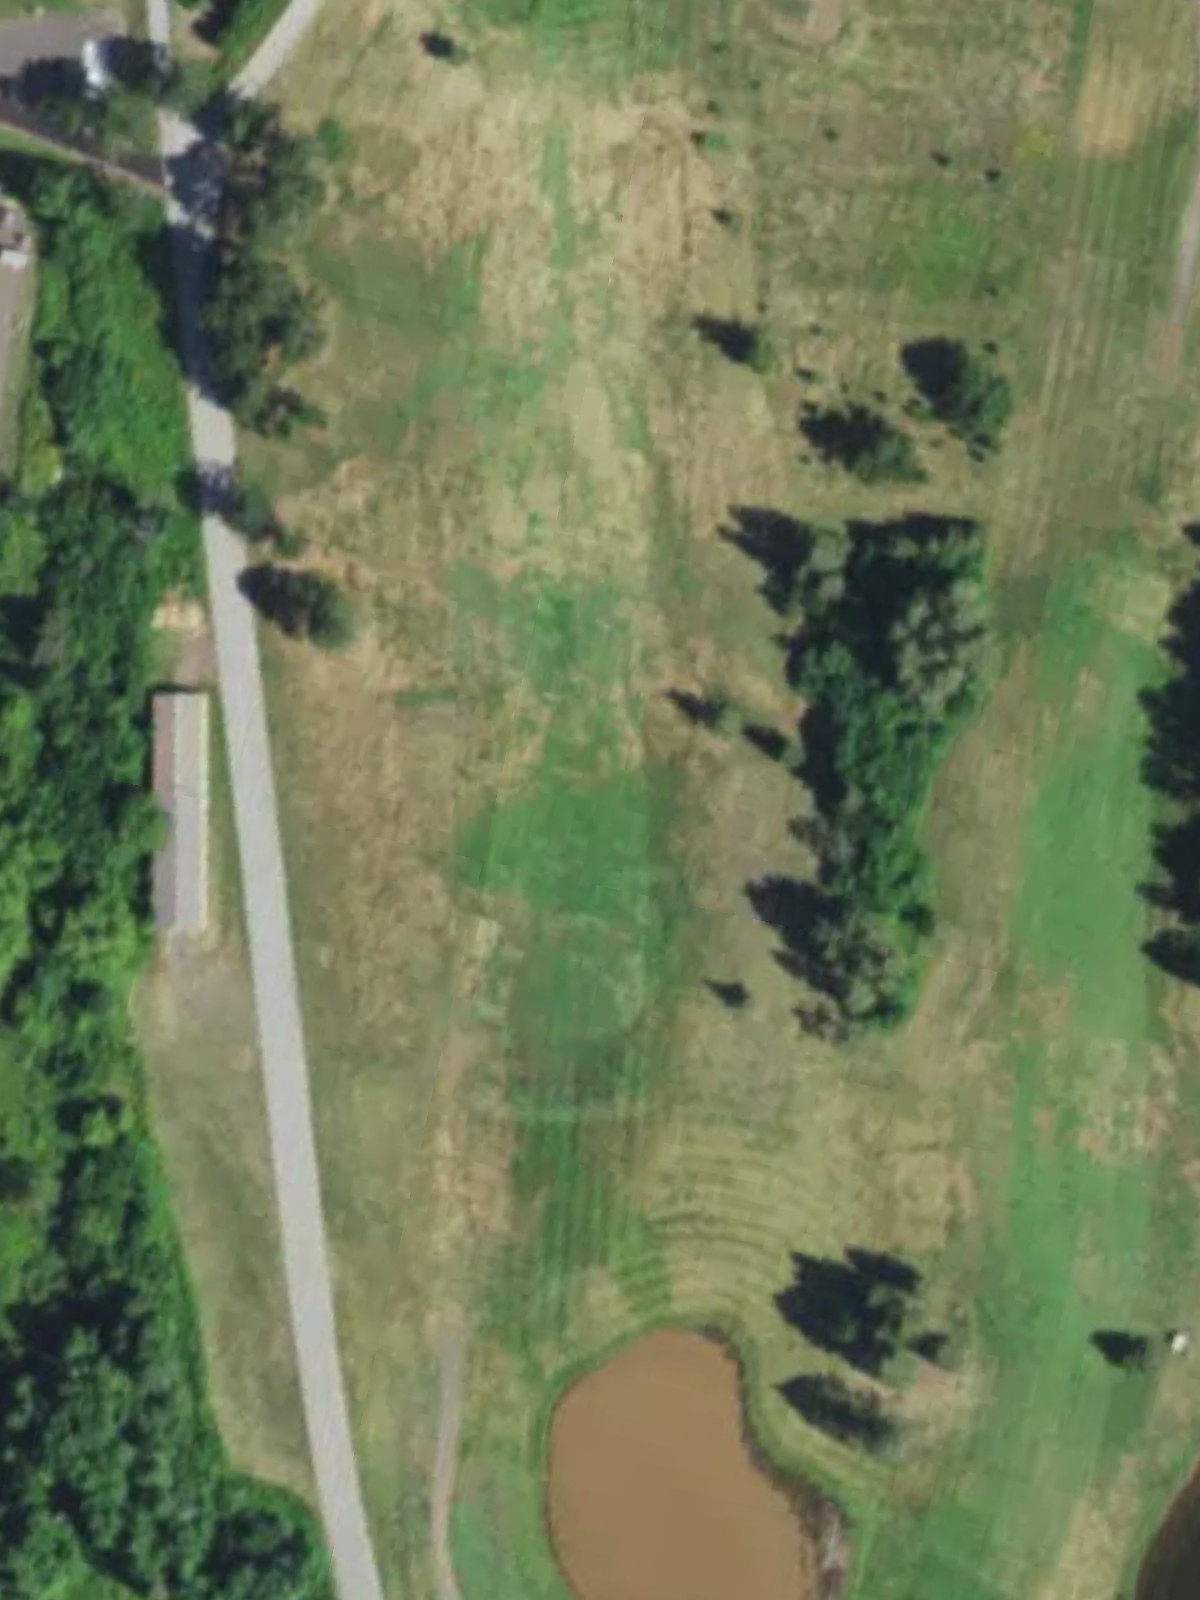
The course's most difficult par 5, this long three-shot hole features a dramatic dogleg and hazards that penalize poor positioning throughout the fairway. Water and strategic bunkering near the green demand careful management over the three shots required to reach the putting surface.
The second-most difficult hole on the course, this par 4 plays extremely long and features a narrow, treacherous fairway lined with hazards. The demanding approach shot must navigate to a small, well-protected green that rewards only the most precise shots.
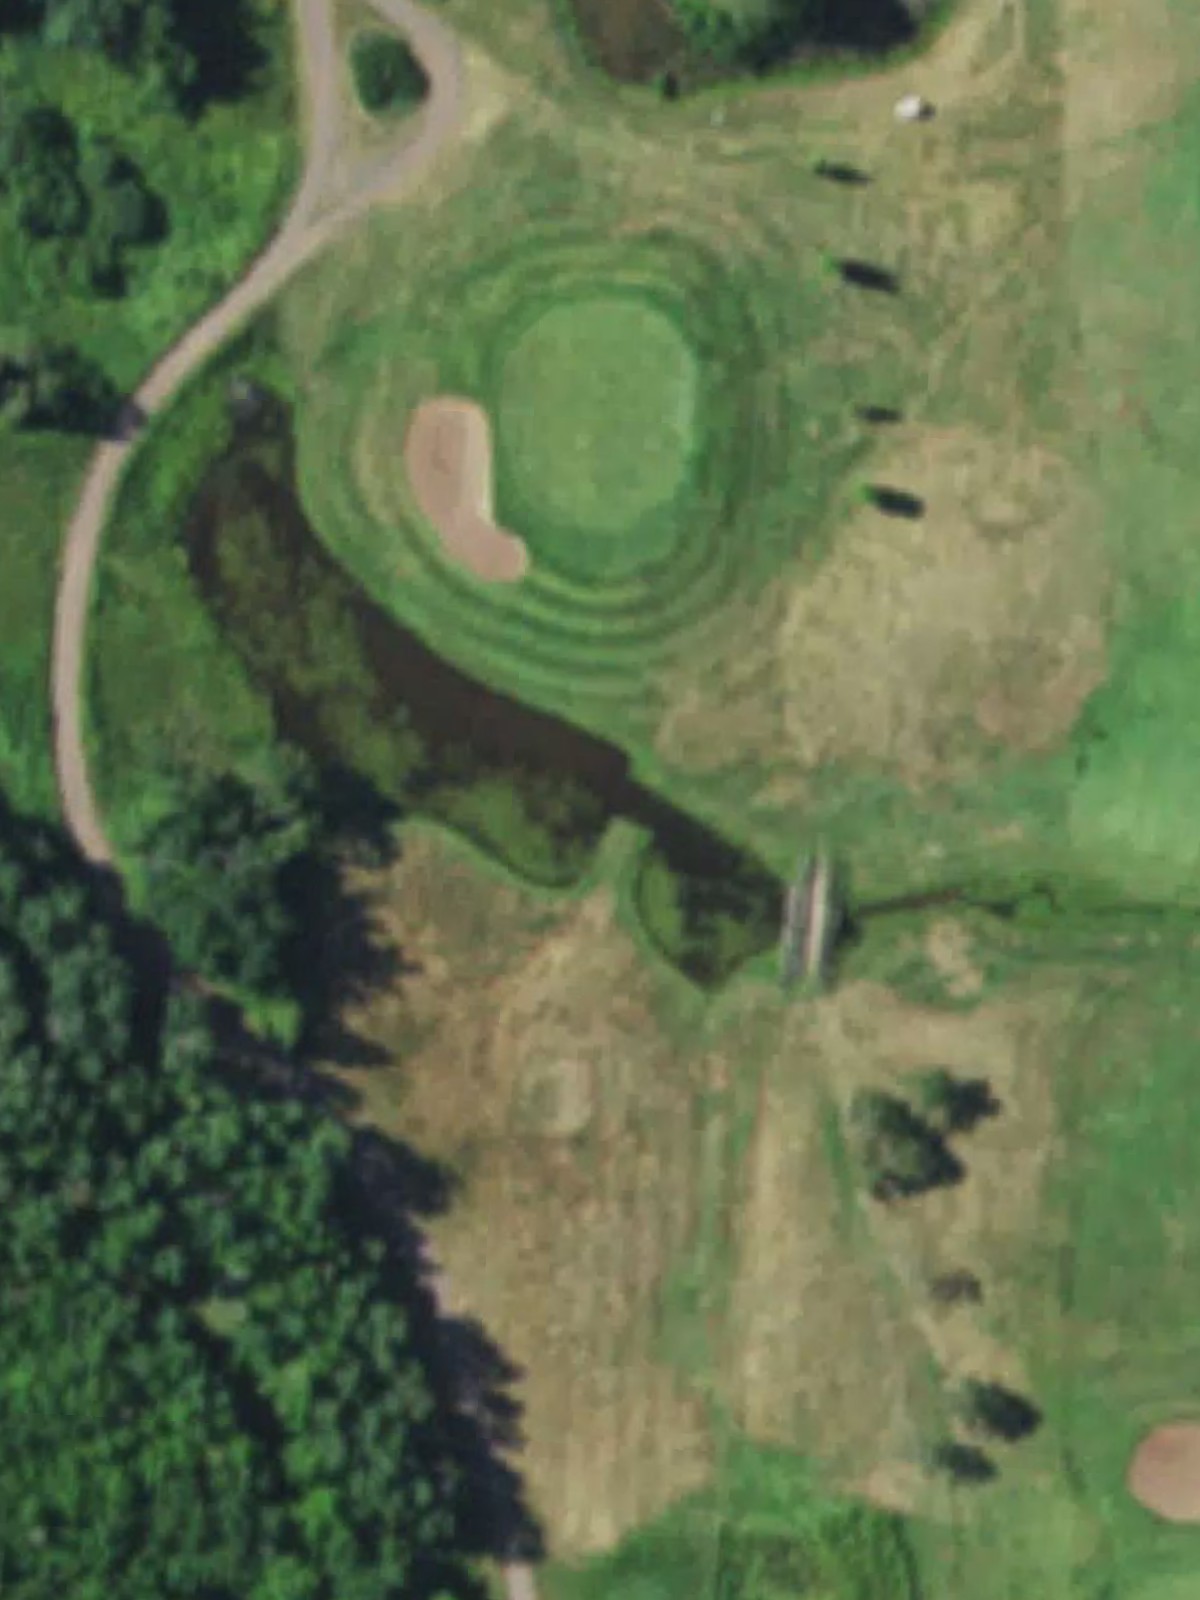
A mid-length par 3 with a well-bunkered green that demands an accurate tee shot to a moderately sized target. Water and rough guard the edges, and the sloped green makes distance control critical on this attractive one-shot hole.
A manageable par 4 with a relatively open fairway that allows room for error off the tee, setting up a straightforward approach to the green. Minimal hazards and a forgiving green complex make this a nice recovery opportunity before the finishing hole.
A strong finishing par 4 that plays to a green framed by bunkers and hazards, requiring an accurate approach shot to close out the round. The elevated green and strategic bunkering demand precision on the final hole, providing a memorable conclusion to the round.
Scorecard
| Hole | 1 | 2 | 3 | 4 | 5 | 6 | 7 | 8 | 9 | Out | 10 | 11 | 12 | 13 | 14 | 15 | 16 | 17 | 18 | In | Tot |
|---|---|---|---|---|---|---|---|---|---|---|---|---|---|---|---|---|---|---|---|---|---|
| Par | 5 | 3 | 5 | 4 | 4 | 4 | 4 | 3 | 4 | 36 | 4 | 4 | 4 | 4 | 5 | 4 | 3 | 4 | 4 | 36 | 72 |
| HCP | 11 | 9 | 7 | 5 | 15 | 3 | 1 | 17 | 13 | 18 | 10 | 16 | 8 | 4 | 2 | 14 | 12 | 6 | |||
| blue | 496 | 194 | 515 | 388 | 338 | 415 | 474 | 179 | 369 | 3368 | 335 | 377 | 351 | 397 | 546 | 437 | 194 | 360 | 408 | 3405 | 6773 |
| white | 476 | 164 | 495 | 368 | 330 | 394 | 454 | 155 | 347 | 3183 | 314 | 362 | 336 | 377 | 526 | 417 | 174 | 340 | 388 | 3234 | 6417 |
| gold | 382 | 143 | 415 | 308 | 285 | 331 | 372 | 122 | 302 | 2660 | 296 | 352 | 311 | 326 | 421 | 357 | 139 | 291 | 315 | 2808 | 5468 |