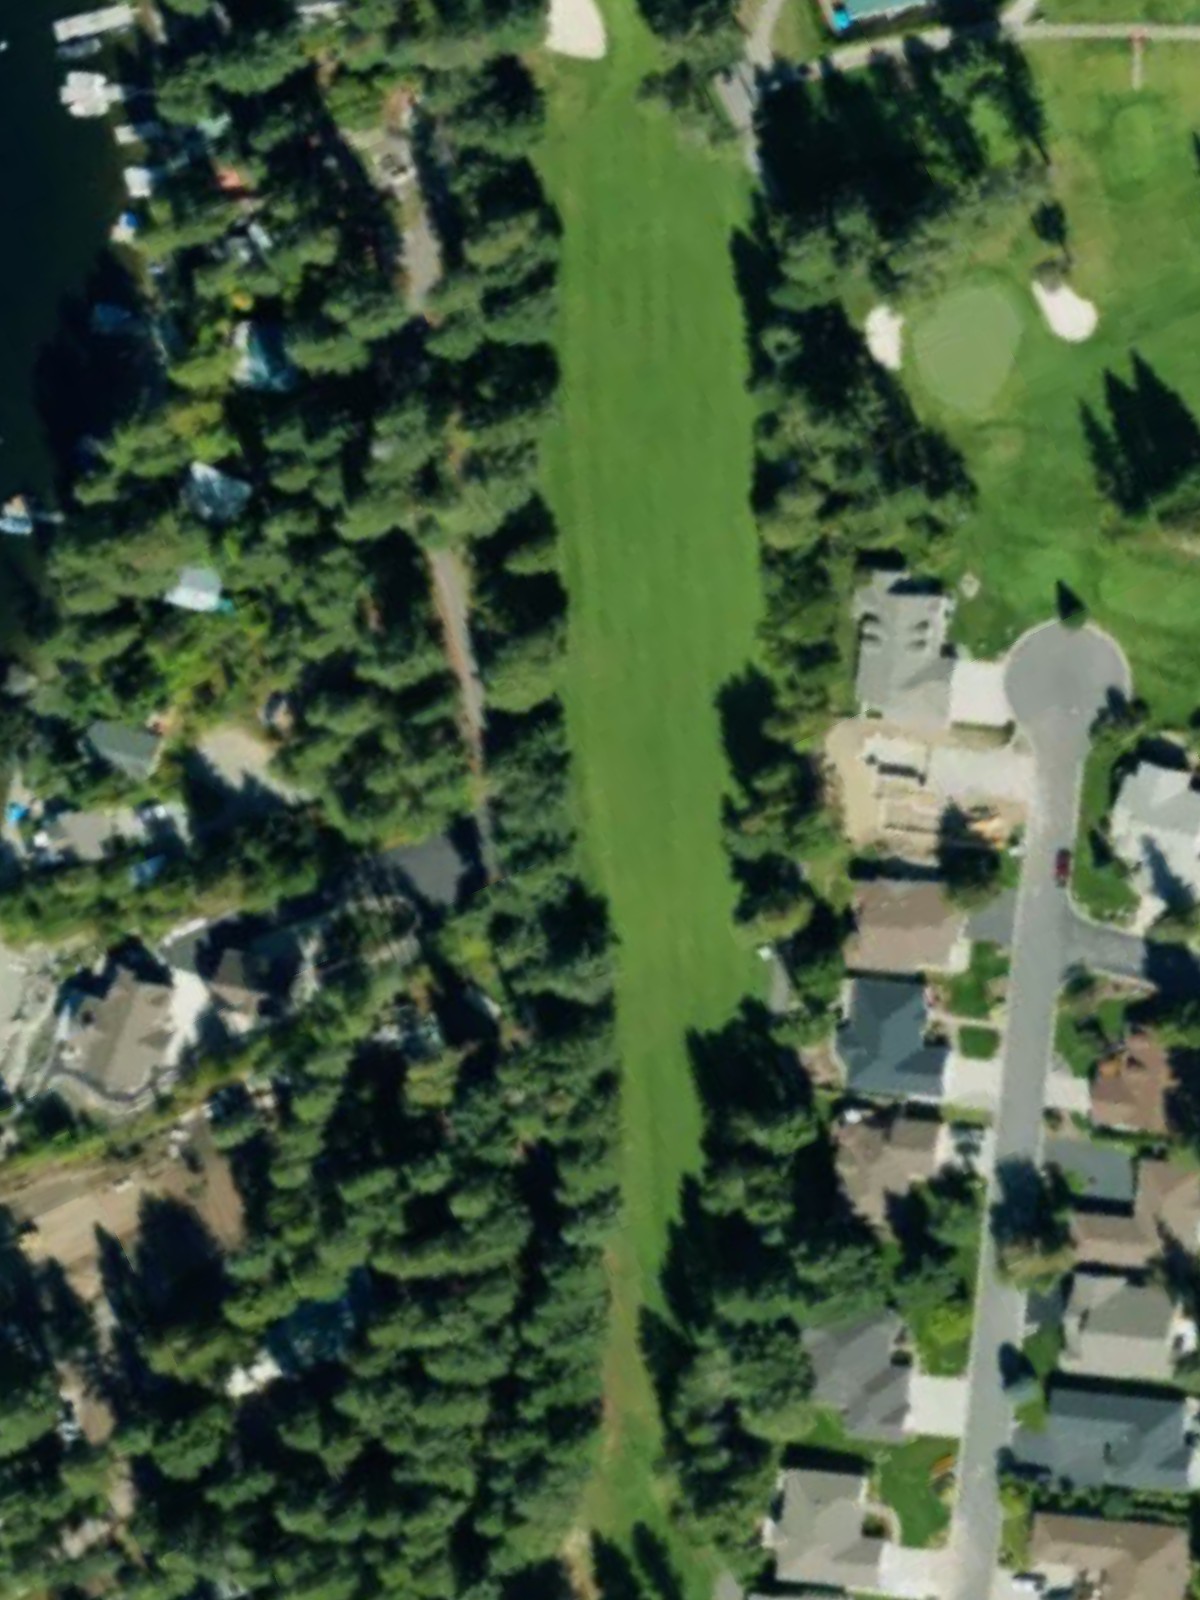
Twin Lakes Village Golf Club is an 18-hole golf course in Rathdrum, ID with a par of 72. It offers 4 tee sets: blue (6,277 yards, slope 125, rating 70.9), white (5,915 yards, slope 122, rating 69.1), gold/white (5,558 yards, slope 119, rating 67.3), gold (5,363 yards, slope 114, rating 66.4). The hardest hole is #6, a par 4 playing 412 yards from the first tee.
Twin Lakes Village Golf Club
Rathdrum, ID
Get PDF Yardage Book
We'll email you the PDF link. No spam, ever.
Create Your Game Plan
Pick your tees, enter your bag, and get a personalized shot-by-shot strategy for every hole.

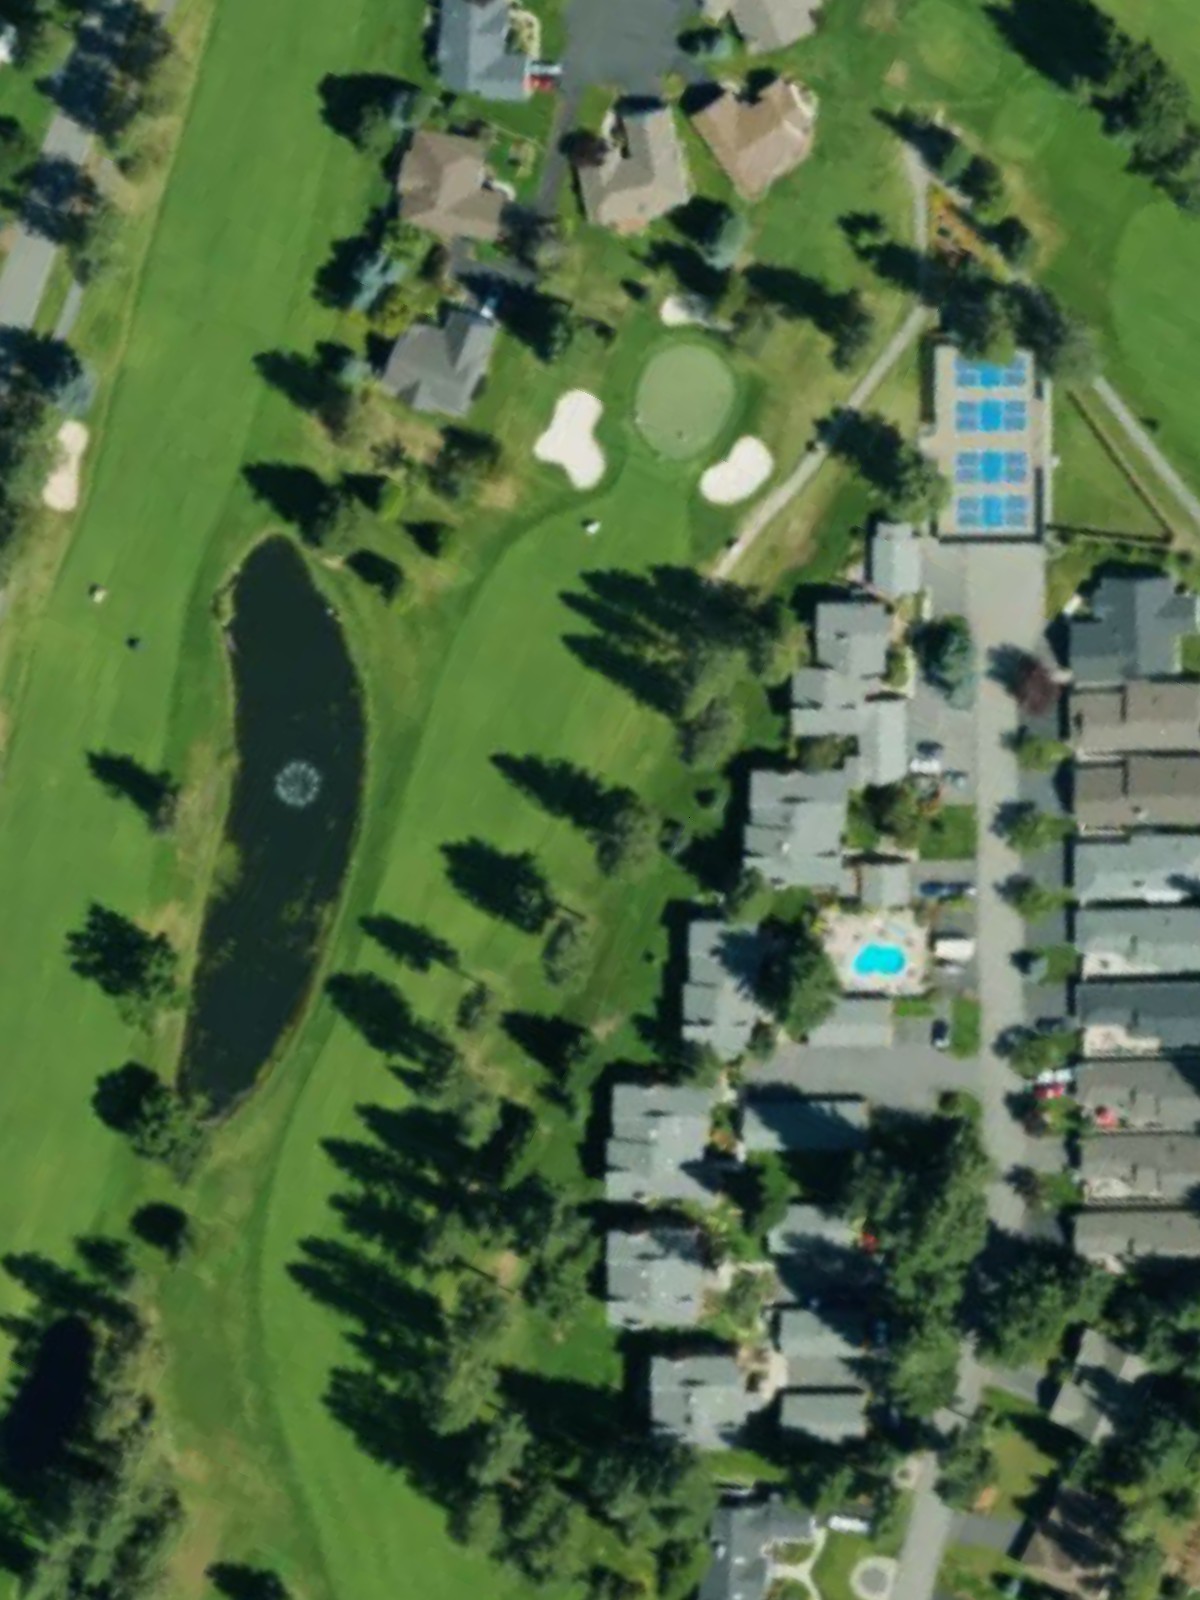
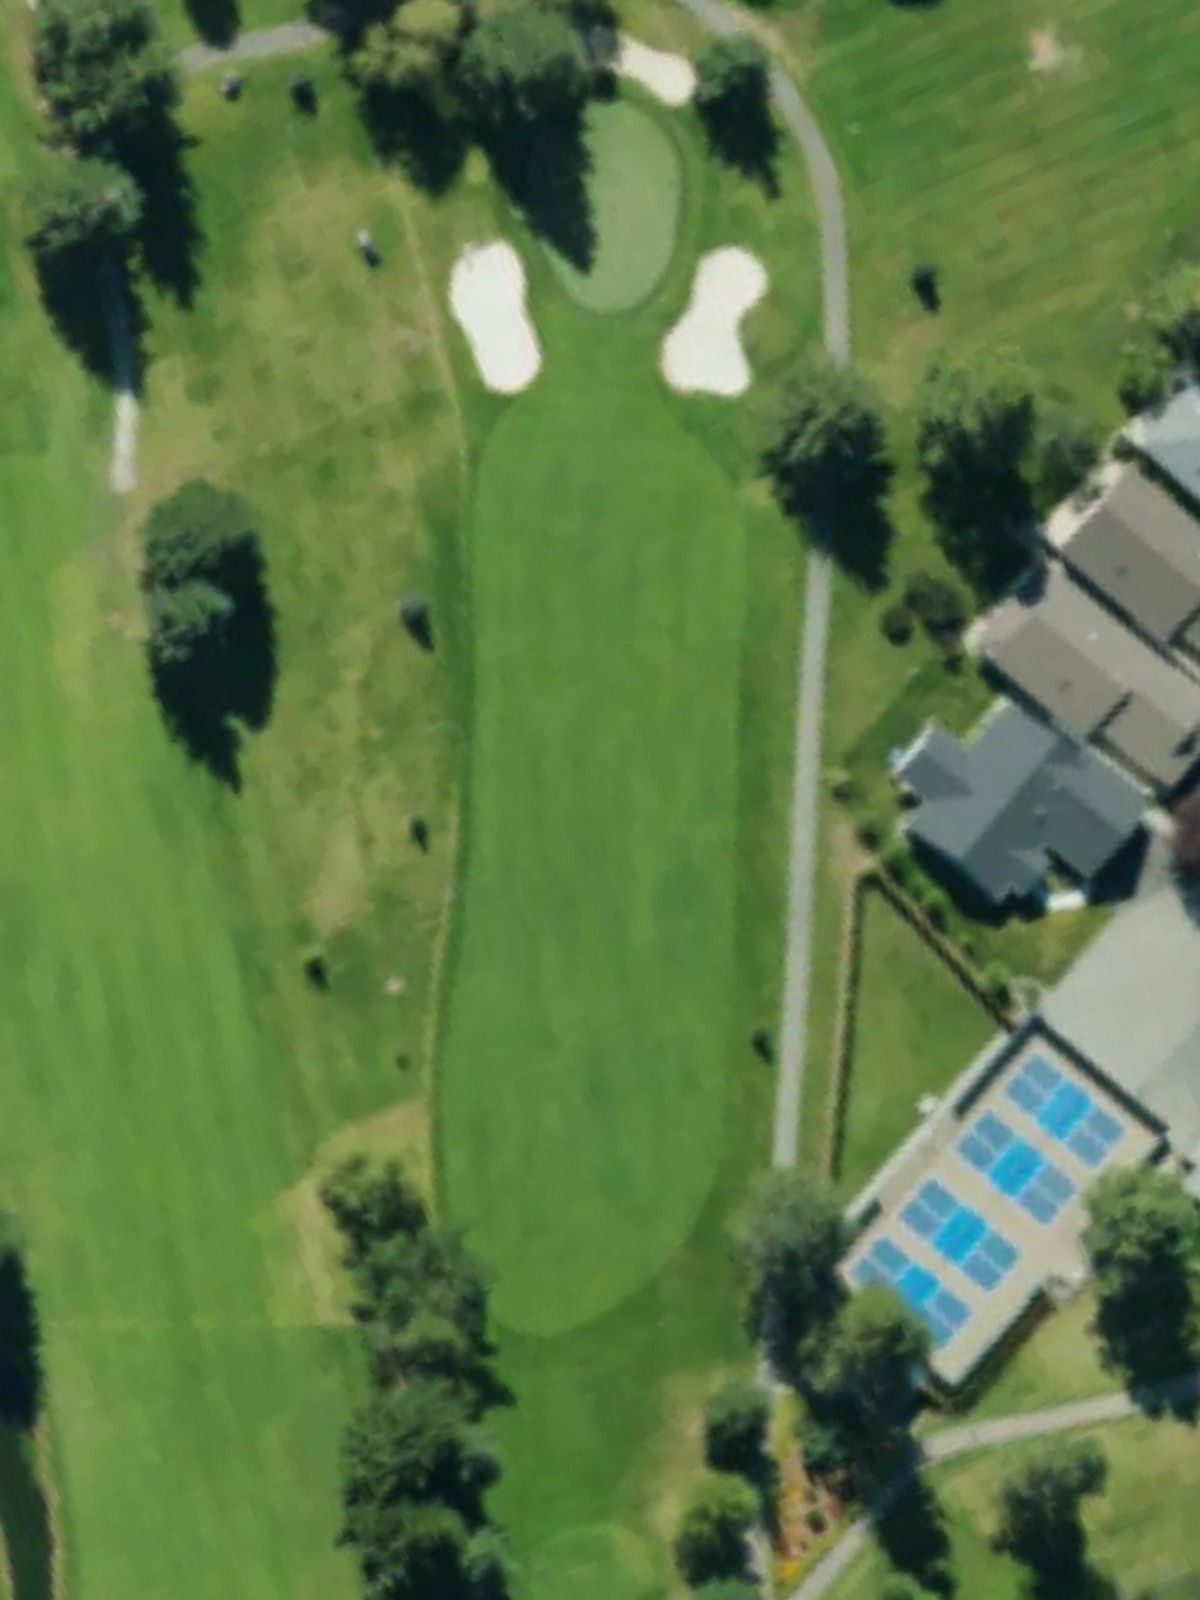
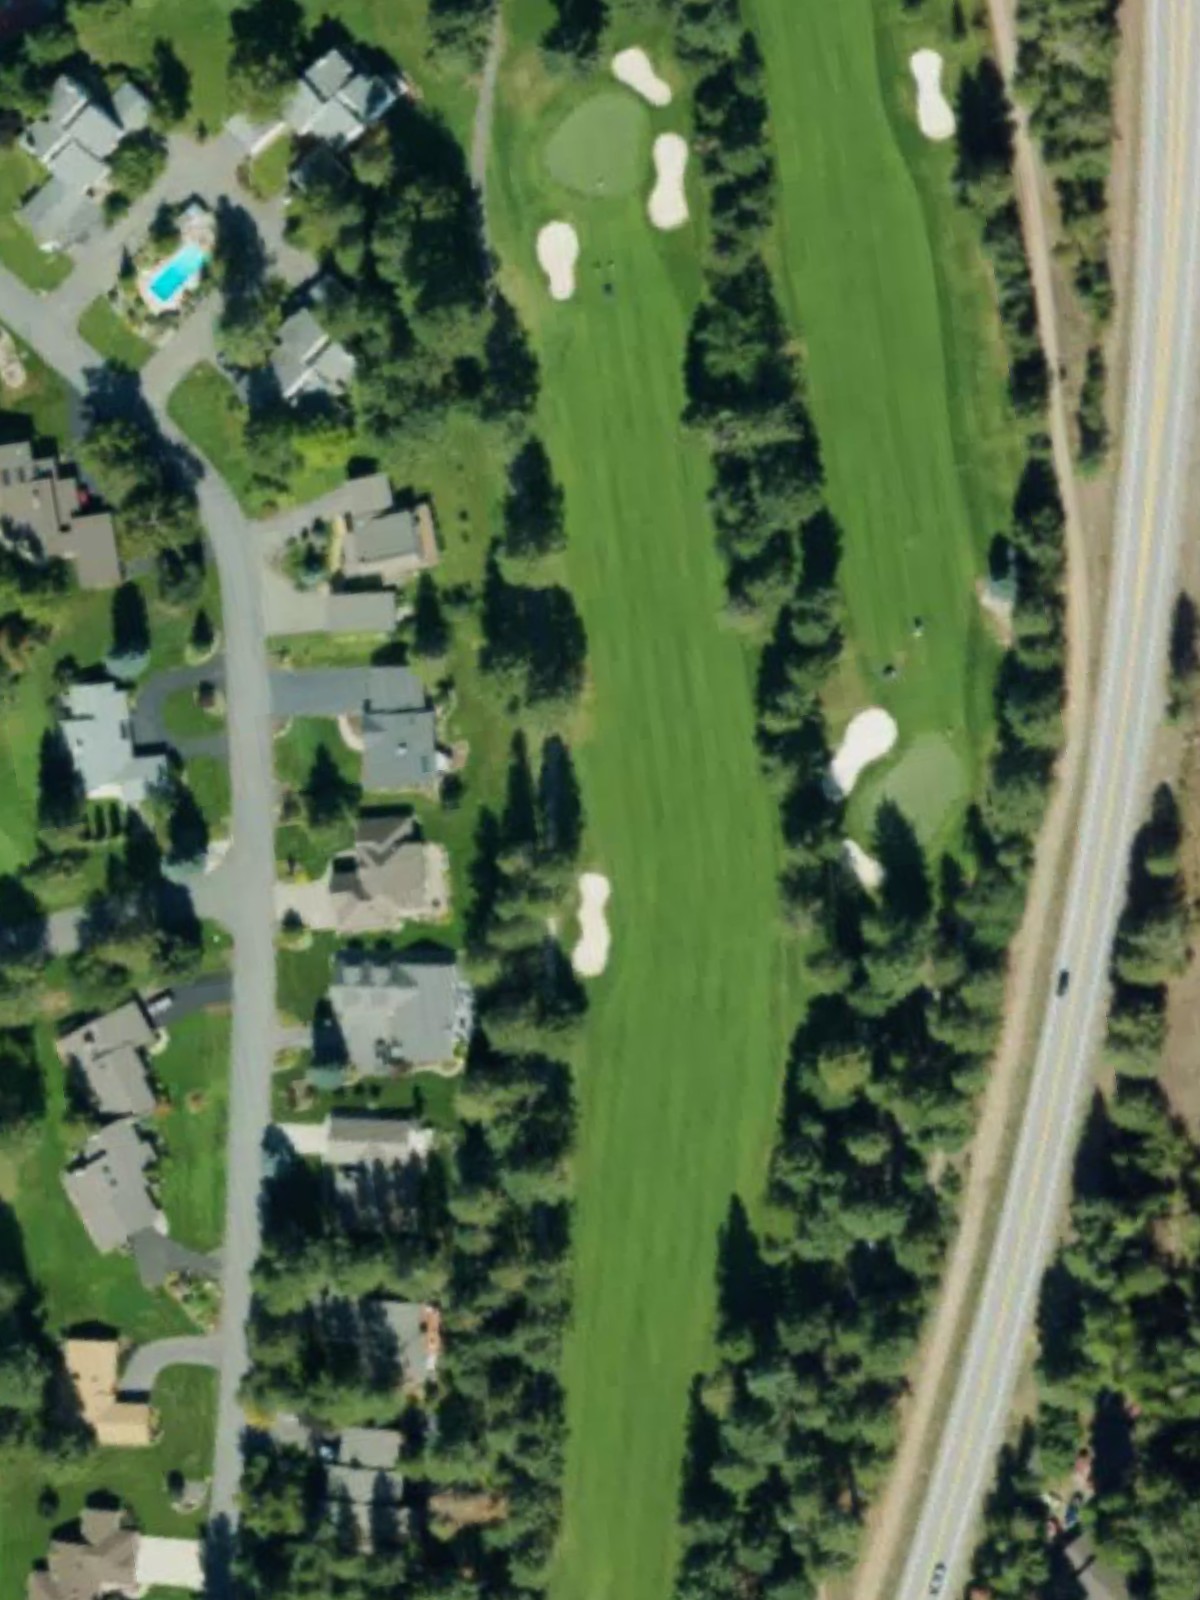
A welcoming opening par 4 with a relatively straight fairway that provides an approachable start to the round. The green is fronted by bunkers on the right, requiring precision on the approach shot to avoid sand.
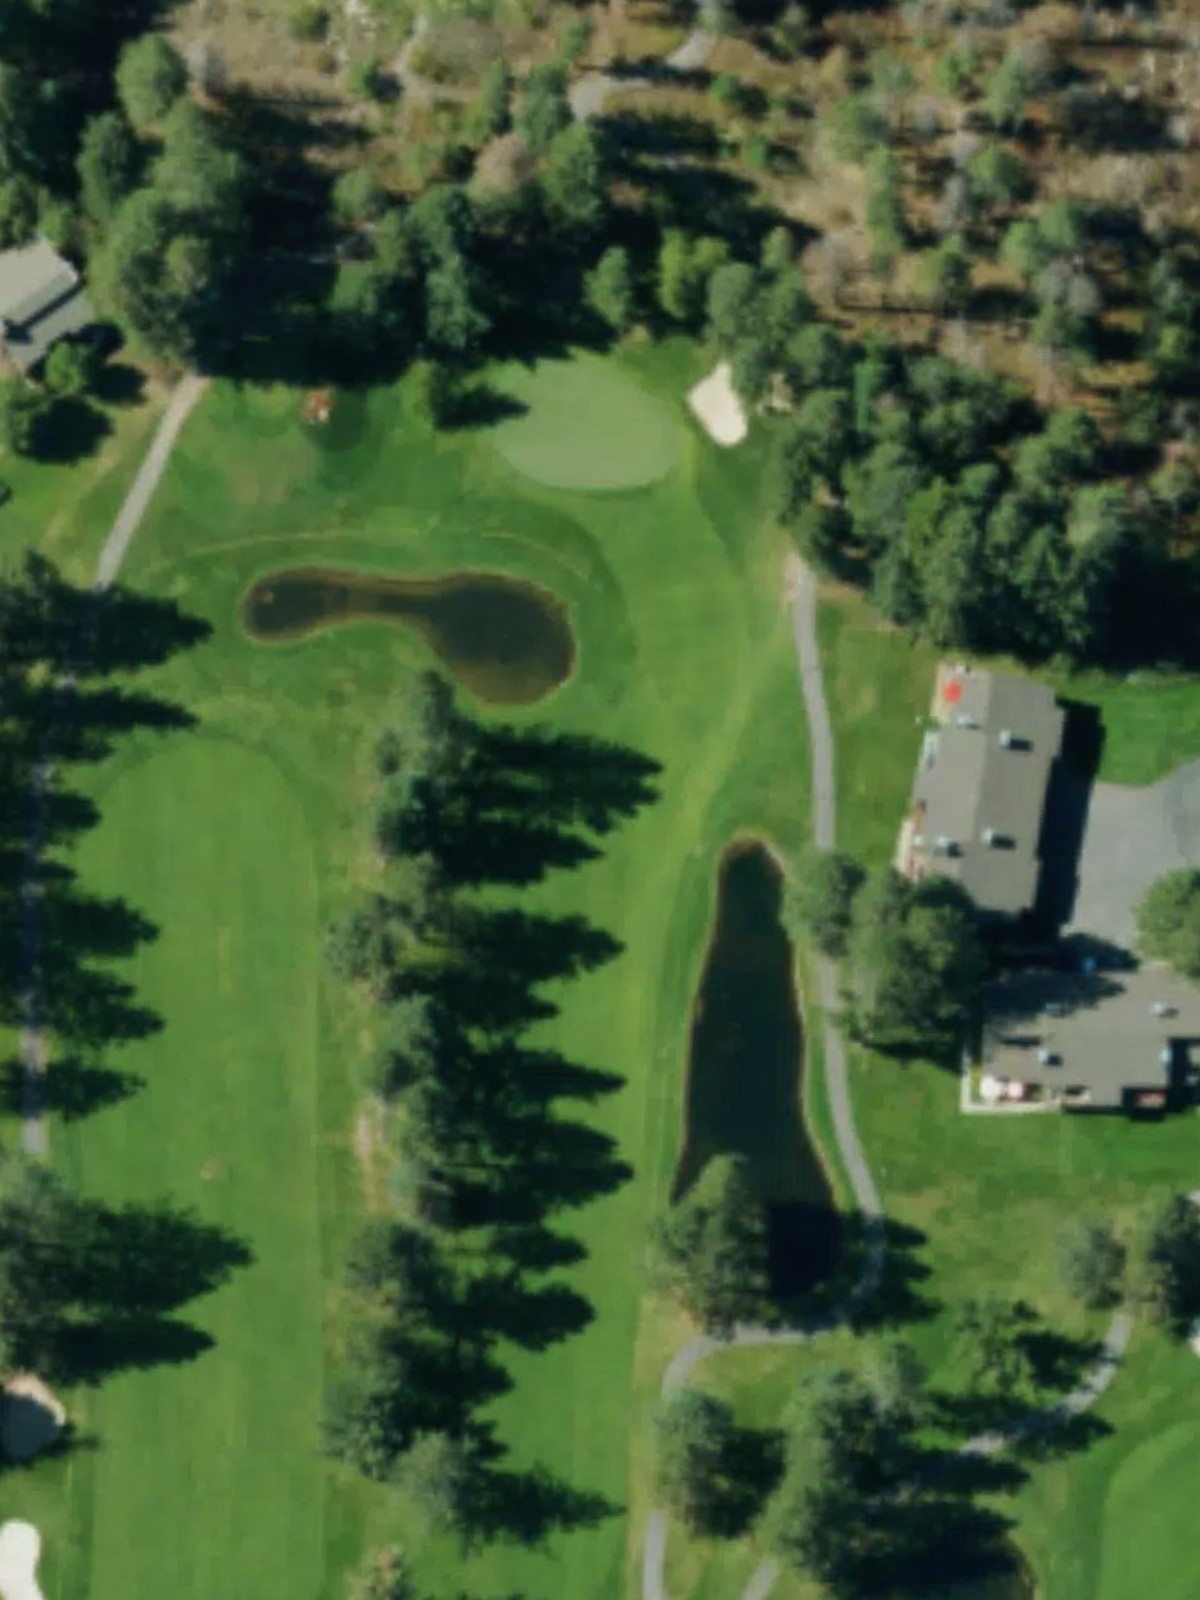
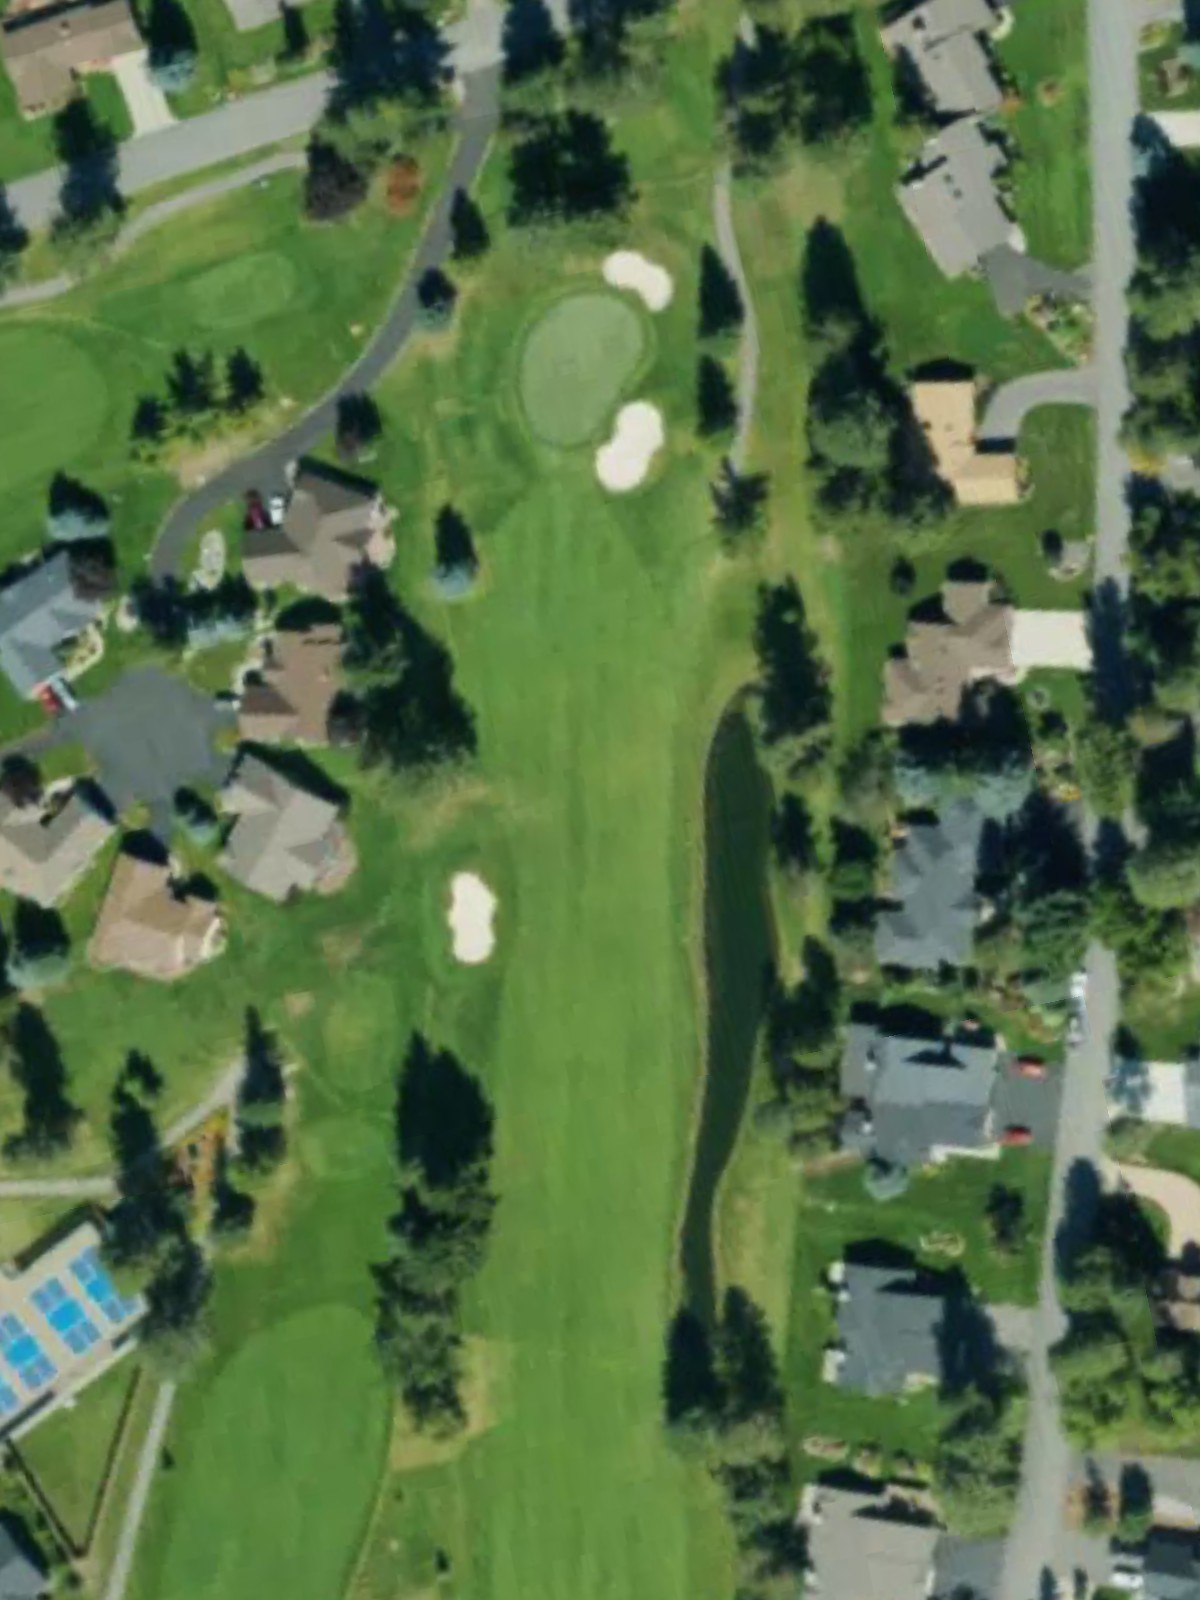
A short par 4 that plays downhill toward the green, making it more accessible than its yardage suggests. A water hazard lurks left of the fairway and continues to threaten the left side of the green, demanding accuracy off the tee.
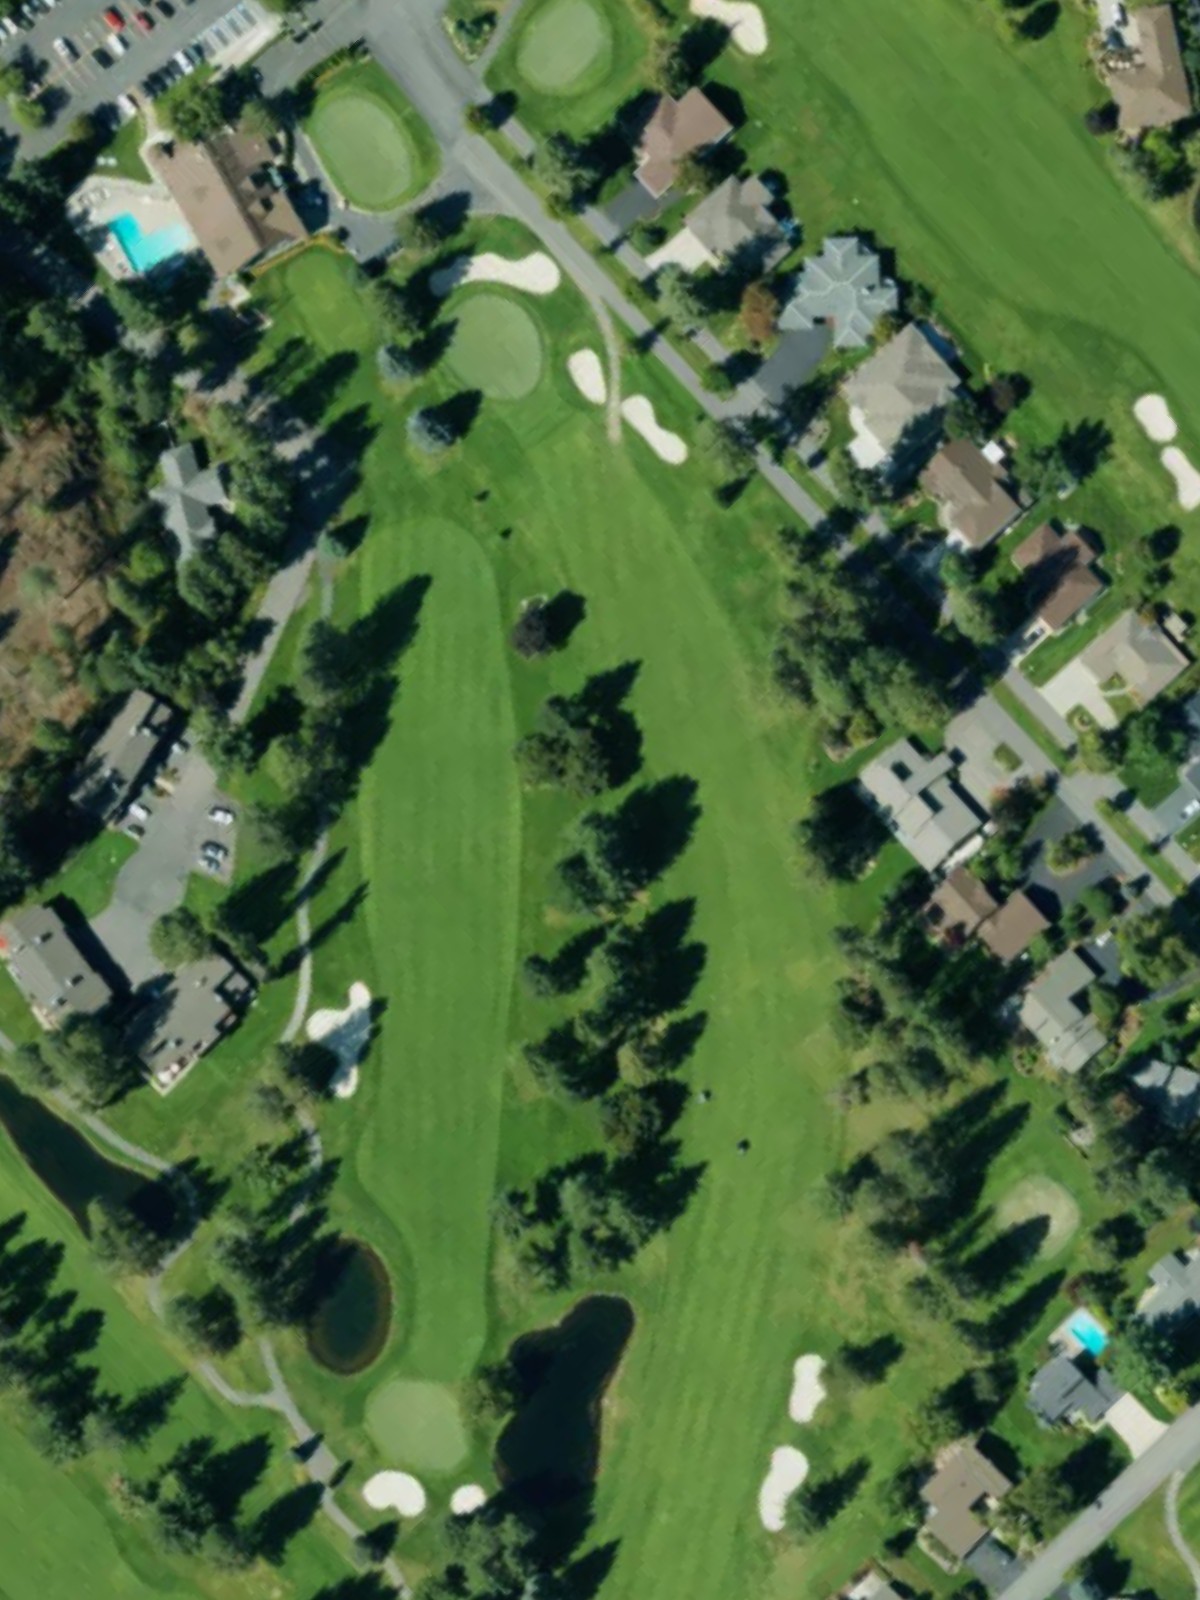
A challenging par 4 that features a dogleg right configuration with the fairway narrowing significantly in the landing zone. Out of bounds right and strategic bunkering make this the course's third-hardest hole, rewarding precise placement over distance.
A long par 5 that offers multiple routes to the green depending on length and comfort level. Water hazards frame portions of the fairway, and the hole's elevated difficulty ranking reflects the premium placed on both accuracy and execution.
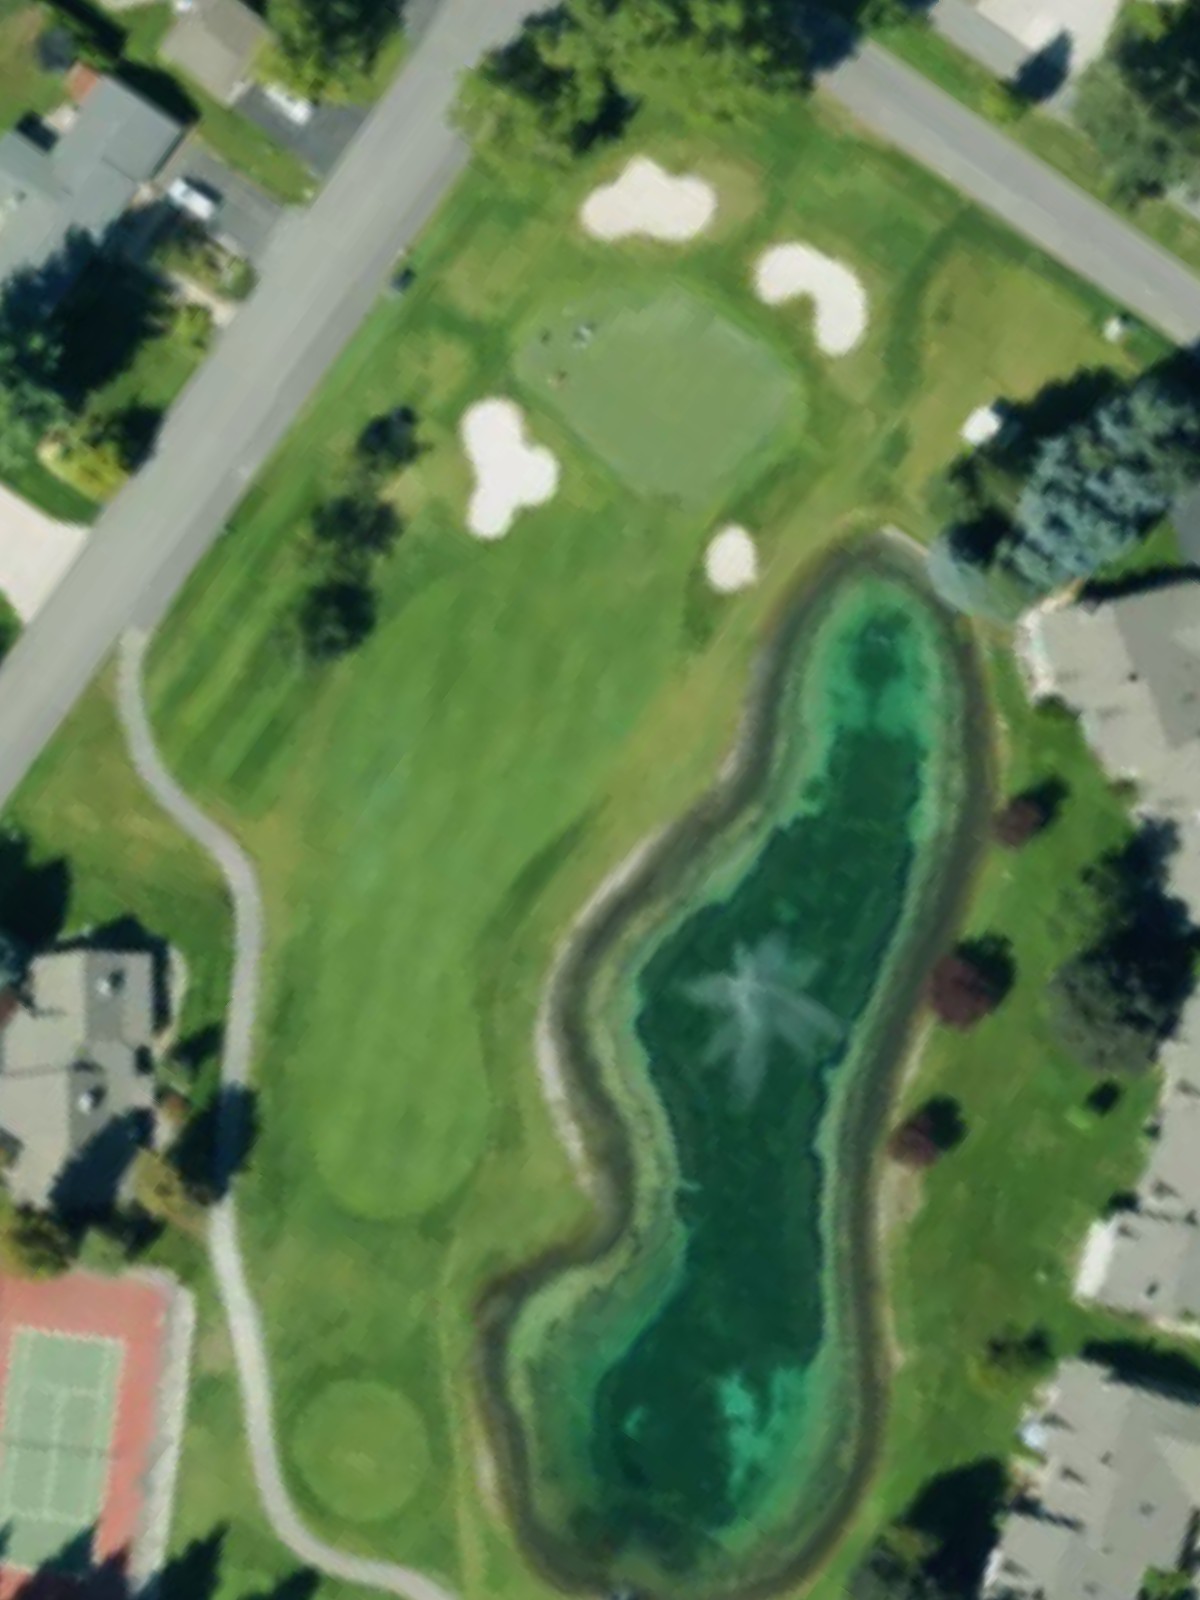
A short par 3 over water to a well-bunkered green that plays straightforward but demands a confident strike. The compact nature of this hole makes club selection critical to avoiding the hazards surrounding the putting surface.
The course's most difficult par 4, this hole is a stern test requiring two solid shots to reach the well-protected green. Bunkers guard both sides of the fairway and surround the green, making position off the tee paramount.
A mid-length par 3 with a scenic backdrop that requires a full carry over hazards to reach the green. Bunkers frame the green's sides, and the elevated green makes distance control essential for a favorable result.
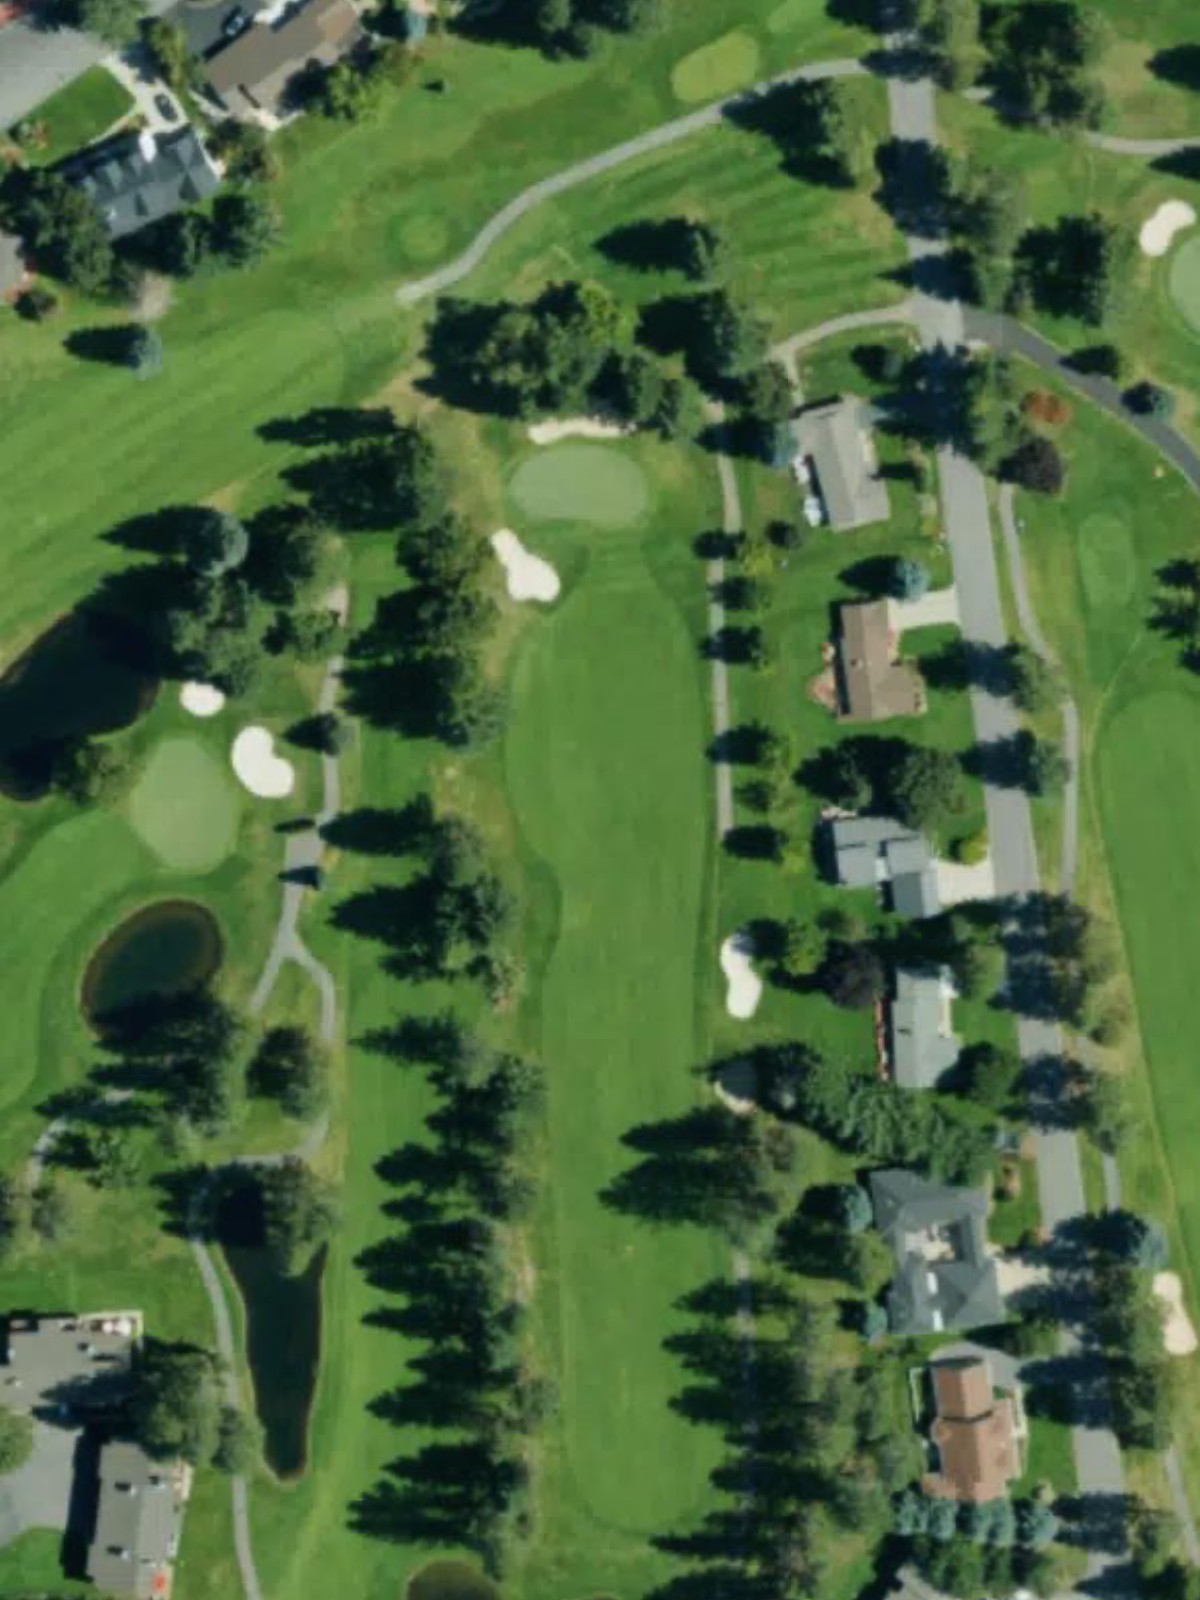
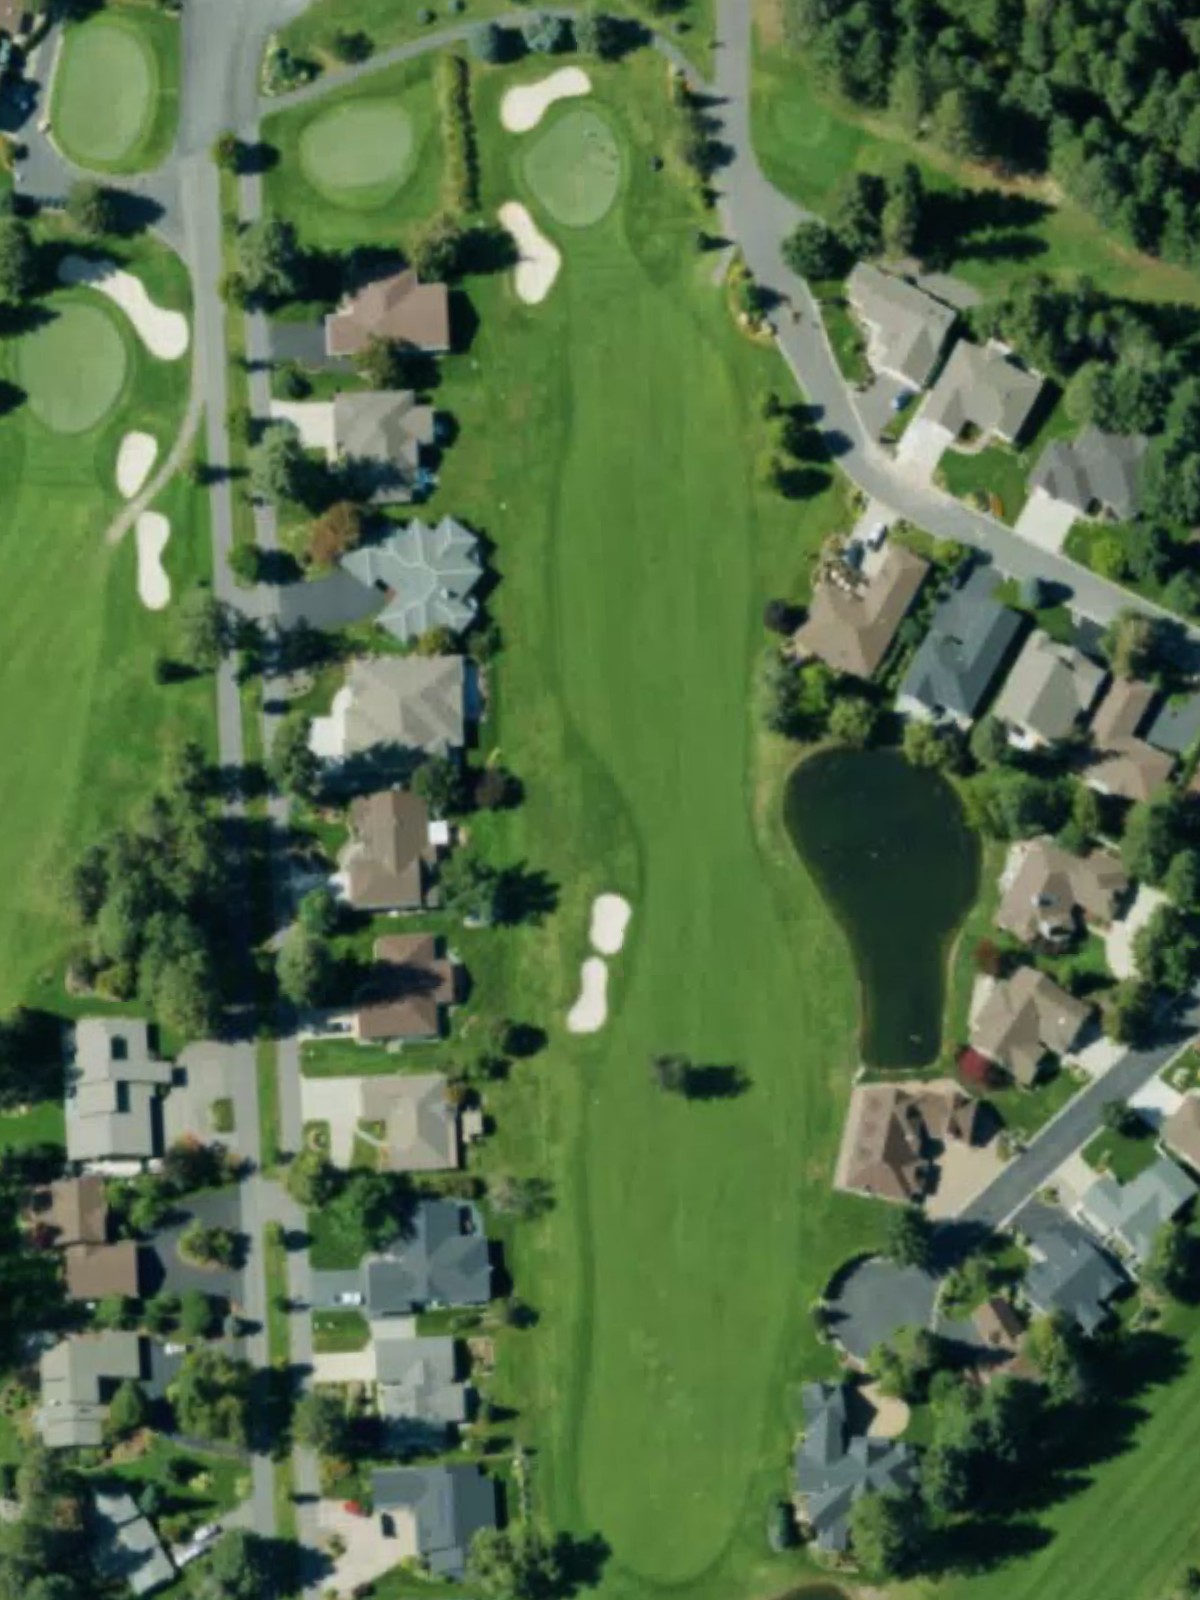
A solid par 4 with a relatively open fairway that narrows as it approaches the green. Strategic bunkering around the green requires a thoughtful approach, and the hole's moderate length offers a fair but testing challenge.
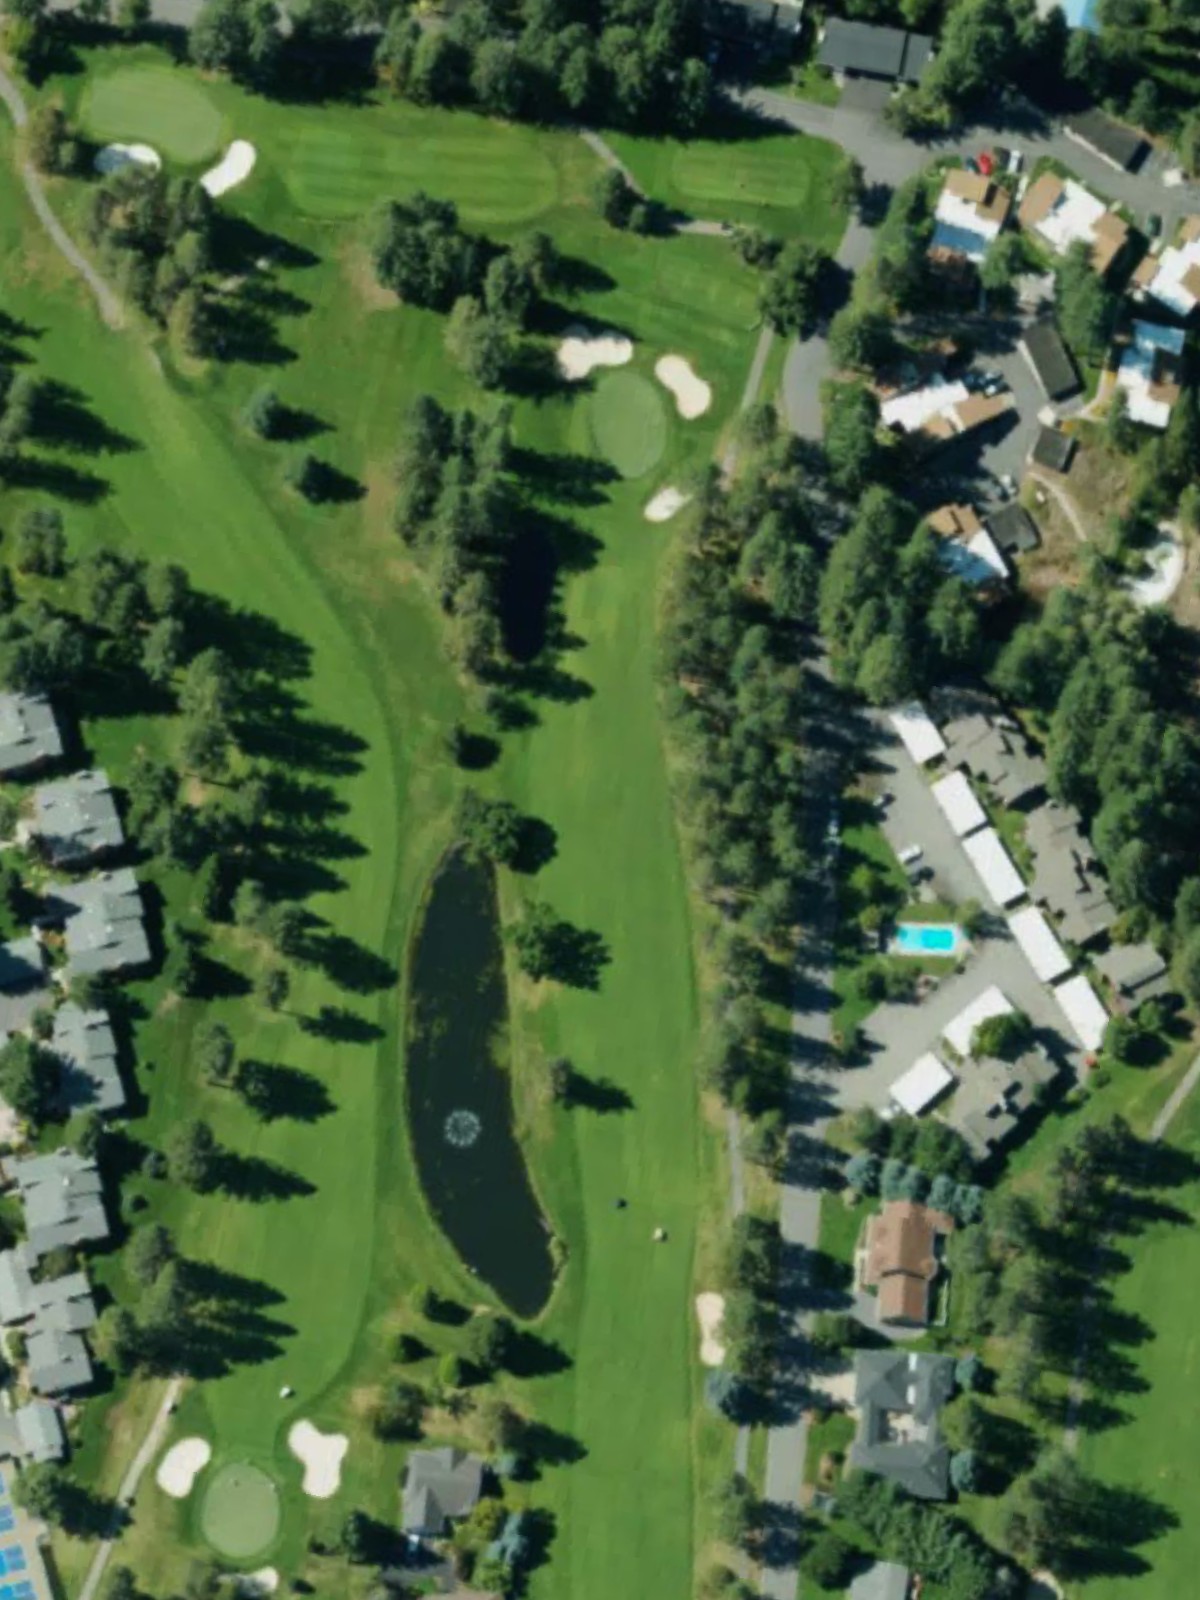
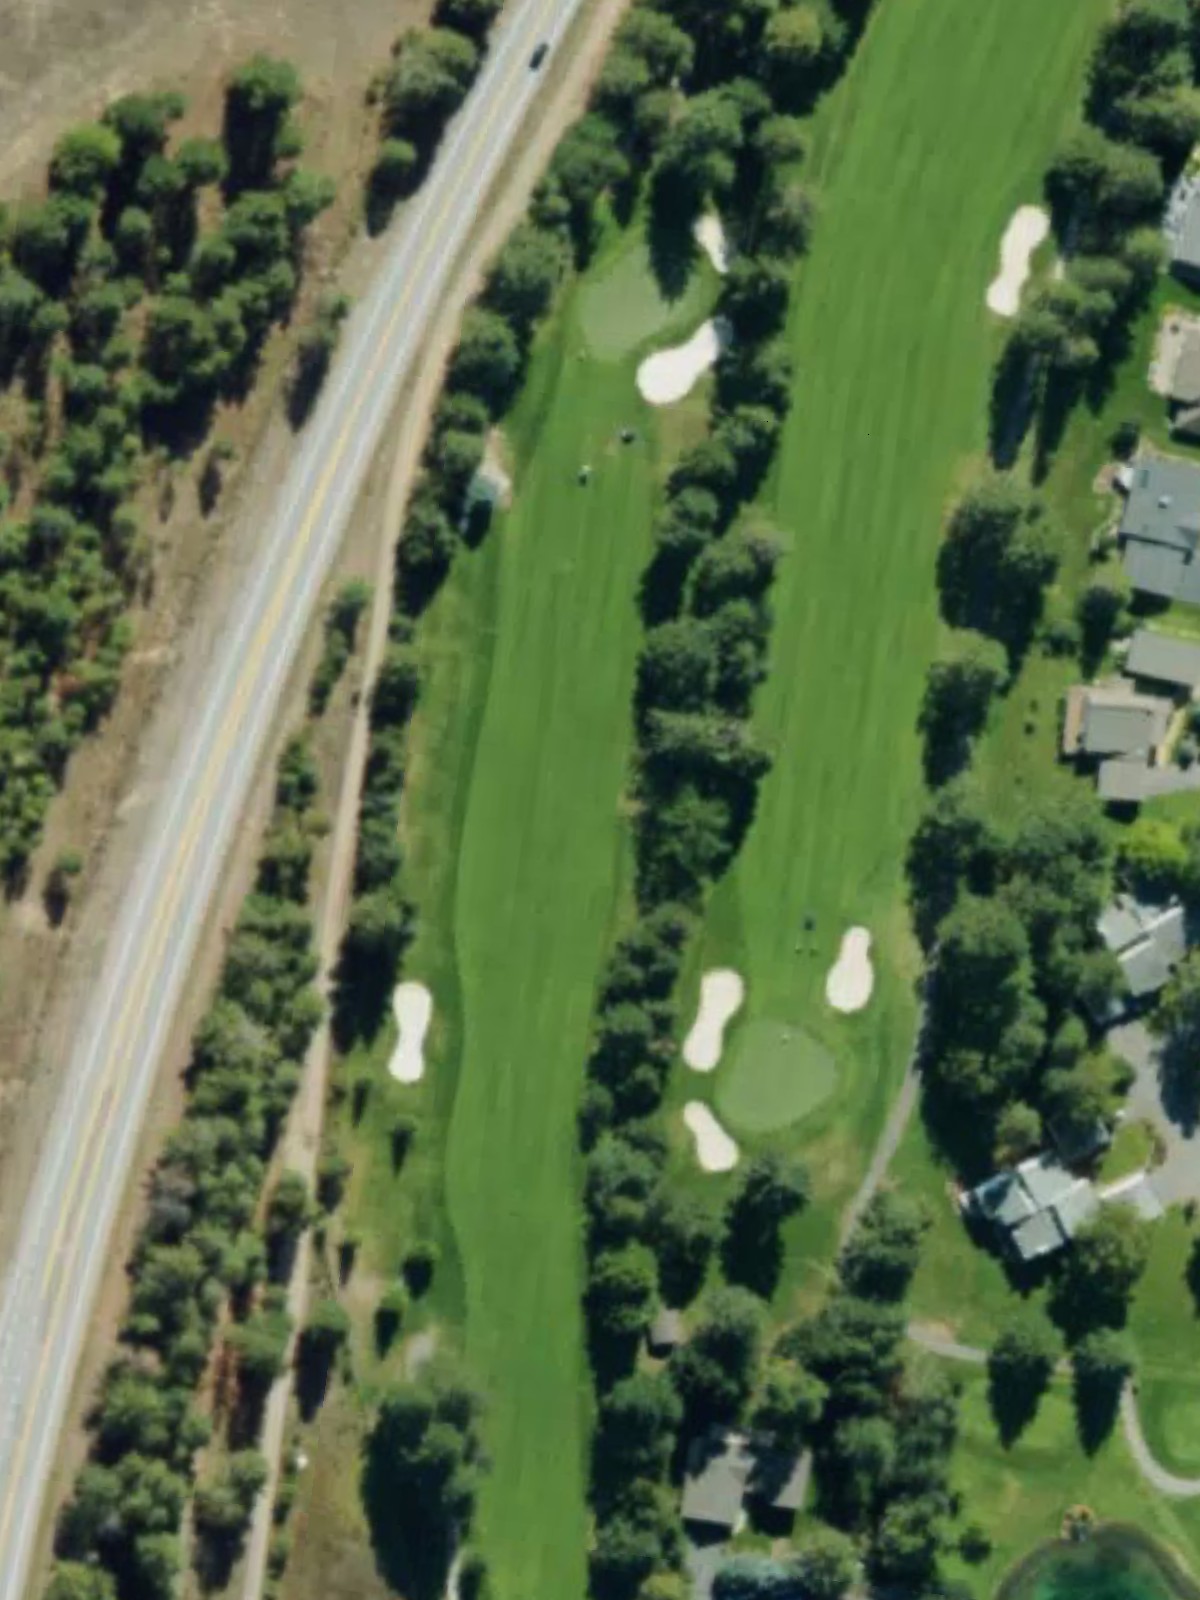
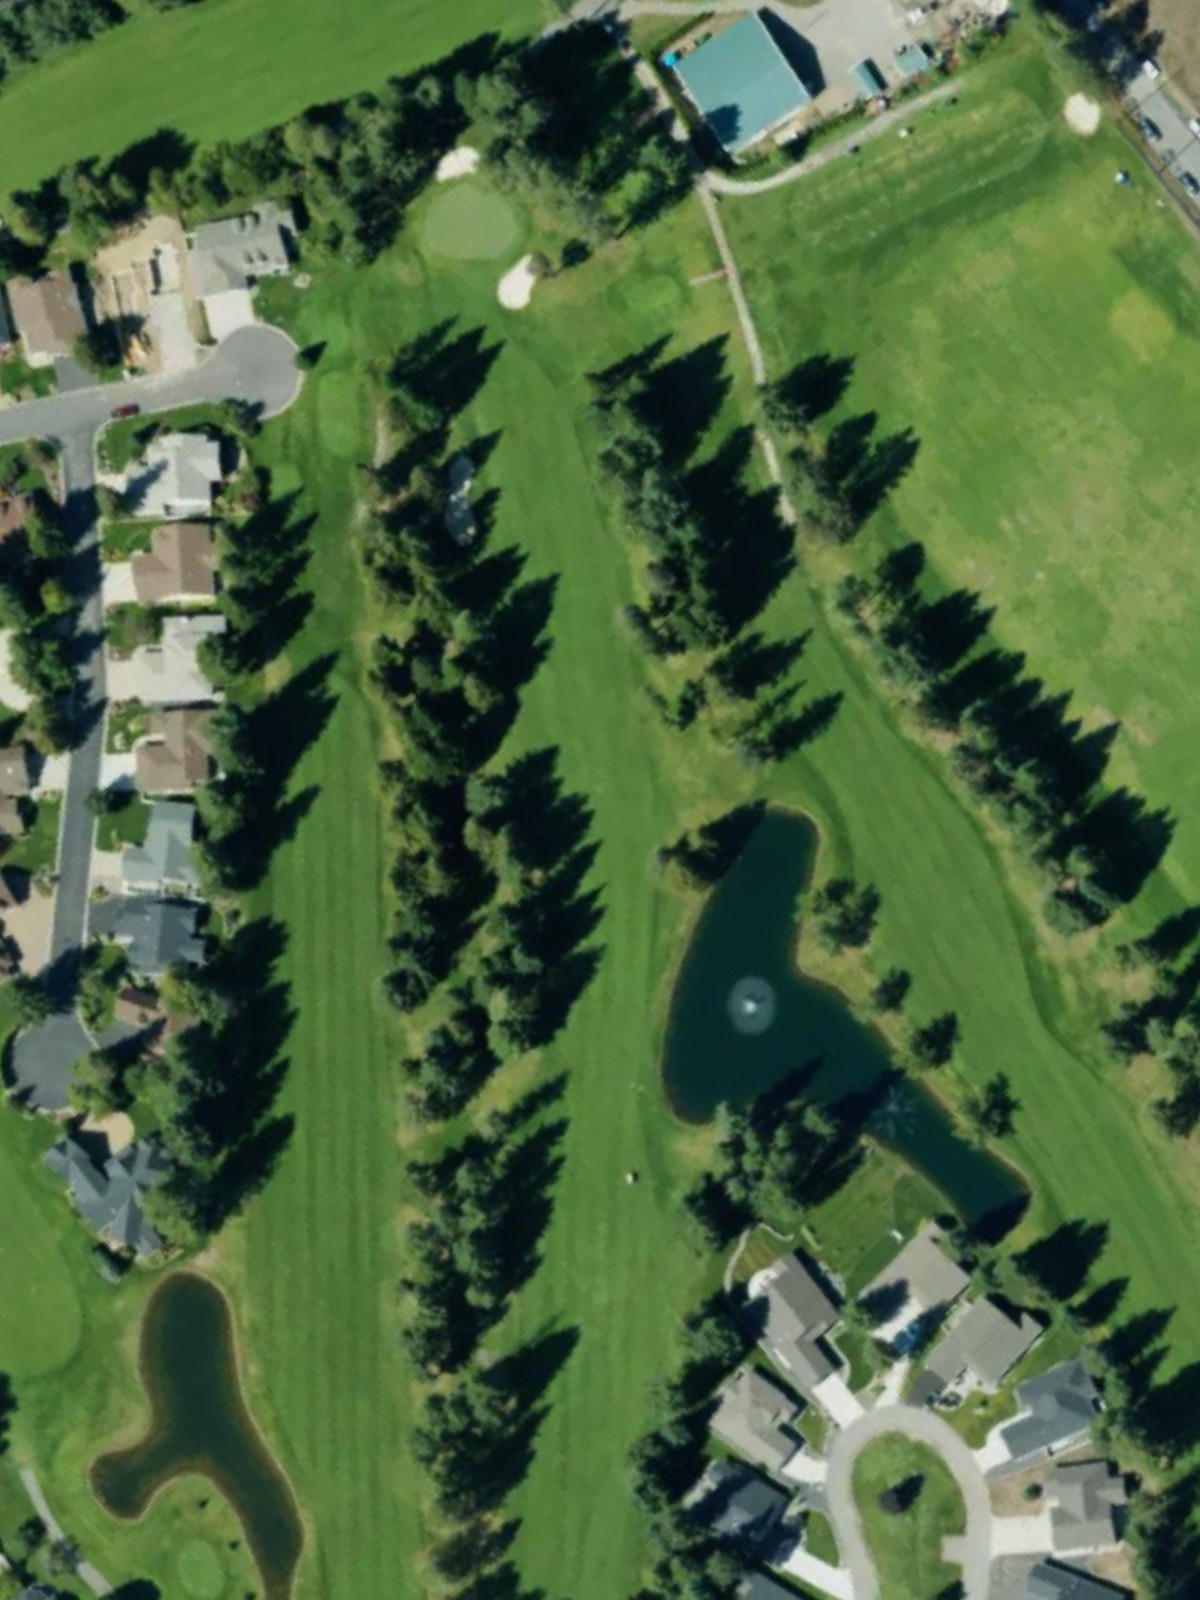
The course's third-hardest par 5, this hole demands two accurate shots to set up a scoring opportunity on the green. Water and bunkers strategically placed throughout the hole penalize wayward play and reward course management.
A par 4 with a slightly dogleg shape that requires careful navigation through a narrow fairway corridor. Bunkers positioned along the fairway and guarding the green make this a hole where accuracy is valued over power.
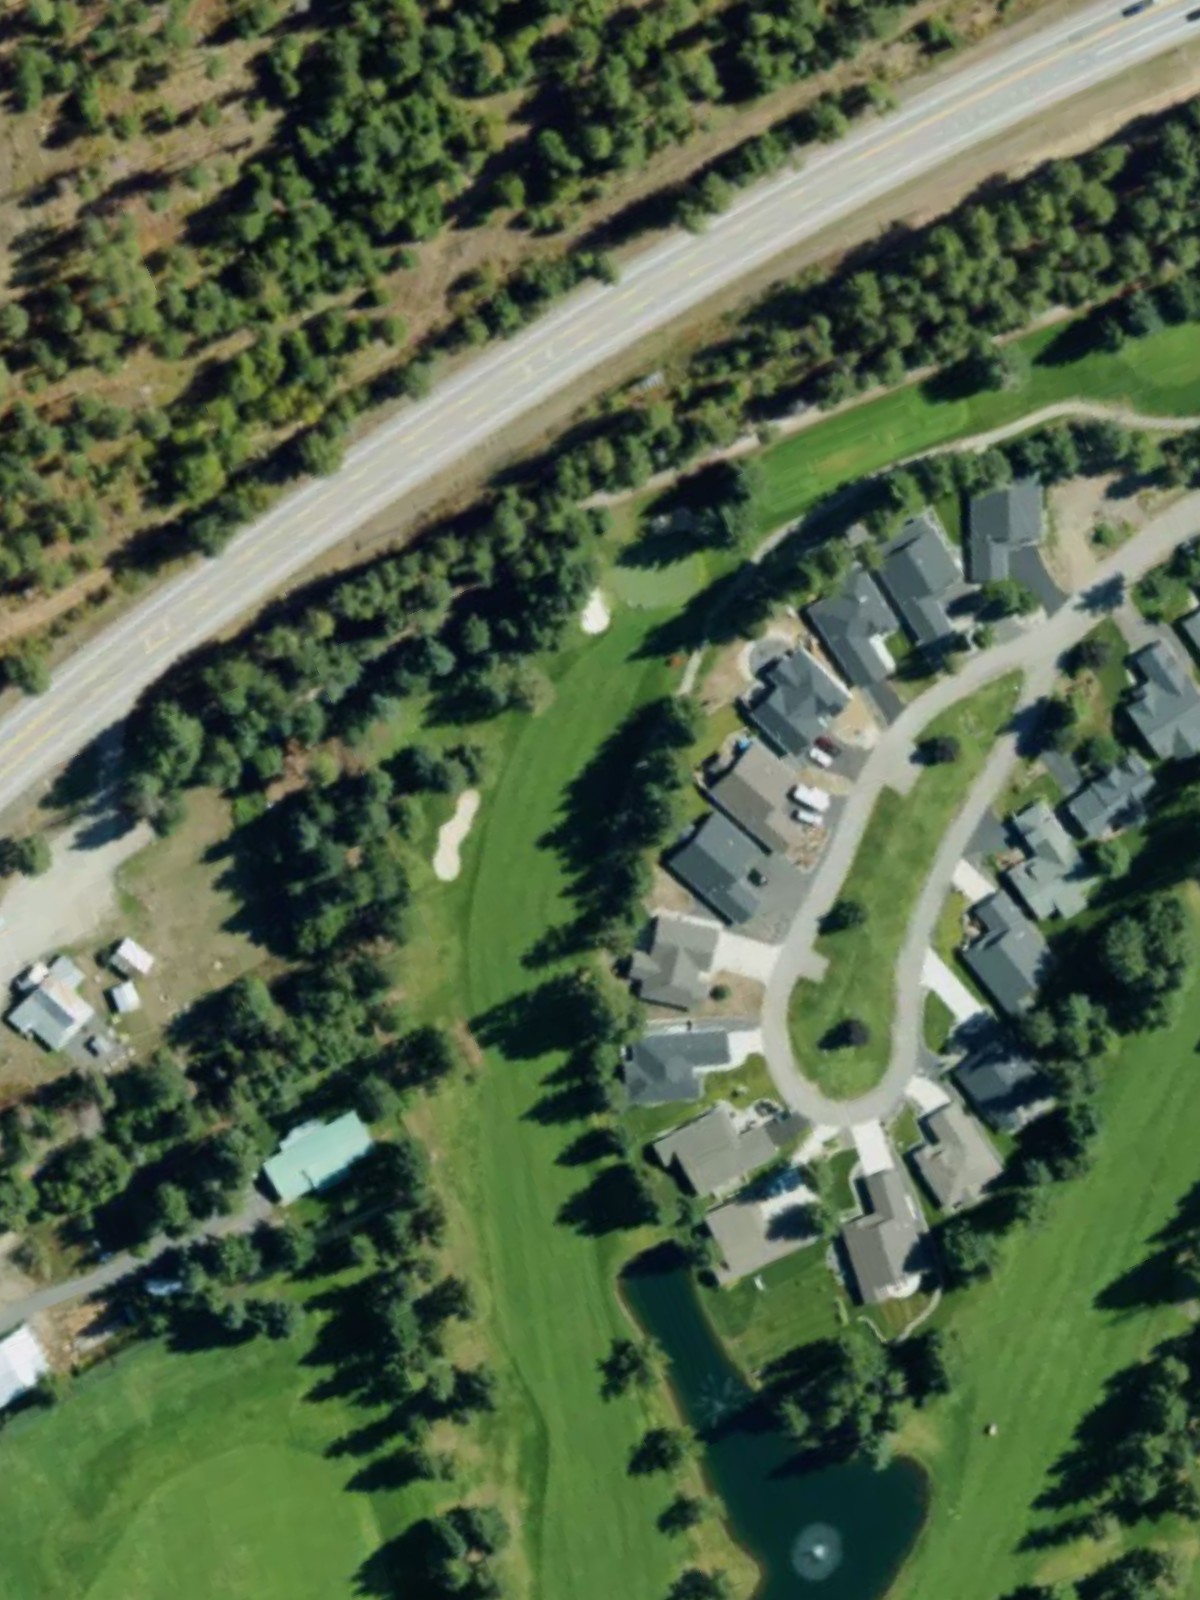
A formidable par 5 ranked fourth in difficulty, featuring a fairway that demands precise positioning to set up a manageable third shot. Water and sand hazards are strategically placed to catch both conservative and aggressive play.
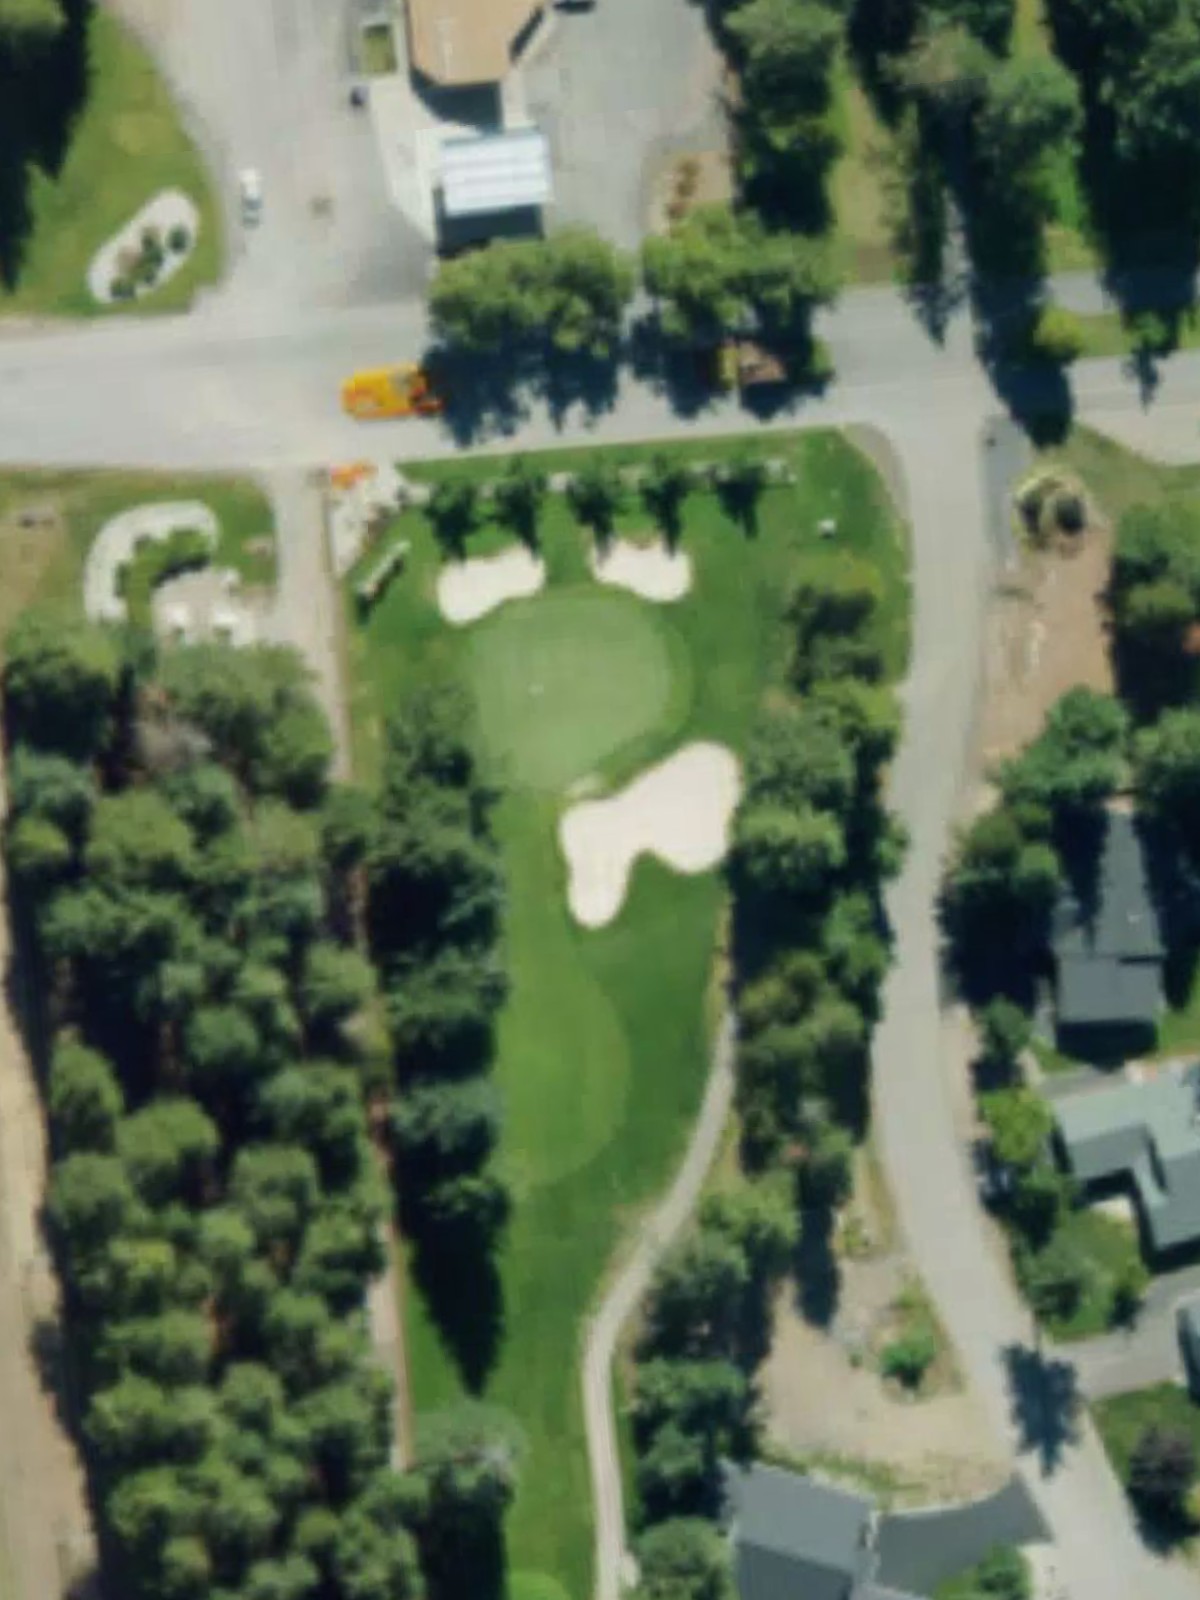
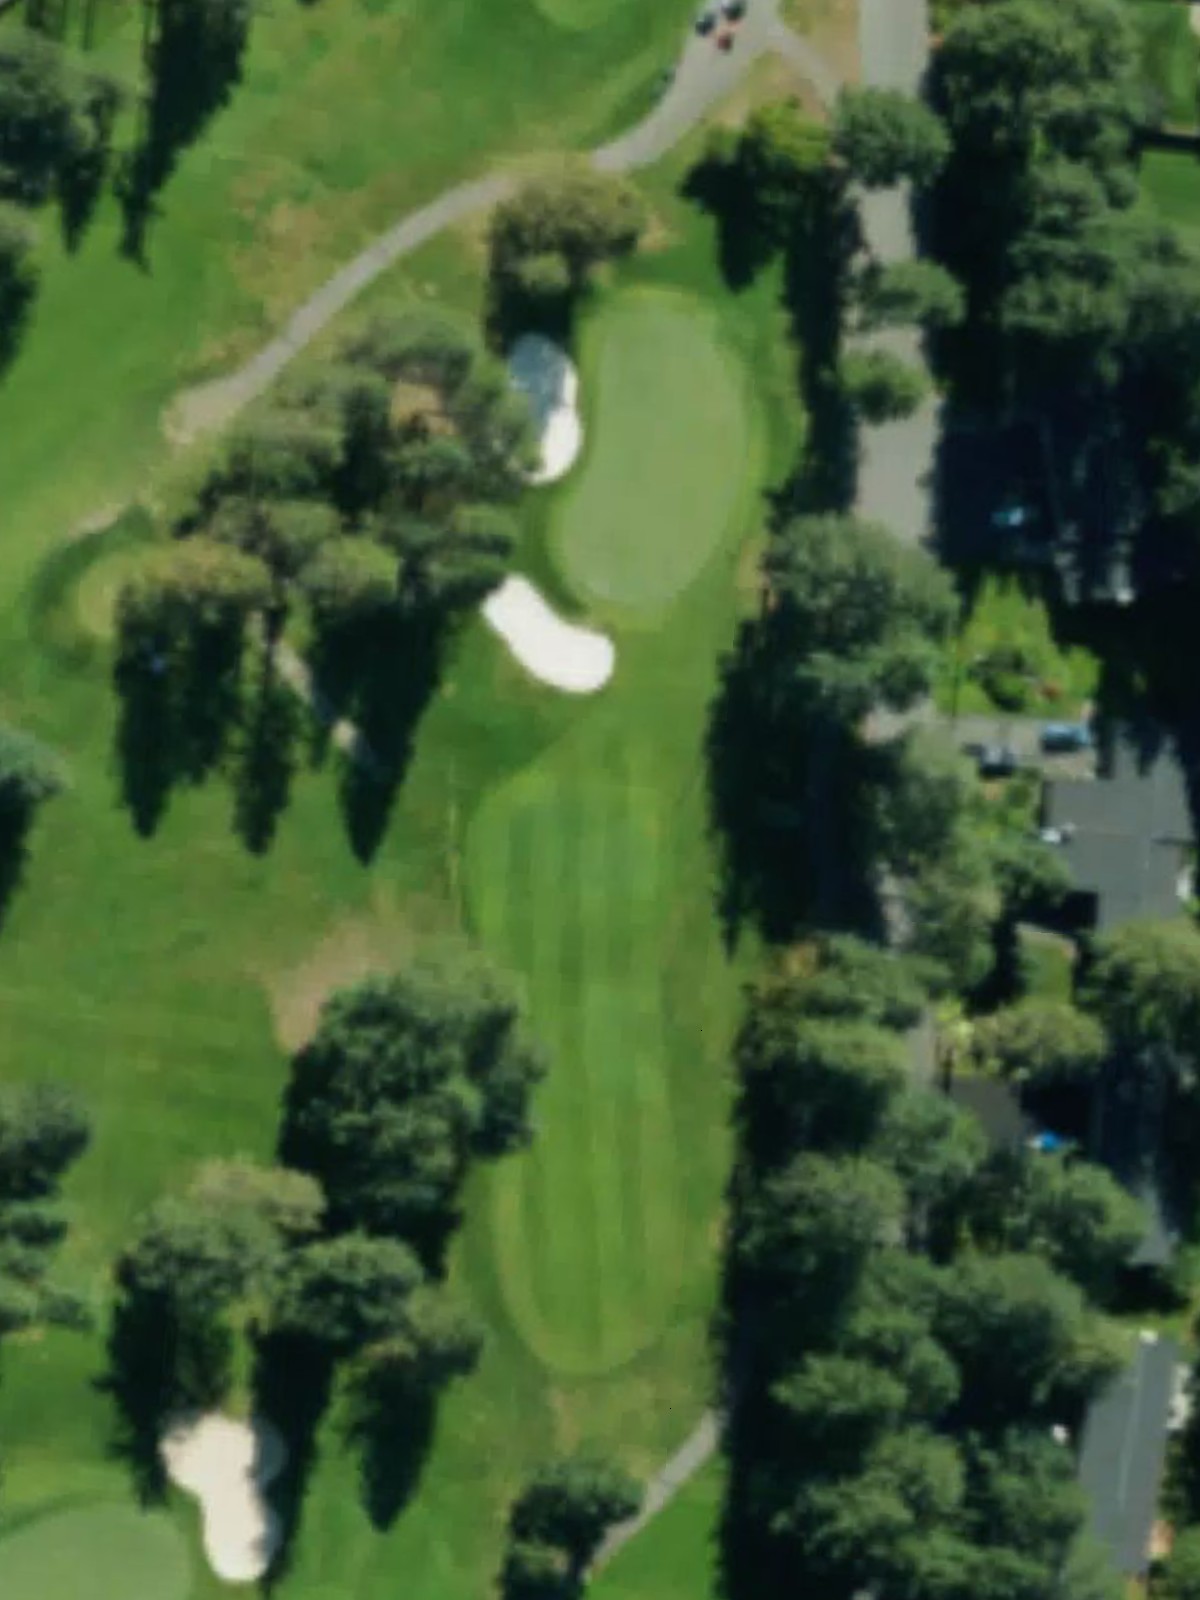
The shortest par 3 on the course, this hole plays downhill to a small, bunkered green that is deceptively tricky. Despite its modest length, precise club selection and target awareness are essential to avoid the surrounding hazards.
A mid-length par 4 with a dogleg left character that opens up opportunities for the more aggressive player. Bunkers frame the inside of the dogleg and protect the green, while the fairway width varies significantly throughout the hole.
The course's sixth-hardest hole, this par 4 requires two well-executed shots on a track guarded by bunkers and strategic hazards. Out of bounds right adds additional pressure, making this a hole where position and patience are rewarded.
A short par 3 with significant elevation change that plays downhill to the green, allowing for a more aggressive approach than the yardage might suggest. Bunkers and hazards surround the green, punishing anything offline.
A lengthy par 5 that requires two strong shots to position for a scoring opportunity, with strategic hazards placed to challenge both the aggressive and conservative approaches. The hole's moderate difficulty ranking reflects a fair balance between length and playability.

A solid par 4 ranked eighth in difficulty with a straightforward layout that demands consistent execution from tee to green. Bunkers positioned strategically around the fairway and green make this a hole where precision pays dividends.
The course's second-hardest par 4, this finishing hole presents a finishing test with bunkers and hazards guarding the fairway and surrounding the green. The significant length and multiple challenges make this an appropriately demanding conclusion to the round.
Scorecard
| Hole | 1 | 2 | 3 | 4 | 5 | 6 | 7 | 8 | 9 | Out | 10 | 11 | 12 | 13 | 14 | 15 | 16 | 17 | 18 | In | Tot |
|---|---|---|---|---|---|---|---|---|---|---|---|---|---|---|---|---|---|---|---|---|---|
| Par | 4 | 4 | 4 | 5 | 3 | 4 | 3 | 4 | 5 | 36 | 4 | 5 | 3 | 4 | 4 | 3 | 5 | 4 | 4 | 36 | 72 |
| HCP | 11 | 15 | 7 | 5 | 17 | 1 | 13 | 9 | 3 | 12 | 4 | 18 | 14 | 6 | 16 | 10 | 8 | 2 | |||
| blue | 303 | 264 | 367 | 463 | 151 | 412 | 189 | 342 | 520 | 3011 | 365 | 493 | 147 | 390 | 412 | 164 | 488 | 384 | 423 | 3266 | 6277 |
| white | 294 | 252 | 355 | 453 | 141 | 384 | 178 | 330 | 495 | 2882 | 342 | 476 | 134 | 335 | 373 | 142 | 464 | 361 | 406 | 3033 | 5915 |
| gold/white | 294 | 252 | 274 | 384 | 141 | 371 | 178 | 330 | 421 | 2645 | 342 | 439 | 134 | 335 | 357 | 142 | 429 | 361 | 374 | 2913 | 5558 |
| gold | 281 | 239 | 274 | 384 | 132 | 371 | 161 | 318 | 421 | 2581 | 298 | 439 | 114 | 310 | 357 | 119 | 429 | 342 | 374 | 2782 | 5363 |