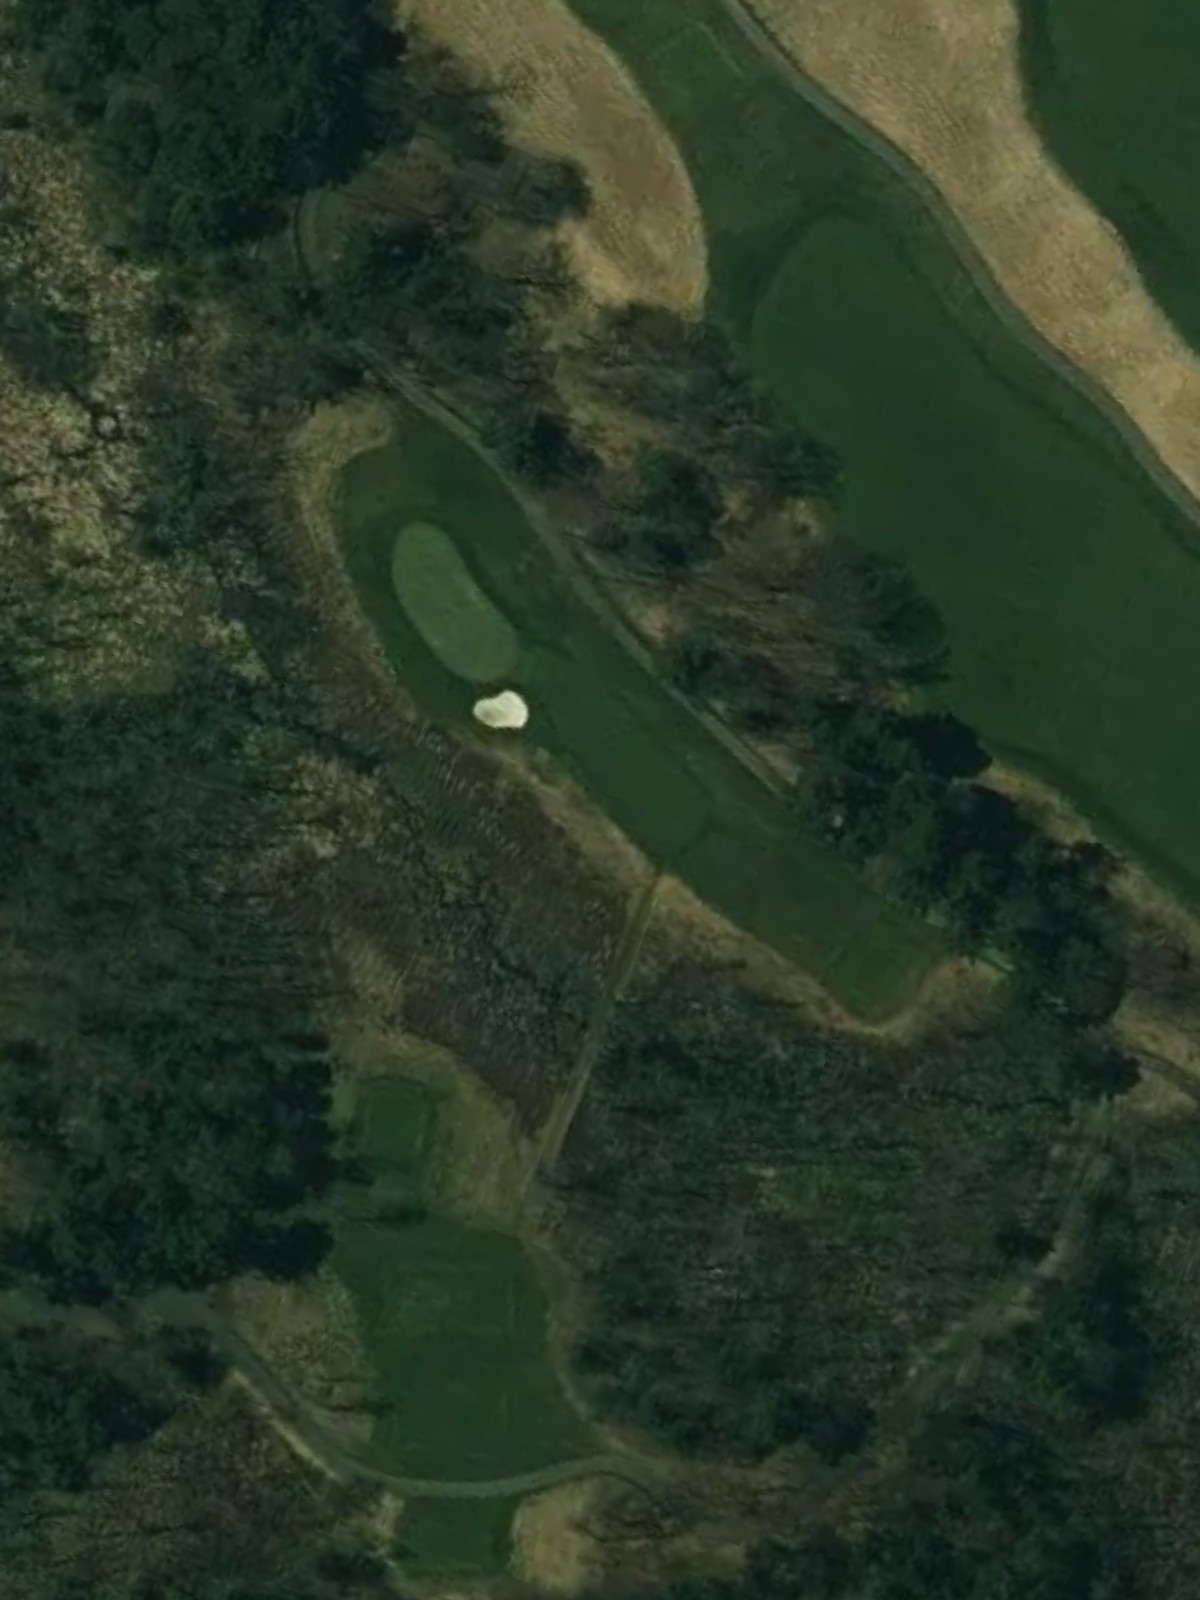
Turning Stone Casino Resort is an 18-hole golf course in Verona, NY with a par of 72. It offers 5 tee sets: blue (6,610 yards, slope 119, rating 71), blue / white (6,455 yards, slope 117, rating 70.3), white (6,300 yards, slope 115, rating 69.6), gold (5,414 yards, slope 107, rating 65.4), red (5,340 yards, slope 104, rating 65.2). The hardest hole is #3, a par 4 playing 314 yards from the first tee.
Turning Stone Casino Resort
Verona, NY
Get PDF Yardage Book
We'll email you the PDF link. No spam, ever.
Create Your Game Plan
Pick your tees, enter your bag, and get a personalized shot-by-shot strategy for every hole.
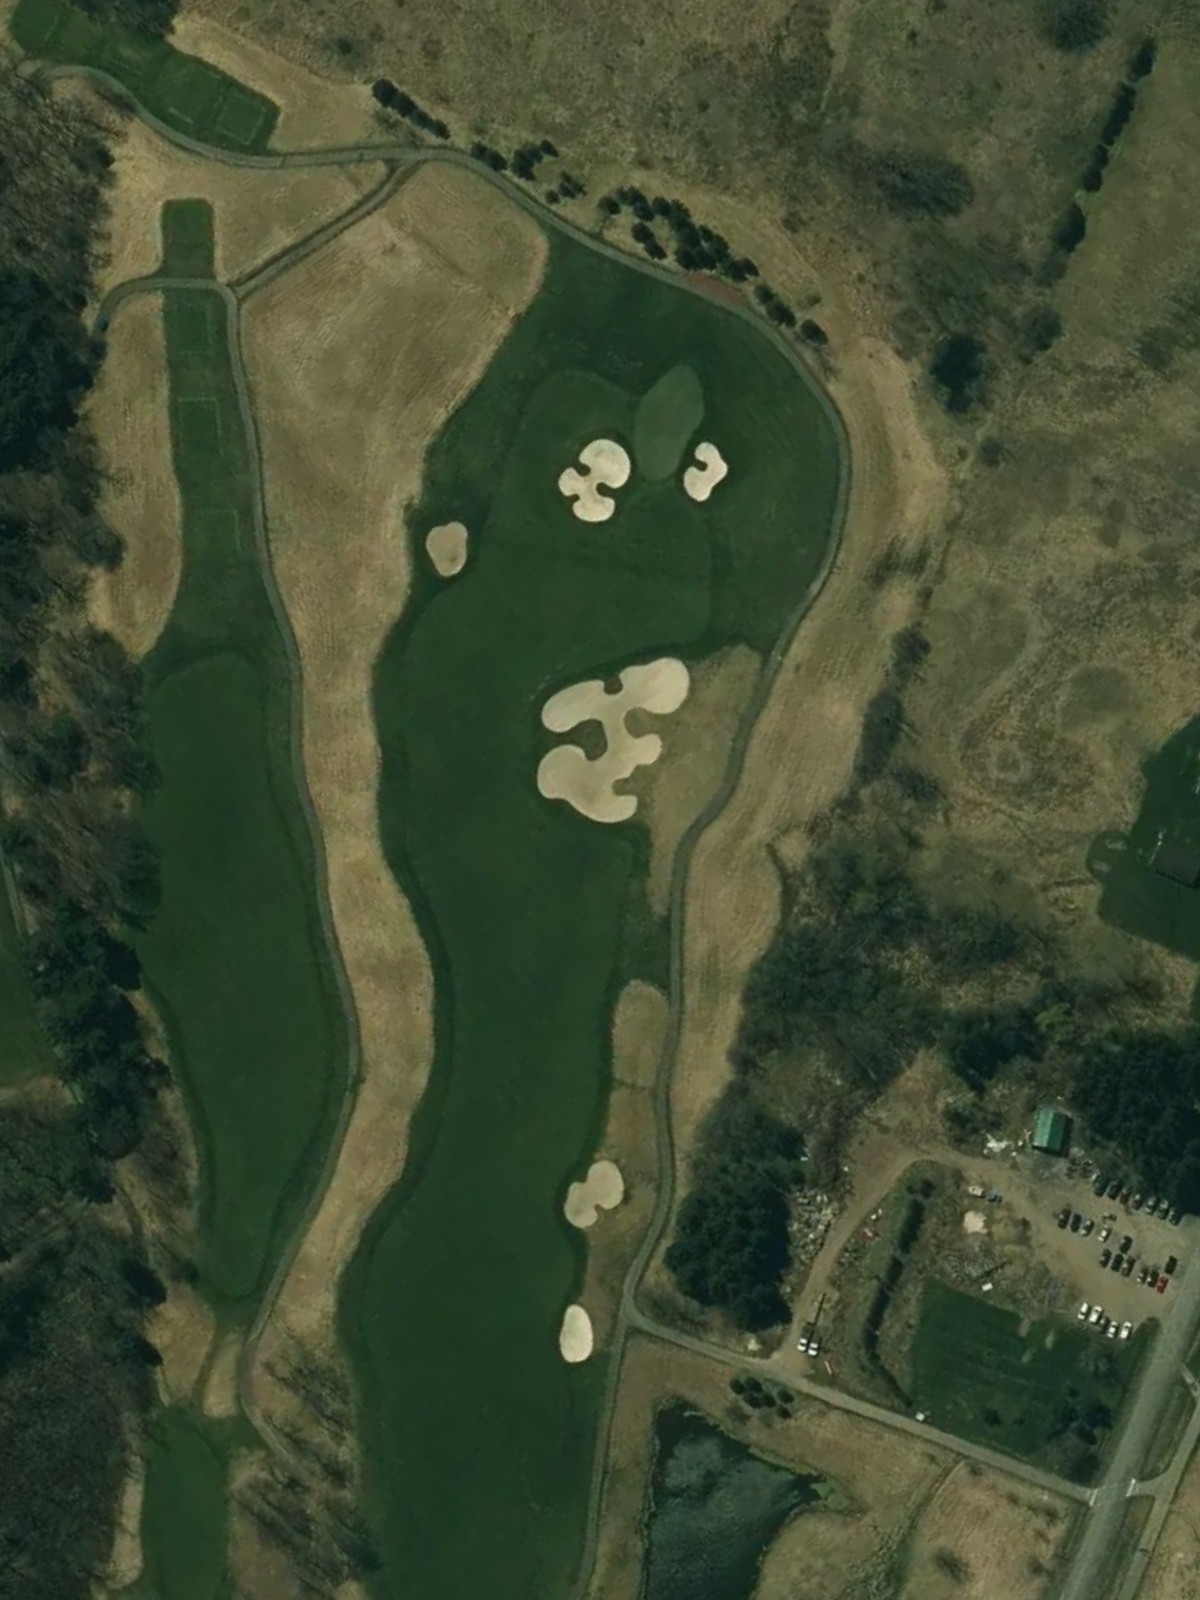
A straightforward par 4 that offers a relatively open fairway before narrowing slightly as it approaches the green. Well-placed bunkers protect the right side of the green, rewarding accurate approach shots.
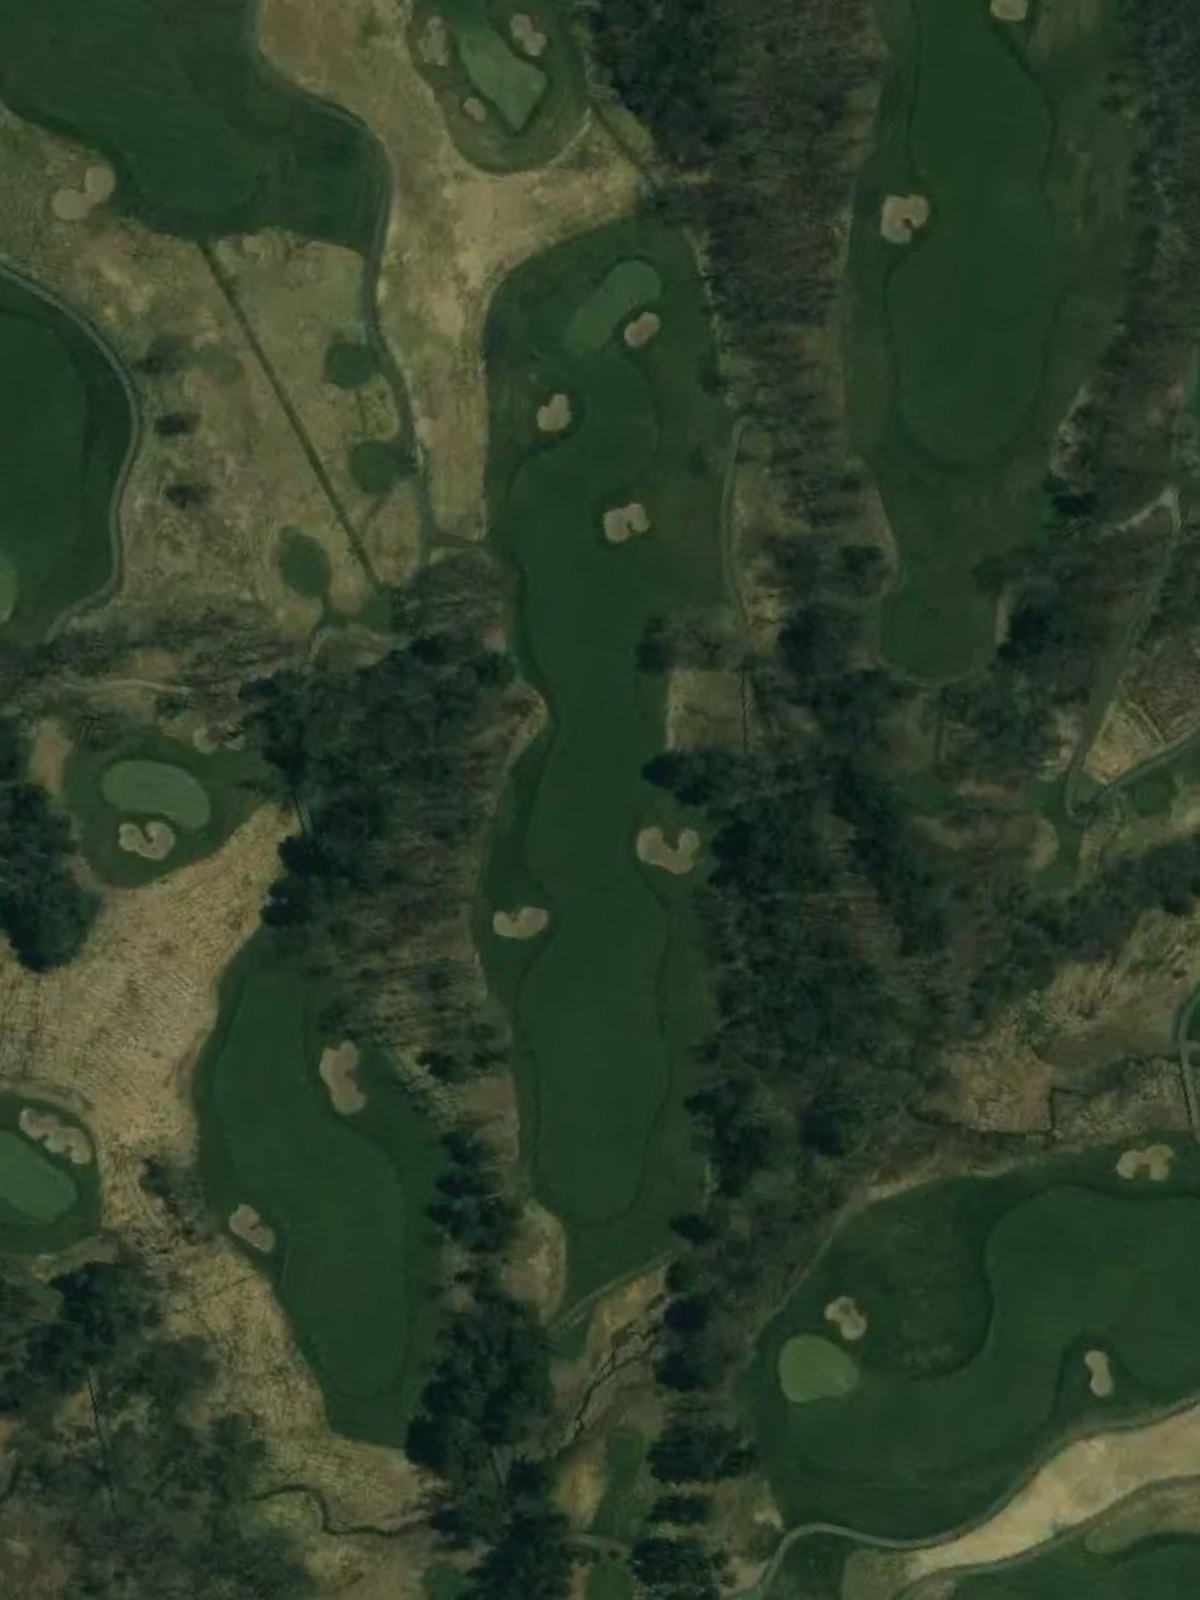
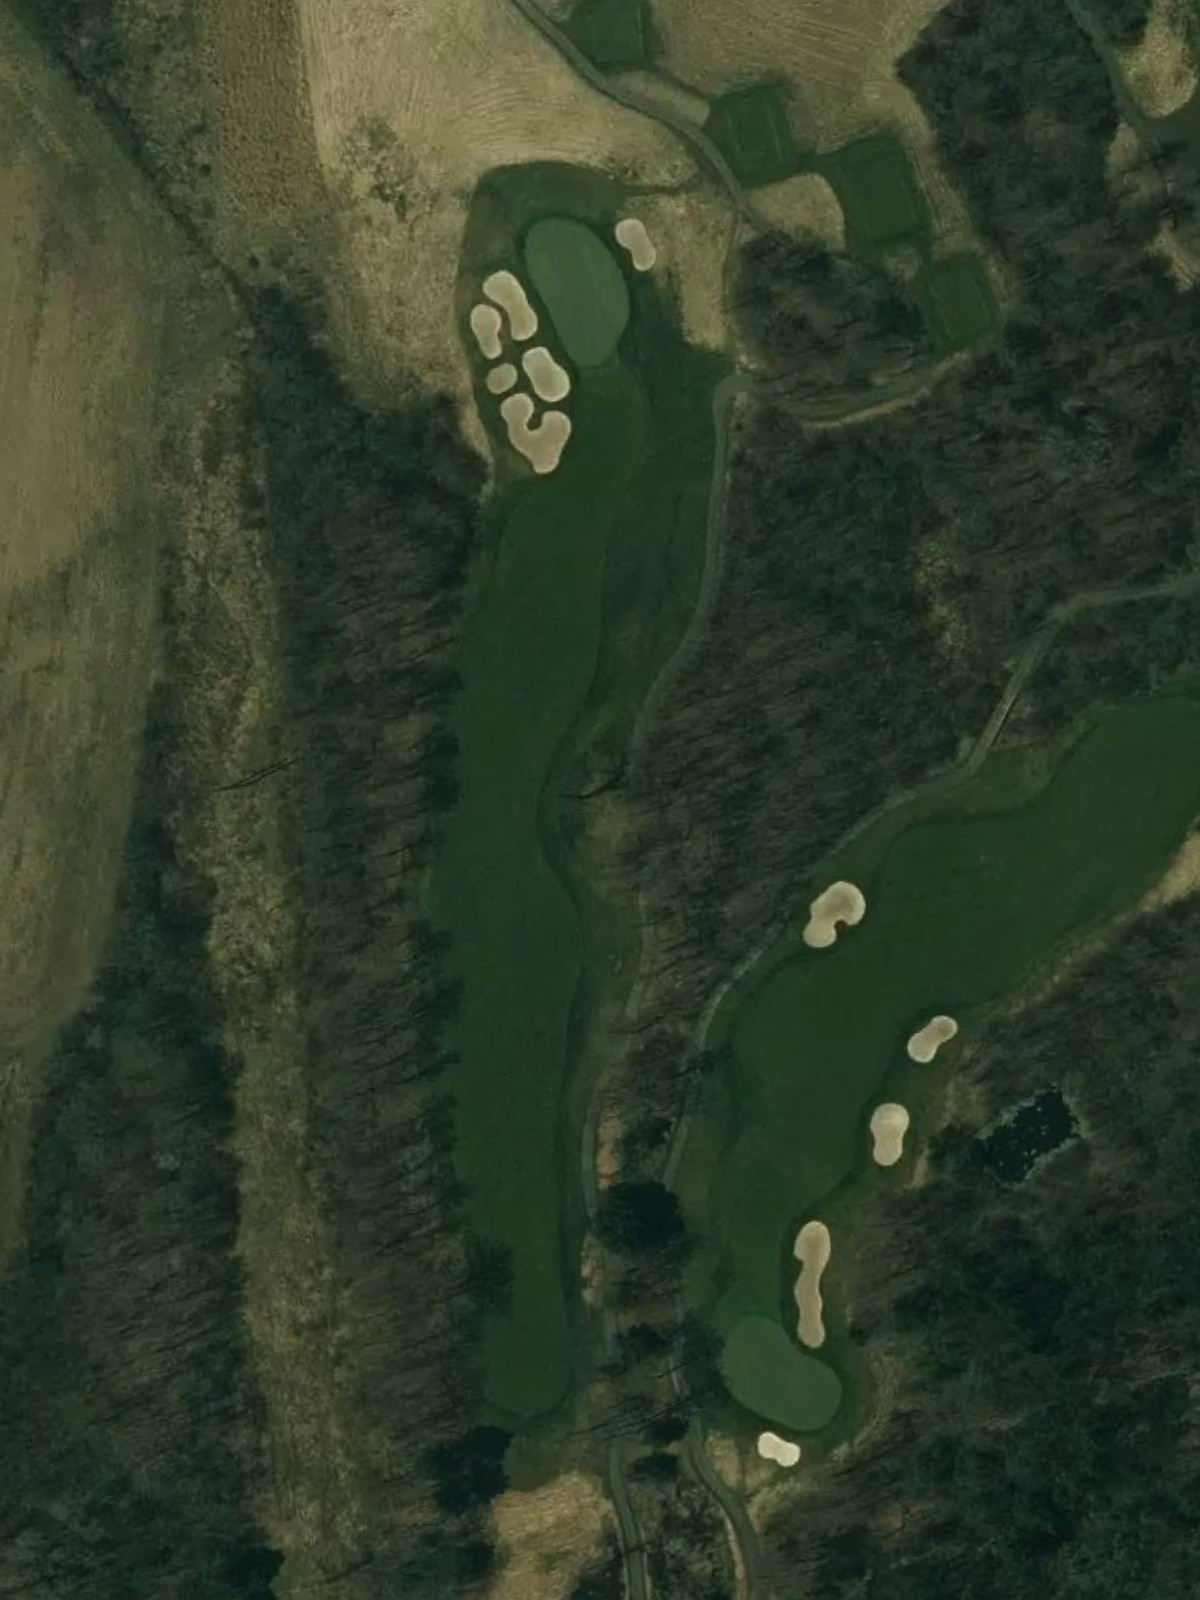
A demanding par 4 that plays longer than most on the front nine, requiring two solid strokes to reach the green in regulation. Strategic hazard placement demands precision off the tee and into the scoring zone.
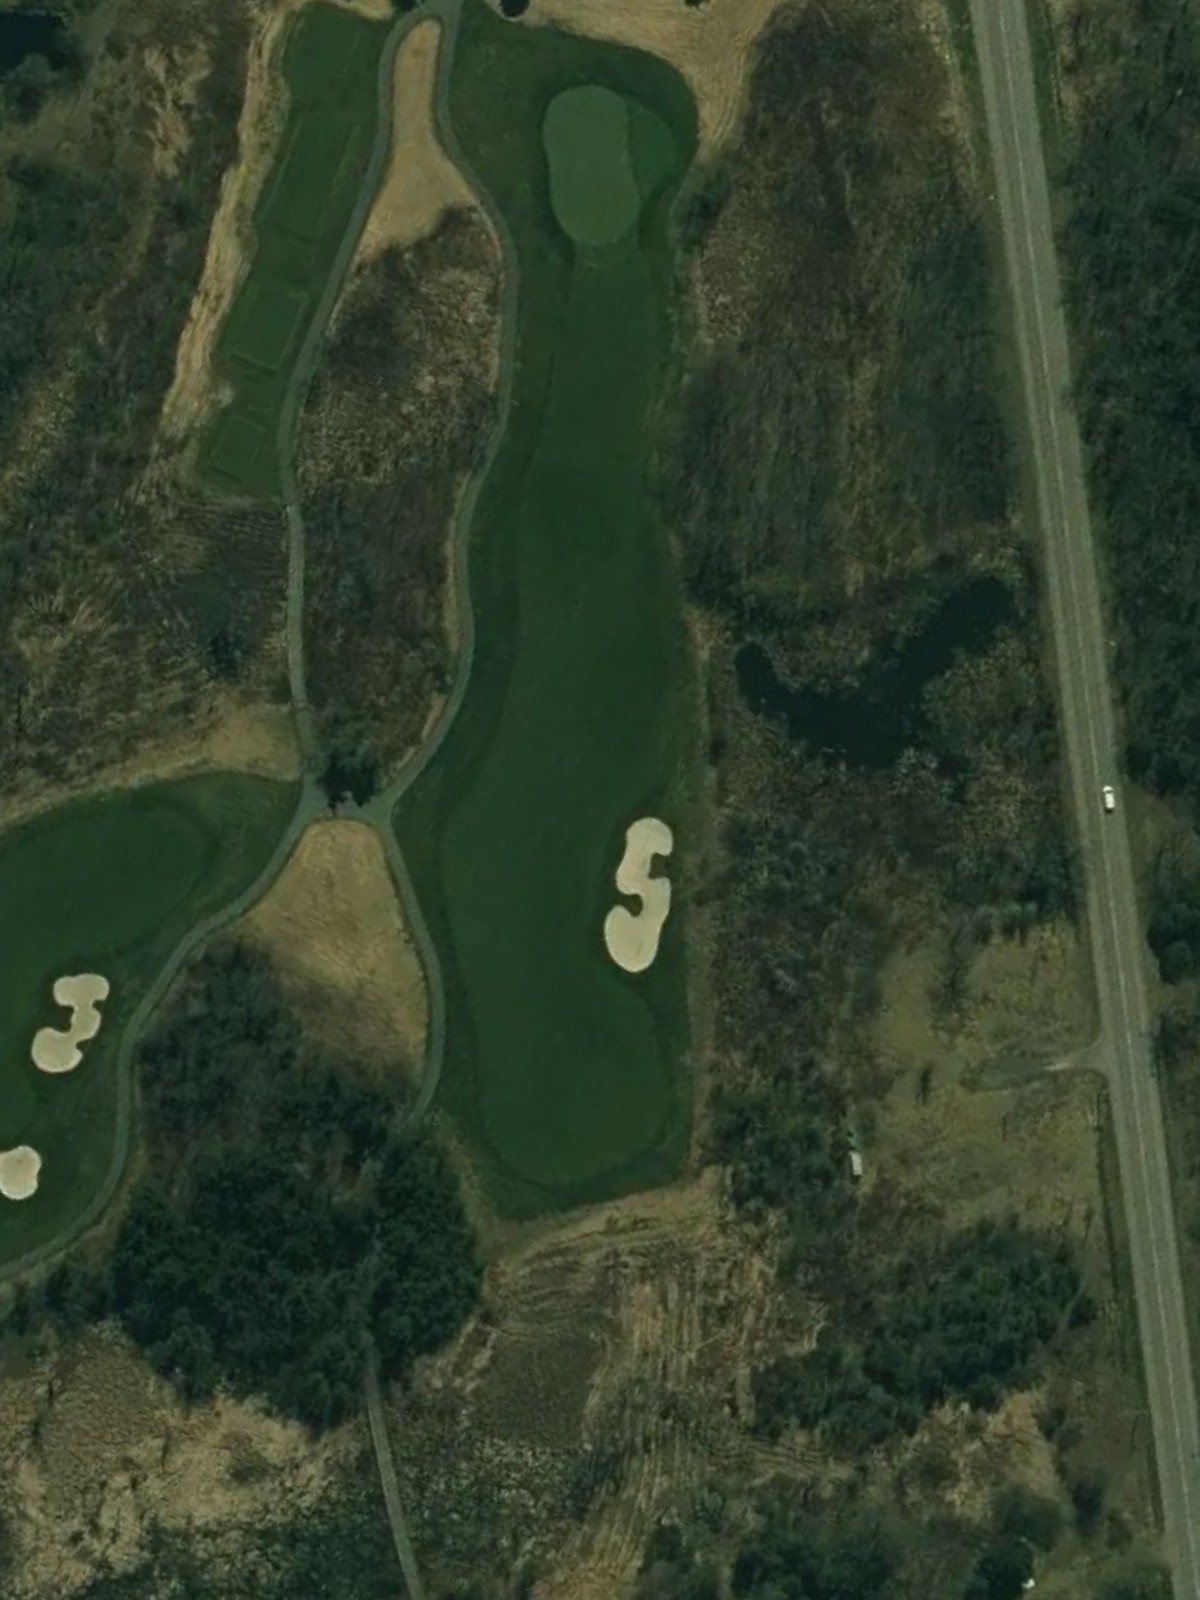
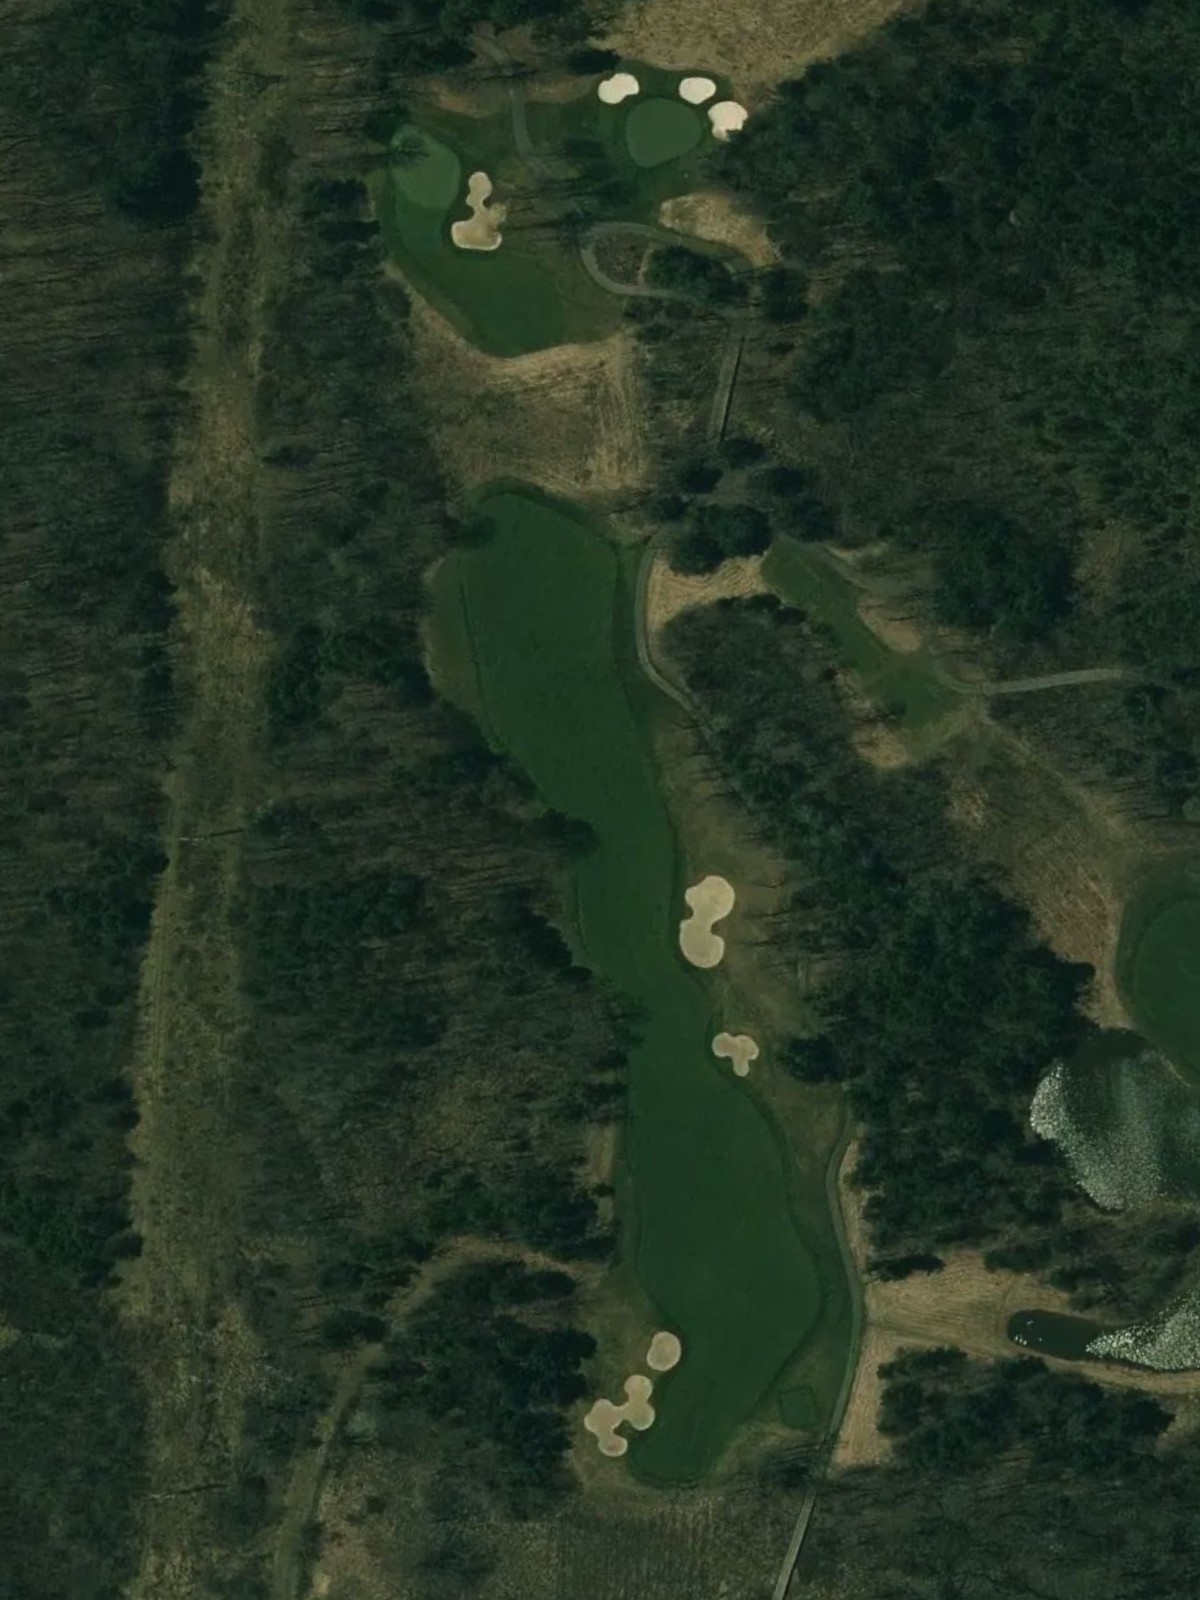
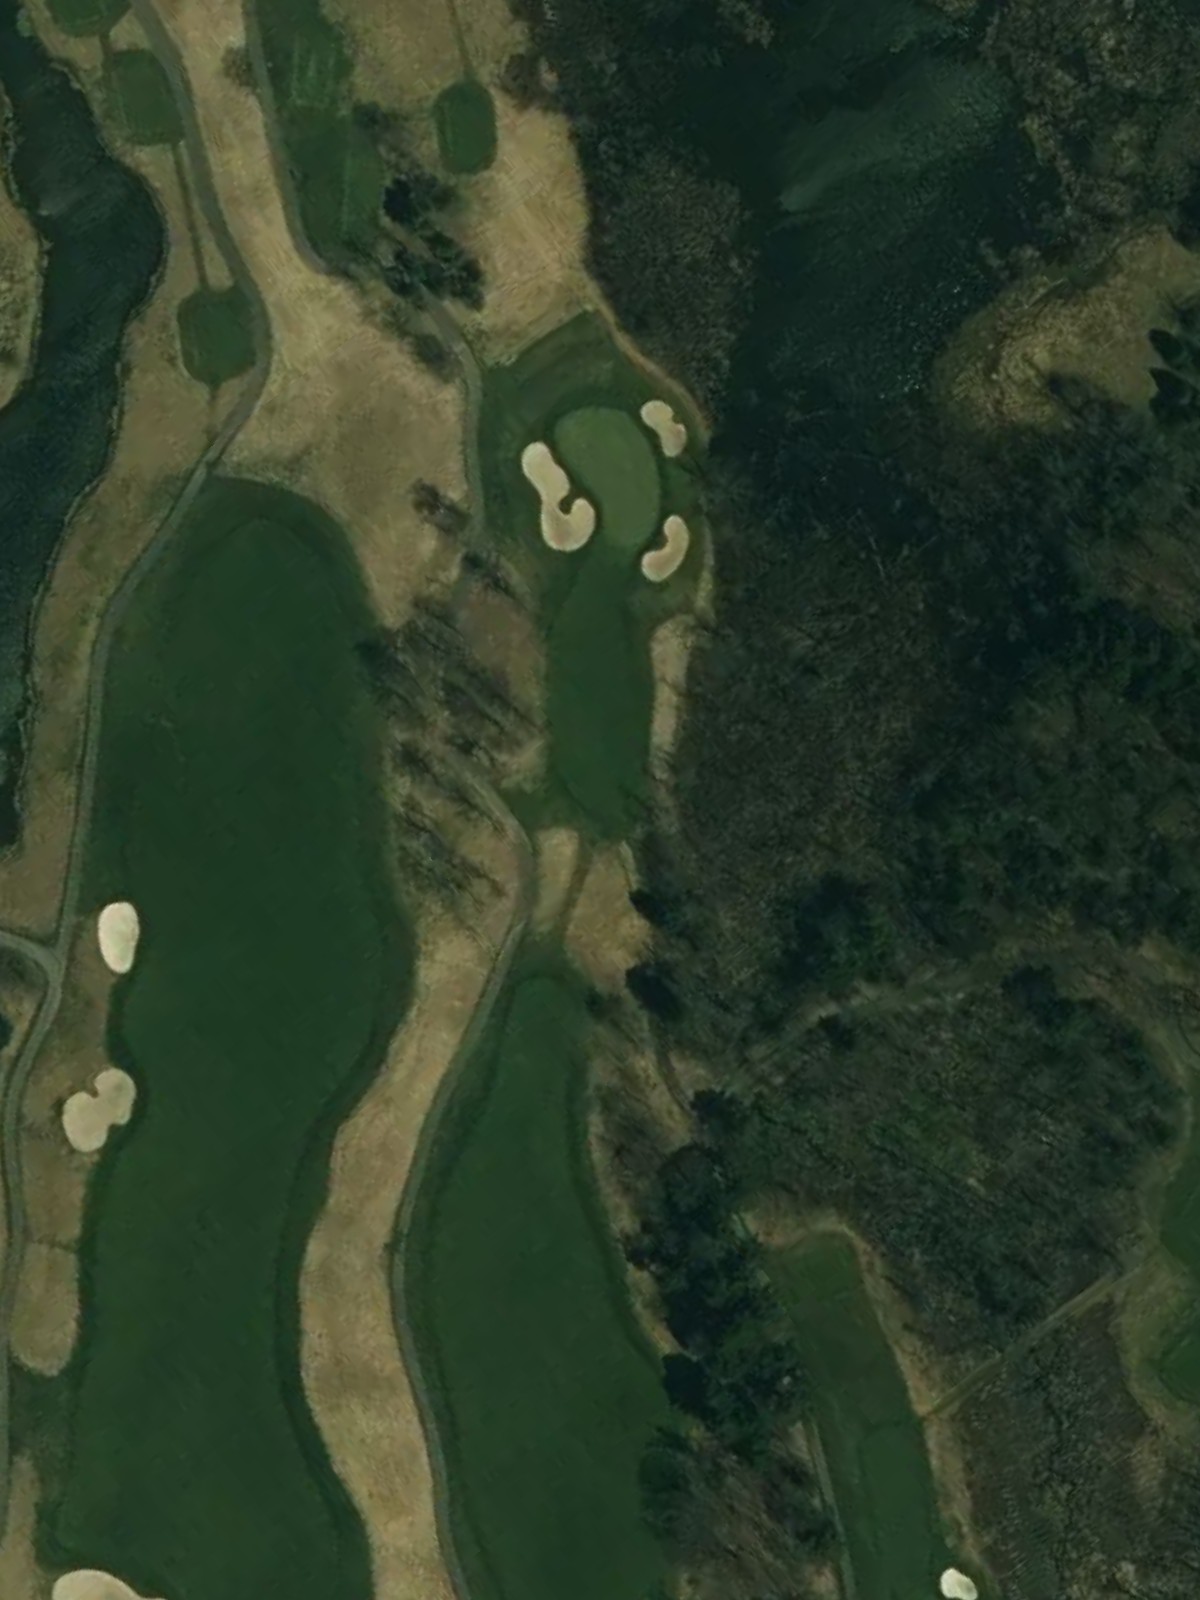
The #1 handicap hole presents a significant challenge despite its par 4 length, with multiple hazards and narrow approach angles that demand accuracy. The green is well-protected and unforgiving to wayward shots.
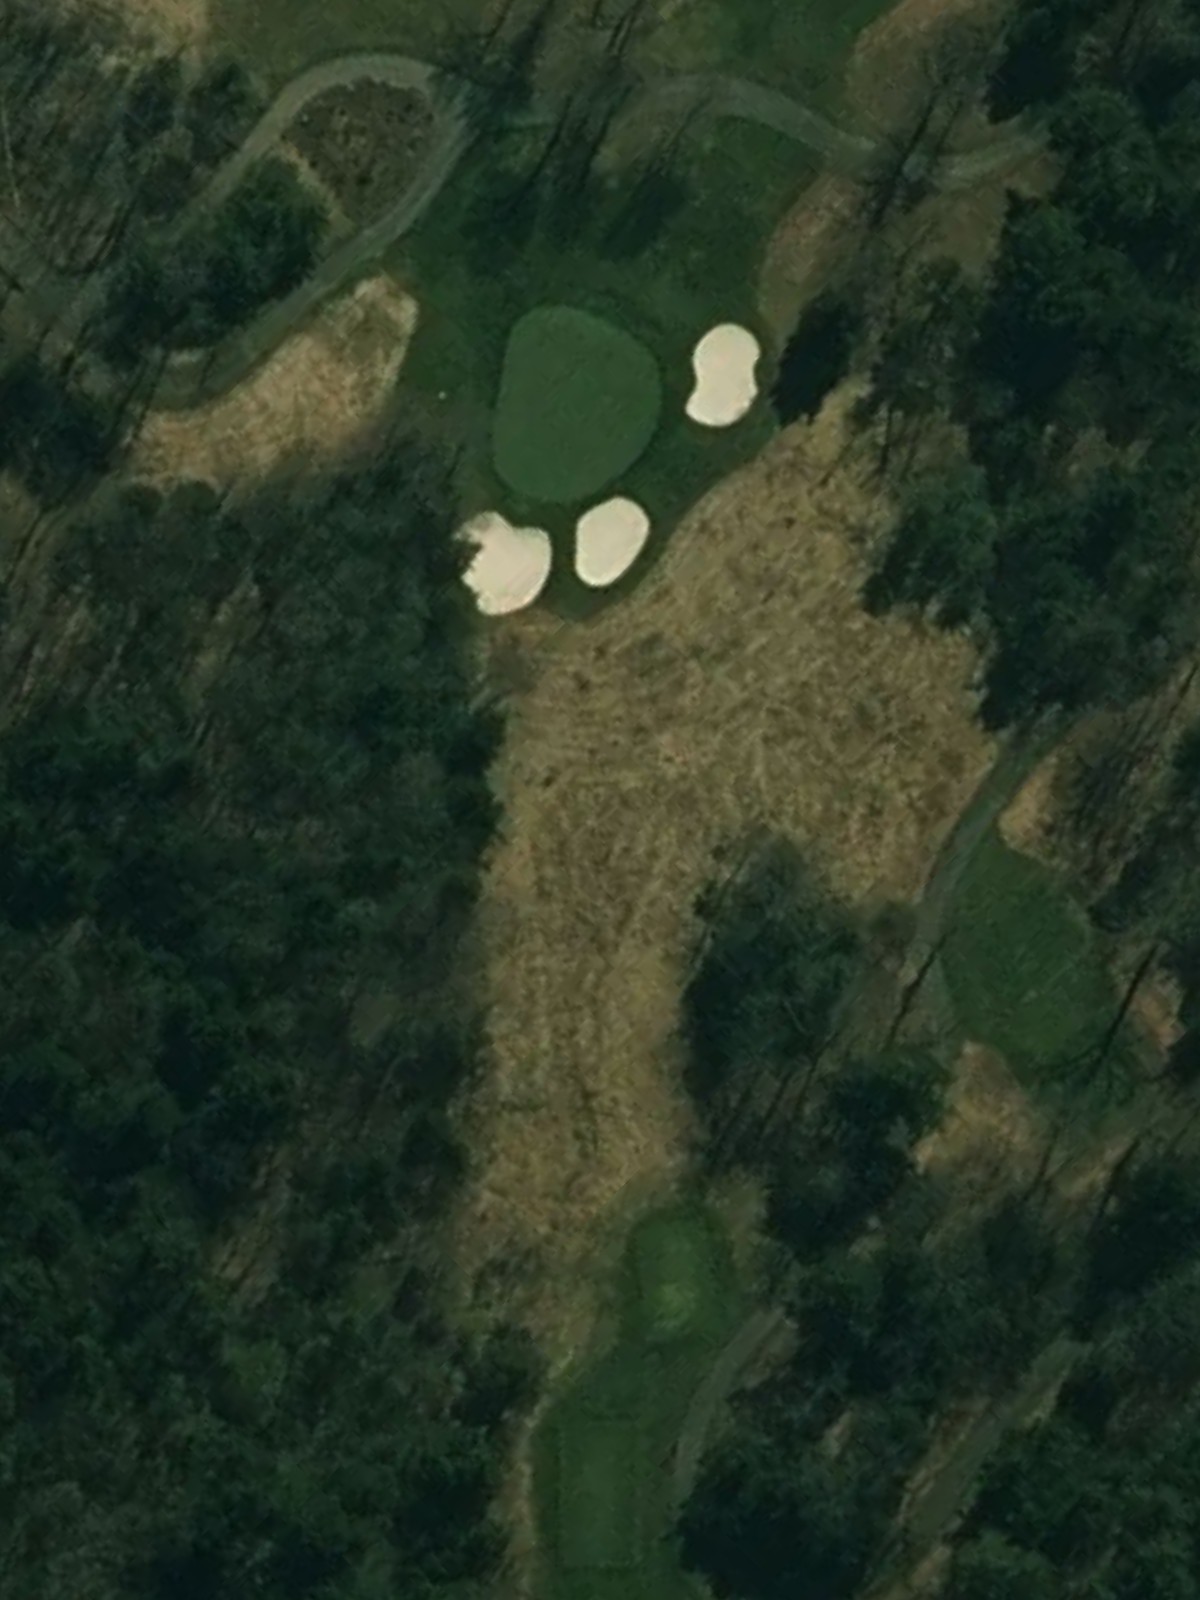
A short par 3 that serves as a potential birdie opportunity from most tees. The compact nature of the hole makes precise distance control the primary consideration.
A manageable par 4 with a relatively straightforward routing and modest length. The fairway provides a reasonable landing area for the tee shot before the approach to green.
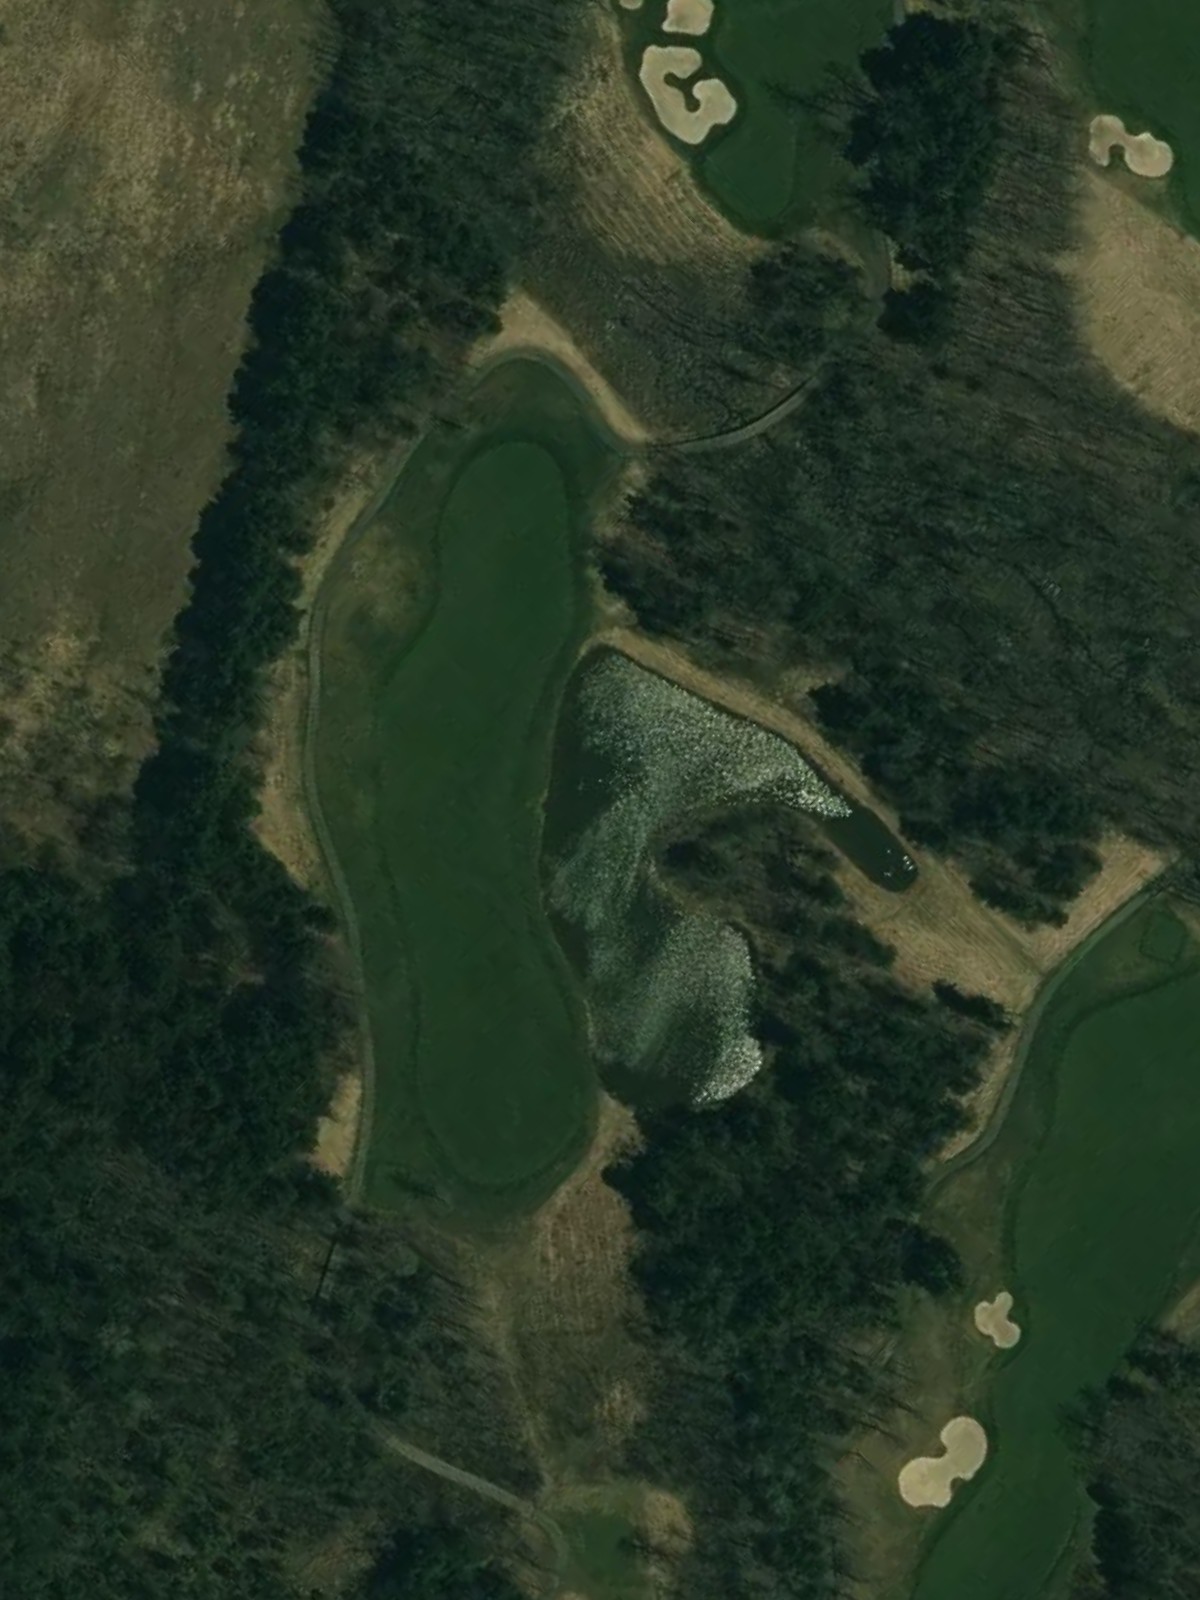
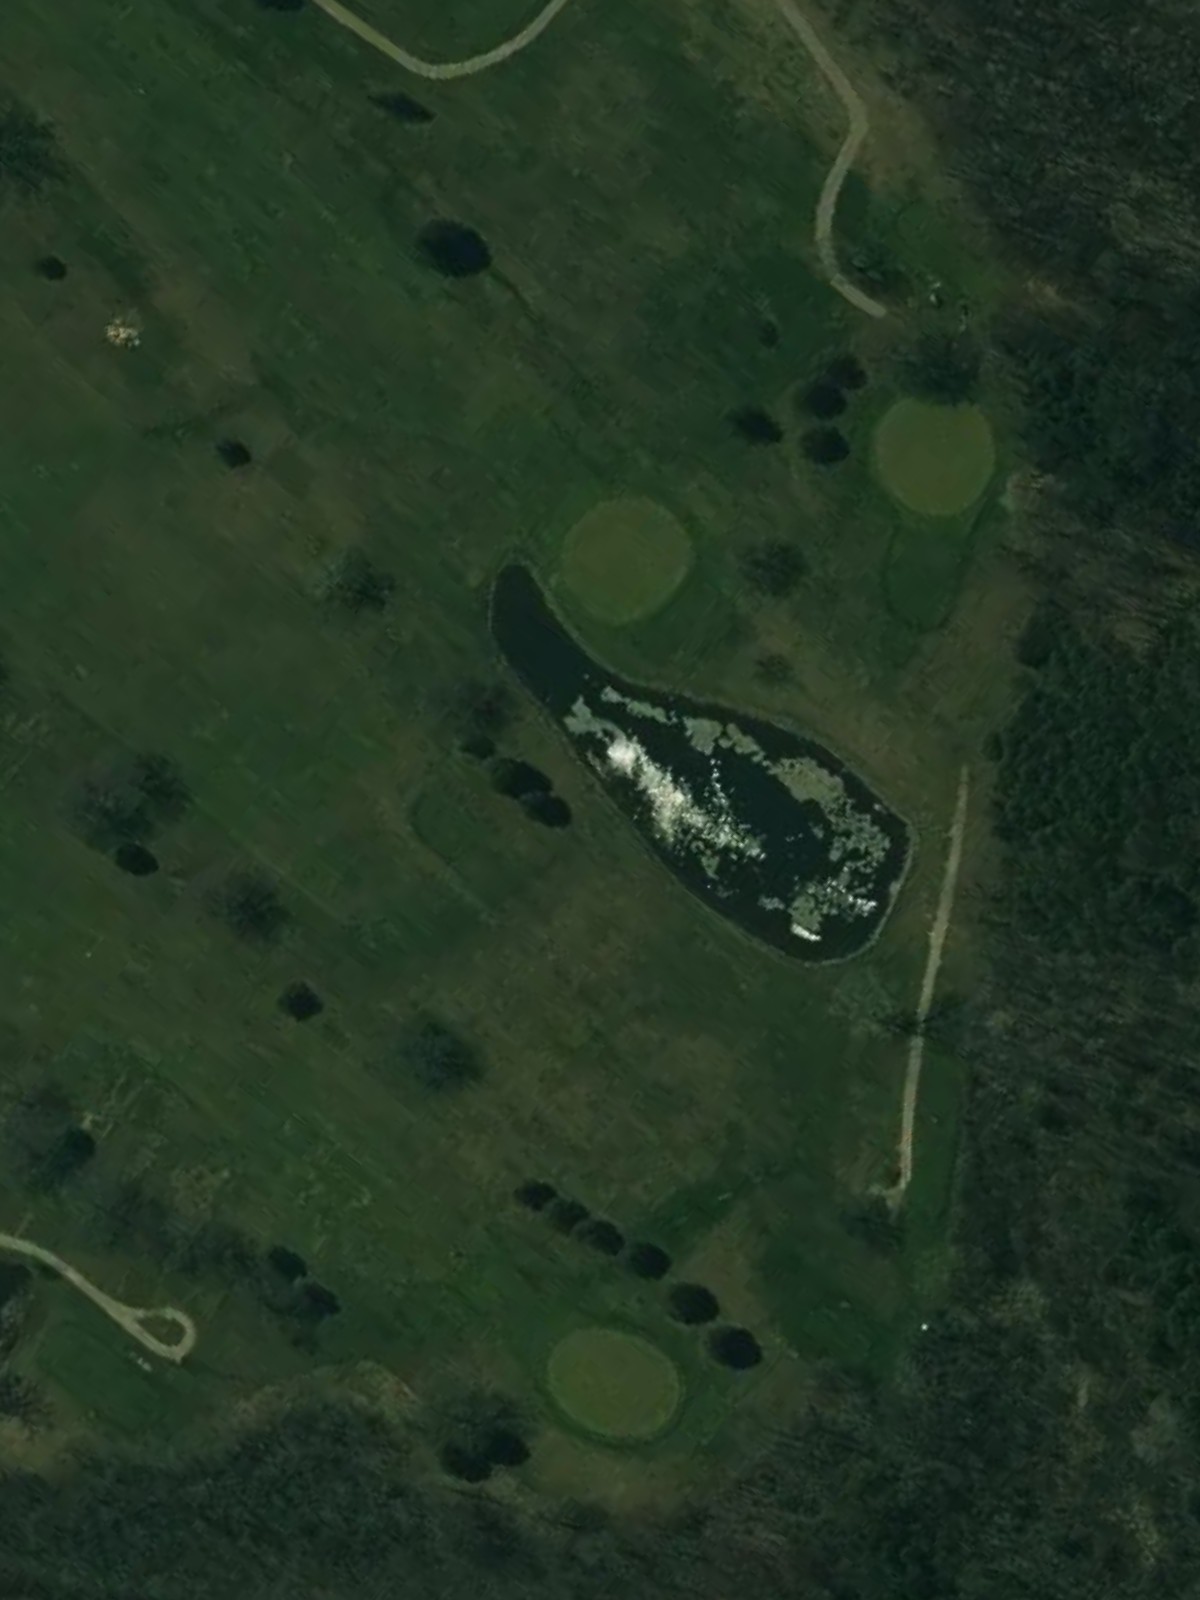
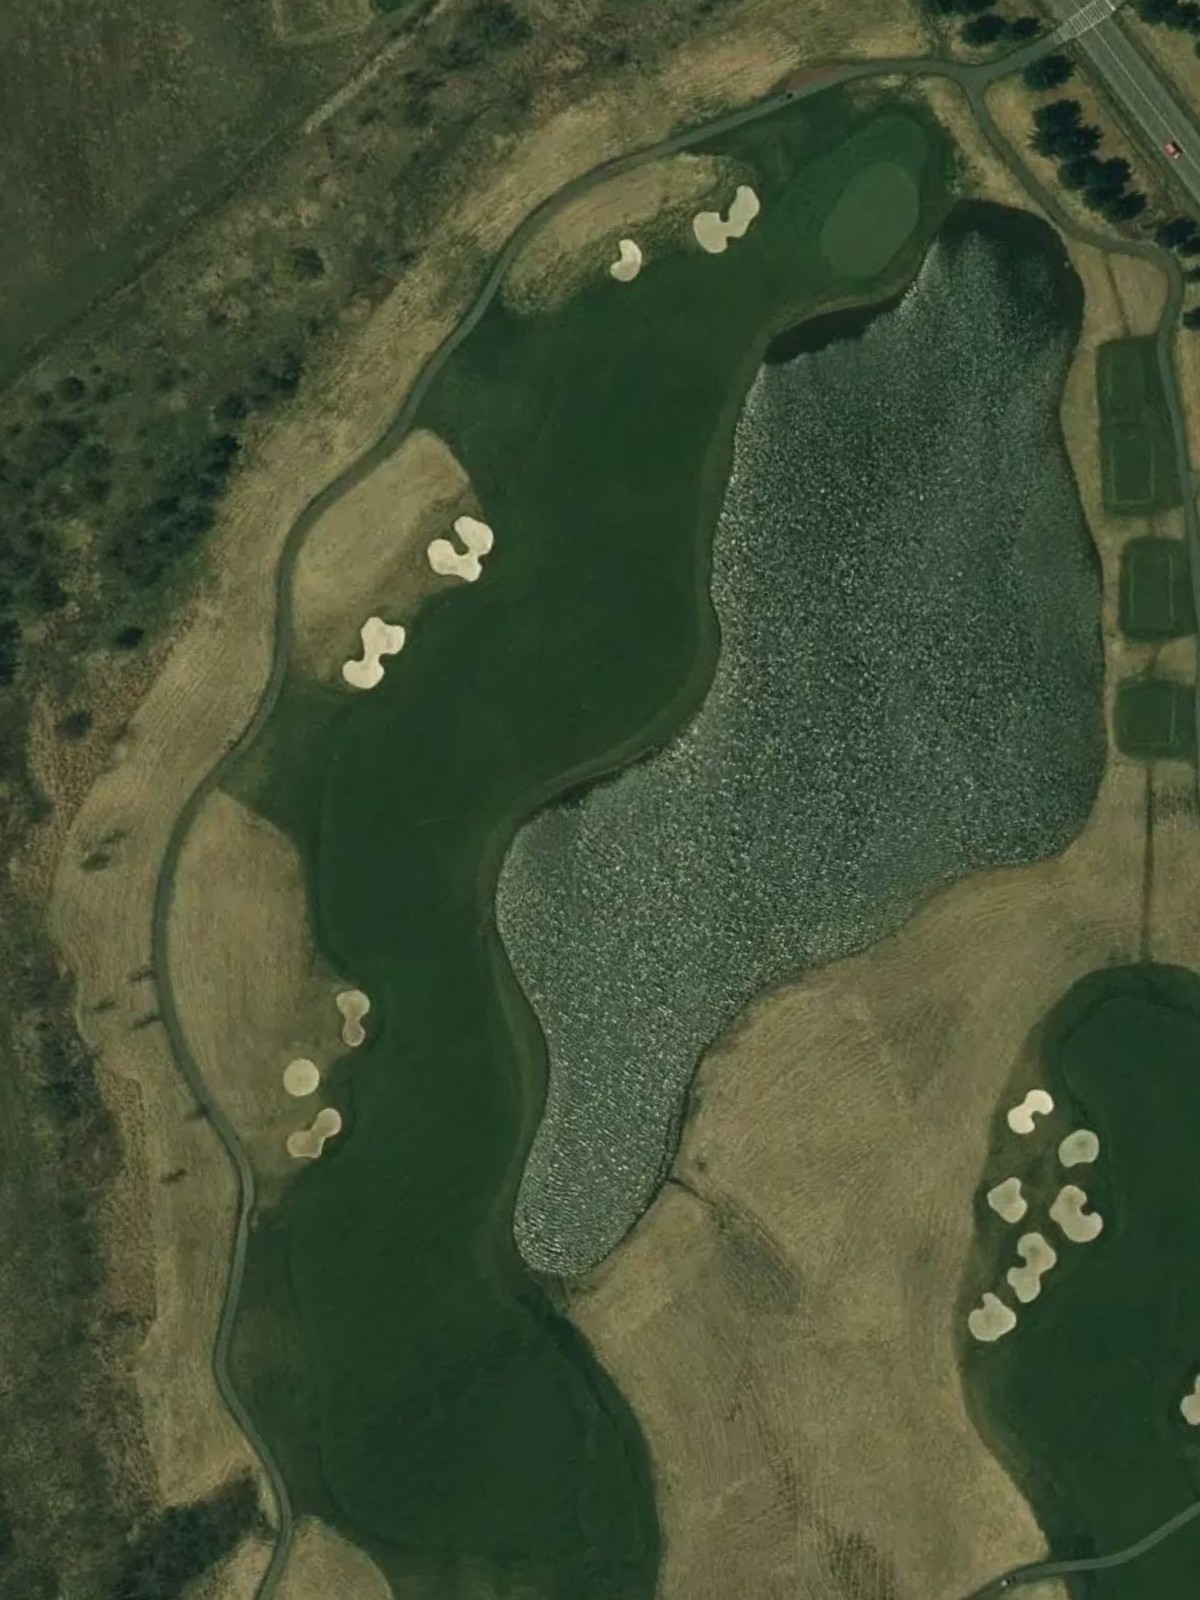
A par 5 that can be reached in two shots by longer hitters, though strategic positioning is required off the tee. Water hazards and bunkers come into play around the green for those attempting the birdie.

A strong par 4 that plays as one of the course's tougher two-shot holes, with hazards positioned to penalize both wayward drives and poor approach shots. Accuracy is paramount throughout the hole.
A mid-length par 3 requiring a well-executed tee shot to a potentially elevated or contoured green. Bunkers typically frame the putting surface, demanding clean contact from the tee.

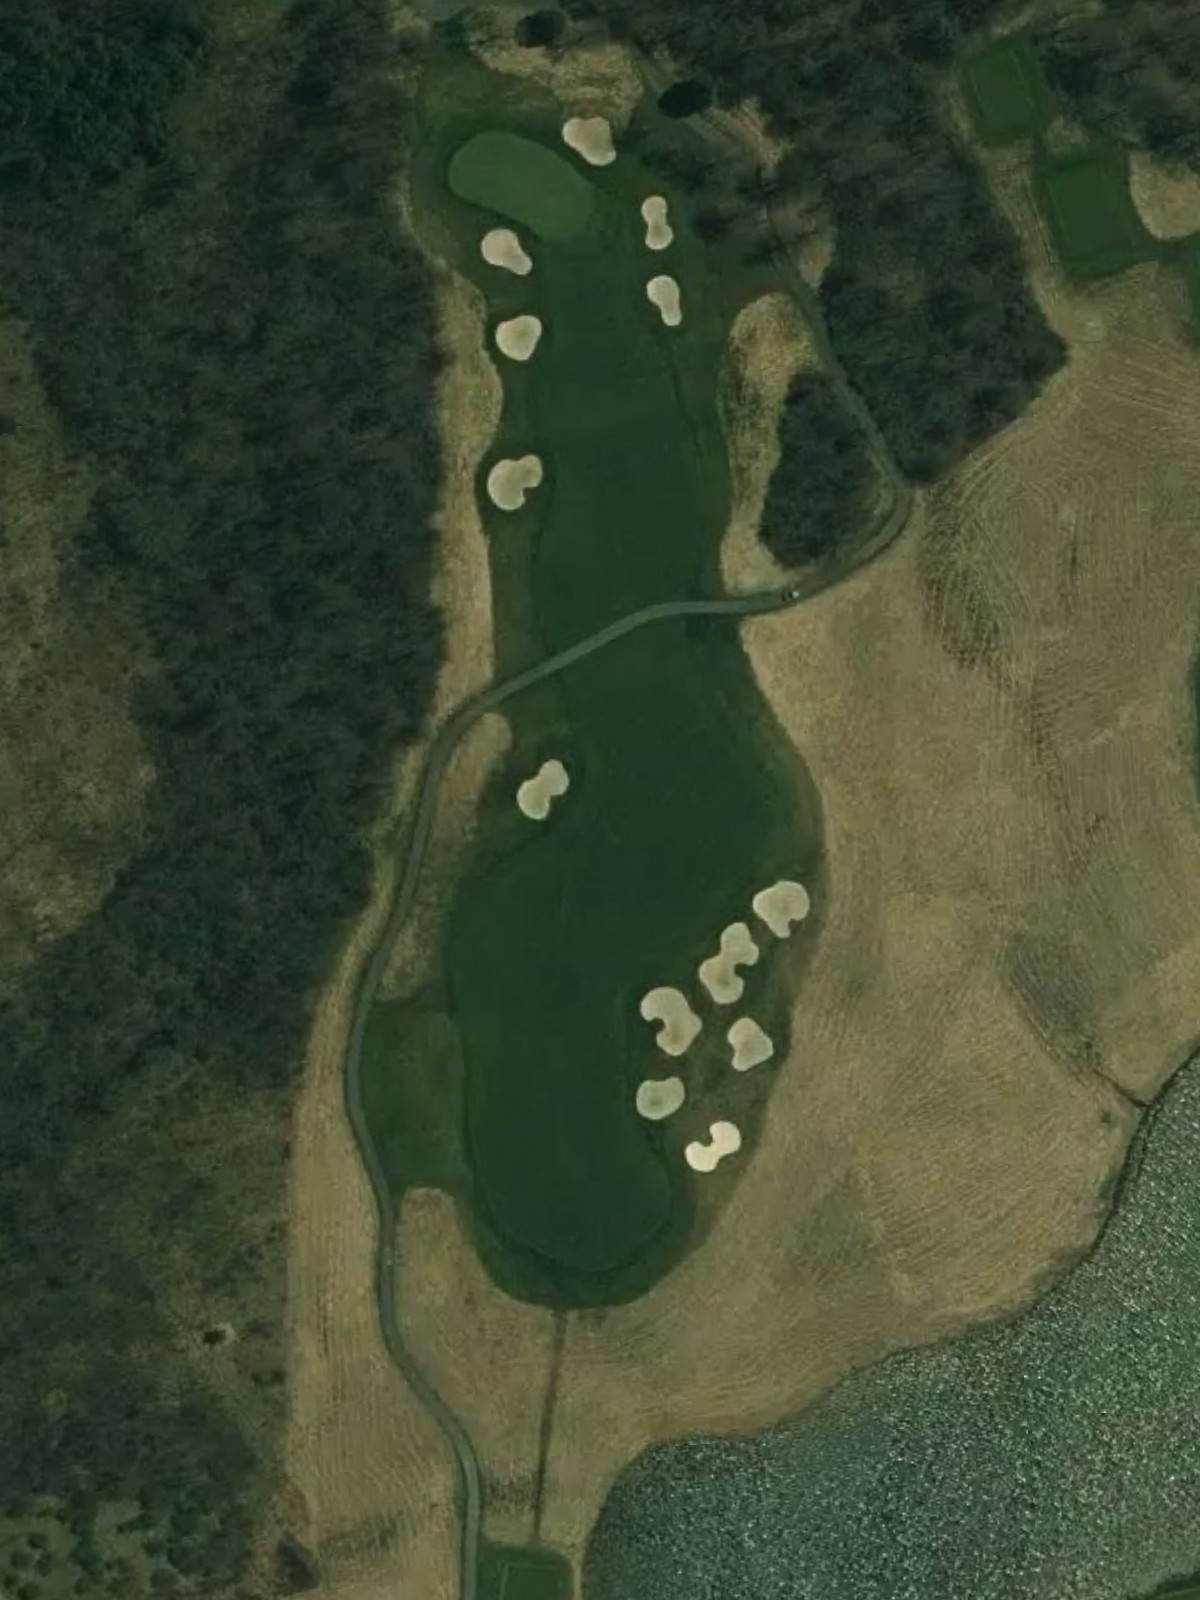
The #3 handicap hole is among the course's most difficult, combining significant length with strategic hazard placement that challenges golfers throughout the hole. The par 5 demands two strong shots just to position for a reasonable third.
A par 4 that opens the back nine with a balanced challenge, featuring a fairway that rewards solid striking without penalizing minor misses severely. The approach shot determines scoring opportunity.
A formidable par 4 playing to significant yardage, comparable in difficulty to the best holes on the front side. Hazards strategically positioned demand careful tee placement and a strong approach.
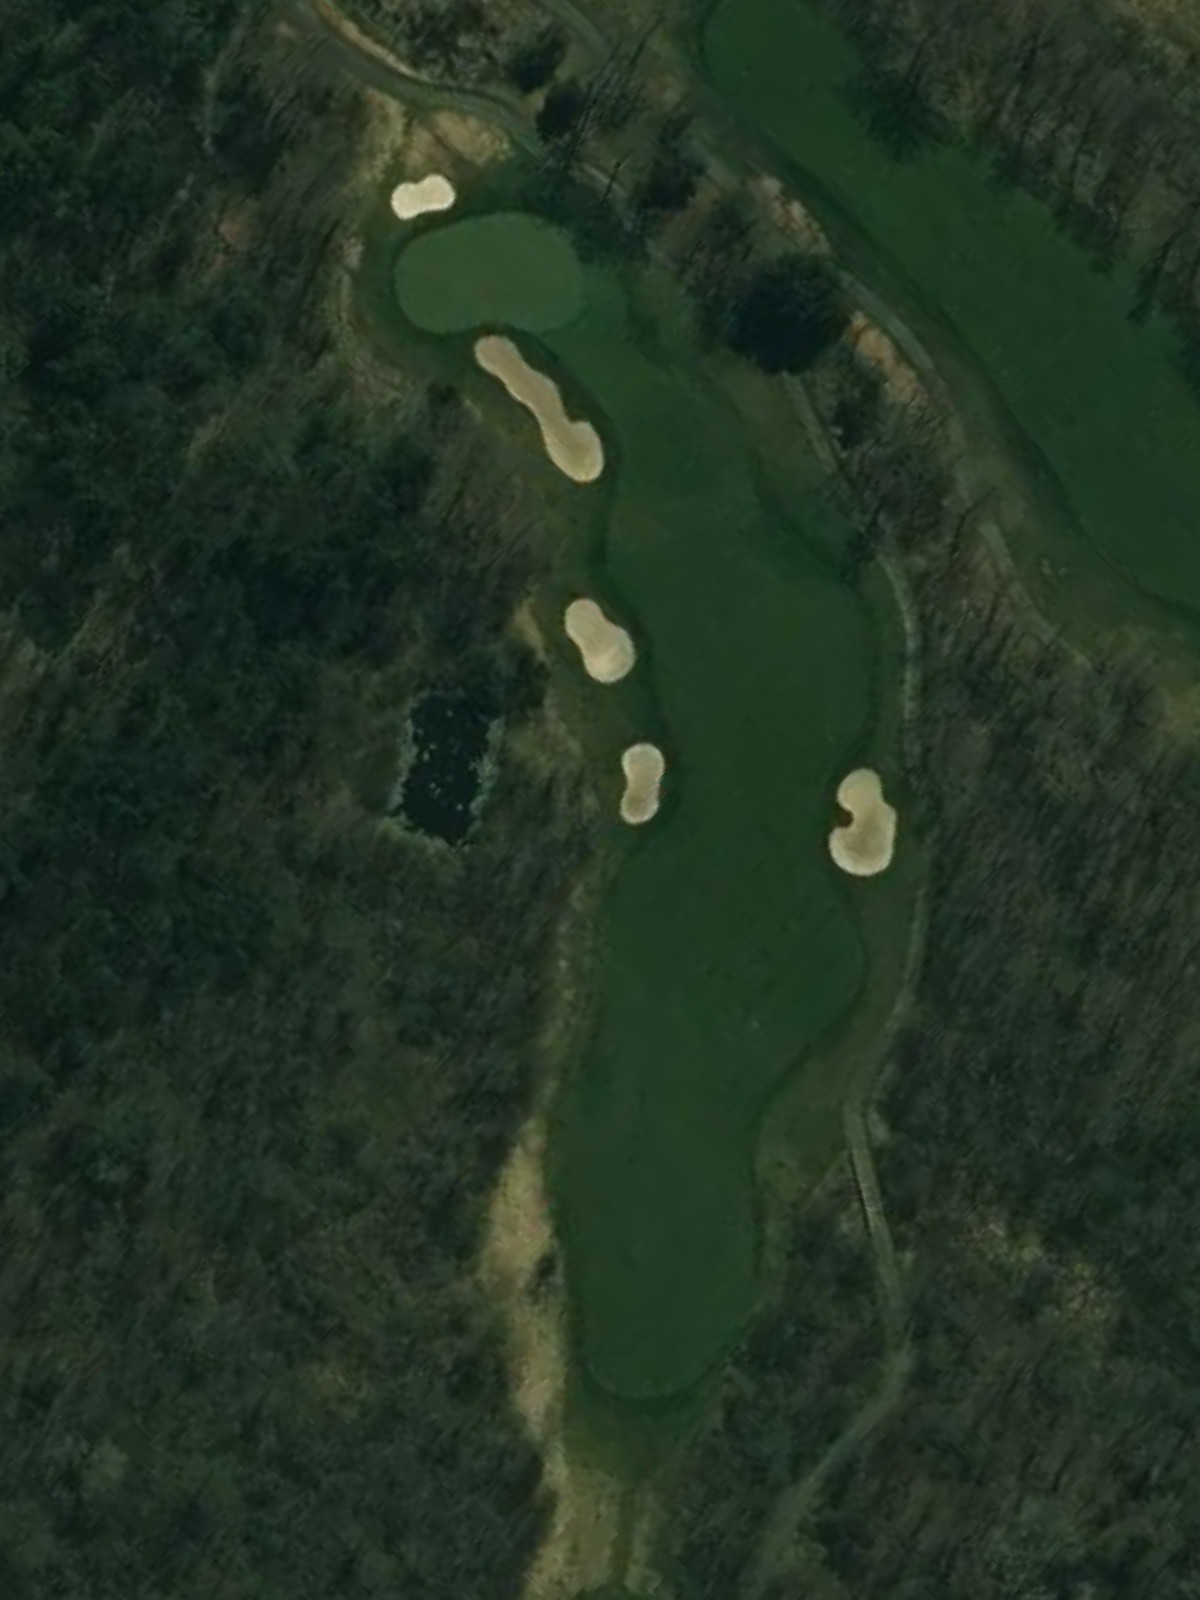
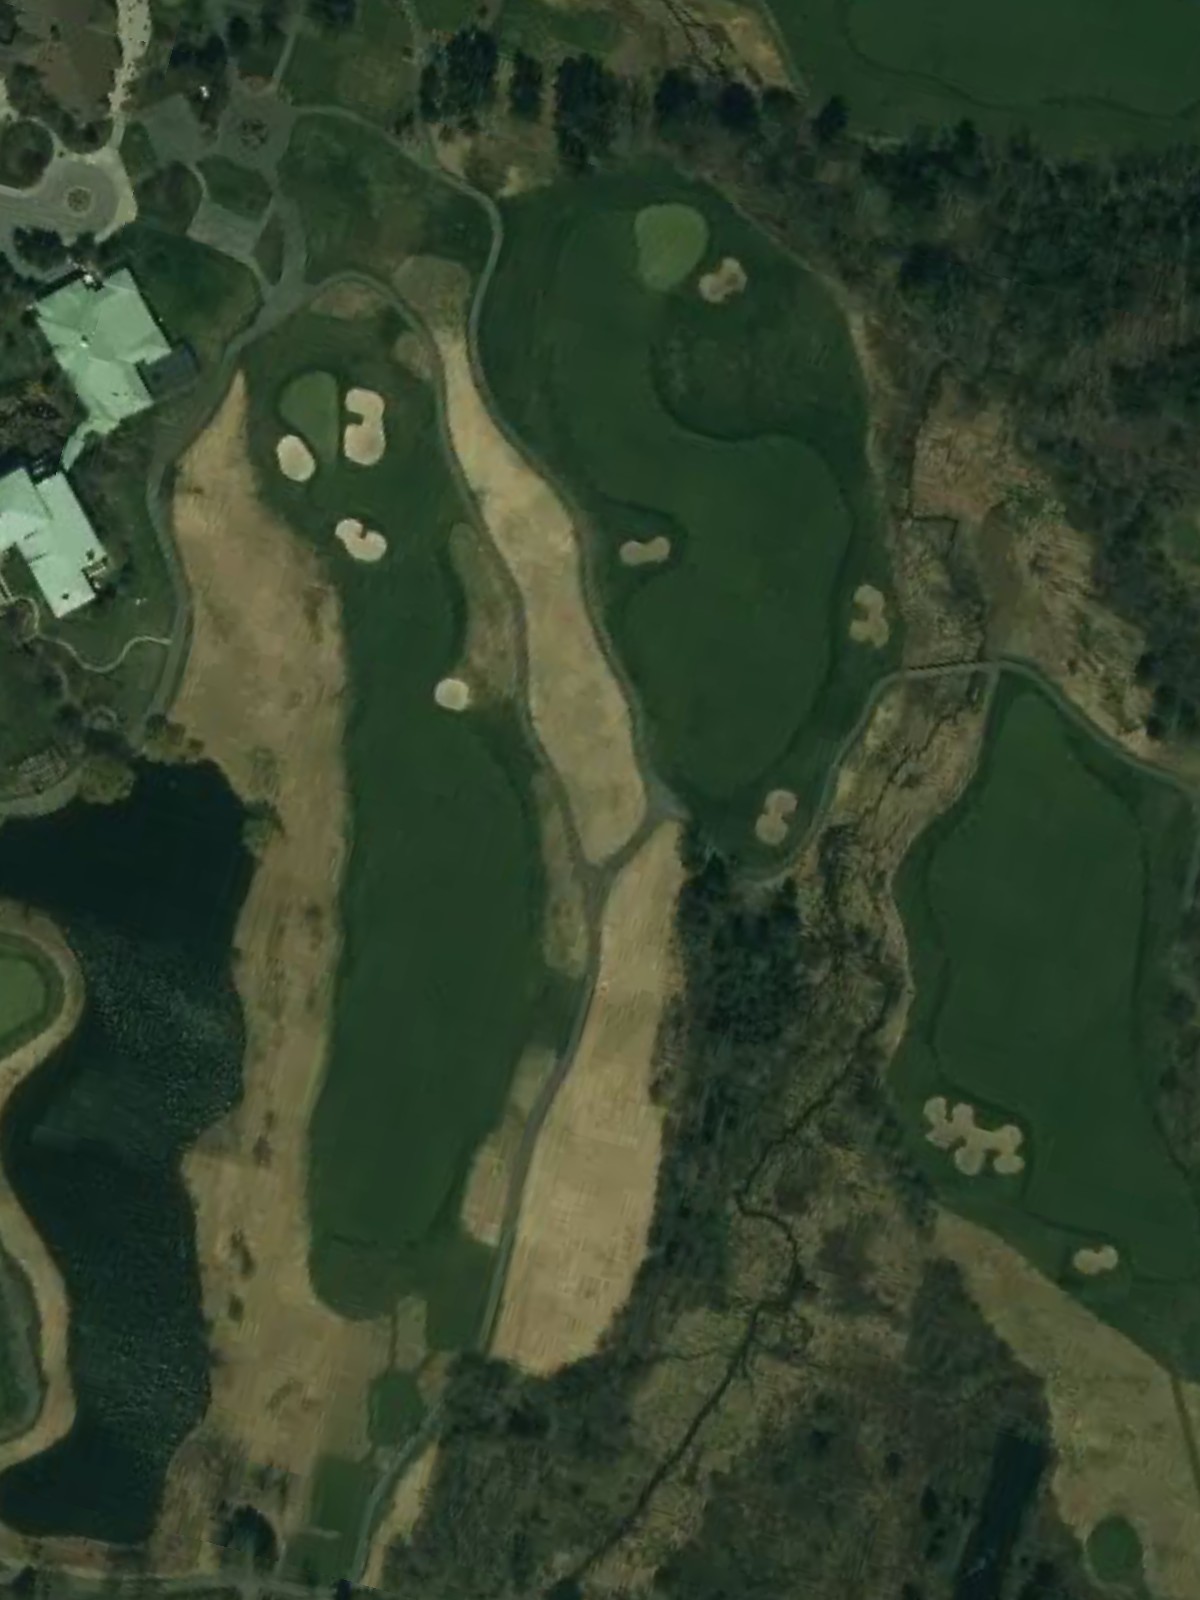
The #2 handicap hole represents one of the course's most difficult par 4s, with multiple hazards and a well-protected green that requires precision. Only the most accurate swings will find the green in regulation.
The most accessible par 3 on the course from most tees, offering a genuine scoring opportunity with its shorter overall length. Accurate distance control is still essential for a good result.
A relatively short par 4 that plays easier than many on the back nine, providing a scoring chance for solid ball strikers. The straightforward design allows golfers to attack the pin with confidence.
A par 5 offering multiple birdie opportunities for longer hitters, though strategic positioning off the tee is important for setting up an aggressive second shot. Hazards guard the approach area to the green.
A strong par 4 with the #6 handicap rating, featuring a routing that demands both length and accuracy to navigate successfully. The green presentation is carefully designed to protect par.

A mid-length par 3 requiring a confident tee shot to a green that may feature elevation change or water hazards. The hole's difficulty increases with wind or tight pin placements.
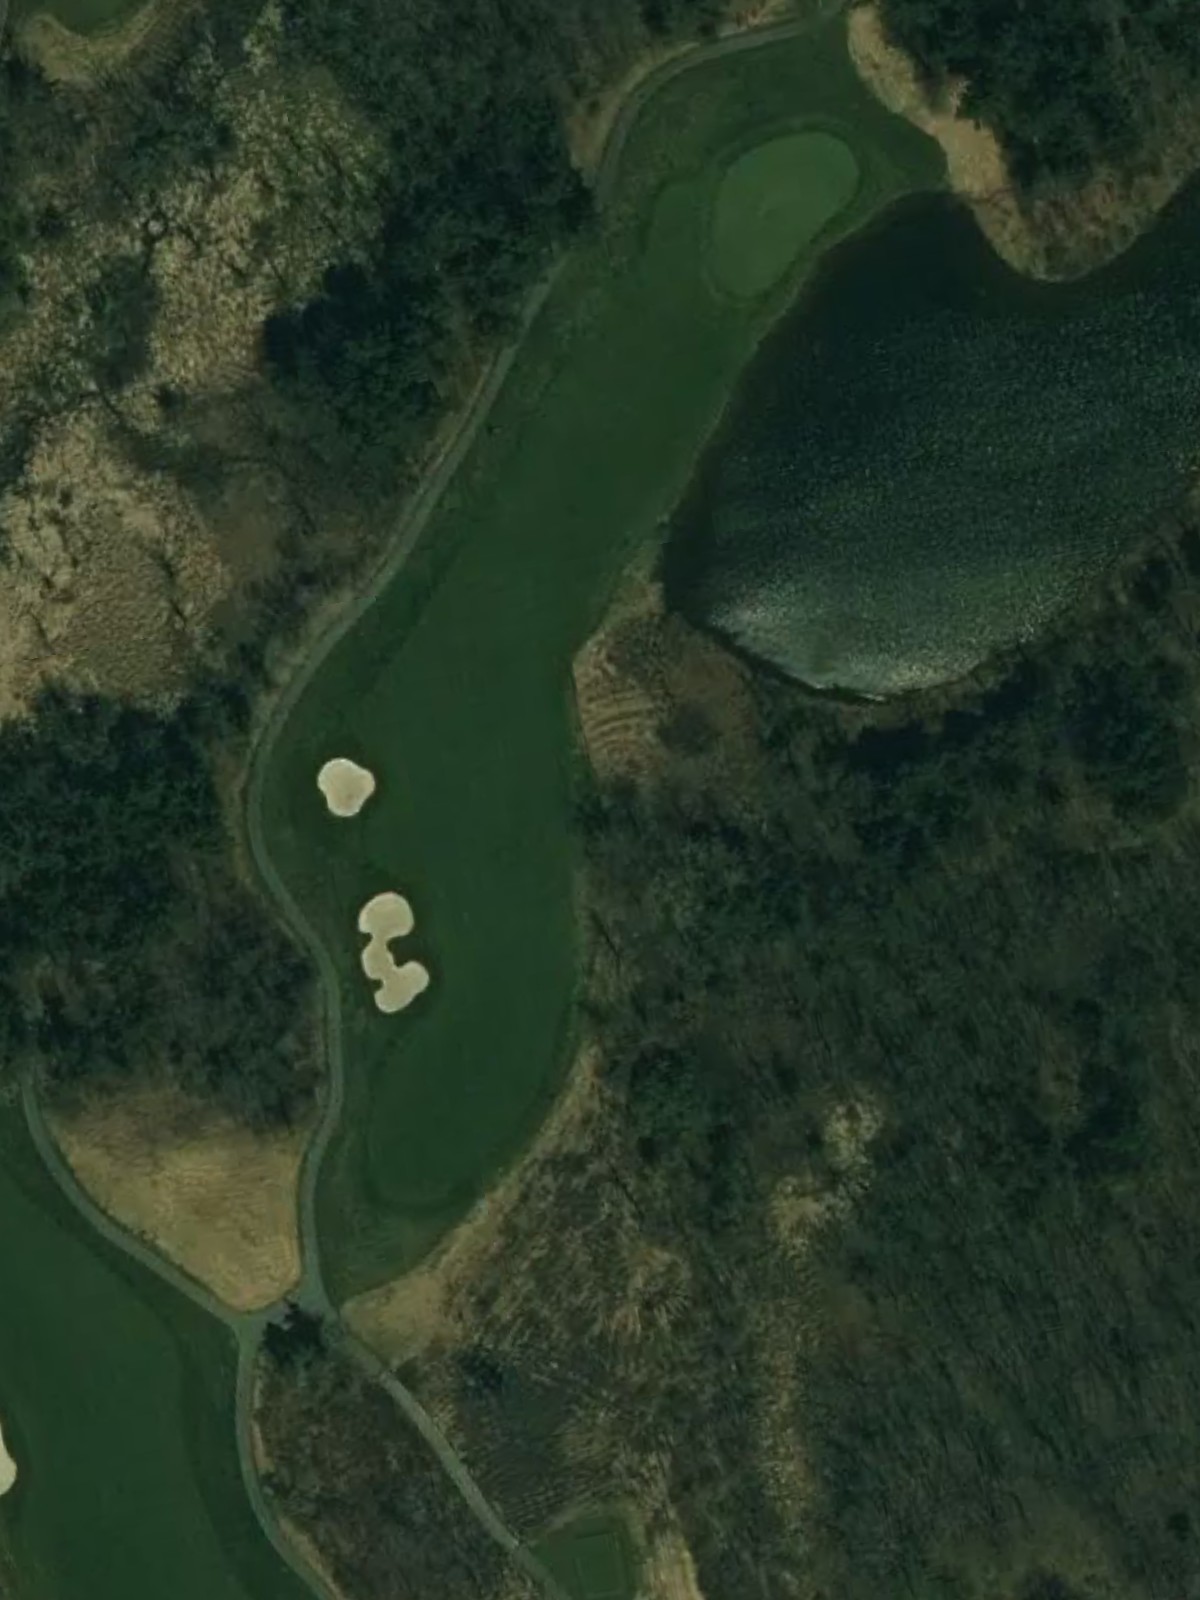
A challenging finishing par 5 that provides a closing test of skill, with length and strategic hazards requiring two strong shots to set up a reasonable birdie attempt. The final hole demands composure and execution.
Scorecard
| Hole | 1 | 2 | 3 | 4 | 5 | 6 | 7 | 8 | 9 | Out | 10 | 11 | 12 | 13 | 14 | 15 | 16 | 17 | 18 | In | Tot |
|---|---|---|---|---|---|---|---|---|---|---|---|---|---|---|---|---|---|---|---|---|---|
| Par | 4 | 4 | 4 | 3 | 4 | 5 | 4 | 3 | 5 | 36 | 4 | 4 | 4 | 3 | 4 | 5 | 4 | 3 | 5 | 36 | 72 |
| HCP | 9 | 7 | 1 | 17 | 15 | 11 | 5 | 13 | 3 | 10 | 8 | 2 | 18 | 16 | 12 | 6 | 14 | 4 | |||
| blue | 375 | 431 | 391 | 119 | 318 | 555 | 422 | 169 | 525 | 3305 | 375 | 431 | 391 | 119 | 318 | 555 | 422 | 169 | 525 | 3305 | 6610 |
| blue / white | 375 | 431 | 391 | 119 | 318 | 555 | 422 | 169 | 525 | 3305 | 370 | 419 | 380 | 110 | 318 | 546 | 330 | 160 | 517 | 3150 | 6455 |
| white | 370 | 419 | 380 | 110 | 318 | 546 | 330 | 160 | 517 | 3150 | 370 | 419 | 380 | 110 | 318 | 546 | 330 | 160 | 517 | 3150 | 6300 |
| gold | 319 | 370 | 319 | 106 | 310 | 405 | 336 | 150 | 392 | 2707 | 319 | 370 | 319 | 106 | 310 | 405 | 336 | 150 | 392 | 2707 | 5414 |
| red | 314 | 366 | 314 | 100 | 310 | 405 | 334 | 142 | 385 | 2670 | 314 | 366 | 314 | 100 | 310 | 405 | 334 | 142 | 385 | 2670 | 5340 |