Turlock Gcc is an 18-hole golf course in Turlock, CA with a par of 72. It offers 5 tee sets: black (6,668 yards, slope 130, rating 72.5), blue (6,296 yards, slope 127, rating 70.8), gold (5,746 yards, slope 117, rating 68.5), gold/white combo (5,420 yards, slope 116, rating 66.5), white (5,168 yards, slope 112, rating 65.2). The hardest hole is #3, a par 4 playing 421 yards from the first tee.
Turlock Gcc
Turlock, CA
Get PDF Yardage Book
We'll email you the PDF link. No spam, ever.
Create Your Game Plan
Pick your tees, enter your bag, and get a personalized shot-by-shot strategy for every hole.
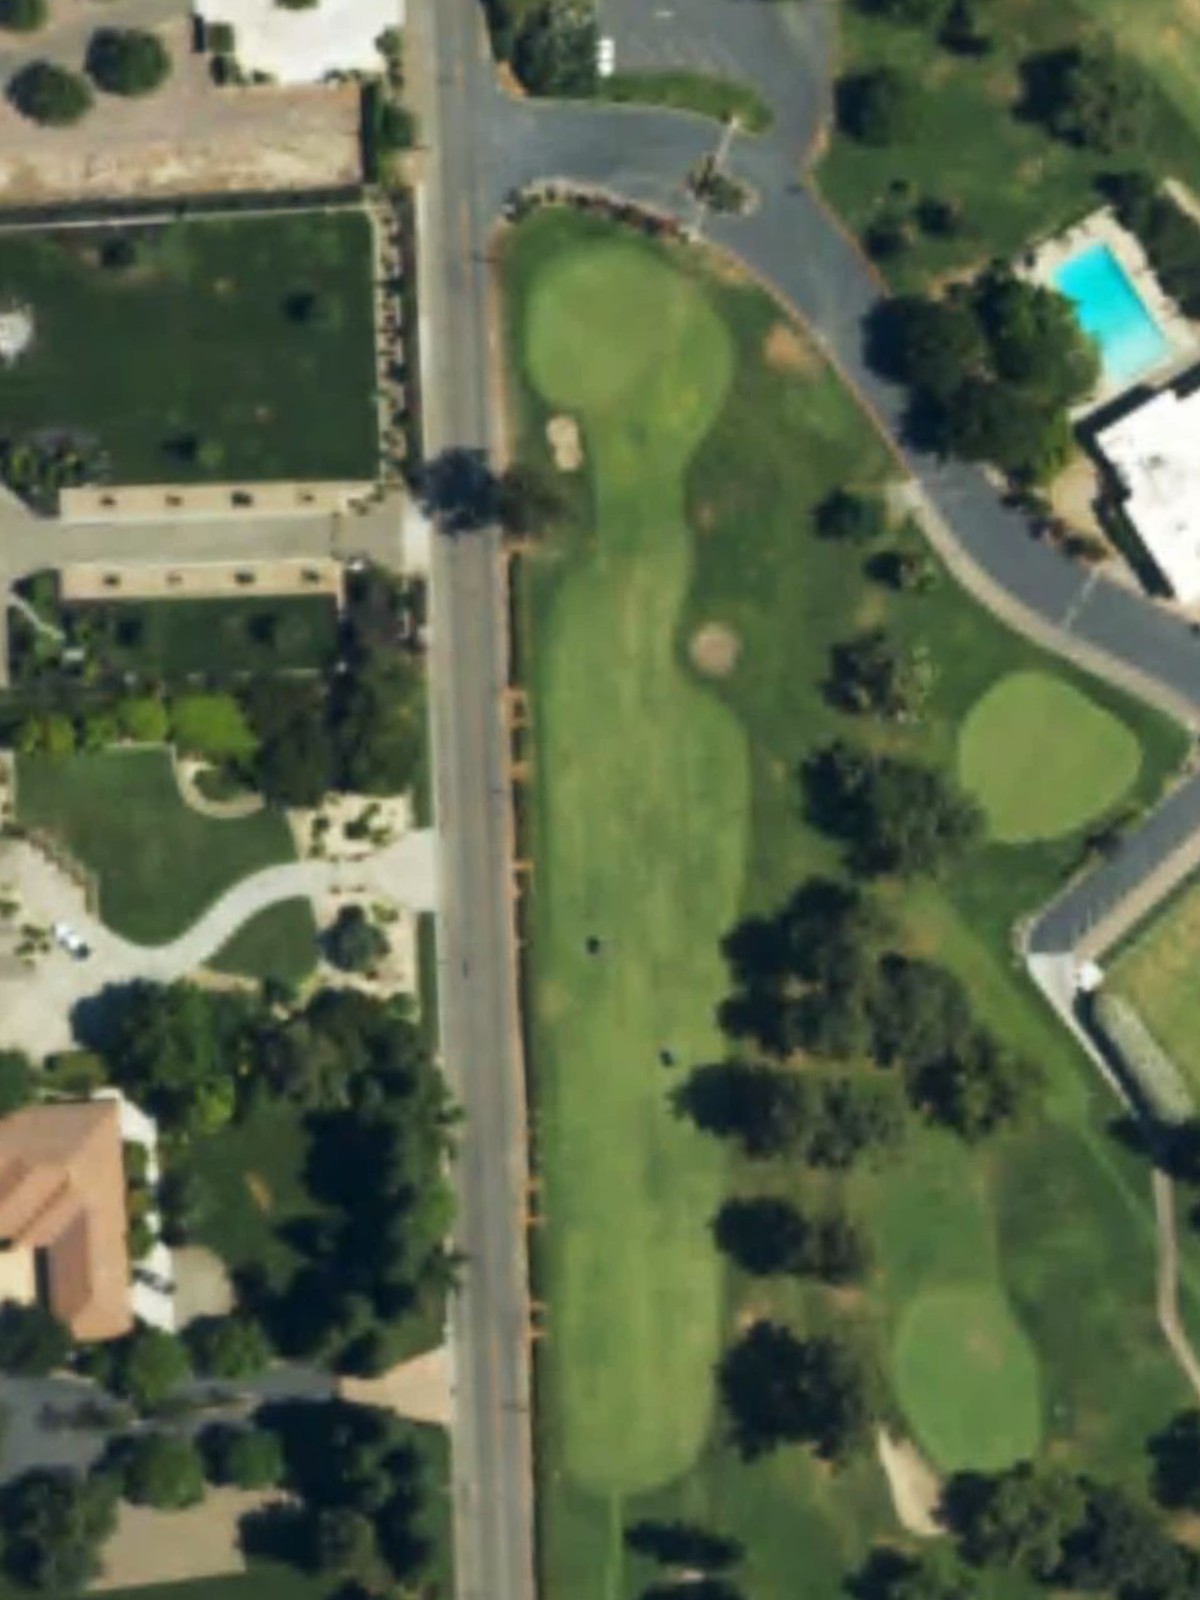
A straightforward opening par 4 with a wide fairway that gradually narrows as it approaches the green. Bunkers guard the right side of the green, requiring accuracy on the approach shot to avoid sand.
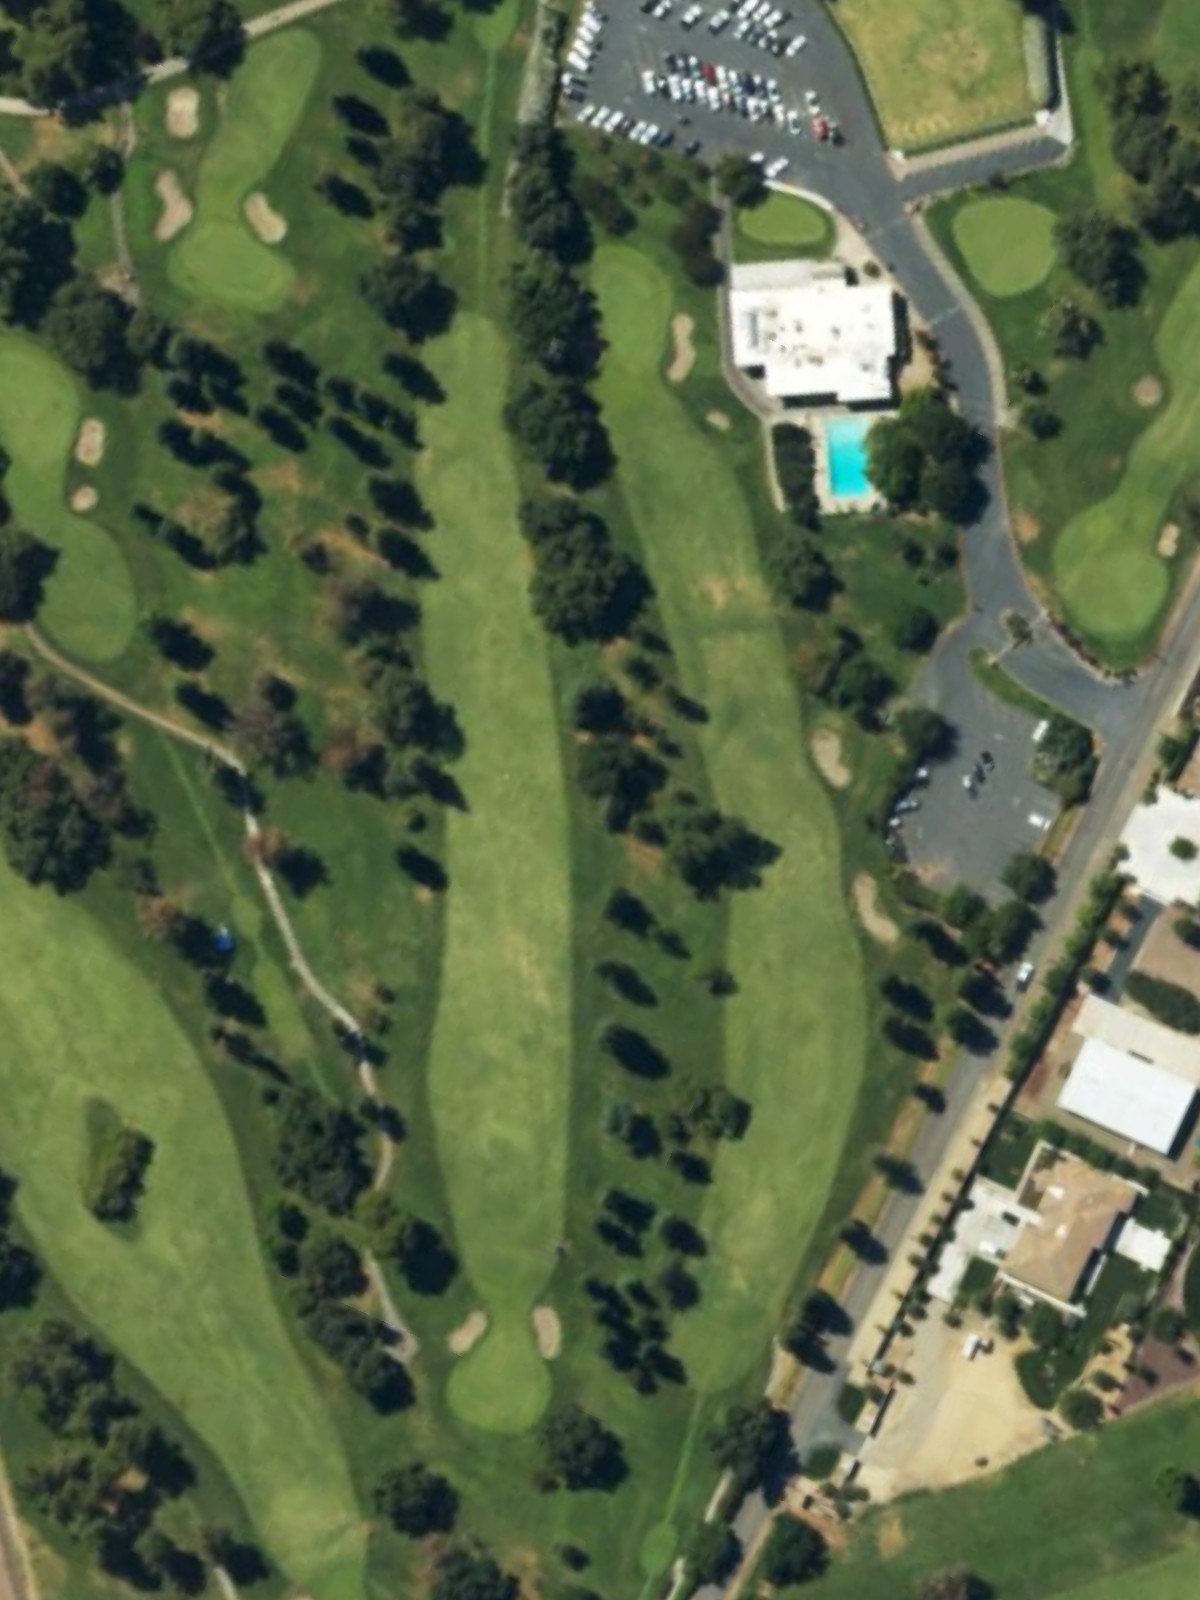
A long par 5 that plays relatively straight with room to work with off the tee. The hole opens up for aggressive second shots, though hazards tighten around the green to protect par.
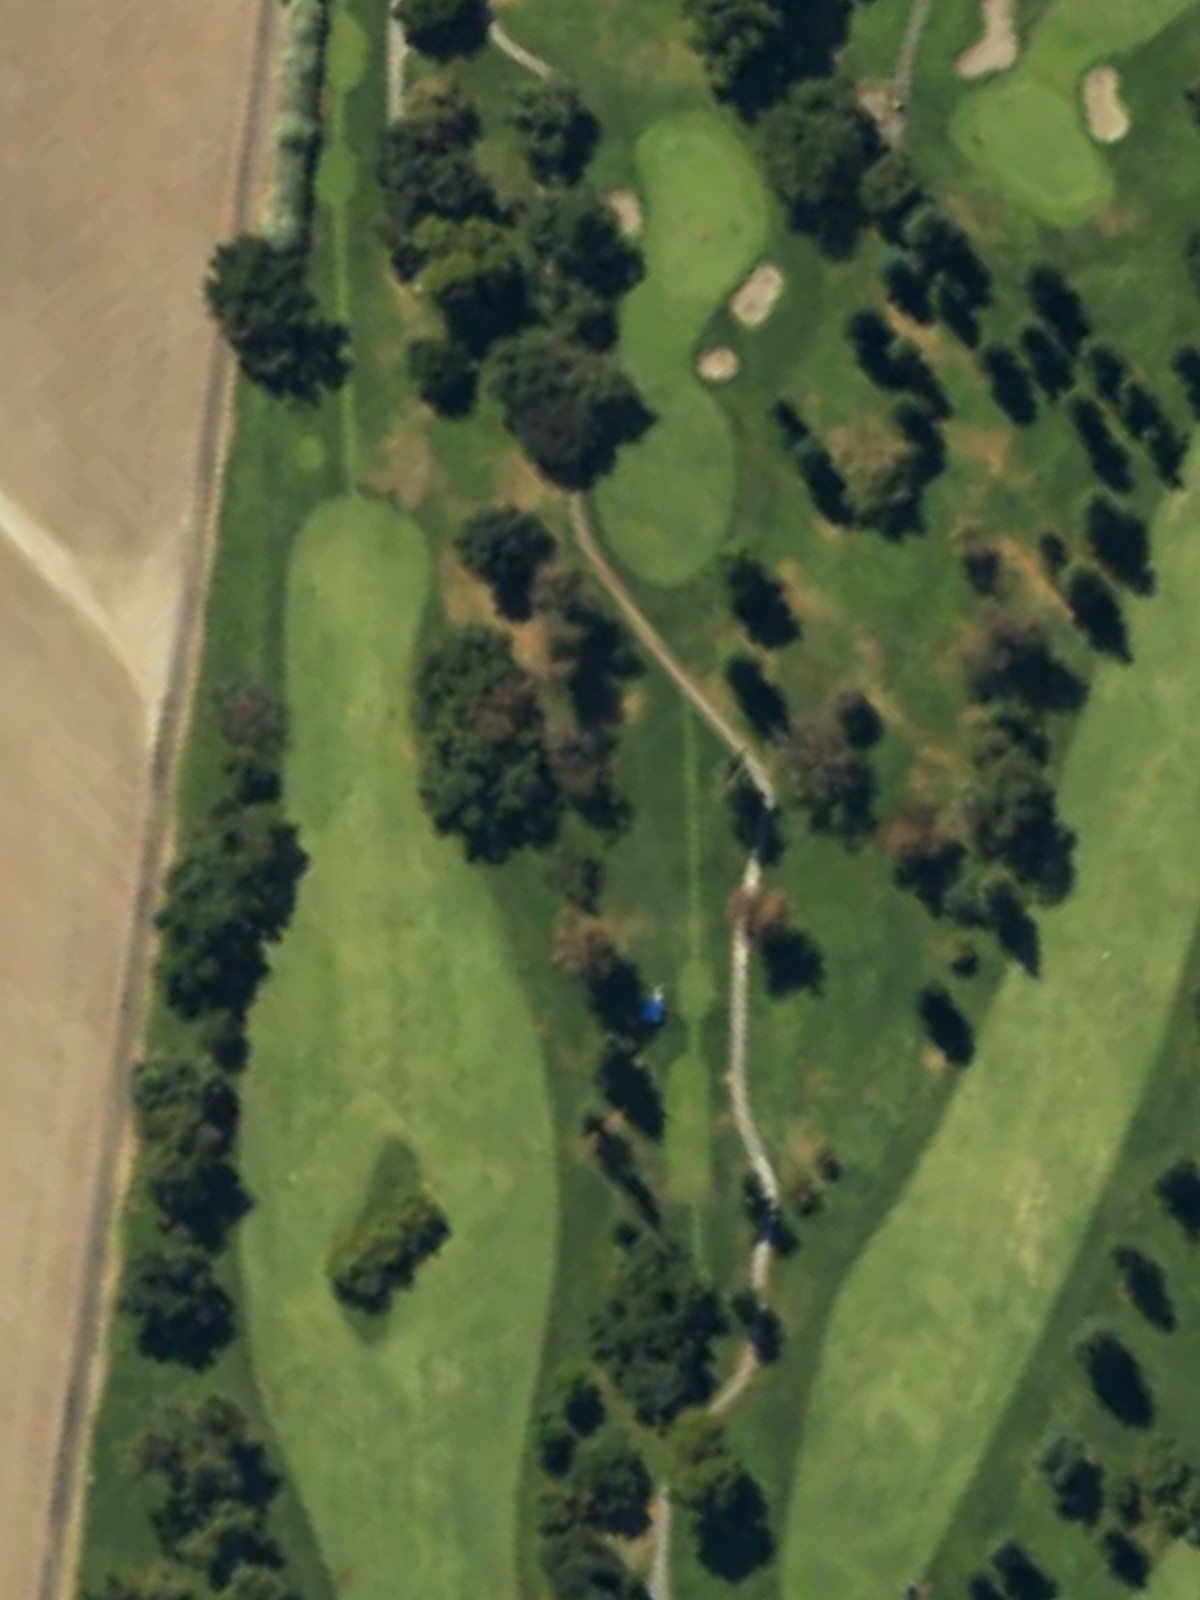
The course's most difficult hole, this par 4 demands precision from start to finish with a tight fairway and well-guarded green. Strategic placement is essential as the hole offers little margin for error.
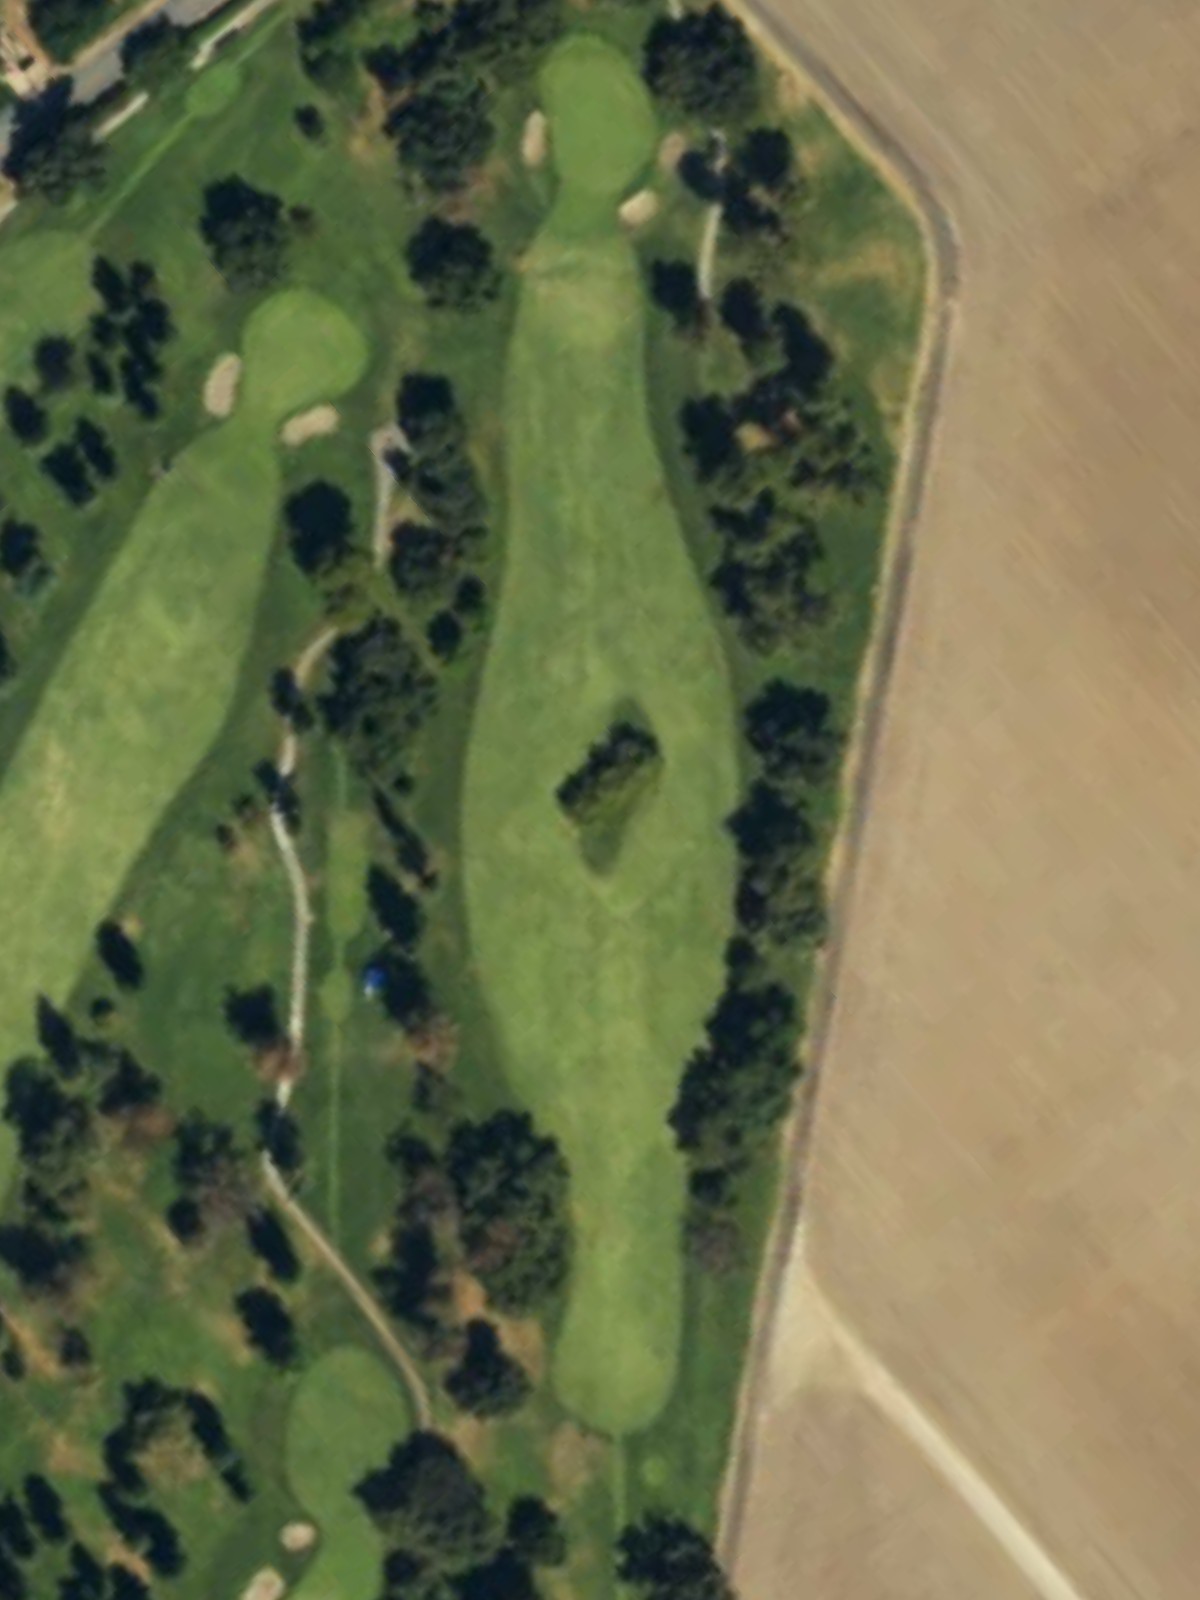
A short par 3 that plays downhill to a modest green surrounded by bunkers on both sides. The elevated tee provides a clear view, though the green's compact size demands an accurate approach.
A generous par 5 with a wide fairway that allows for aggressive play off the tee and reasonable birdie opportunities. Water or hazards may come into play on the approach, so position is important for the second shot.
A challenging par 4 with a narrow, tree-lined corridor that requires a precise tee shot to set up a manageable approach. The green is well-protected, making this one of the course's stronger par 4s.
A short but deceptive par 3 where distance control is critical to finding the center of the green. Bunkers frame the landing area, and the small target rewards accuracy over power.
A mid-length par 4 with a straightforward layout and reasonable fairway width that invites an attacking approach. The green's positioning creates a clear target for the approach shot.
A short par 4 that plays as a potential birdie opportunity despite its relatively easy handicap. The abbreviated yardage is offset by strategic hazards or tight fairway conditions that demand solid contact.
A moderate par 4 with balanced difficulty that plays straight with a corridor fairway. The approach shot is the key to success, with the green's defenses determining the difficulty of converting to birdie.
A short par 3 offering scoring potential for those who find the center of the green. Bunkers frame the green, and the modest yardage requires only a smooth swing to success.
A mid-length par 4 with a playable fairway that sets up a straightforward approach to the green. While not overly long, strategic bunkering or hazard placement tests club selection on the second shot.
A long par 5 that closes out the front nine with an elevated risk-reward profile for aggressive players. The wide fairway encourages three-shot strategy, though hazards likely tighten around the green.
A short par 4 that plays as one of the course's birdie holes with a generous fairway and accessible green. The relatively straightforward layout rewards solid fundamentals without requiring heroic shots.
A moderate par 3 with a well-defined target and moderate length that requires solid iron play to find the green. Bunkers protect the perimeter, making center contact the safest approach.
A long par 5 that provides opportunity for aggressive play off the tee with its wide fairway corridor. The extended yardage rewards position play and strategic layups for those seeking to manage risk on the approach.

The second-most difficult hole on the course, this par 4 is a true test of shot-making with a tight fairway and demanding approach. Hazards and bunkering around the green punish imprecision severely.

A closing par 4 that provides a solid finishing hole with a fairway that rewards position off the tee. The approach shot determines success, with the green's configuration likely challenging even a well-struck second shot.
Scorecard
| Hole | 1 | 2 | 3 | 4 | 5 | 6 | 7 | 8 | 9 | Out | 10 | 11 | 12 | 13 | 14 | 15 | 16 | 17 | 18 | In | Tot |
|---|---|---|---|---|---|---|---|---|---|---|---|---|---|---|---|---|---|---|---|---|---|
| Par | 4 | 5 | 4 | 3 | 5 | 4 | 3 | 4 | 4 | 36 | 4 | 3 | 4 | 5 | 4 | 3 | 5 | 4 | 4 | 36 | 72 |
| HCP | 7 | 15 | 1 | 11 | 13 | 3 | 9 | 5 | 17 | 12 | 16 | 8 | 18 | 4 | 14 | 10 | 2 | 6 | |||
| black | 421 | 502 | 457 | 194 | 509 | 436 | 173 | 377 | 281 | 3350 | 378 | 189 | 396 | 483 | 356 | 198 | 485 | 434 | 399 | 3318 | 6668 |
| blue | 401 | 480 | 421 | 180 | 491 | 419 | 154 | 364 | 259 | 3169 | 349 | 164 | 353 | 473 | 339 | 182 | 471 | 418 | 378 | 3127 | 6296 |
| gold | 380 | 450 | 406 | 169 | 478 | 358 | 124 | 309 | 224 | 2898 | 334 | 138 | 331 | 456 | 297 | 160 | 403 | 408 | 321 | 2848 | 5746 |
| gold/white combo | 292 | 450 | 345 | 169 | 434 | 358 | 124 | 309 | 224 | 2705 | 334 | 138 | 331 | 394 | 297 | 160 | 403 | 337 | 321 | 2715 | 5420 |
| white | 292 | 404 | 345 | 161 | 434 | 333 | 124 | 309 | 224 | 2626 | 283 | 138 | 284 | 394 | 297 | 160 | 364 | 337 | 285 | 2542 | 5168 |