True Blue Golf Club is an 18-hole golf course in Pawley'S Island, SC with a par of 72. It offers 5 tee sets: gold (6,998 yards, slope 143, rating 74.1), blue (6,662 yards, slope 139, rating 72.6), white (6,028 yards, slope 129, rating 69.2), black (5,352 yards, slope 117, rating 67.1), green (4,405 yards, slope 111, rating 62.7). The hardest hole is #1, a par 5 playing 604 yards from the first tee.
True Blue Golf Club
Pawley'S Island, SC
Get PDF Yardage Book
We'll email you the PDF link. No spam, ever.
Create Your Game Plan
Pick your tees, enter your bag, and get a personalized shot-by-shot strategy for every hole.
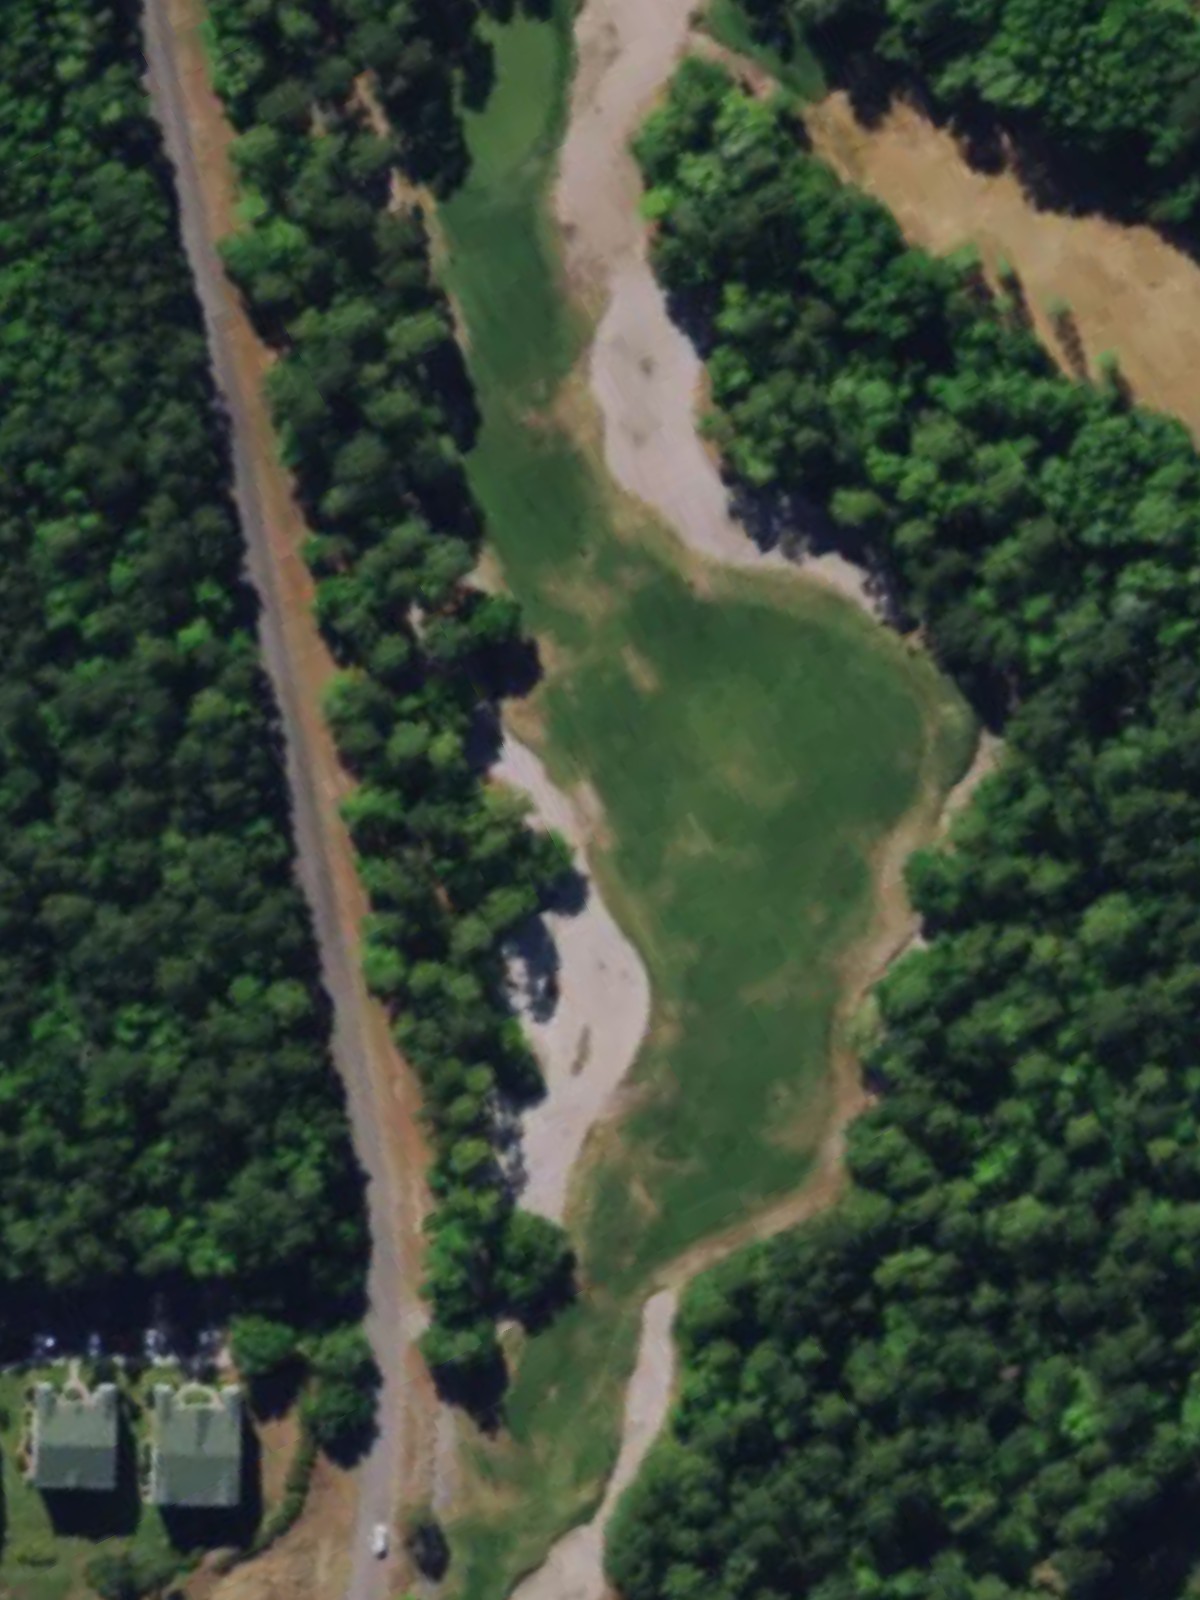
A lengthy par 5 that plays even longer from the back tees, this hole demands two strong shots to set up a scoring opportunity. The fairway is relatively open, but the green is well-guarded and requires precision on the approach.
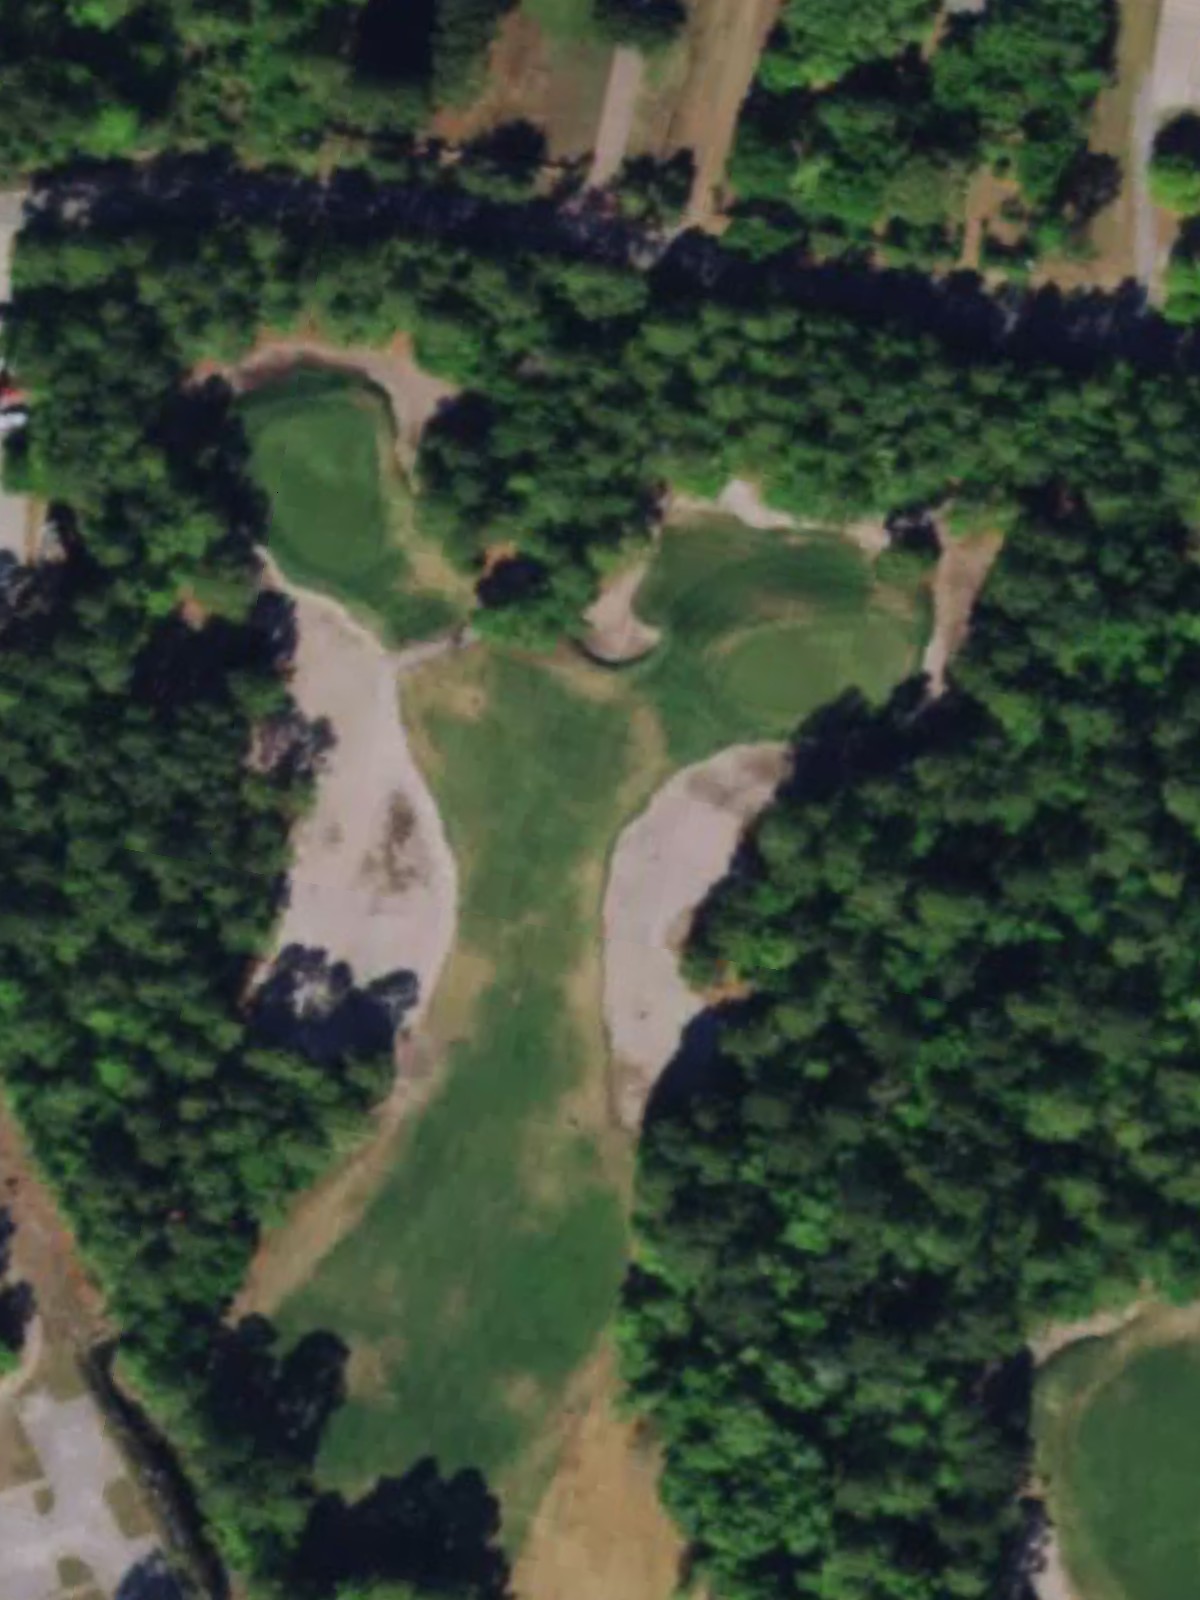
A short par 4 with a narrow, straightforward design that offers little room for error off the tee. The compact fairway and green leave little margin for wayward shots on this strategic opening hole.
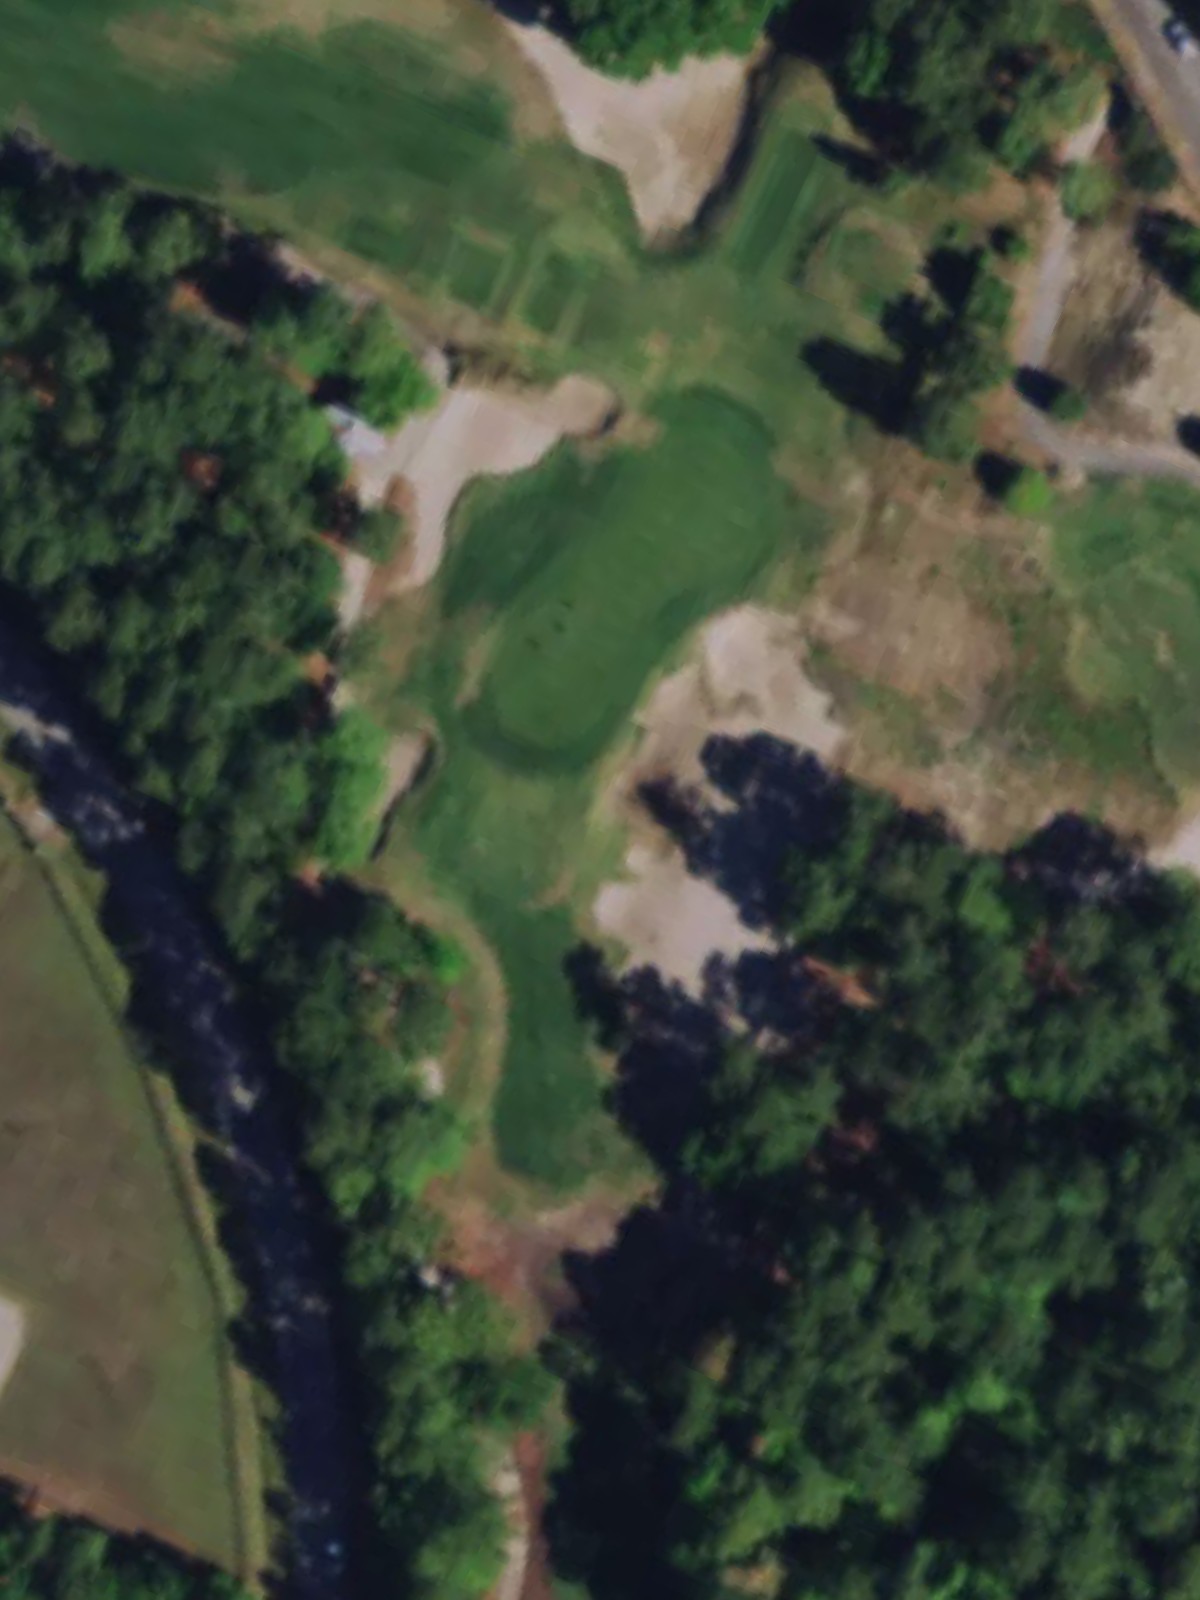
A short par 3 with a dramatic difference in yardage between tees, making it accessible from the forward markers but considerably more demanding from the back. The small green is the primary challenge on this one-shot hole.
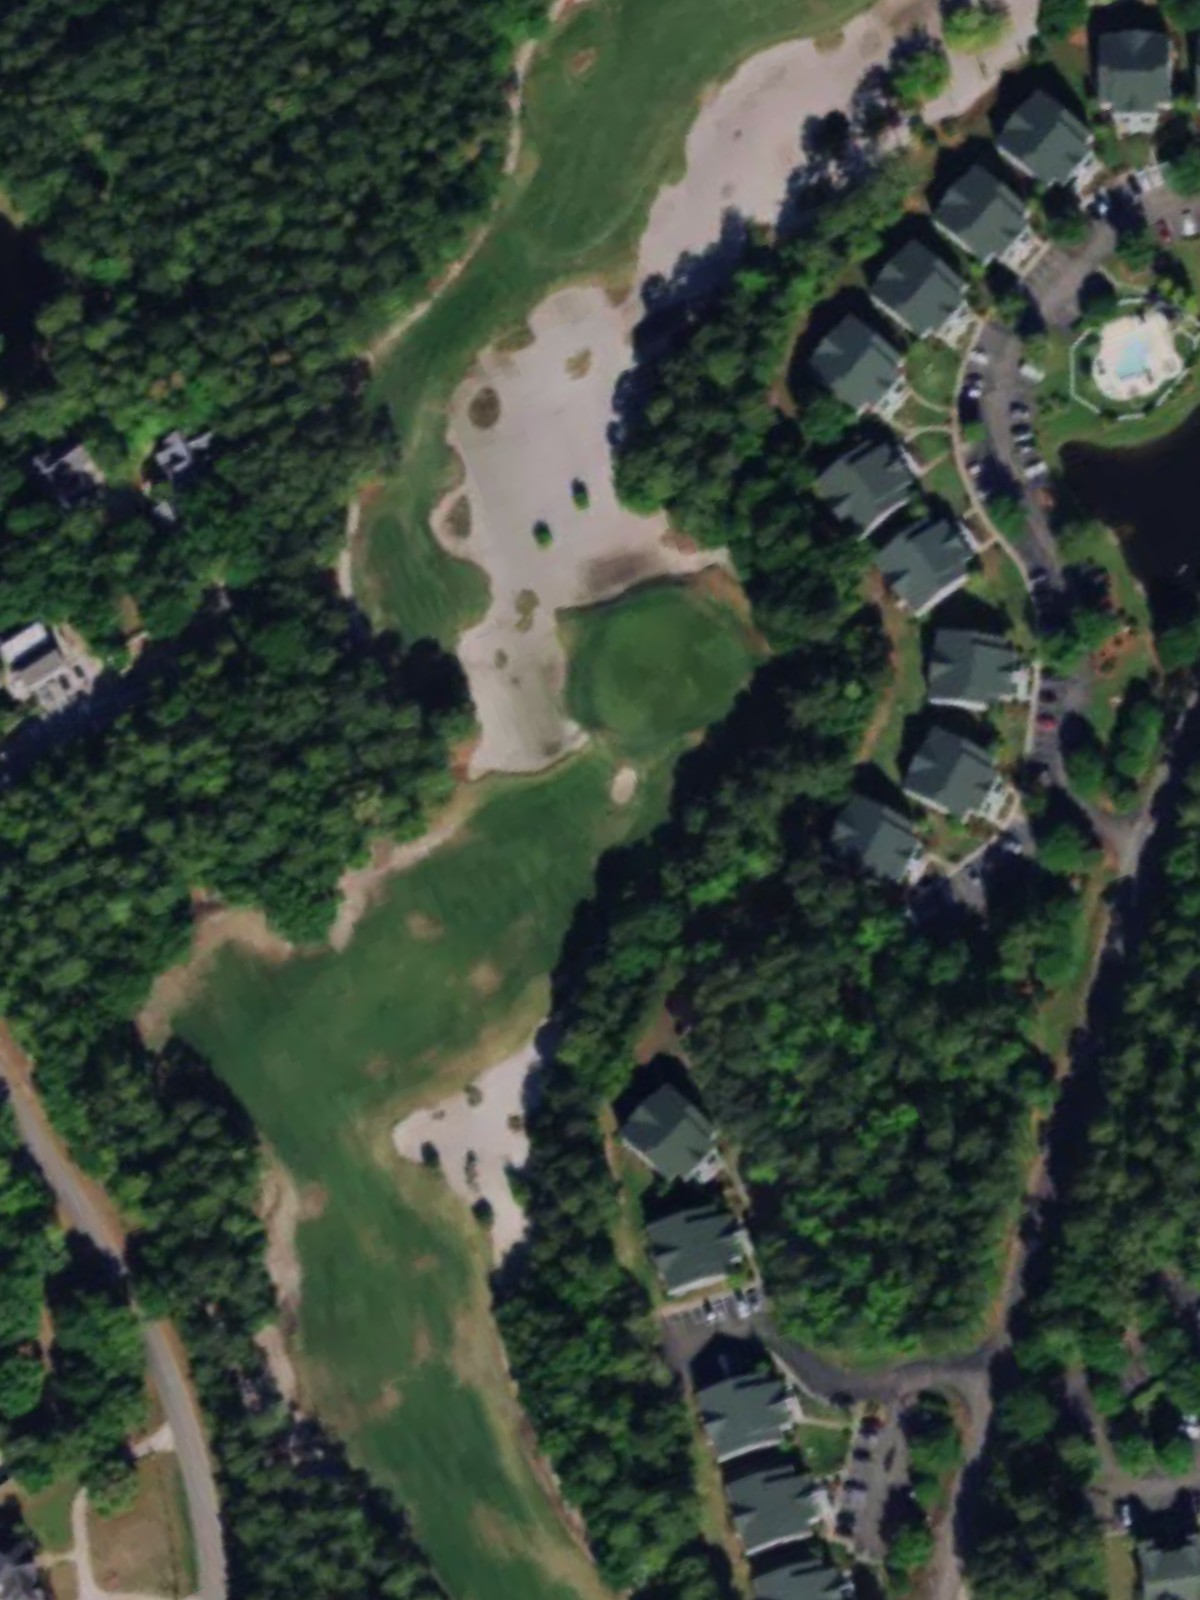
A strong par 5 that ranks among the course's most difficult, this hole requires two well-struck shots to reach the green in regulation. The length and hole design make this a pivotal test early in the round.
A mid-length par 4 that presents a straightforward challenge without dramatic hazards, relying instead on length and green complexity to test the golfer. The hole's difficulty comes from the need for accuracy on both tee and approach shots.
A solid par 4 with moderate length and a relatively open design, though the green may be flanked by strategic hazards that reward precise approach play. This hole offers a fair test without extreme difficulty.
The shortest par 3 on the course from the forward tees, this hole varies dramatically in length across the tee boxes and presents an accessible but strategic one-shot opportunity. The compact green demands careful distance control.
A testy par 4 that ranks among the course's most difficult, this hole combines length with strategic design elements that penalize poor positioning. The green complex requires a well-executed approach to score well.
One of the course's most demanding par 5s, this hole is ranked third in difficulty and requires two powerful, accurate shots to set up a birdie chance. Length and positioning are critical to success on this closing hole of the front nine.
A lengthy par 5 with a balanced difficulty rating, this hole offers enough length to demand two strong shots but is positioned as a more accessible five on the back nine. Strategic placement off the tee sets up the approach to the green.
The most difficult par 3 on the course from most tees, this hole features significant length variation across the tee boxes and a well-defined green that punishes mishits. Accuracy is paramount on this one-shot hole.
A solid par 4 with moderate difficulty, this hole presents a straightforward test that requires consistent ball-striking from tee to green. The design emphasizes accuracy over dramatic hazards.

A mid-length par 4 that offers a fair challenge without excessive length or hazards, making it a relatively accessible hole in the round. Steady play is rewarded here.
A short par 3 with wide variation in yardage across the tees, this hole becomes increasingly challenging from the back markers while remaining approachable from forward positions. The small green is the primary defense.
One of the course's most difficult par 5s, this hole demands length and accuracy on two consecutive shots to set up any birdie opportunity. The significant yardage from the championship tees makes this a pivotal test.
A mid-range par 3 that presents a balanced one-shot challenge with moderate length and strategic green placement, offering a respite before the demanding closing stretch. The hole's difficulty increases noticeably from the back tees.
The second-most difficult hole on the course, this par 4 combines significant length with strategic design to create a formidable closing challenge. The tee shot is particularly demanding, and the approach requires precision to reach the green.
A strong finishing par 4 that balances length with strategic difficulty, providing a fitting final test to close the round. The hole's layout rewards solid ball-striking while penalizing poor positioning.
Scorecard
| Hole | 1 | 2 | 3 | 4 | 5 | 6 | 7 | 8 | 9 | Out | 10 | 11 | 12 | 13 | 14 | 15 | 16 | 17 | 18 | In | Tot |
|---|---|---|---|---|---|---|---|---|---|---|---|---|---|---|---|---|---|---|---|---|---|
| Par | 5 | 4 | 3 | 5 | 4 | 4 | 3 | 4 | 5 | 37 | 5 | 3 | 4 | 4 | 3 | 5 | 3 | 4 | 4 | 35 | 72 |
| HCP | 1 | 11 | 15 | 5 | 13 | 9 | 17 | 7 | 3 | 8 | 18 | 10 | 14 | 16 | 4 | 12 | 2 | 6 | |||
| gold | 620 | 354 | 194 | 557 | 429 | 399 | 183 | 374 | 520 | 3630 | 566 | 180 | 400 | 397 | 154 | 595 | 200 | 451 | 425 | 3368 | 6998 |
| blue | 604 | 336 | 163 | 530 | 412 | 381 | 170 | 358 | 506 | 3460 | 548 | 158 | 381 | 372 | 145 | 581 | 190 | 422 | 405 | 3202 | 6662 |
| white | 491 | 301 | 139 | 503 | 382 | 346 | 151 | 335 | 467 | 3115 | 527 | 144 | 365 | 354 | 129 | 506 | 174 | 387 | 327 | 2913 | 6028 |
| black | 445 | 262 | 105 | 432 | 322 | 330 | 135 | 325 | 441 | 2797 | 444 | 131 | 300 | 324 | 122 | 417 | 155 | 358 | 304 | 2555 | 5352 |
| green | 394 | 245 | 61 | 363 | 259 | 221 | 114 | 243 | 380 | 2280 | 386 | 123 | 240 | 250 | 102 | 317 | 132 | 287 | 288 | 2125 | 4405 |