Troon North Golf Course is an 18-hole golf course in Scottsdale, AZ with a par of 71. It offers 6 tee sets: black (6,956 yards, slope 147, rating 73.2), gold (6,599 yards, slope 140, rating 71.8), silver (6,198 yards, slope 131, rating 69.8), copper (5,706 yards, slope 126, rating 68.1), copper/jade (5,251 yards, slope 122, rating 65.7), jade (4,855 yards, slope 116, rating 64.3). The hardest hole is #7, a par 4 playing 411 yards from the first tee.
Troon North Golf Course
Scottsdale, AZ
Get PDF Yardage Book
We'll email you the PDF link. No spam, ever.
Create Your Game Plan
Pick your tees, enter your bag, and get a personalized shot-by-shot strategy for every hole.
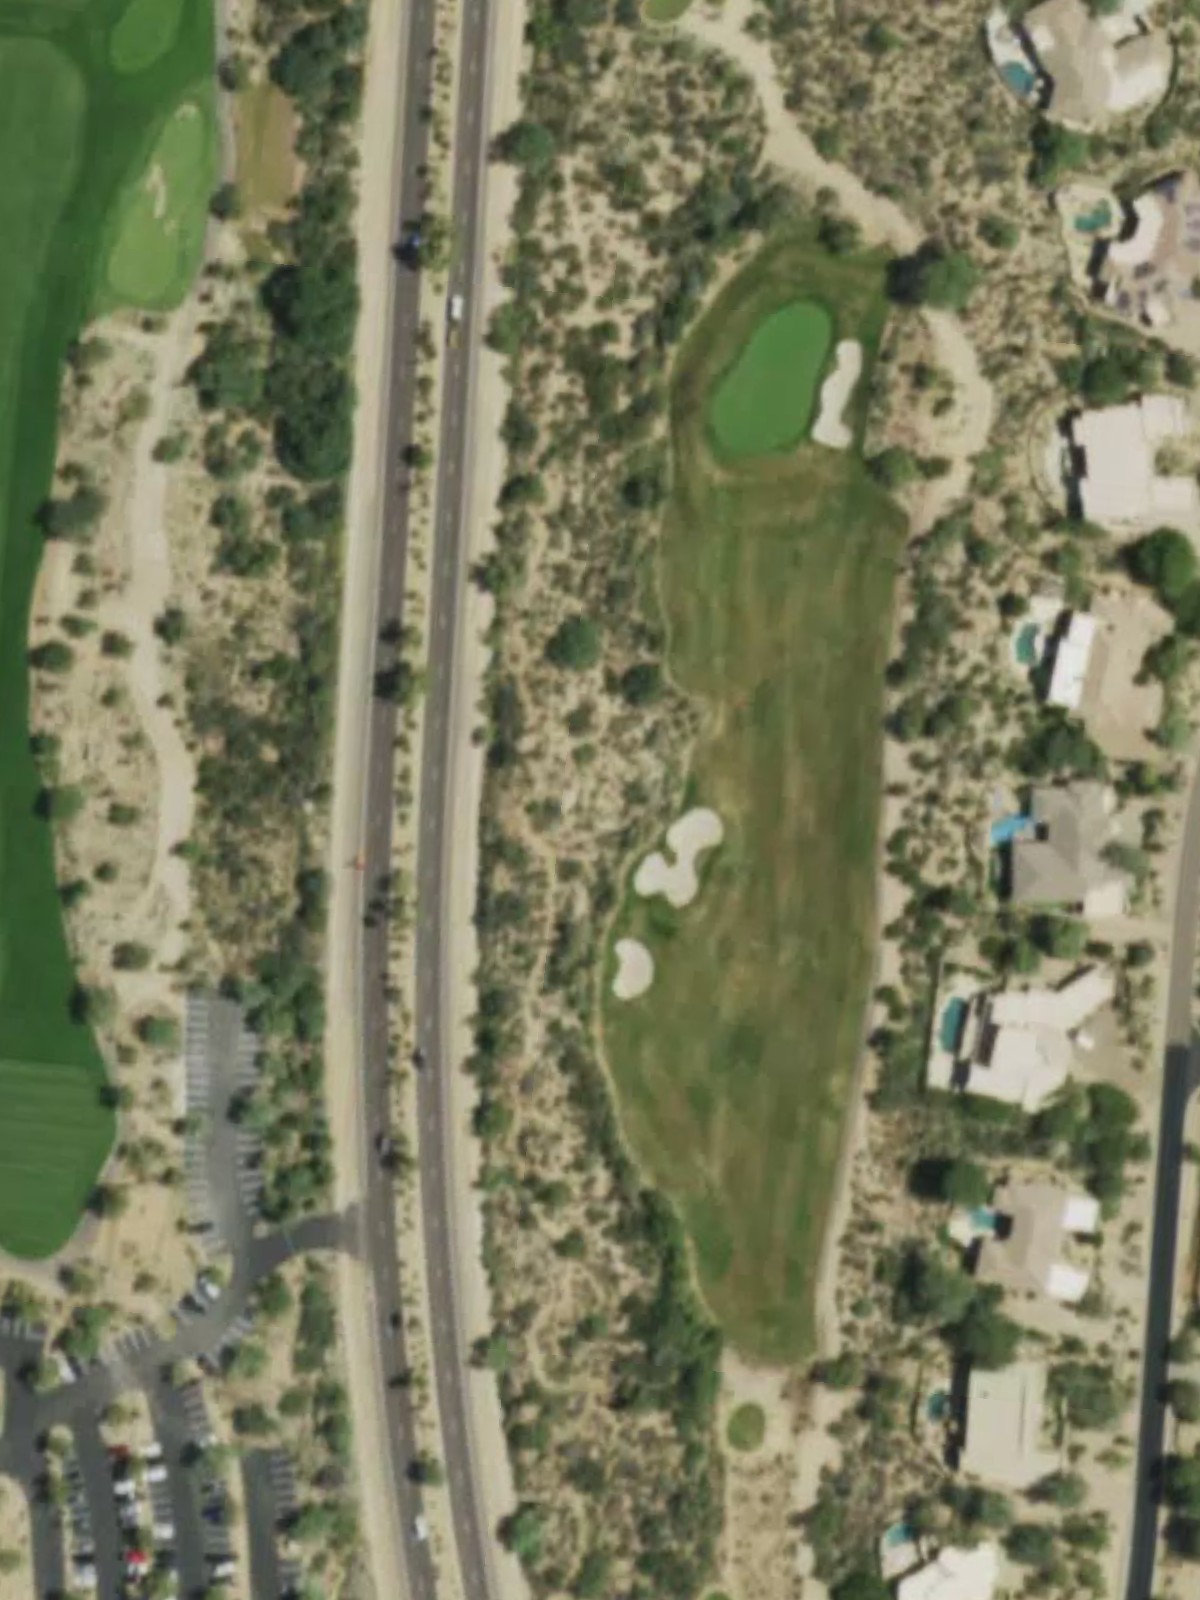
A relatively straightforward opening par 4 with a welcoming fairway that gradually narrows as it approaches the green. Greenside bunkers protect both sides of the putting surface, requiring accuracy on the approach shot to avoid sand.

A solid par 4 that plays as a key early test, with hazards positioned to challenge both the drive and approach. The fairway is flanked by trouble on the right, demanding precision off the tee to set up a clean approach.
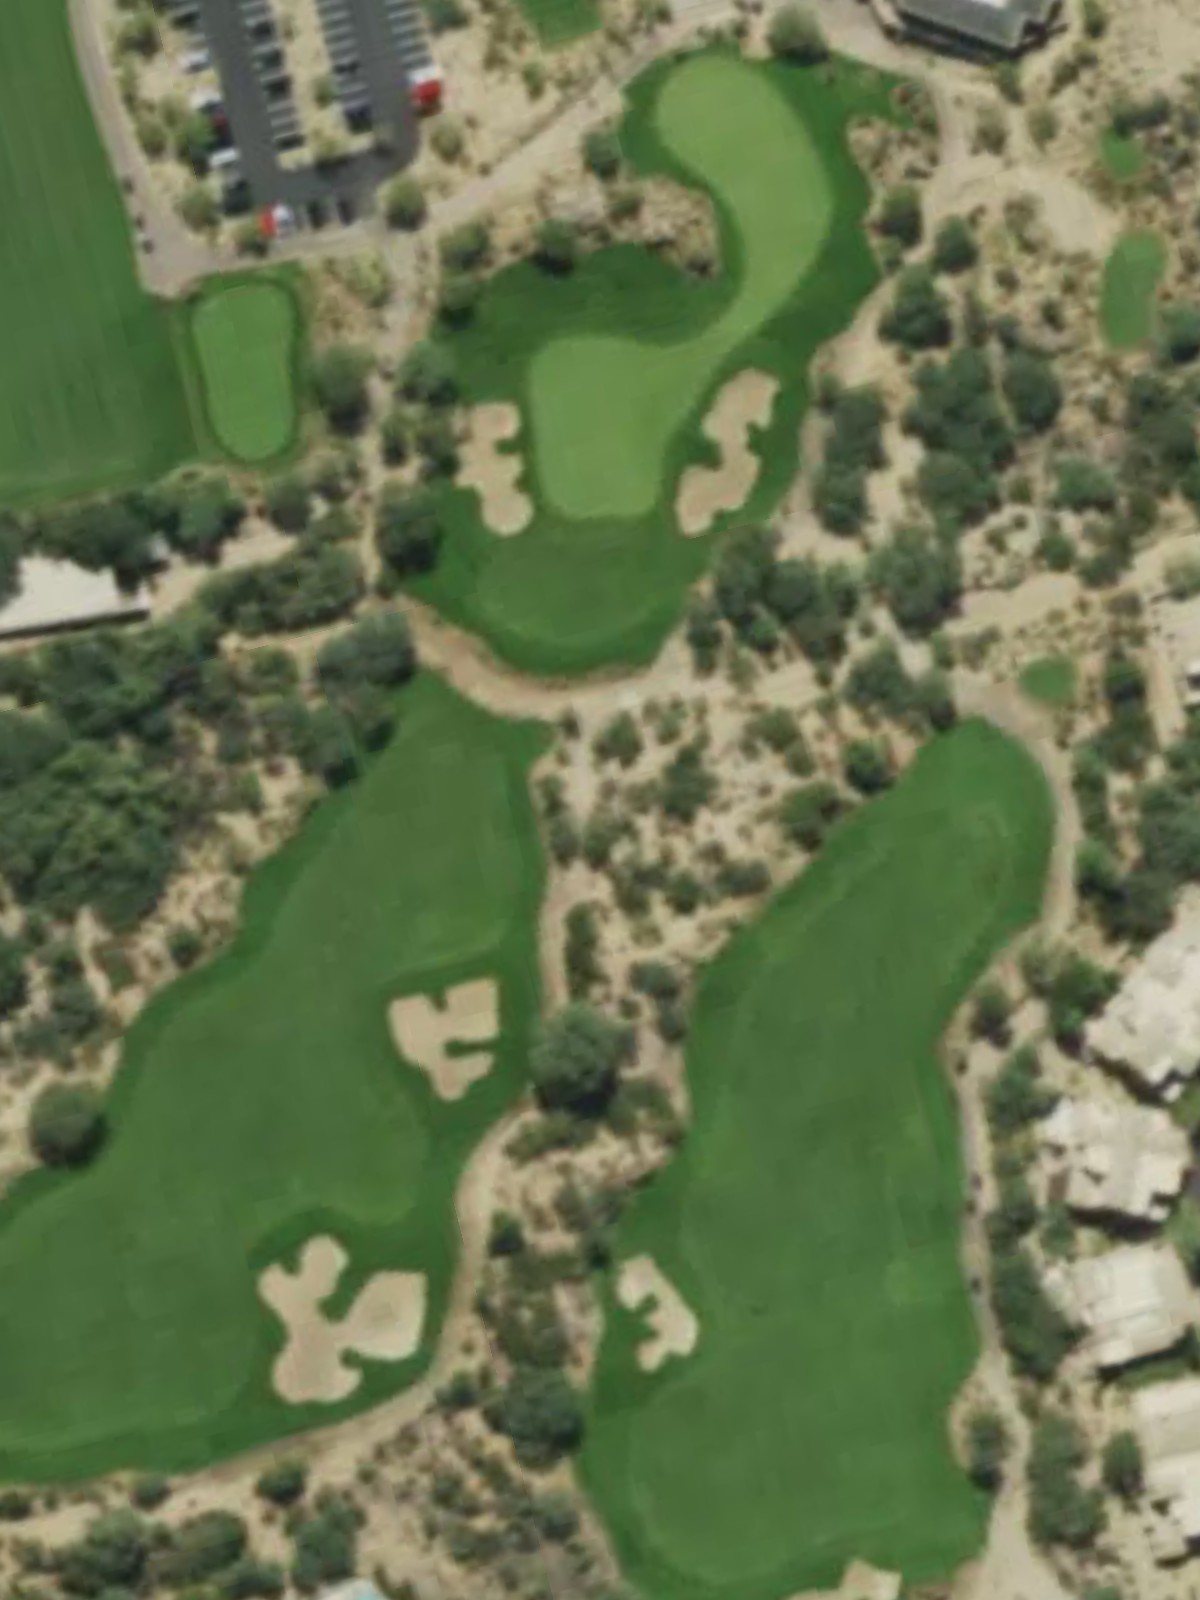
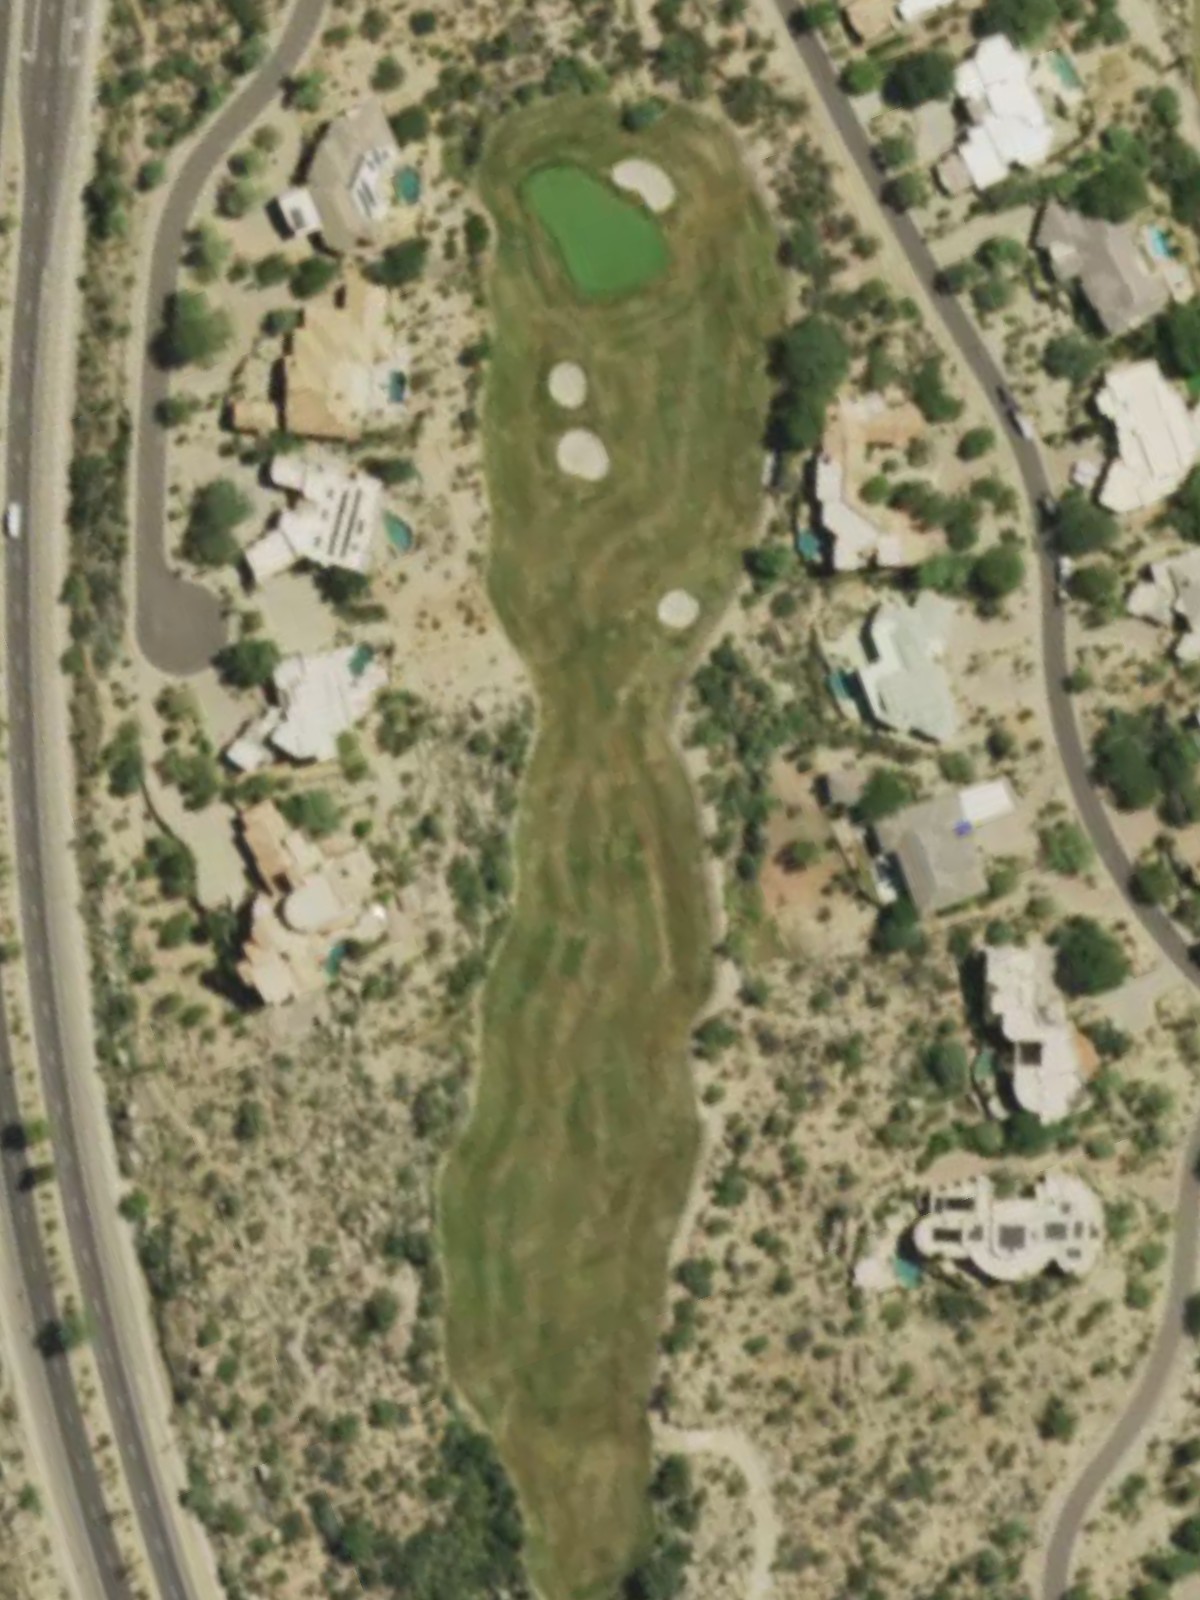
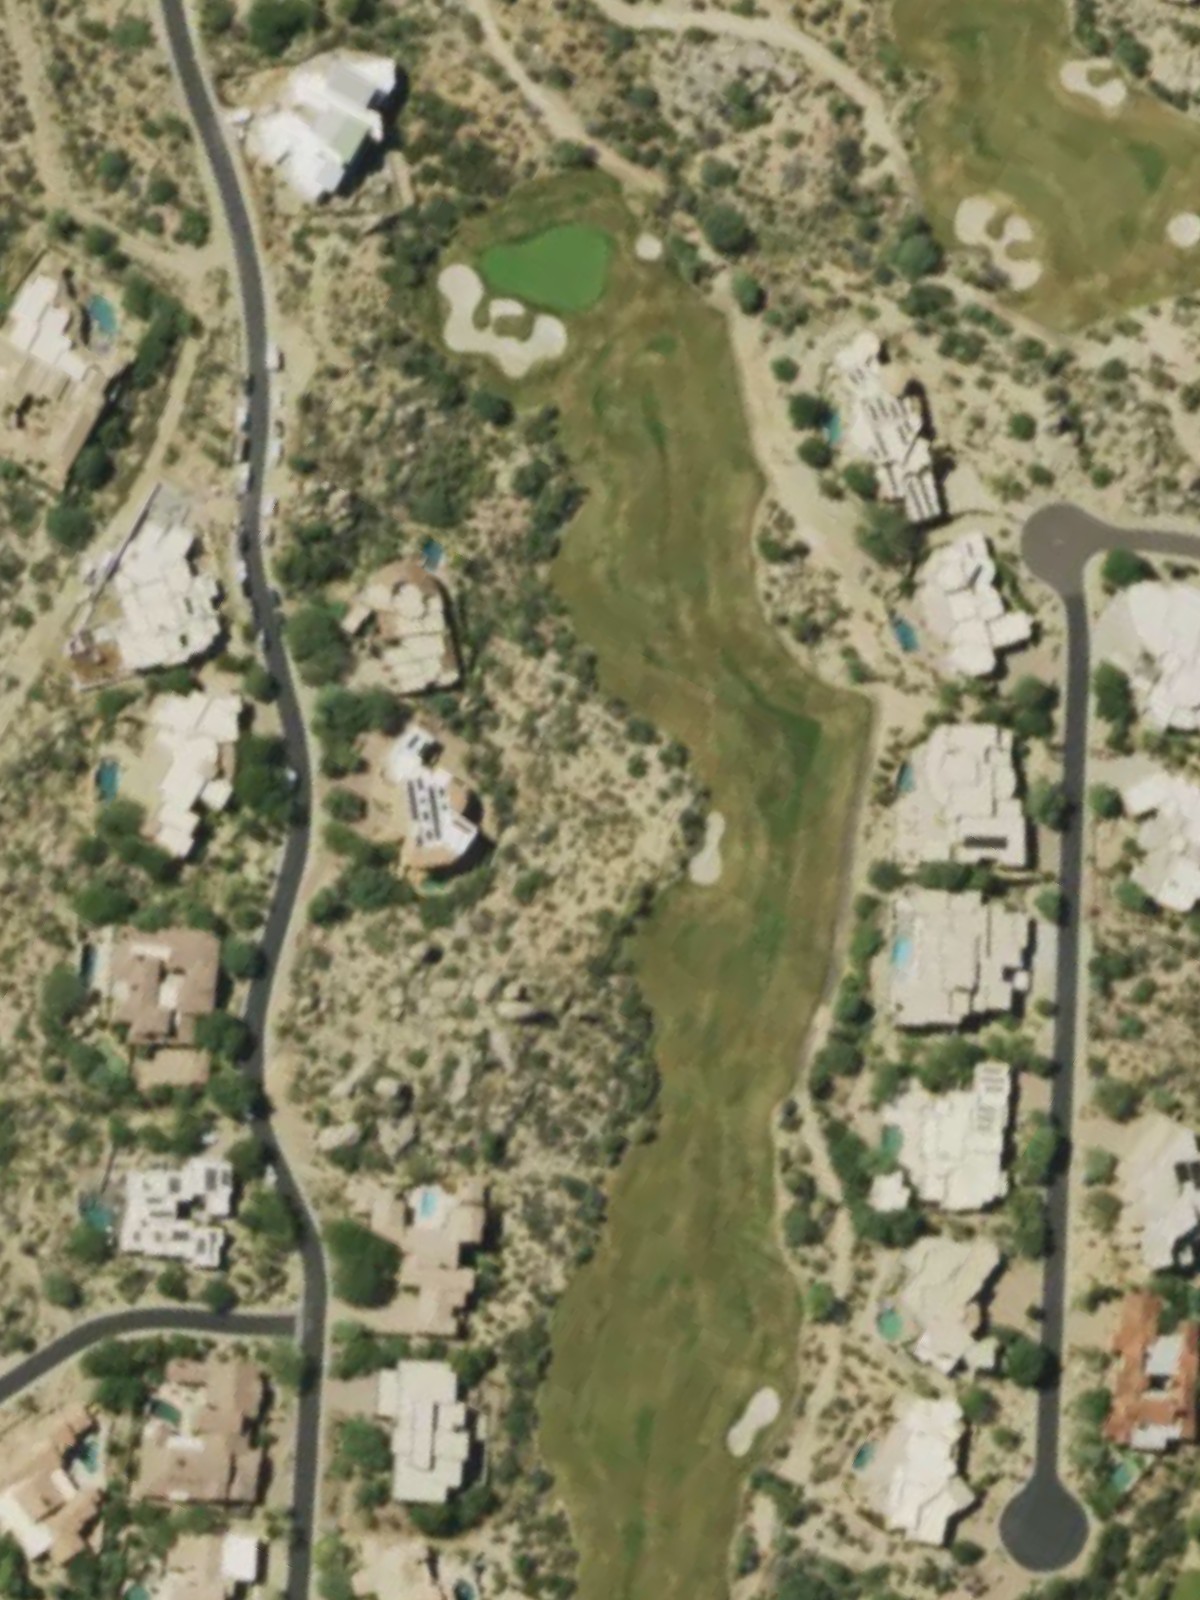
The first major test, this imposing par 4 plays as the third-hardest hole on the course and stretches over 420 yards from the gold tees. Strategic bunkering and narrow fairways demand two precise shots to reach the green safely.
A more approachable par 4 that provides a brief respite with a relatively open fairway and forgiving green complex. This hole offers an opportunity to score well and build momentum through the front nine.
A reachable par 5 that rewards aggressive play but demands careful distance management and course awareness. Well-placed hazards throughout the hole make this a strategic three-shot proposition for most players.
A short par 3 with minimal challenge, serving as the easiest hole on the course and a scoring opportunity. The straightforward nature of this hole makes it an ideal warm-up for the more demanding second nine.
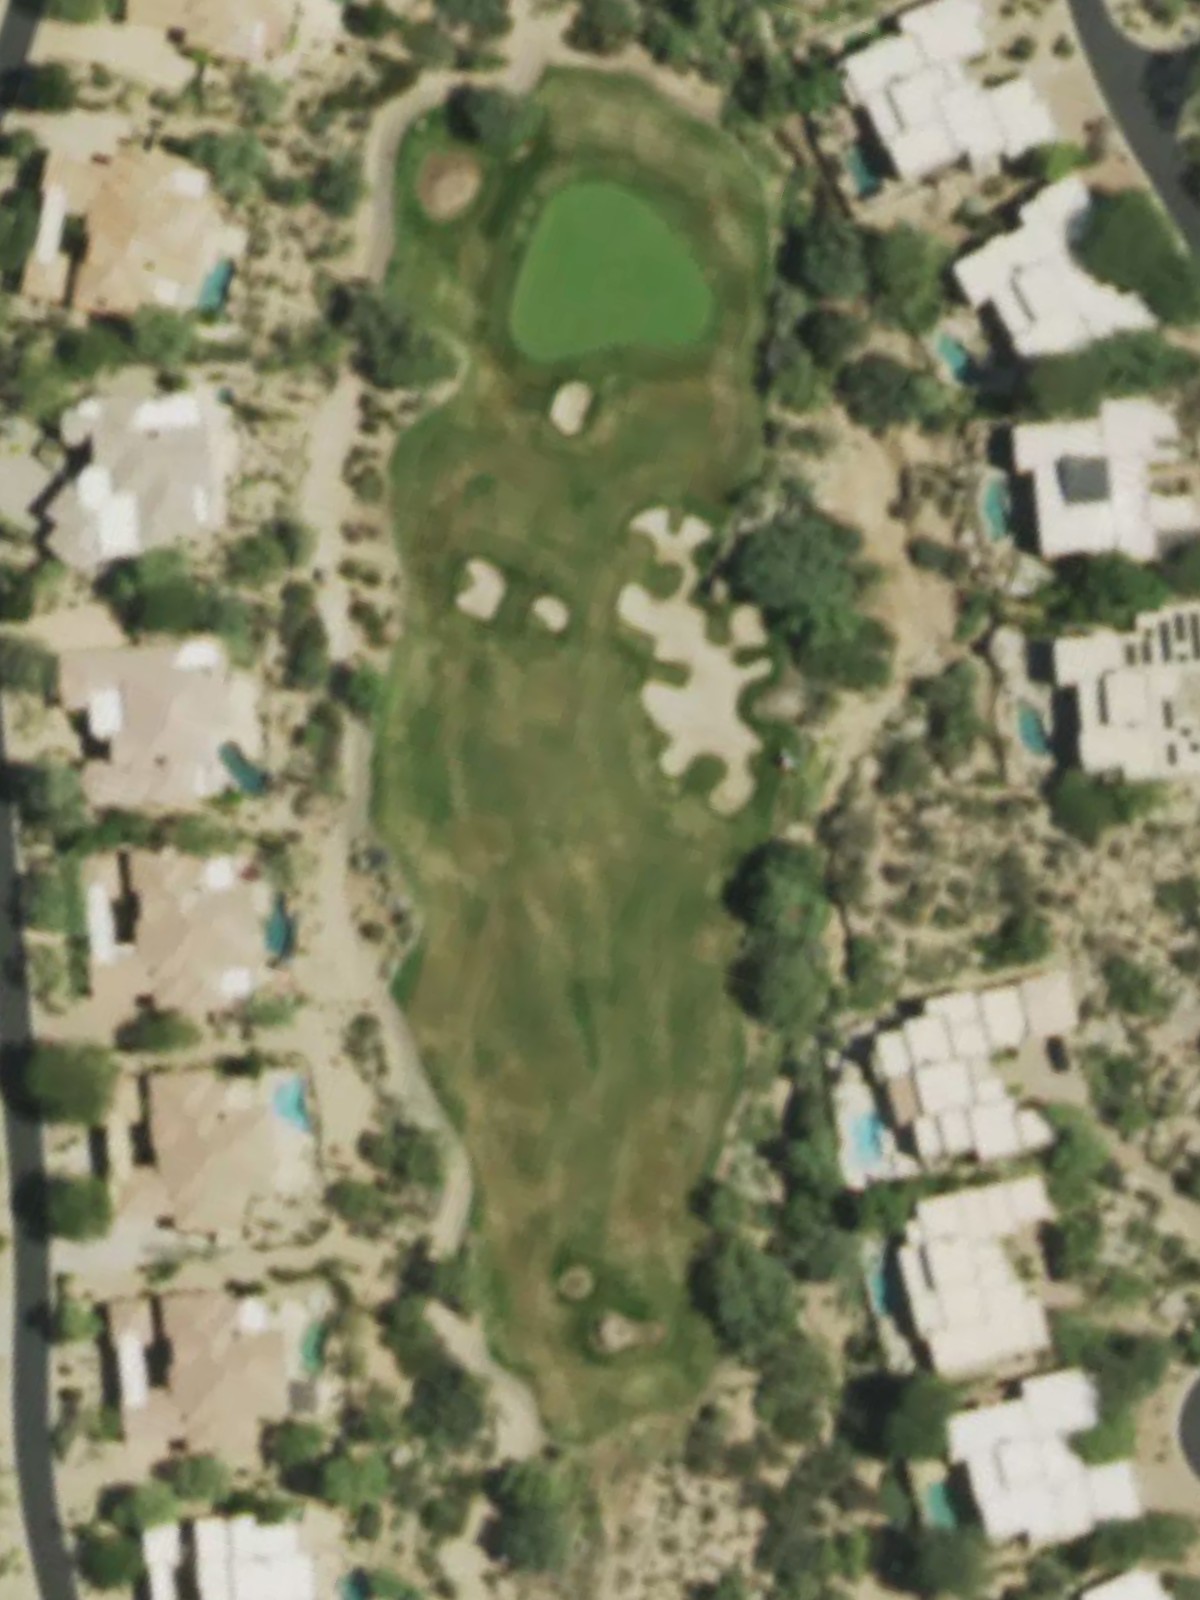
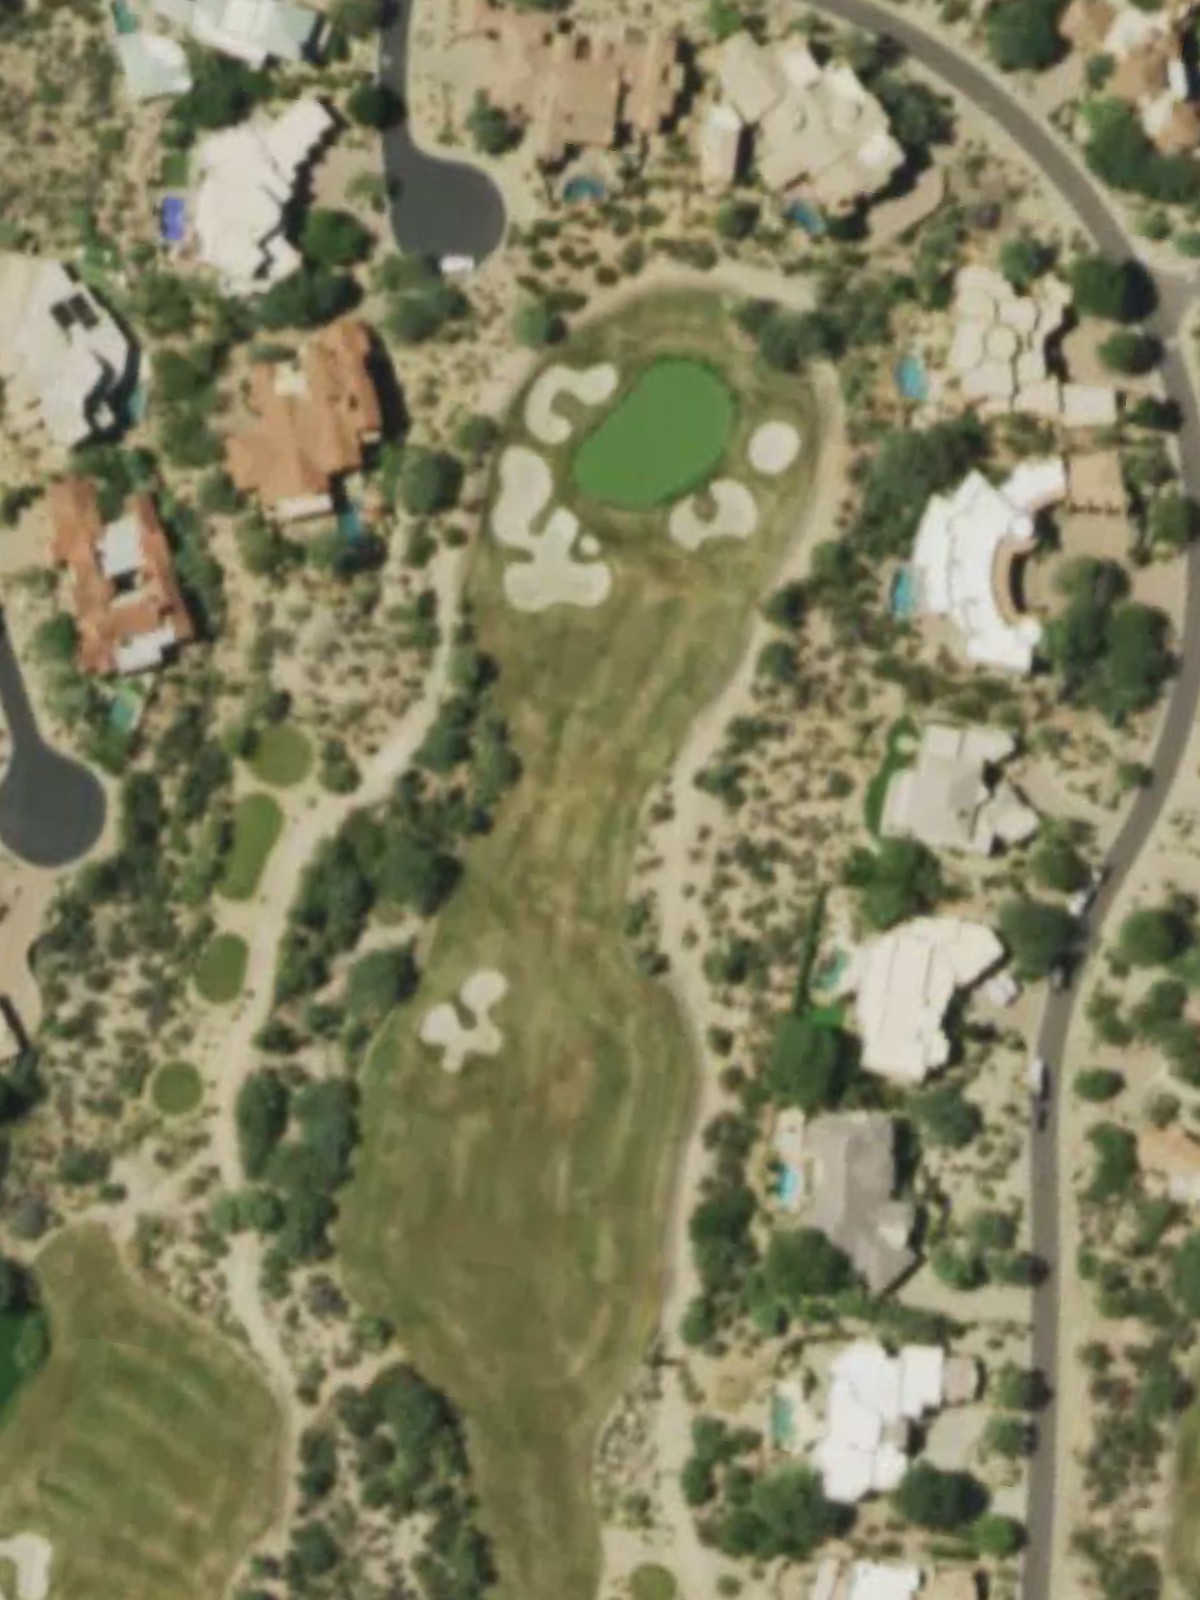
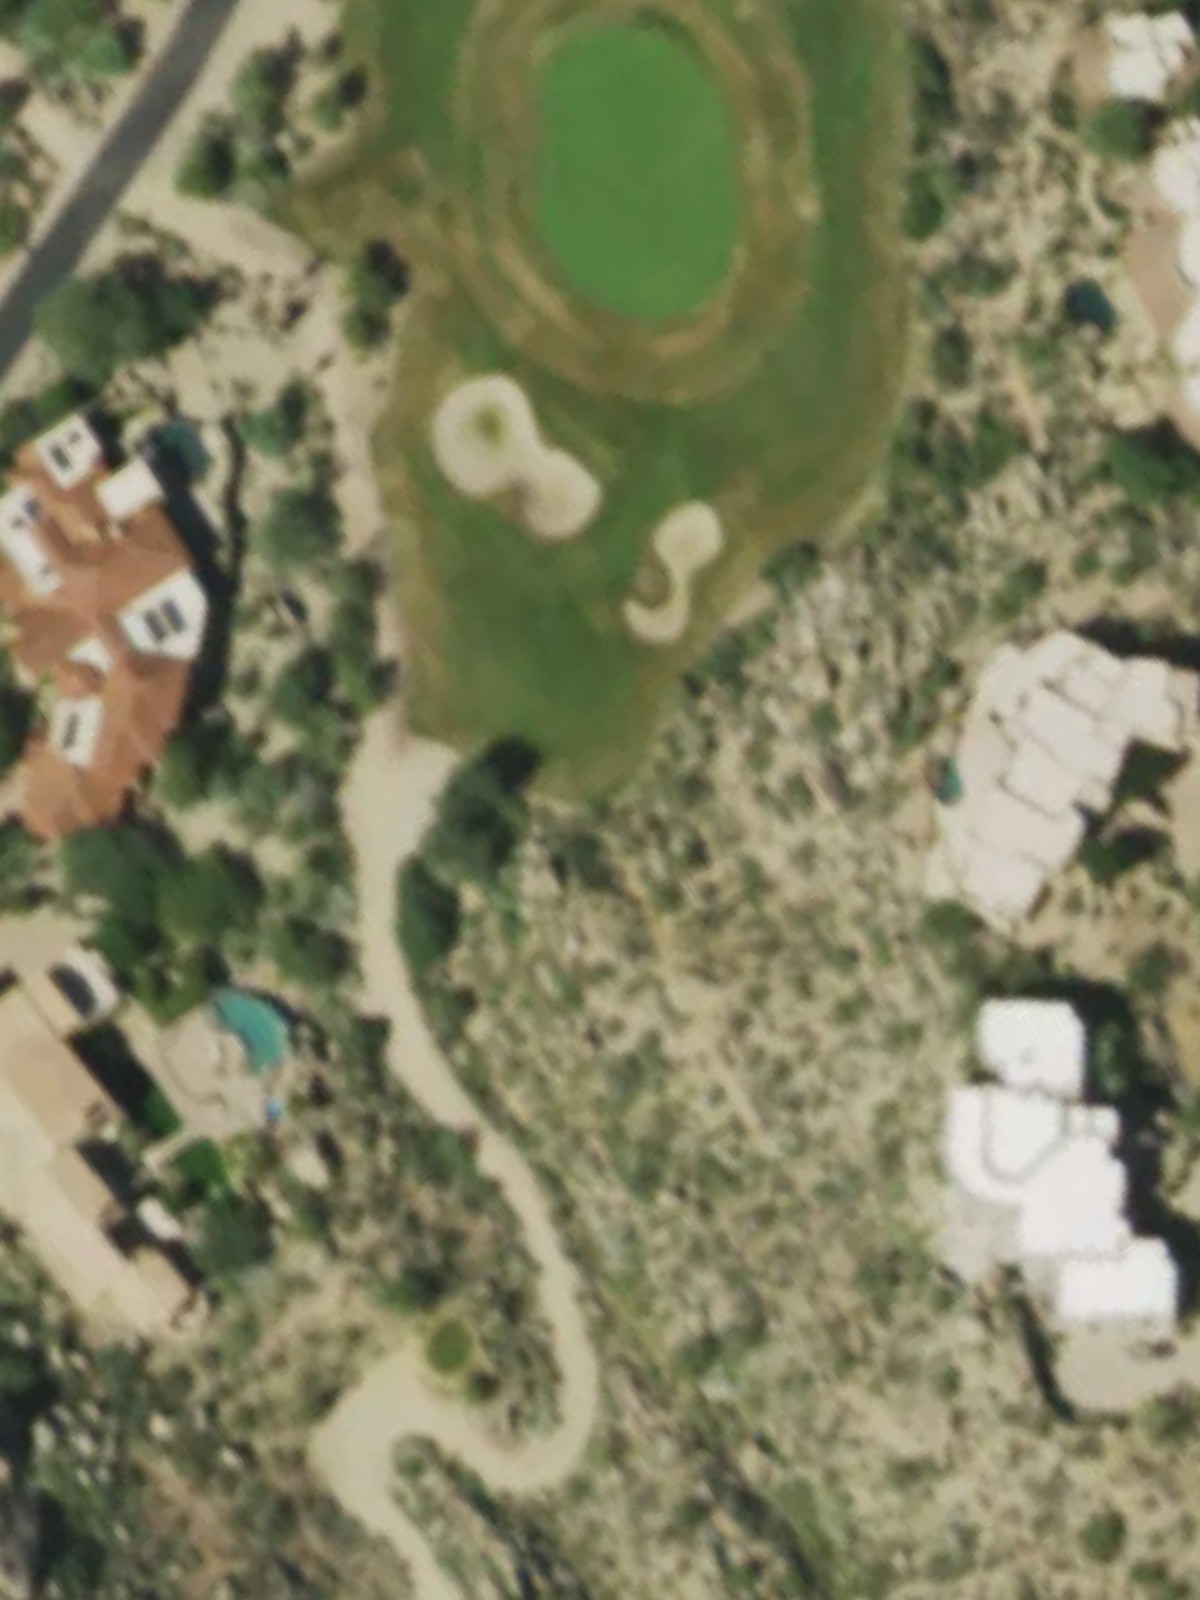
The most difficult hole on the course, this dogleg par 4 stretches well over 400 yards and demands two excellent shots to find the green. Bunkering is strategic and prominent, making positioning off the tee critical to success.
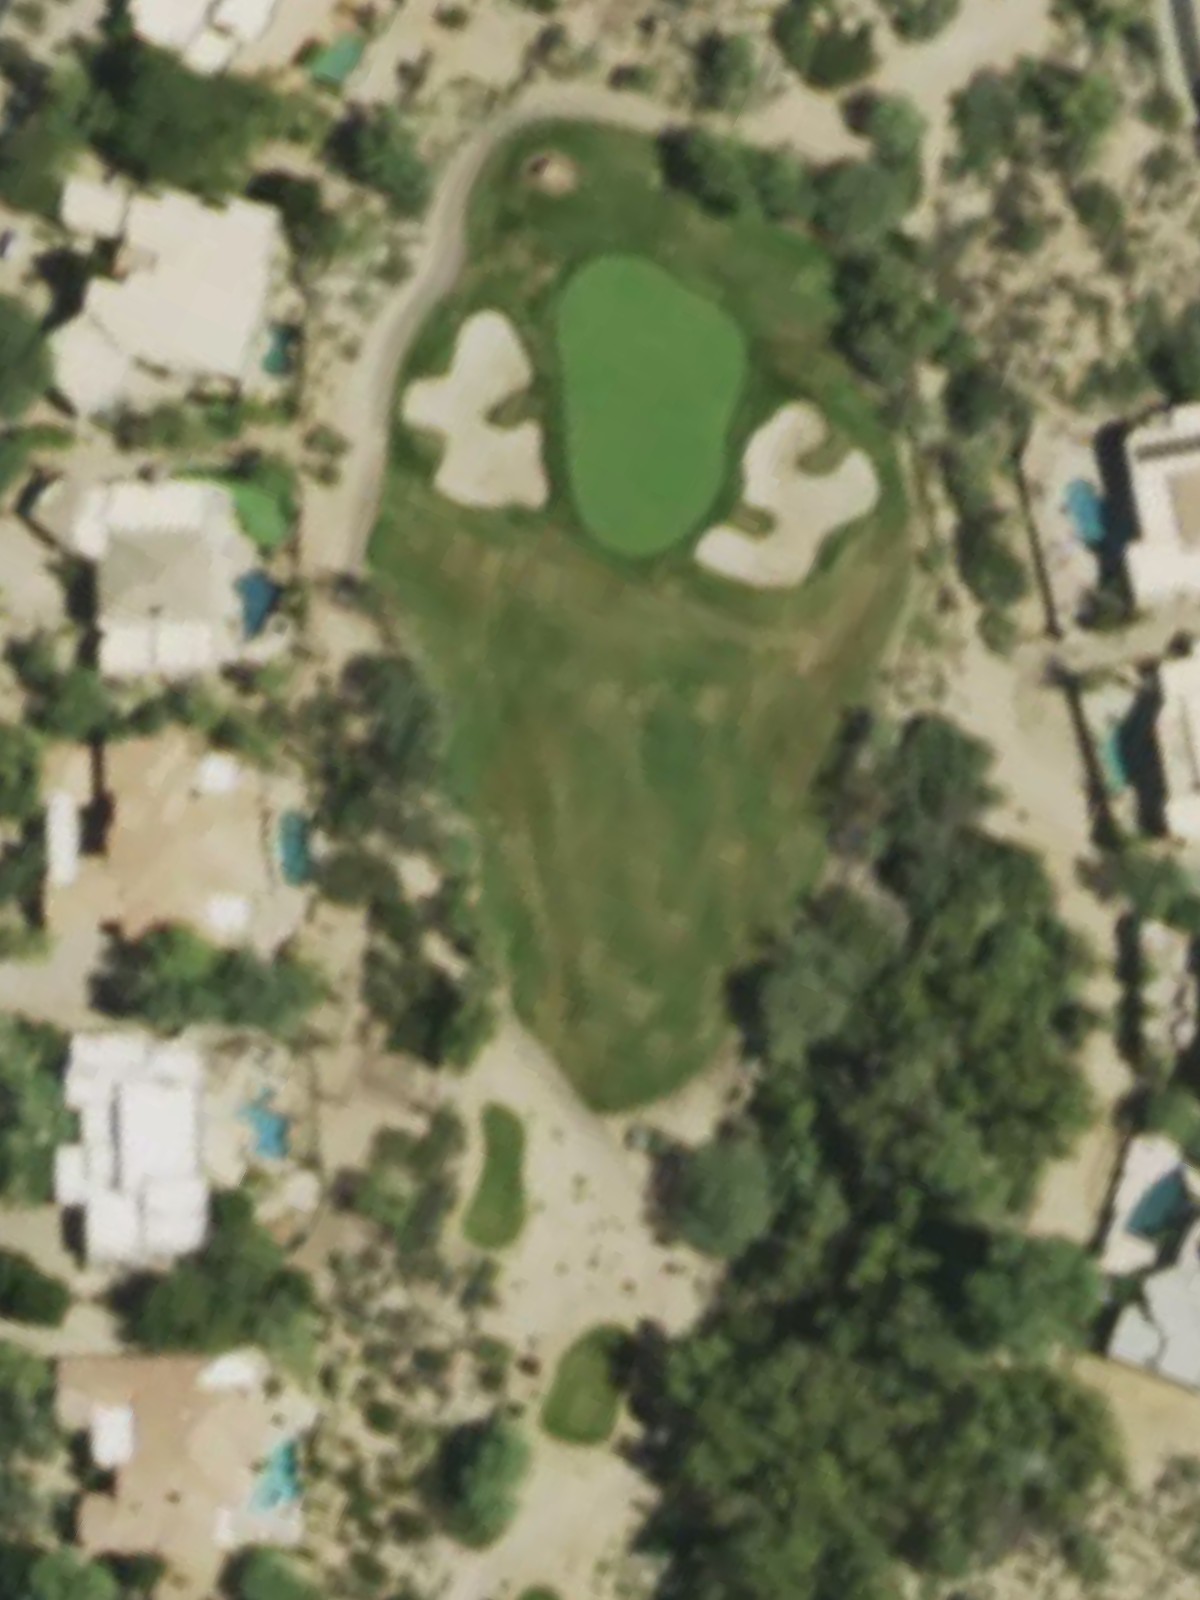
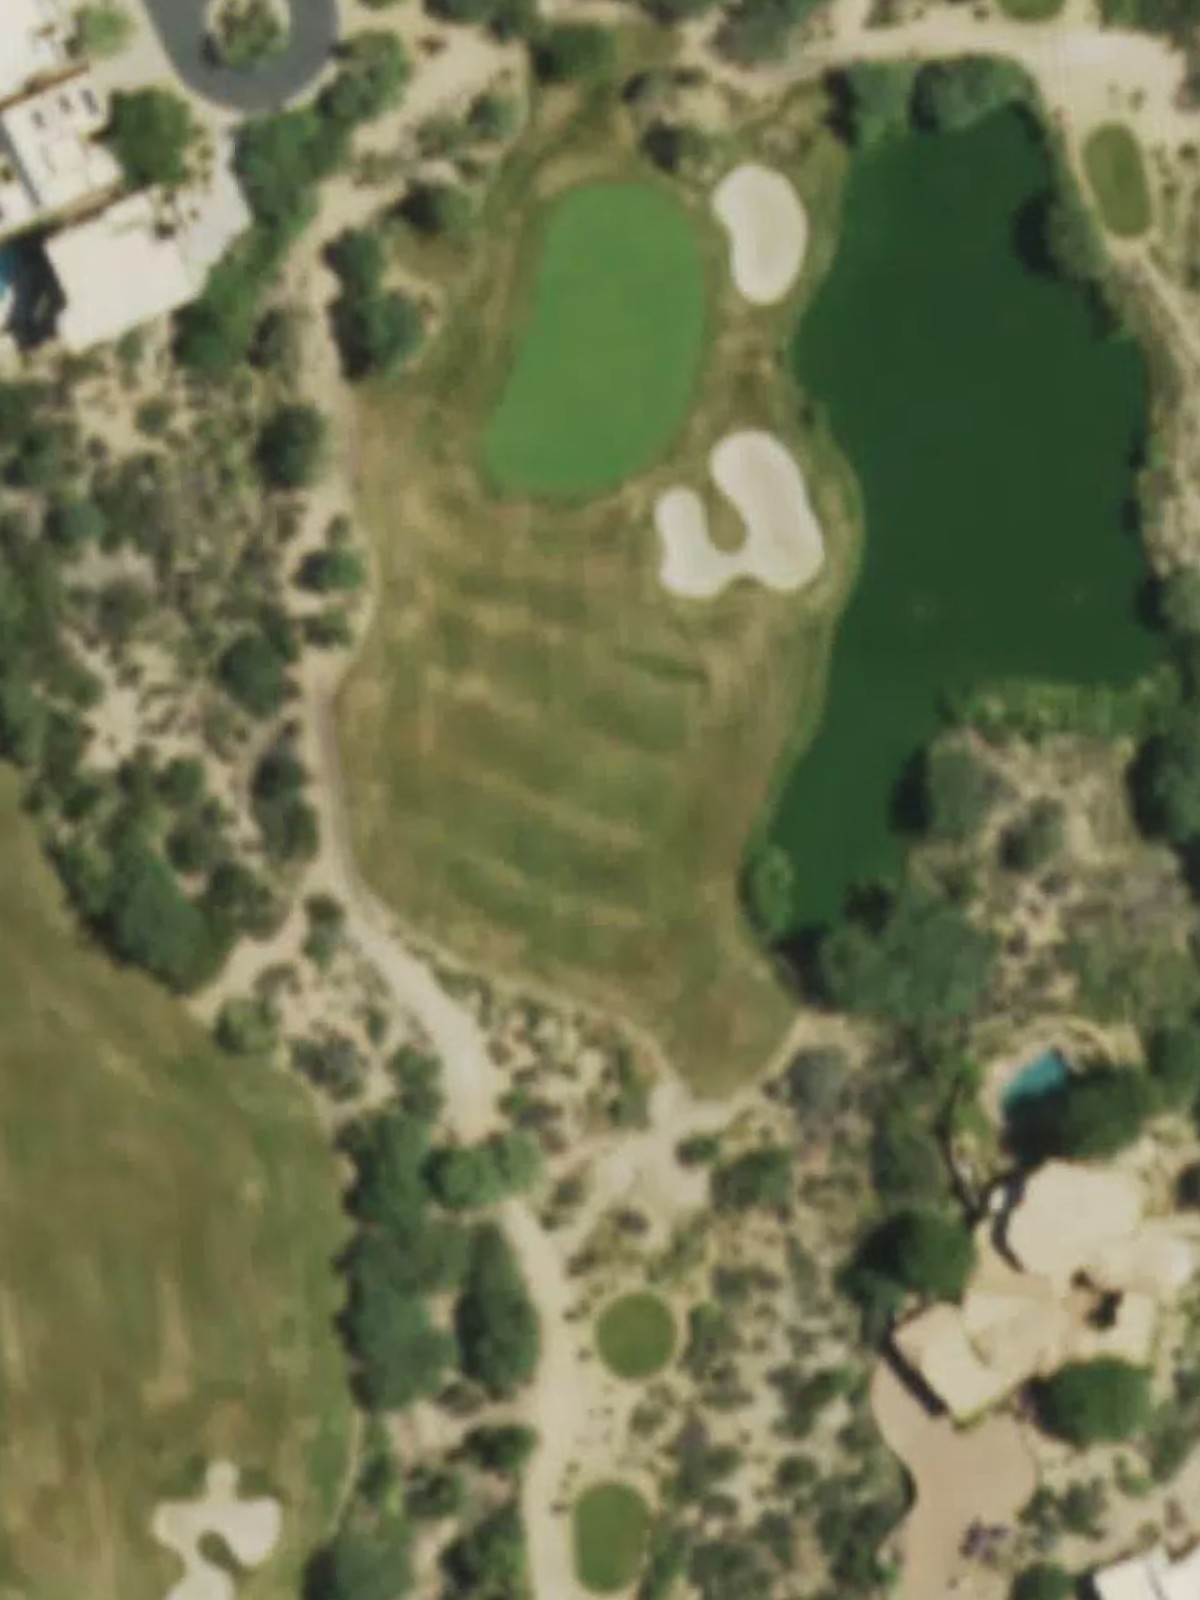
A short but charming par 3 playing under 180 yards that requires only a precise mid-iron to find the green. The hole's simplicity belies any potential danger lurking in the bunkers and rough around the putting surface.
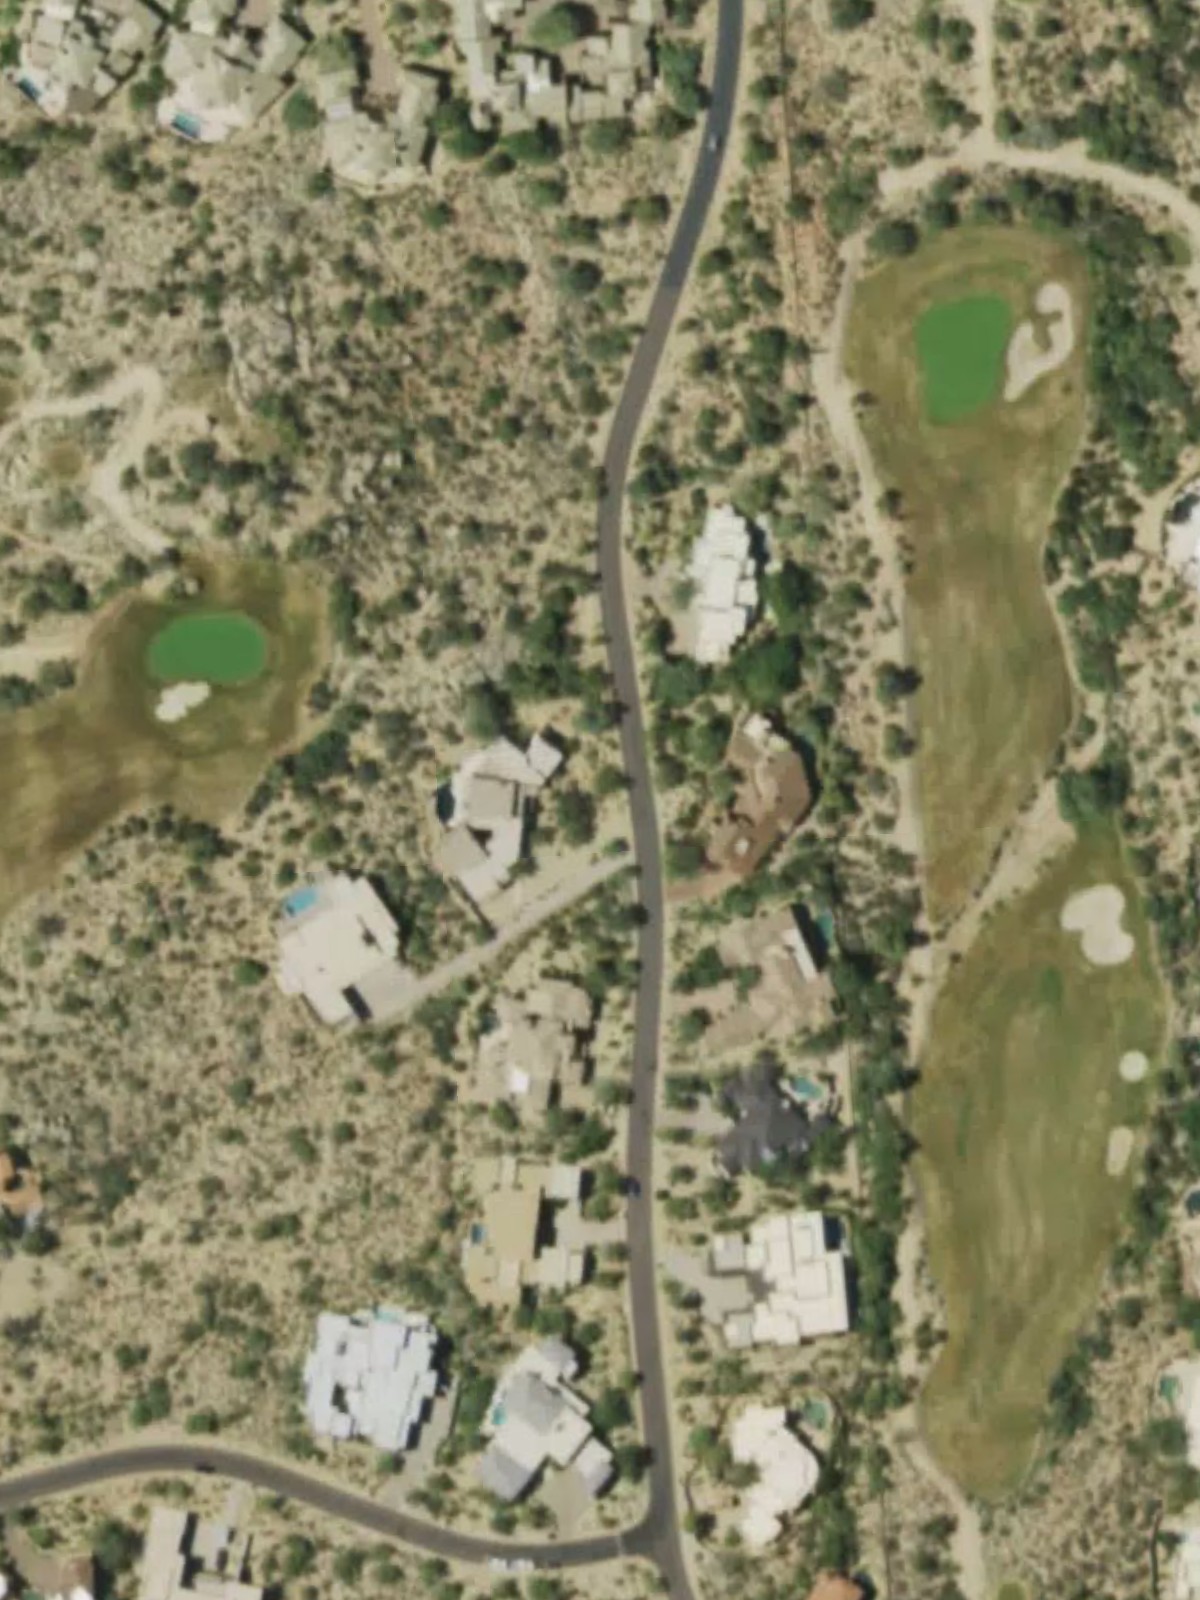
A moderate par 4 that closes the front nine with some subtle challenges around the green and fairway. The dramatic difference in yardage between tees suggests interesting strategy options depending on course conditions.
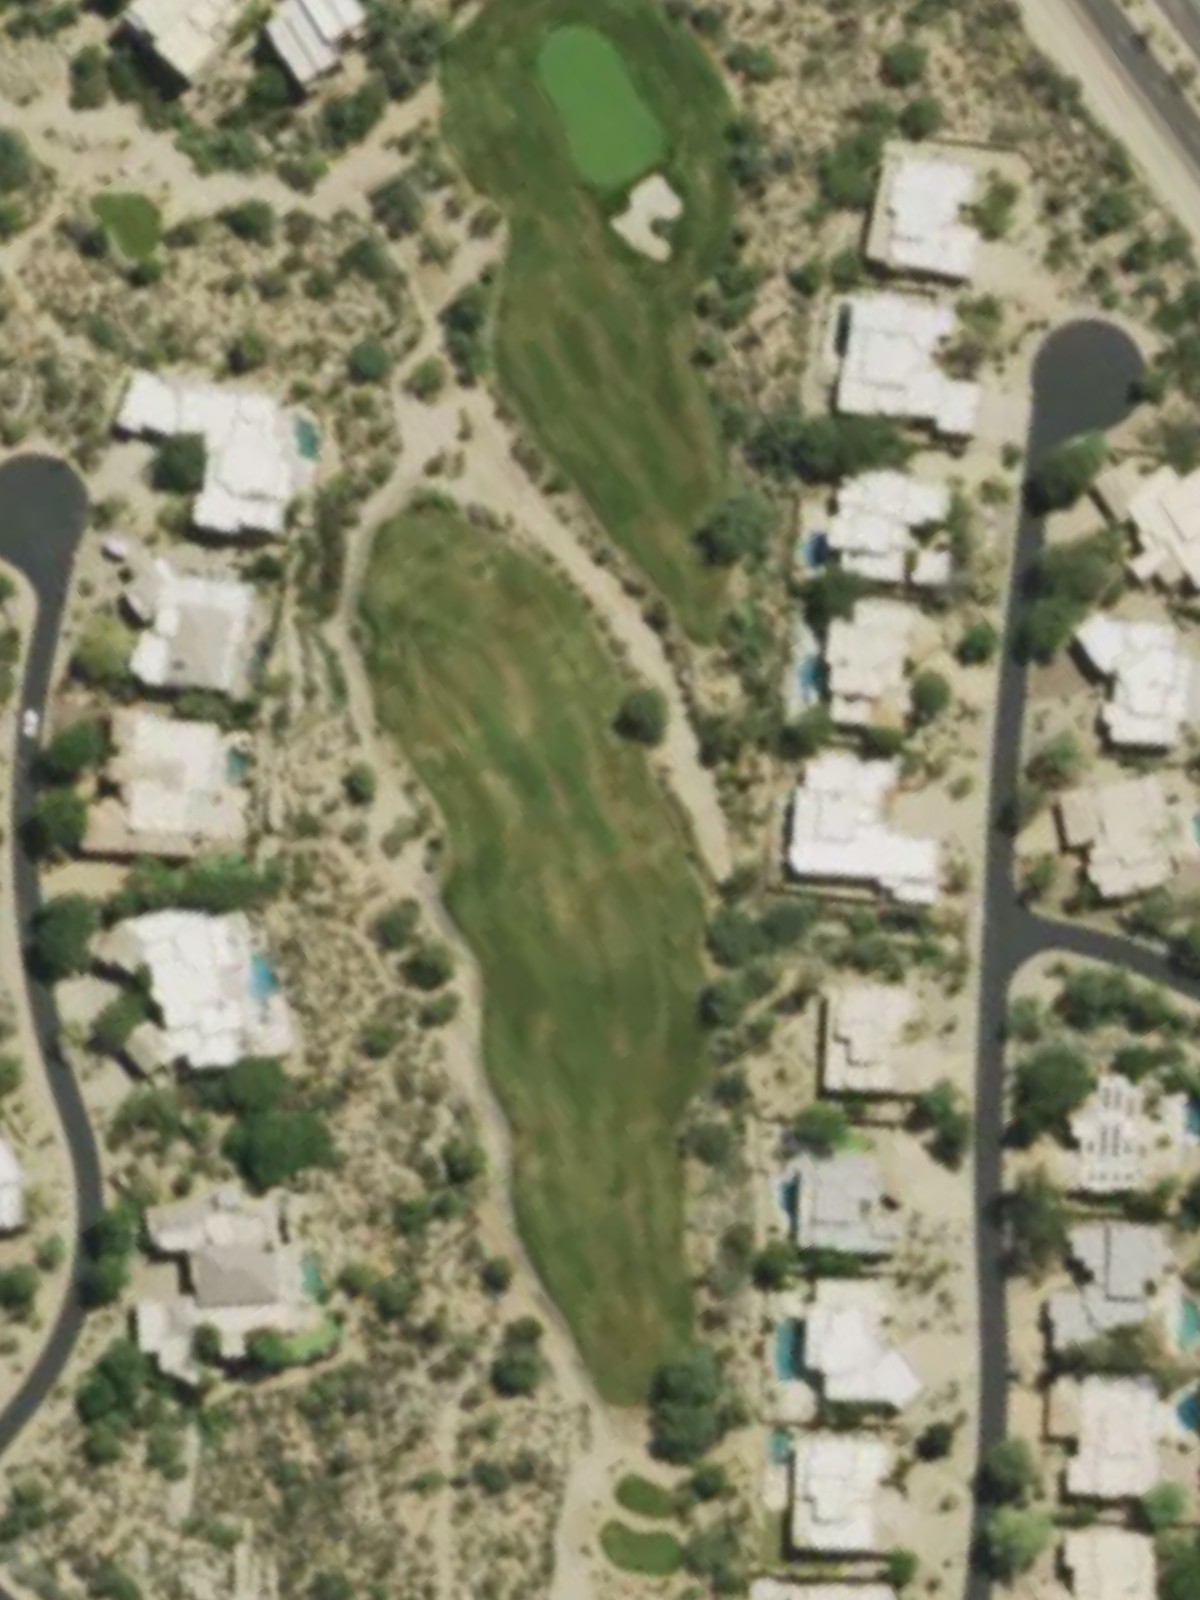
A straightforward par 4 that begins the back nine without excessive difficulty, featuring a fairly open fairway and accessible green. This hole provides a comfortable rhythm to start the inward half.
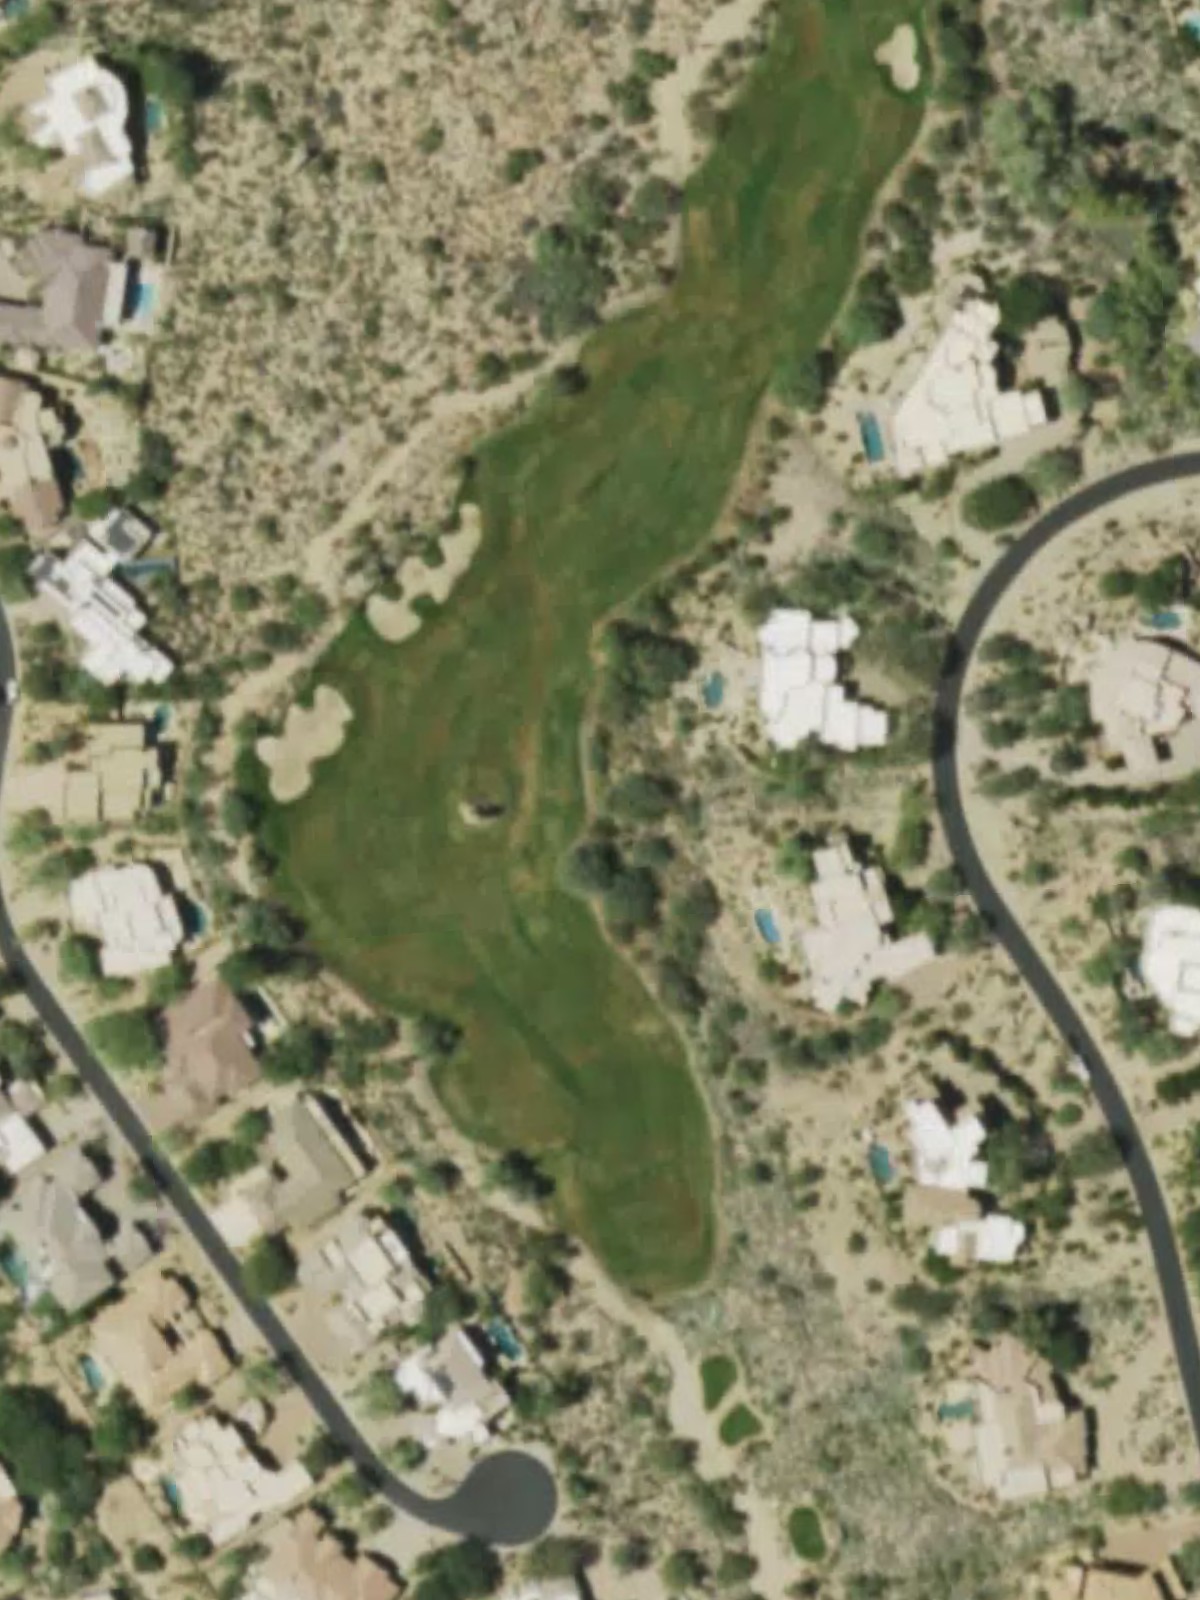
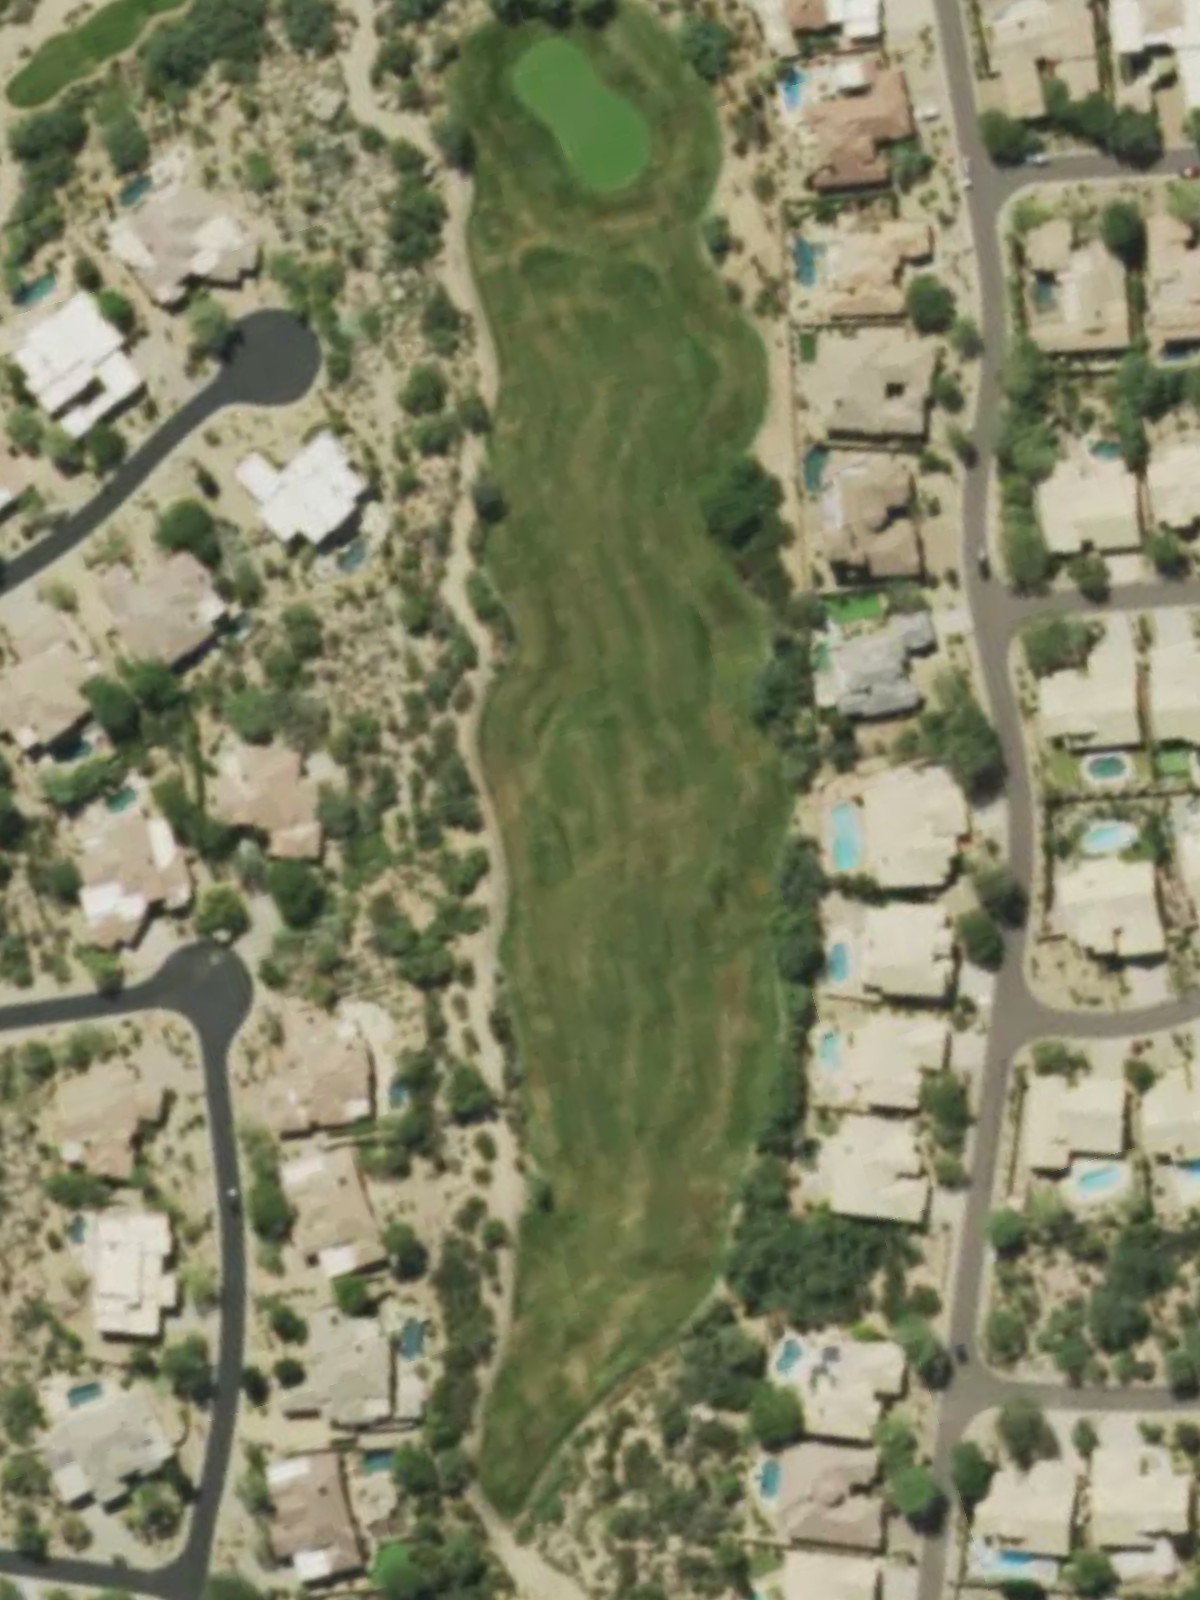
A challenging par 5 positioned as one of the course's top scorers, requiring three solid shots to navigate successfully. Strategic bunkering and the length from the back tees make this a defining hole for the back nine.
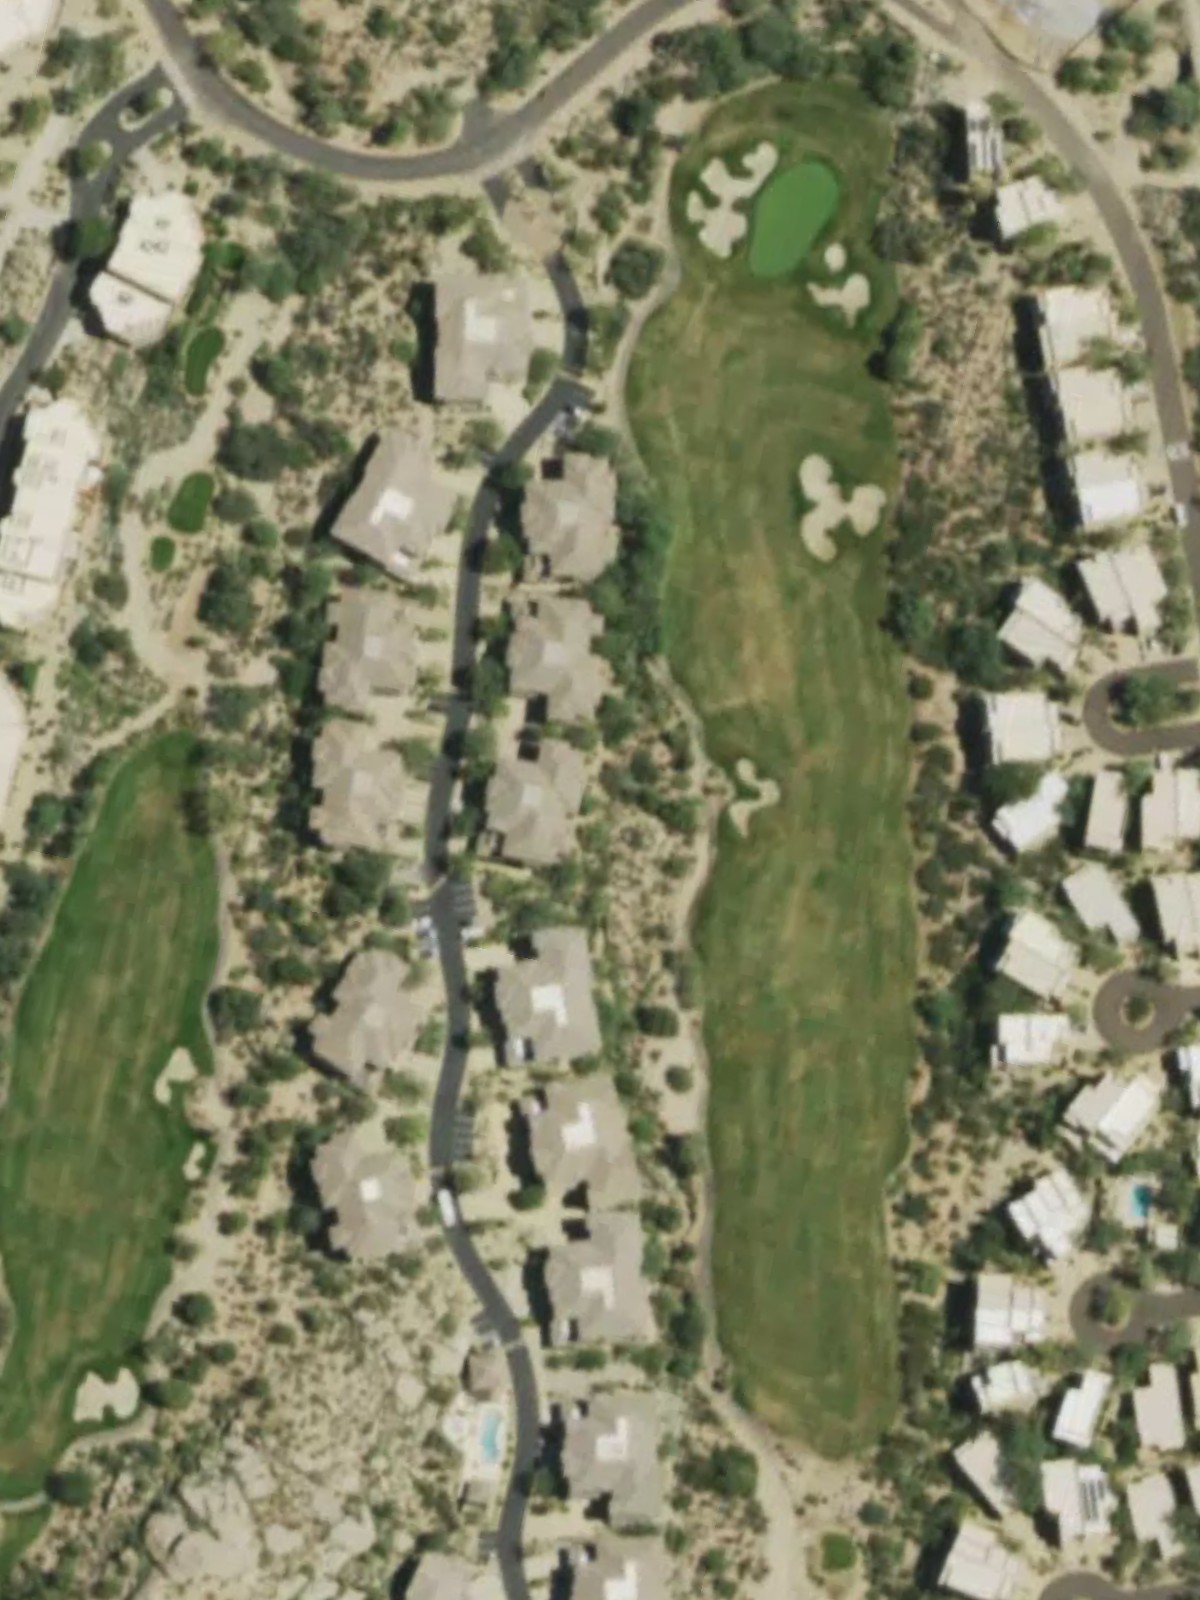
A sturdy mid-length par 4 that requires both distance and accuracy to position properly for the approach. The fairway setup suggests potential trouble that must be avoided to score well.
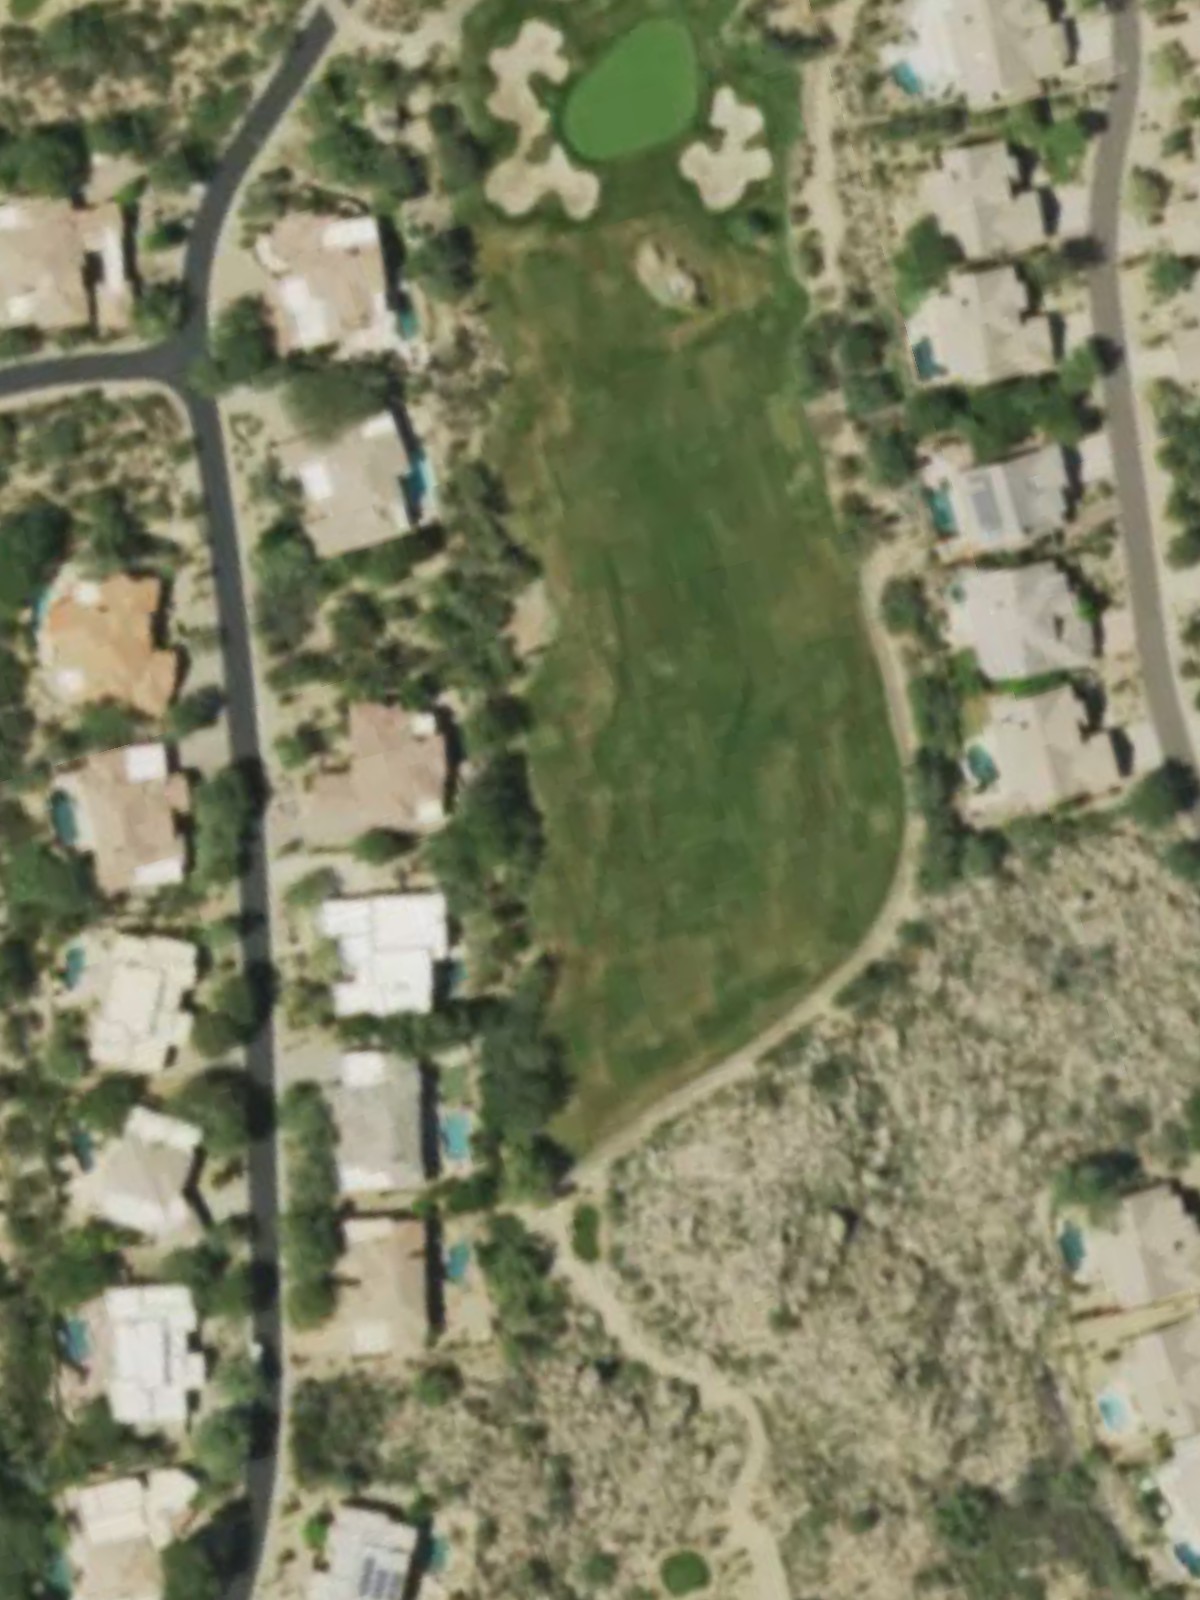
A brief par 3 that serves as one of the easiest holes on the course, offering a scoring opportunity in the heart of the back nine. The short distance allows golfers to focus on precision rather than power.
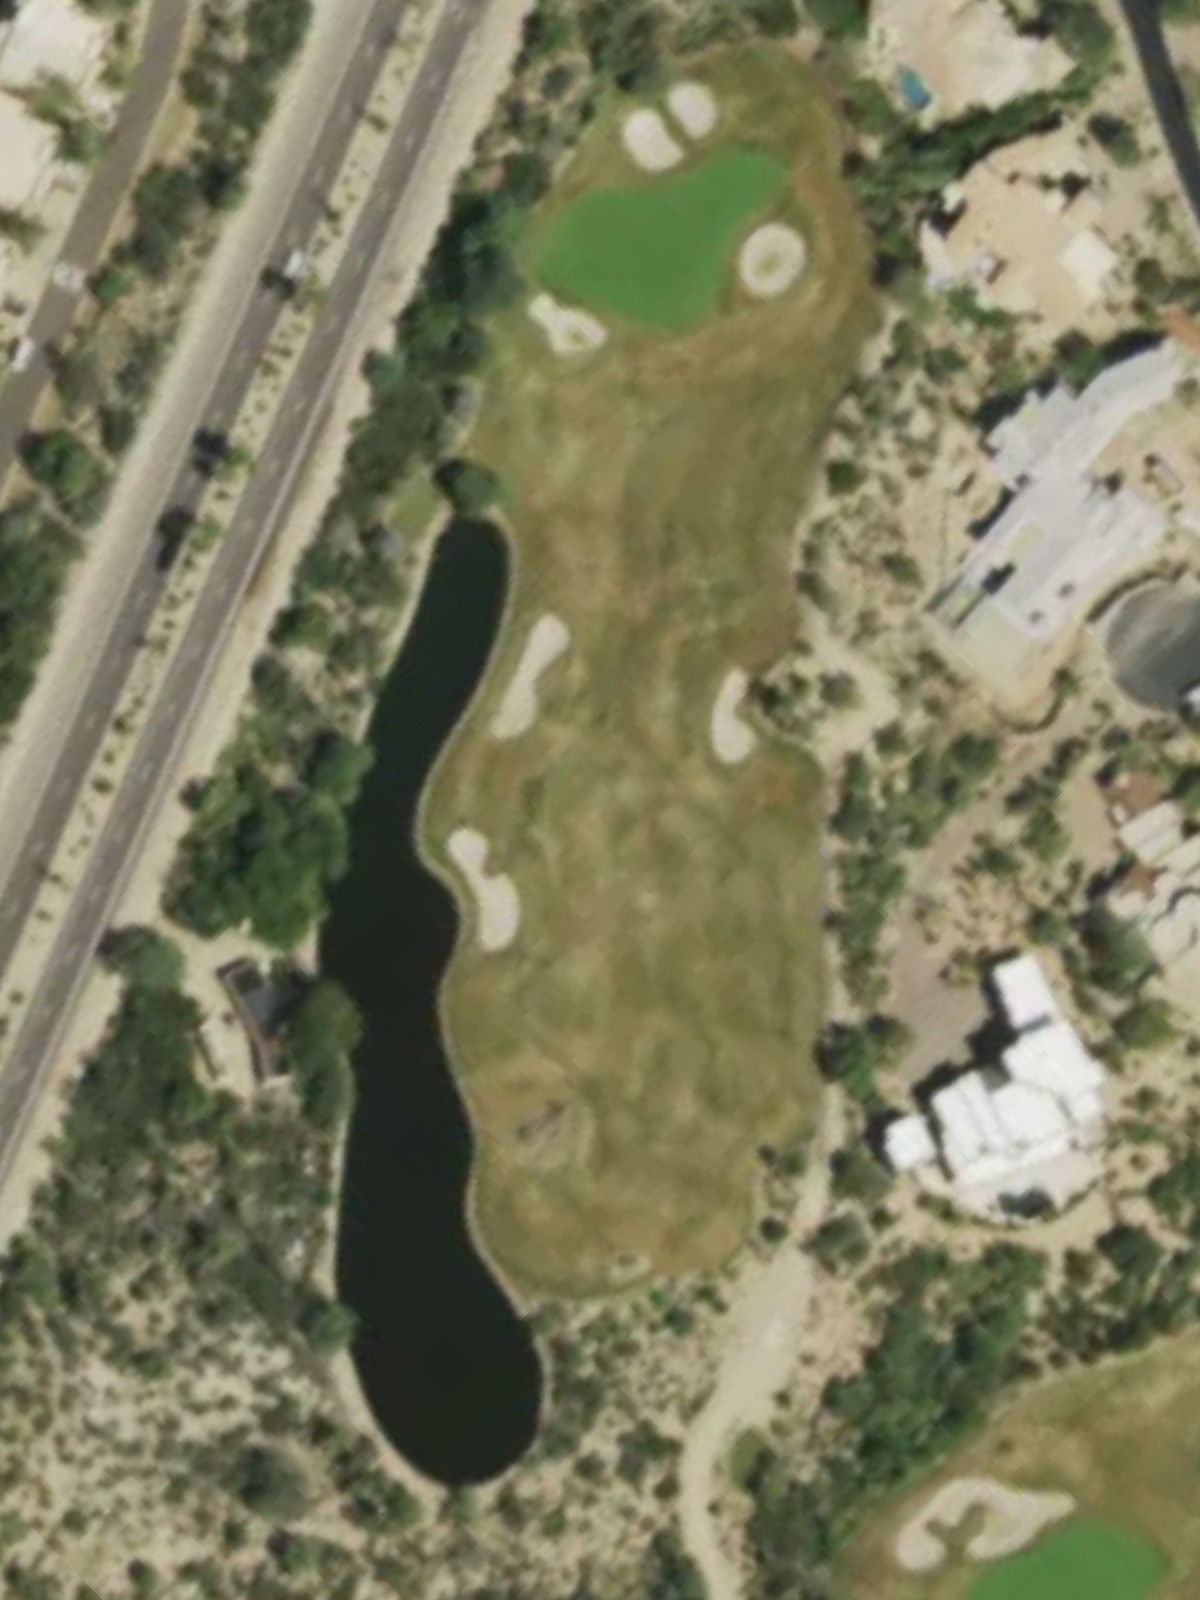
The second-most difficult hole on the course, this lengthy par 5 tests every aspect of the golfer's game over 540+ yards from the gold tees. Multiple hazards and strategic bunkering make this a defining challenge where three excellent shots are the goal.

A relatively short par 4 that offers a welcome breather after the back nine's more demanding stretch. The friendlier yardages suggest scoring opportunities for those who find the fairway.
The shortest hole on the entire course at 130 yards from the gold tees, this par 3 is the easiest test and a clear birdie opportunity. The minimal distance allows full focus on accuracy and execution.
A formidable par 4 ranked as the fourth-hardest hole, stretching over 400 yards and demanding power and precision in equal measure. Strategic hazard placement throughout the hole rewards smart course management.
A strong closing par 4 that finishes the round with a significant test, requiring two quality shots to secure a solid score. The length and hazard positioning make this a fitting challenge to conclude 18 holes at Troon North.
Scorecard
| Hole | 1 | 2 | 3 | 4 | 5 | 6 | 7 | 8 | 9 | Out | 10 | 11 | 12 | 13 | 14 | 15 | 16 | 17 | 18 | In | Tot |
|---|---|---|---|---|---|---|---|---|---|---|---|---|---|---|---|---|---|---|---|---|---|
| Par | 4 | 4 | 4 | 4 | 5 | 3 | 4 | 3 | 4 | 35 | 4 | 5 | 4 | 3 | 5 | 4 | 3 | 4 | 4 | 36 | 71 |
| HCP | 9 | 7 | 3 | 11 | 5 | 17 | 1 | 15 | 13 | 10 | 8 | 12 | 16 | 2 | 14 | 18 | 4 | 6 | |||
| black | 386 | 397 | 467 | 413 | 540 | 201 | 457 | 185 | 401 | 3447 | 402 | 538 | 414 | 177 | 599 | 365 | 140 | 432 | 442 | 3509 | 6956 |
| gold | 368 | 379 | 429 | 395 | 507 | 186 | 411 | 176 | 385 | 3236 | 382 | 532 | 409 | 167 | 560 | 360 | 130 | 410 | 413 | 3363 | 6599 |
| silver | 368 | 368 | 422 | 337 | 481 | 180 | 388 | 164 | 341 | 3049 | 372 | 486 | 350 | 159 | 540 | 345 | 120 | 400 | 377 | 3149 | 6198 |
| copper | 353 | 339 | 387 | 323 | 449 | 158 | 366 | 113 | 310 | 2798 | 292 | 461 | 341 | 155 | 523 | 332 | 100 | 332 | 372 | 2908 | 5706 |
| copper/jade | 280 | 301 | 325 | 297 | 449 | 158 | 316 | 113 | 310 | 2549 | 292 | 461 | 290 | 155 | 453 | 332 | 100 | 332 | 287 | 2702 | 5251 |
| jade | 280 | 301 | 325 | 297 | 421 | 123 | 316 | 98 | 234 | 2395 | 253 | 421 | 290 | 114 | 453 | 262 | 88 | 292 | 287 | 2460 | 4855 |