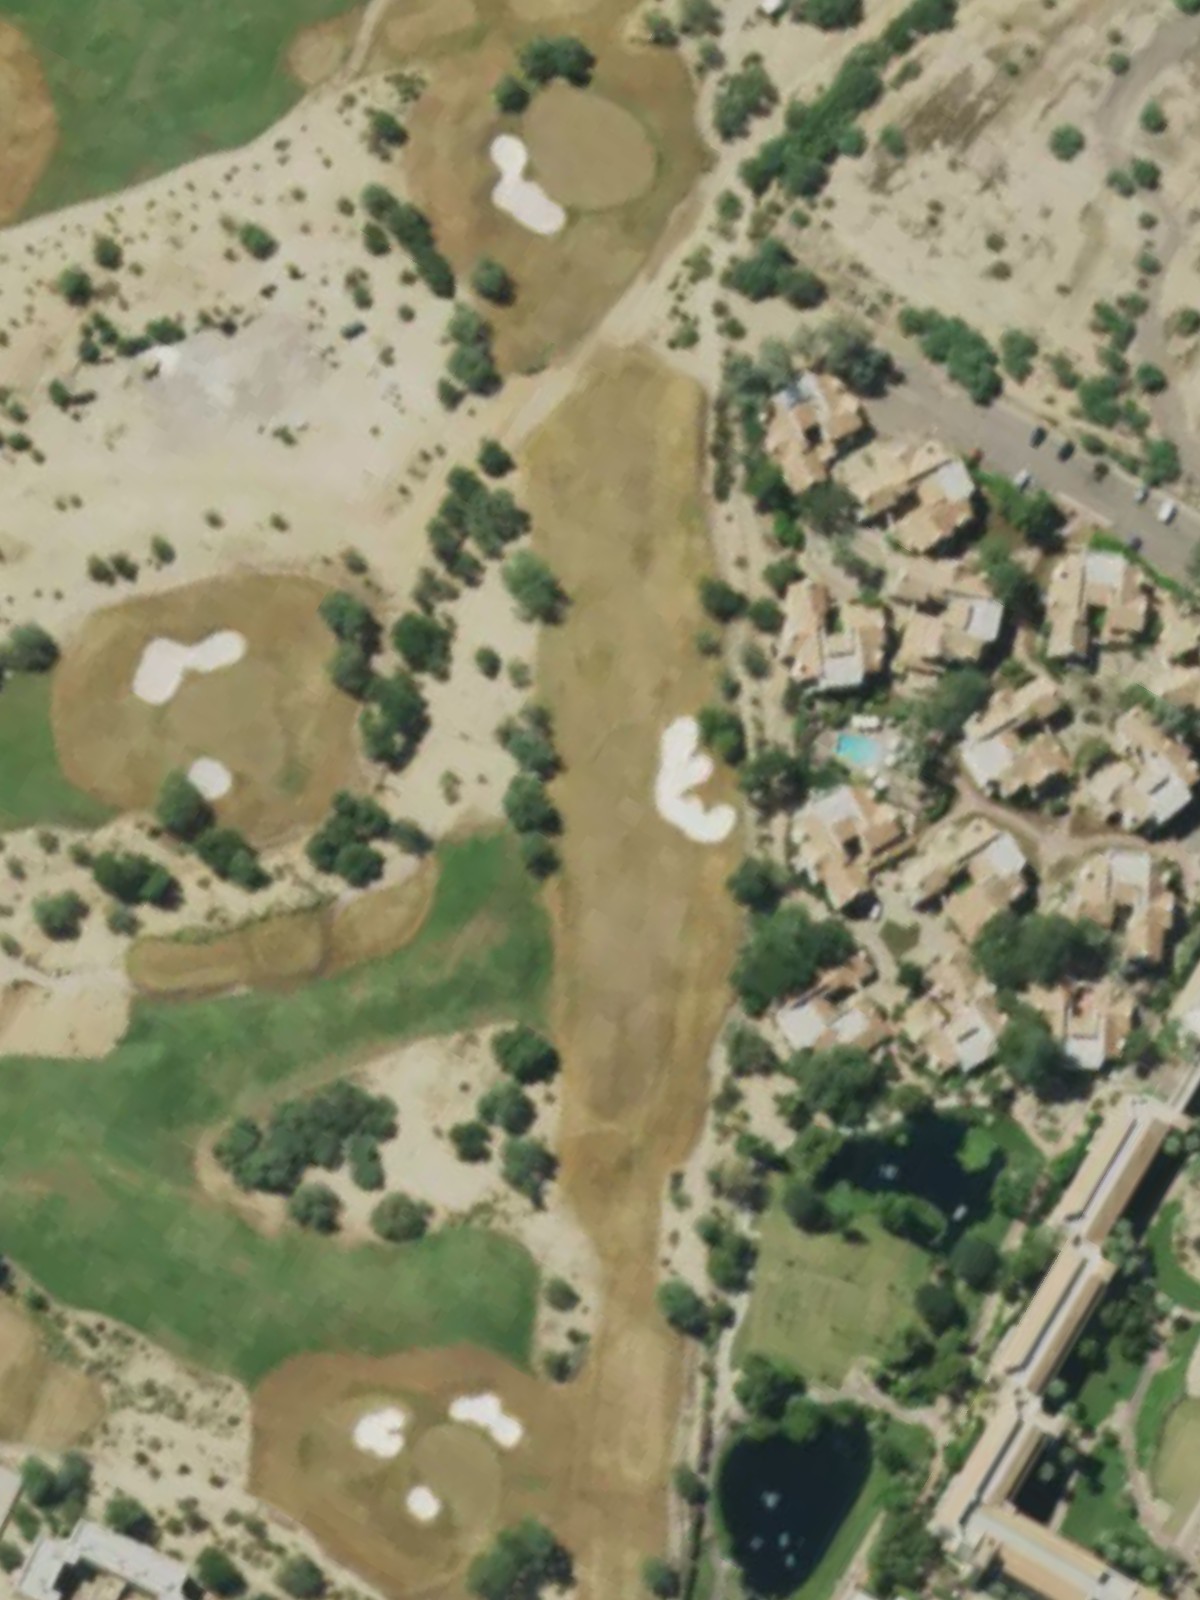
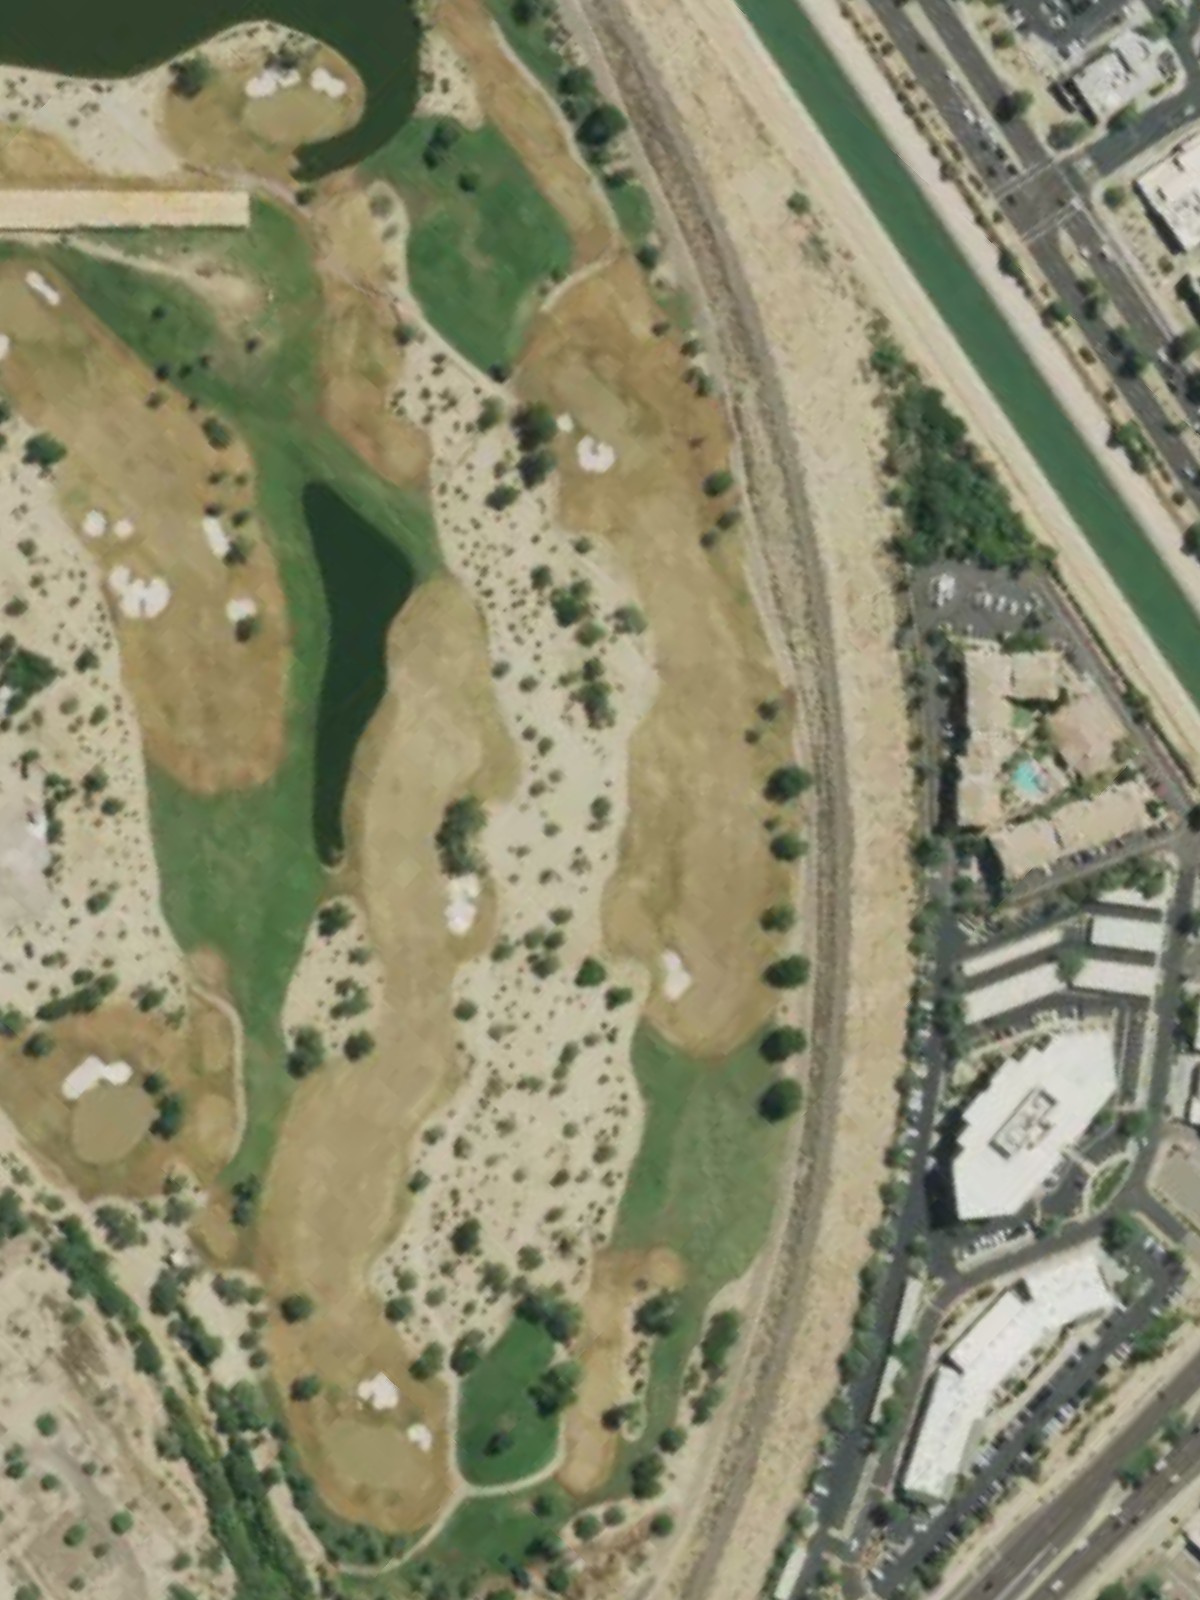
Tpc Of Scottsdale is an 18-hole golf course in Scottsdale, AZ with a par of 71. It offers 6 tee sets: championship (7,261 yards, slope 142, rating 74.7), championship/players (6,882 yards, slope 135, rating 72.7), players (6,614 yards, slope 131, rating 71.5), players/resort (6,454 yards, slope 126, rating 70.8), resort (6,110 yards, slope 123, rating 68.9), forward (5,364 yards, slope 114, rating 66.2). The hardest hole is #11, a par 4 playing 416 yards from the first tee.
Tpc Of Scottsdale
Scottsdale, AZ
Get PDF Yardage Book
We'll email you the PDF link. No spam, ever.
Create Your Game Plan
Pick your tees, enter your bag, and get a personalized shot-by-shot strategy for every hole.
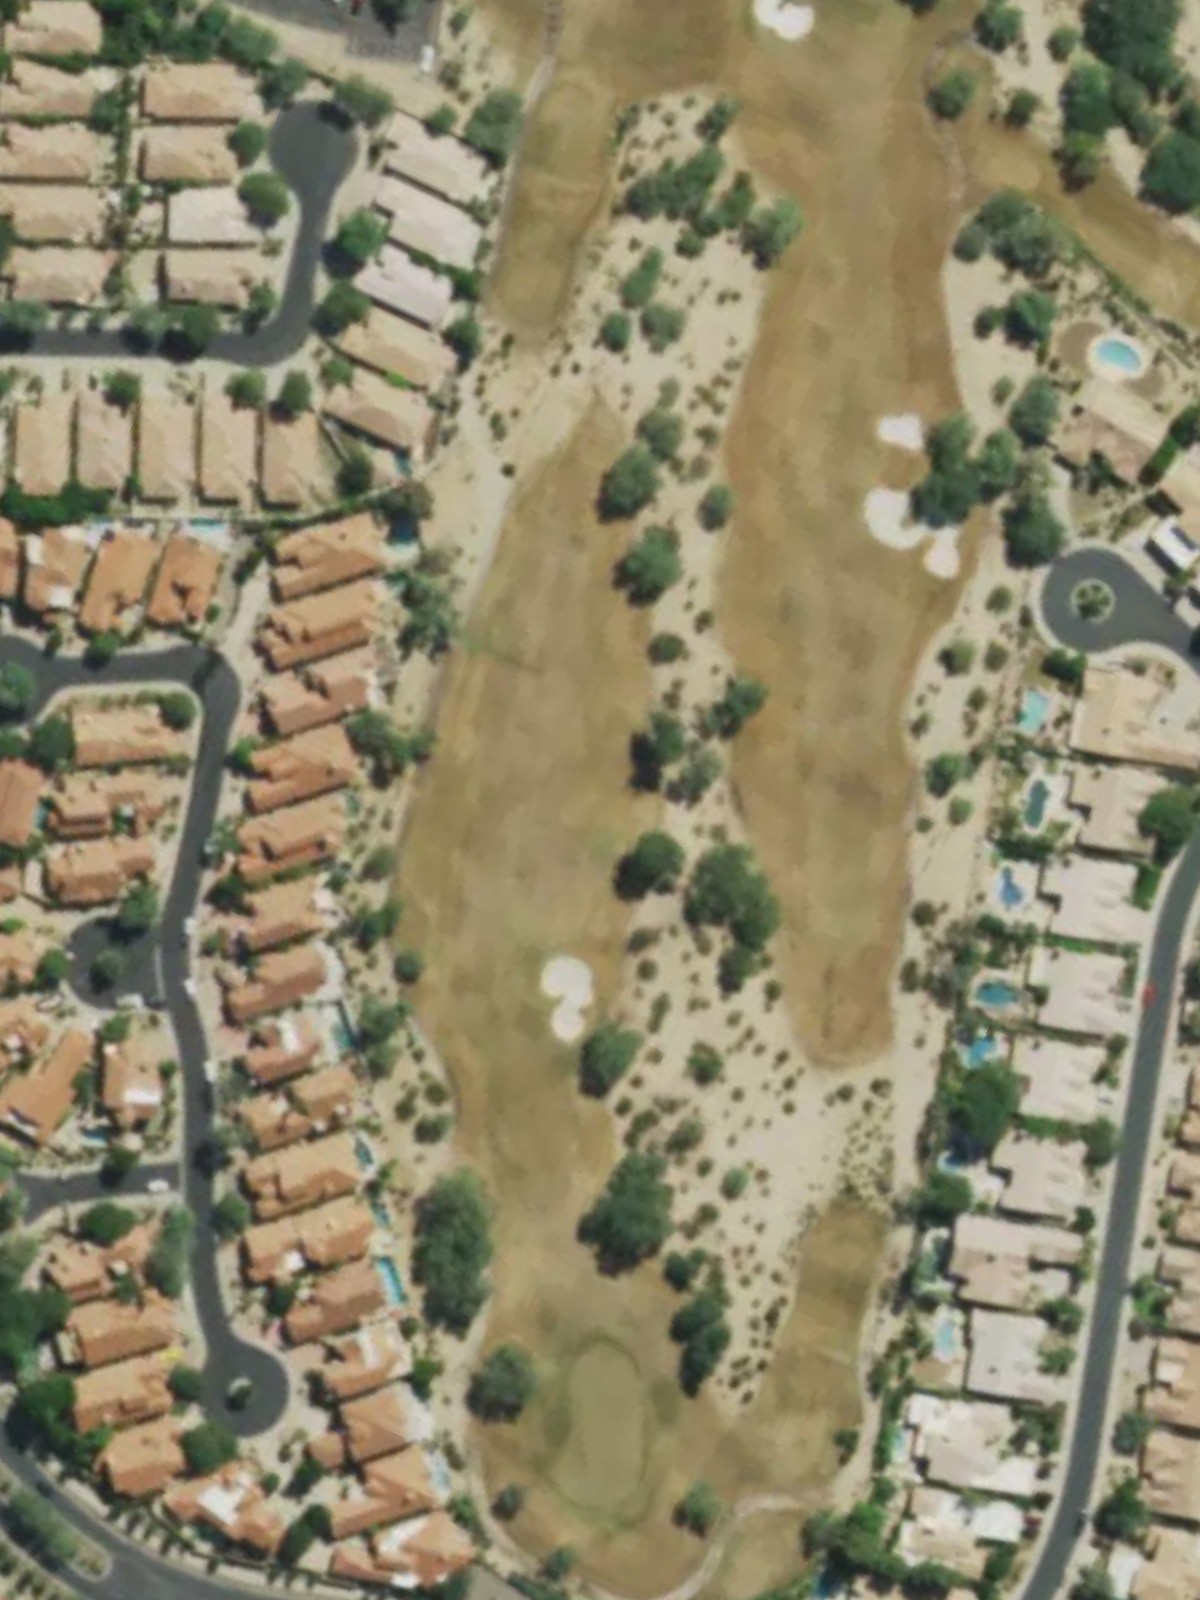
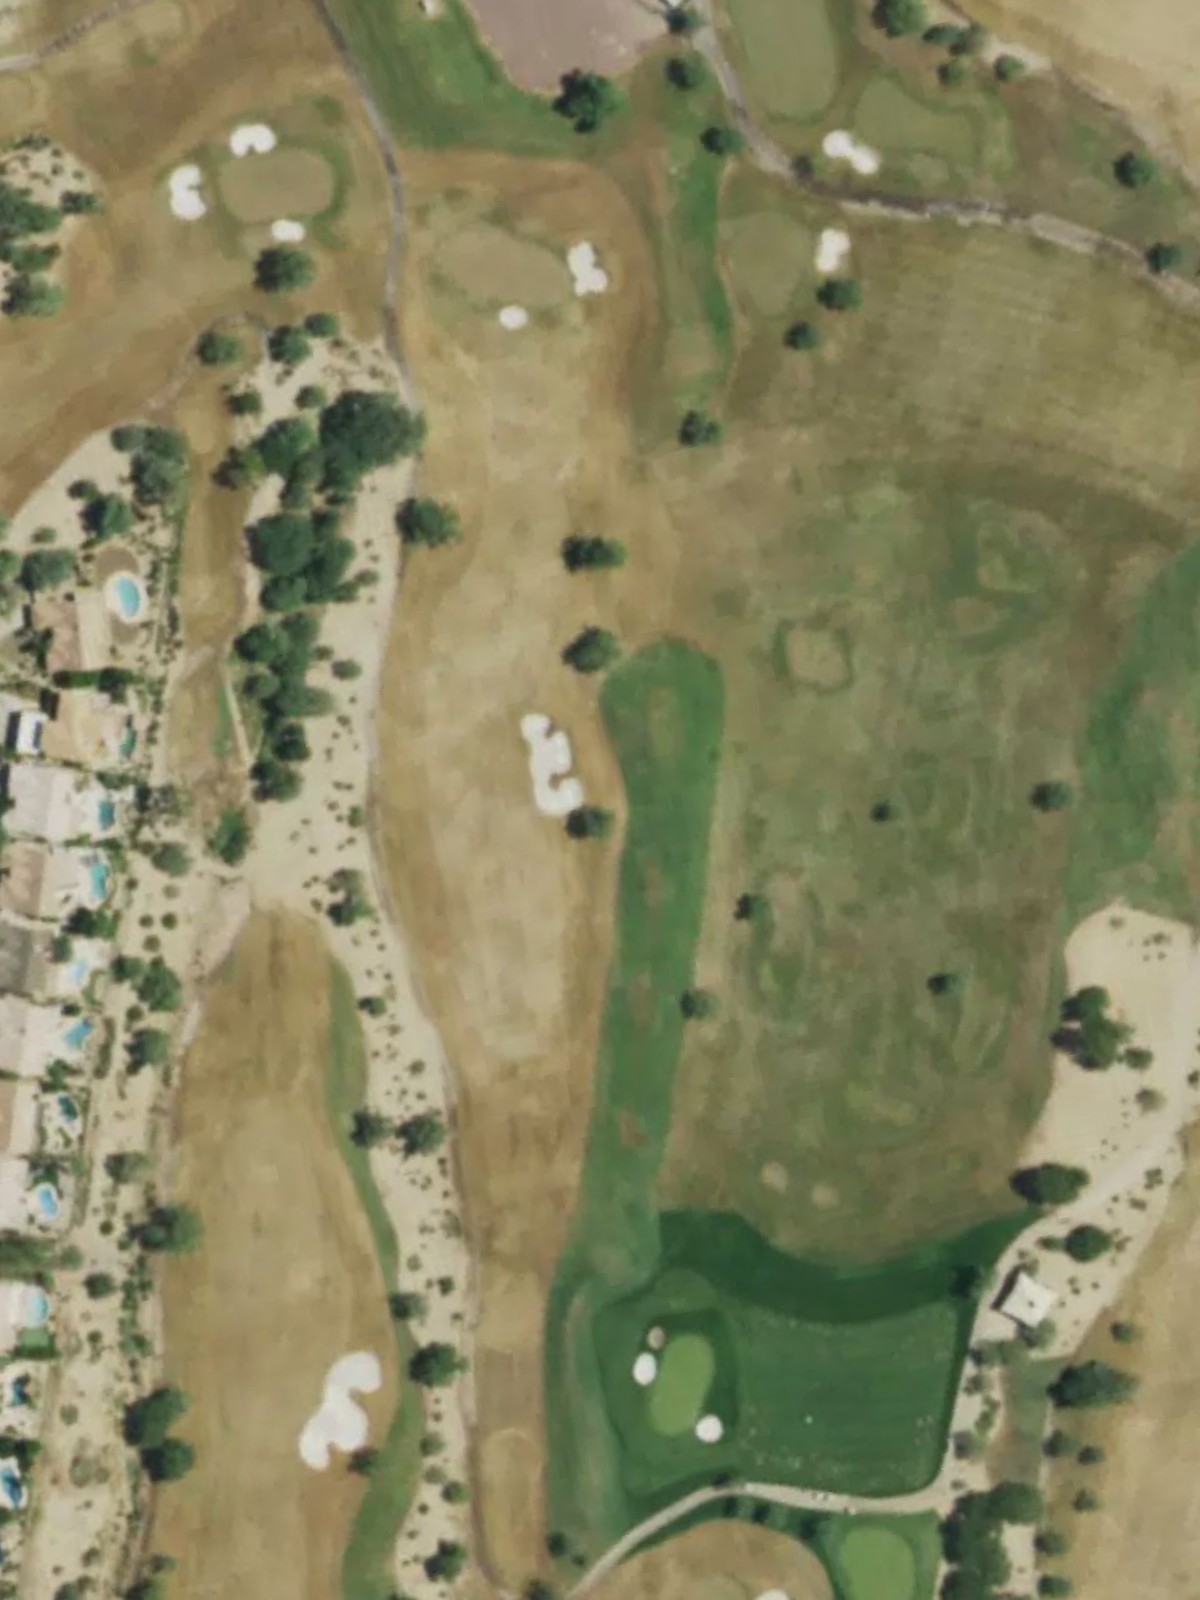
A short, straightforward par 4 with a wide fairway that provides an inviting opening hole. The green is protected by bunkers on the right side, rewarding accurate approach shots.
A demanding par 4 that plays longer than its yardage suggests, with water hazards creating a narrow corridor to the green. Precision off the tee is essential to avoid trouble left and right.
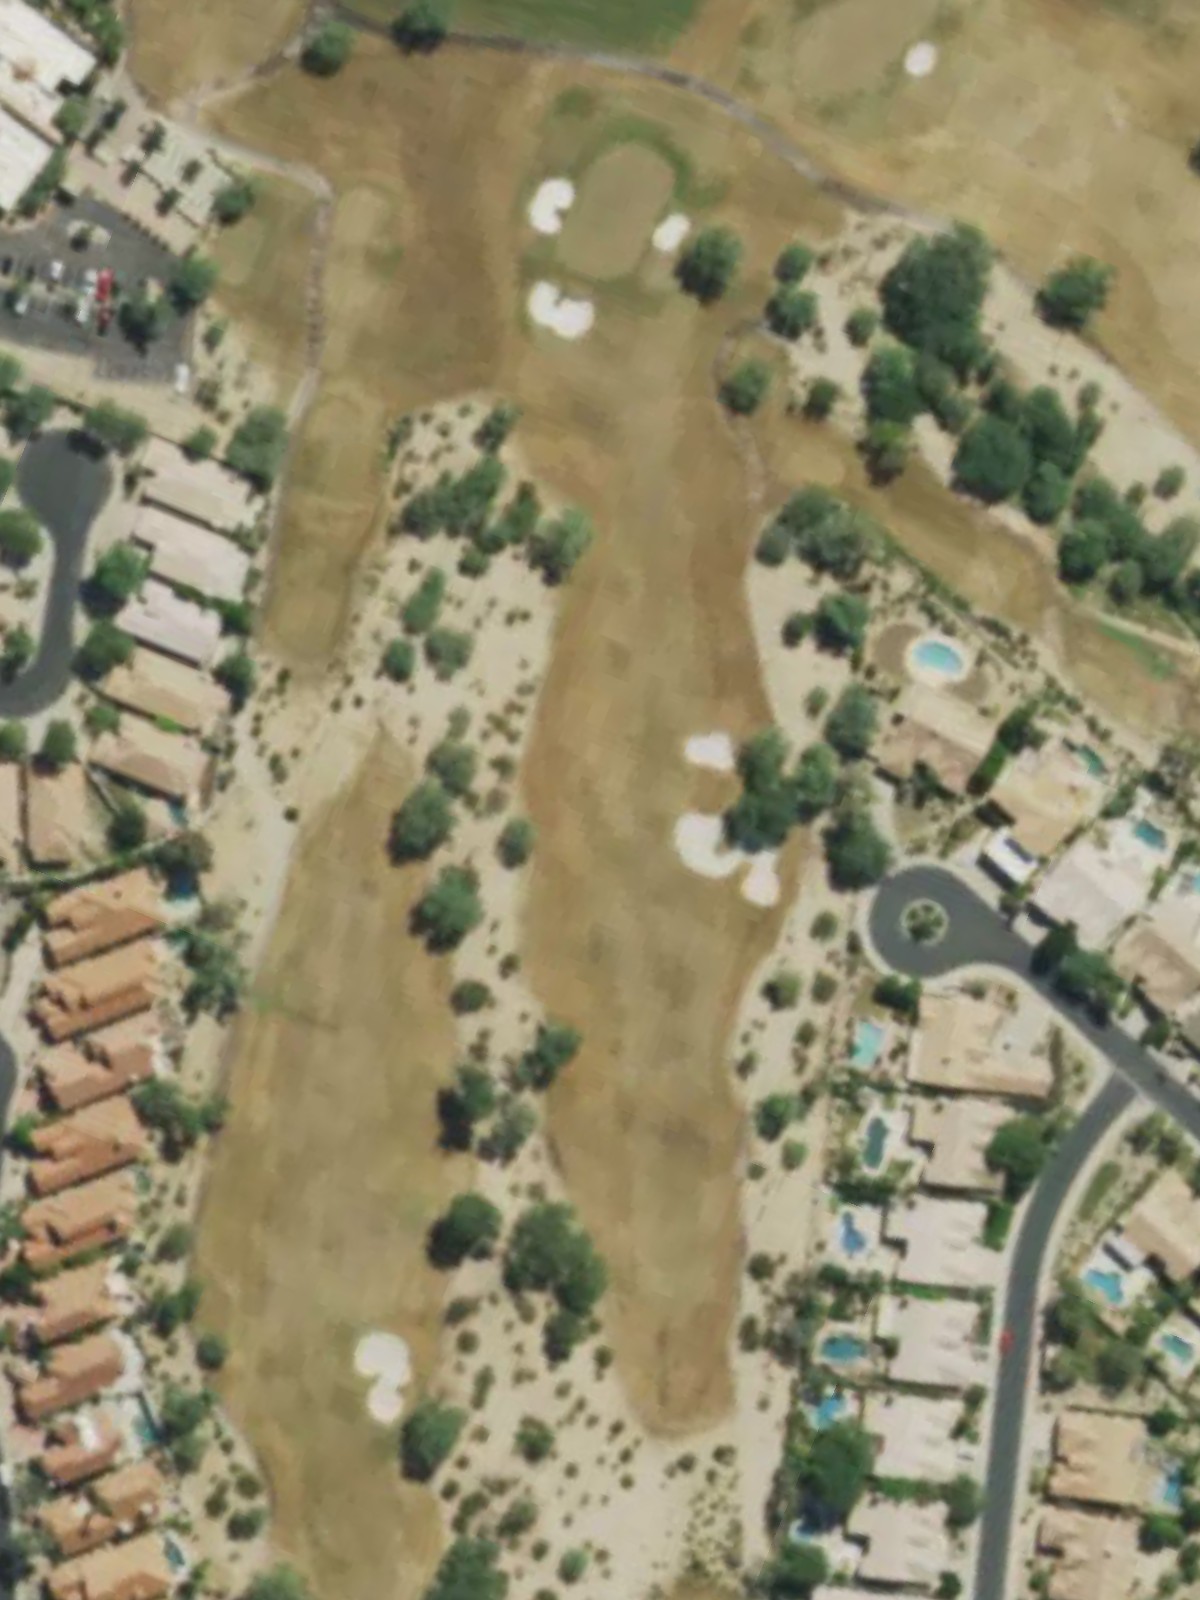
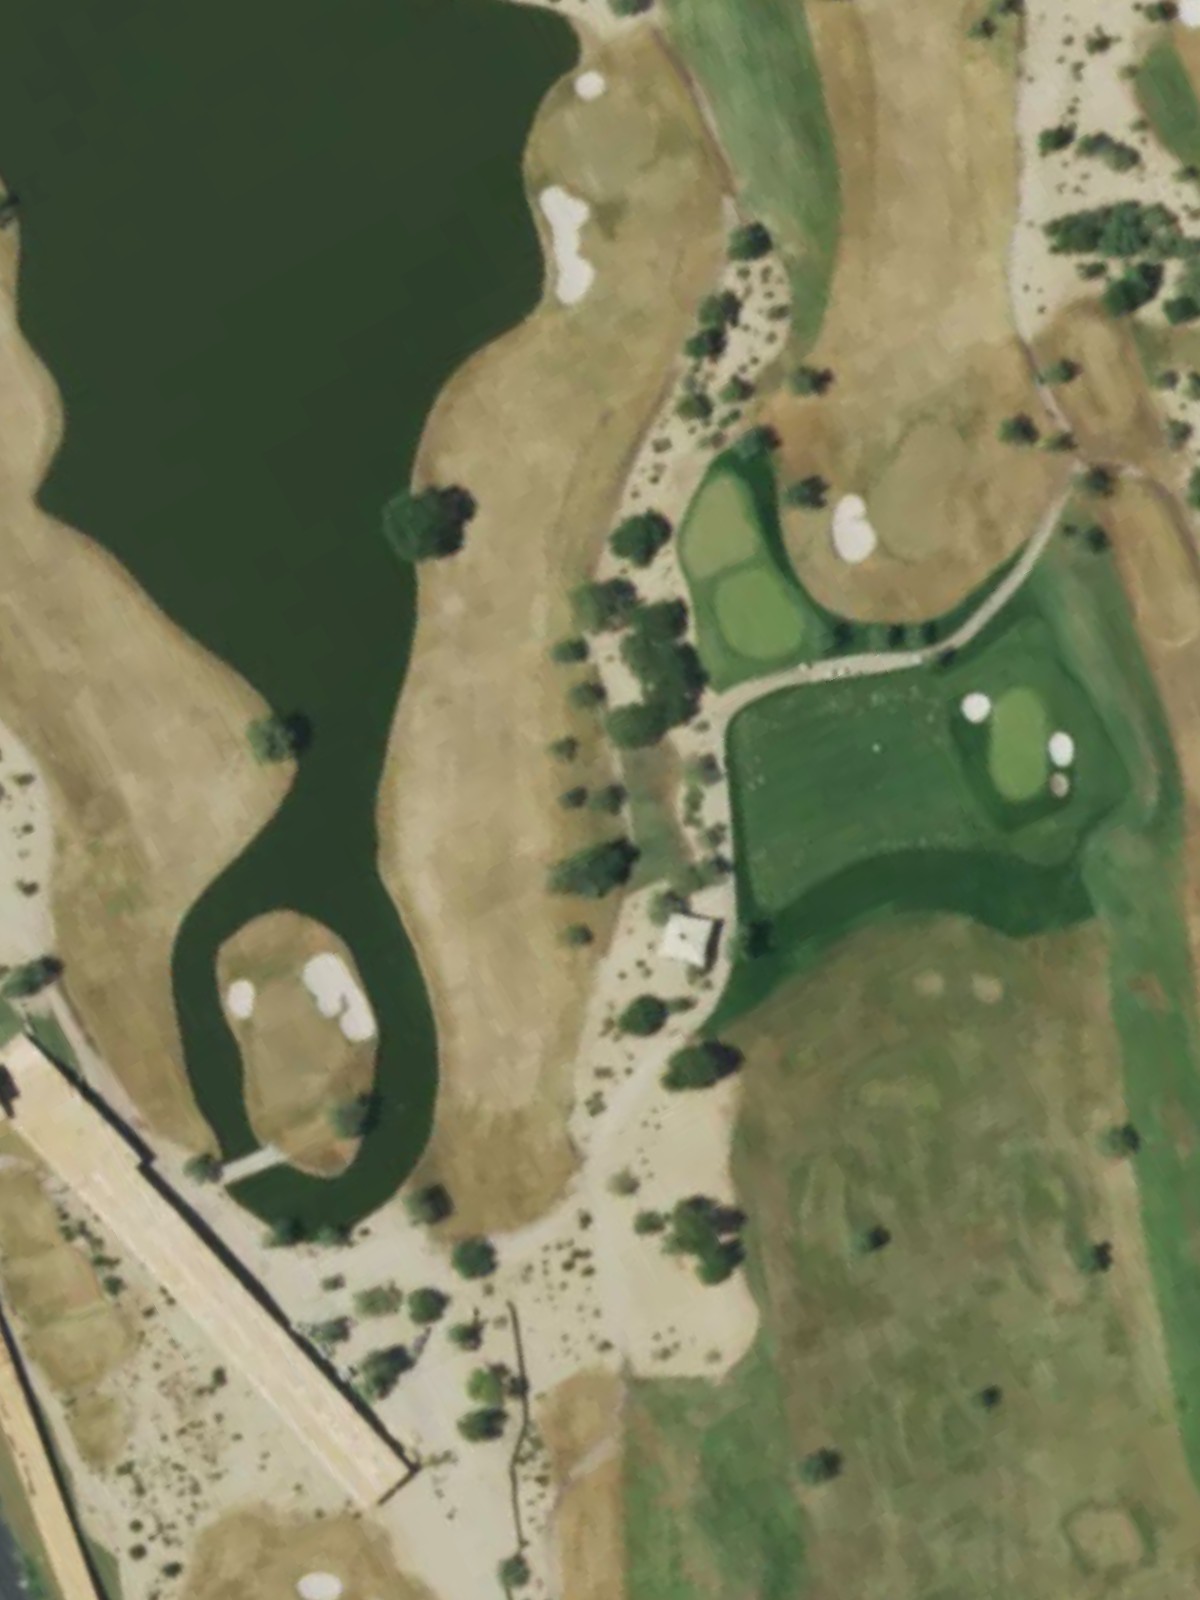
A generous par 5 with a wide fairway that curves slightly and offers realistic birdie opportunities for longer hitters. Water guards the left side throughout, making accuracy off the tee critical.
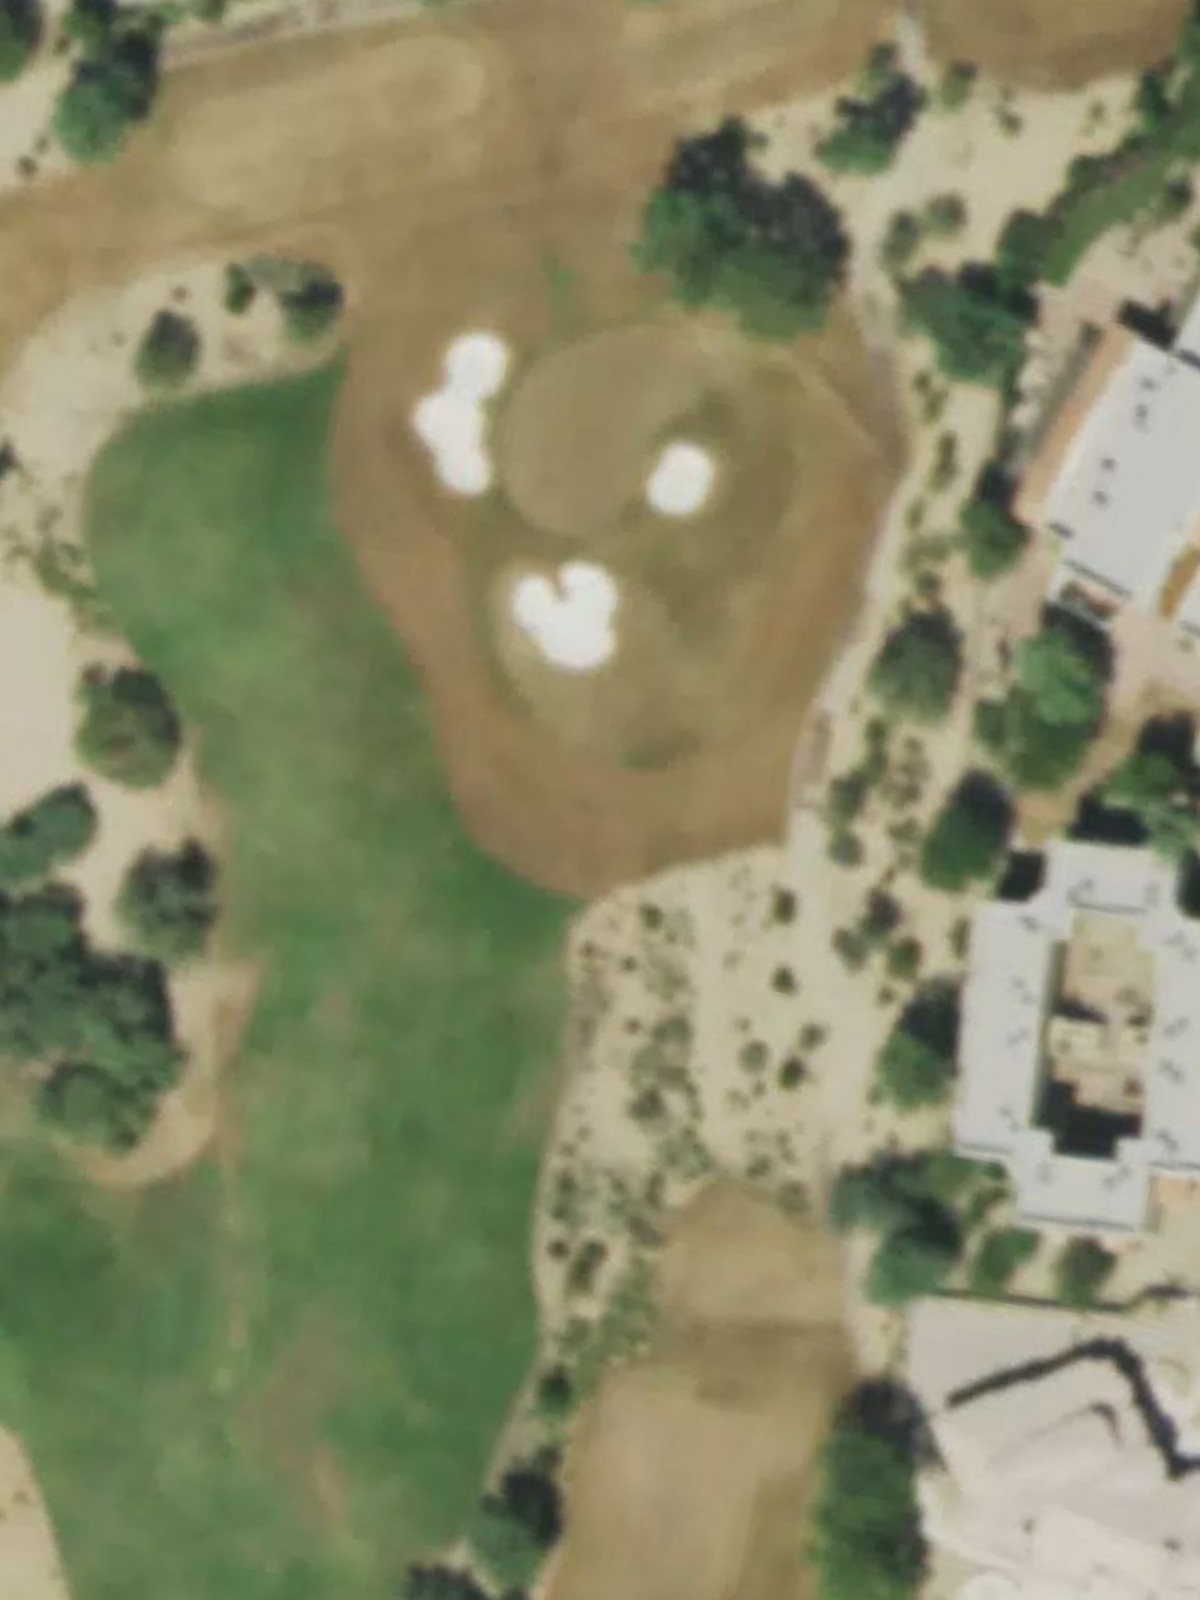
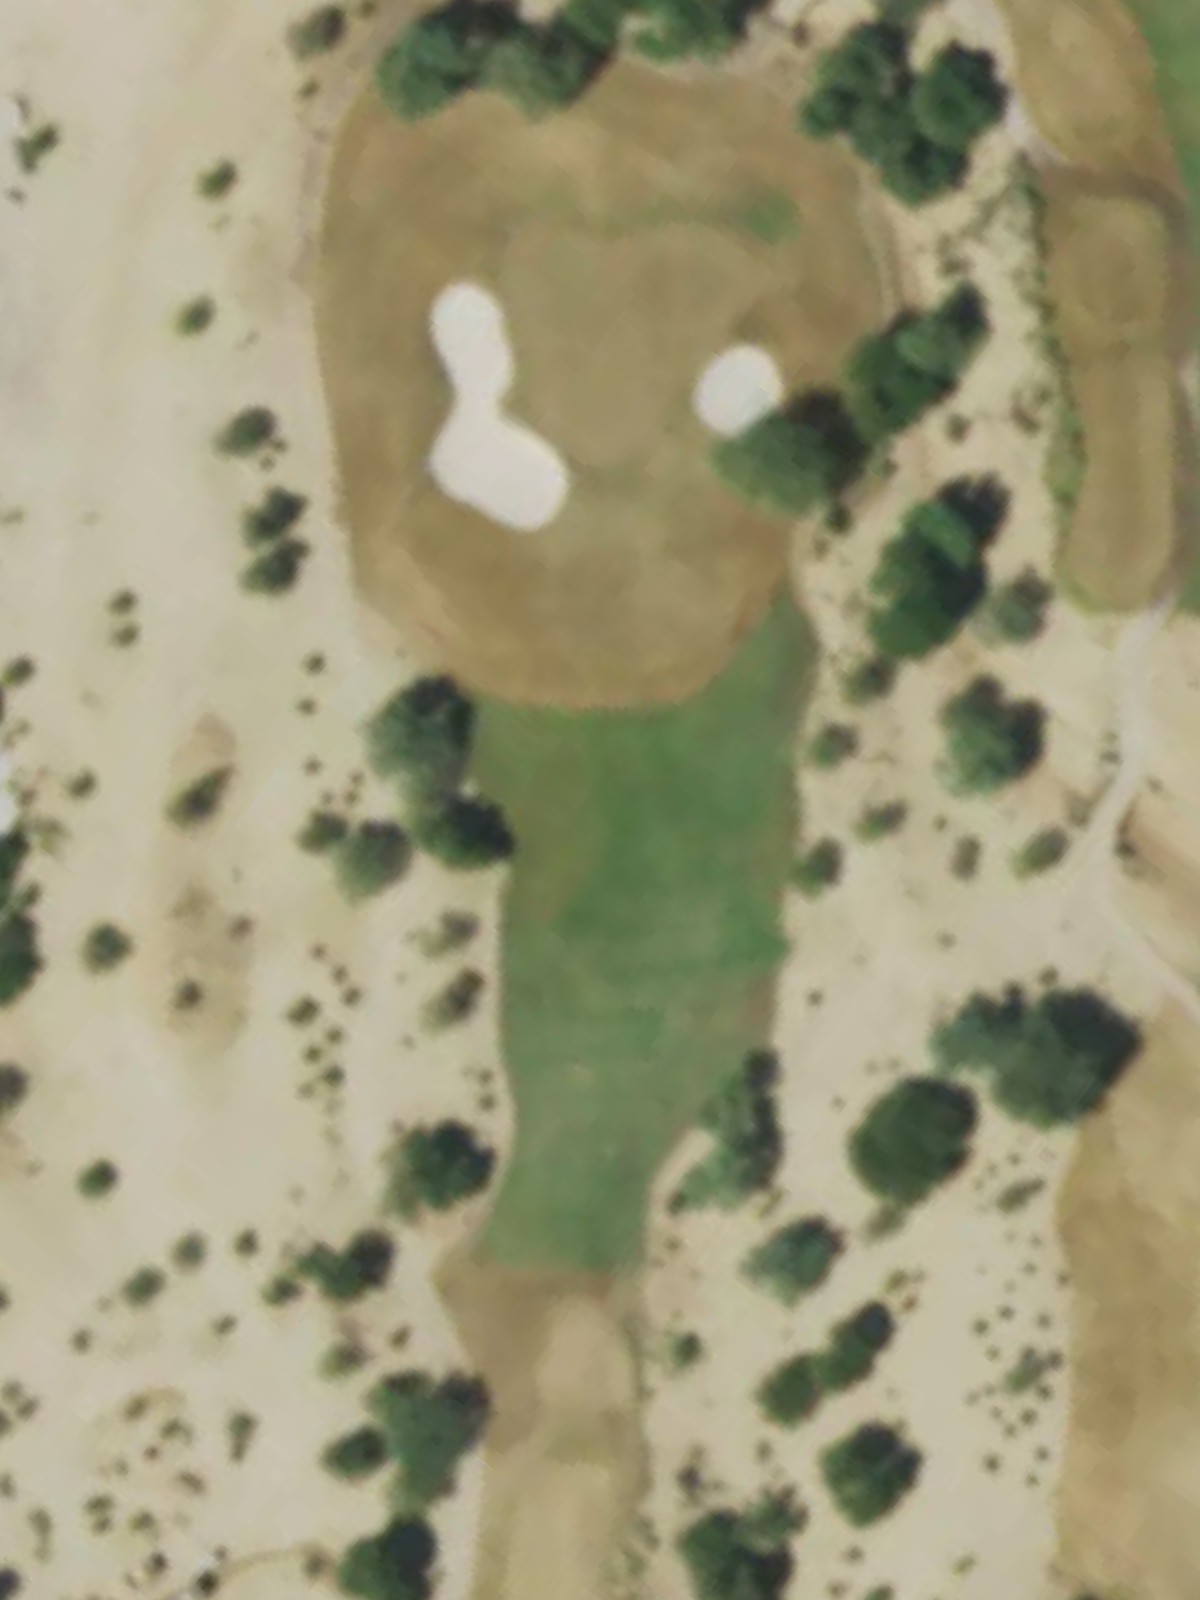
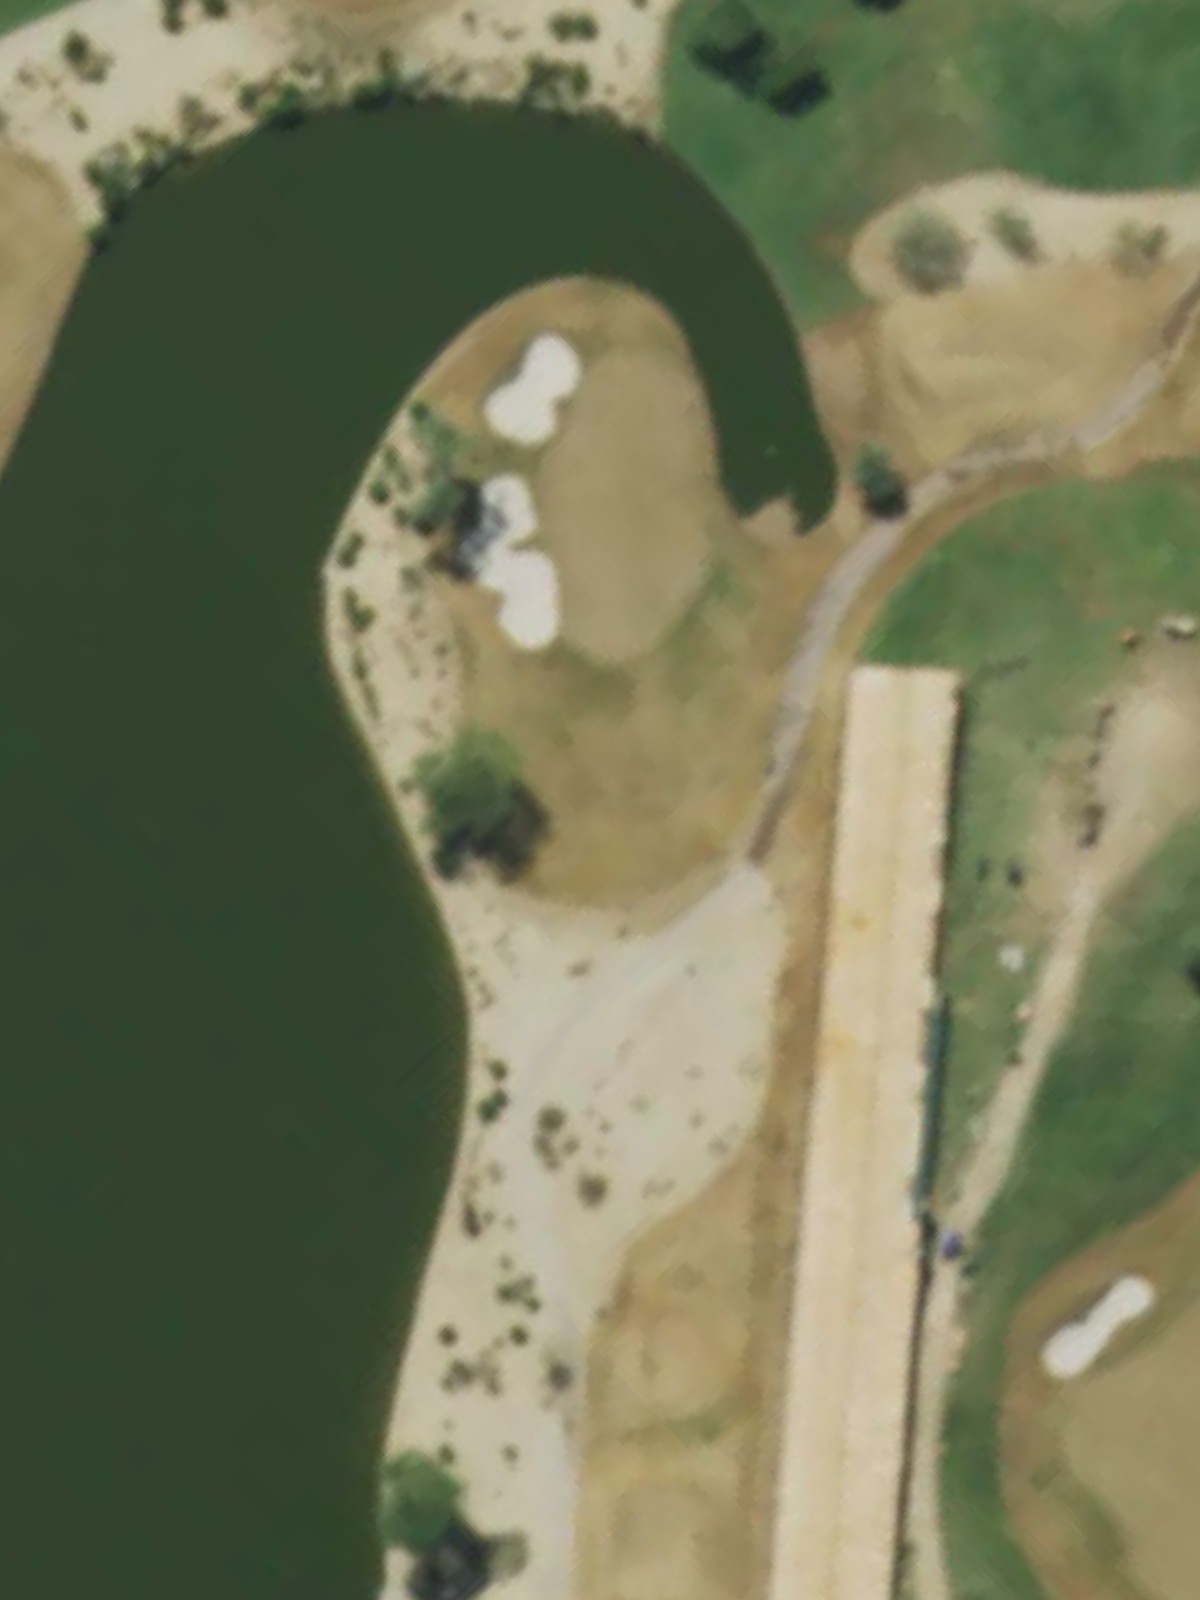
A short par 3 that appears deceptively simple but features a well-bunkered green complex. The shallow green and surrounding hazards demand precise distance control.
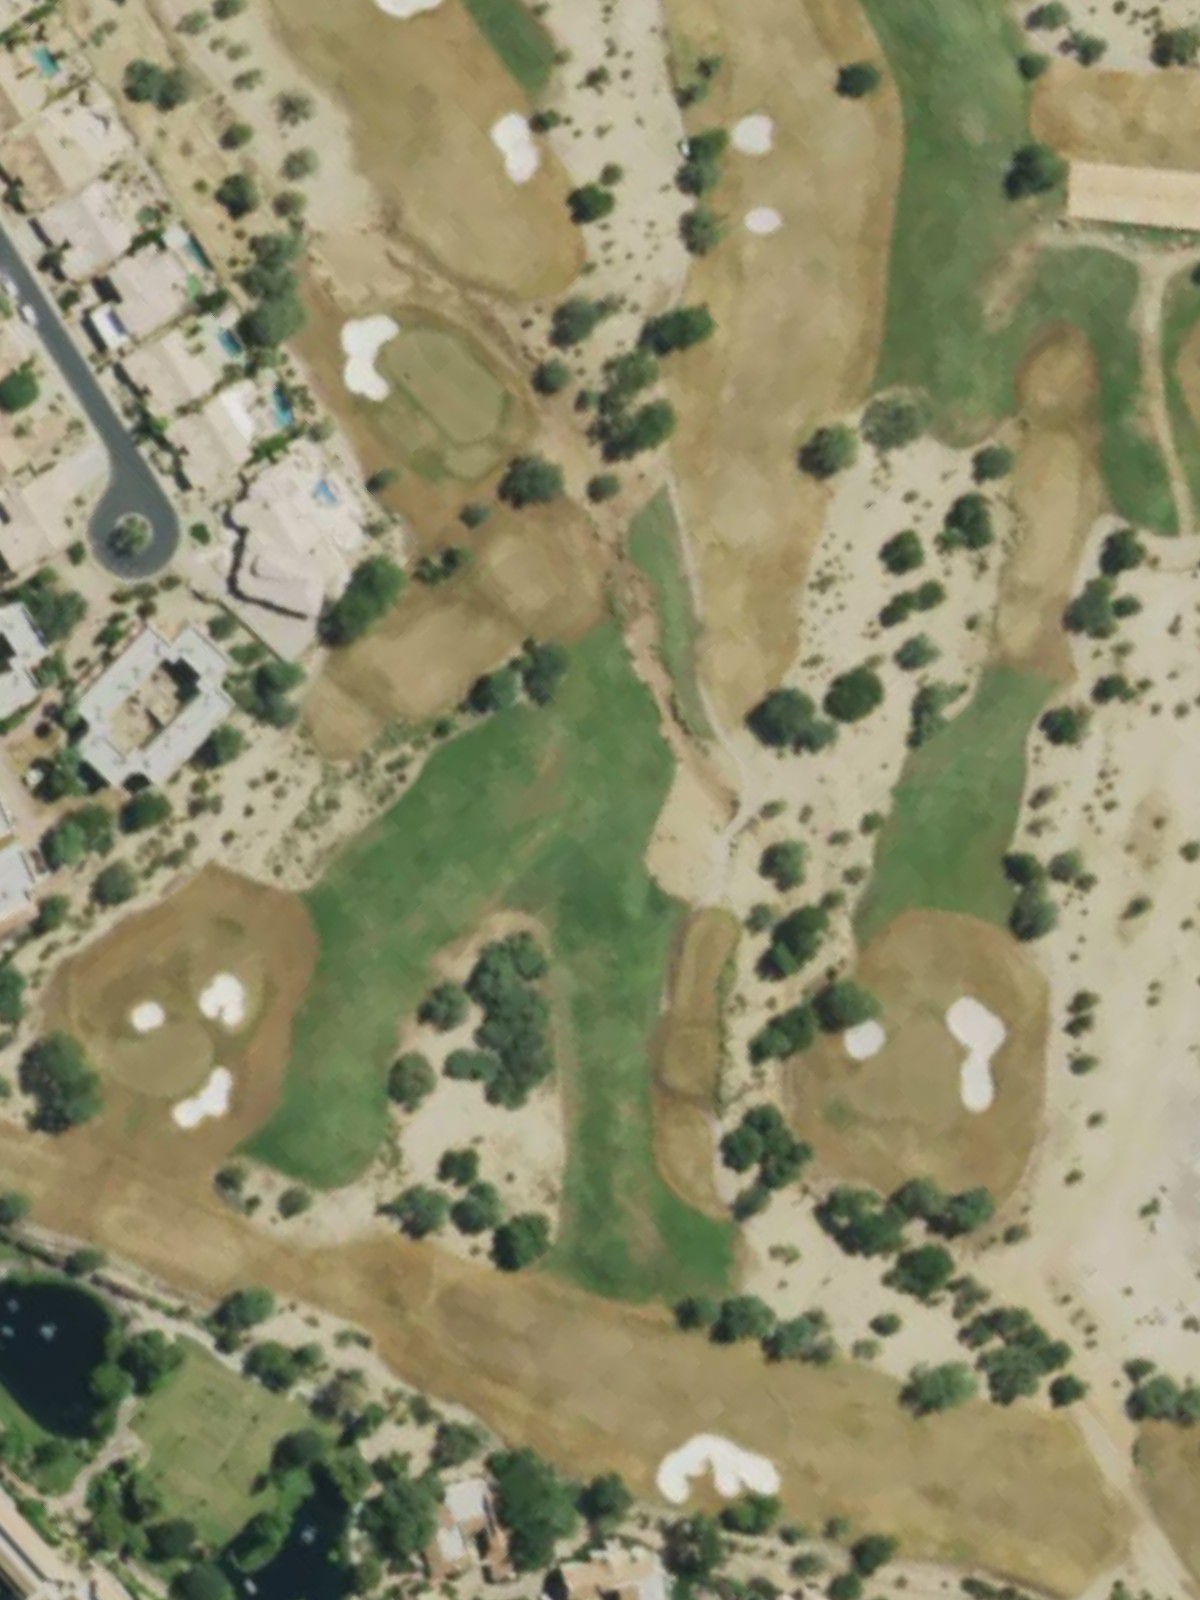
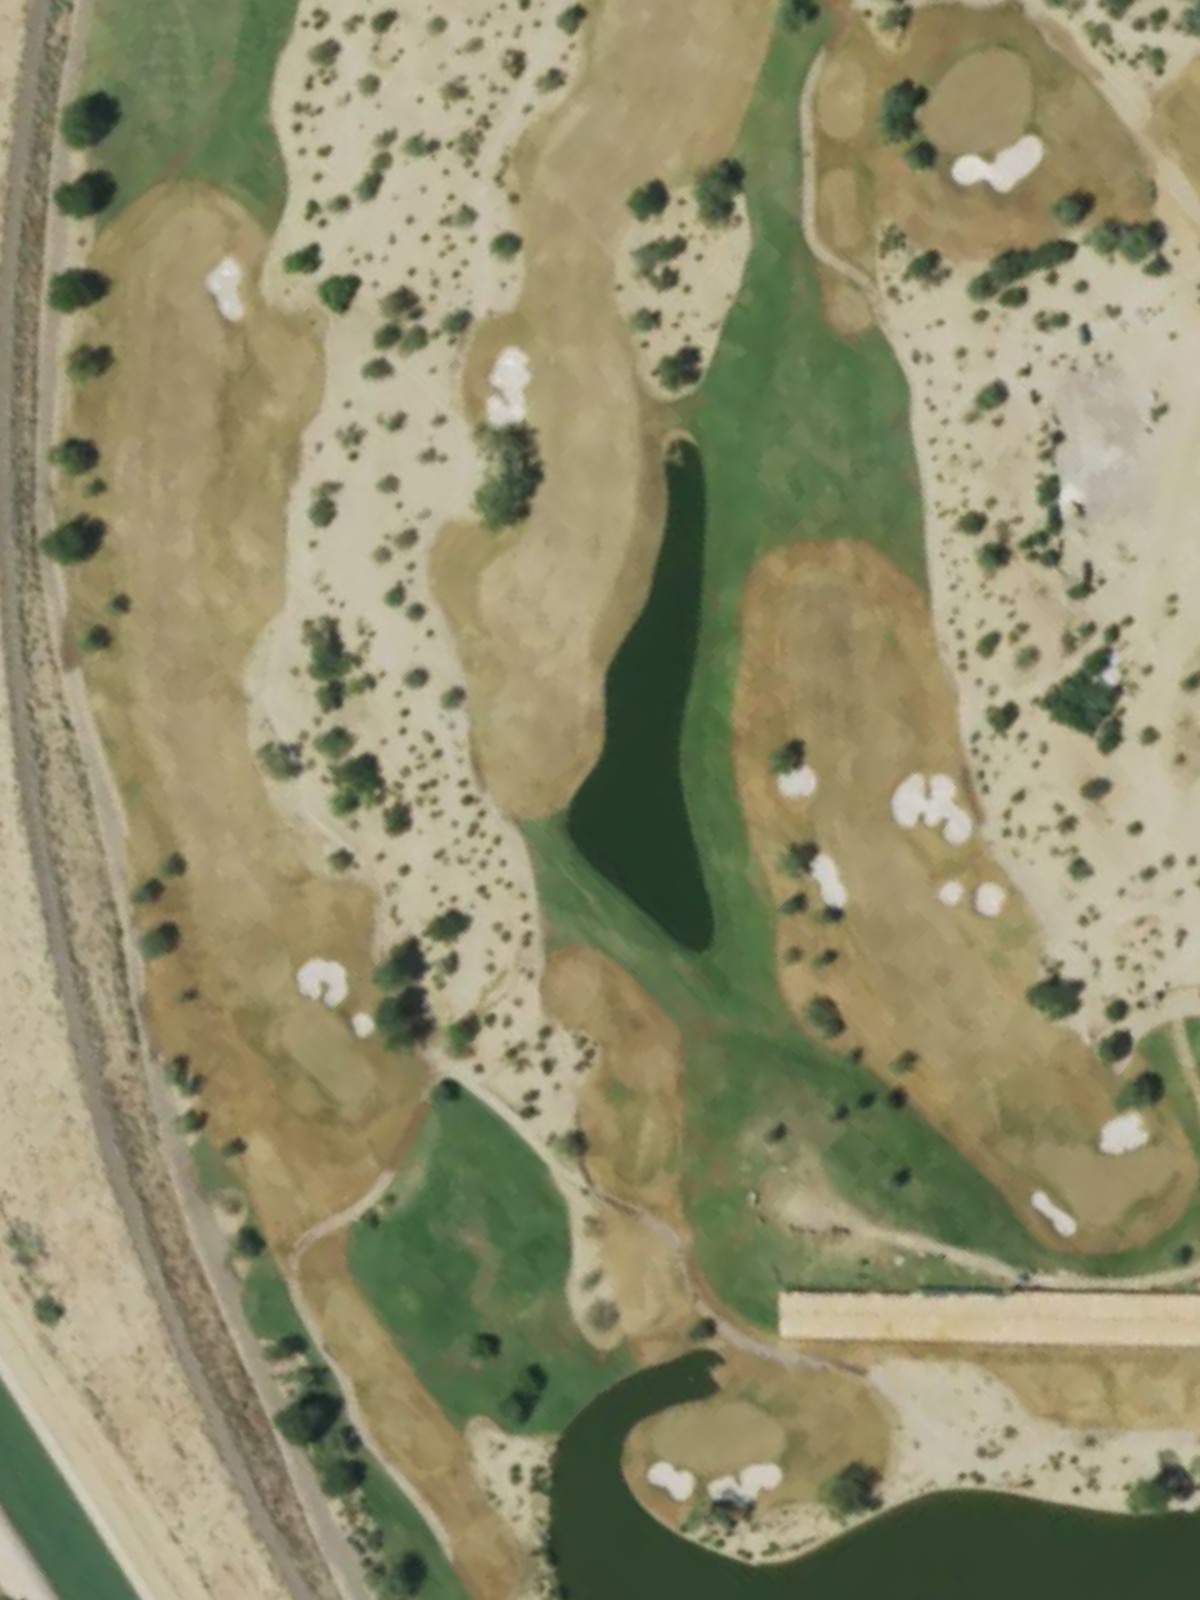
A strategic par 4 with water danger left that tightens the fairway and demands thoughtful positioning. The bunker-guarded green requires a well-executed second shot to secure par.
A moderate par 4 with a fairway that gradually narrows as it approaches the green. Strategic bunkering on both sides of the green penalizes errant approaches.
A scenic par 3 with a elevated green and bunkers surrounding the putting surface. The exposed design makes wind a significant factor in club selection.
The most challenging hole on the front nine, this par 4 plays longer than its yardage and features water hazards that dictate play from tee to green. Bunkers guard both sides of the green, leaving little margin for error.
A solid par 4 closing the front nine with water along the left side that frames the entire hole. The green is protected by bunkers, requiring accuracy to avoid a difficult recovery.

The back nine begins with a par 4 that features water left and bunkers right, creating a narrow landing area off the tee. The green complex demands precision to avoid the hazards guarding this straightforward layout.
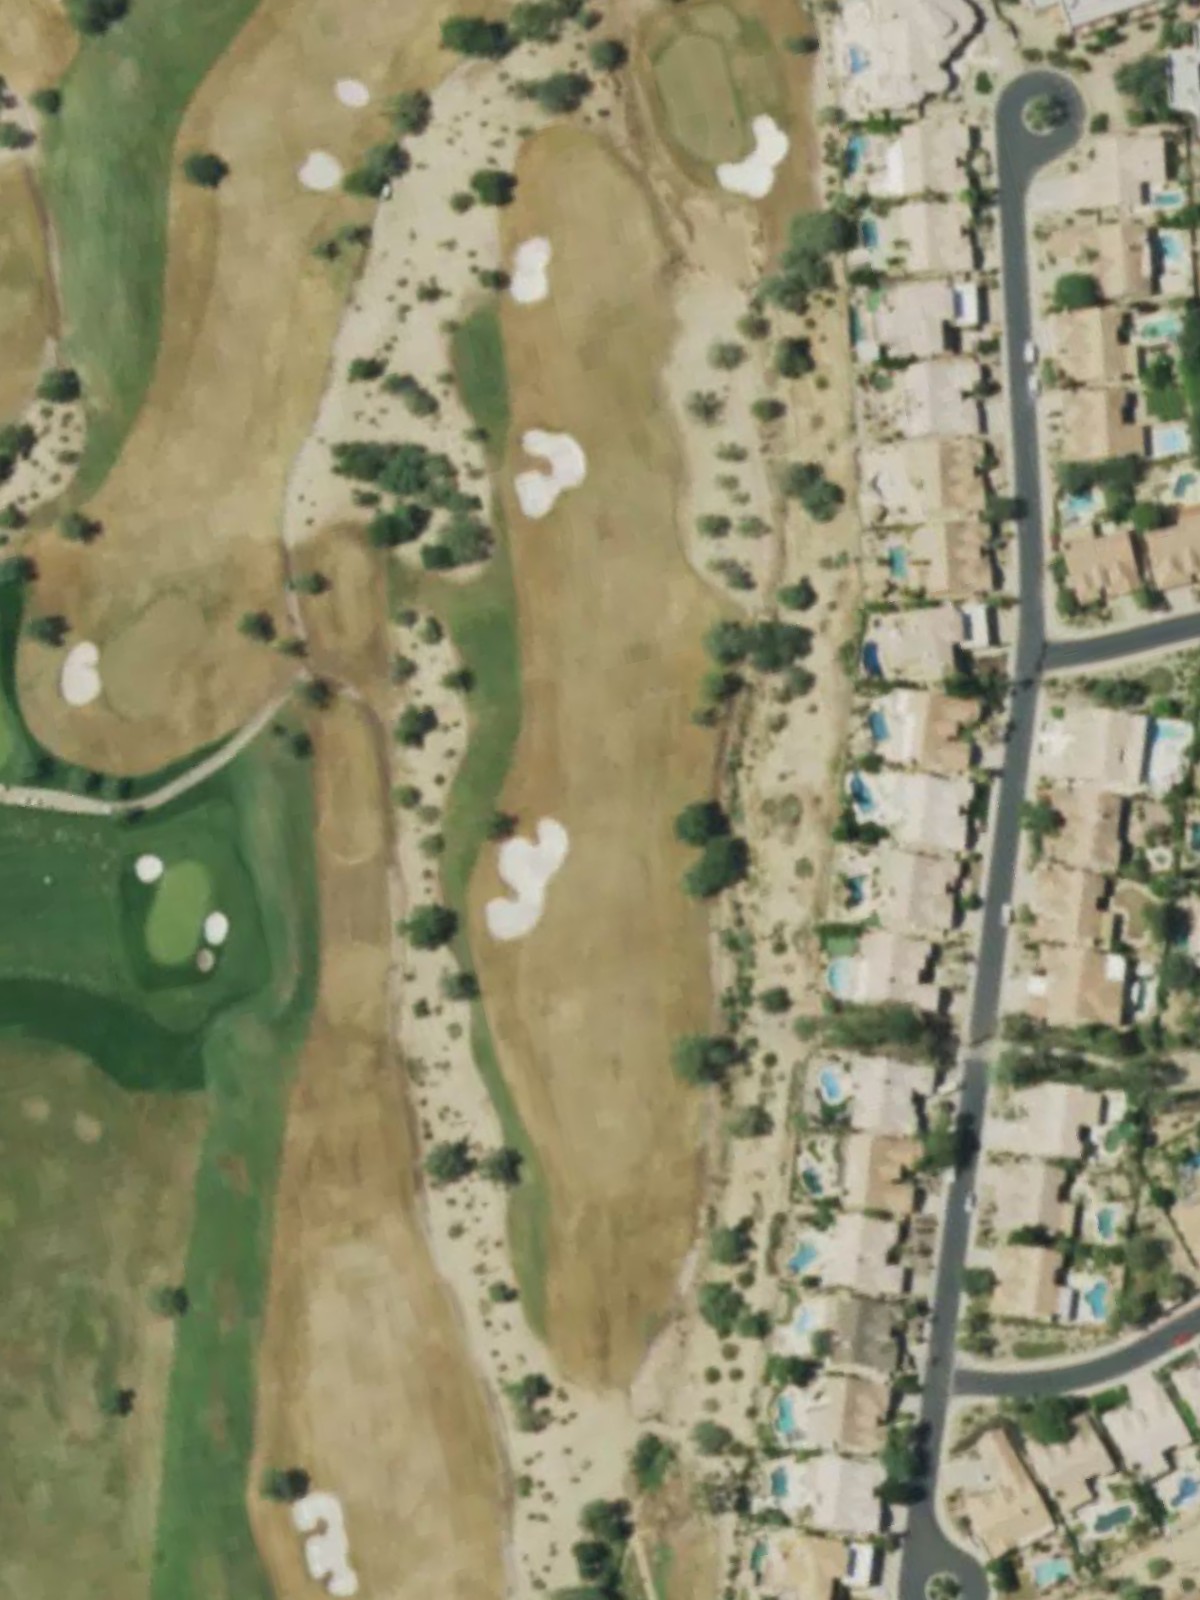
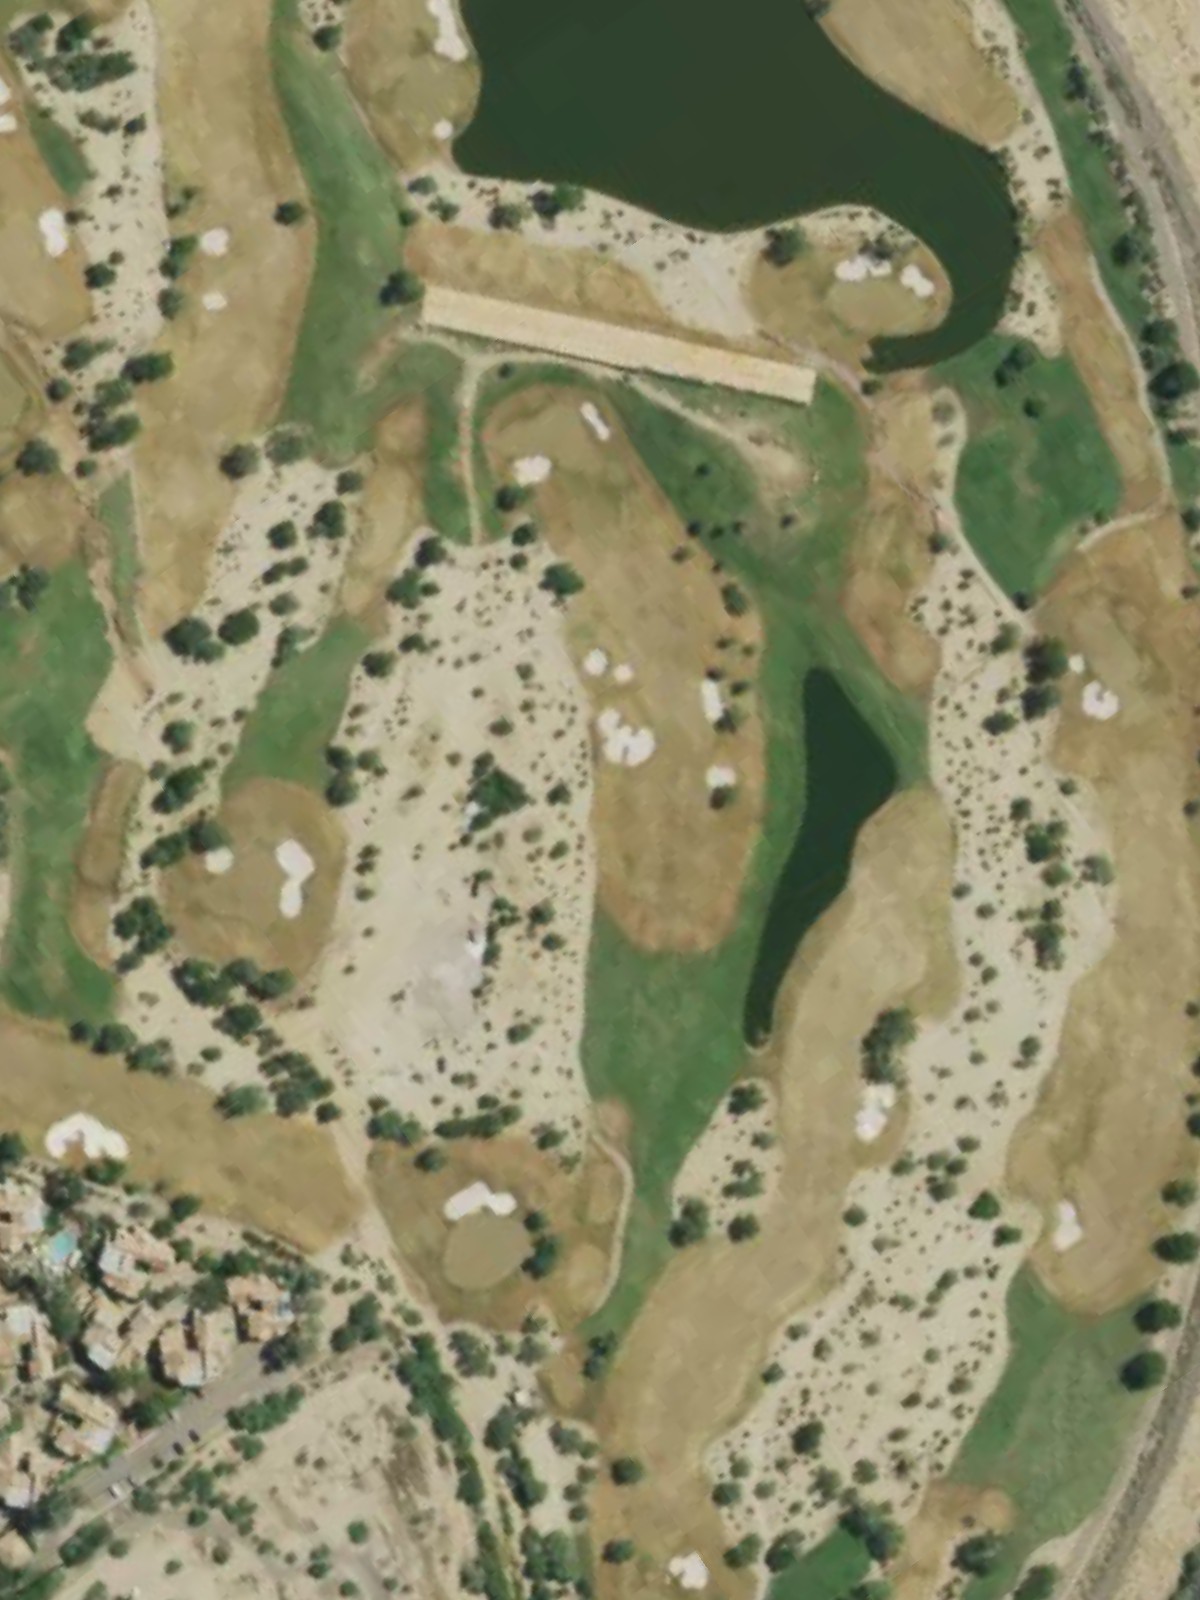
The second-most difficult hole on the course, this par 4 requires length and accuracy with water and bunkers strategically placed throughout. The dogleg design and well-bunkered green make this a true test of shotmaking.
A short par 3 with a small green surrounded by bunkers and water hazards on multiple sides. Despite its modest length, the tight green complex demands accuracy and commitment.
A long par 5 with water hazards framing the left side and bunkers guarding the fairway at key yardages. The three-shot nature and strategic hazard placement make positioning critical throughout the hole.
A substantial par 4 with water left and bunkers right that force decision-making off the tee. The length and hazard placement create a strong mid-round test.

A dramatic par 5 with water hazards that weave throughout the hole, particularly dangerous on the left side. The scenic but treacherous layout rewards bold yet precise play.
A diminutive par 3 that belies its difficulty with a heavily bunkered green and water lurking nearby. The short yardage demands exceptional accuracy rather than distance.
A short par 4 that plays as a potential scoring opportunity with a wide fairway and manageable length. The straightforward design provides relief before the demanding finishing hole.
A fitting finale, this par 4 features water left and bunkers right that frame the approach to a well-protected green. The closing hole's length and hazard placement provide a memorable conclusion to the round.
Scorecard
| Hole | 1 | 2 | 3 | 4 | 5 | 6 | 7 | 8 | 9 | Out | 10 | 11 | 12 | 13 | 14 | 15 | 16 | 17 | 18 | In | Tot |
|---|---|---|---|---|---|---|---|---|---|---|---|---|---|---|---|---|---|---|---|---|---|
| Par | 4 | 4 | 5 | 3 | 4 | 4 | 3 | 4 | 4 | 35 | 4 | 4 | 3 | 5 | 4 | 5 | 3 | 4 | 4 | 36 | 71 |
| HCP | 14 | 8 | 4 | 18 | 6 | 12 | 16 | 2 | 10 | 11 | 1 | 15 | 5 | 7 | 9 | 17 | 13 | 3 | |||
| championship | 403 | 442 | 558 | 183 | 470 | 432 | 215 | 475 | 453 | 3631 | 428 | 472 | 192 | 558 | 490 | 553 | 163 | 332 | 442 | 3630 | 7261 |
| championship/players | 403 | 410 | 558 | 183 | 417 | 386 | 188 | 445 | 405 | 3395 | 402 | 446 | 170 | 558 | 461 | 553 | 163 | 332 | 402 | 3487 | 6882 |
| players | 355 | 410 | 530 | 157 | 417 | 386 | 188 | 445 | 405 | 3293 | 402 | 446 | 170 | 508 | 461 | 498 | 140 | 294 | 402 | 3321 | 6614 |
| players/resort | 355 | 386 | 530 | 157 | 373 | 386 | 188 | 418 | 405 | 3198 | 402 | 416 | 170 | 508 | 426 | 498 | 140 | 294 | 402 | 3256 | 6454 |
| resort | 339 | 386 | 510 | 141 | 373 | 348 | 164 | 418 | 381 | 3060 | 373 | 416 | 149 | 482 | 426 | 459 | 119 | 255 | 371 | 3050 | 6110 |
| forward | 314 | 357 | 370 | 114 | 350 | 316 | 138 | 322 | 334 | 2615 | 342 | 379 | 122 | 454 | 401 | 407 | 98 | 228 | 318 | 2749 | 5364 |