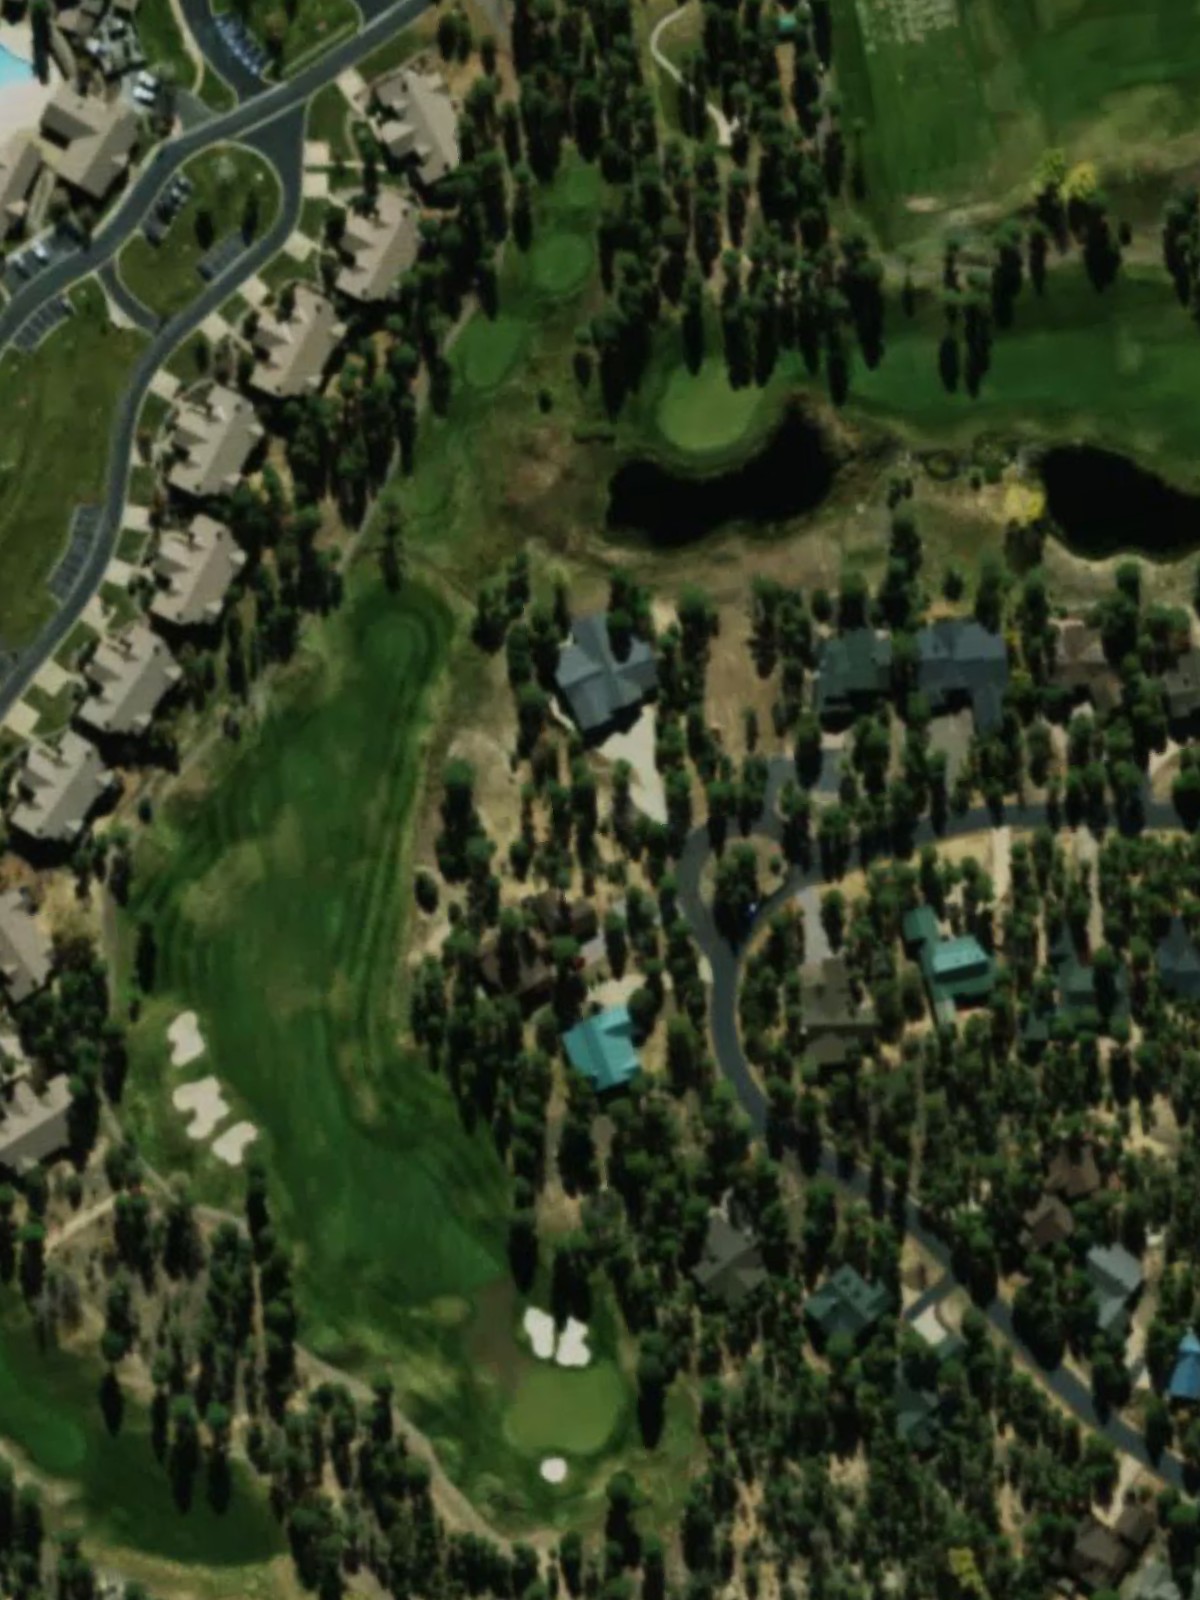
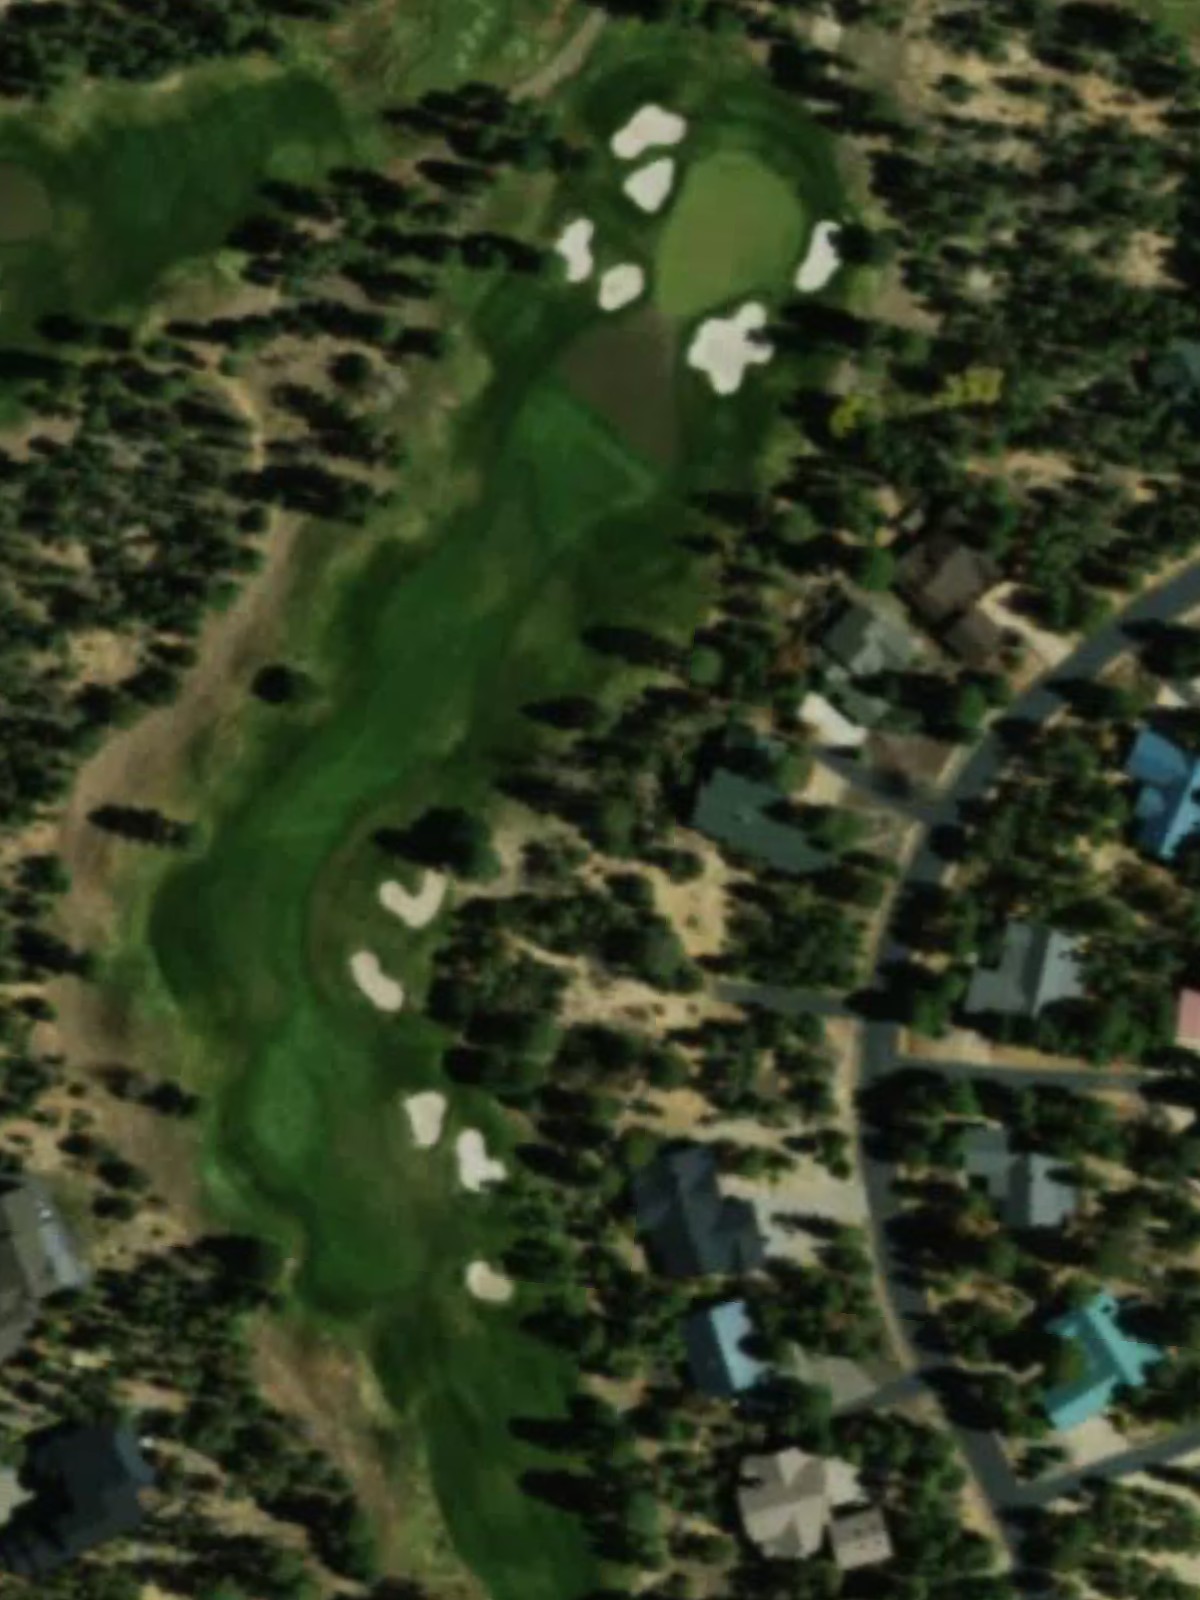
Torreon is an 18-hole golf course in Show Low, AZ with a par of 72. It offers 7 tee sets: black (7,134 yards, slope 142, rating 73), blue (6,727 yards, slope 138, rating 71.1), blue/white combo (6,472 yards, slope 136, rating 69.7), white (6,159 yards, slope 131, rating 68.3), gold (5,884 yards, slope 126, rating 66.9), red (5,154 yards, slope 114, rating 64.2), ponderosa (4,080 yards, slope 105, rating 60). The hardest hole is #4, a par 5 playing 393 yards from the first tee.
Torreon
Show Low, AZ
Get PDF Yardage Book
We'll email you the PDF link. No spam, ever.
Create Your Game Plan
Pick your tees, enter your bag, and get a personalized shot-by-shot strategy for every hole.
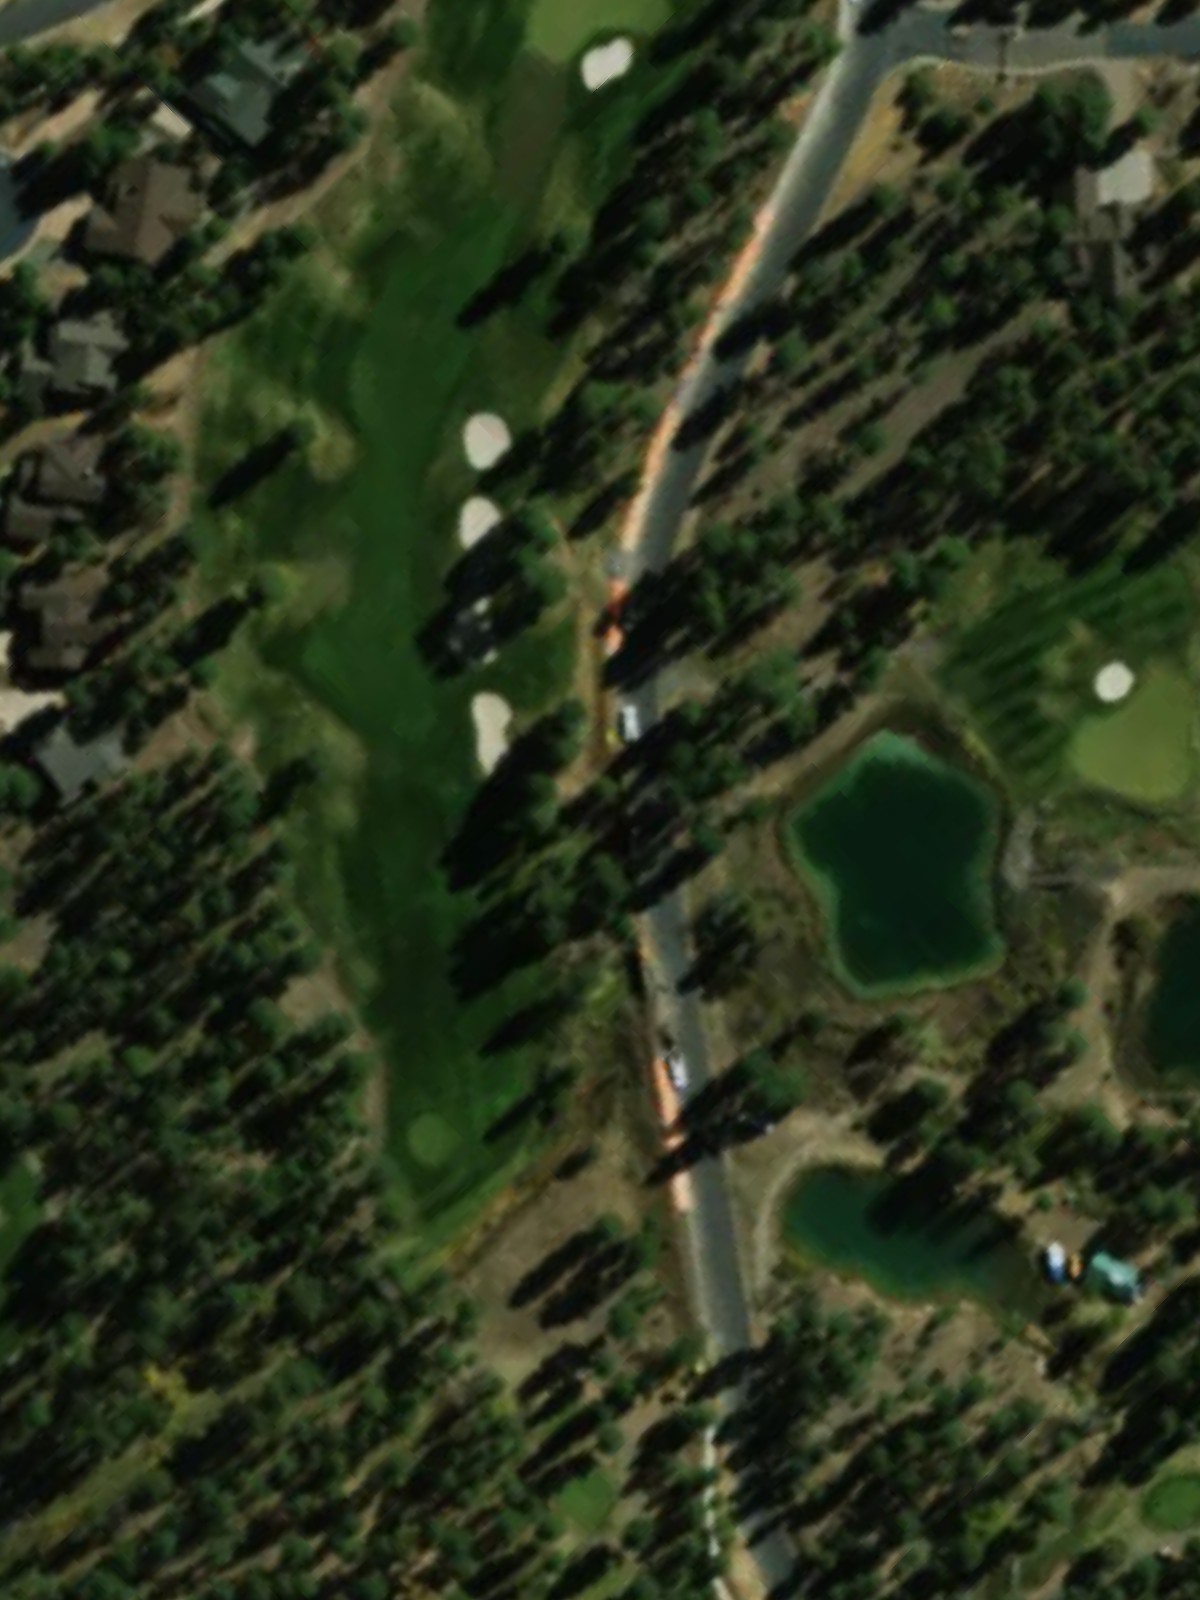
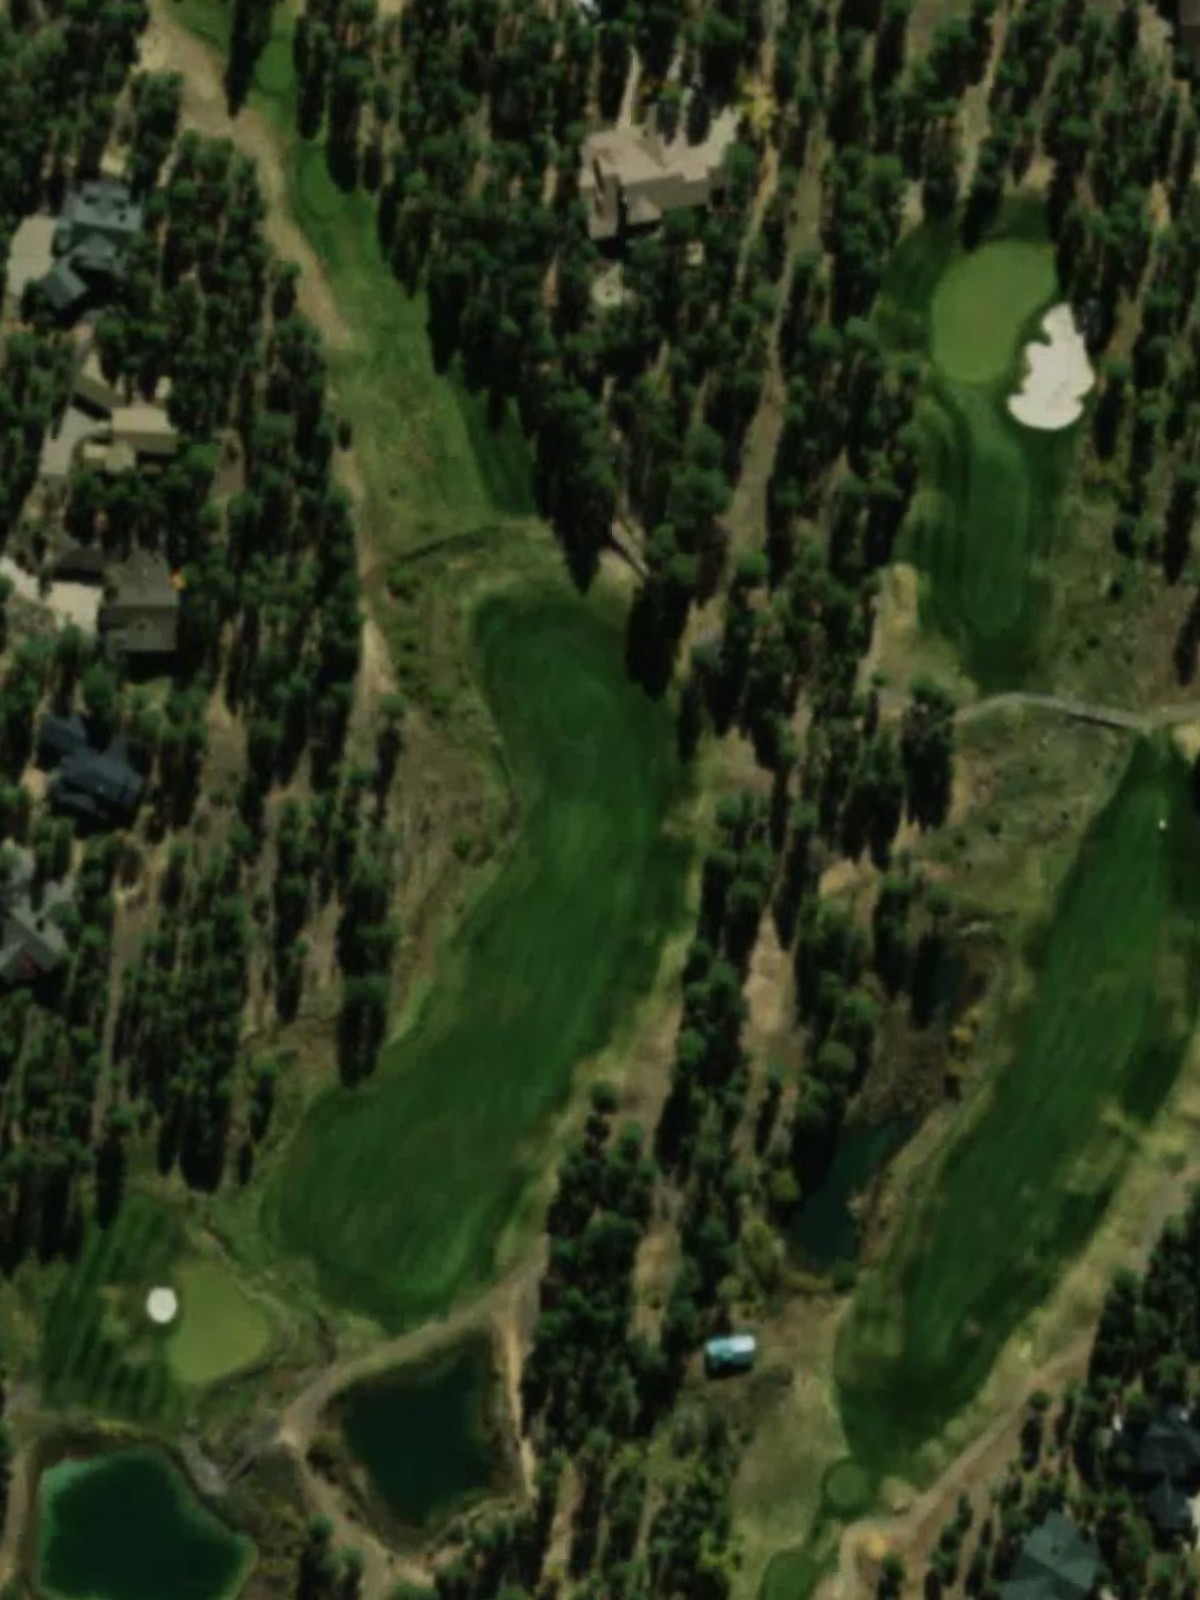
A straightforward opening par 4 with a wide fairway that gradually narrows as it approaches the green. Bunkers protect the right side of the green, requiring precision on the approach shot.
A relatively forgiving par 4 playing slightly uphill with a broad fairway. The green is well-bunkered, with hazards guarding both sides that demand an accurate second shot.
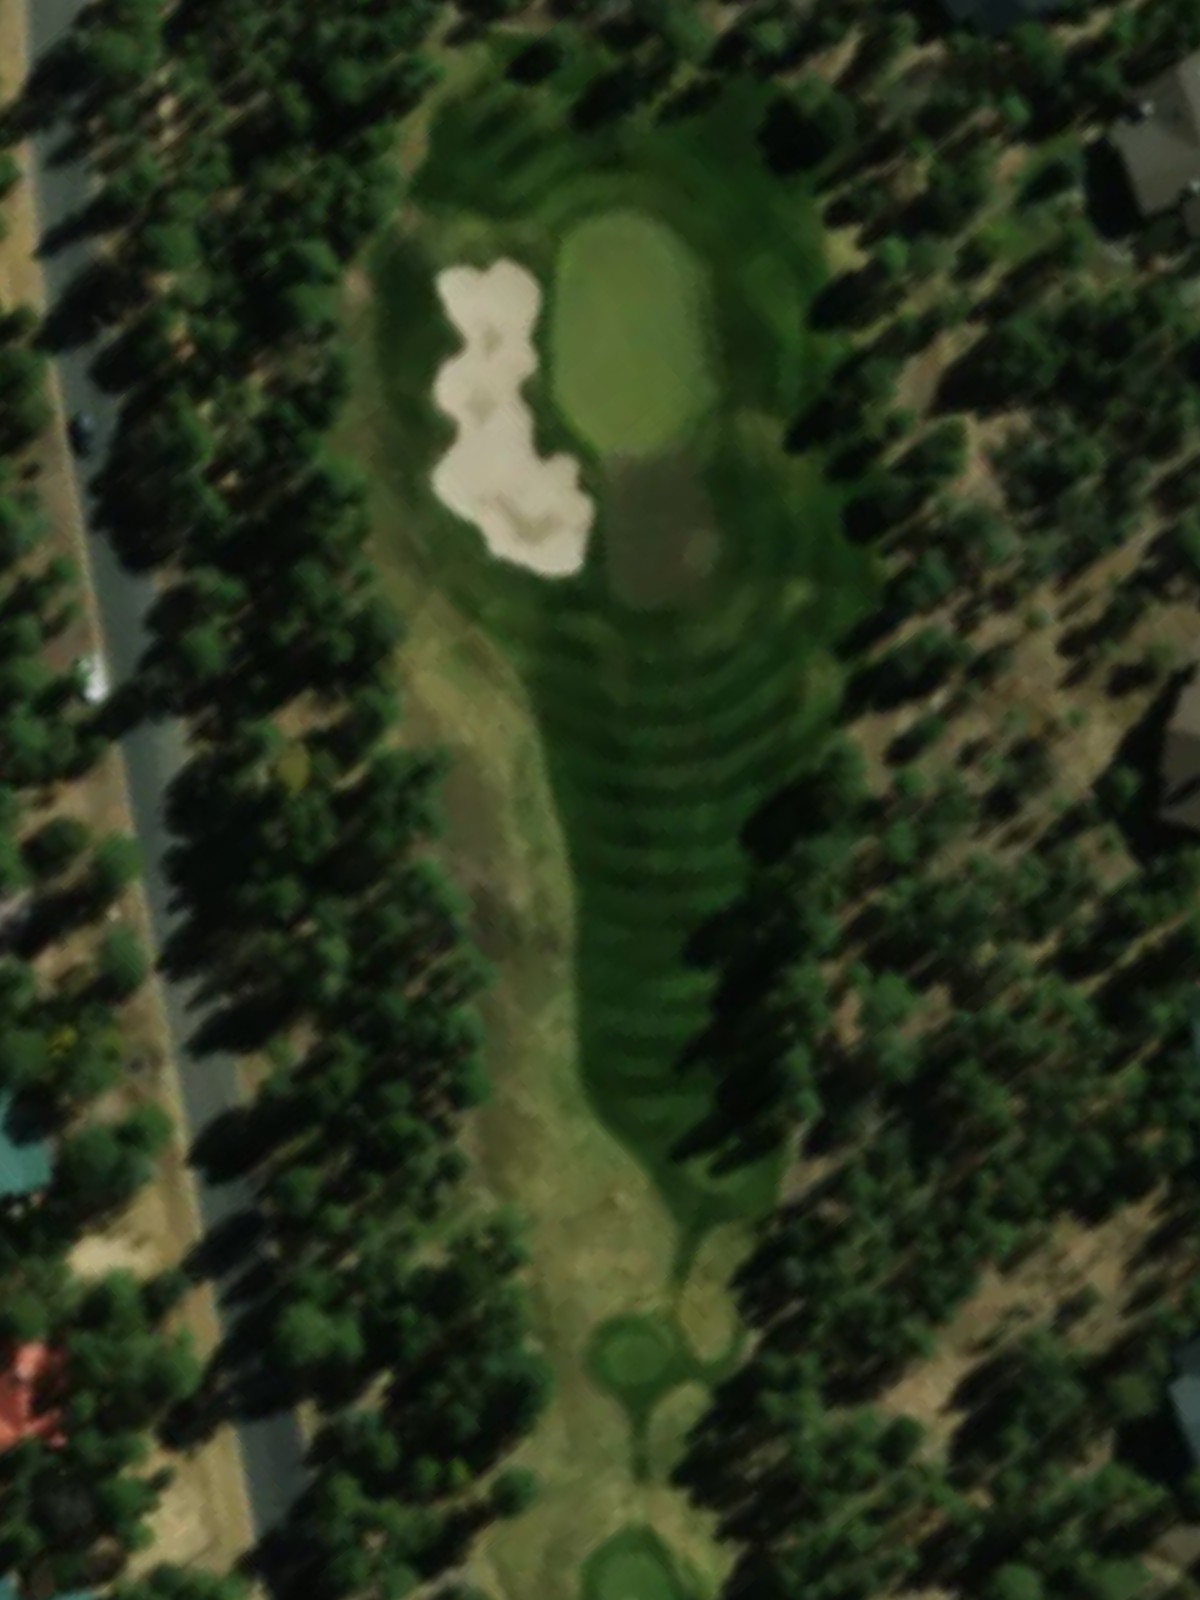
A short par 3 over a modest distance with a small, well-defined green. Bunkers frame the green on multiple sides, making club selection and accuracy critical despite the hole's modest length.
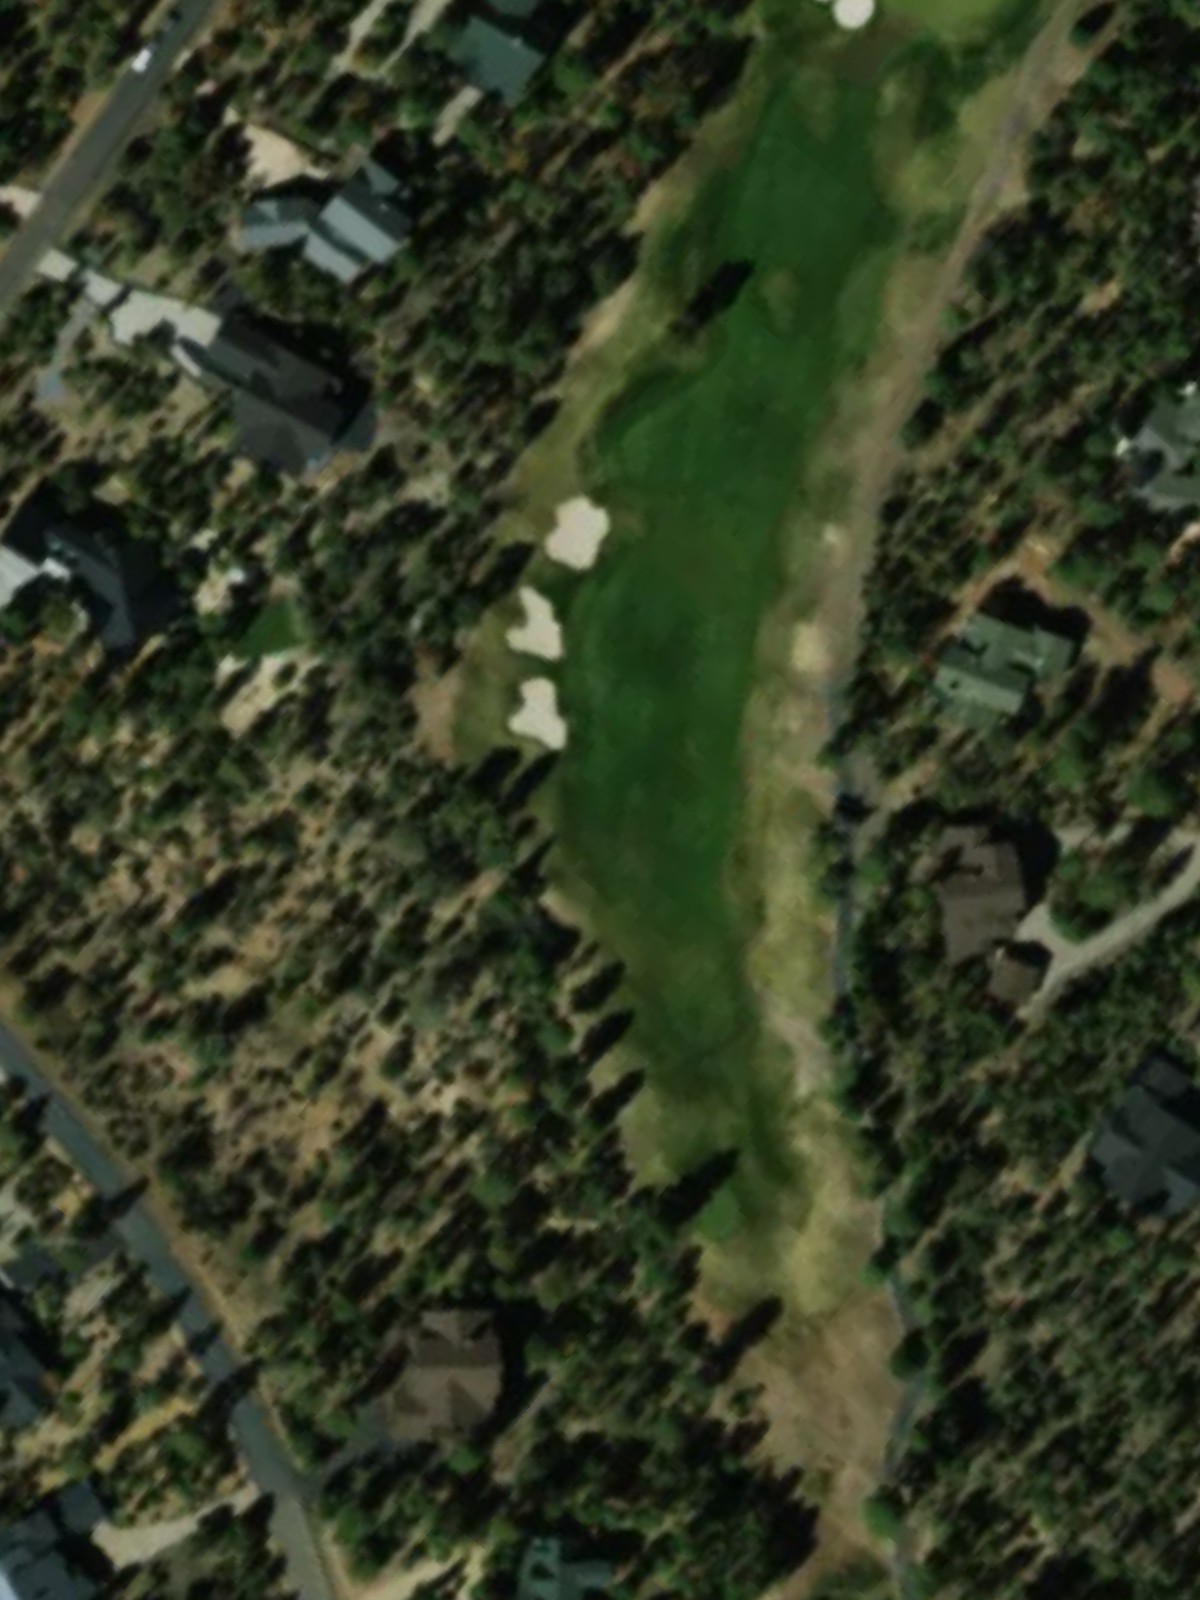
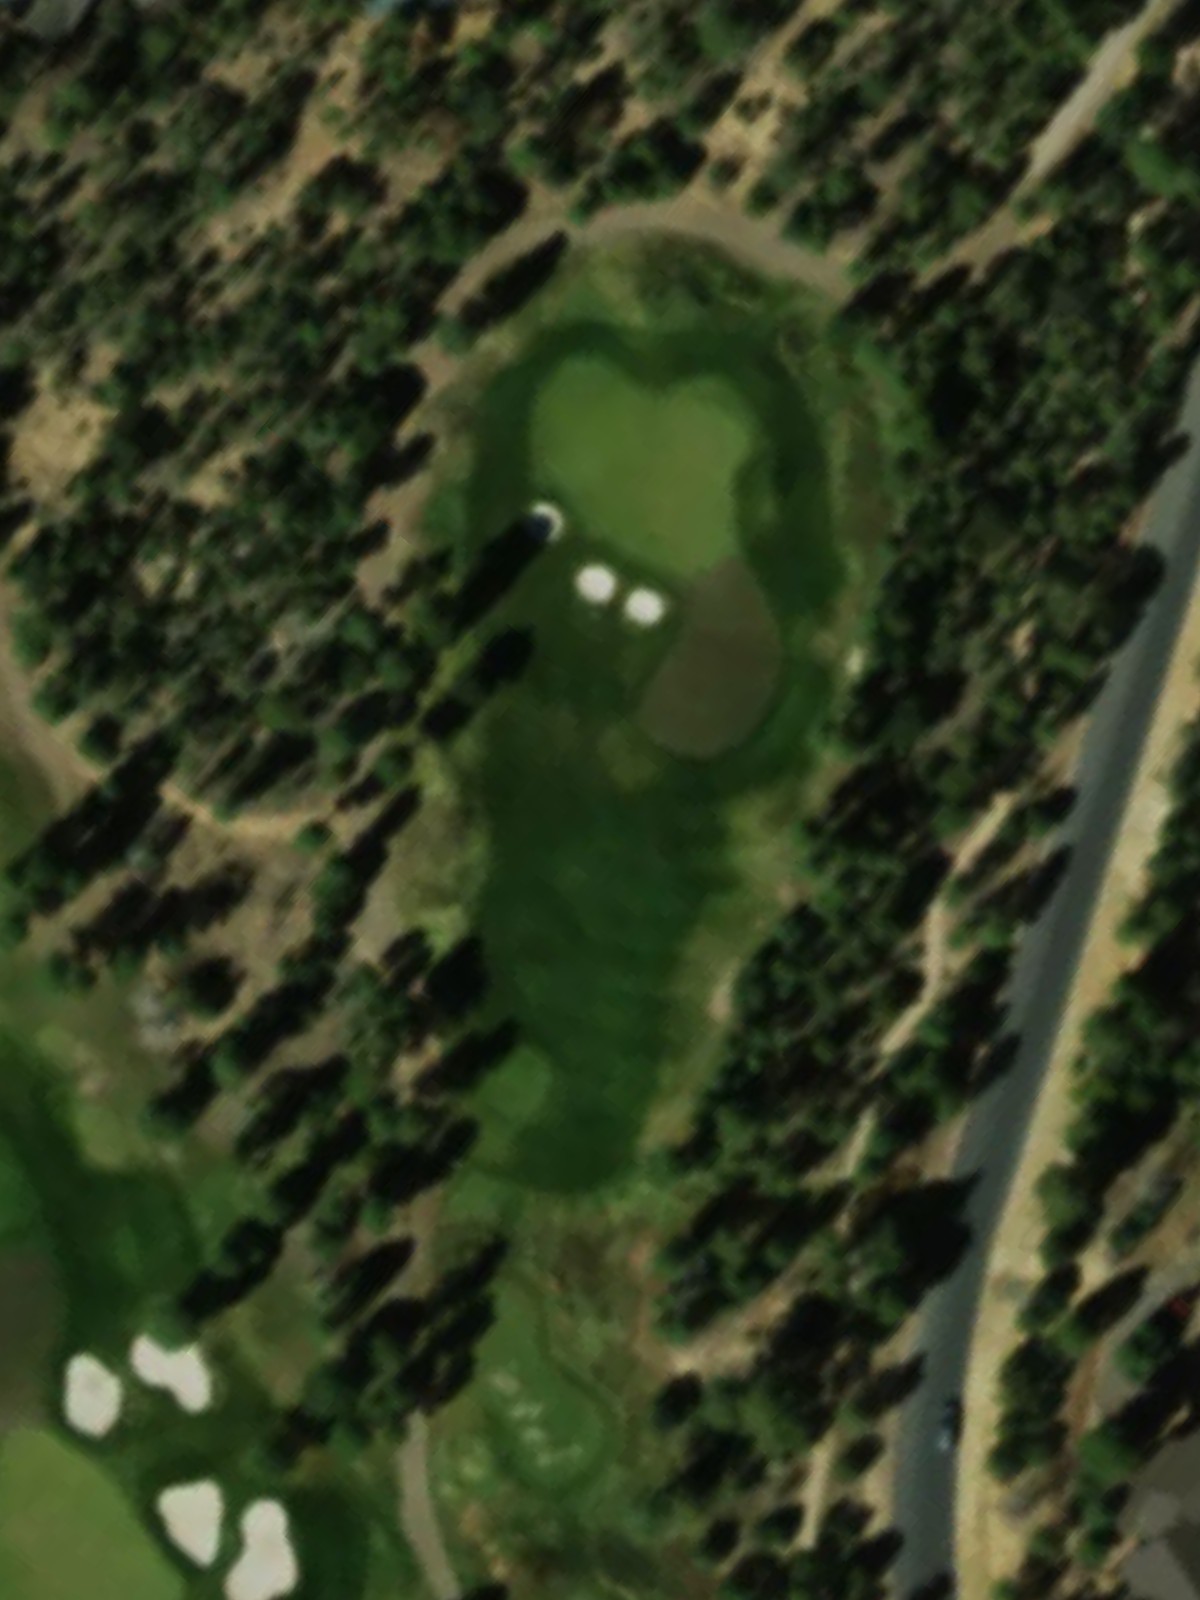
The number-one handicap hole, this par 5 presents a significant challenge with length and strategic complexity. Fairway hazards and bunkering throughout the hole demand careful positioning on each shot.

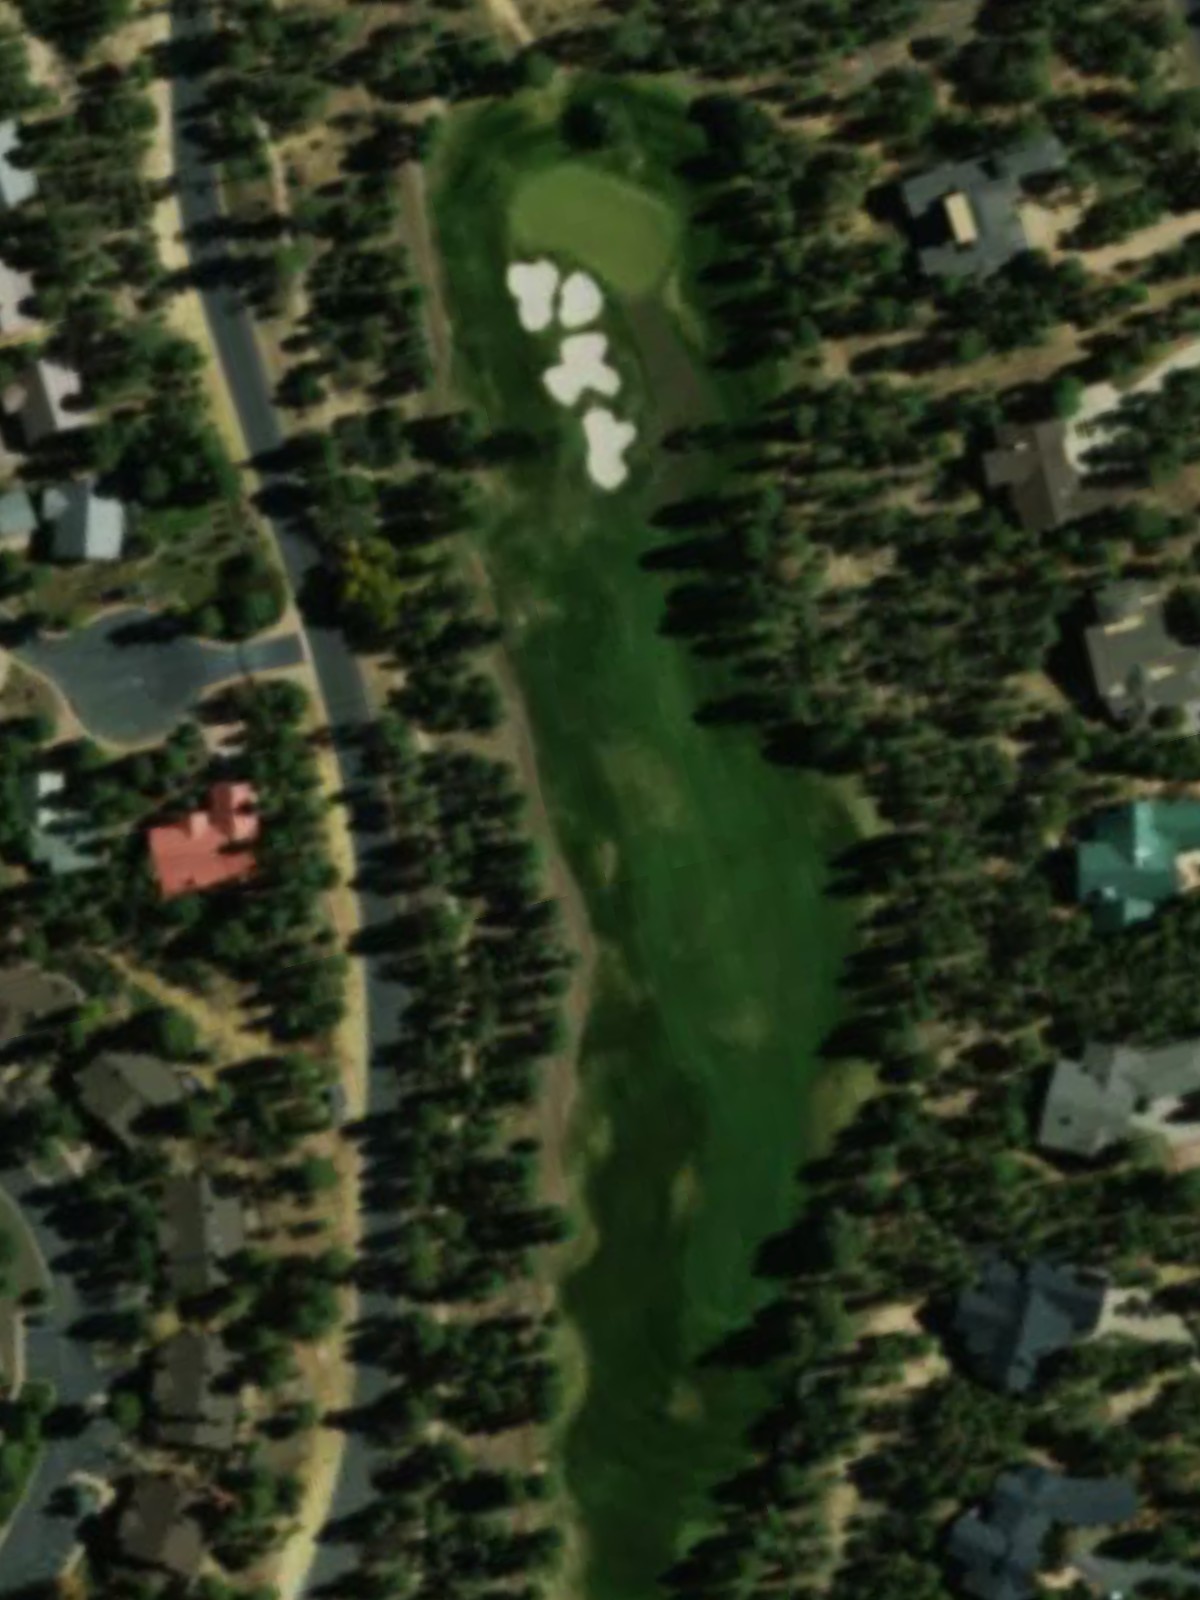
A demanding par 4 that plays longer than it appears, with a fairway that tightens considerably near the green. Bunkers and other hazards guard the approach, making the second shot particularly challenging.
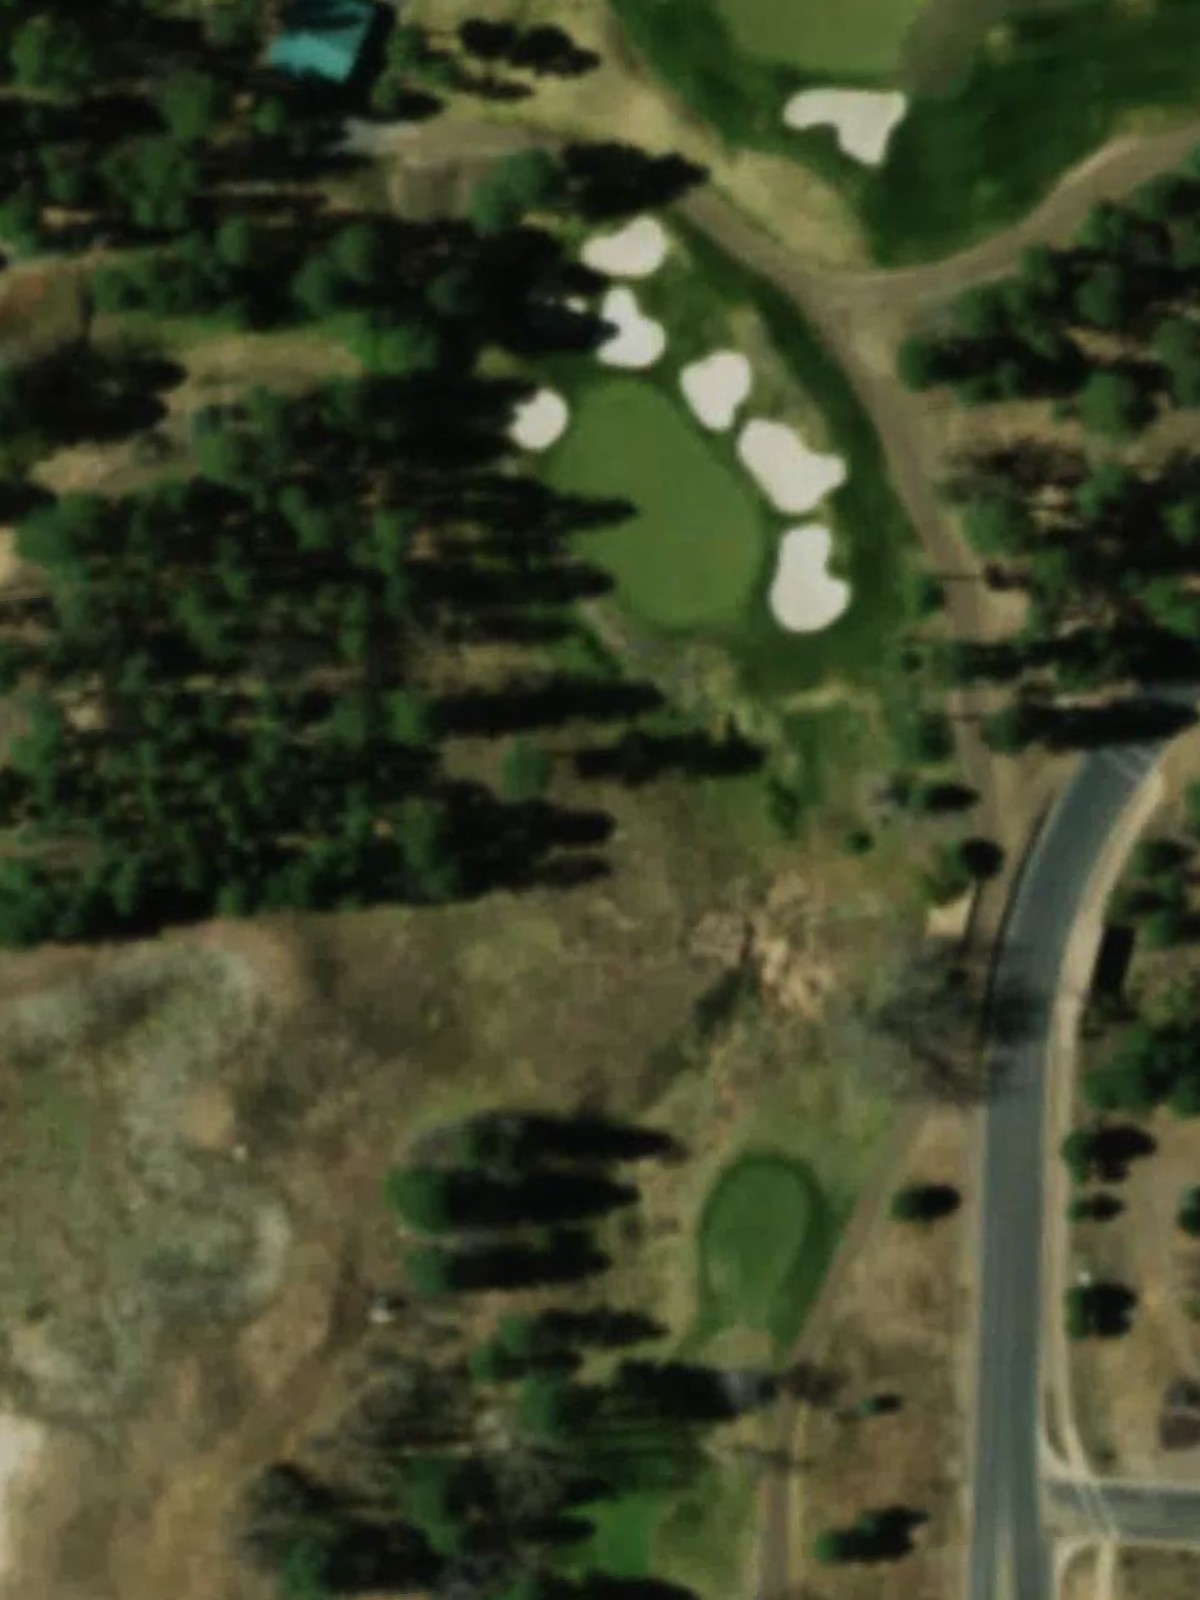
A short par 3 requiring an accurate tee shot over a modest distance to a closely guarded green. Greenside bunkers and potential hazards punish anything off-target, despite the hole's brevity.
A mid-length par 4 with a fairway that narrows significantly as it approaches the green. Strategic bunkering frames the landing area and green complex, creating an interesting risk-reward dynamic.
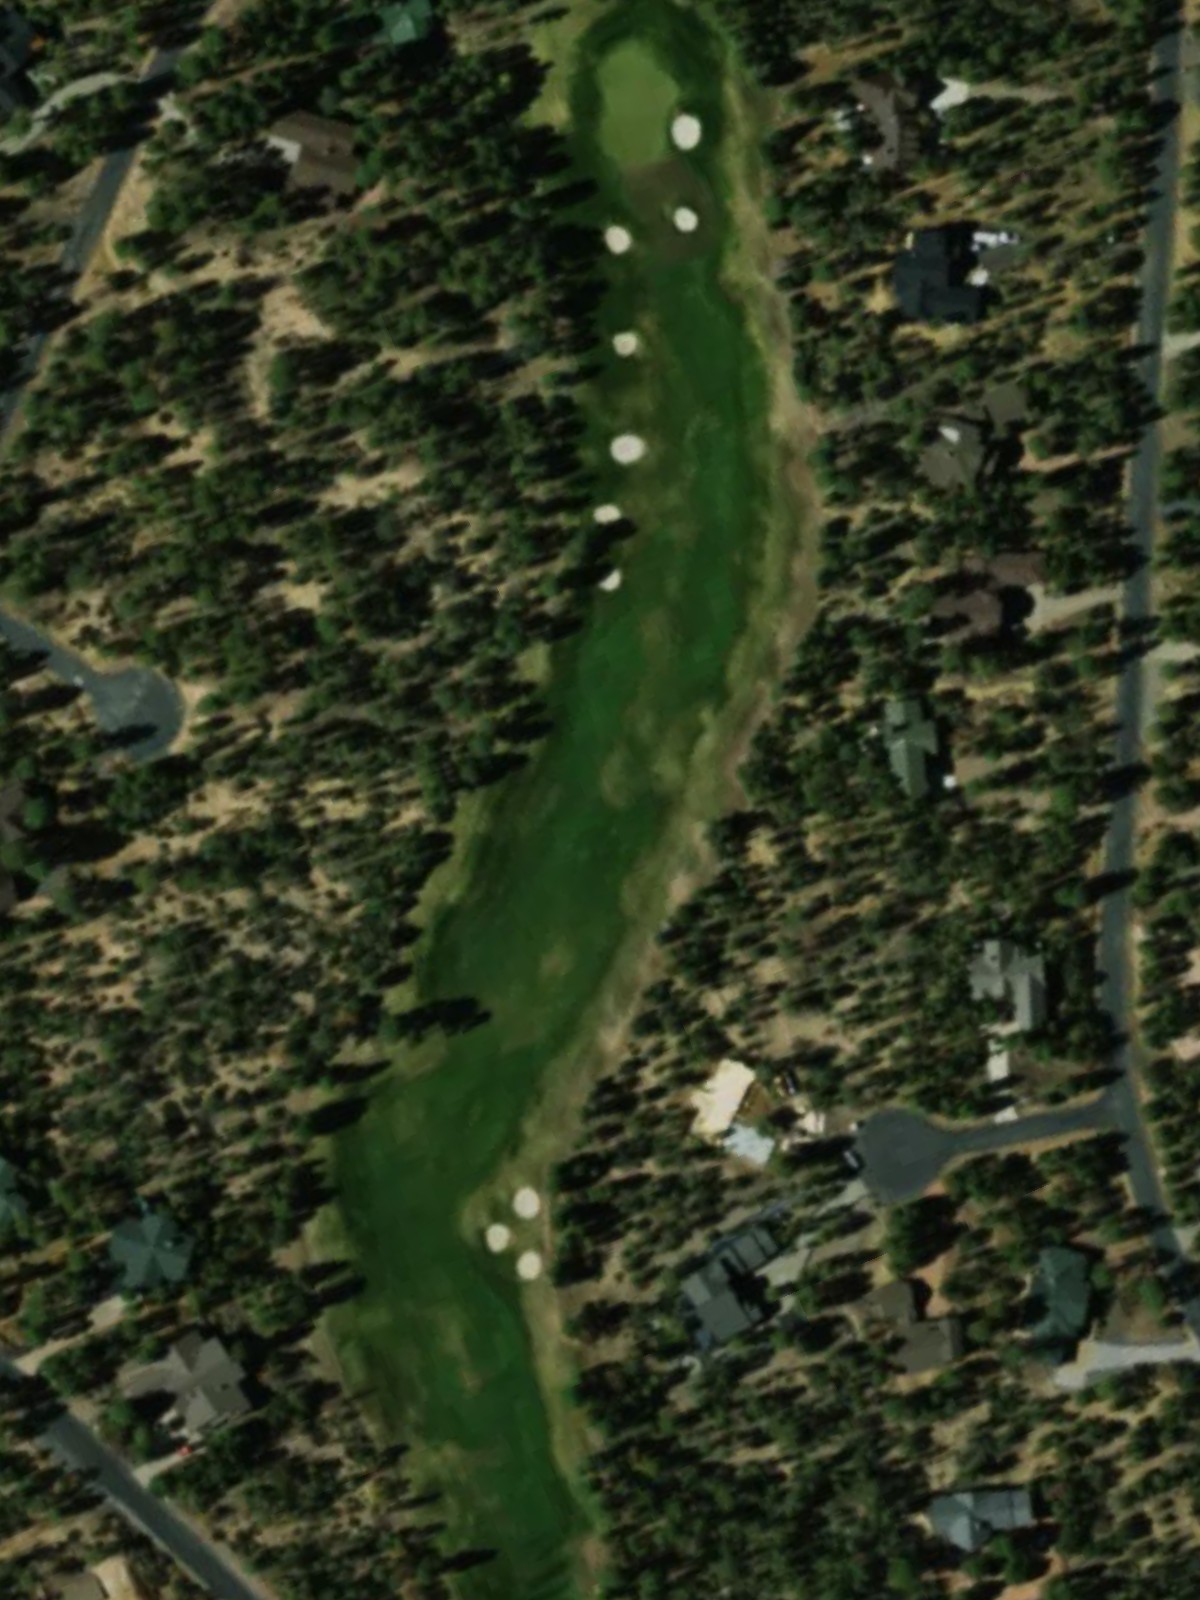
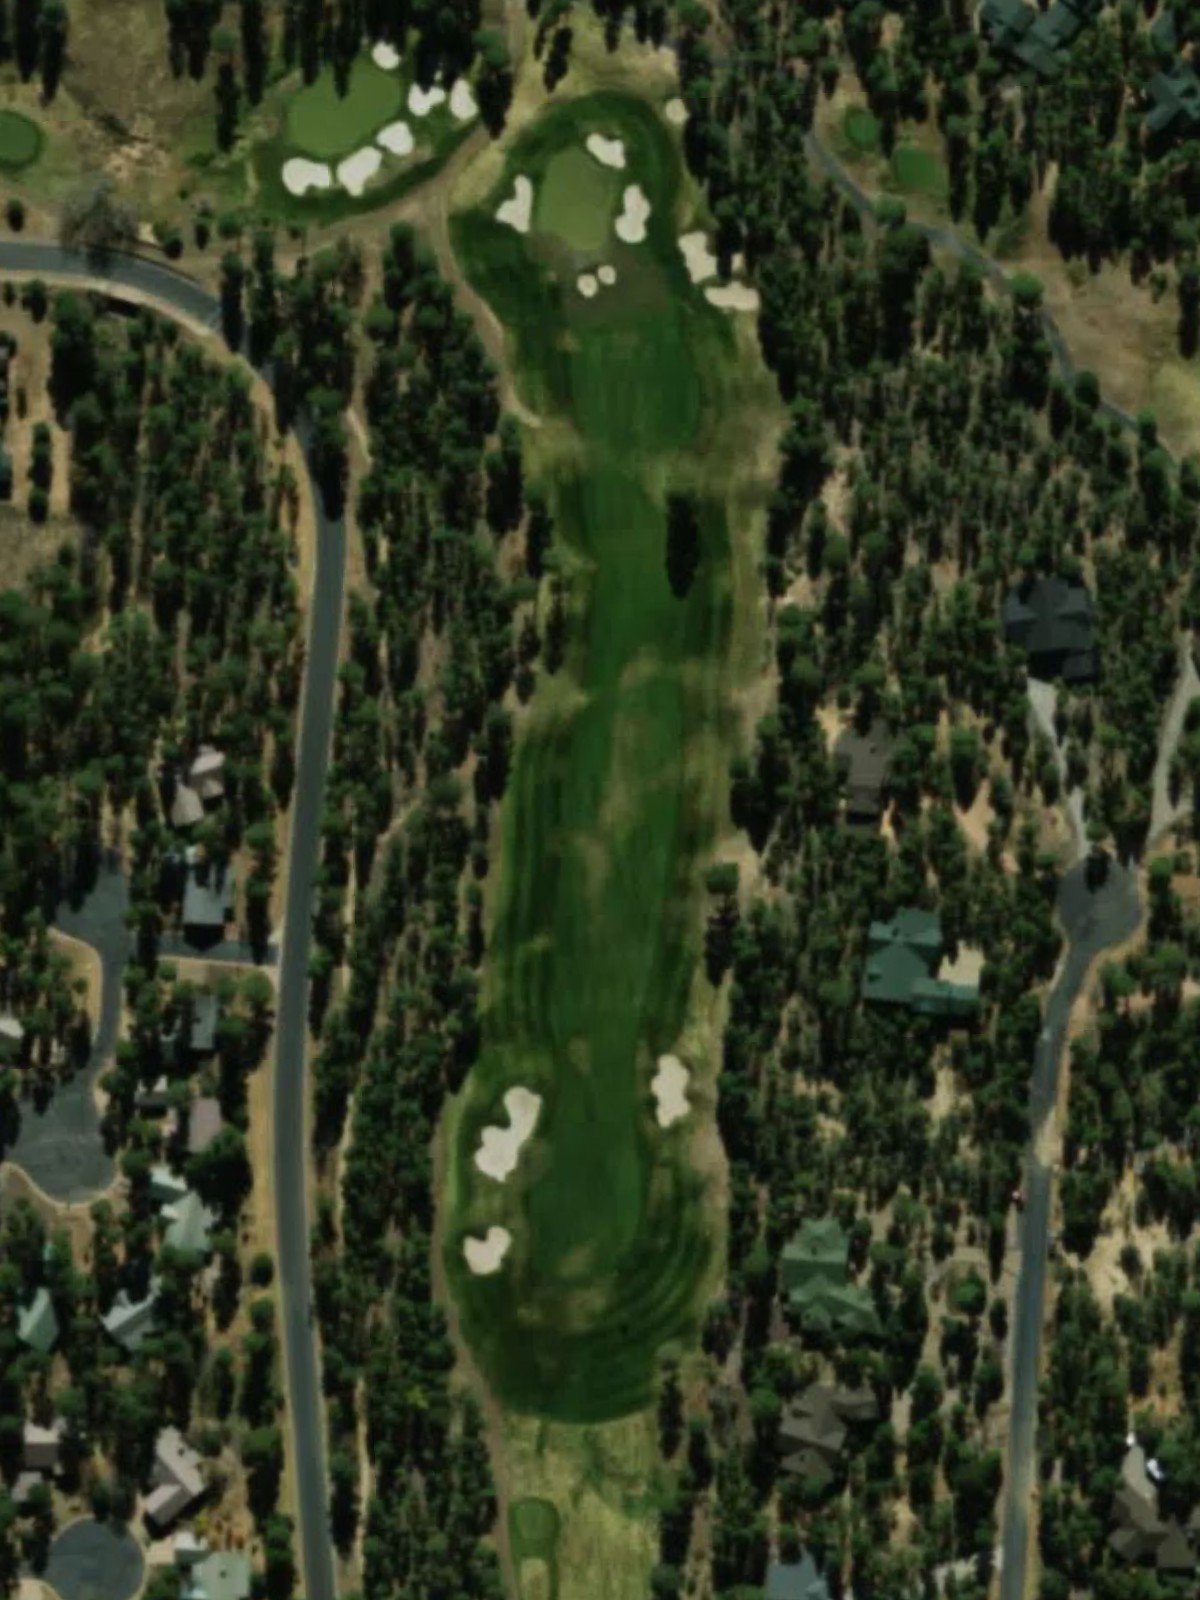
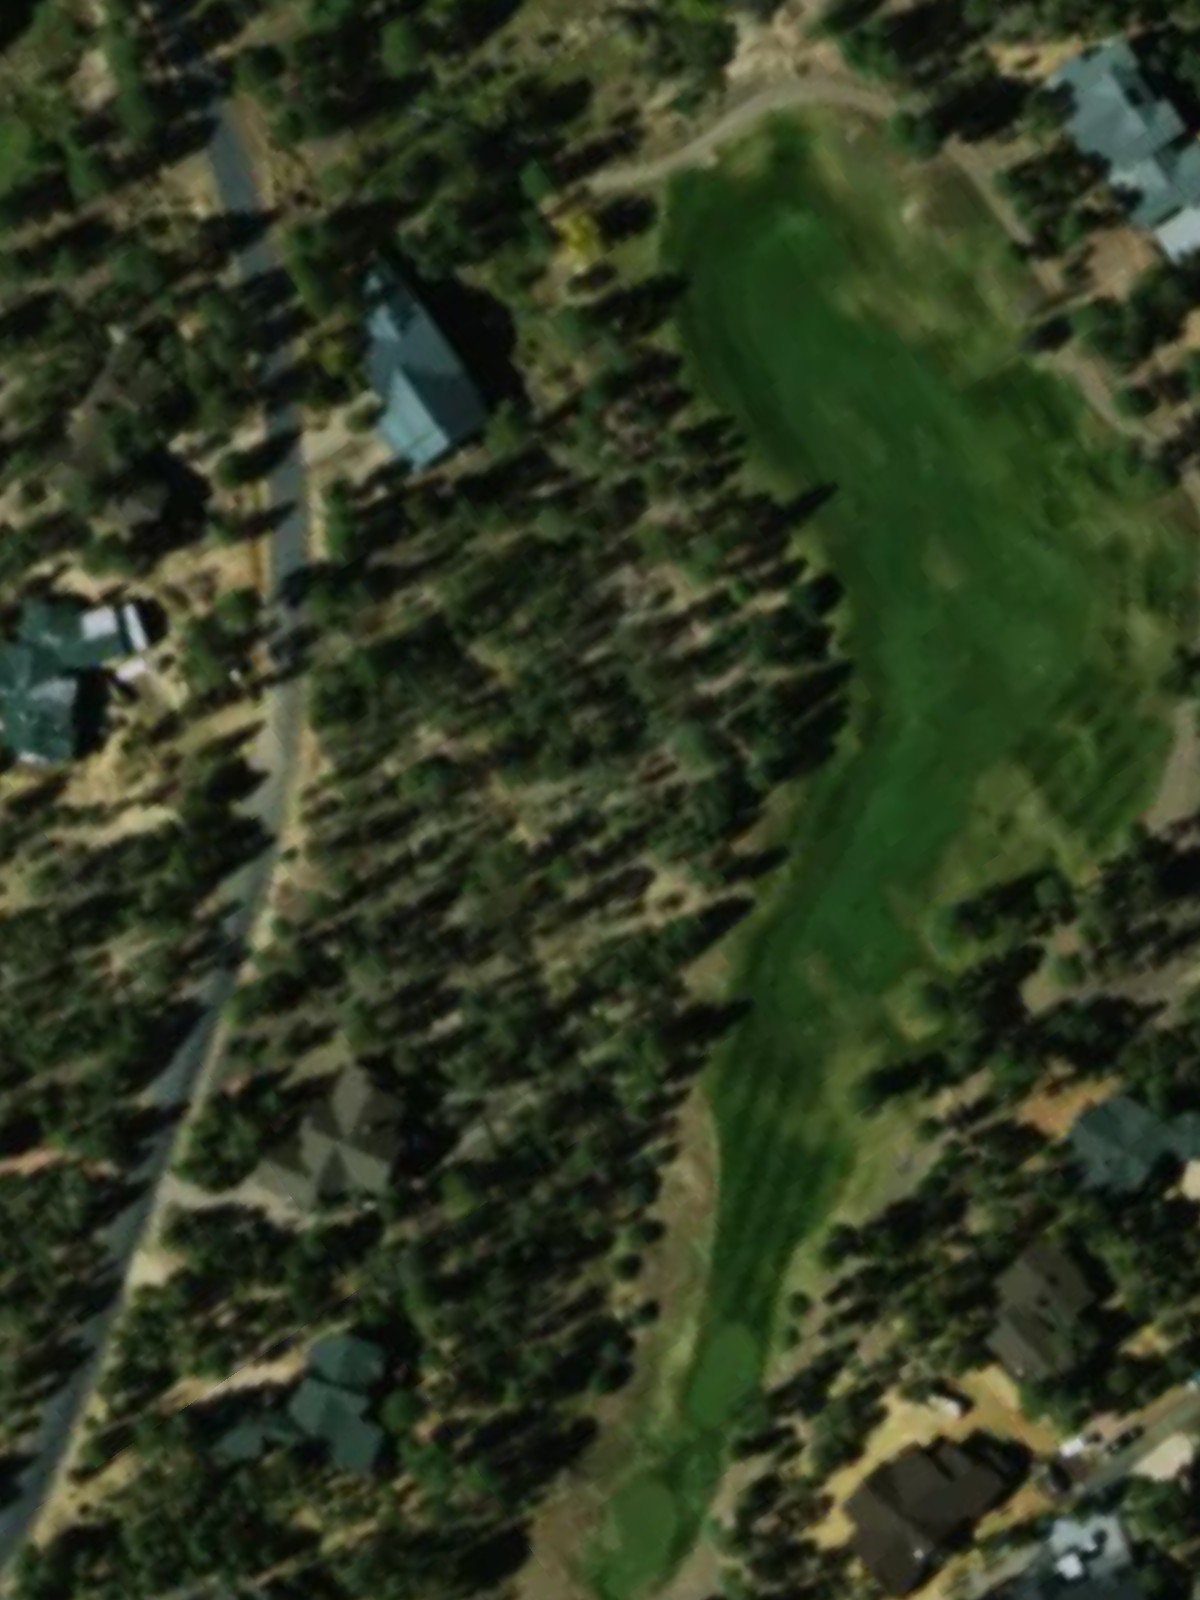
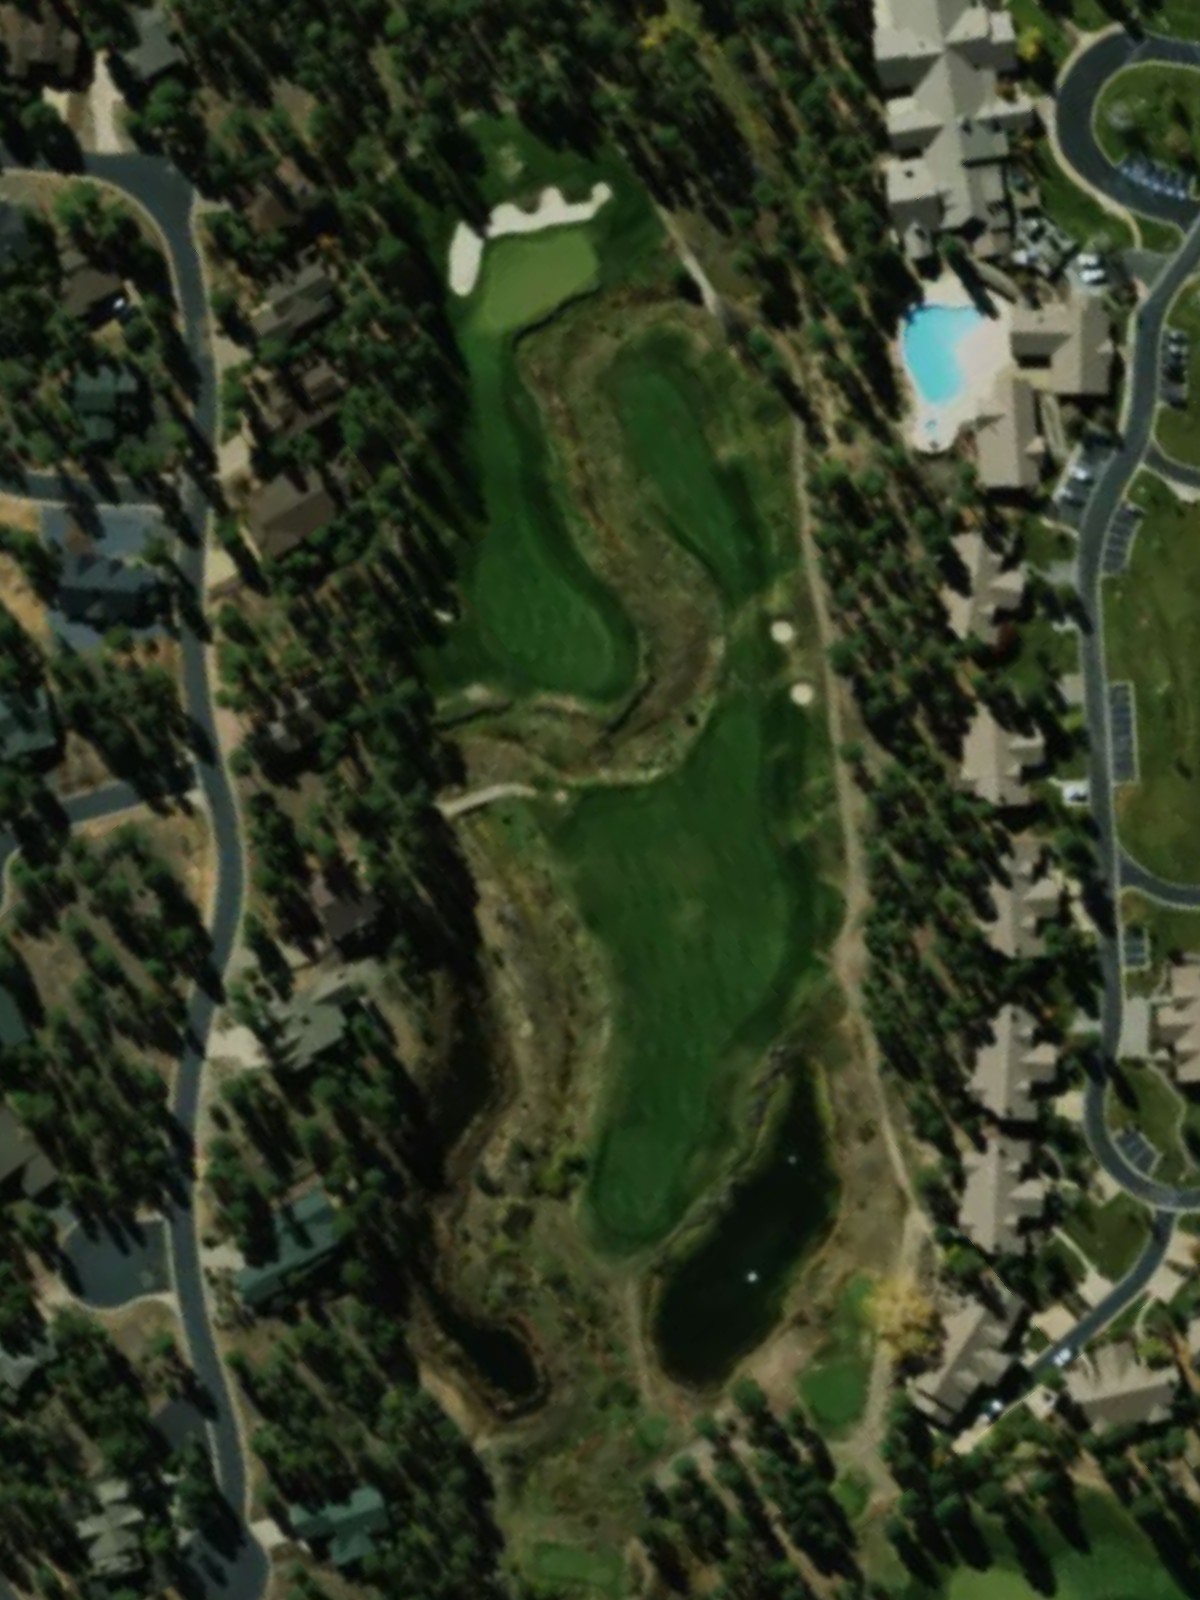
A substantial par 5 with length and complexity, featuring a fairway that requires thoughtful positioning on the first two shots. Hazards throughout the hole—including bunkers and water—protect the green and dictate play.
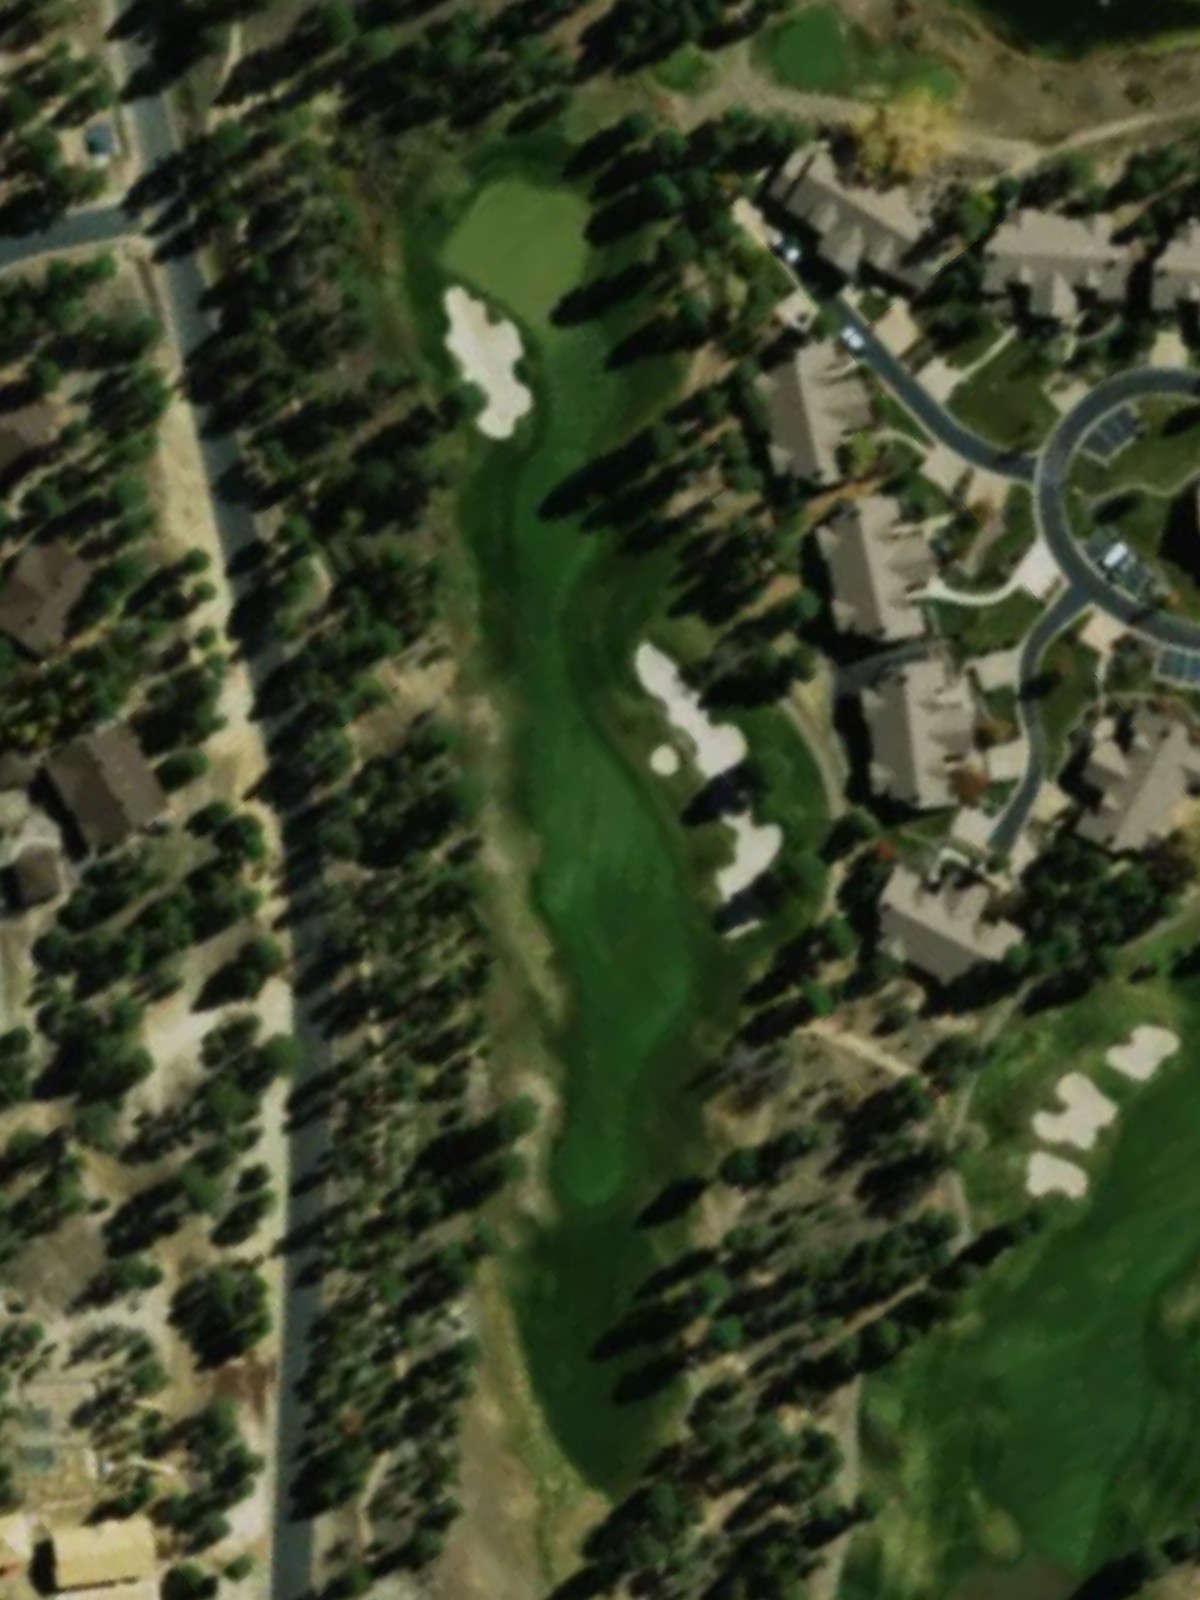
The third-ranked handicap hole, this par 4 is a brute that plays considerably longer than its yardage suggests. Significant hazards guard both the fairway and green, making this a pivotal test.
A mid-length par 4 with a fairway that opens reasonably at first before tightening near the green. Bunkers and hazards frame the approach, requiring an accurate final shot to a well-protected green.
The easiest hole on the course, this tiny par 3 plays over a short distance to a small green. Though hazard-free relative to other par 3s, accuracy is still paramount given the confined green.

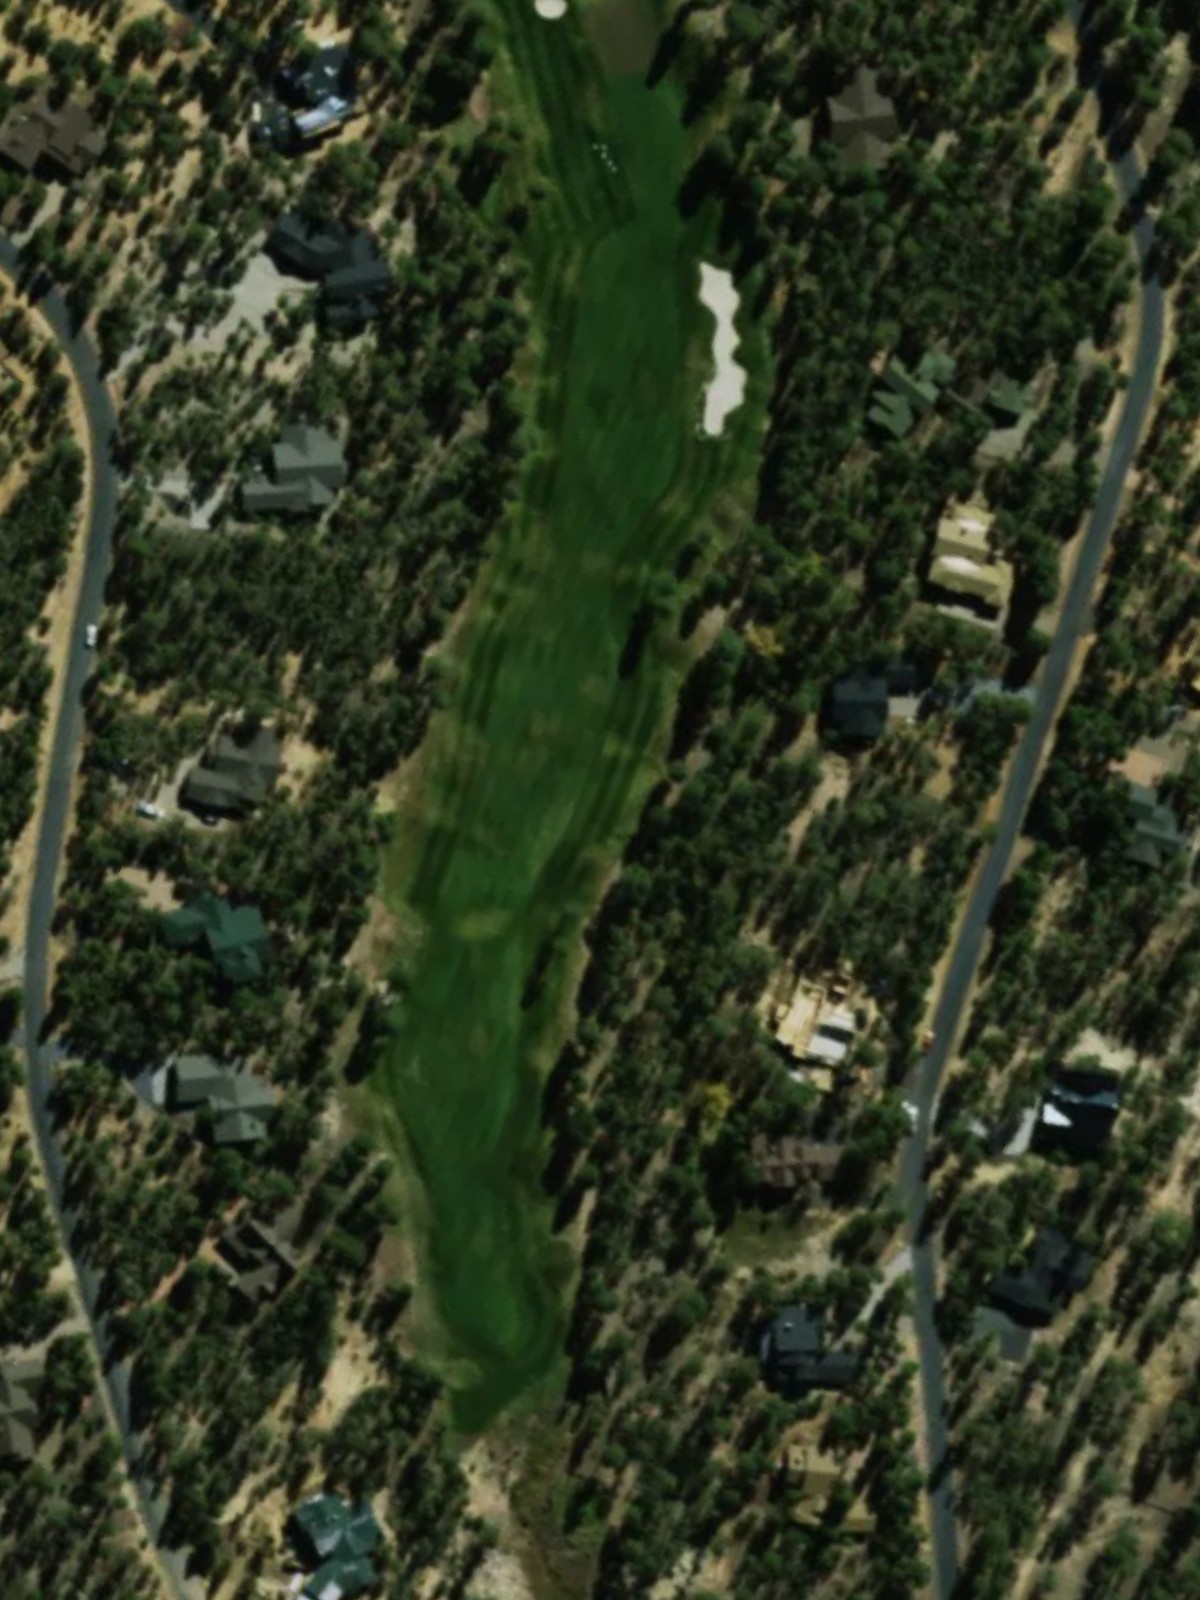
A lengthy par 5 that demands two solid strikes to reach the green in regulation, with fairway width that varies throughout. Strategic bunkering and potential hazards guide the routing and reward positioning over distance.
The fourth-ranked handicap hole, this par 4 is a stout test with a fairway that narrows toward the green. Multiple hazards frame the approach area, making the second shot the critical challenge.
The second-hardest hole on the course, this long par 5 demands length and precision across multiple shots. Hazards throughout the hole—particularly around the green—punish anything off the intended line.

A short par 3 playing over a modest distance to a small, well-bunkered green. The hole's brevity belies its challenge, as precision is required to avoid the multiple hazards surrounding the putting surface.
A mid-length par 4 with a fairway that requires intelligent positioning before the green complex. Bunkers and hazards are strategically placed to test accuracy on both the tee shot and approach.
A relatively benign par 4 with a fair fairway that opens reasonably to the green. While hazards are present, the hole offers more forgiving positioning than many others on the course.
A finishing par 4 of moderate length with a fairway that narrows slightly near the green. The closing hole features strategic bunkering and hazards that create a dramatic finishing test.
Scorecard
| Hole | 1 | 2 | 3 | 4 | 5 | 6 | 7 | 8 | 9 | Out | 10 | 11 | 12 | 13 | 14 | 15 | 16 | 17 | 18 | In | Tot |
|---|---|---|---|---|---|---|---|---|---|---|---|---|---|---|---|---|---|---|---|---|---|
| Par | 4 | 4 | 3 | 5 | 4 | 3 | 4 | 5 | 4 | 36 | 4 | 3 | 5 | 4 | 5 | 3 | 4 | 4 | 4 | 36 | 72 |
| HCP | 9 | 15 | 17 | 1 | 7 | 13 | 11 | 5 | 3 | 10 | 18 | 8 | 4 | 2 | 16 | 12 | 14 | 6 | |||
| black | 391 | 405 | 206 | 554 | 416 | 205 | 423 | 593 | 424 | 3617 | 407 | 162 | 554 | 416 | 591 | 181 | 432 | 397 | 377 | 3517 | 7134 |
| blue | 364 | 379 | 187 | 522 | 390 | 177 | 406 | 577 | 401 | 3403 | 386 | 138 | 528 | 405 | 569 | 156 | 408 | 379 | 355 | 3324 | 6727 |
| blue/white combo | 344 | 342 | 187 | 522 | 390 | 177 | 380 | 547 | 378 | 3267 | 386 | 138 | 528 | 361 | 548 | 139 | 390 | 379 | 336 | 3205 | 6472 |
| white | 344 | 342 | 142 | 471 | 313 | 155 | 380 | 547 | 378 | 3072 | 357 | 117 | 498 | 361 | 548 | 139 | 390 | 341 | 336 | 3087 | 6159 |
| gold | 327 | 332 | 140 | 420 | 310 | 145 | 370 | 537 | 348 | 2929 | 347 | 110 | 488 | 351 | 515 | 113 | 380 | 322 | 329 | 2955 | 5884 |
| red | 264 | 282 | 117 | 393 | 289 | 108 | 287 | 467 | 325 | 2532 | 312 | 78 | 453 | 324 | 440 | 91 | 334 | 287 | 303 | 2622 | 5154 |
| ponderosa | 264 | 282 | 117 | 320 | 201 | 108 | 287 | 330 | 215 | 2124 | 222 | 78 | 320 | 220 | 329 | 91 | 224 | 287 | 185 | 1956 | 4080 |