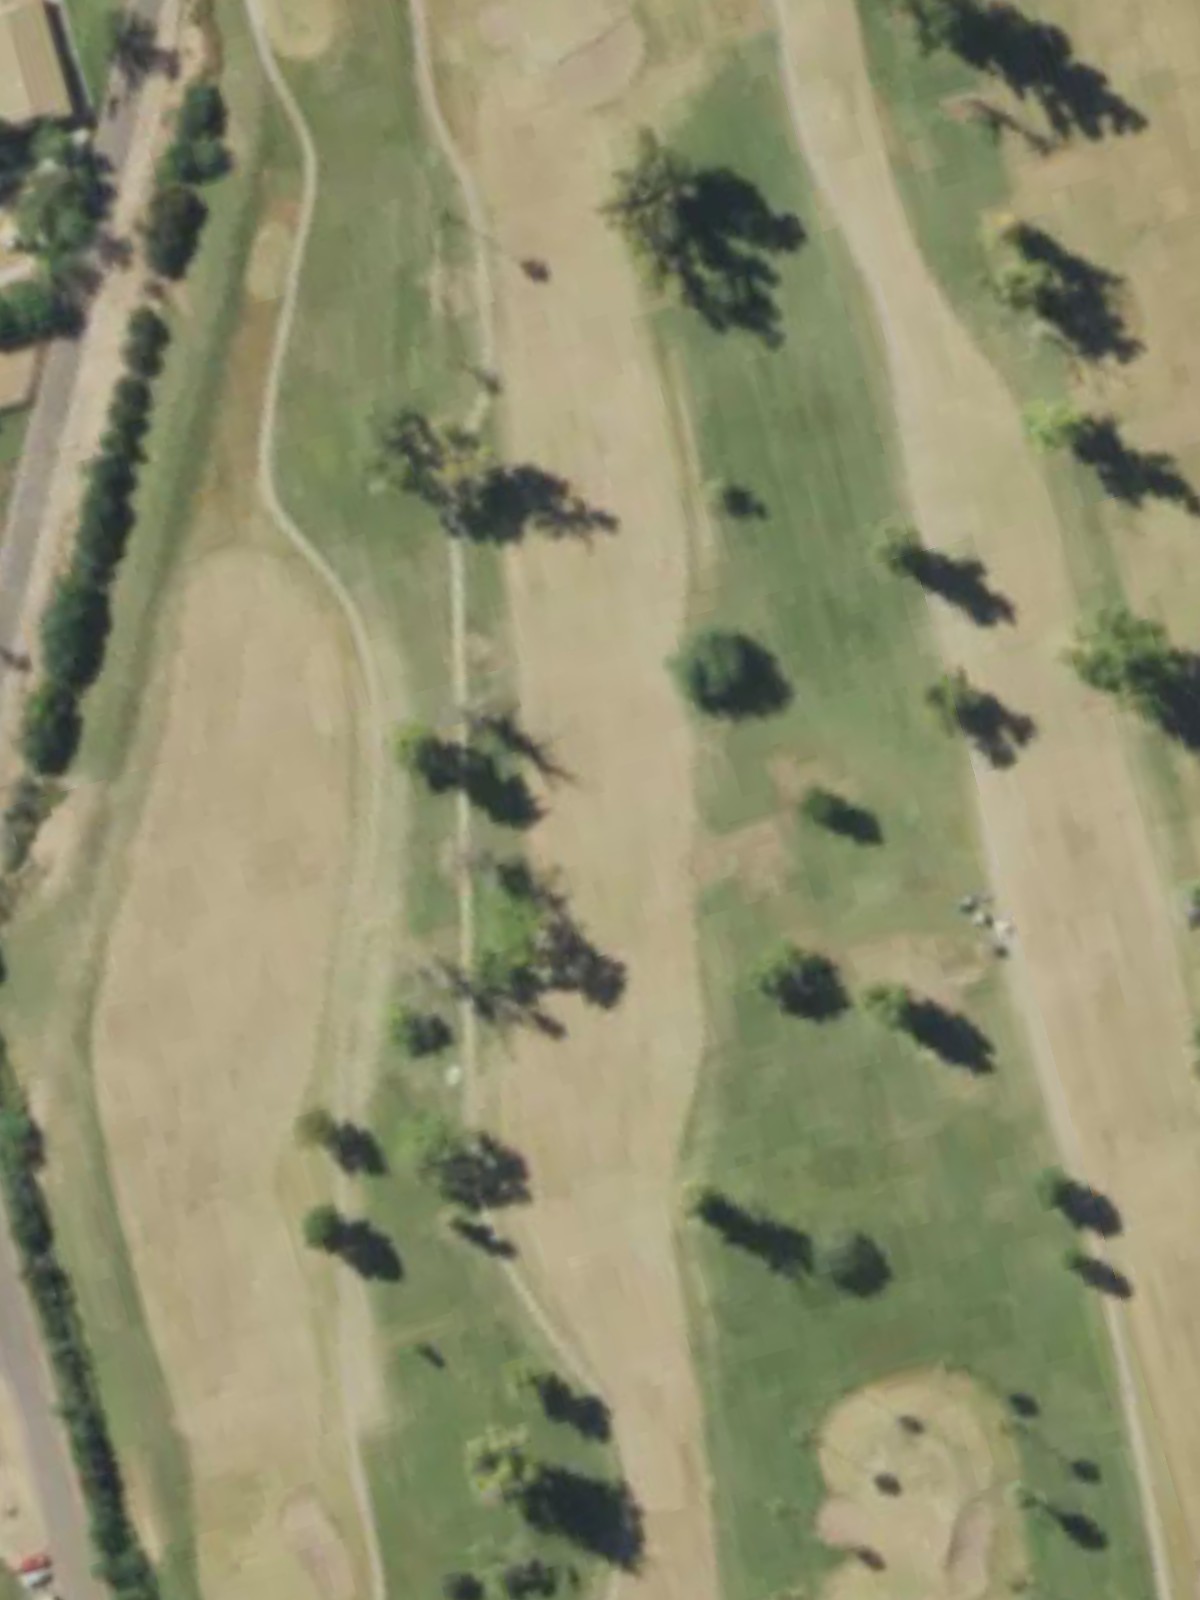
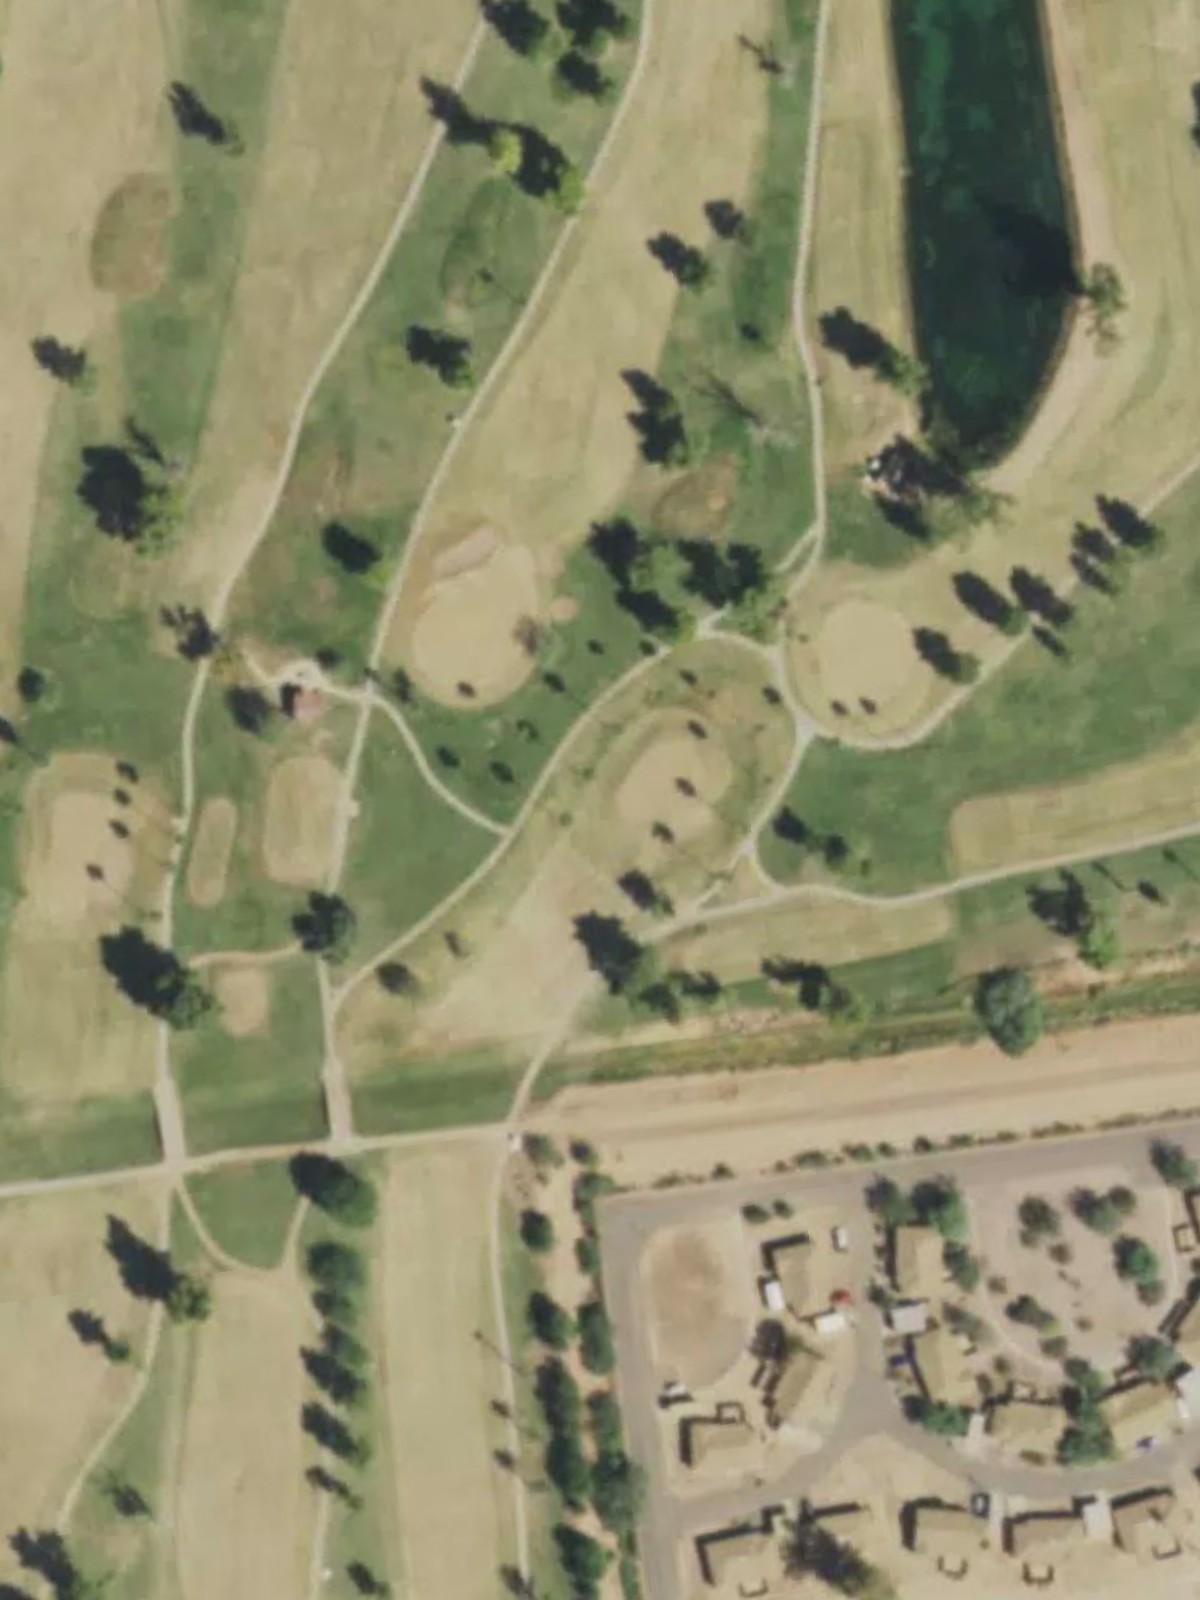
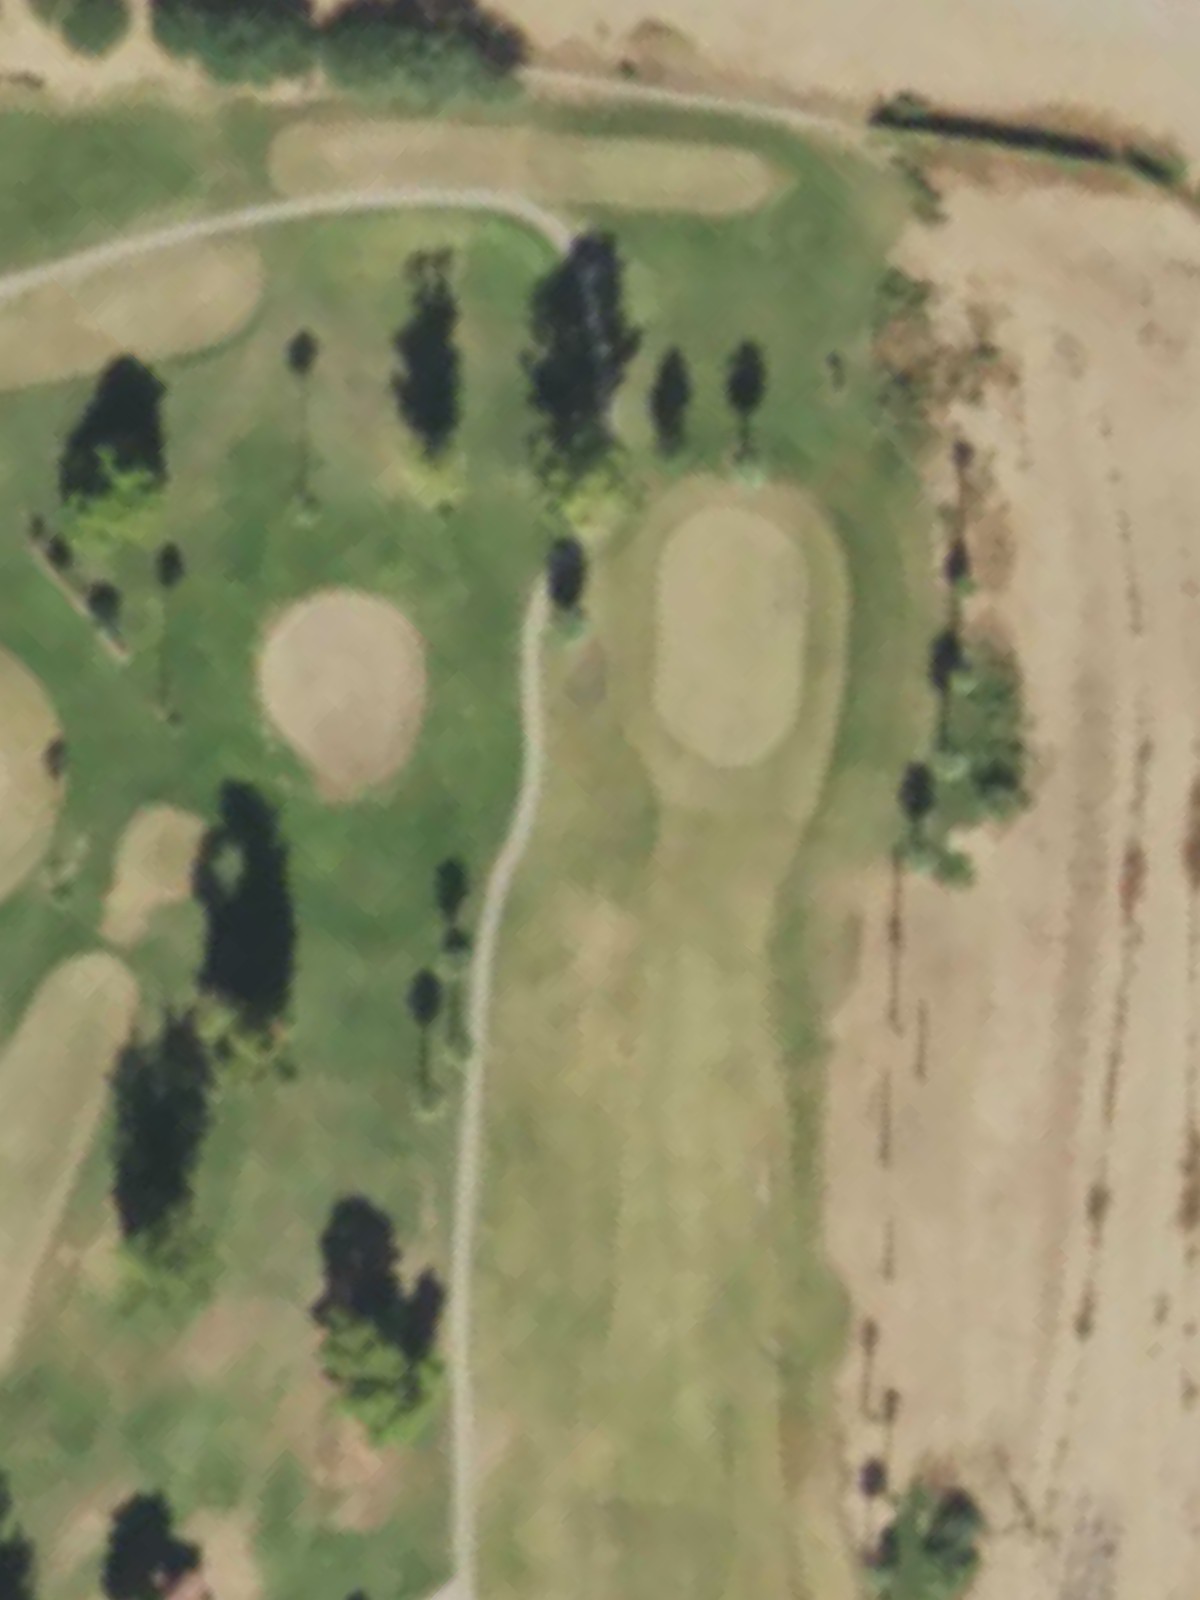
Toka Sticks Gc is an 18-hole golf course in Mesa, AZ with a par of 72. It offers 6 tee sets: tips (6,870 yards, slope 121, rating 72.1), black (6,784 yards, slope 121, rating 72), black/gold (6,522 yards, slope 117, rating 70.5), gold (6,304 yards, slope 115, rating 69.5), silver (5,813 yards, slope 110, rating 66.9), jade (5,073 yards, slope 102, rating 63.9). The hardest hole is #9, a par 5 playing 520 yards from the first tee.
Toka Sticks Gc
Mesa, AZ
Get PDF Yardage Book
We'll email you the PDF link. No spam, ever.
Create Your Game Plan
Pick your tees, enter your bag, and get a personalized shot-by-shot strategy for every hole.
A straightforward par 4 with a welcoming fairway that gradually narrows as it approaches the green. Bunkers guard the right side of the putting surface, demanding accuracy on the approach shot.
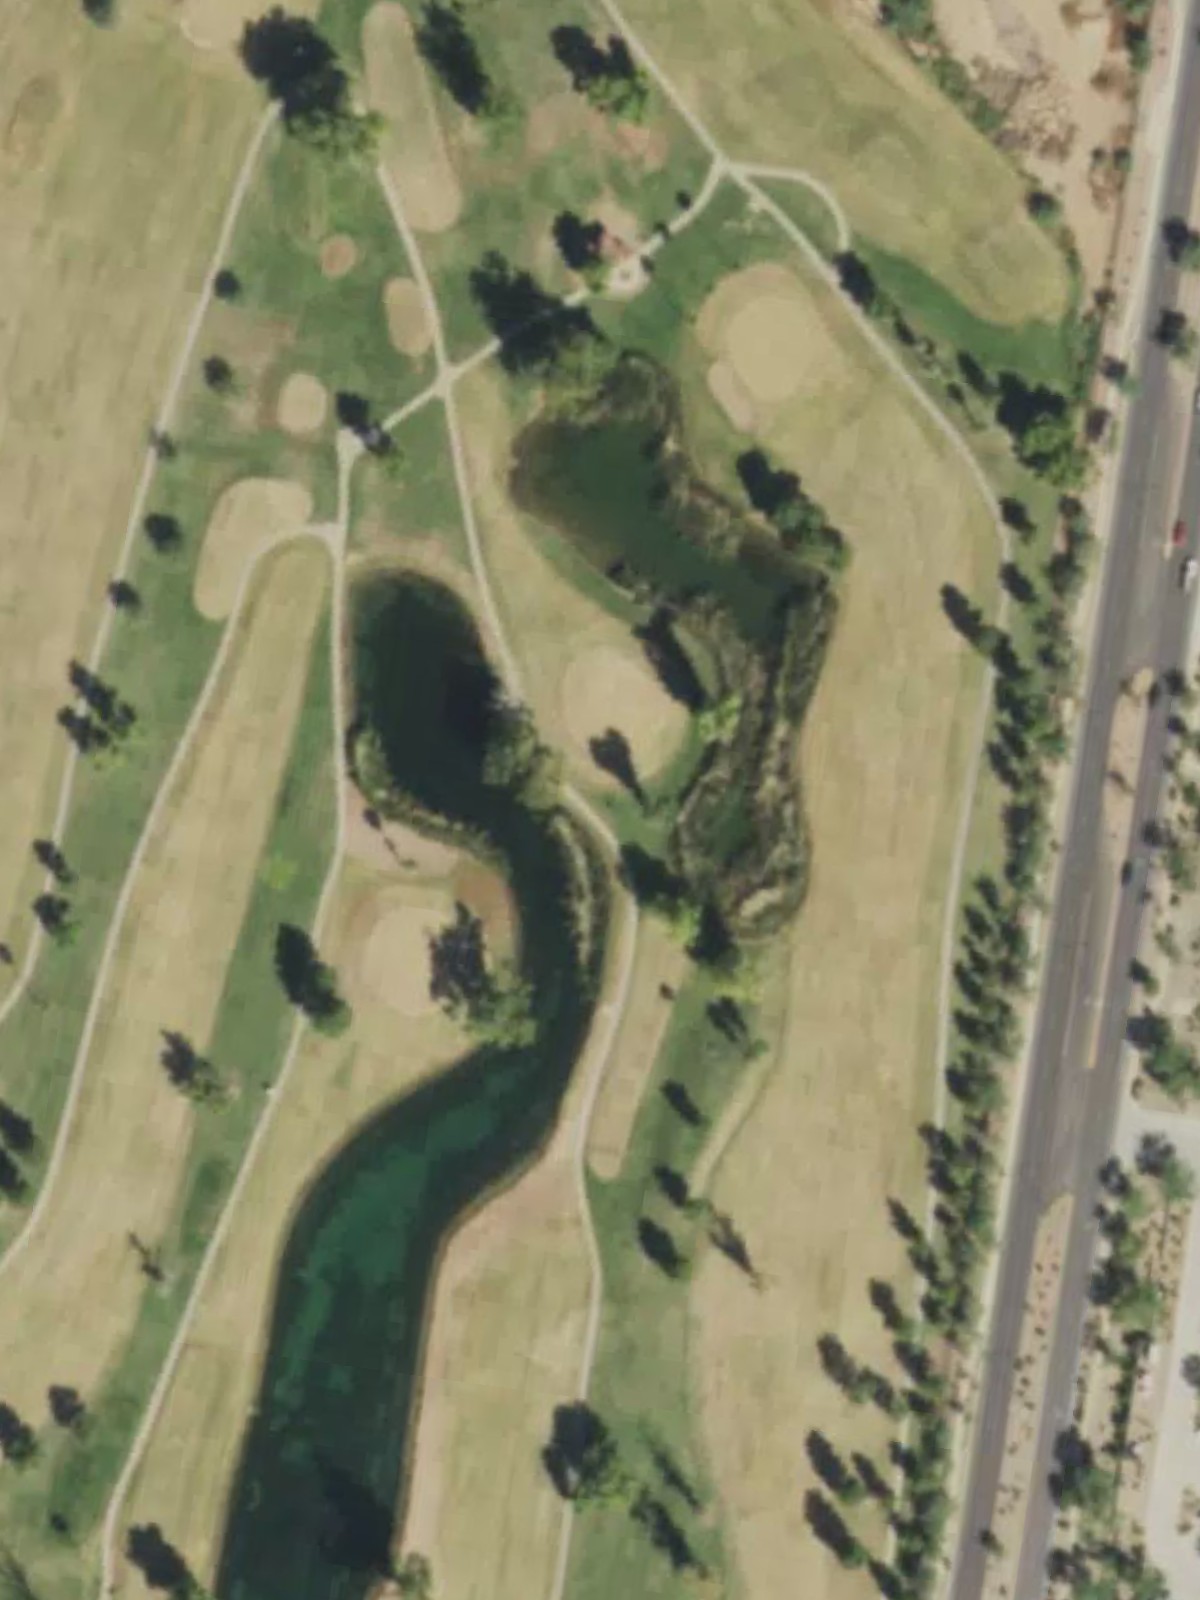
A long par 5 that rewards aggressive play but punishes wayward shots with strategic hazards positioned throughout the hole. The fairway offers multiple options for reaching the green in regulation.
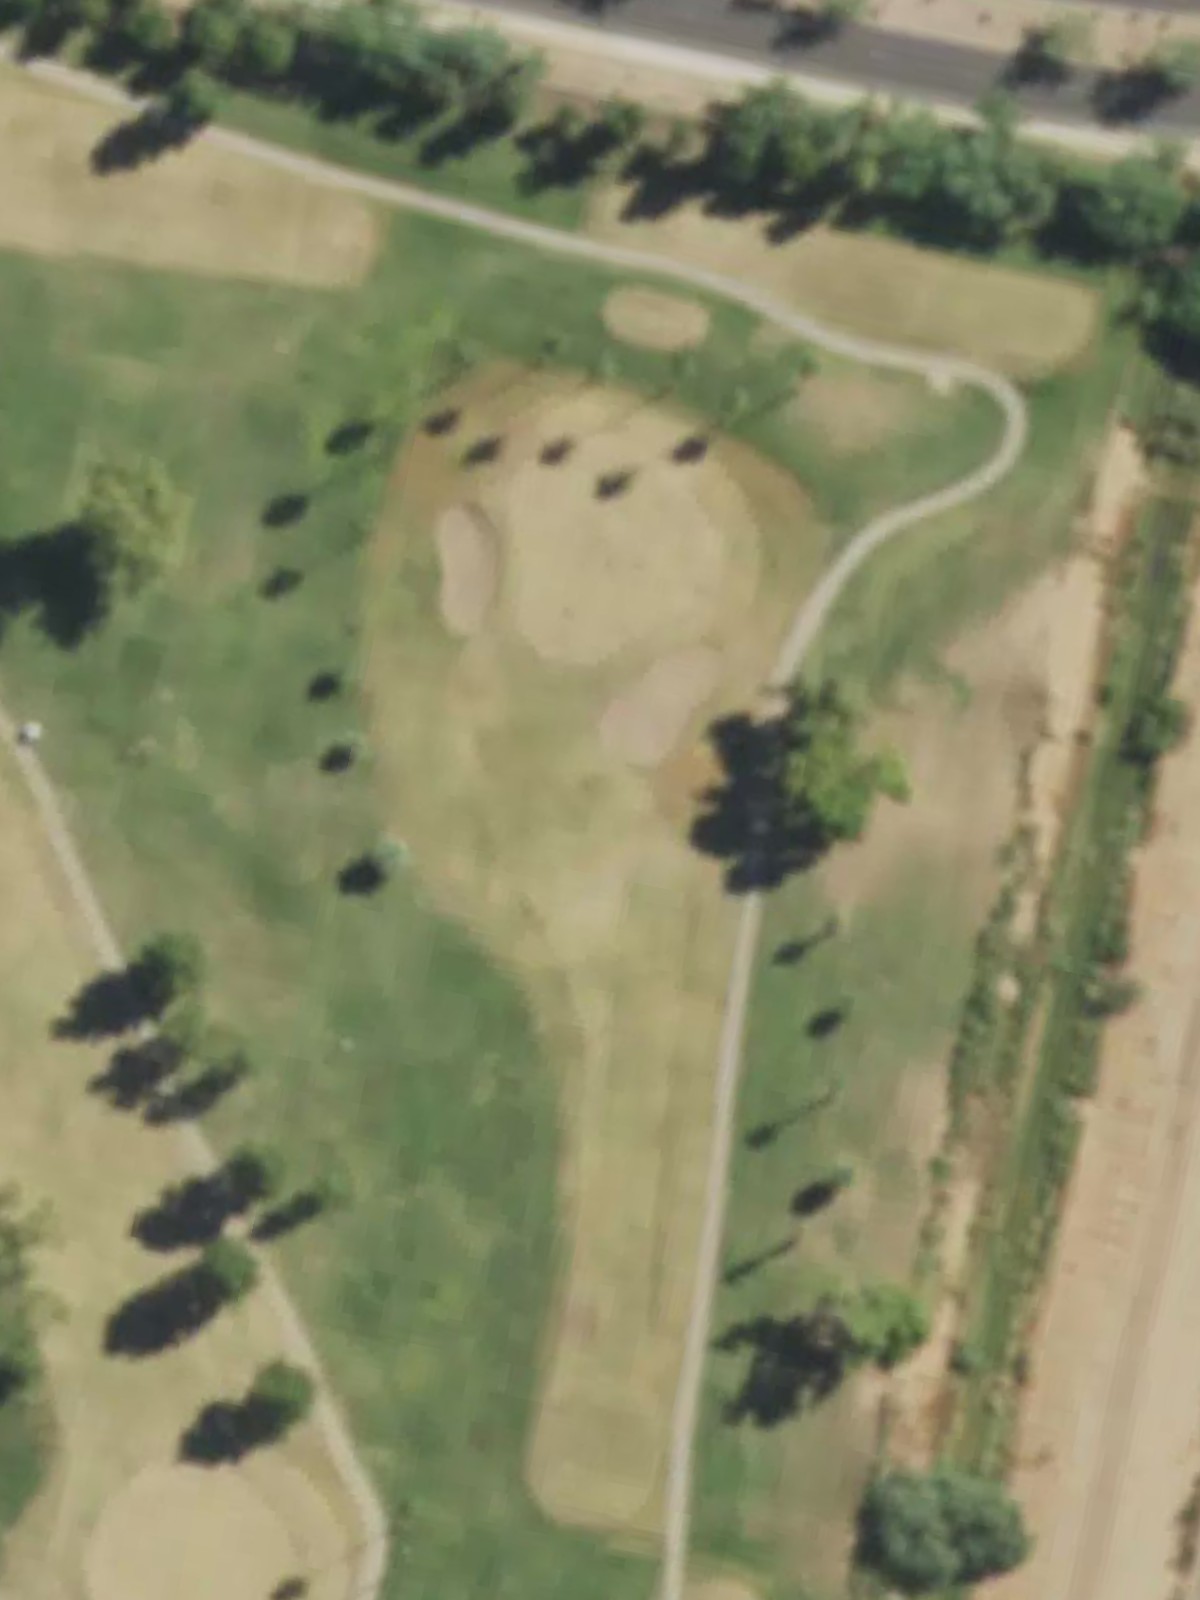
A mid-length par 3 played over a valley to an elevated green protected by surrounding bunkers. The isolated green demands a precise tee shot with little room for error.
The course's signature par 5 and a true test of power and control, ranked as the #3 handicap hole. Length and strategic hazards make this hole a defining challenge for the round.
A short-to-mid length par 3 featuring an elevated green with bunkers in close proximity. The hole's compact design leaves little forgiveness for mishits.
A straightforward par 4 with a narrow fairway that requires controlled driving. Hazards tighten near the green, rewarding accurate placement over distance.
A dogleg par 4 that bends away from trouble, offering multiple lines off the tee. Strategic positioning is key to setting up an ideal approach to the green.

A picturesque mid-length par 3 that ranks as the second-easiest hole on the course. Clean lines to the green make this a momentum-building opportunity.
Toka Sticks' #1 handicap hole and the ultimate test—a demanding par 5 that requires three quality shots to reach the green safely. Length and hazard placement combine to create the round's sternest challenge.
A solid par 4 with a well-defined fairway and strategic greenside bunkering. The hole's balance of length and hazard placement makes it a fair examination of shot-making.
A strong par 4 that punishes poor tee shots with substantial length and challenging approach angles. This hole ranks as the #4 handicap and demands commitment on both shots.
A spacious par 5 that allows for aggressive play but features strategic hazards protecting scoring opportunities. The hole's length provides options for different playing styles.
A mid-range par 3 with an elevated green and protective bunkers surrounding the putting surface. The hole offers a good birdie opportunity for accurate iron play.
A short par 4 that ranks among the easiest holes on the course, but still demands precision. The compact design makes this an ideal scoring hole despite its modest length.
A picturesque par 3 with an inviting green complex and moderate length. This hole represents a good birdie chance for solid ball strikers.
A substantial par 4 with real estate separating the tee from the green and bunkers guarding the approach. The hole's length and hazard placement create a genuine mid-course test.
A lengthy par 5 that stretches across the property with the most accommodating handicap on the back nine. Despite its yardage, the hole offers reasonable birdie potential for strong play.
A closing par 4 that ranks as the #2 handicap hole and provides a dramatic finish to the round. Strategic hazards and substantial length demand two authoritative shots to finish strong.
Scorecard
| Hole | 1 | 2 | 3 | 4 | 5 | 6 | 7 | 8 | 9 | Out | 10 | 11 | 12 | 13 | 14 | 15 | 16 | 17 | 18 | In | Tot |
|---|---|---|---|---|---|---|---|---|---|---|---|---|---|---|---|---|---|---|---|---|---|
| Par | 4 | 5 | 3 | 5 | 3 | 4 | 4 | 3 | 5 | 36 | 4 | 4 | 5 | 3 | 4 | 3 | 4 | 5 | 4 | 36 | 72 |
| HCP | 13 | 17 | 7 | 3 | 9 | 11 | 15 | 5 | 1 | 10 | 4 | 16 | 8 | 14 | 6 | 12 | 18 | 2 | |||
| tips | 383 | 485 | 209 | 568 | 199 | 378 | 376 | 225 | 543 | 3366 | 381 | 439 | 558 | 218 | 311 | 196 | 437 | 511 | 453 | 3504 | 6870 |
| black | 376 | 477 | 204 | 562 | 198 | 371 | 374 | 214 | 538 | 3314 | 379 | 437 | 546 | 215 | 307 | 194 | 433 | 508 | 451 | 3470 | 6784 |
| black/gold | 376 | 477 | 182 | 510 | 170 | 371 | 374 | 197 | 520 | 3177 | 379 | 424 | 490 | 185 | 307 | 194 | 433 | 508 | 425 | 3345 | 6522 |
| gold | 347 | 460 | 182 | 510 | 170 | 336 | 353 | 197 | 520 | 3075 | 360 | 424 | 490 | 185 | 291 | 175 | 391 | 488 | 425 | 3229 | 6304 |
| silver | 330 | 447 | 152 | 466 | 155 | 321 | 328 | 165 | 491 | 2855 | 338 | 388 | 466 | 146 | 276 | 157 | 363 | 448 | 376 | 2958 | 5813 |
| jade | 281 | 417 | 125 | 425 | 133 | 293 | 282 | 114 | 422 | 2492 | 318 | 298 | 441 | 119 | 255 | 138 | 337 | 368 | 307 | 2581 | 5073 |