Tn Golf Trail At Pickwick Landing is an 18-hole golf course in Counce, TN with a par of 72. It offers 3 tee sets: blue (6,483 yards, slope 120, rating 71.1), white (6,284 yards, slope 119, rating 70.1), gold (5,334 yards, slope 109, rating 66.2). The hardest hole is #6, a par 4 playing 411 yards from the first tee.
Tn Golf Trail At Pickwick Landing
Counce, TN
Get PDF Yardage Book
We'll email you the PDF link. No spam, ever.
Create Your Game Plan
Pick your tees, enter your bag, and get a personalized shot-by-shot strategy for every hole.
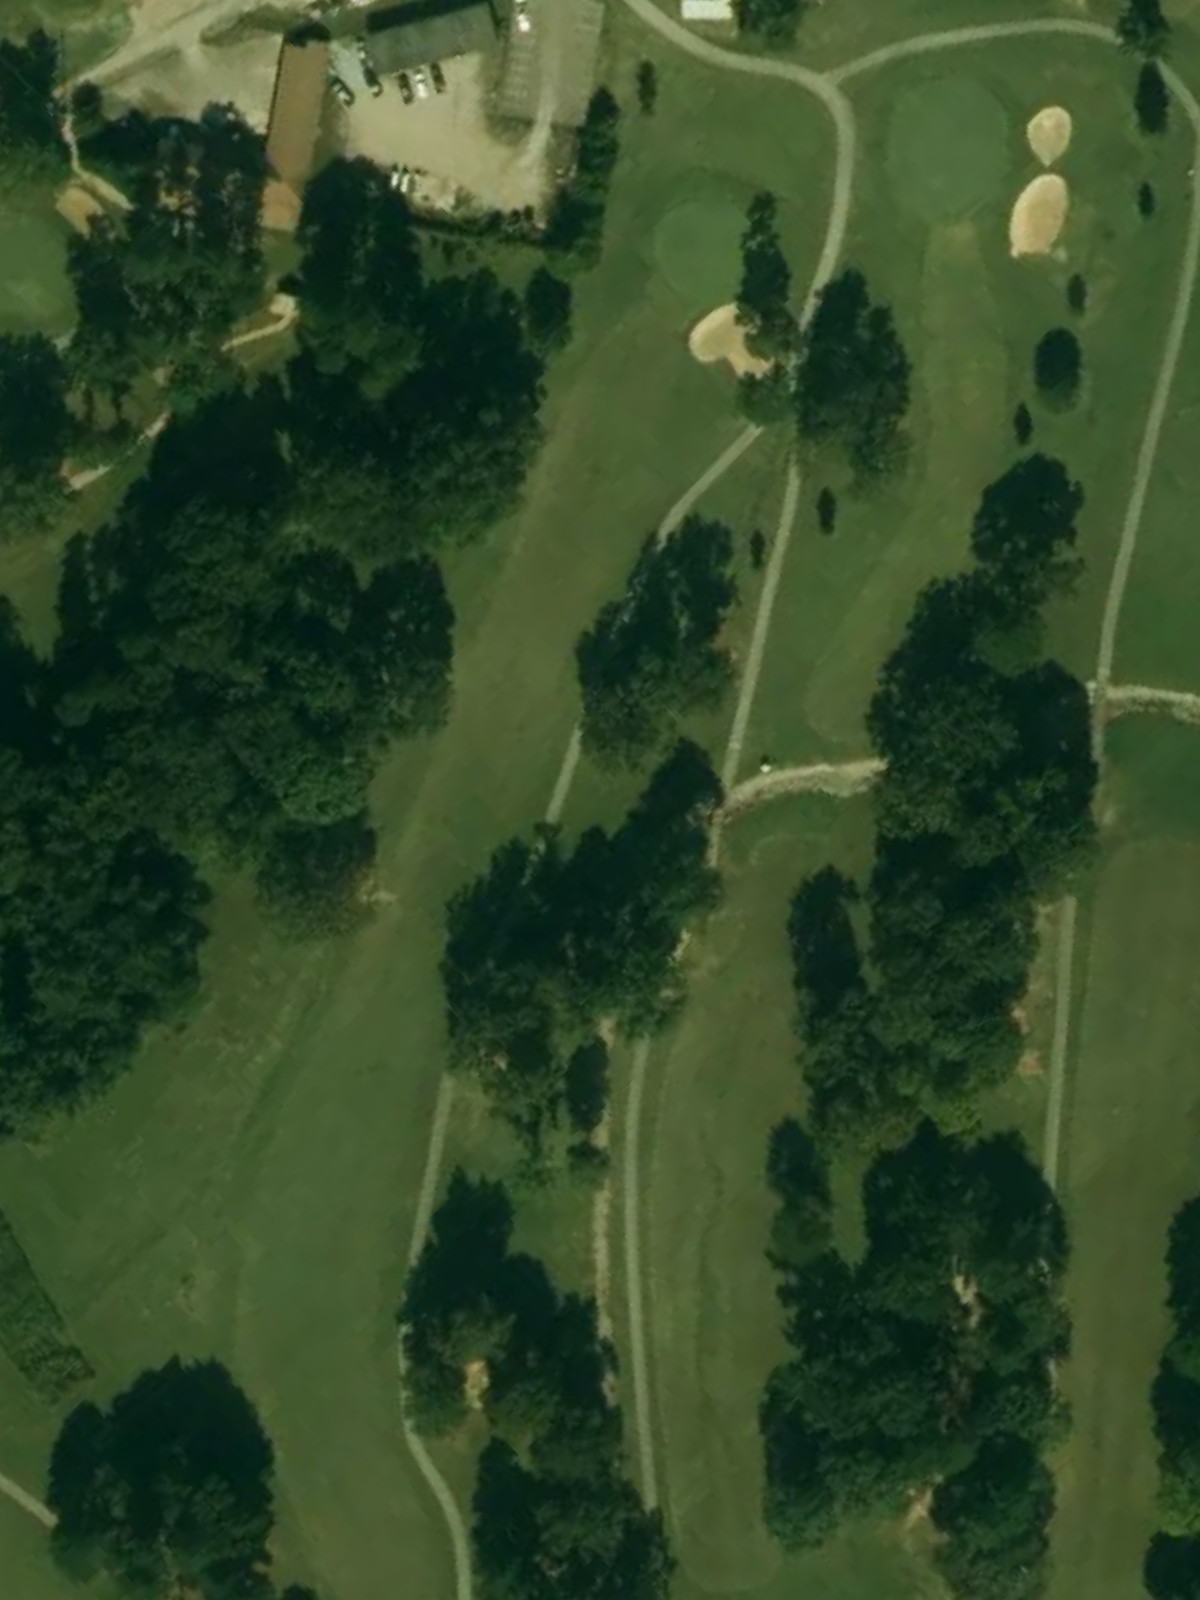
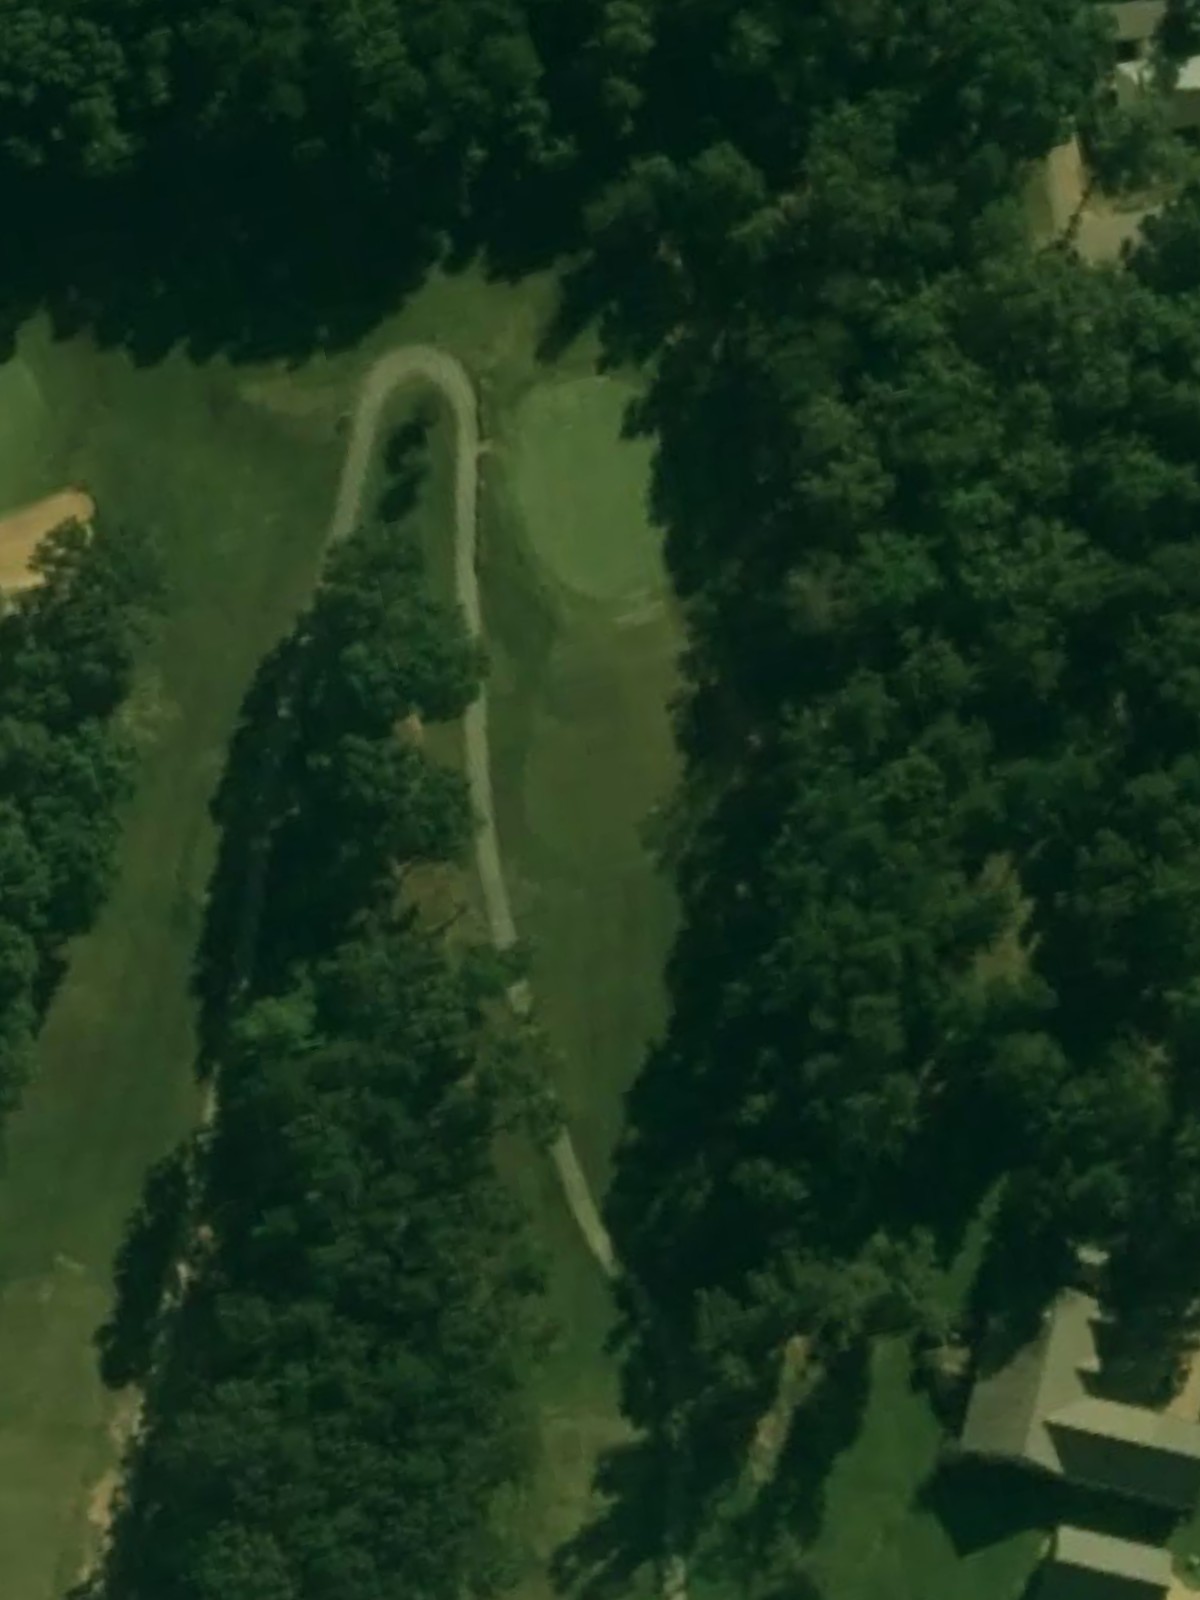
A short, straightforward par 4 with a relatively wide fairway that provides a friendly opening hole. The green is protected by bunkers on the right side, and accuracy into the green is more important than length.
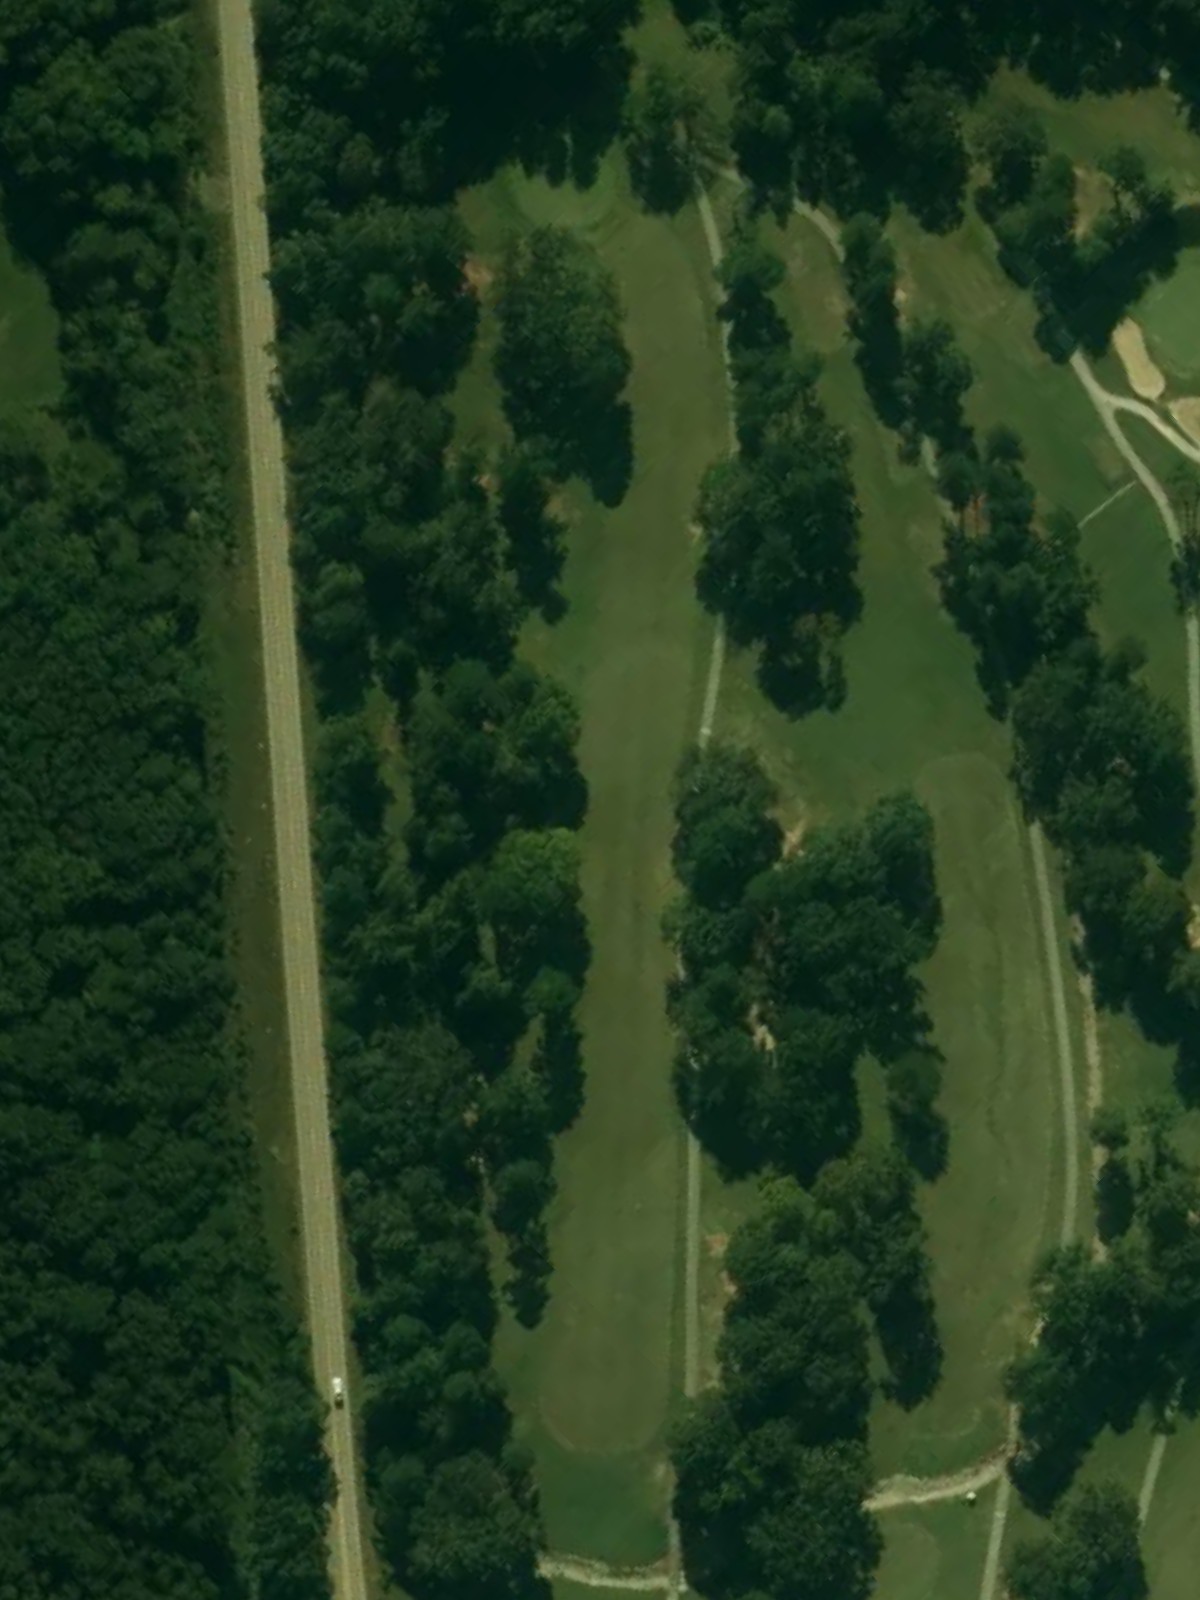
The #3 handicap hole plays as a demanding par 4 with a fairway that requires precision off the tee. Water hazards and bunkers frame the approach, making this a strong test early in the round.
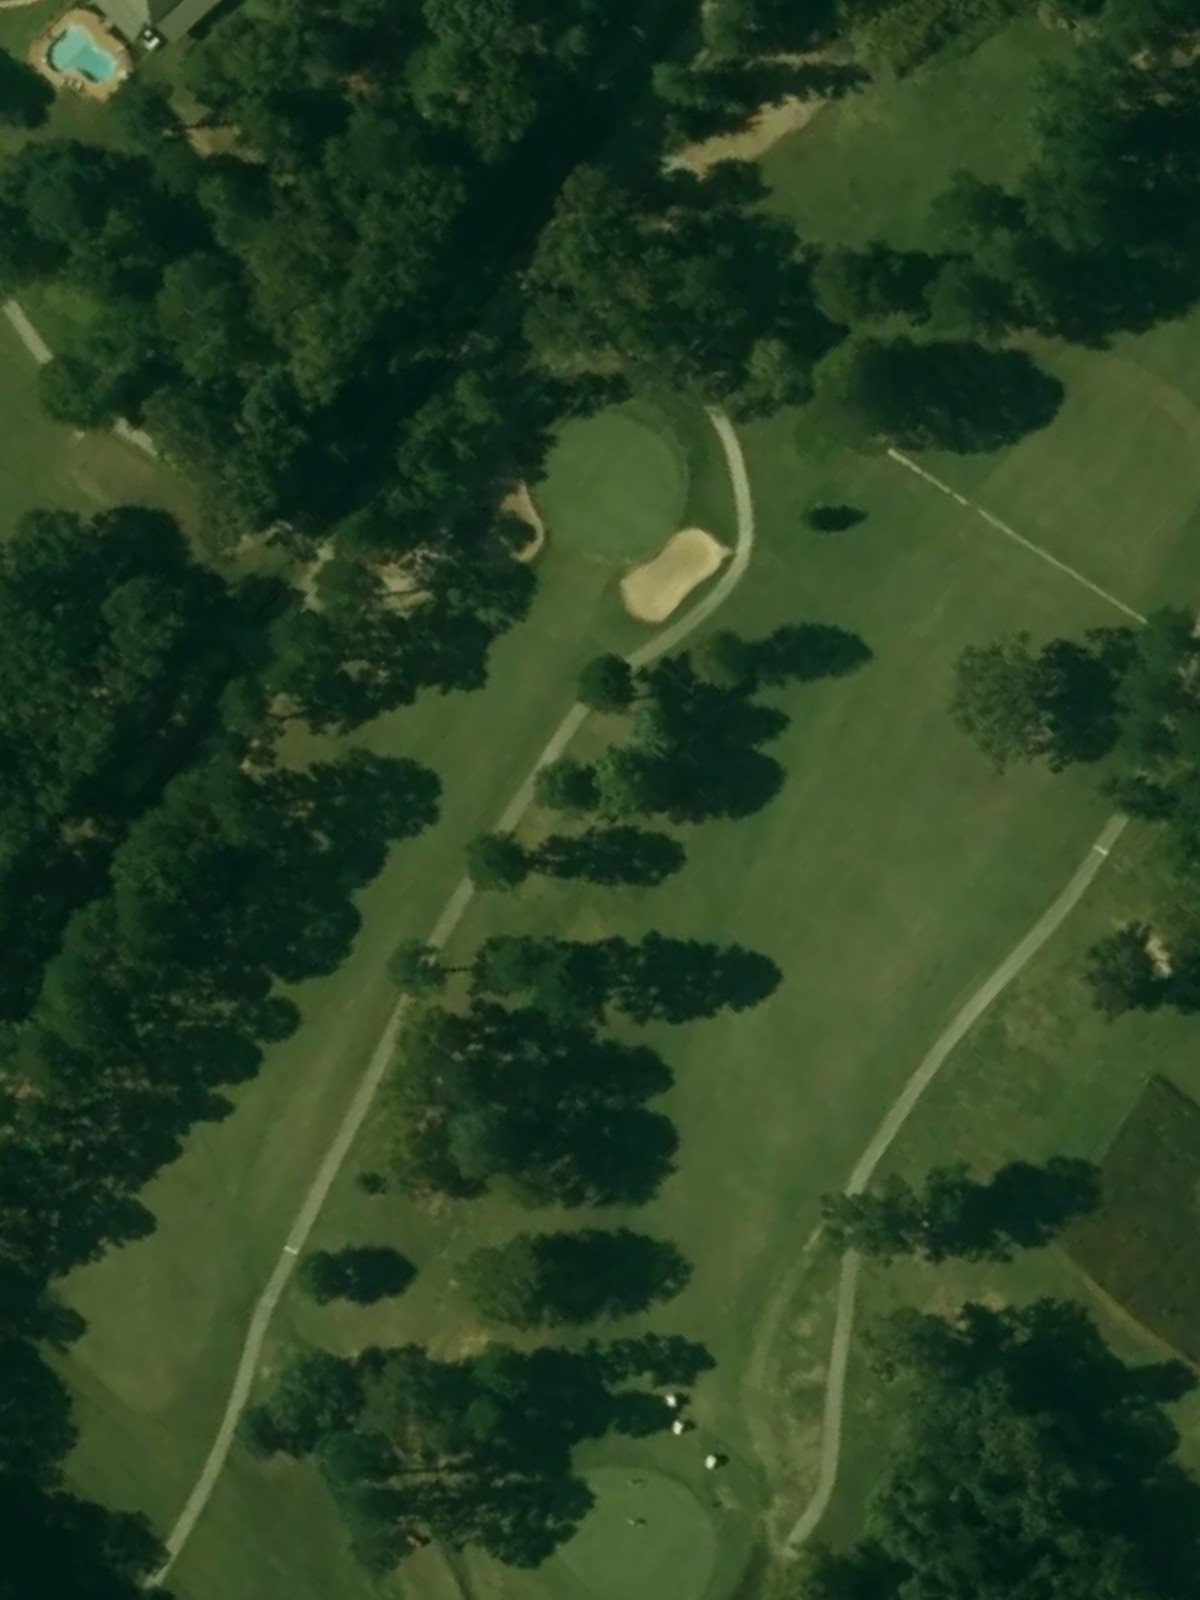
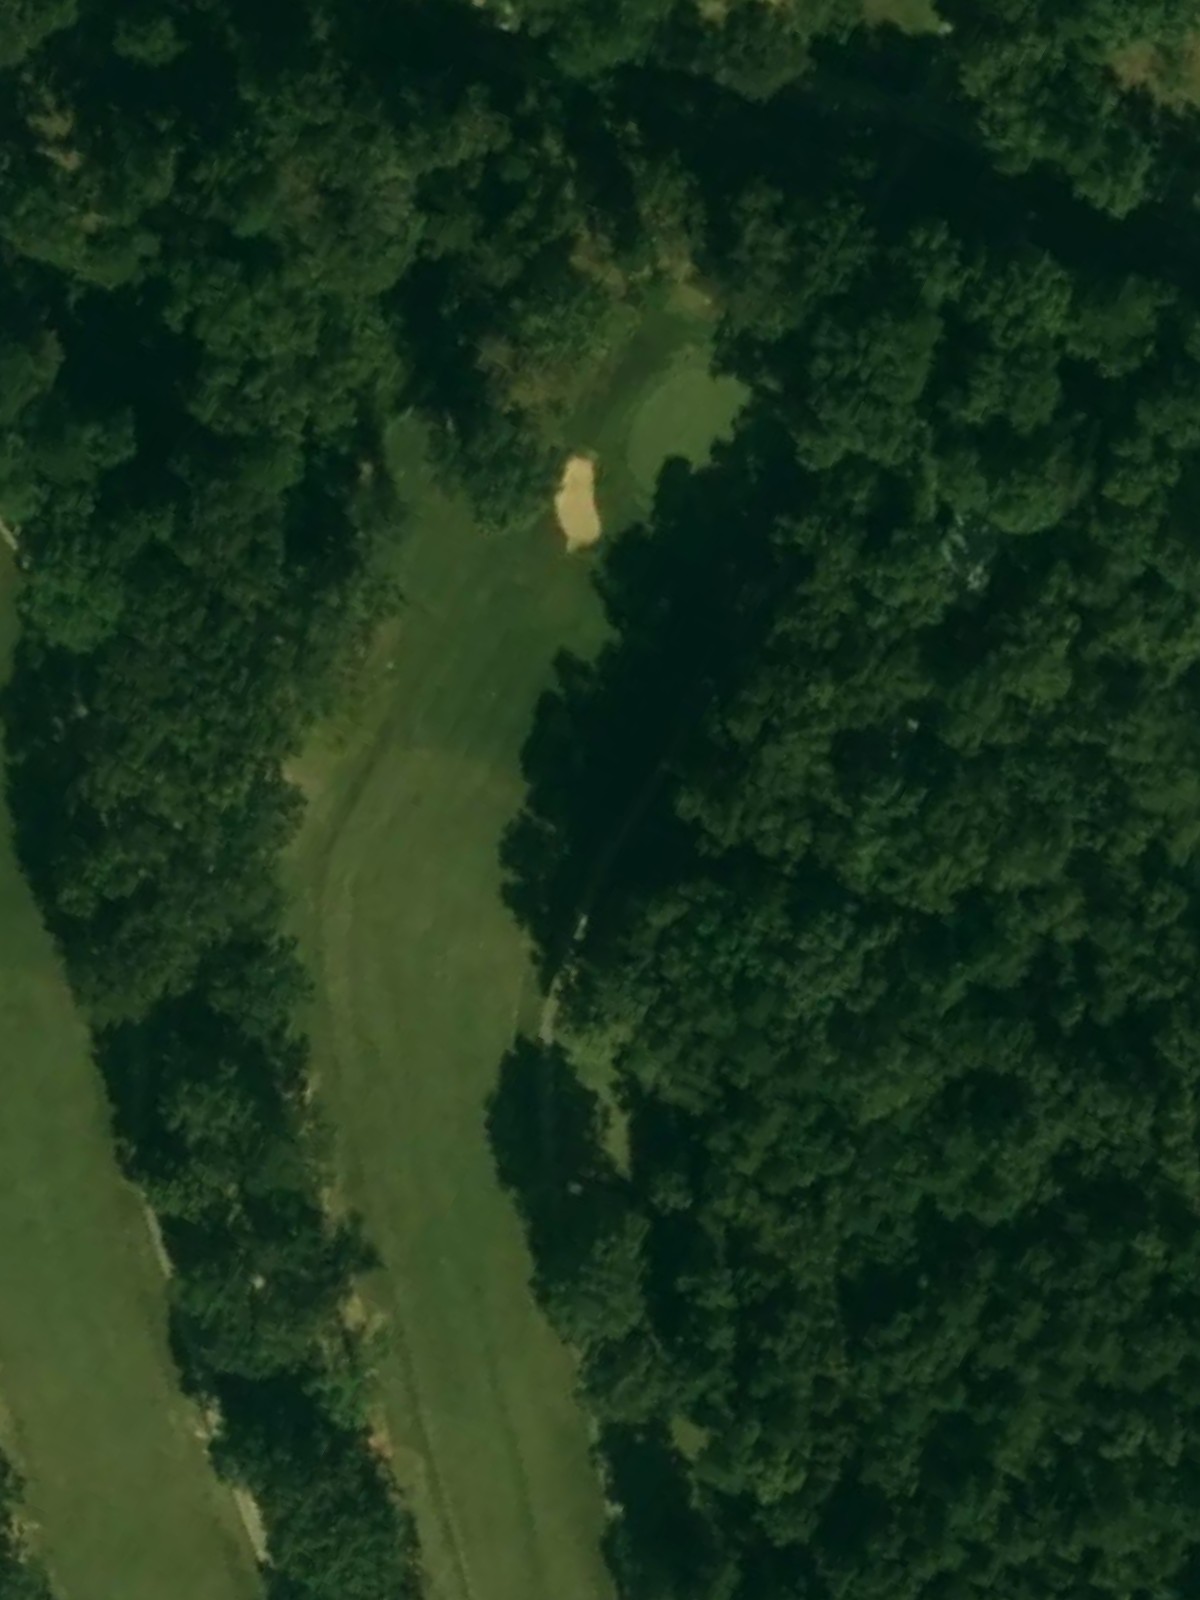
A mid-length par 3 that demands an accurate tee shot to a well-bunkered green. The hole's character is defined by its isolation and the need to find the putting surface in regulation.
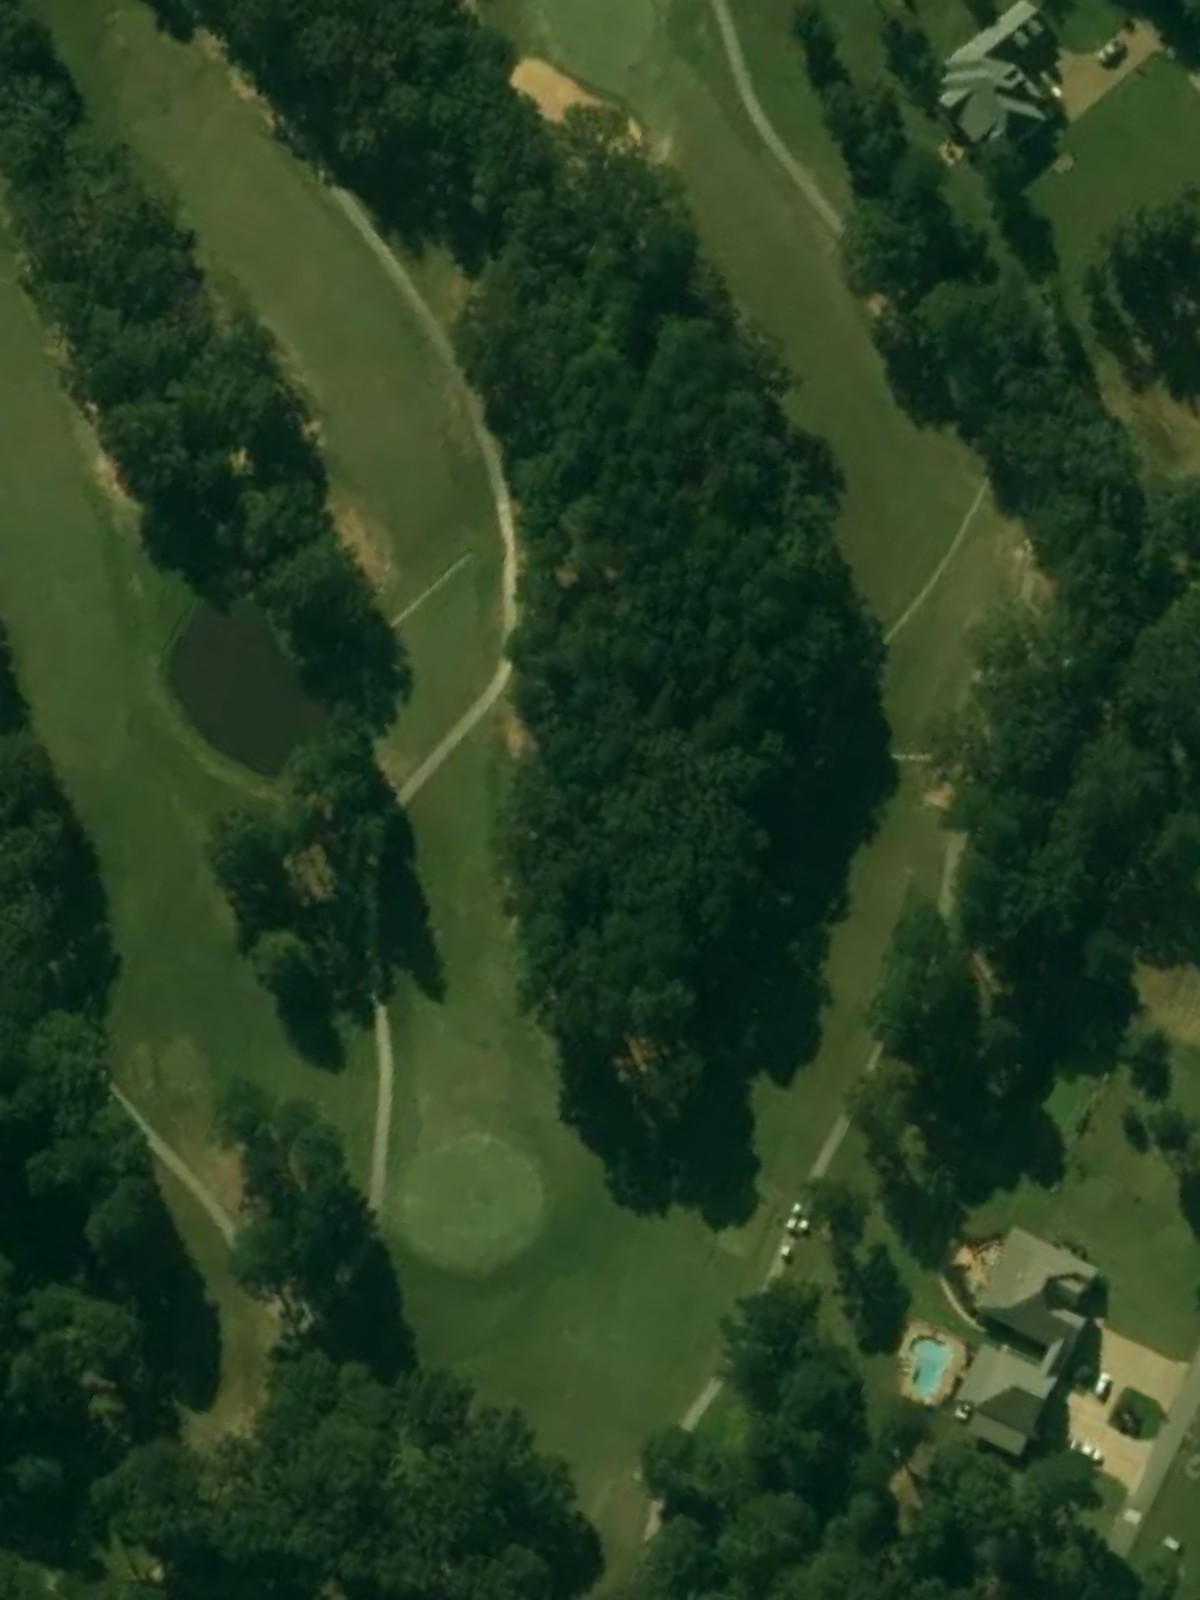
A moderately-lengthed par 4 with a relatively open layout that allows for a variety of shot shapes. The fairway is forgiving, but the approach to the green requires care to avoid hazards guarding the target.
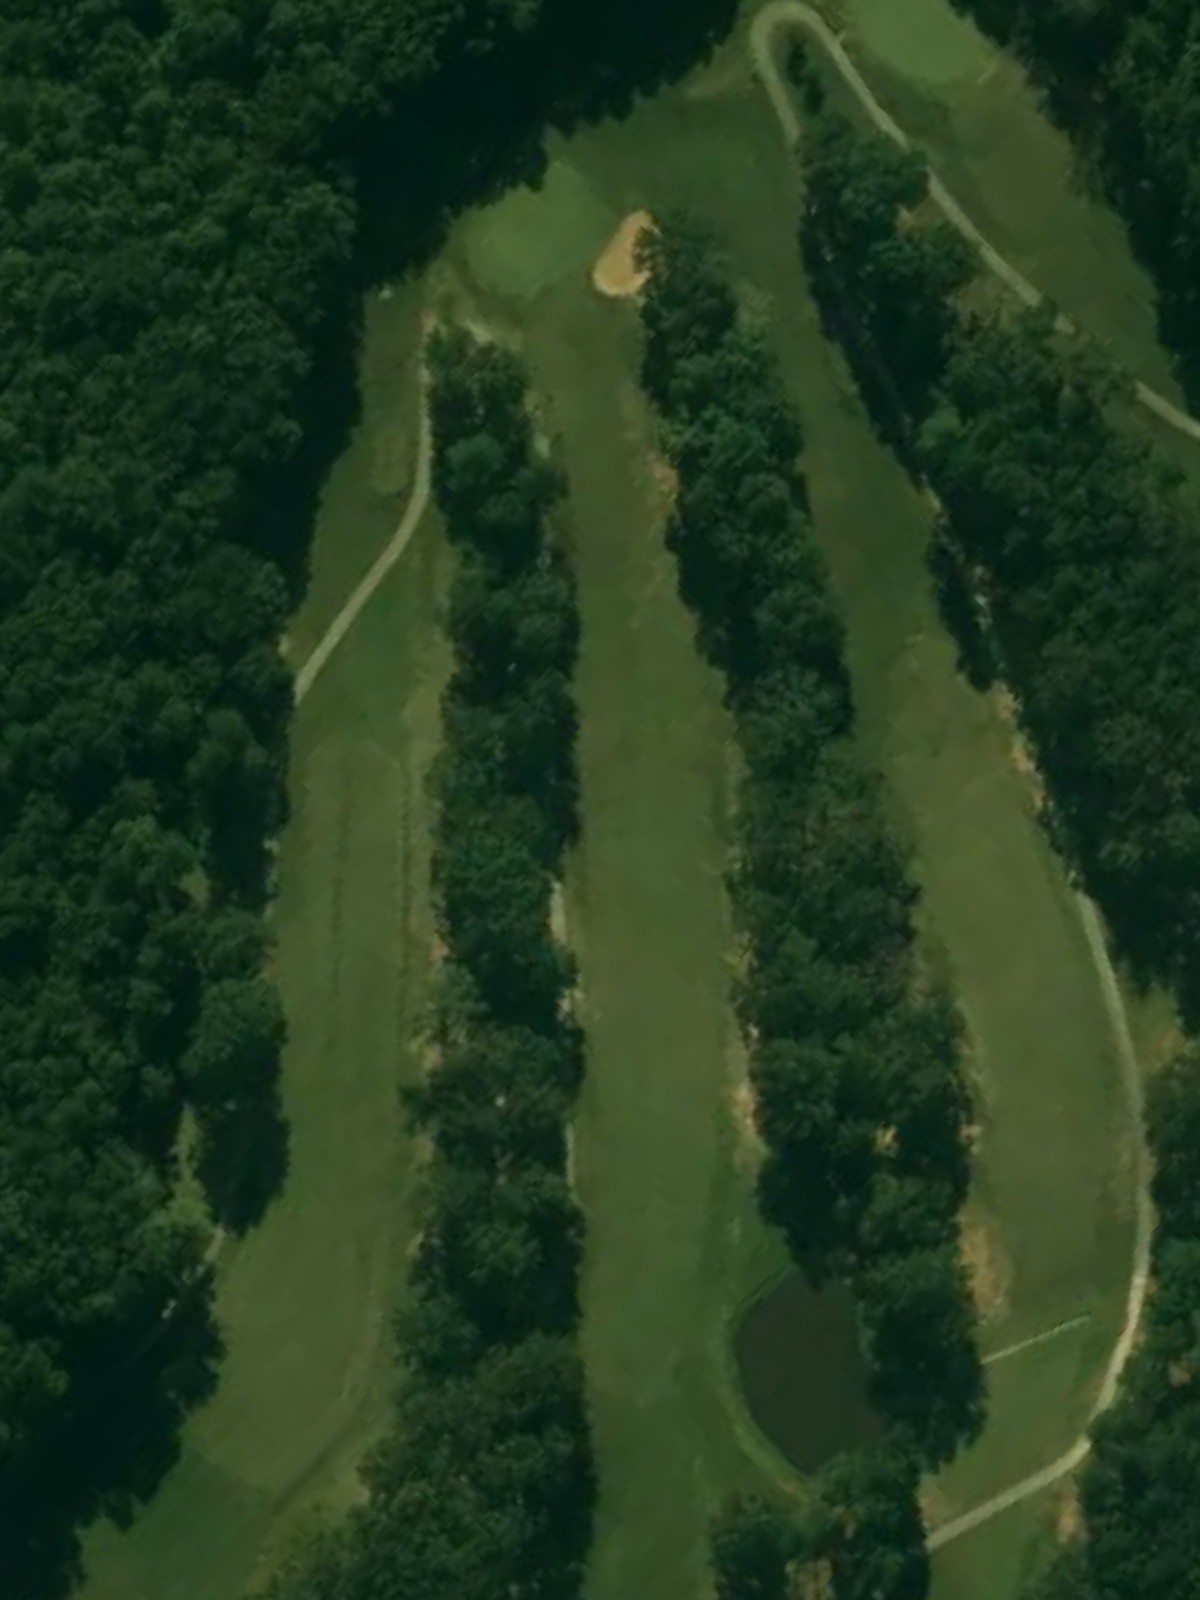
A generous par 5 that plays downhill and offers good scoring opportunity despite its length. The hole opens up off the tee, but bunkers and water hazards come into play on the approach shots, making the final approach the critical decision point.
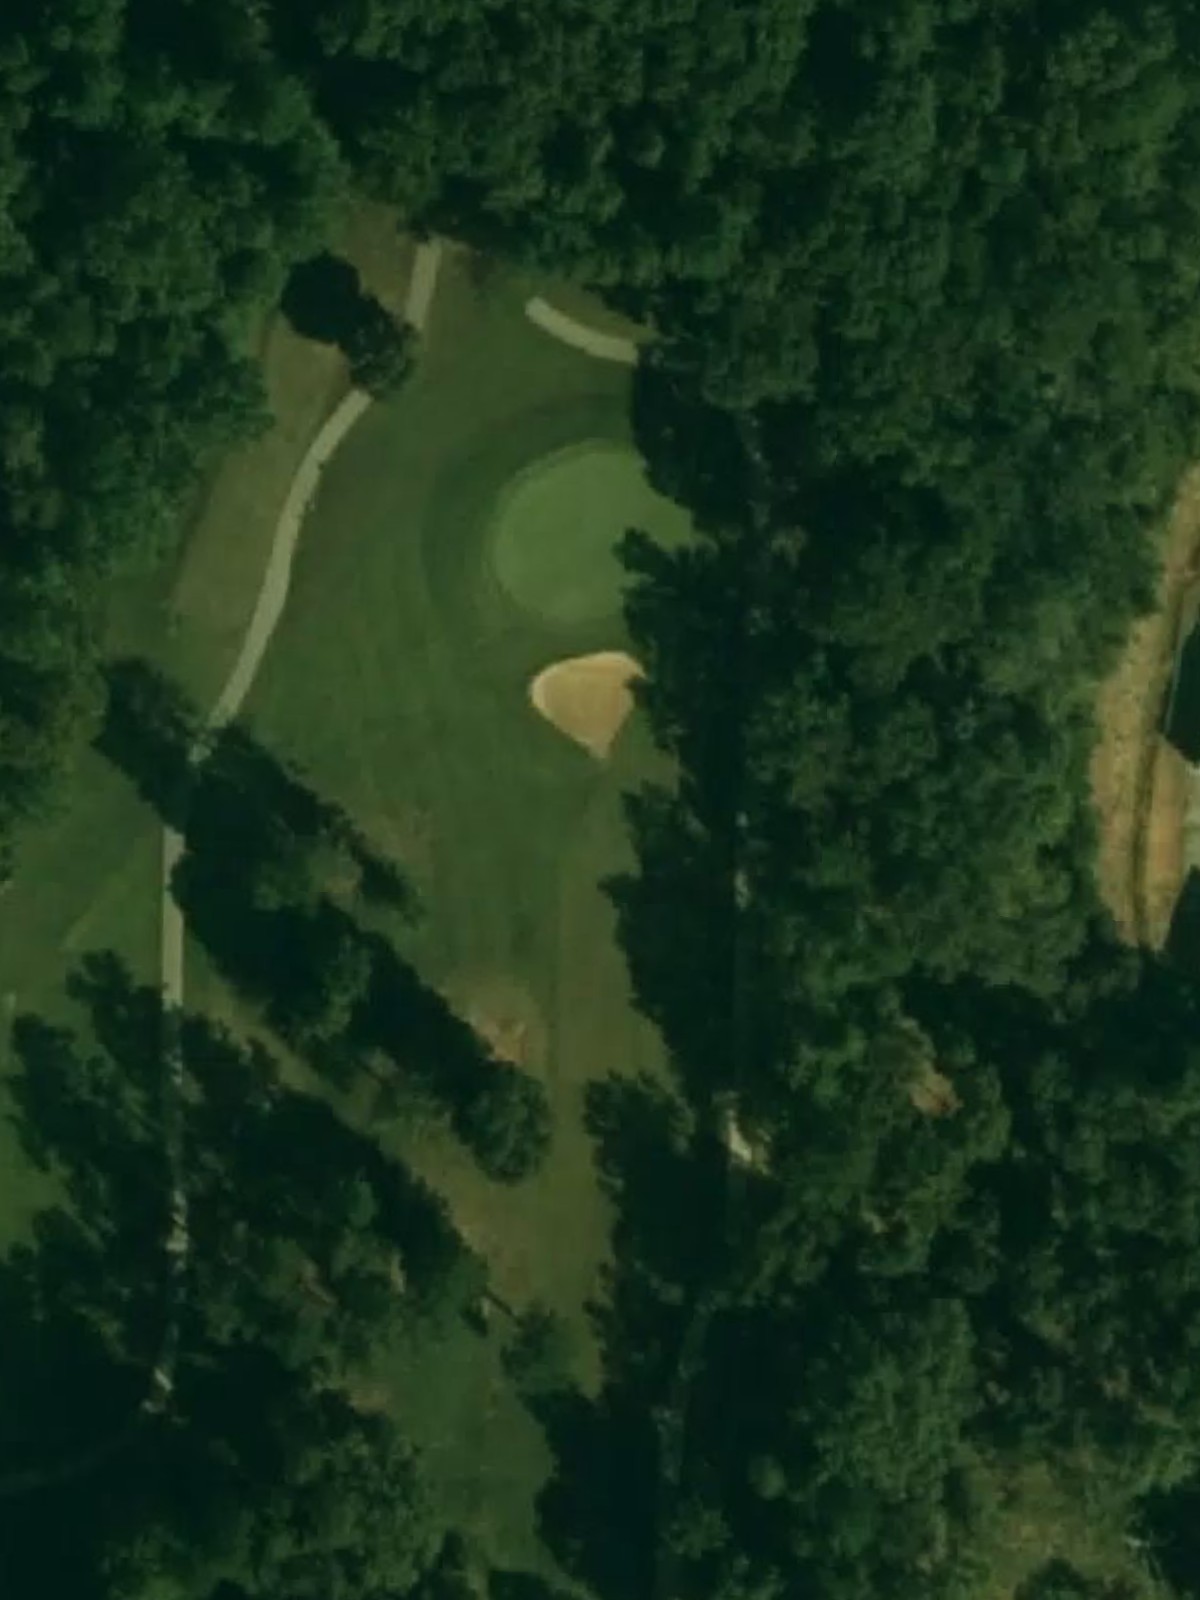
The #1 handicap hole is a formidable par 4 that plays long and demands two solid shots to reach the green in regulation. Hazards frame both sides of the fairway and converge near the green, creating a challenging risk-reward scenario.
A lengthy par 3 requiring a long, accurate tee shot over hazards to reach an elevated green. The green is well-bunkered and sits above the approach, creating a significant visual and strategic challenge.
A solid par 4 with a fairway that narrows through the landing zone and then opens toward the green. Bunkers and water hazards define the left side, while the right offers slightly more breathing room on the approach.
A sprawling par 5 that rewards aggressive play off the tee but becomes tighter as it approaches the green. Water and bunkers converge near the target, making the layup and final approach critical to scoring well.
A long par 5 that plays uphill throughout, requiring three solid shots to reach the green comfortably. The fairway is relatively open off the tee, but hazards begin to encroach as the hole plays deeper and narrower toward the elevated green.
A mid-length par 4 with a fairway that offers a direct line to the green without major obstacles in the landing zone. Bunkers protect the green complex, making the approach shot the defining moment of the hole.
The #2 handicap hole is a challenging par 4 that demands precision and length for two successive shots. Hazards line both sides of the fairway and frame the green, leaving little margin for error.
A short par 3 with a tight, well-bunkered green that punishes wayward tee shots despite the hole's modest length. The small target area makes accuracy paramount over distance.

The #4 handicap hole plays as a strong par 4 that requires a well-struck drive and a confident approach into a challenging green. Hazards frame the landing area and guard the green complex on multiple sides.
A scenic par 4 with a fairway that bends slightly and narrows as it approaches the green. Bunkers and water hazards on the left side define the hole's character and influence club selection off the tee.
A shorter par 4 that belies its difficulty with a tight, bunkered green and hazards lurking left and right. The hole's brevity is offset by its precision requirement, making it a deceptively challenging one-shotter for the second stroke.
The #18 handicap (easiest) hole is a short par 3 with a straightforward shot to a relatively accessible green. While bunkers protect the target, the modest yardage and open layout make this a birdie opportunity.
A finishing par 5 that plays long and can be stretched further by hazards on the left and right sides of the fairway. The final approach into a green framed by bunkers demands a quality third shot to close out the round.
Scorecard
| Hole | 1 | 2 | 3 | 4 | 5 | 6 | 7 | 8 | 9 | Out | 10 | 11 | 12 | 13 | 14 | 15 | 16 | 17 | 18 | In | Tot |
|---|---|---|---|---|---|---|---|---|---|---|---|---|---|---|---|---|---|---|---|---|---|
| Par | 4 | 4 | 3 | 4 | 5 | 4 | 3 | 4 | 5 | 36 | 5 | 4 | 4 | 3 | 4 | 4 | 4 | 3 | 5 | 36 | 72 |
| HCP | 11 | 3 | 9 | 13 | 17 | 1 | 5 | 7 | 15 | 12 | 8 | 2 | 14 | 4 | 6 | 10 | 18 | 16 | |||
| blue | 335 | 396 | 200 | 367 | 481 | 411 | 227 | 395 | 495 | 3307 | 515 | 358 | 377 | 142 | 414 | 389 | 322 | 171 | 488 | 3176 | 6483 |
| white | 322 | 382 | 197 | 356 | 471 | 401 | 214 | 382 | 485 | 3210 | 502 | 348 | 365 | 134 | 407 | 375 | 316 | 152 | 475 | 3074 | 6284 |
| gold | 314 | 303 | 164 | 305 | 450 | 323 | 155 | 320 | 421 | 2755 | 441 | 259 | 289 | 127 | 337 | 312 | 265 | 139 | 410 | 2579 | 5334 |