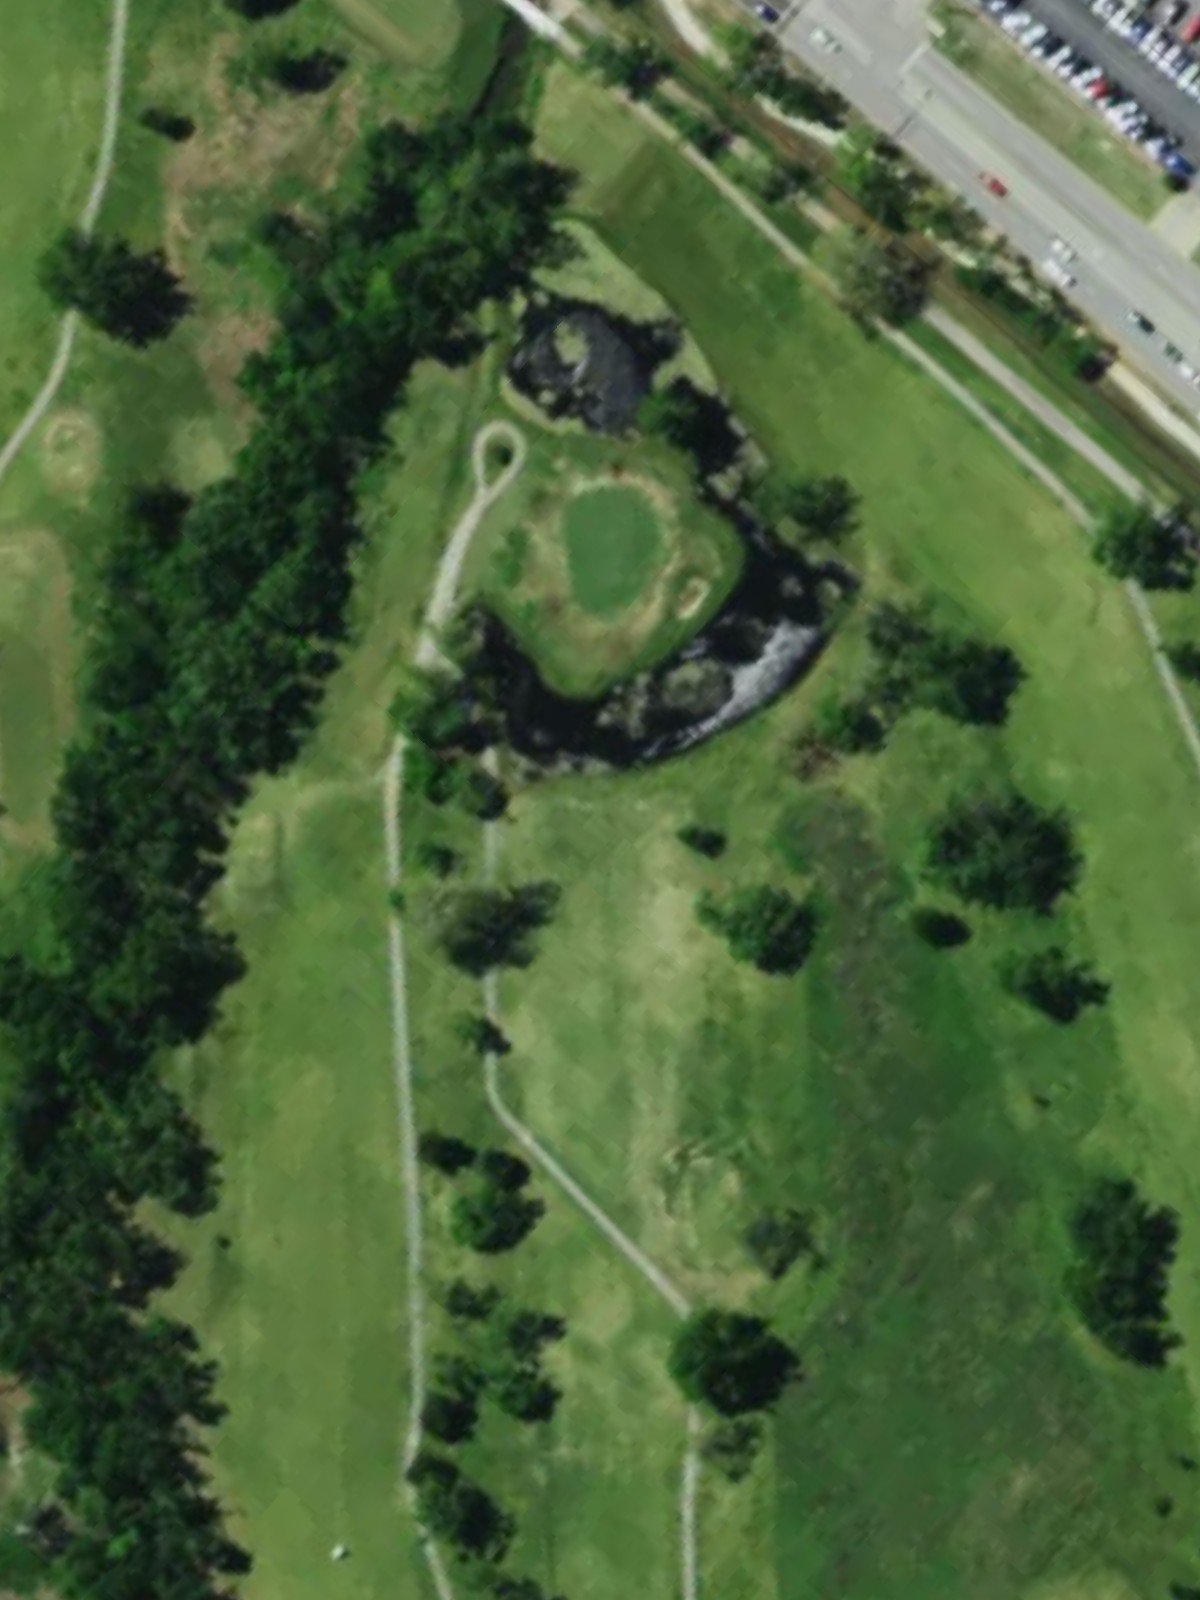
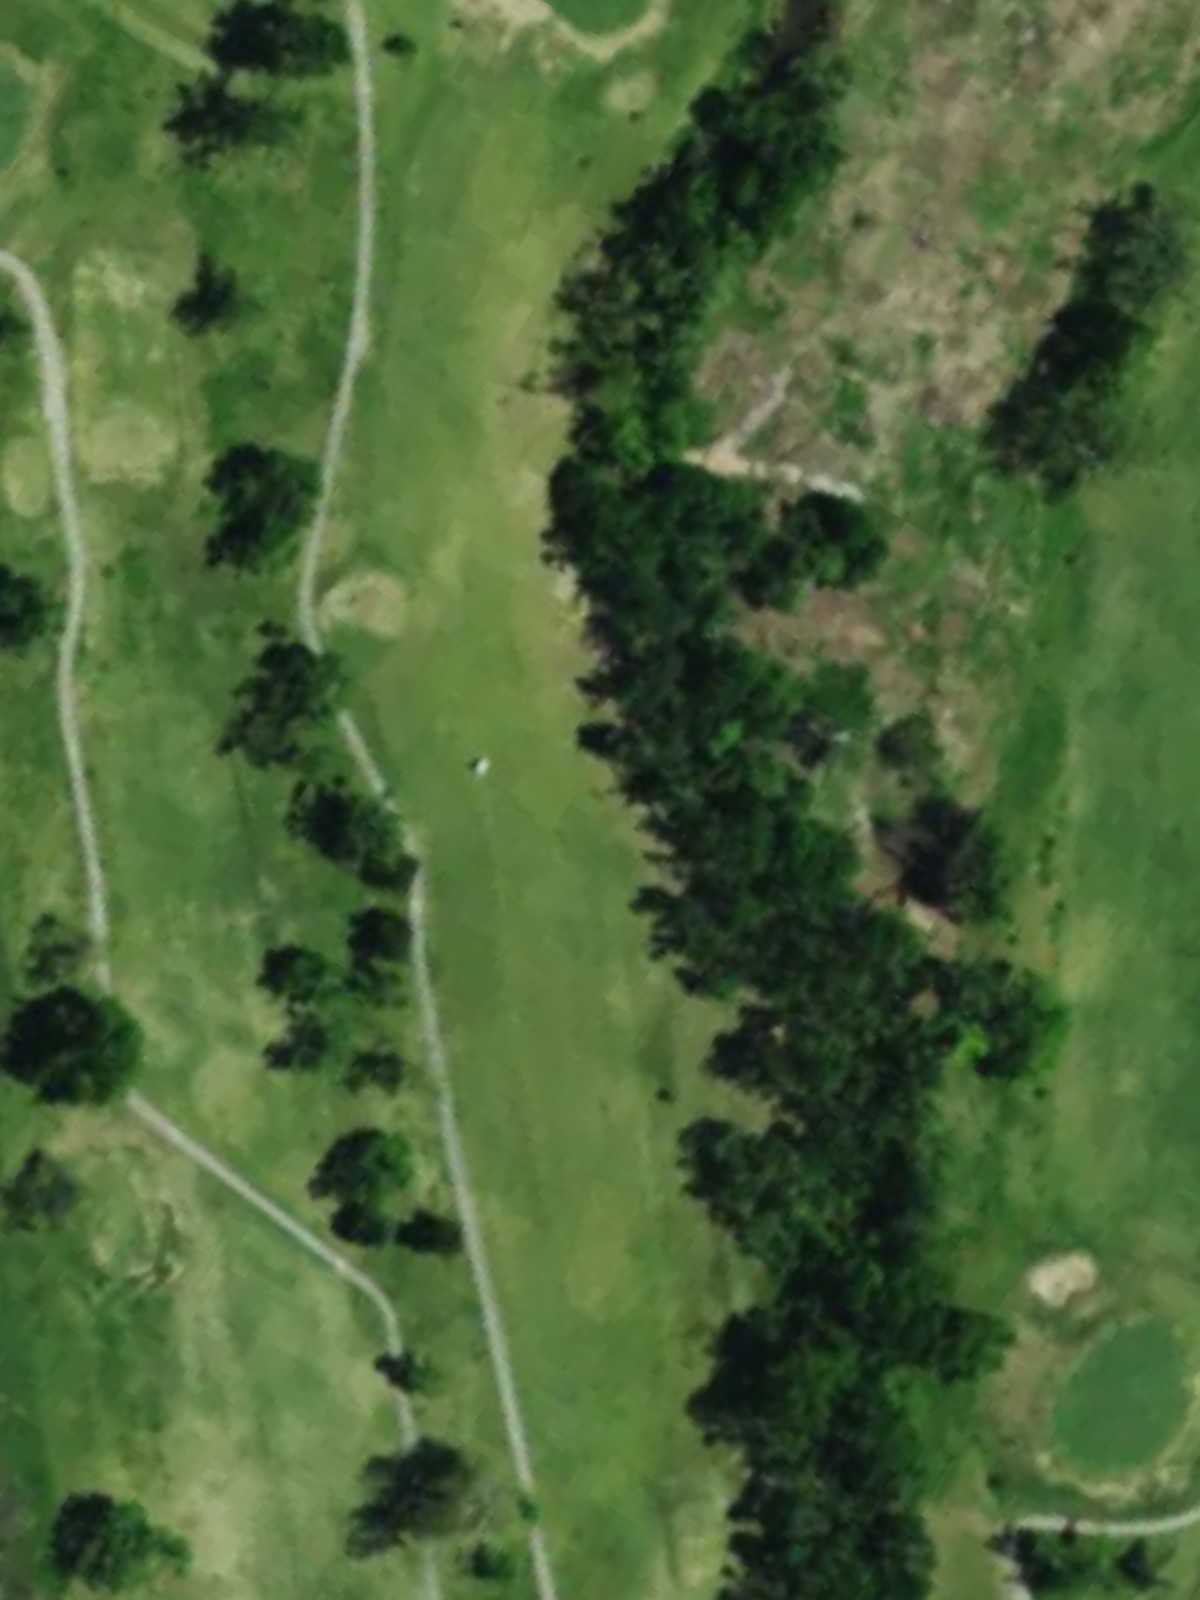
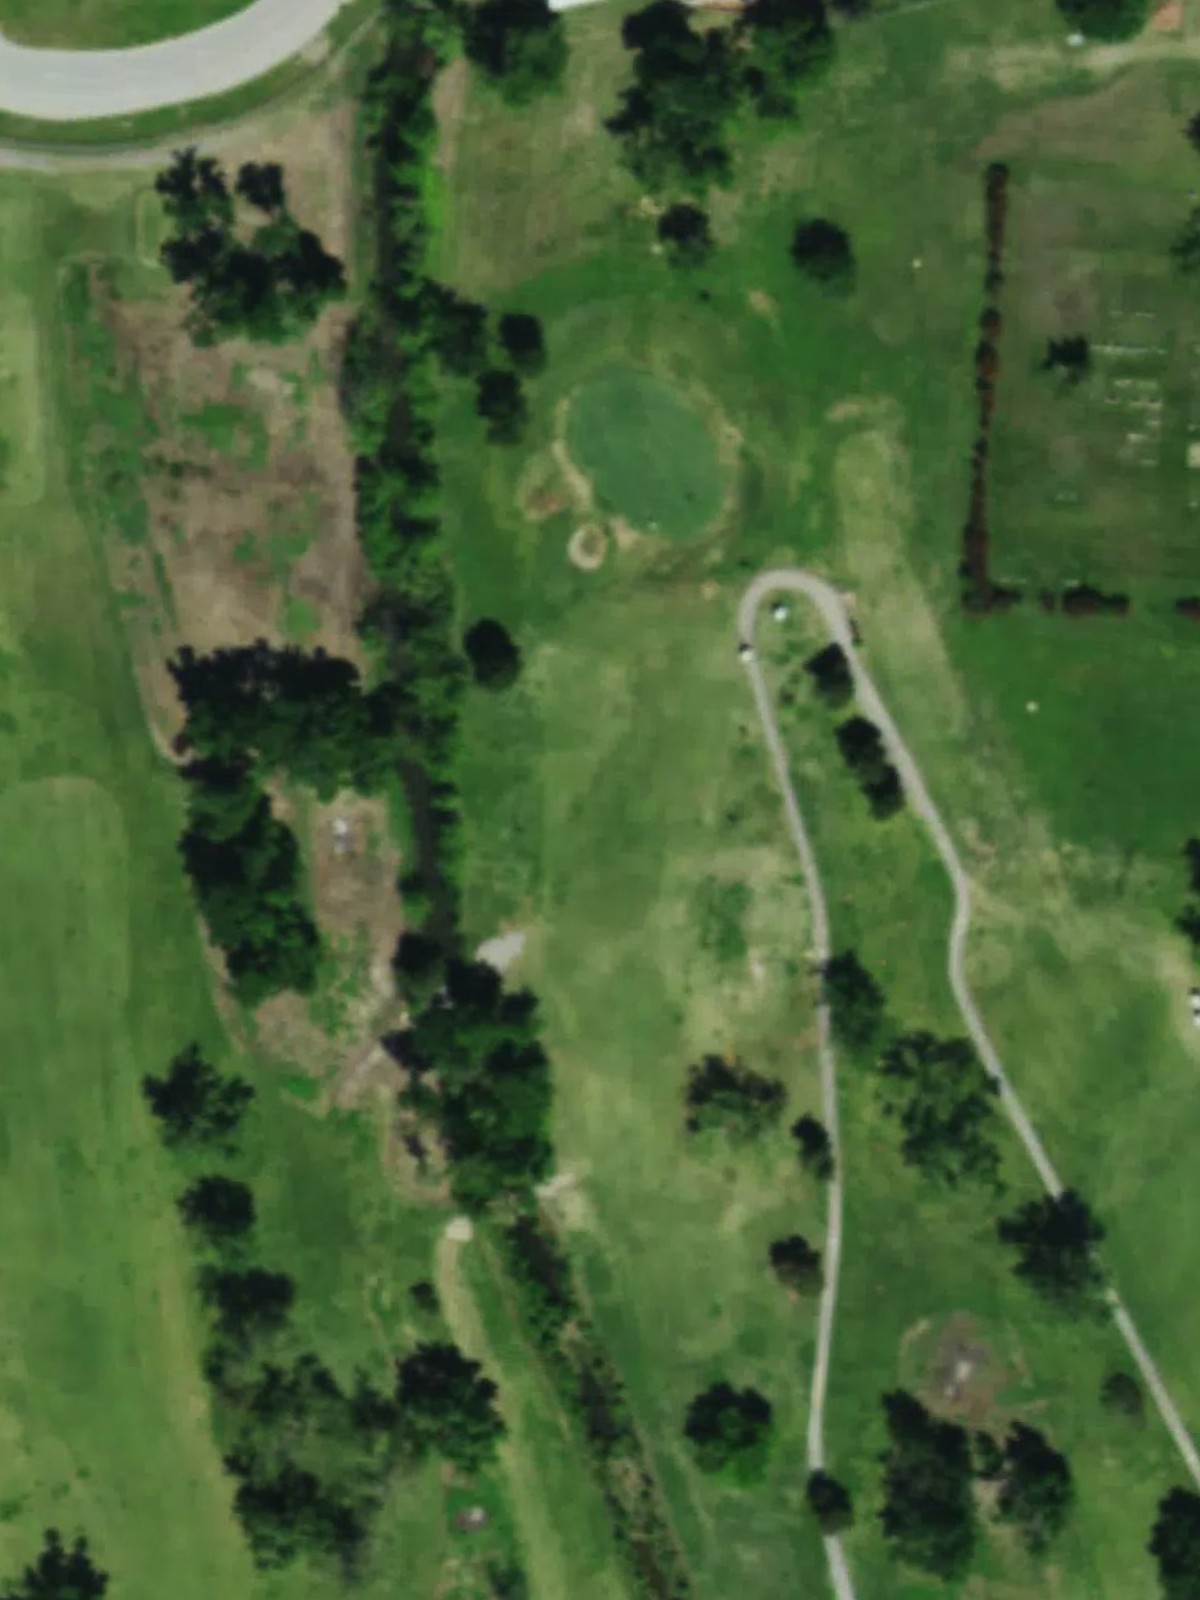
Tinker Air Force Base Gc is an 18-hole golf course in Tinker Afb, OK with a par of 72. It offers 3 tee sets: blue (6,726 yards, slope 121, rating 72.1), white (6,359 yards, slope 119, rating 69.9), silver (6,043 yards, slope 116, rating 68.7). The hardest hole is #4, a par 5 playing 604 yards from the first tee.
Tinker Air Force Base Gc
Tinker Afb, OK
Get PDF Yardage Book
We'll email you the PDF link. No spam, ever.
Create Your Game Plan
Pick your tees, enter your bag, and get a personalized shot-by-shot strategy for every hole.
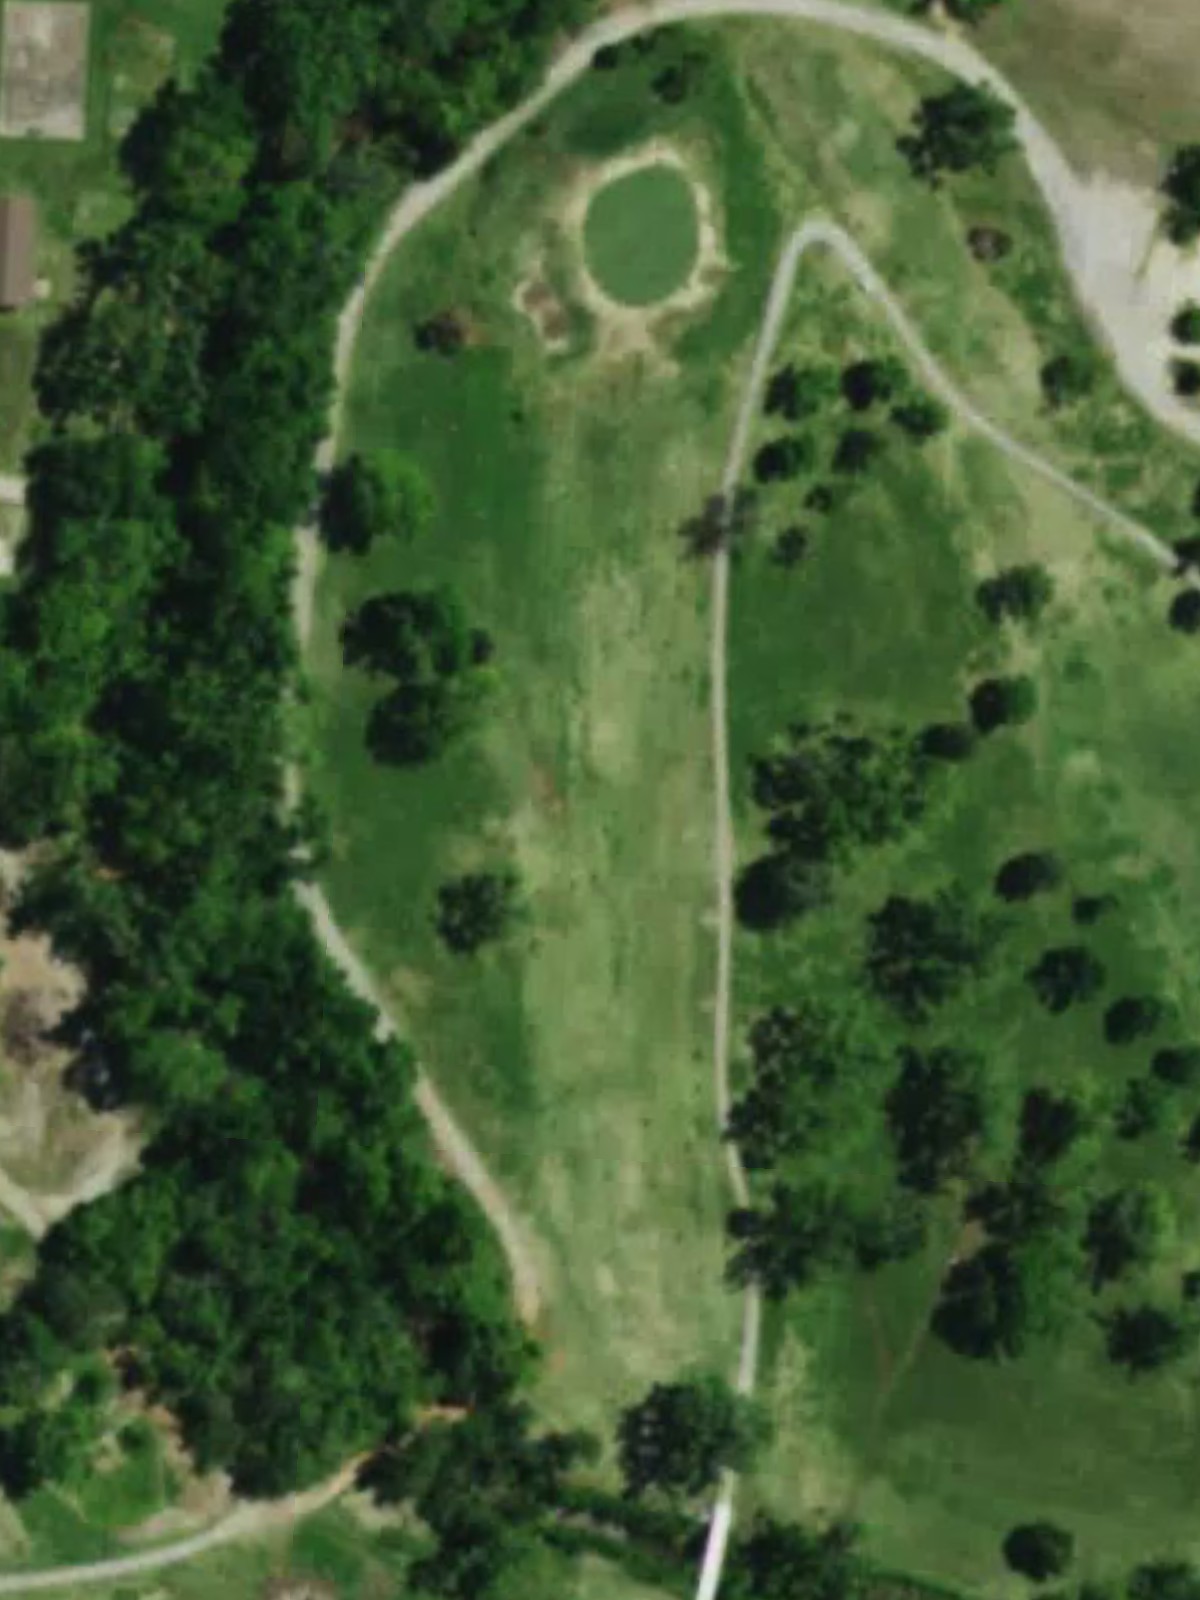
A straightaway par 4 with a relatively generous fairway that gradually tightens approaching the green. Bunkers guard the right side of the green, while the left offers a safer miss, making club selection into the green critical.
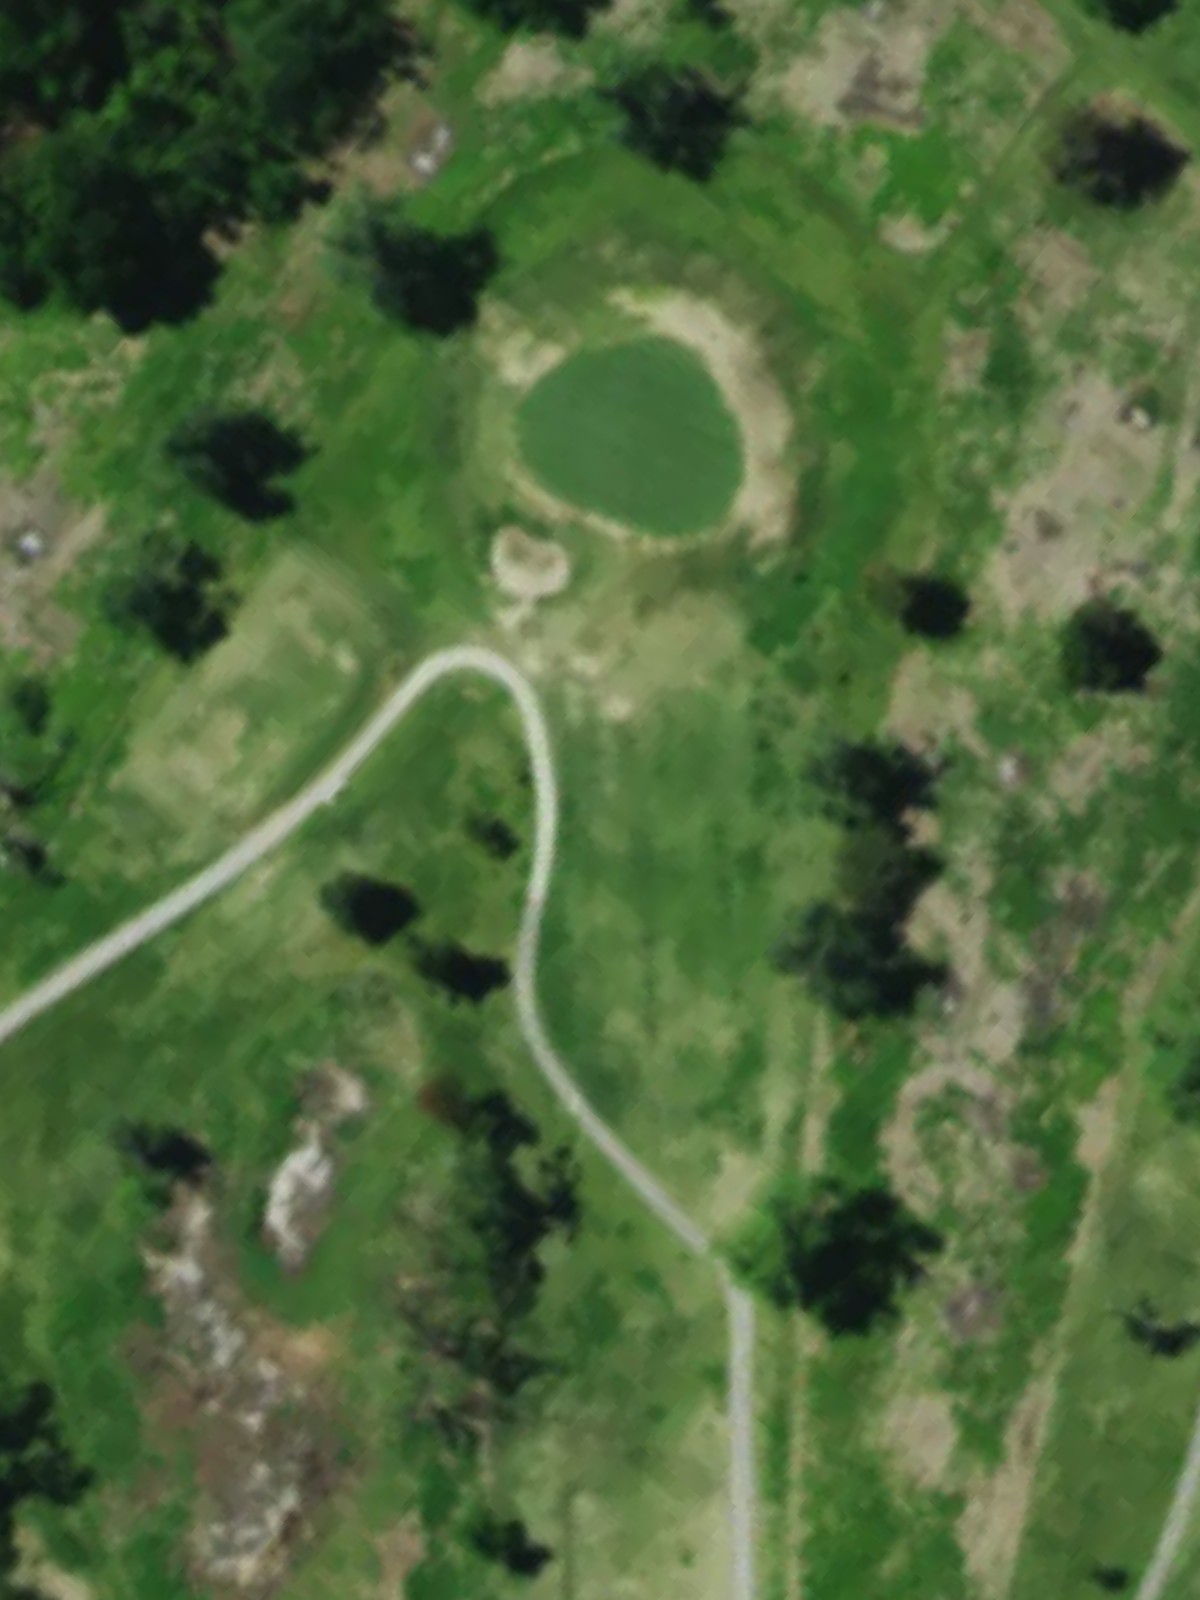
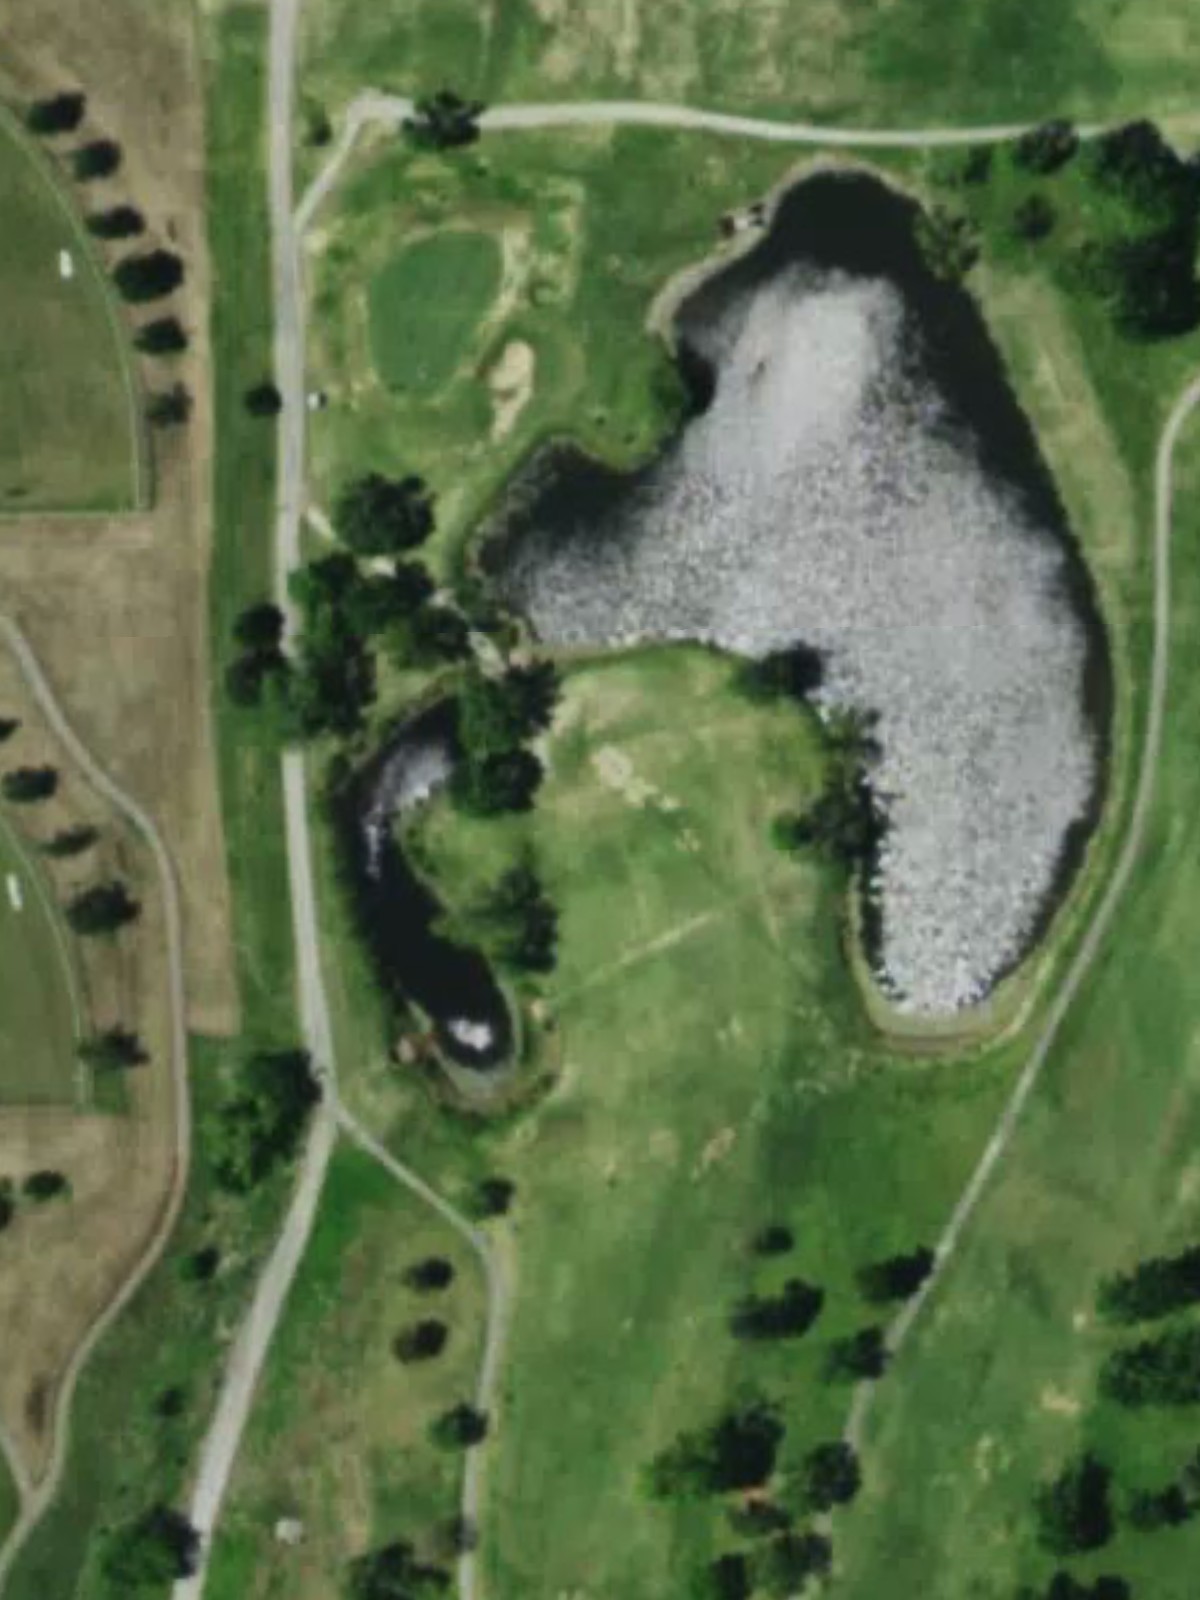
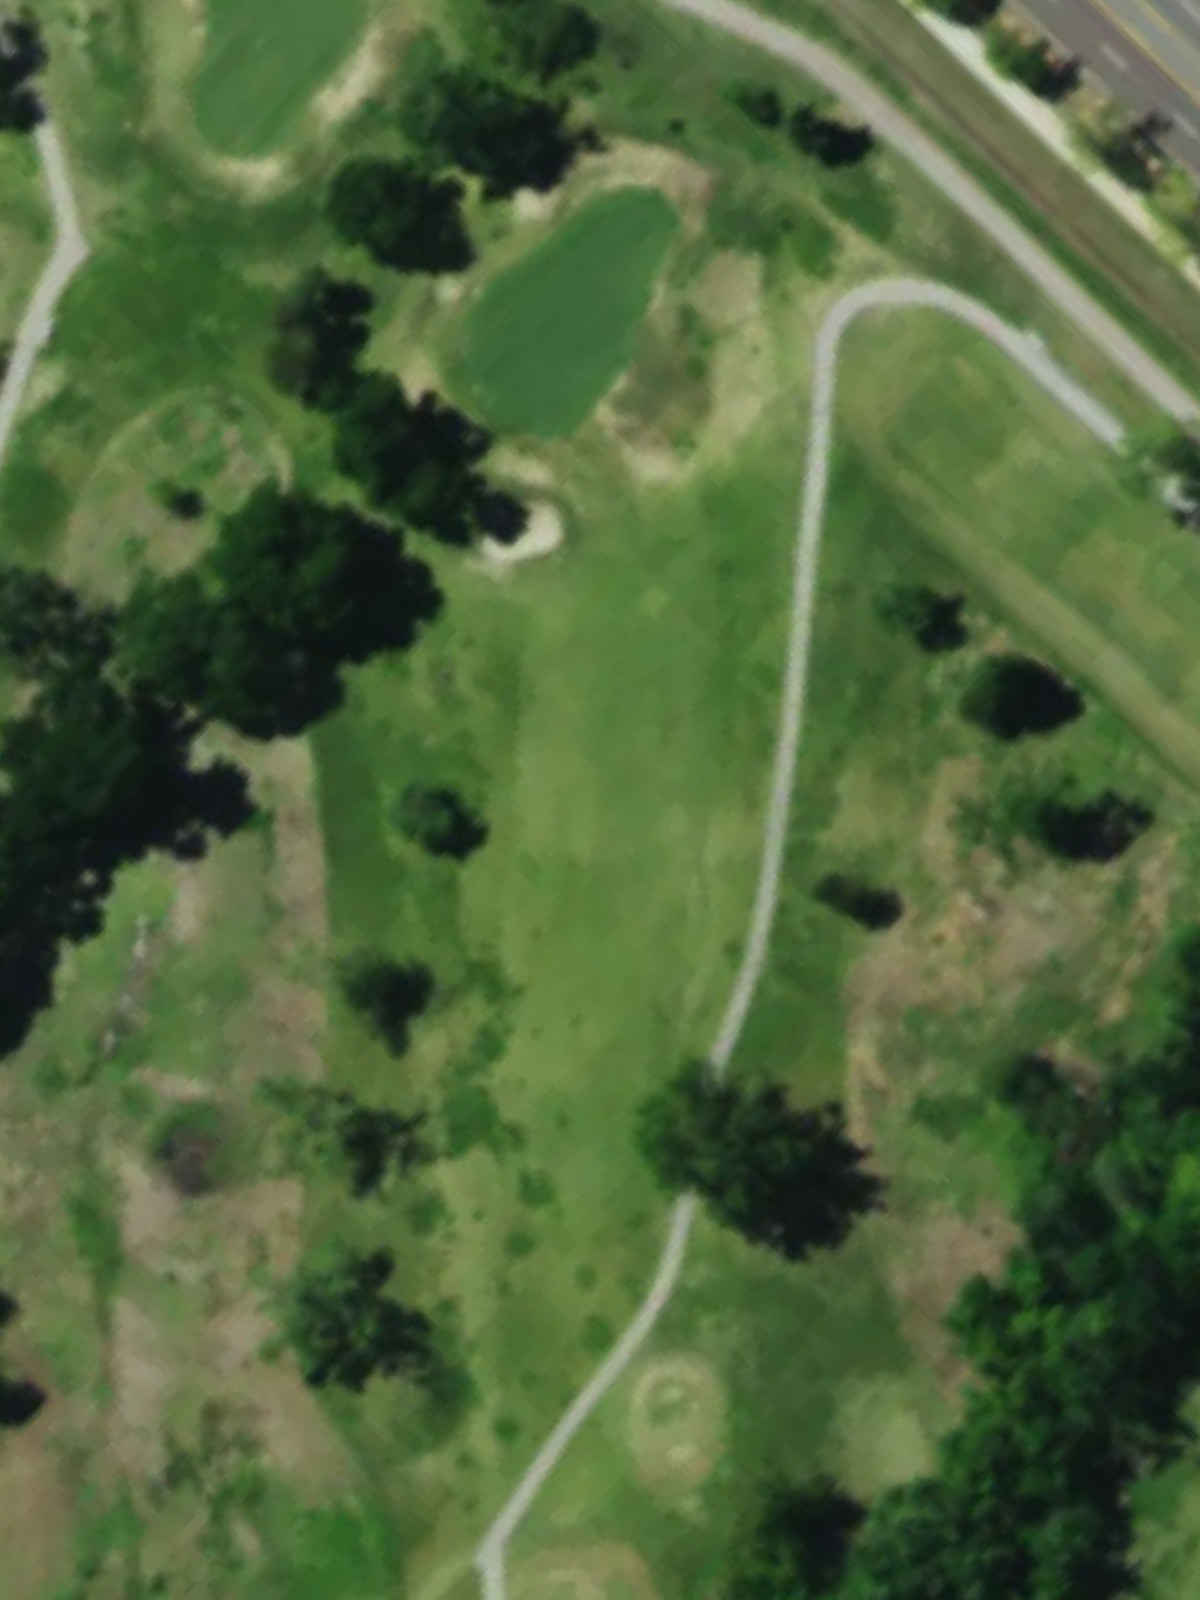
A short par 3 requiring an accurate mid-iron approach to a modest green. Water hazards frame the hole, with bunkers positioned strategically around the green to catch errant shots.
A solid par 4 that demands precision off the tee and into the green. The fairway is relatively open, but bunkers and potentially difficult rough near the greens complex create an engaging short game challenge.

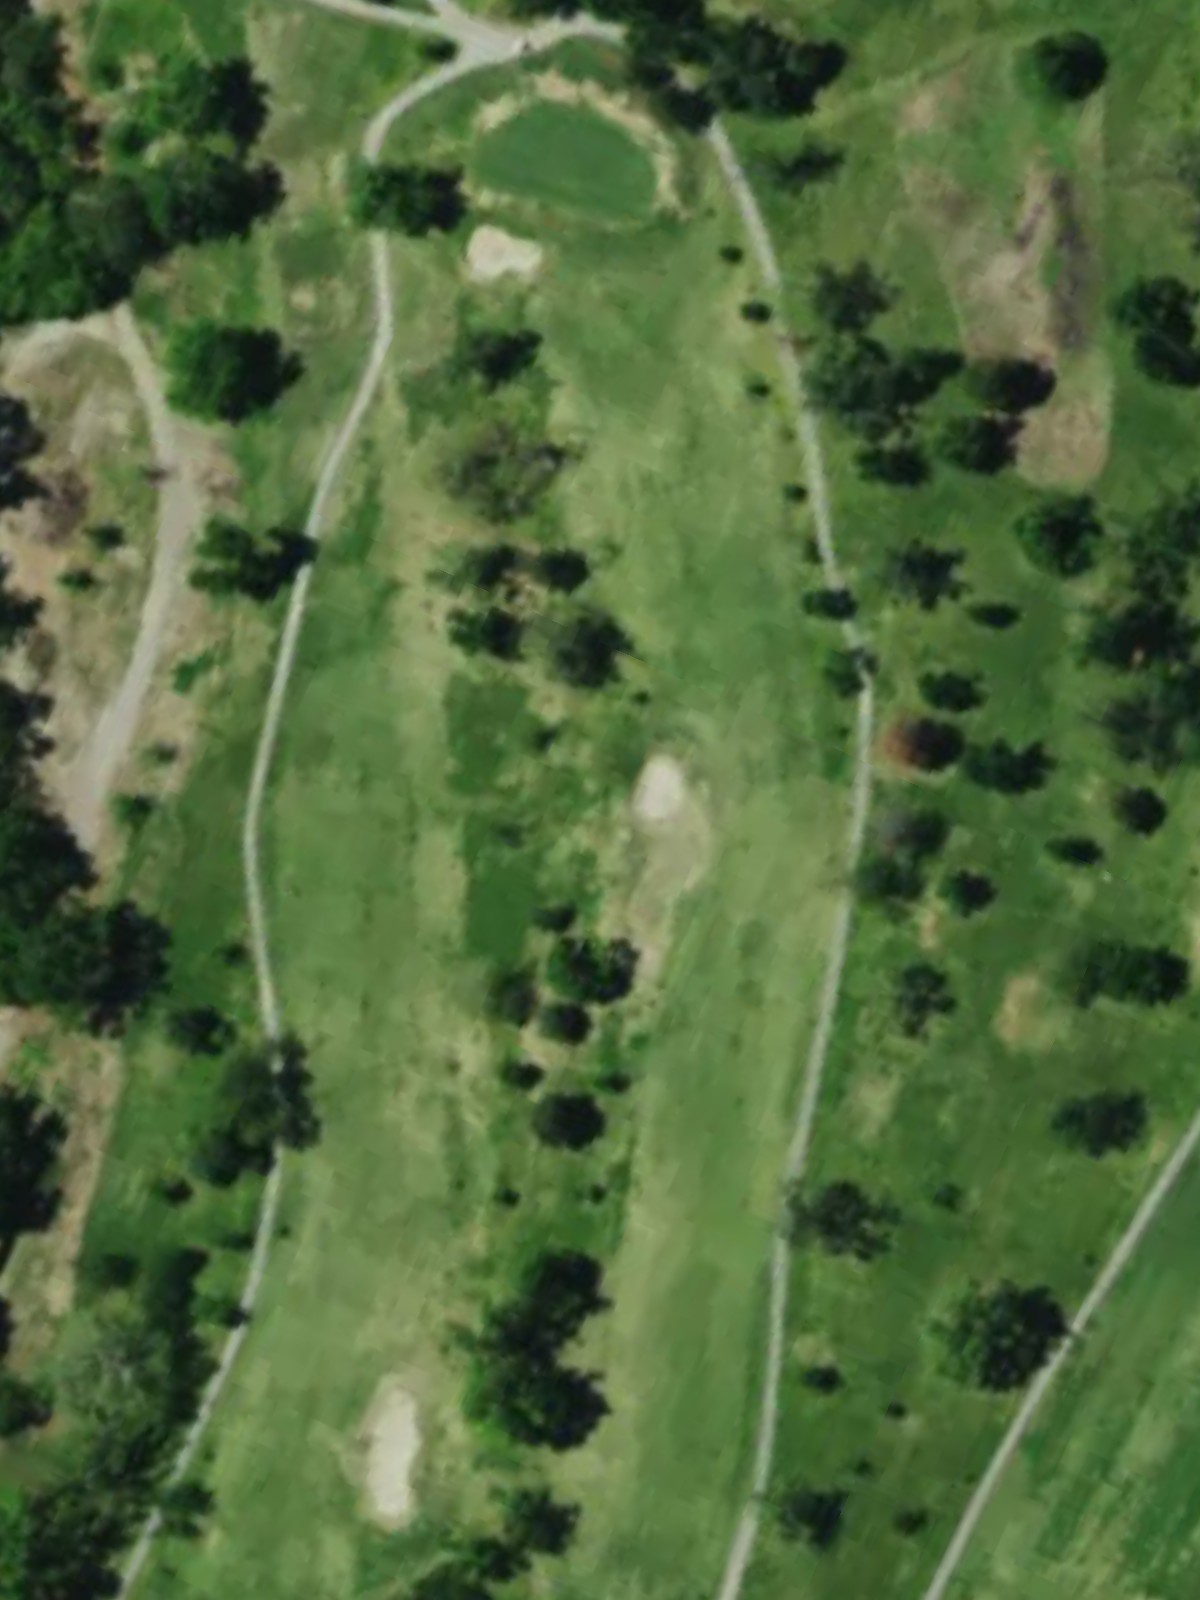
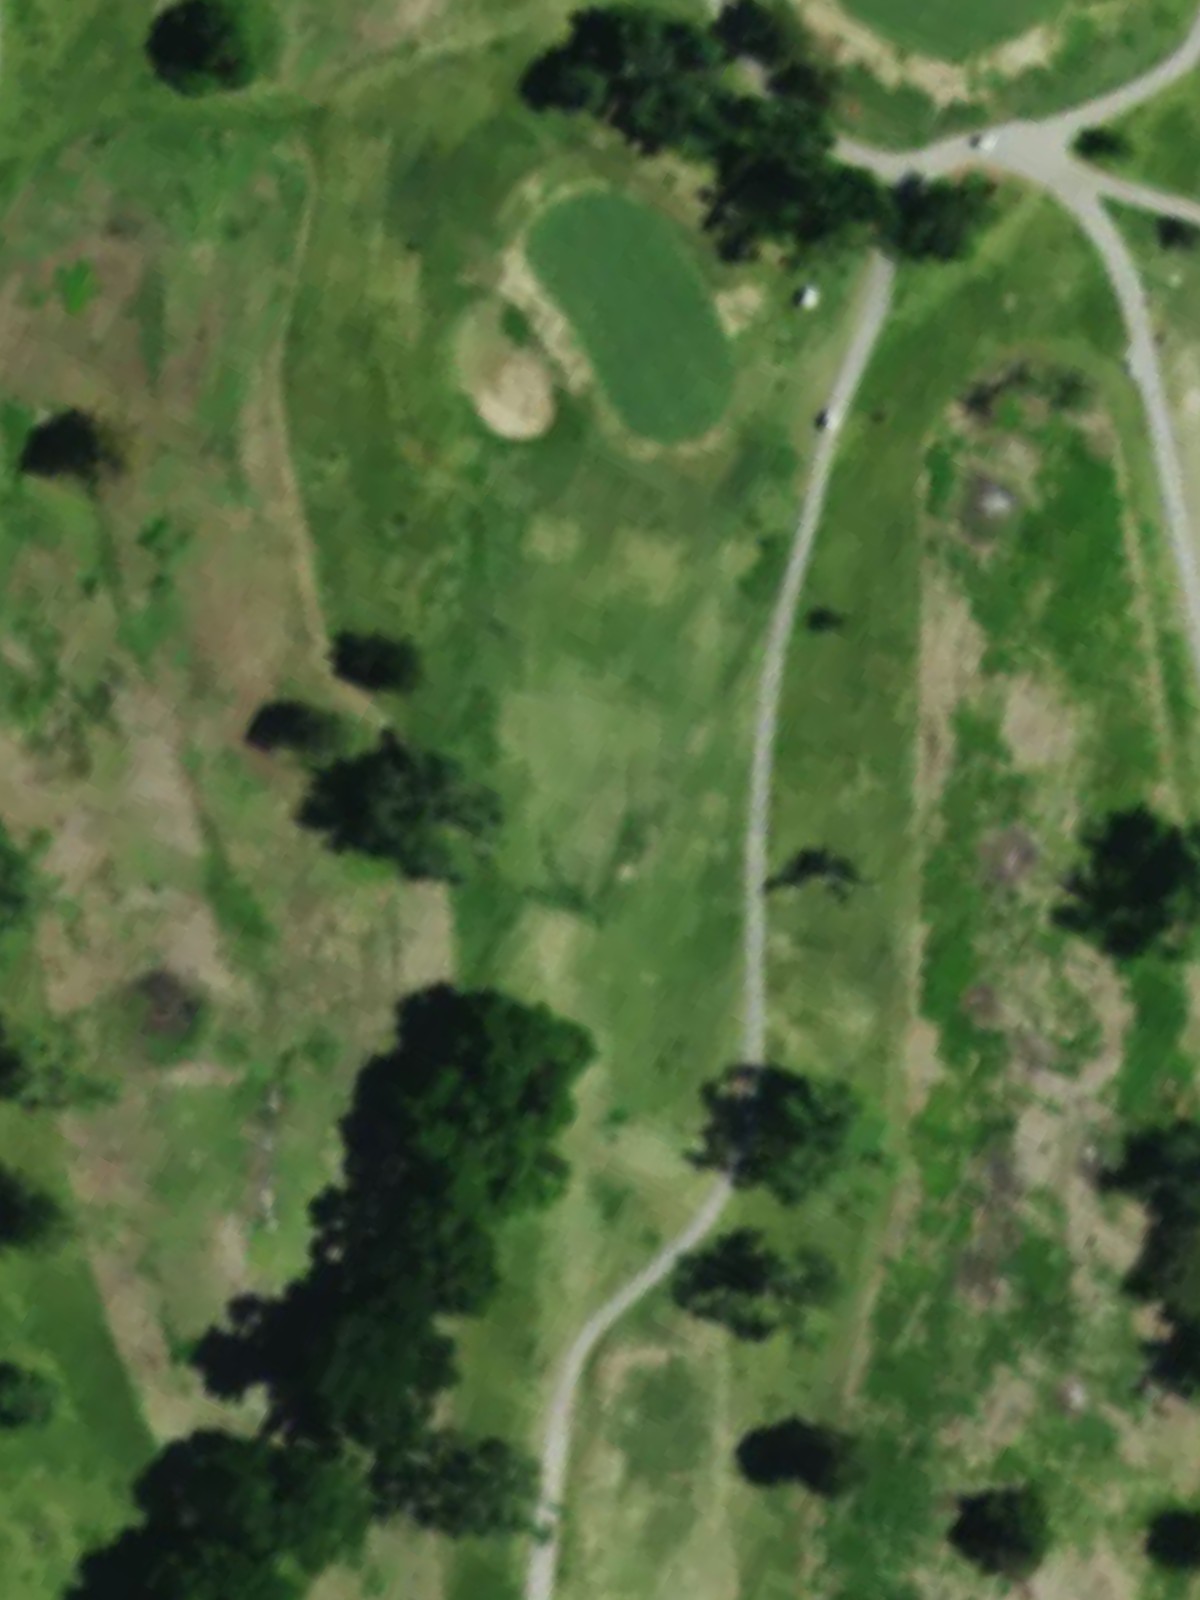
The course's longest hole, this par 5 plays as a genuine three-shotter for most players with a fairway that rewards accuracy over distance. Strategic bunkering down the corridor and around the green makes positioning crucial for the approach.

A short par 4 that appears deceptively simple but requires controlled distance and placement off the tee. The tight fairway and modest green leave little margin for error, making this a birdie opportunity that can quickly become bogey.
A mid-length par 4 with a fairway that narrows progressively toward the green. Bunkers and hazards frame the approach, making accurate club selection and shot placement essential for scoring.

A generous par 5 that offers a realistic birdie opportunity for solid players, though its length still requires three good shots. The fairway is relatively forgiving, but greenside bunkers protect the final approach.
A mid-length par 3 that demands a confident, accurate iron shot to a protected green. Bunkers and possibly water hazards surround the green, making the tee shot the critical stroke of the hole.
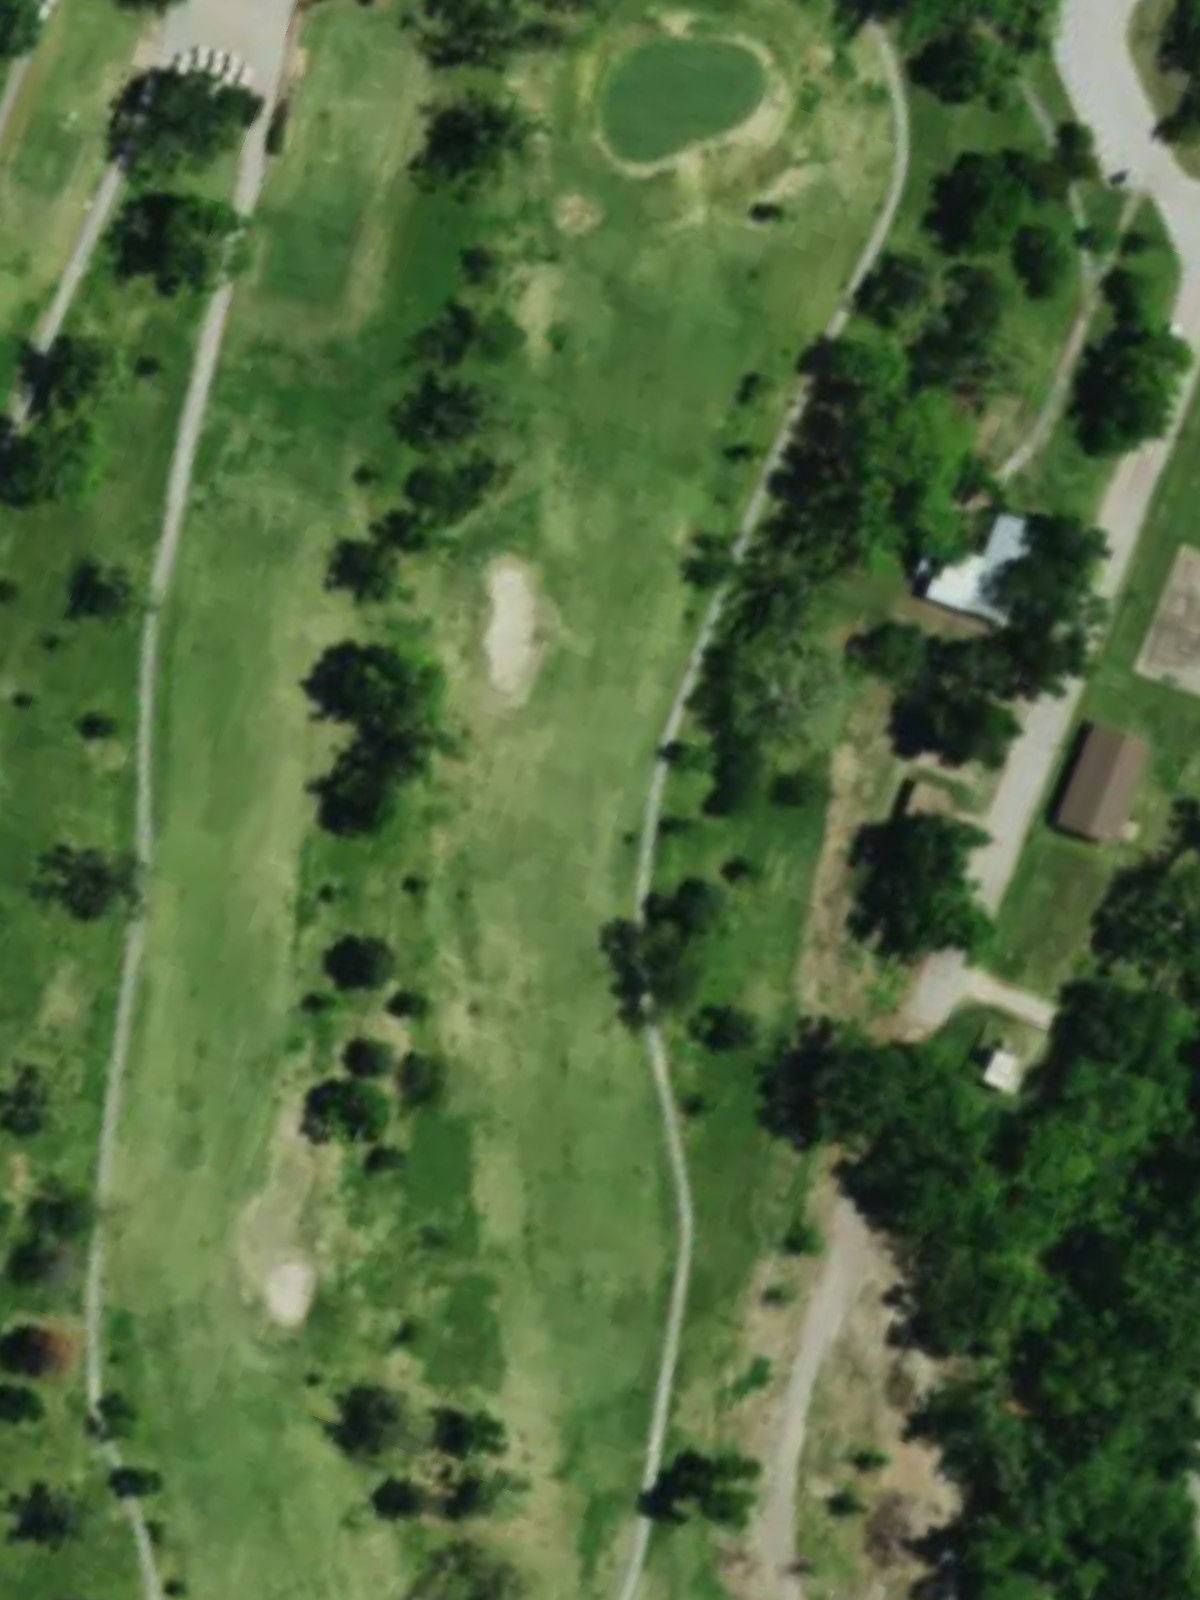
A strong par 4 that ranks among the course's most difficult, requiring two solid strokes to reach the green safely. Hazards and bunkers are strategically placed to penalize wayward shots, with limited forgiveness in the approach area.
A challenging par 4 that plays longer than it appears, with a fairway that may narrow or dogleg toward the green. Bunkers and hazards frame the hole, requiring both power and precision for a regulation score.
A testing mid-length par 3 that requires an accurate tee shot to a green surrounded by bunkers and hazards. Wind and elevation changes can significantly affect club selection and shot difficulty.

A mid-range par 5 that provides a scoring opportunity for players who can position their drives strategically off the tee. Bunkers and potential water hazards guard the approach, requiring careful planning of the second and third shots.

The course's second-hardest par 3, this hole demands precision with a longer iron or wood to a well-protected green. Significant bunkers and hazards surround the target, making this a true one-shot challenge.

A mid-length par 4 with a fairway that remains relatively open off the tee but tightens considerably around the green. Bunkers and hazards guard the final approach, creating an engaging scoring opportunity.
A short par 4 that appears birdie-able but demands precision from tee to green. The compact design leaves little room for error, with hazards and bunkers penalizing loose shots.
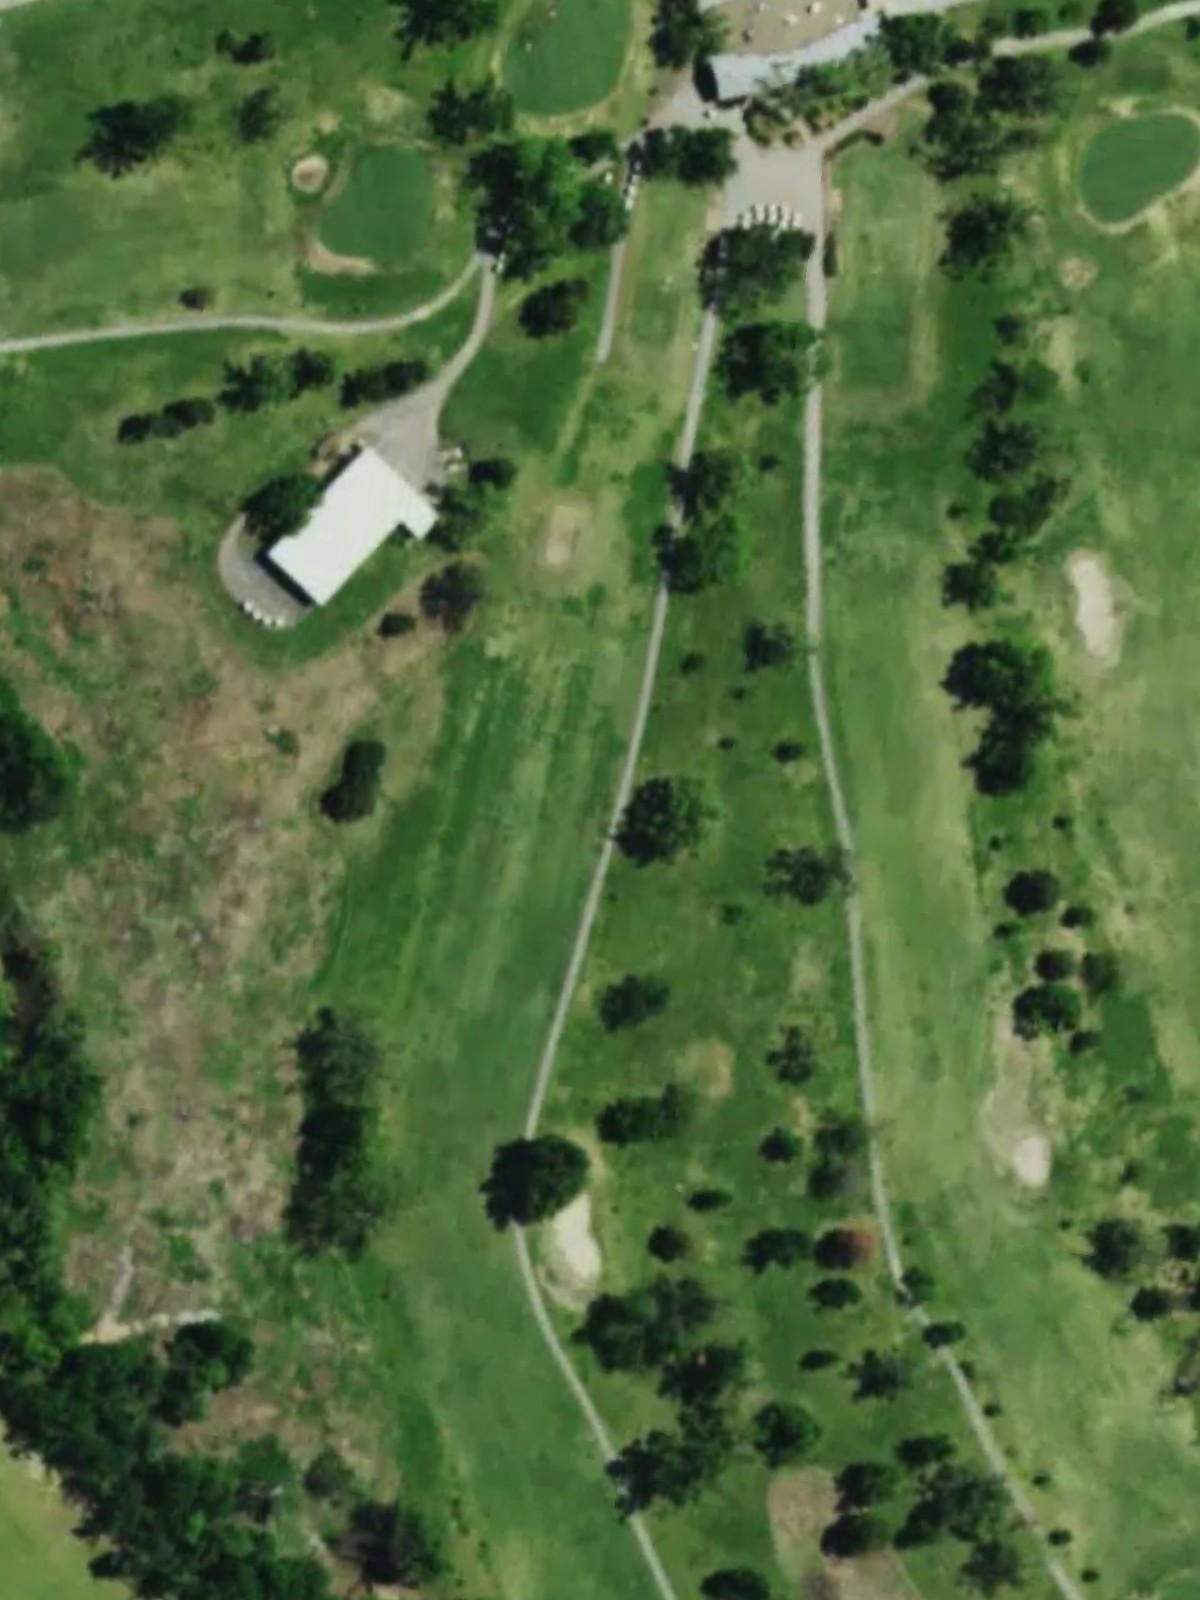
A strong par 4 of medium-plus length that requires solid contact on both the drive and approach shots. Bunkers frame the fairway and guard the green, making positioning and course management essential.
A short par 4 that offers an approachable scoring chance despite its straightforward design. The fairway is relatively open, but accuracy into the green is still required to avoid bunkers and hazards.

A finishing par 5 that rewards aggressive yet controlled play, offering a birdie opportunity to close the round. Strategic bunkering and hazards frame the corridor, with the green well-protected to require a precise final approach.
Scorecard
| Hole | 1 | 2 | 3 | 4 | 5 | 6 | 7 | 8 | 9 | Out | 10 | 11 | 12 | 13 | 14 | 15 | 16 | 17 | 18 | In | Tot |
|---|---|---|---|---|---|---|---|---|---|---|---|---|---|---|---|---|---|---|---|---|---|
| Par | 4 | 3 | 4 | 5 | 4 | 4 | 5 | 3 | 4 | 36 | 4 | 3 | 5 | 3 | 4 | 4 | 4 | 4 | 5 | 36 | 72 |
| HCP | 5 | 13 | 7 | 1 | 15 | 9 | 17 | 11 | 3 | 4 | 8 | 10 | 2 | 12 | 16 | 6 | 18 | 14 | |||
| blue | 381 | 177 | 372 | 604 | 345 | 382 | 488 | 203 | 403 | 3355 | 432 | 214 | 523 | 218 | 381 | 330 | 419 | 329 | 525 | 3371 | 6726 |
| white | 368 | 169 | 359 | 565 | 322 | 350 | 471 | 184 | 378 | 3166 | 418 | 196 | 500 | 198 | 352 | 314 | 391 | 316 | 508 | 3193 | 6359 |
| silver | 349 | 159 | 351 | 531 | 315 | 328 | 455 | 163 | 364 | 3015 | 403 | 187 | 479 | 175 | 329 | 299 | 361 | 309 | 486 | 3028 | 6043 |