The Wilderness At Fortune Bay is an 18-hole golf course in Tower, MN with a par of 72. It offers 6 tee sets: gold (7,207 yards, slope 143, rating 75.5), blue (6,772 yards, slope 141, rating 73.2), blue/white combo (6,460 yards, slope 138, rating 71.9), white (6,147 yards, slope 127, rating 70.5), white/green combo (5,662 yards, slope 123, rating 68.3), green forward (5,324 yards, slope 120, rating 66.8). The hardest hole is #6, a par 4 playing 435 yards from the first tee.
The Wilderness At Fortune Bay
Tower, MN
Get PDF Yardage Book
We'll email you the PDF link. No spam, ever.
Create Your Game Plan
Pick your tees, enter your bag, and get a personalized shot-by-shot strategy for every hole.
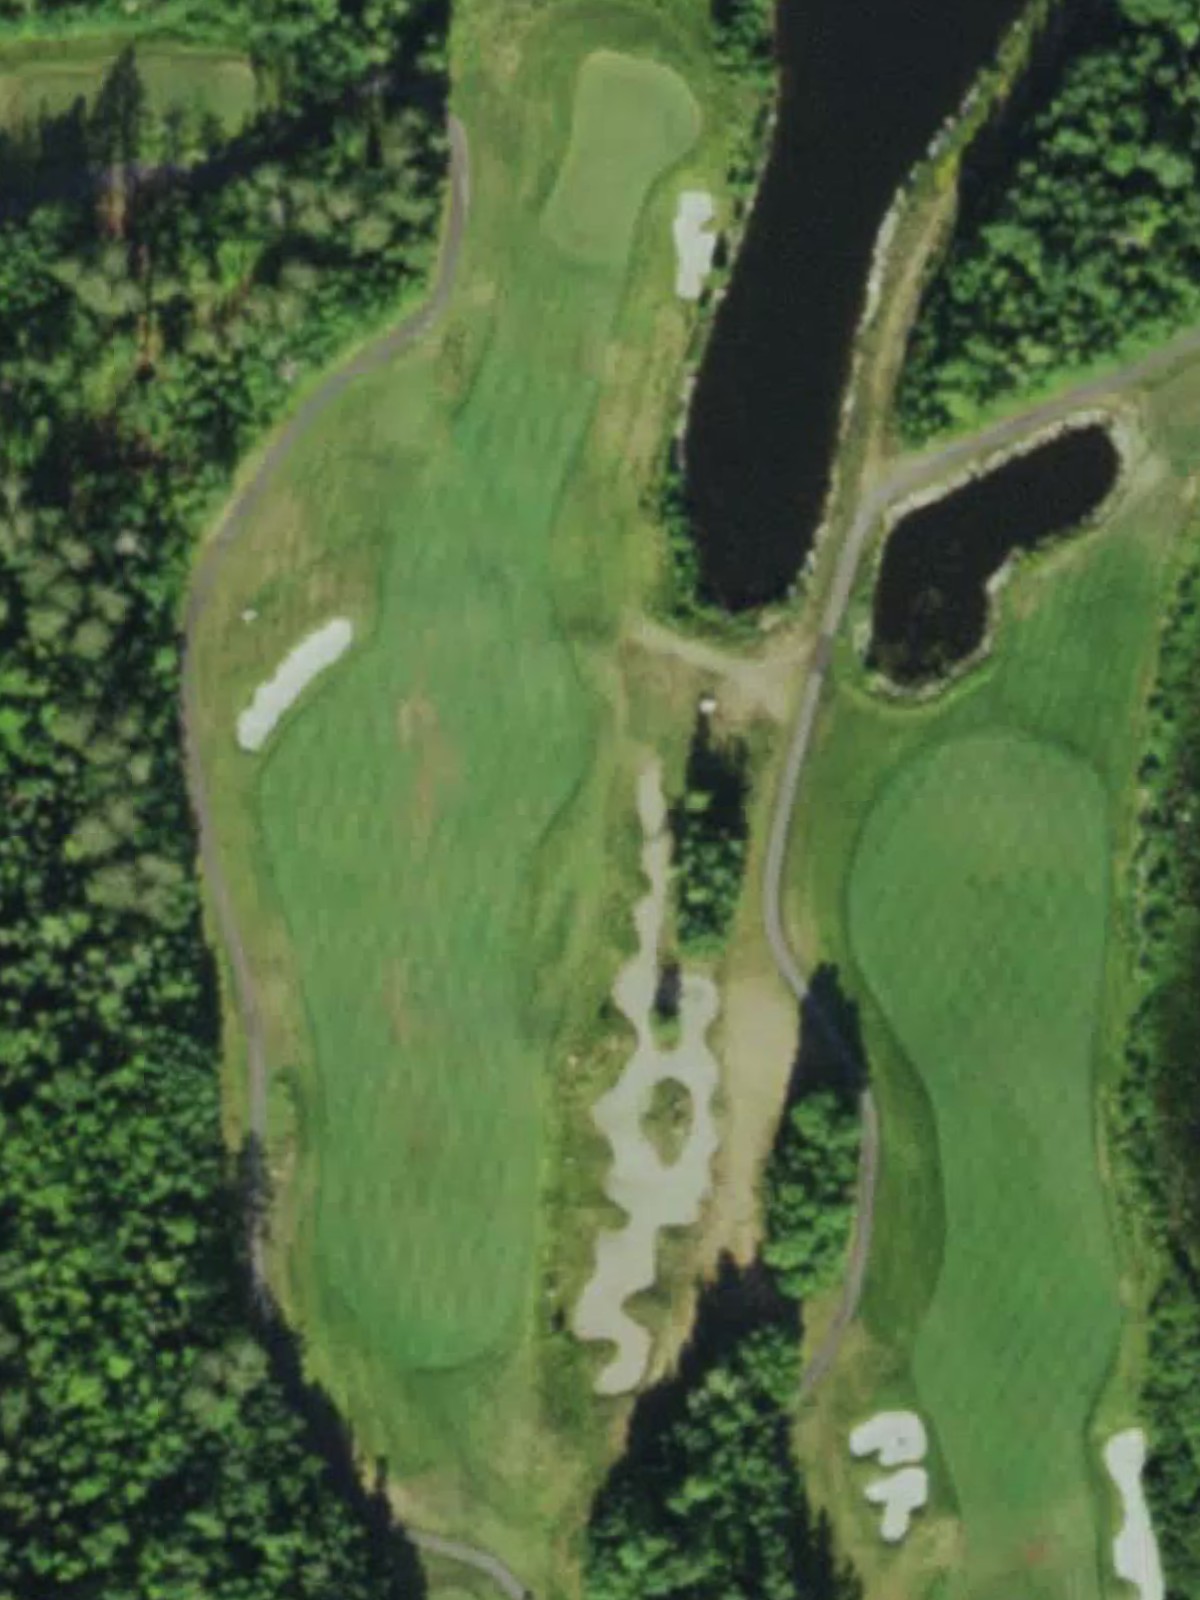
A long par 5 that demands accuracy off the tee, with the fairway presenting as the primary challenge over distance. Multiple hazards frame the approach to the green, making this handicap 3 hole a formidable opener that sets the tone for the round.
A solid par 4 with a straightforward routing that plays longer than its yardage suggests. The green complex is well-protected, requiring a precise approach to avoid trouble and secure a birdie opportunity on this handicap 5 hole.
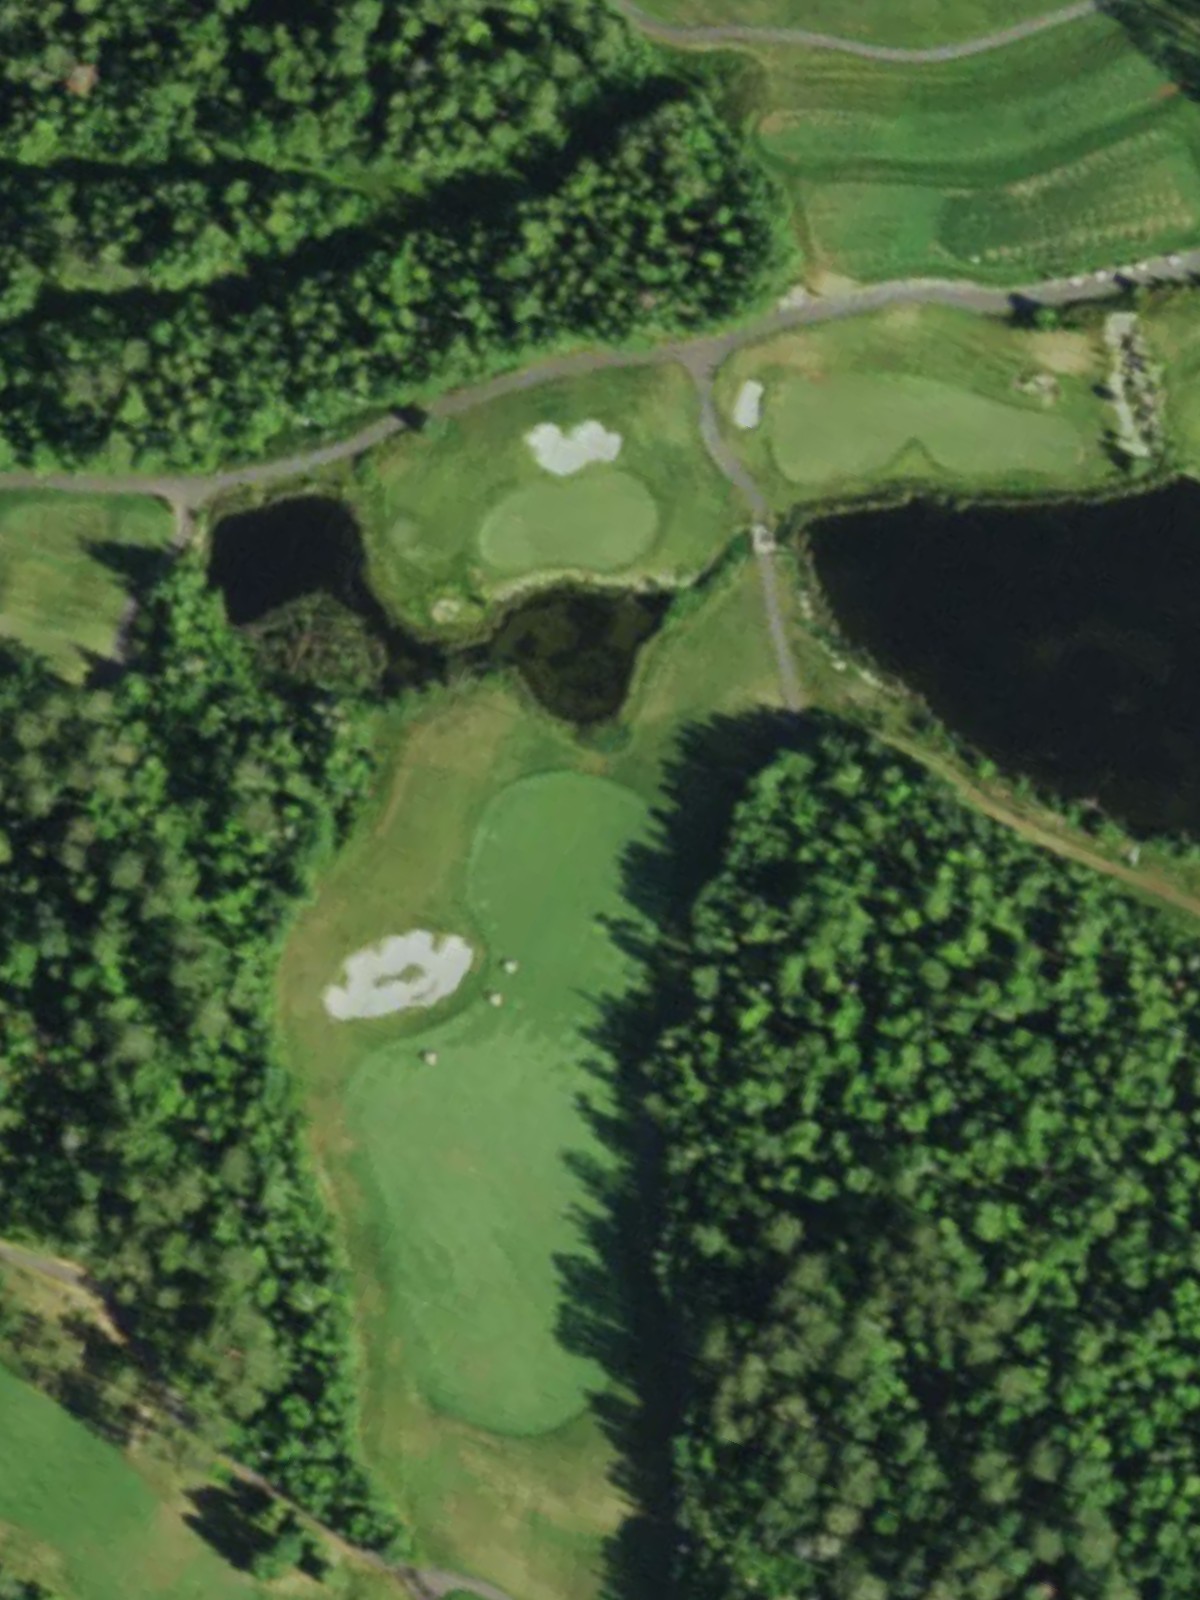
A short par 3 with a forgiving character and minimal hazard concern. This handicap 15 hole offers a scoring opportunity and allows golfers to settle into their round with a confidence-building moment.
A compact par 4 that plays shorter from the forward tees but maintains its challenge through strategic bunkering around the green. The hole's tight dimensions make accuracy from both tee and fairway essential on this handicap 7 test.
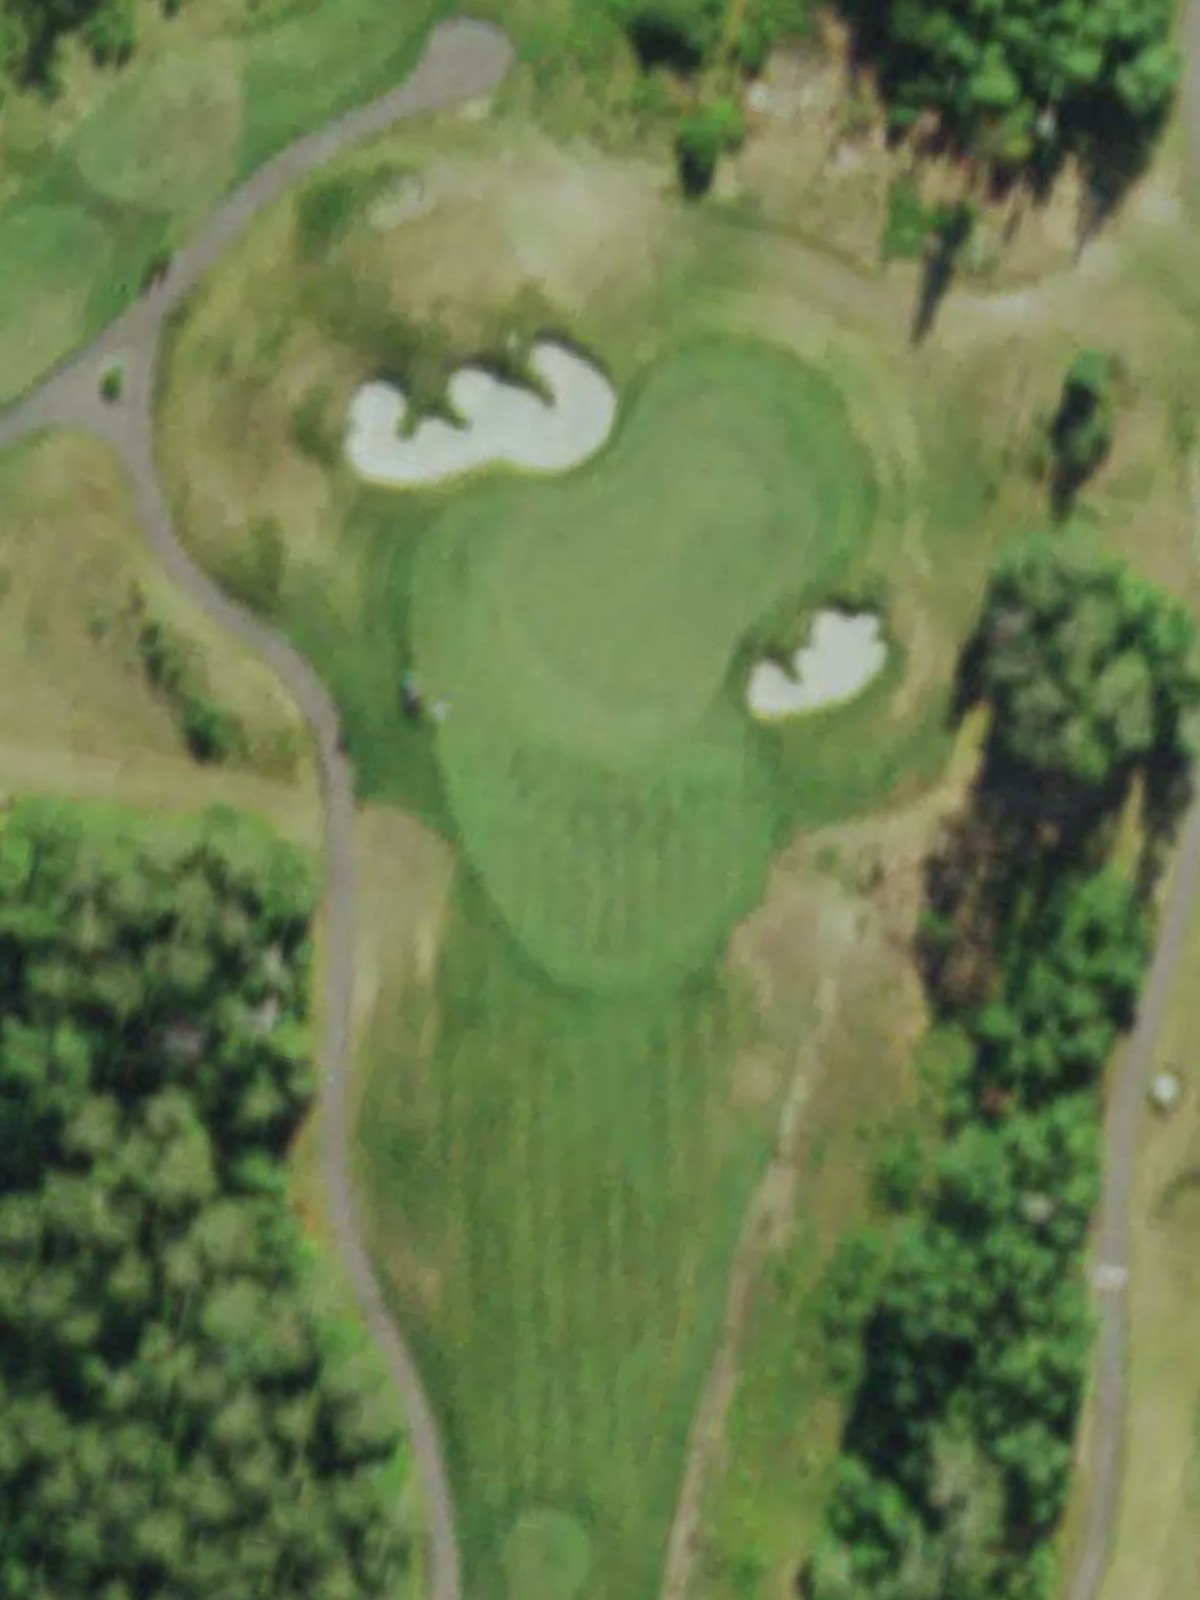
A relatively short par 4 with a friendly routing that presents an excellent birdie chance. Despite its handicap 13 status, the green is well-guarded, rewarding bold and precise play.
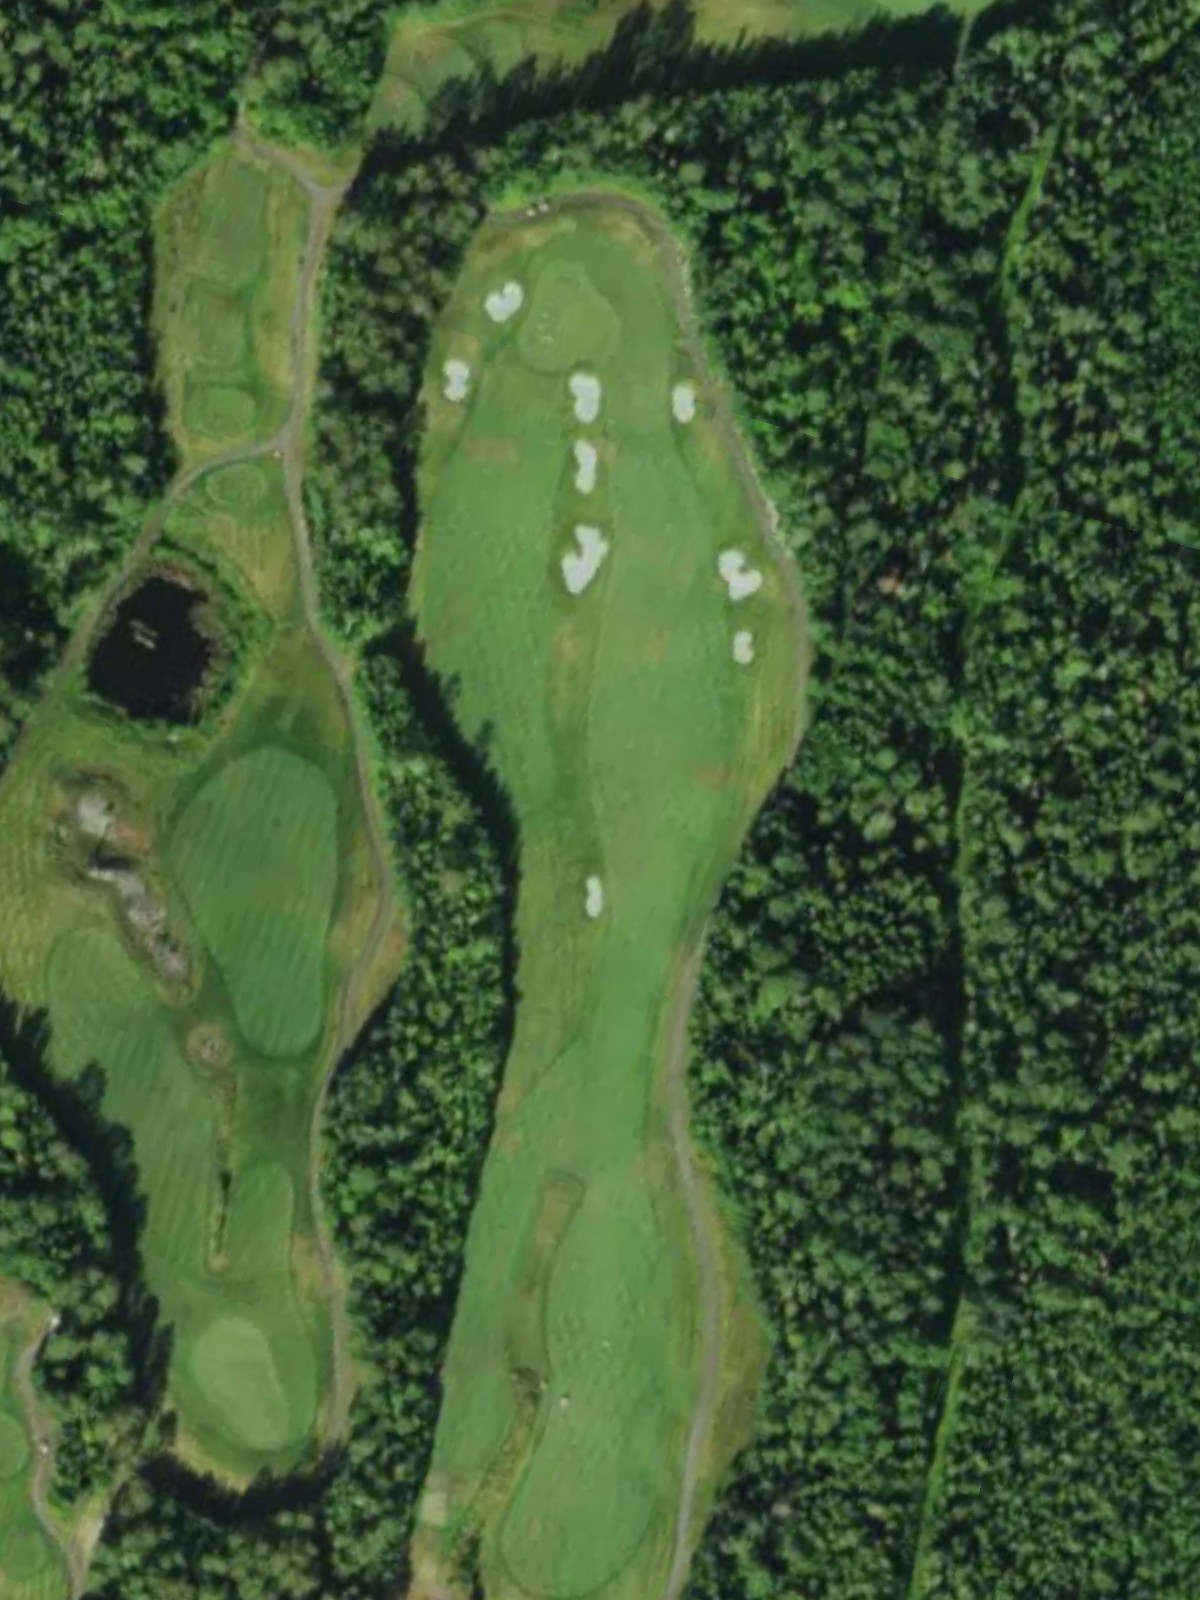
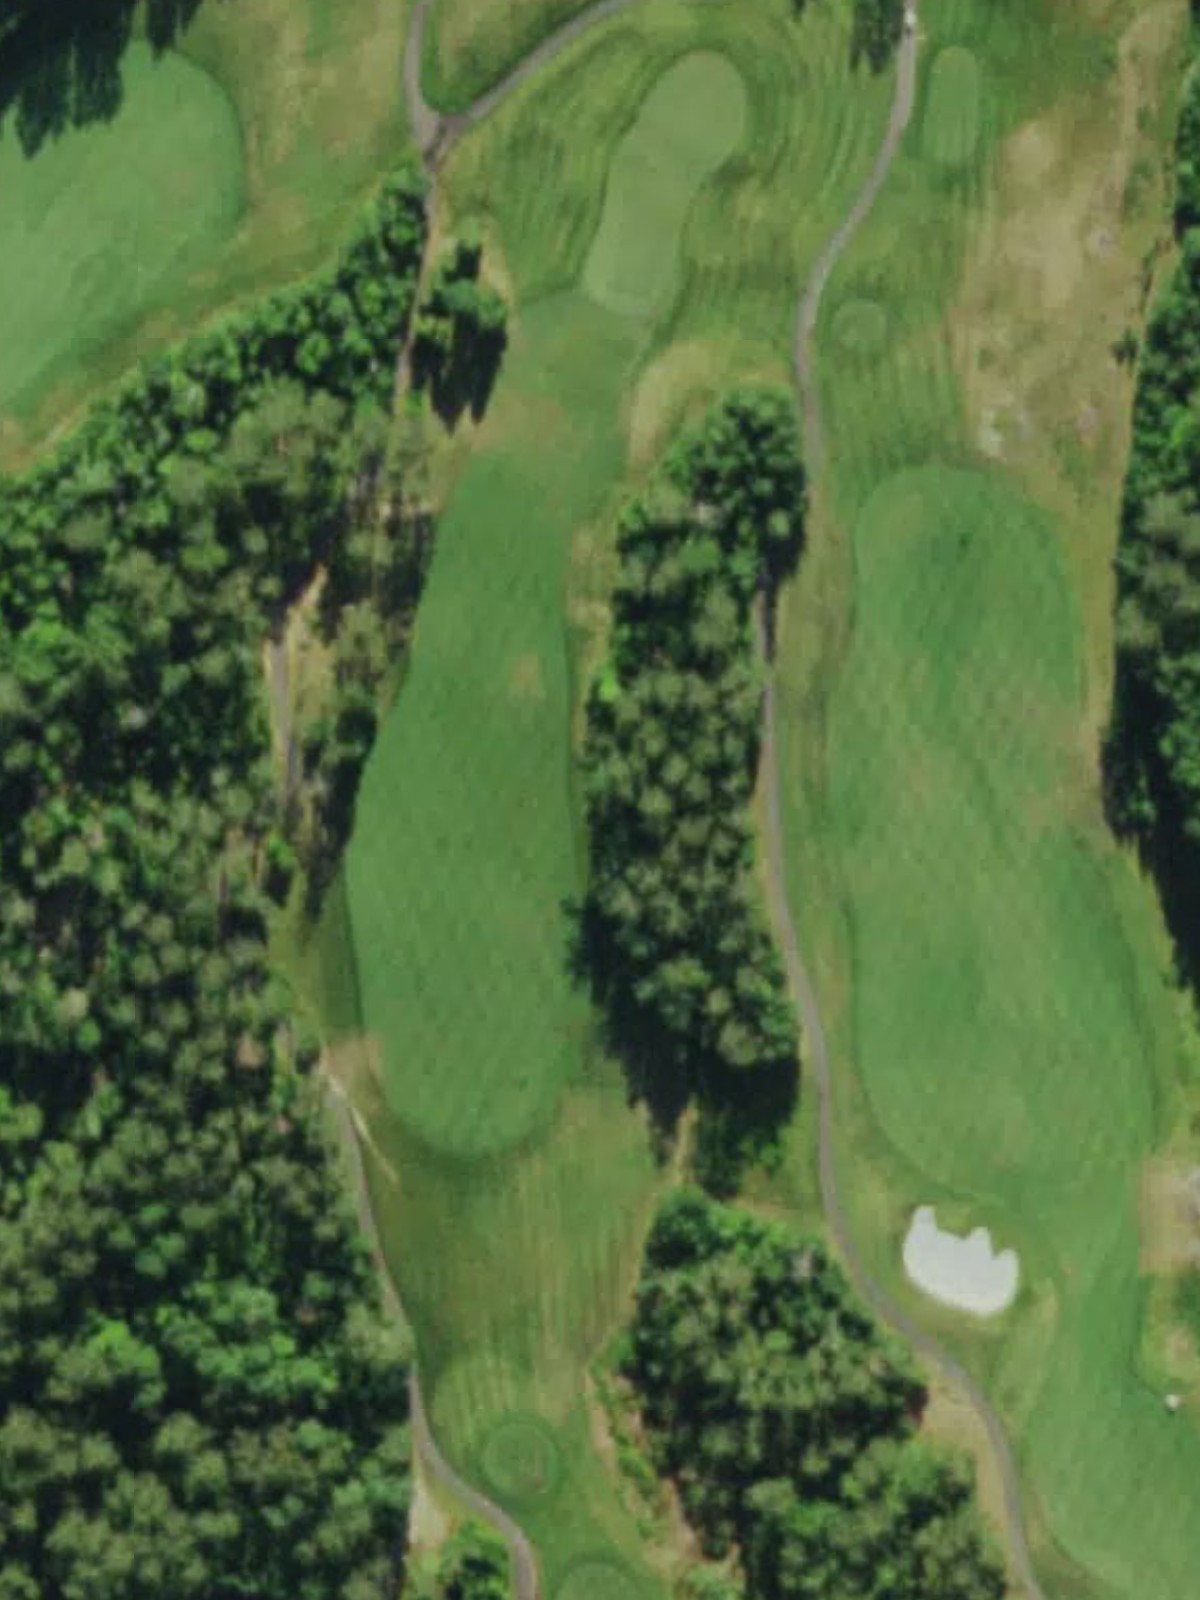
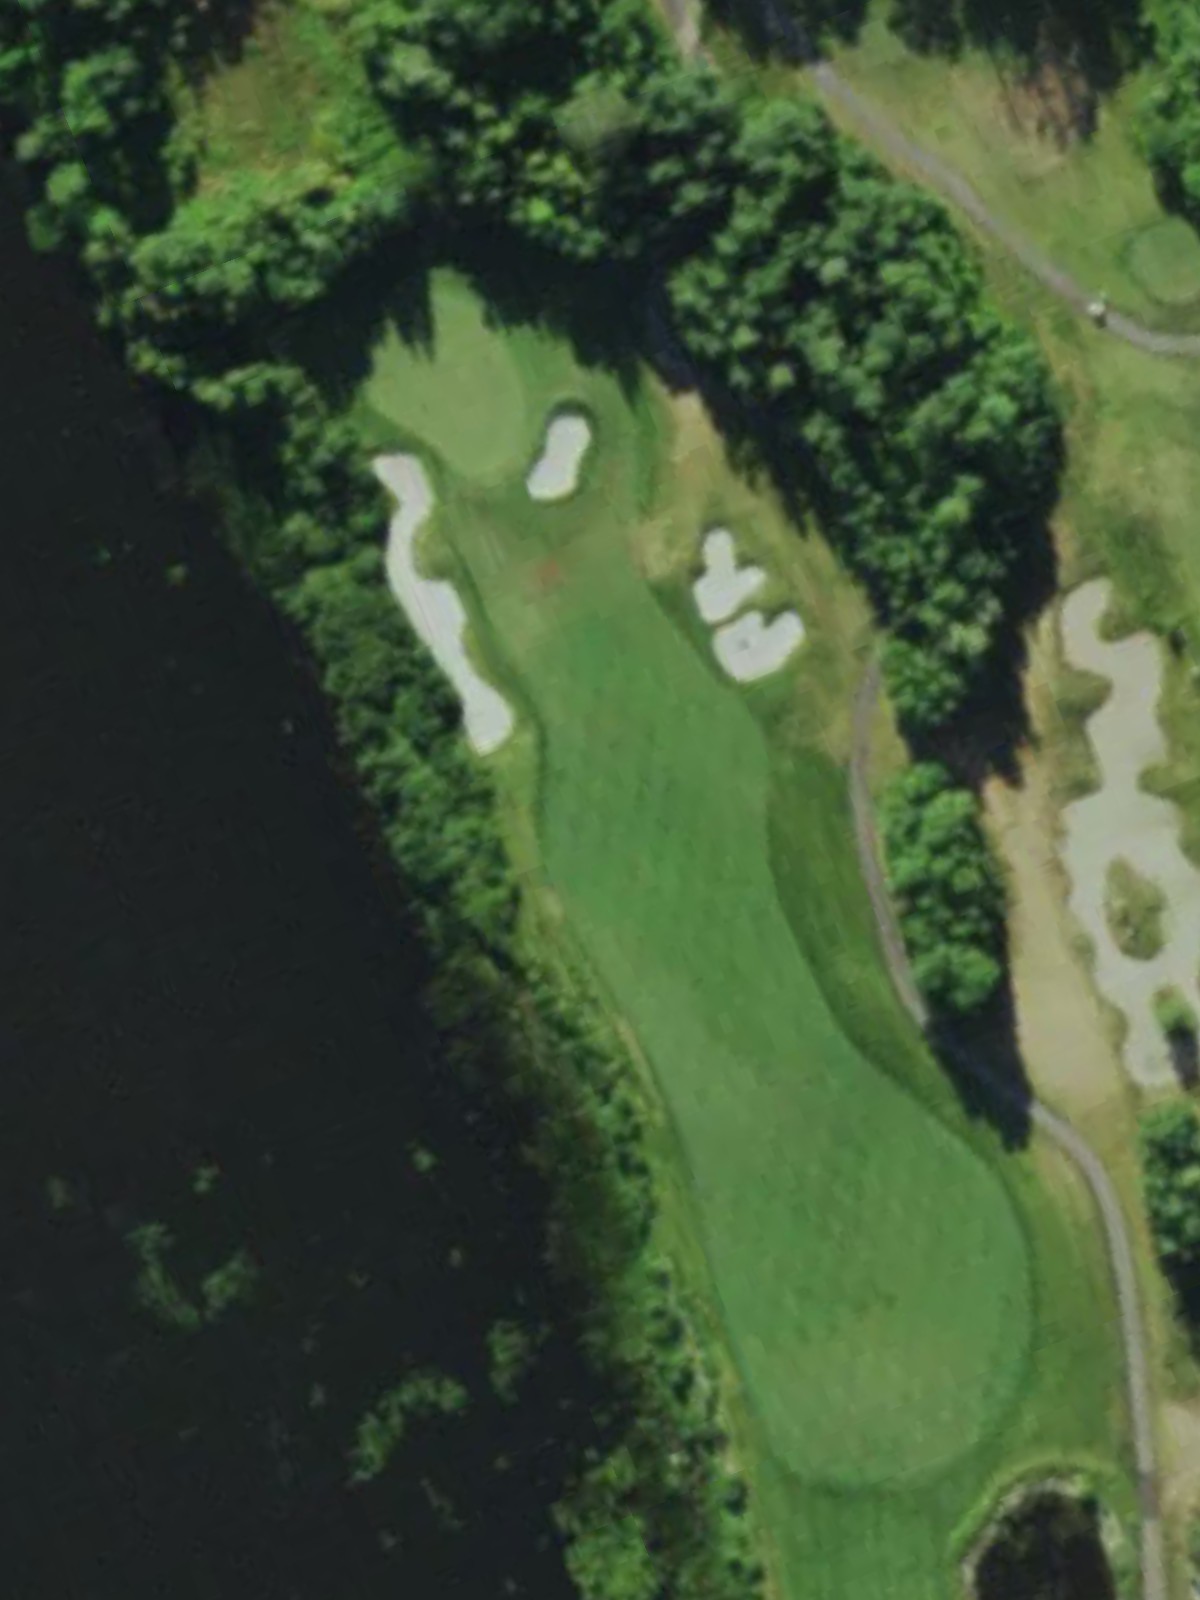
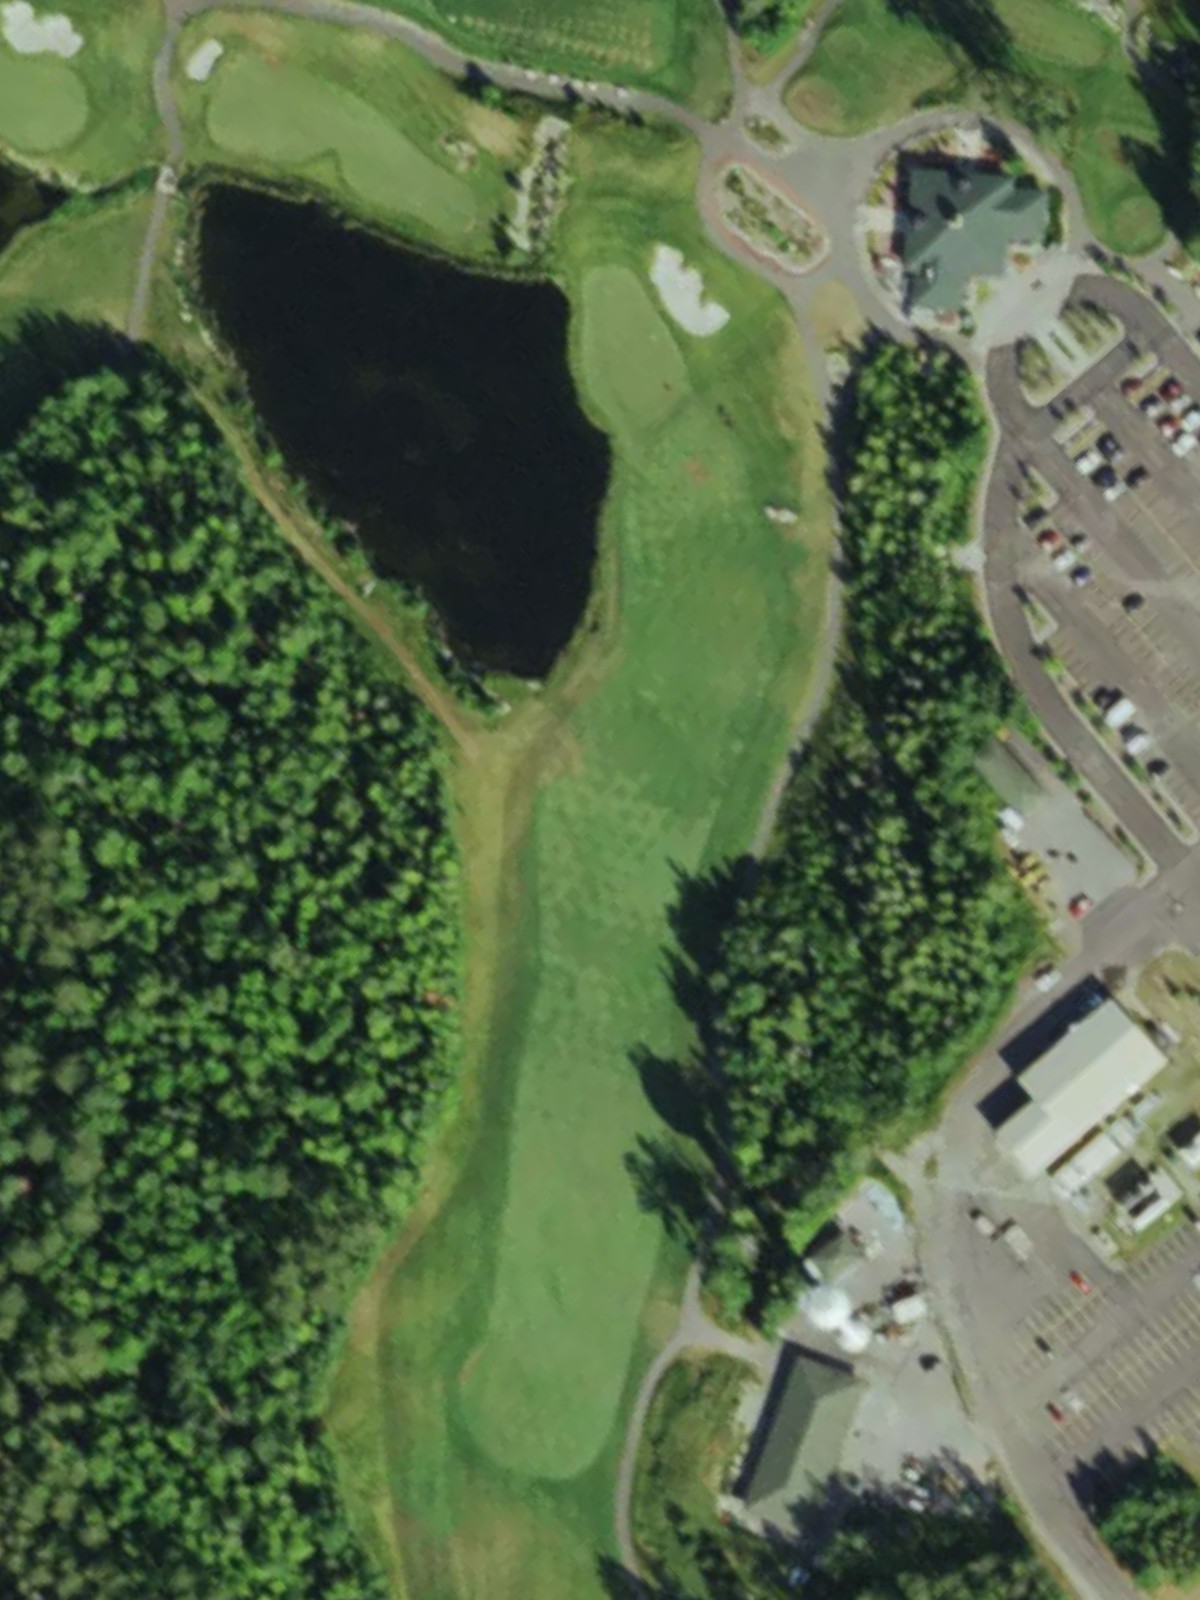
The course's most difficult hole, this par 4 demands respect off the tee and on the approach. Hazards are positioned strategically to challenge both length and accuracy, making this handicap 1 monster a defining moment in any round.
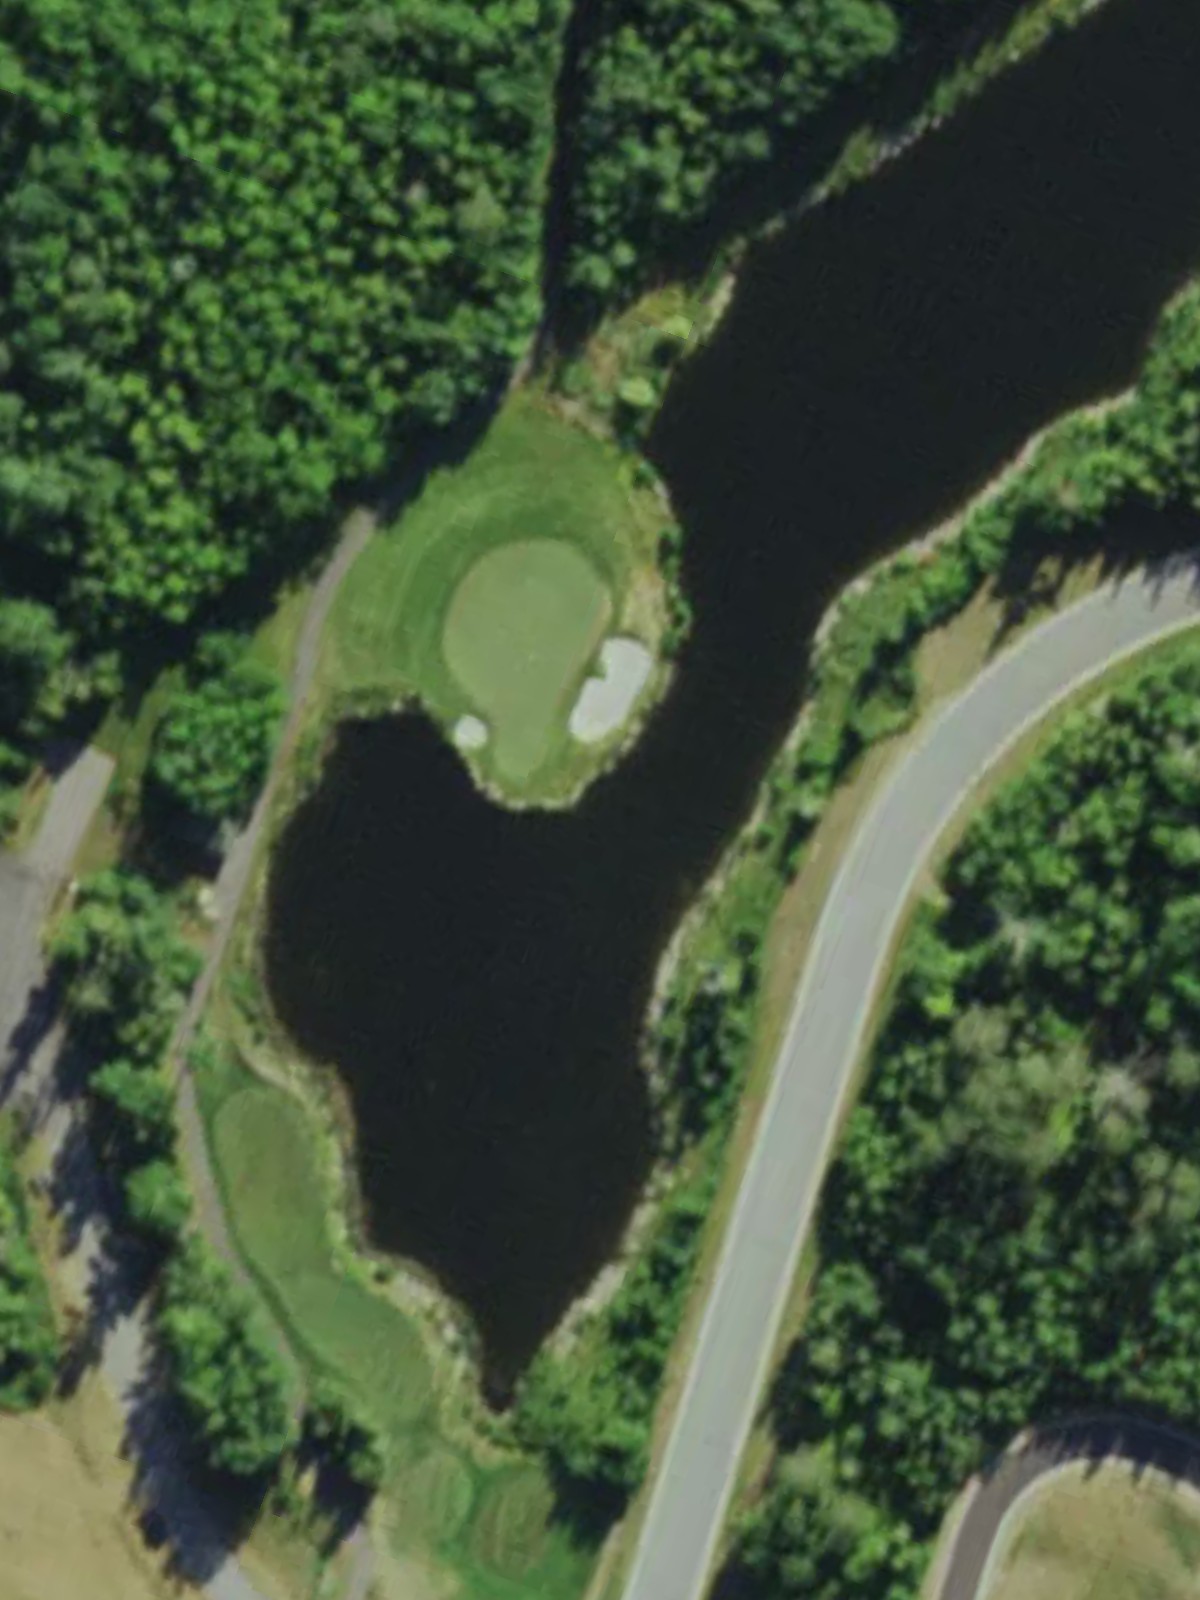
A diminutive par 3 with minimal hazard threat and the course's easiest handicap. This quick scoring opportunity comes at a strategic point in the front nine.
A mid-length par 5 with a manageable routing for most golfers looking to reach in regulation. The hole's handicap 9 ranking reflects balanced difficulty, with hazards positioned to penalize poor execution rather than mere length.
A par 4 with a straightforward layout and moderate length across all tee positions. The fairway and green present as relatively forgiving targets, making this handicap 11 hole an approachable closing stretch to the front nine.
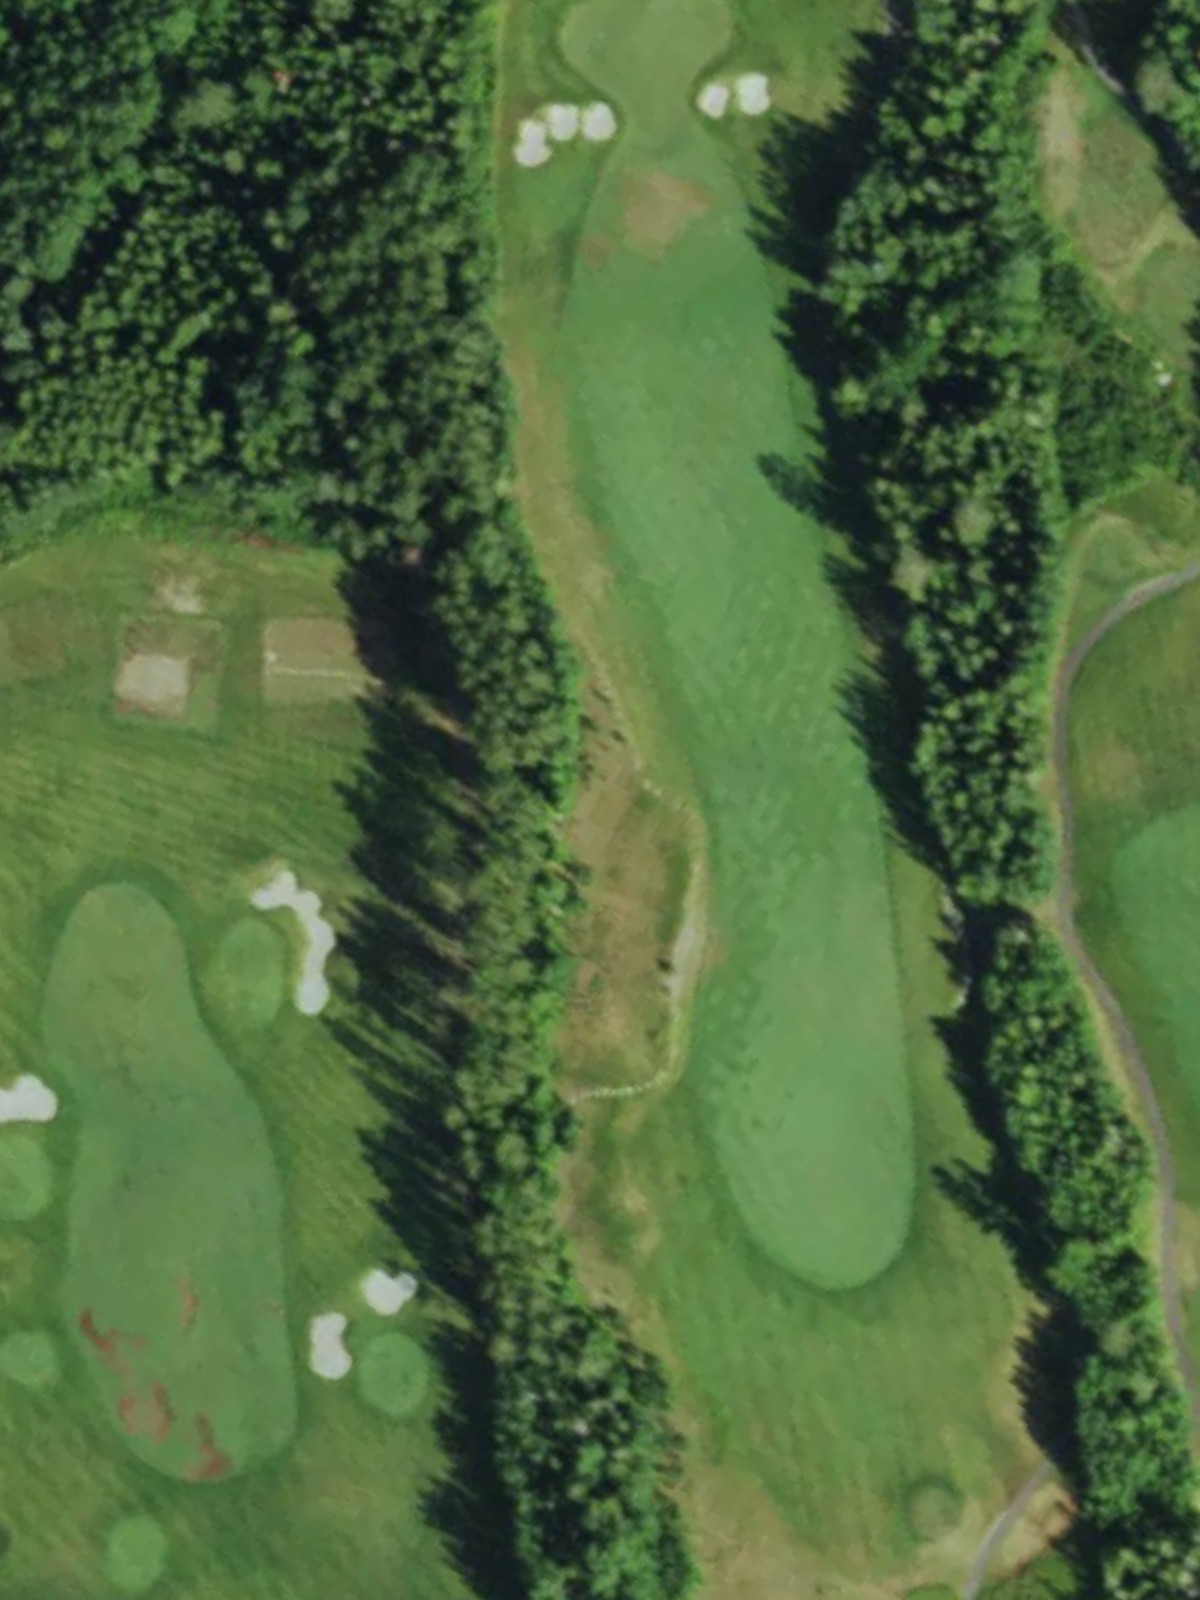
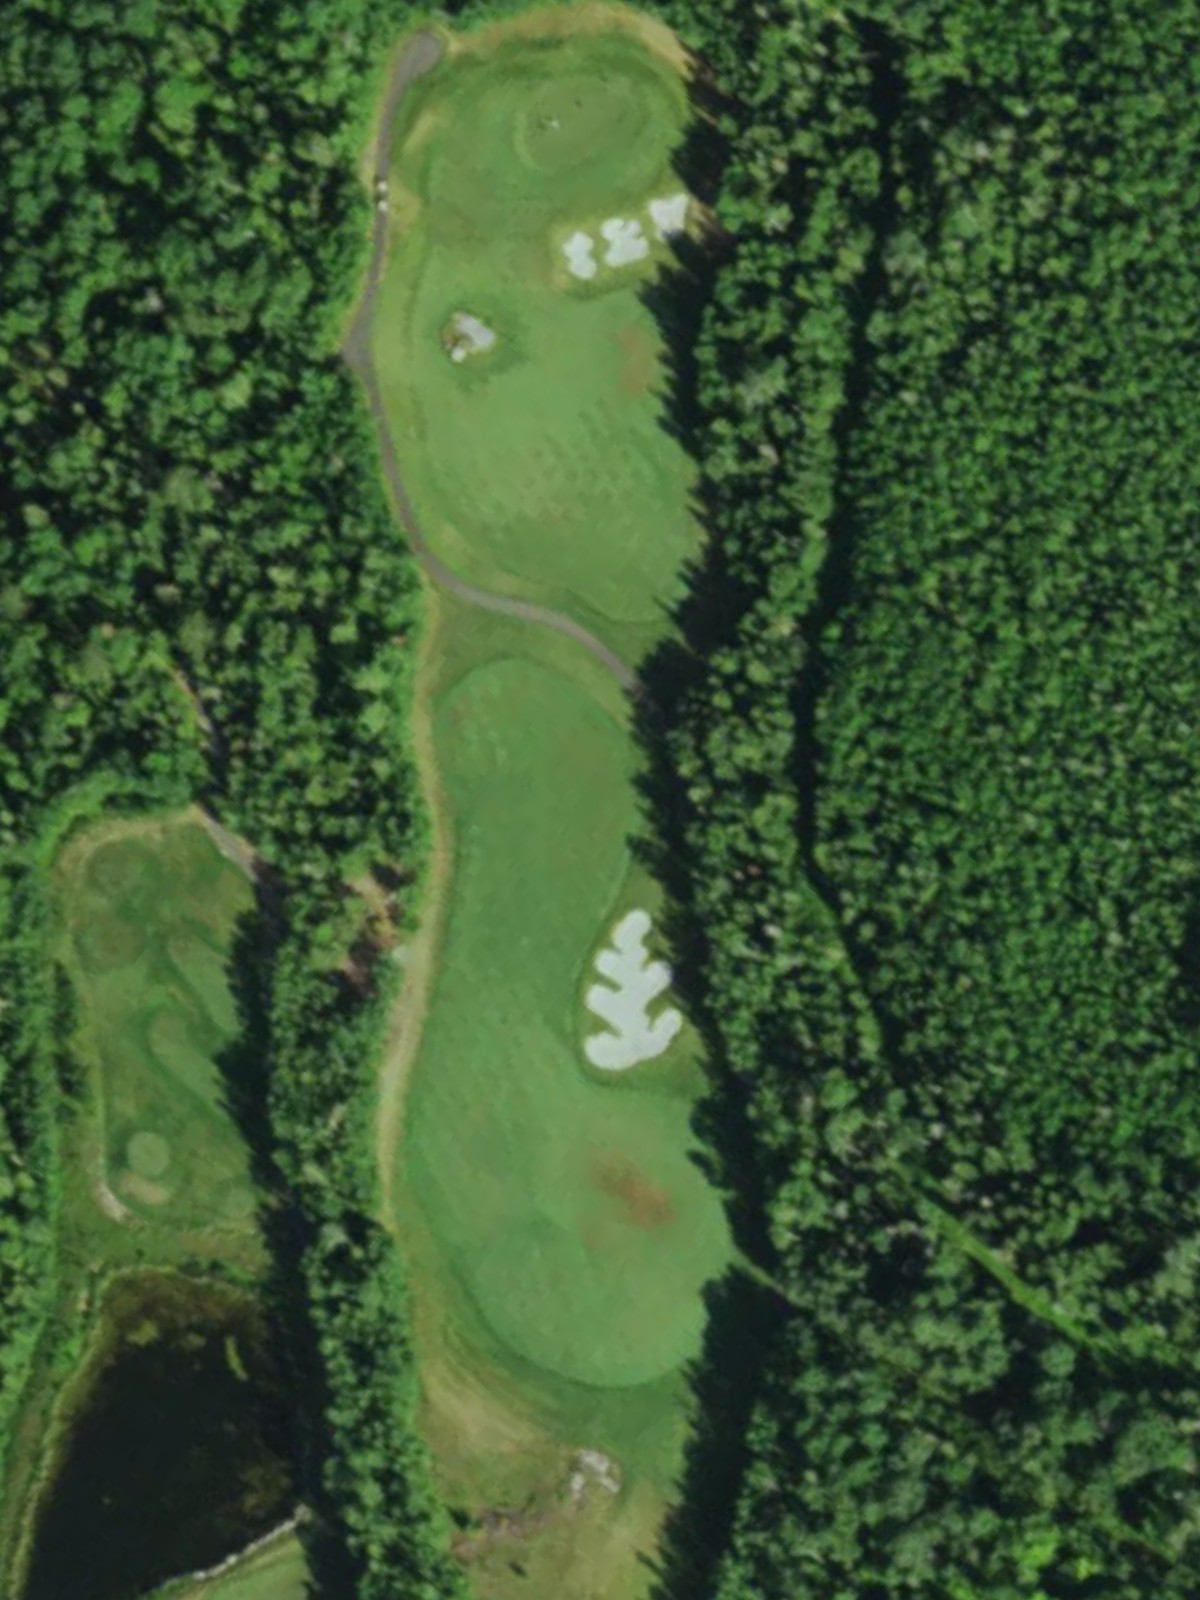
A par 4 of moderate length that maintains the back nine's challenge from the start. Strategic hazards frame the fairway and surround the green, keeping this handicap 10 hole firmly in play throughout the approach.
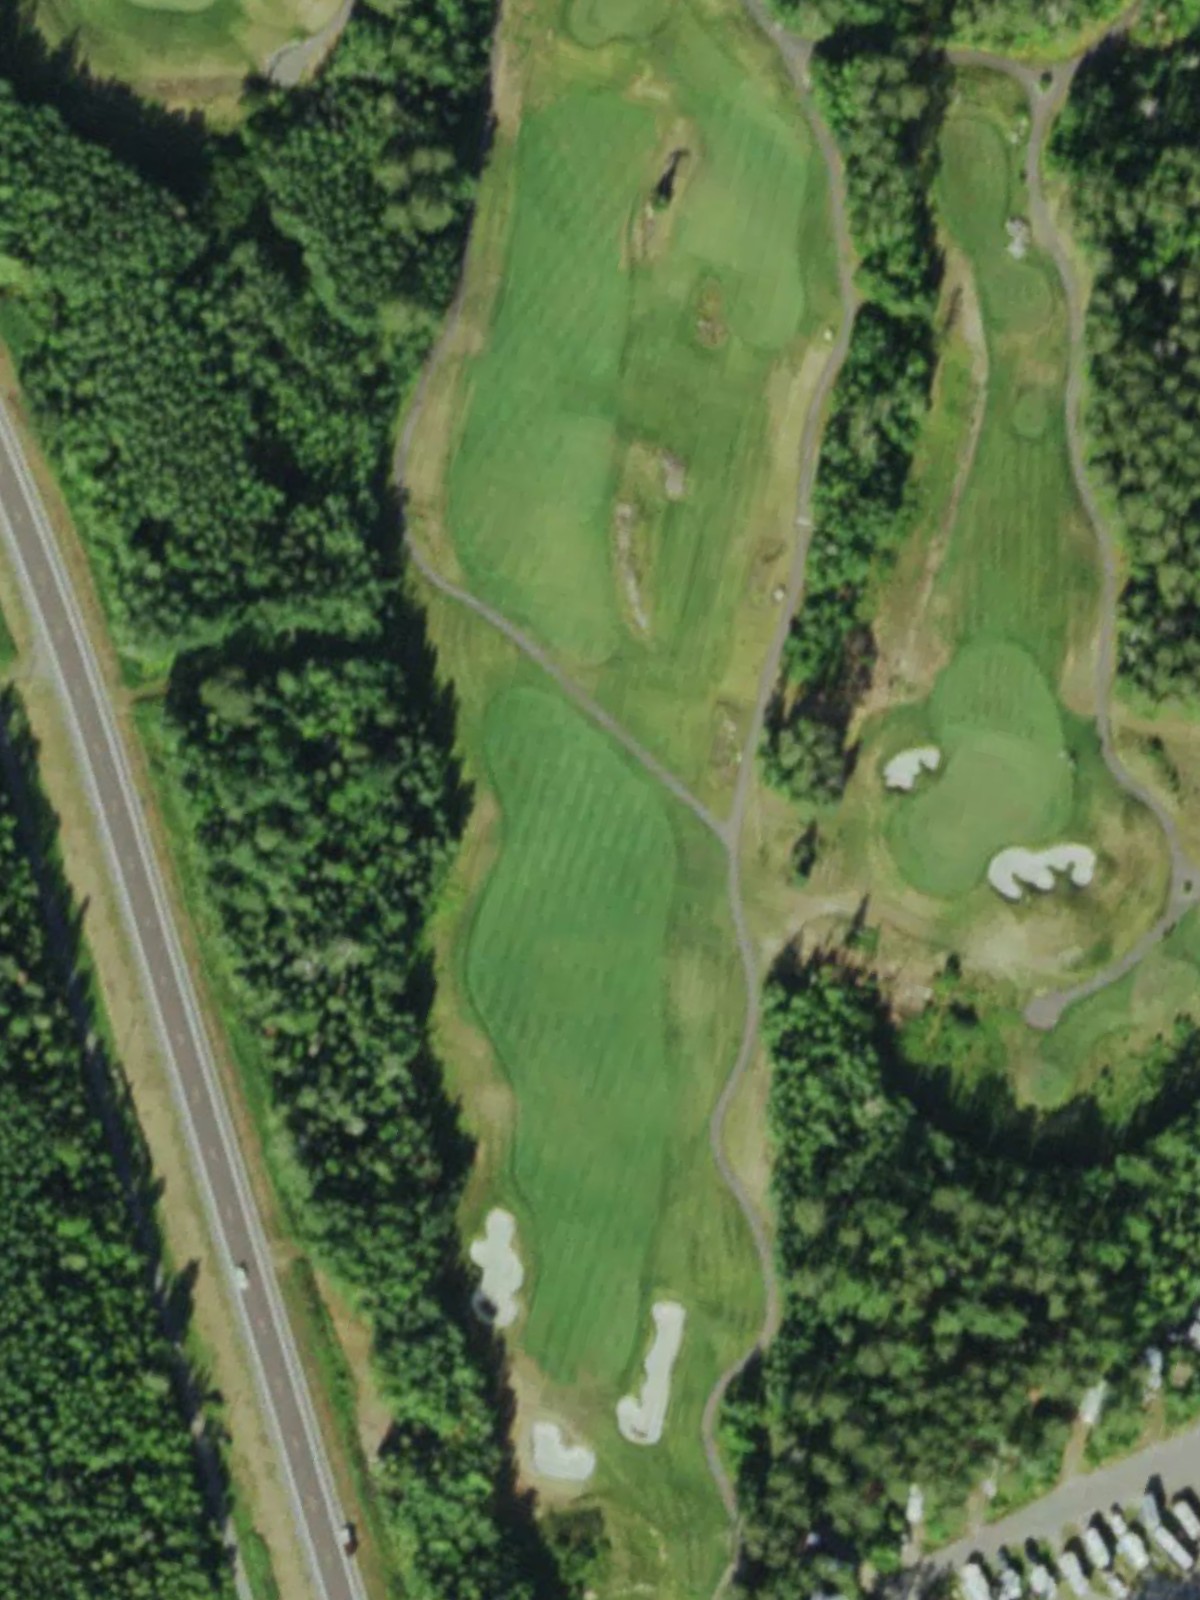
A solid par 4 with enough length to demand full commitment from the tee. Greenside hazards are positioned to make the approach shot the defining moment of this handicap 8 hole.
A short par 3 with a friendly demeanor and the back nine's easiest handicap rating. This hole provides a brief respite before the back nine's closing challenges.
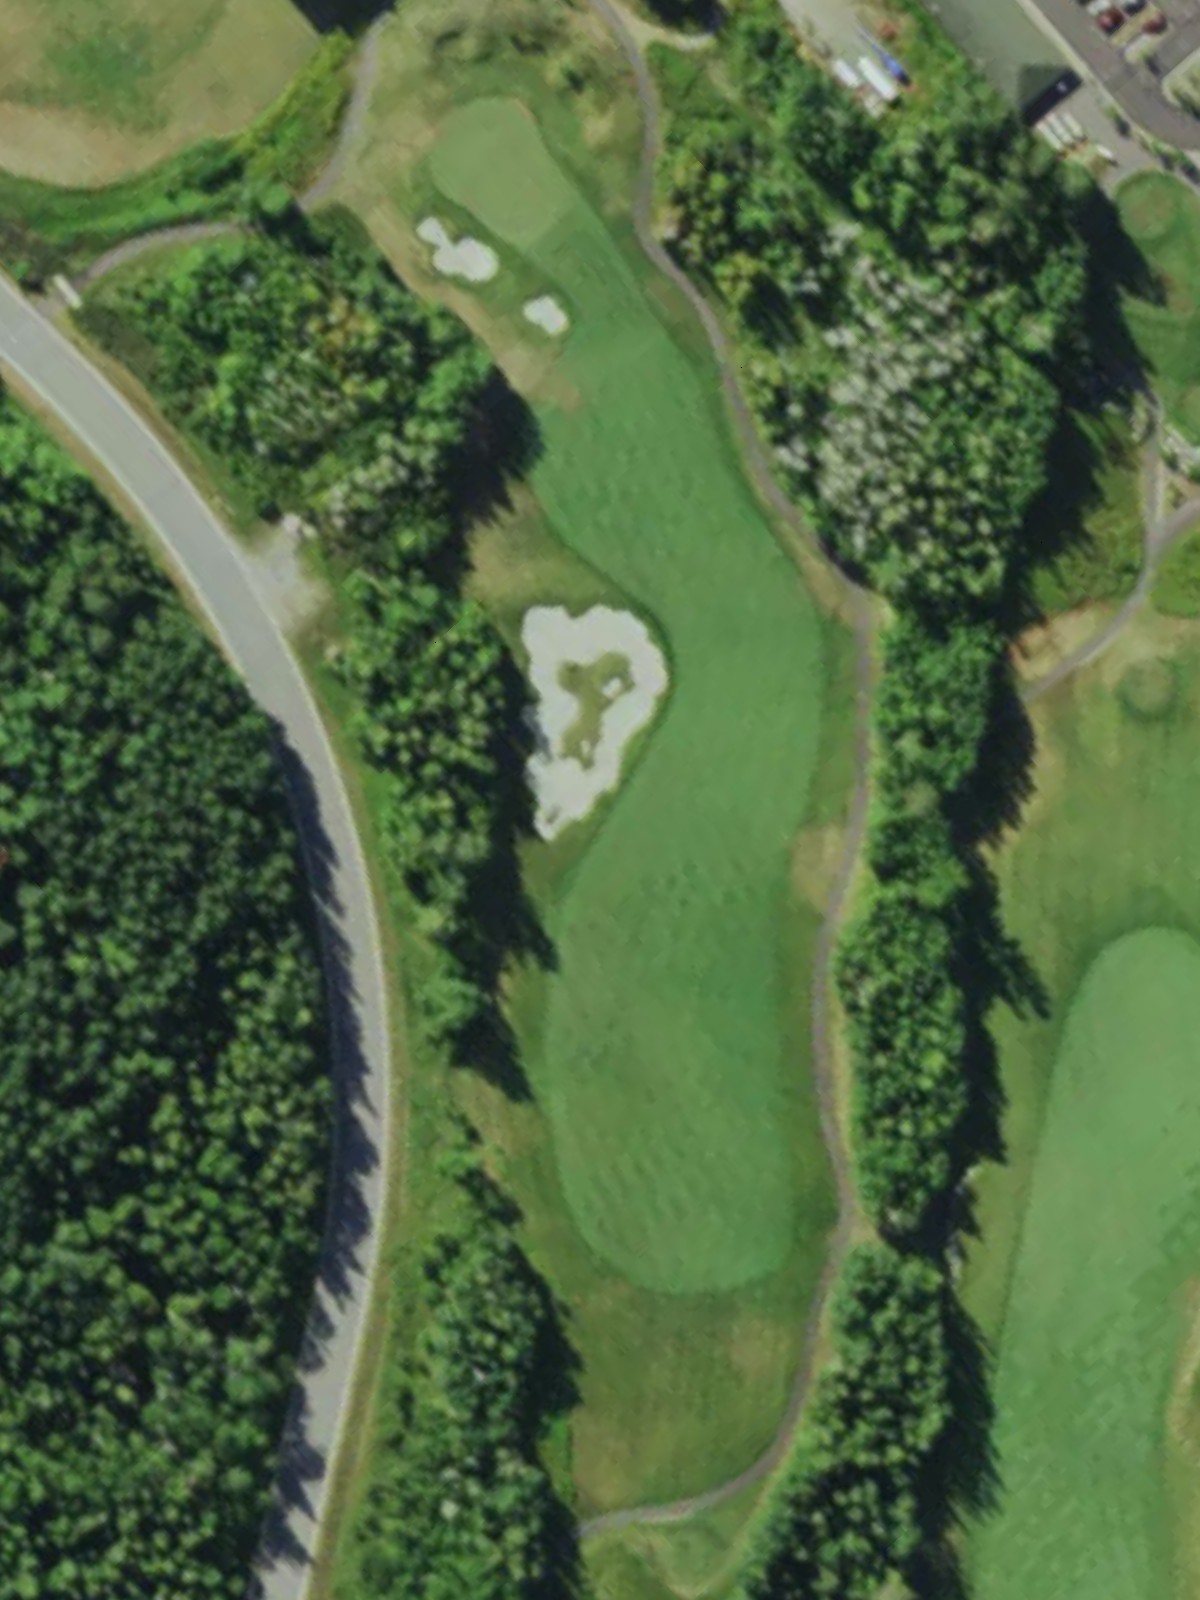
A compact par 4 playing well under 330 yards, offering a genuine birdie opportunity despite its handicap 14 status. The green's protection prevents the hole from being a giveaway, rewarding aggressive play.
A par 4 of modest length that presents a balanced test of tee and approach shot execution. Hazards are positioned to challenge mid-handicap golfers without excessive penal design on this handicap 12 hole.

A par 5 with enough yardage to play as a genuine three-shotter for most, though the fairway layout encourages strategic positioning. This handicap 6 hole provides a scoring opportunity late in the round if played with discipline.
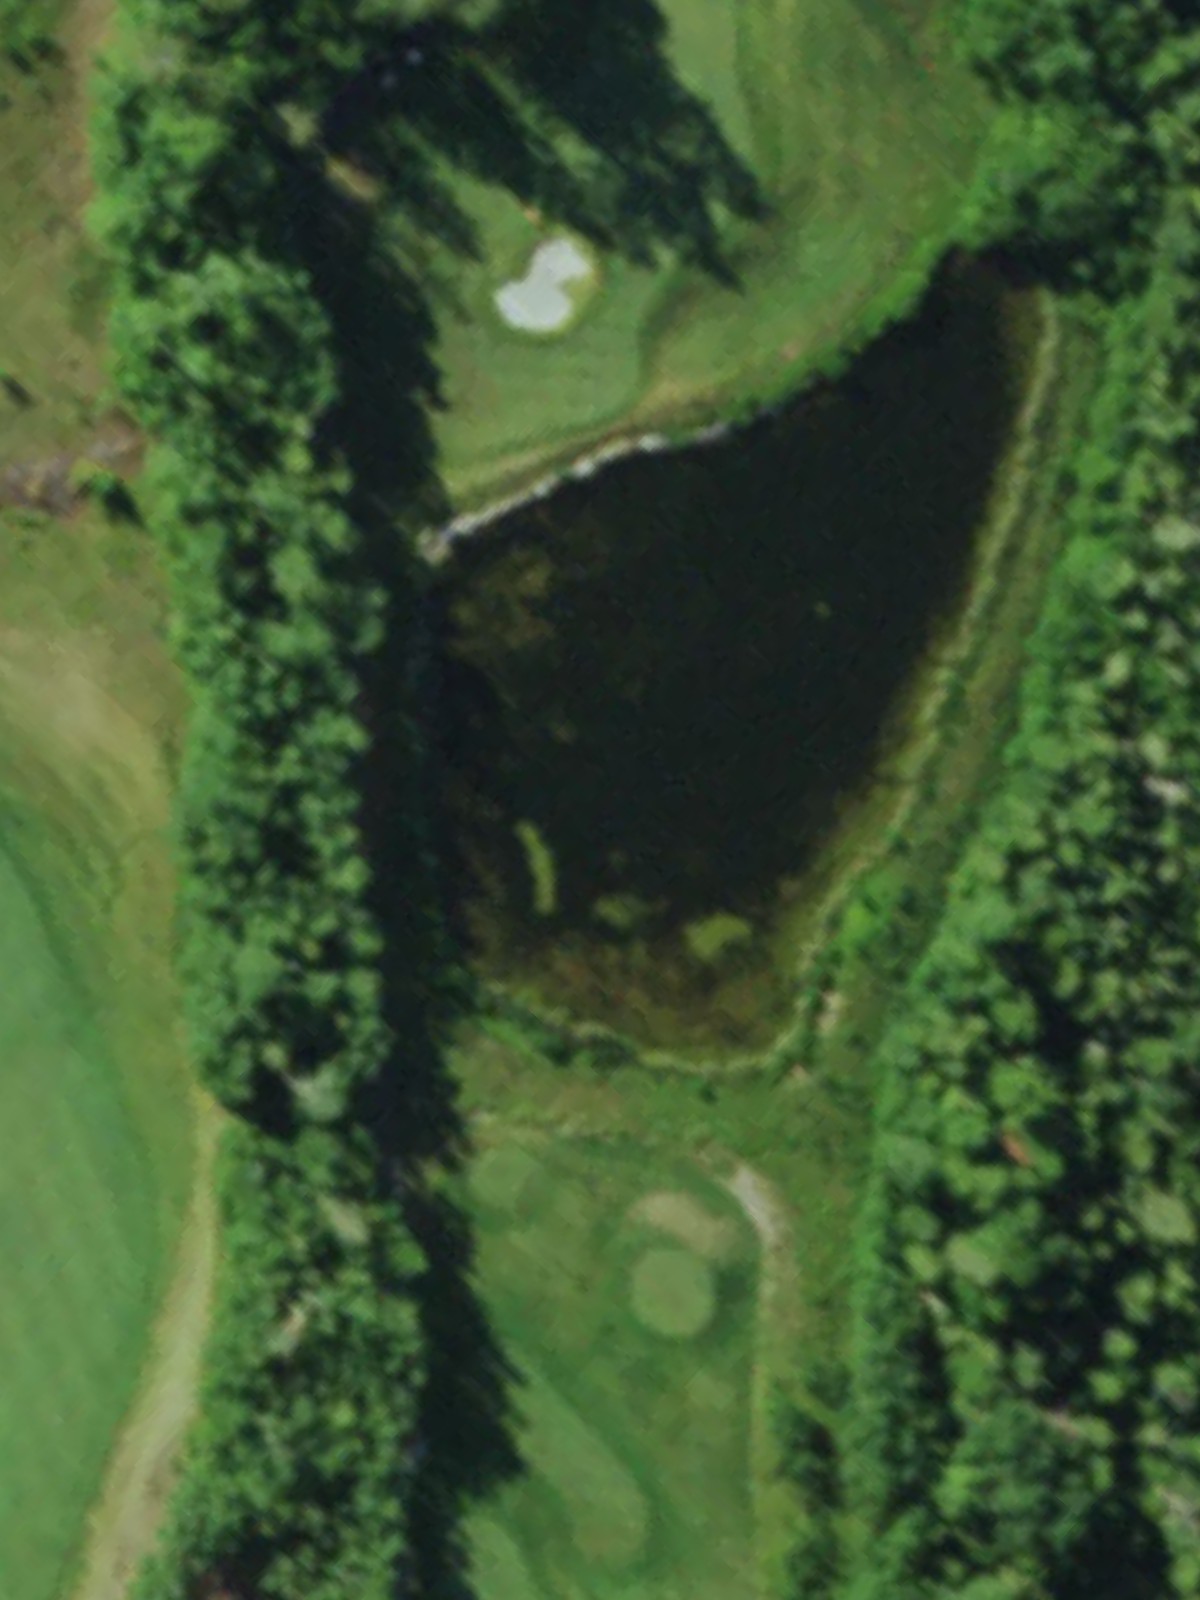
The second-most difficult hole on the course, this par 5 combines length with strategic hazard placement to create a formidable challenge. Reaching the green in two shots is possible but requires both power and precision on this handicap 2 test.
A par 3 with the course's highest handicap, providing a reprieve before the final test. Despite its difficulty rating, the hole offers a manageable target and a chance to gather momentum heading into 18.
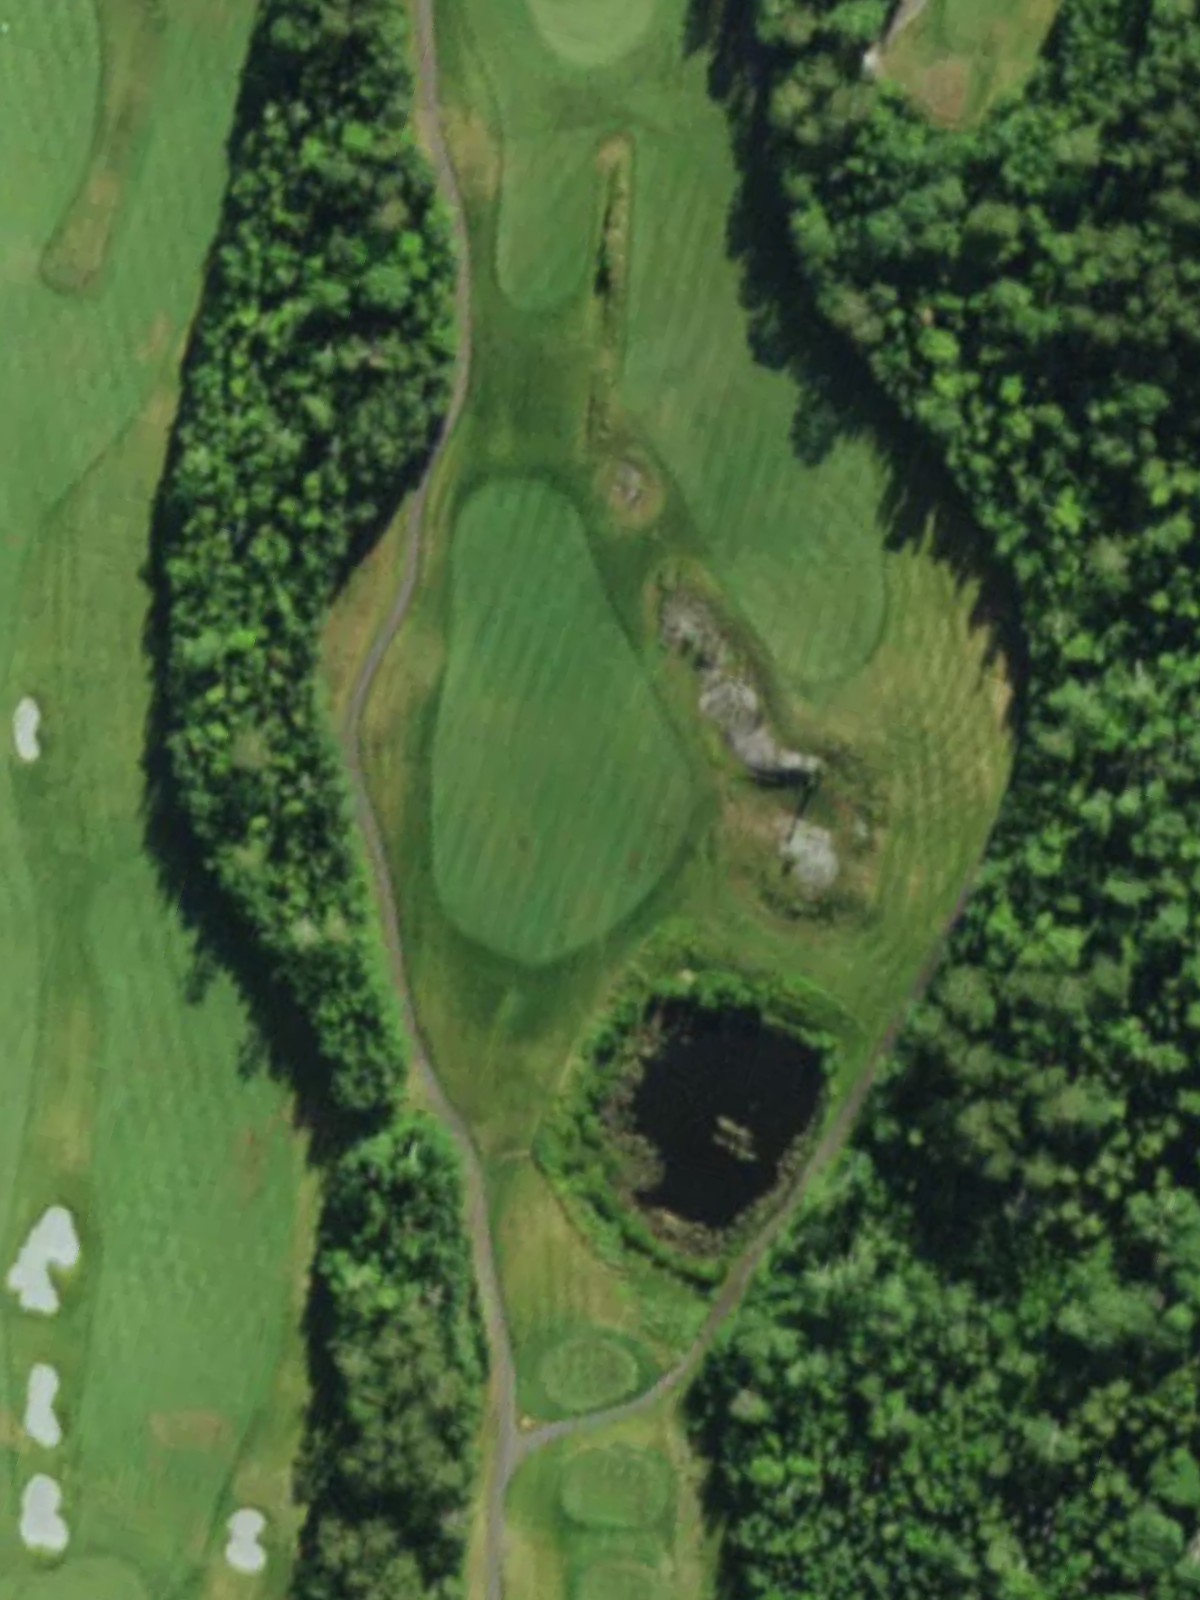
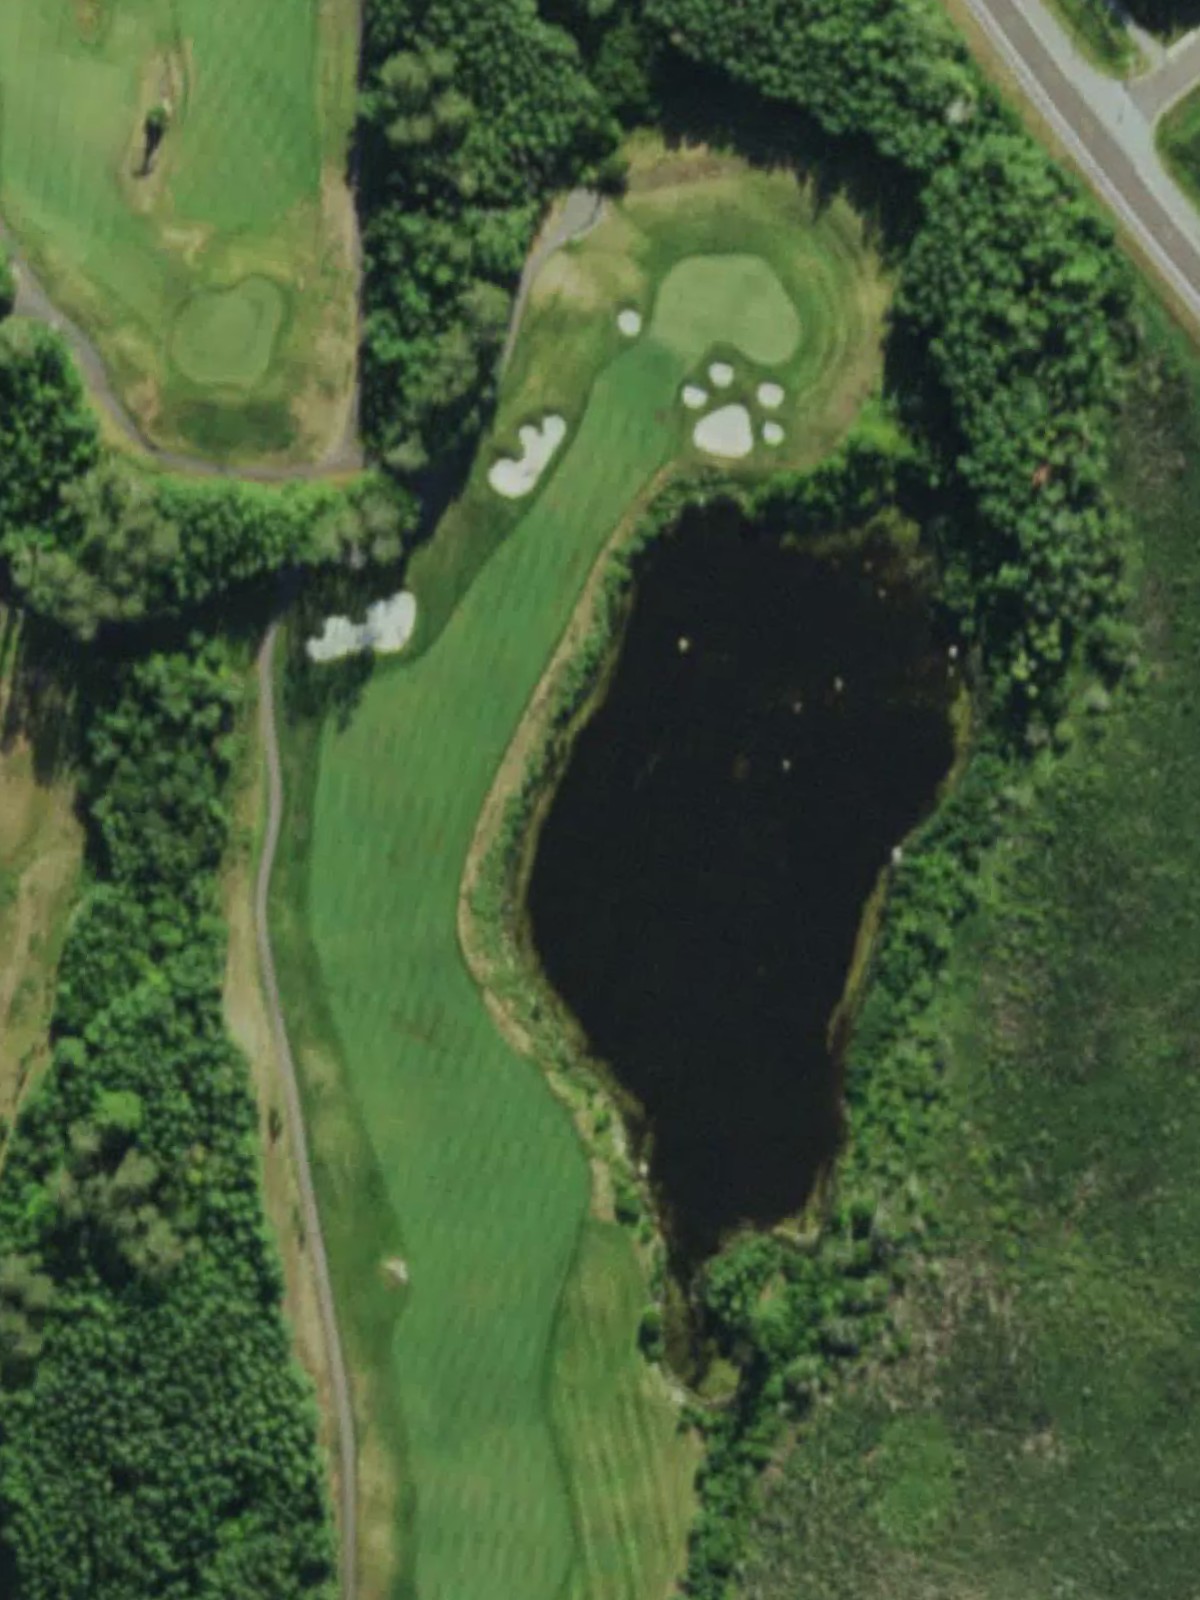
A challenging par 4 closing hole that demands a quality tee shot and a precise approach to finish strong. This handicap 4 finisher features strategic bunkering and hazards positioned to create drama in the home stretch.
Scorecard
| Hole | 1 | 2 | 3 | 4 | 5 | 6 | 7 | 8 | 9 | Out | 10 | 11 | 12 | 13 | 14 | 15 | 16 | 17 | 18 | In | Tot |
|---|---|---|---|---|---|---|---|---|---|---|---|---|---|---|---|---|---|---|---|---|---|
| Par | 5 | 4 | 3 | 4 | 4 | 4 | 3 | 5 | 4 | 36 | 4 | 4 | 3 | 4 | 4 | 5 | 5 | 3 | 4 | 36 | 72 |
| HCP | 3 | 5 | 15 | 7 | 13 | 1 | 17 | 9 | 11 | 10 | 8 | 16 | 14 | 12 | 6 | 2 | 18 | 4 | |||
| gold | 649 | 472 | 220 | 410 | 364 | 464 | 157 | 525 | 396 | 3657 | 455 | 465 | 166 | 340 | 392 | 530 | 540 | 189 | 473 | 3550 | 7207 |
| blue | 587 | 453 | 193 | 393 | 348 | 435 | 139 | 511 | 369 | 3428 | 430 | 427 | 157 | 325 | 374 | 507 | 517 | 174 | 433 | 3344 | 6772 |
| blue/white combo | 562 | 426 | 166 | 393 | 348 | 375 | 139 | 511 | 369 | 3289 | 403 | 383 | 129 | 325 | 374 | 458 | 517 | 174 | 408 | 3171 | 6460 |
| white | 562 | 426 | 166 | 330 | 313 | 375 | 124 | 456 | 342 | 3094 | 403 | 383 | 129 | 301 | 341 | 458 | 486 | 144 | 408 | 3053 | 6147 |
| white/green combo | 470 | 385 | 133 | 330 | 313 | 331 | 124 | 456 | 265 | 2807 | 343 | 333 | 129 | 301 | 341 | 458 | 438 | 144 | 368 | 2855 | 5662 |
| green forward | 470 | 385 | 133 | 305 | 279 | 331 | 115 | 381 | 265 | 2664 | 343 | 333 | 107 | 277 | 304 | 376 | 438 | 114 | 368 | 2660 | 5324 |