The Ranches Gc is an 18-hole golf course in Eagle Mountain, UT with a par of 72. It offers 4 tee sets: black (6,791 yards, slope 134, rating 71.9), green (6,321 yards, slope 128, rating 69.9), silver (5,817 yards, slope 121, rating 67.3), blue (5,098 yards, slope 108, rating 64.8). The hardest hole is #4, a par 4 playing 320 yards from the first tee.
The Ranches Gc
Eagle Mountain, UT
Get PDF Yardage Book
We'll email you the PDF link. No spam, ever.
Create Your Game Plan
Pick your tees, enter your bag, and get a personalized shot-by-shot strategy for every hole.
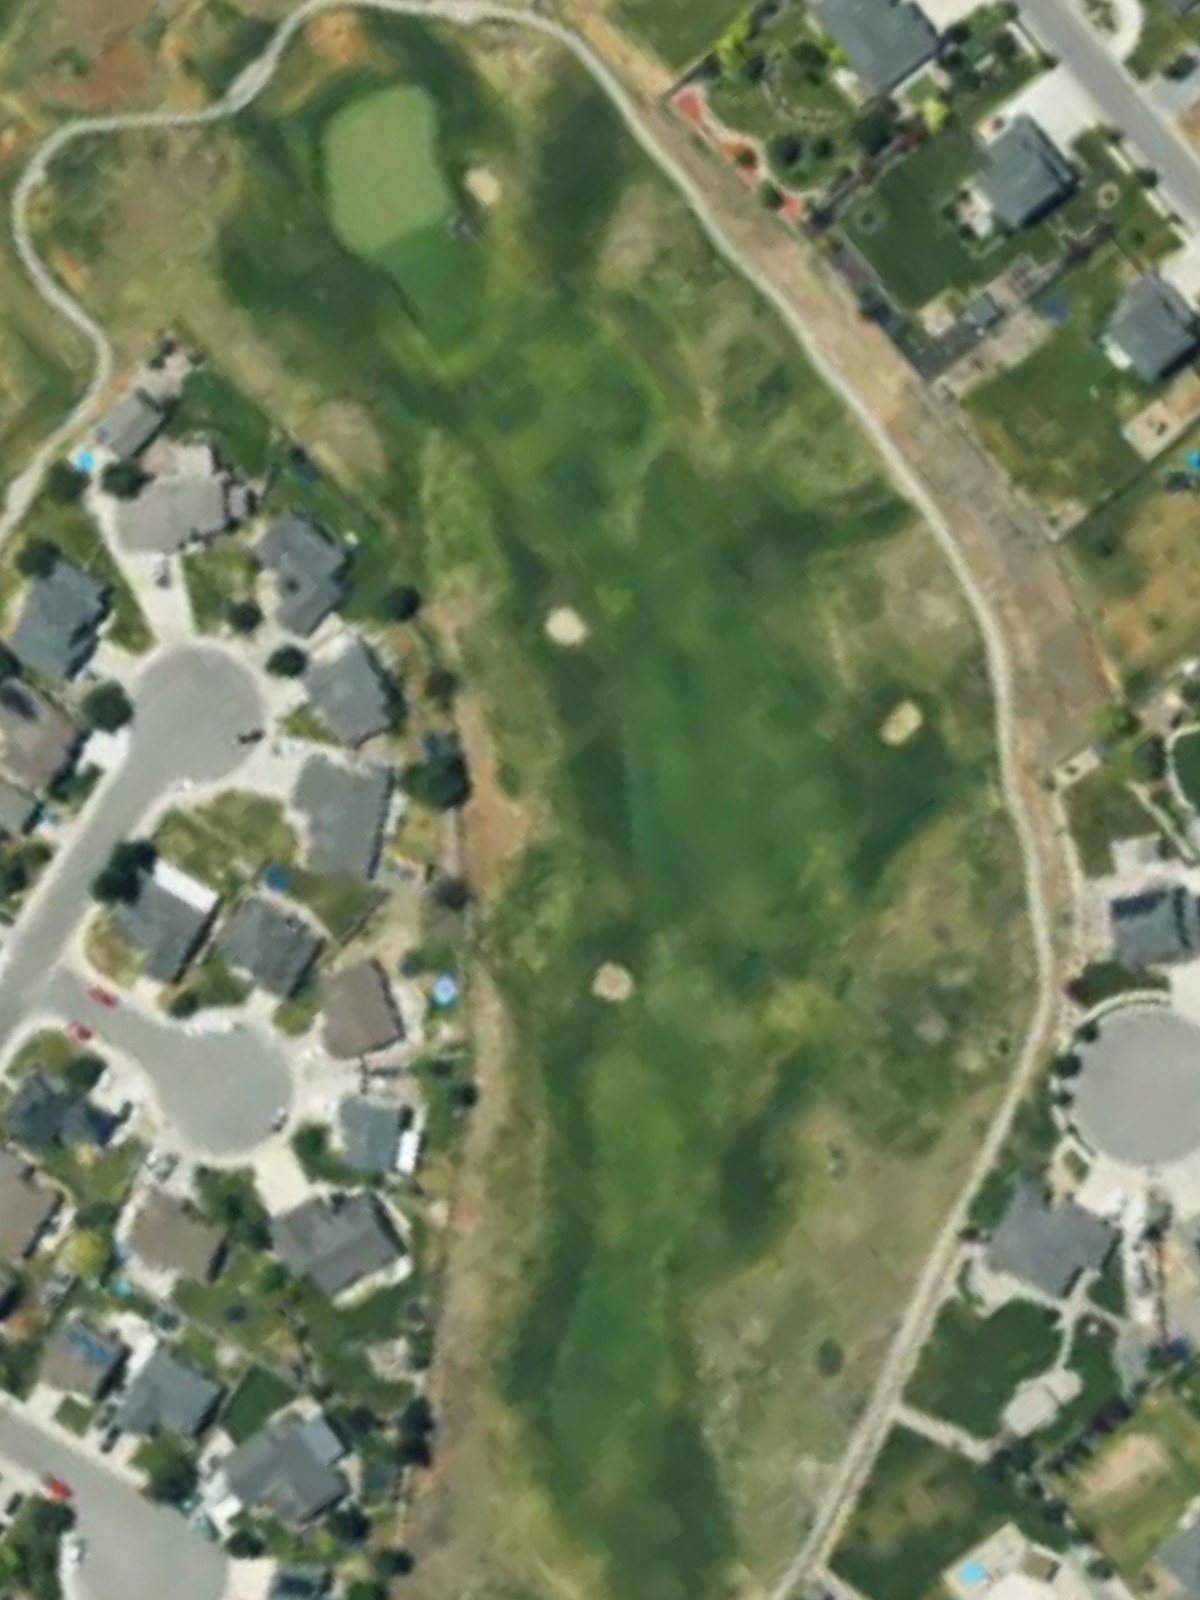
A lengthy par 5 that plays downhill from the tee, offering birdie opportunities for those who can reach the green in two. Water hazards and bunkers protect the approach, making accuracy essential on the third shot.
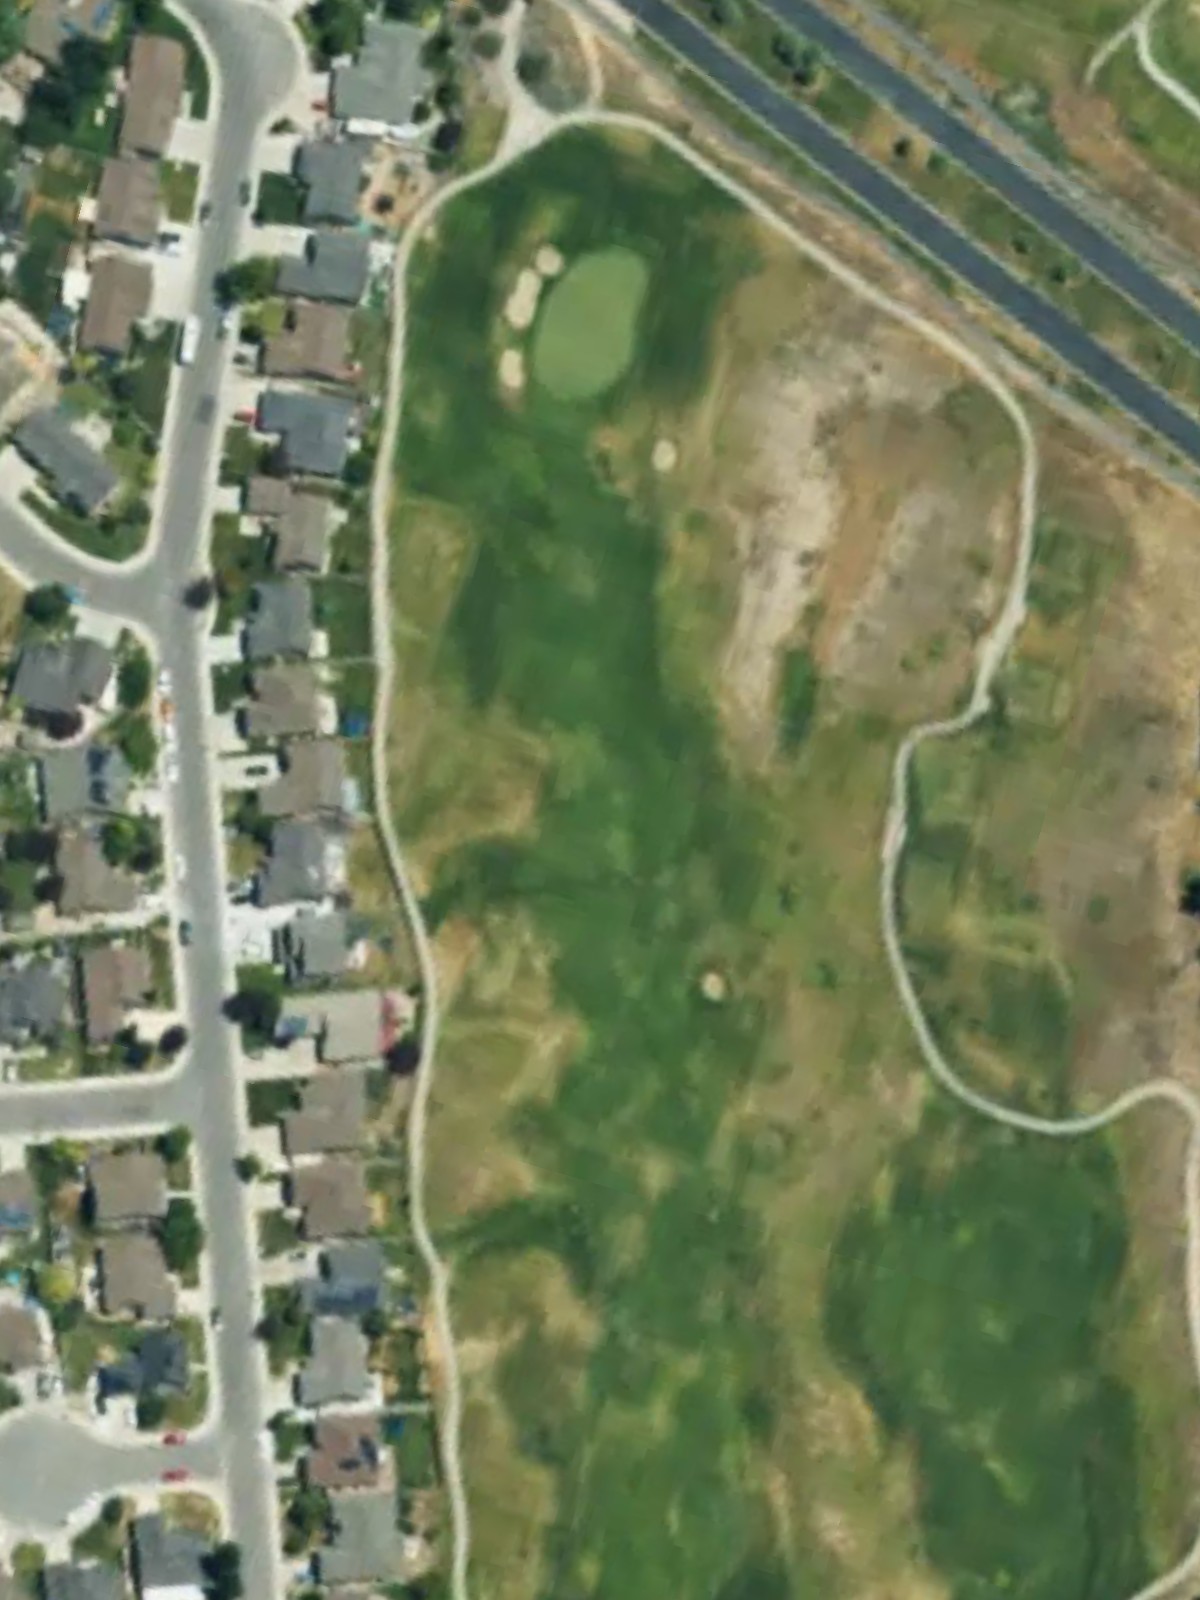
The course's most difficult par 4, playing significantly longer from the back tees with a dramatic dogleg configuration. Out of bounds threatens the right side, while bunkers guard the narrow green entrance.
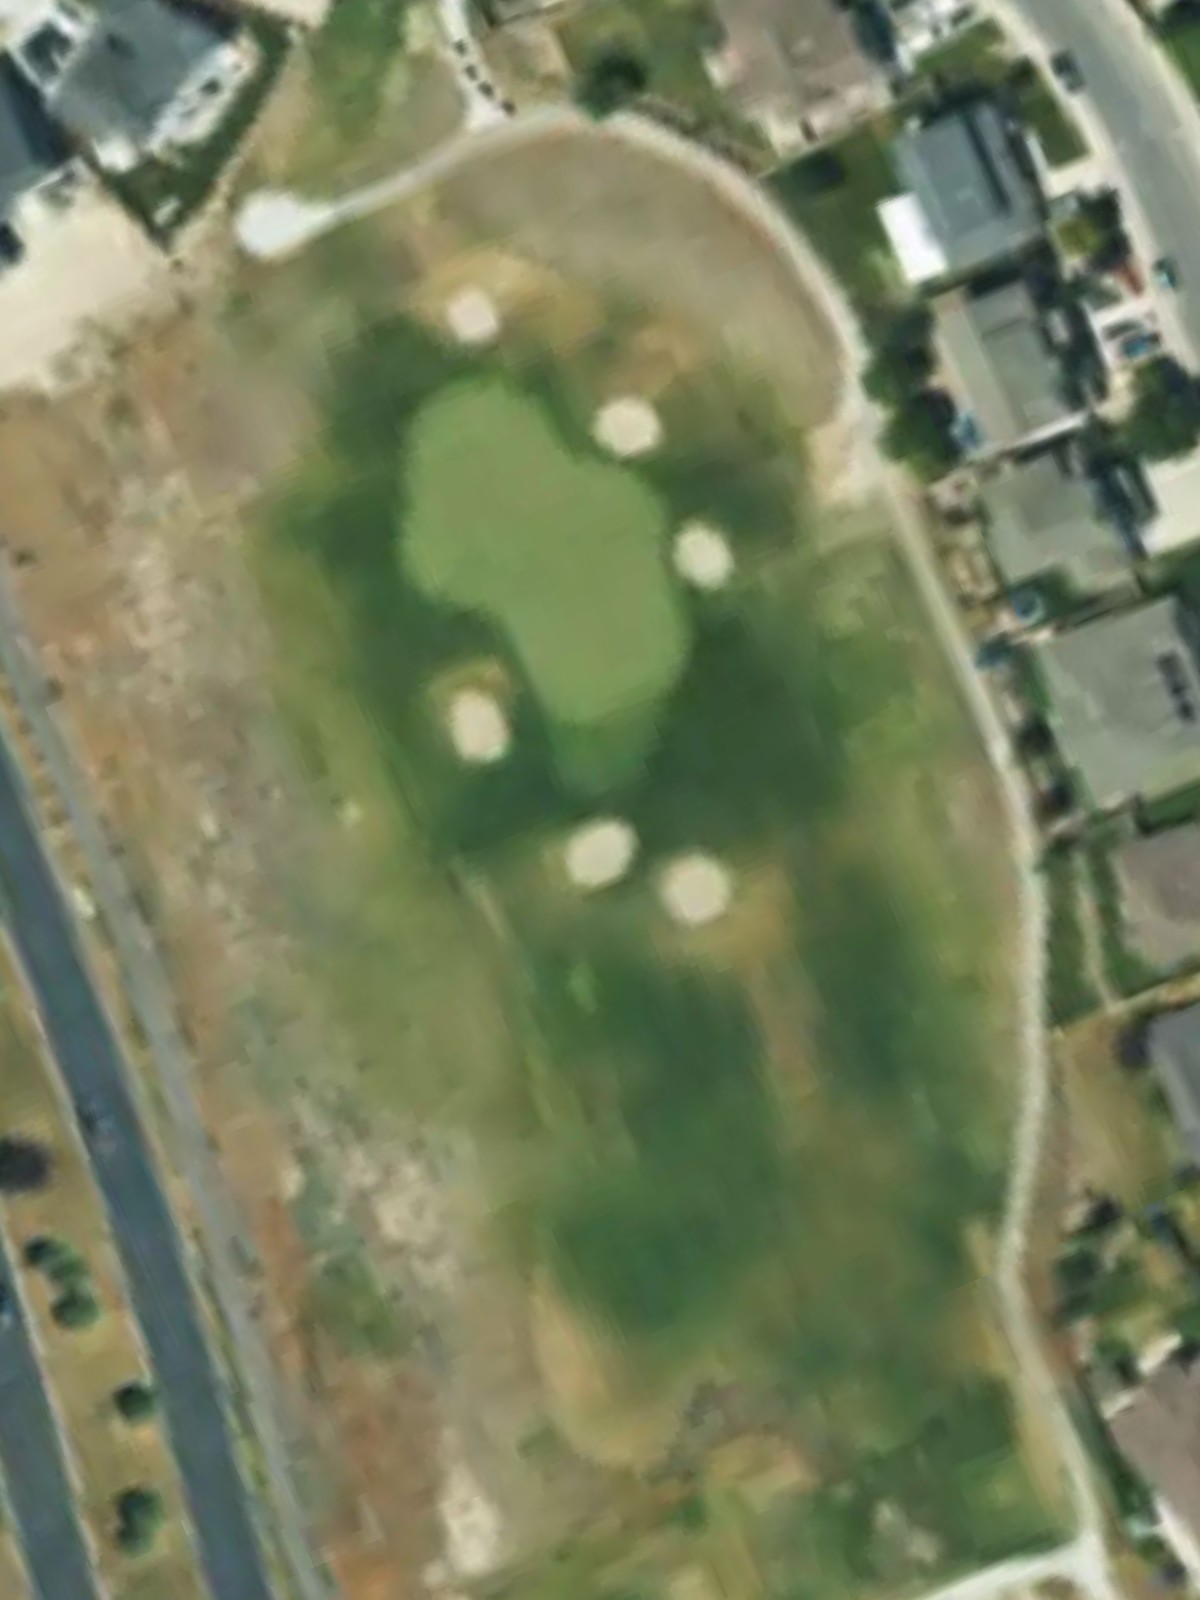
A short, straightforward par 4 with minimal hazards that plays much shorter than it appears from the scorecard. The wide fairway and open green make this a relatively forgiving hole in comparison to its peers.
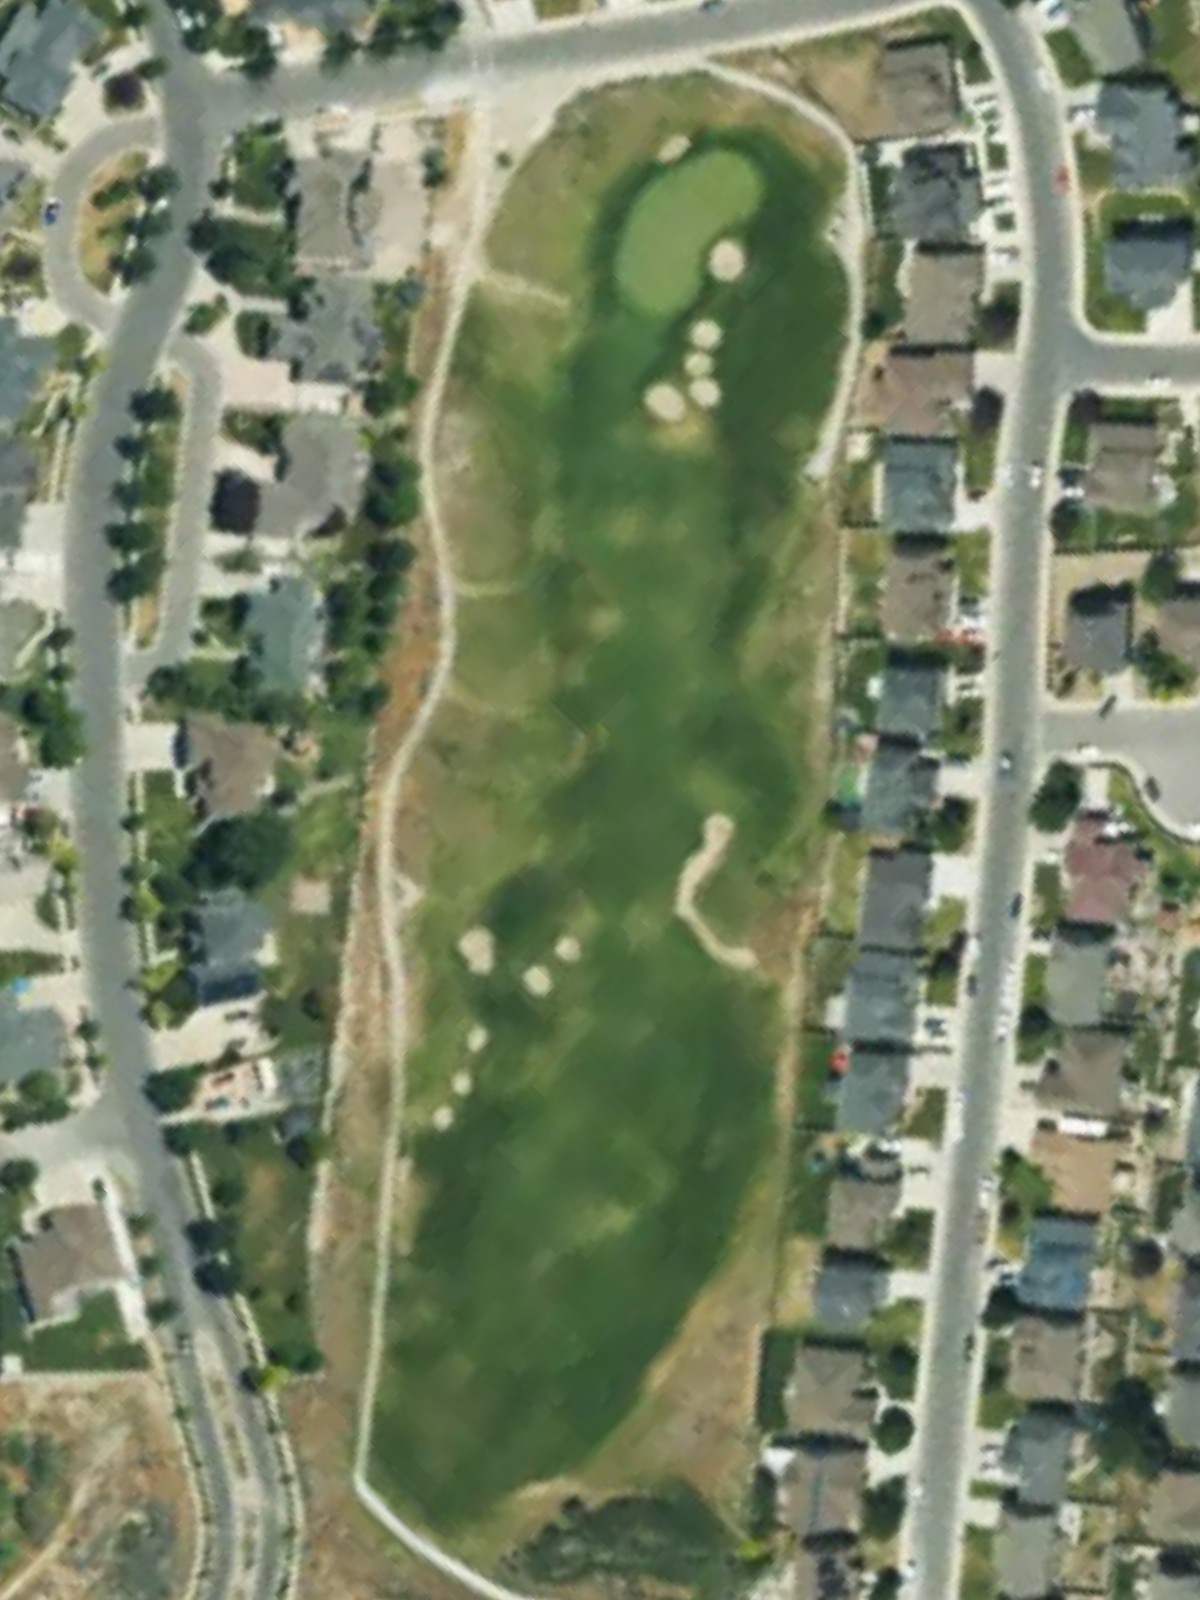
The #1 handicap hole features a demanding approach to a well-bunkered green set among significant hazards. The fairway pinches and elevation changes add complexity to what appears to be a reachable par 4 from the longer tees.
A short par 3 that plays dramatically different across the tee box options, with the green surrounded by trouble on multiple sides. Wind and elevation play significant roles in club selection for this deceptively challenging one-shotter.
A relatively short par 4 with a straightforward design, though bunkers strategically placed near the green demand precision on the approach. The hole's brevity and accessible fairway make it a scoring opportunity if the green is hit cleanly.
A reachable par 5 that bends gently through the course with a narrow fairway corridor. Bunkers and water hazards frame the landing areas, requiring thoughtful positioning for an attacking approach to the green.
A short, picturesque par 3 with a compact green protected by bunkers and surrounded by natural hazards. The modest yardage belies its challenge, as the target is small and mistakes are quickly punished.
A short par 4 that doglegs and plays downhill, offering a risk-reward scenario off the tee with potential to shorten the approach. The green complex features bunker protection, making the second shot critical to scoring success.
A mid-length par 4 with a fairway that tightens as it approaches the green, demanding accurate positioning for the approach shot. Bunkers and water hazards guard the left and right sides of the green entrance.

The second-hardest hole on the course, this lengthy par 5 stretches toward a well-guarded green with water and bunker complexes. The sheer distance and complexity of the approach make this one of the course's most challenging scoring holes.
A modest par 3 playing to a relatively open green with bunker protection on select sides. The short yardage makes it an inviting birdie opportunity, though positioning is important to avoid strategic sand traps.
A spacious par 5 offering multiple paths to the green with distinct risk-reward options at various distances. Water and bunker hazards guard the landing zones and green complex, testing both distance and accuracy.
A mid-length par 4 with a forgiving fairway and an accessible green, presenting a solid birdie opportunity if the approach is executed well. Bunkers frame the green but are not overly penal, making this a relatively straightforward hole.
A demanding par 4 that doglegs and features a narrow approach corridor to a protected green. Hazards on both sides of the landing zone and near the green demand precision from tee to green.
A short par 3 with a small, tight green that requires accuracy over distance, as the target is compact and unforgiving. Bunkers and rough grass surround the green, making solid contact essential.
A strong par 4 with a dogleg configuration and strategic bunkering that frames the fairway and green approaches. The hole's difficulty ranking reflects the challenge of navigating the hazards while reaching a well-defended green.
The course's easiest par 4 features a straightforward design with a generous fairway and open green, providing a favorable finishing opportunity. Minimal hazards and approachable length make this a birdie-friendly closer.
Scorecard
| Hole | 1 | 2 | 3 | 4 | 5 | 6 | 7 | 8 | 9 | Out | 10 | 11 | 12 | 13 | 14 | 15 | 16 | 17 | 18 | In | Tot |
|---|---|---|---|---|---|---|---|---|---|---|---|---|---|---|---|---|---|---|---|---|---|
| Par | 5 | 4 | 4 | 4 | 3 | 4 | 5 | 3 | 4 | 36 | 4 | 5 | 3 | 5 | 4 | 4 | 3 | 4 | 4 | 36 | 72 |
| HCP | 13 | 3 | 17 | 1 | 9 | 5 | 7 | 15 | 11 | 6 | 2 | 12 | 8 | 14 | 10 | 16 | 4 | 18 | |||
| black | 532 | 385 | 373 | 453 | 193 | 366 | 490 | 192 | 354 | 3338 | 422 | 614 | 180 | 543 | 409 | 443 | 142 | 412 | 288 | 3453 | 6791 |
| green | 492 | 358 | 344 | 424 | 175 | 347 | 462 | 176 | 319 | 3097 | 396 | 572 | 160 | 525 | 369 | 405 | 135 | 382 | 280 | 3224 | 6321 |
| silver | 467 | 305 | 324 | 367 | 144 | 344 | 439 | 151 | 282 | 2823 | 373 | 543 | 152 | 451 | 346 | 365 | 133 | 369 | 262 | 2994 | 5817 |
| blue | 454 | 204 | 297 | 320 | 73 | 278 | 404 | 124 | 233 | 2387 | 350 | 480 | 127 | 426 | 322 | 334 | 130 | 293 | 249 | 2711 | 5098 |