The Ranch Club is an 18-hole golf course in Missoula, MT with a par of 72. It offers 7 tee sets: black (7,027 yards, slope 134, rating 73.6), black/gold combo (6,647 yards, slope 129, rating 71.3), gold (6,385 yards, slope 125, rating 69.9), gold/silver combo (6,006 yards, slope 120, rating 69.2), silver (5,714 yards, slope 117, rating 67.9), silver/copper combo (5,361 yards, slope 114, rating 65.4), copper (5,096 yards, slope 104, rating 64.1). The hardest hole is #5, a par 4 playing 435 yards from the first tee.
The Ranch Club
Missoula, MT
Get PDF Yardage Book
We'll email you the PDF link. No spam, ever.
Create Your Game Plan
Pick your tees, enter your bag, and get a personalized shot-by-shot strategy for every hole.
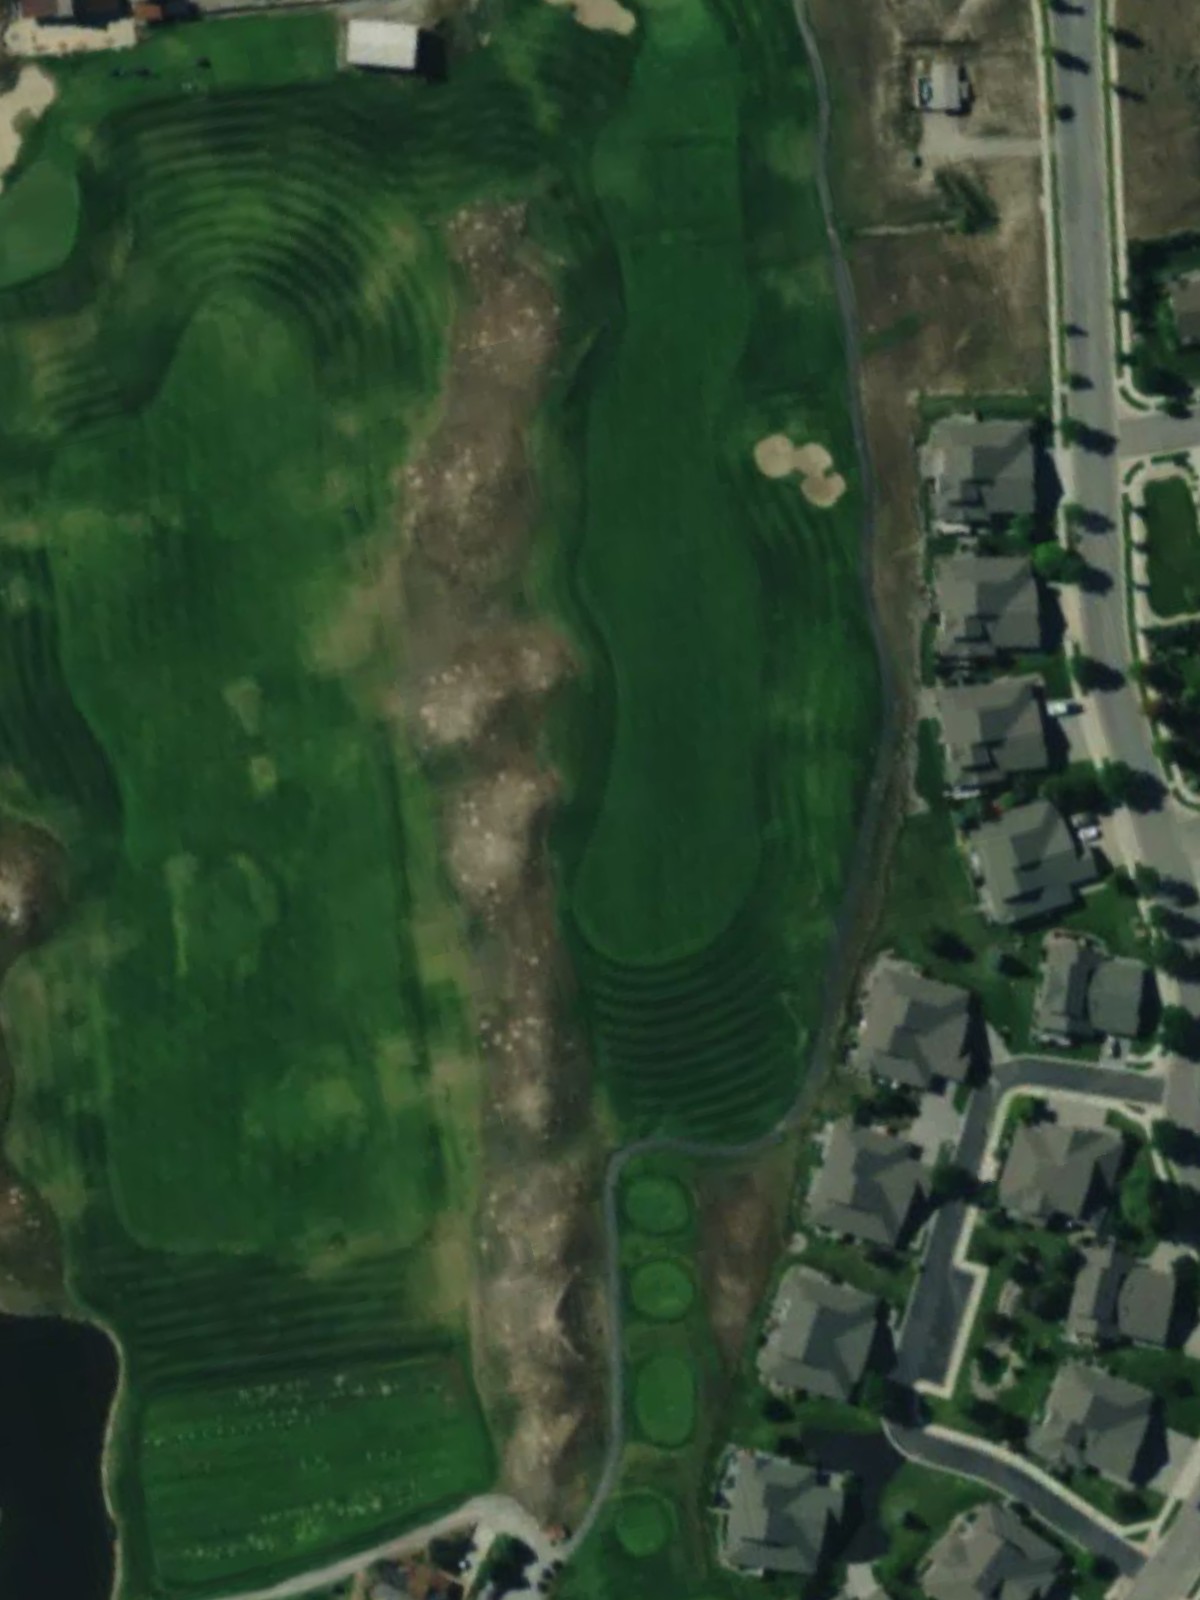
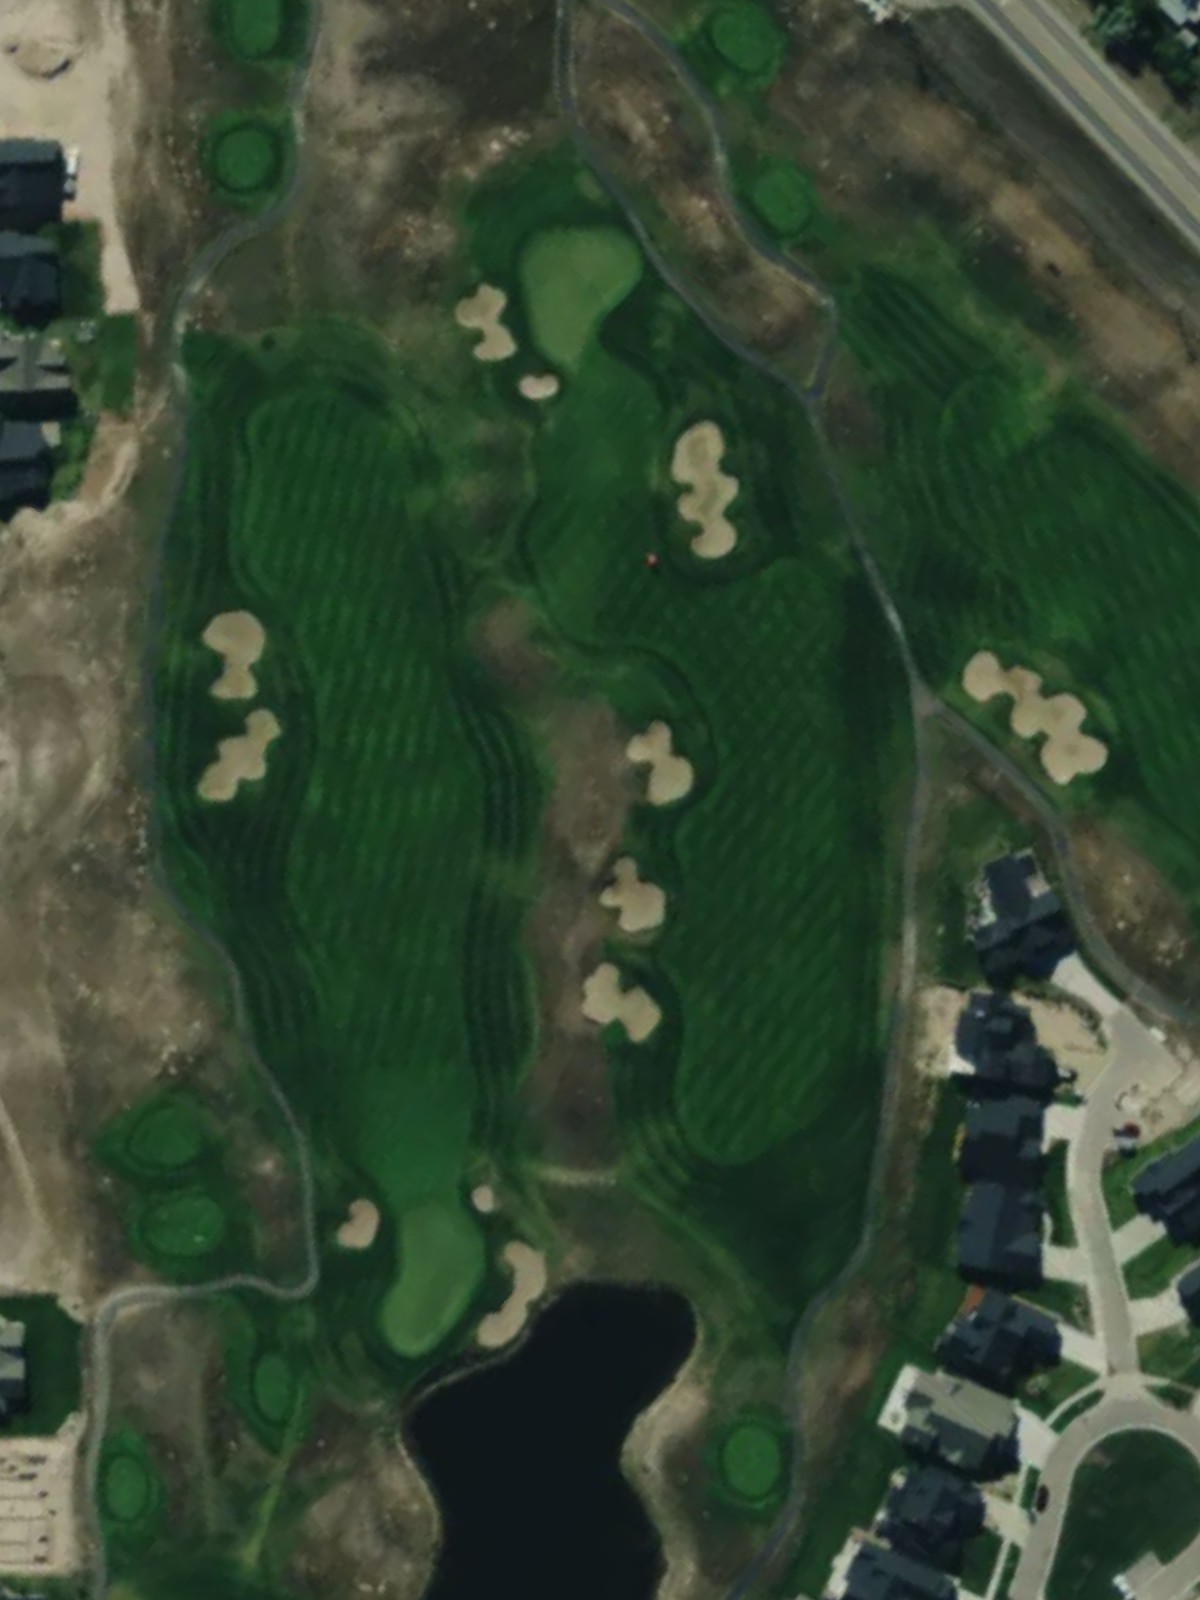
A straightforward opening par 4 with a wide fairway that gradually narrows as it approaches the green. Bunkers flank the right side of the green, demanding accuracy on the approach shot to avoid sand.

A lengthy par 5 that plays as a genuine three-shot hole for most players. The hole's length and strategic hazard placement reward solid positioning over distance off the tee.

A short par 4 with a compact design that emphasizes precision over power. The tight corridor demands accurate tee shots to set up a manageable approach to the green.
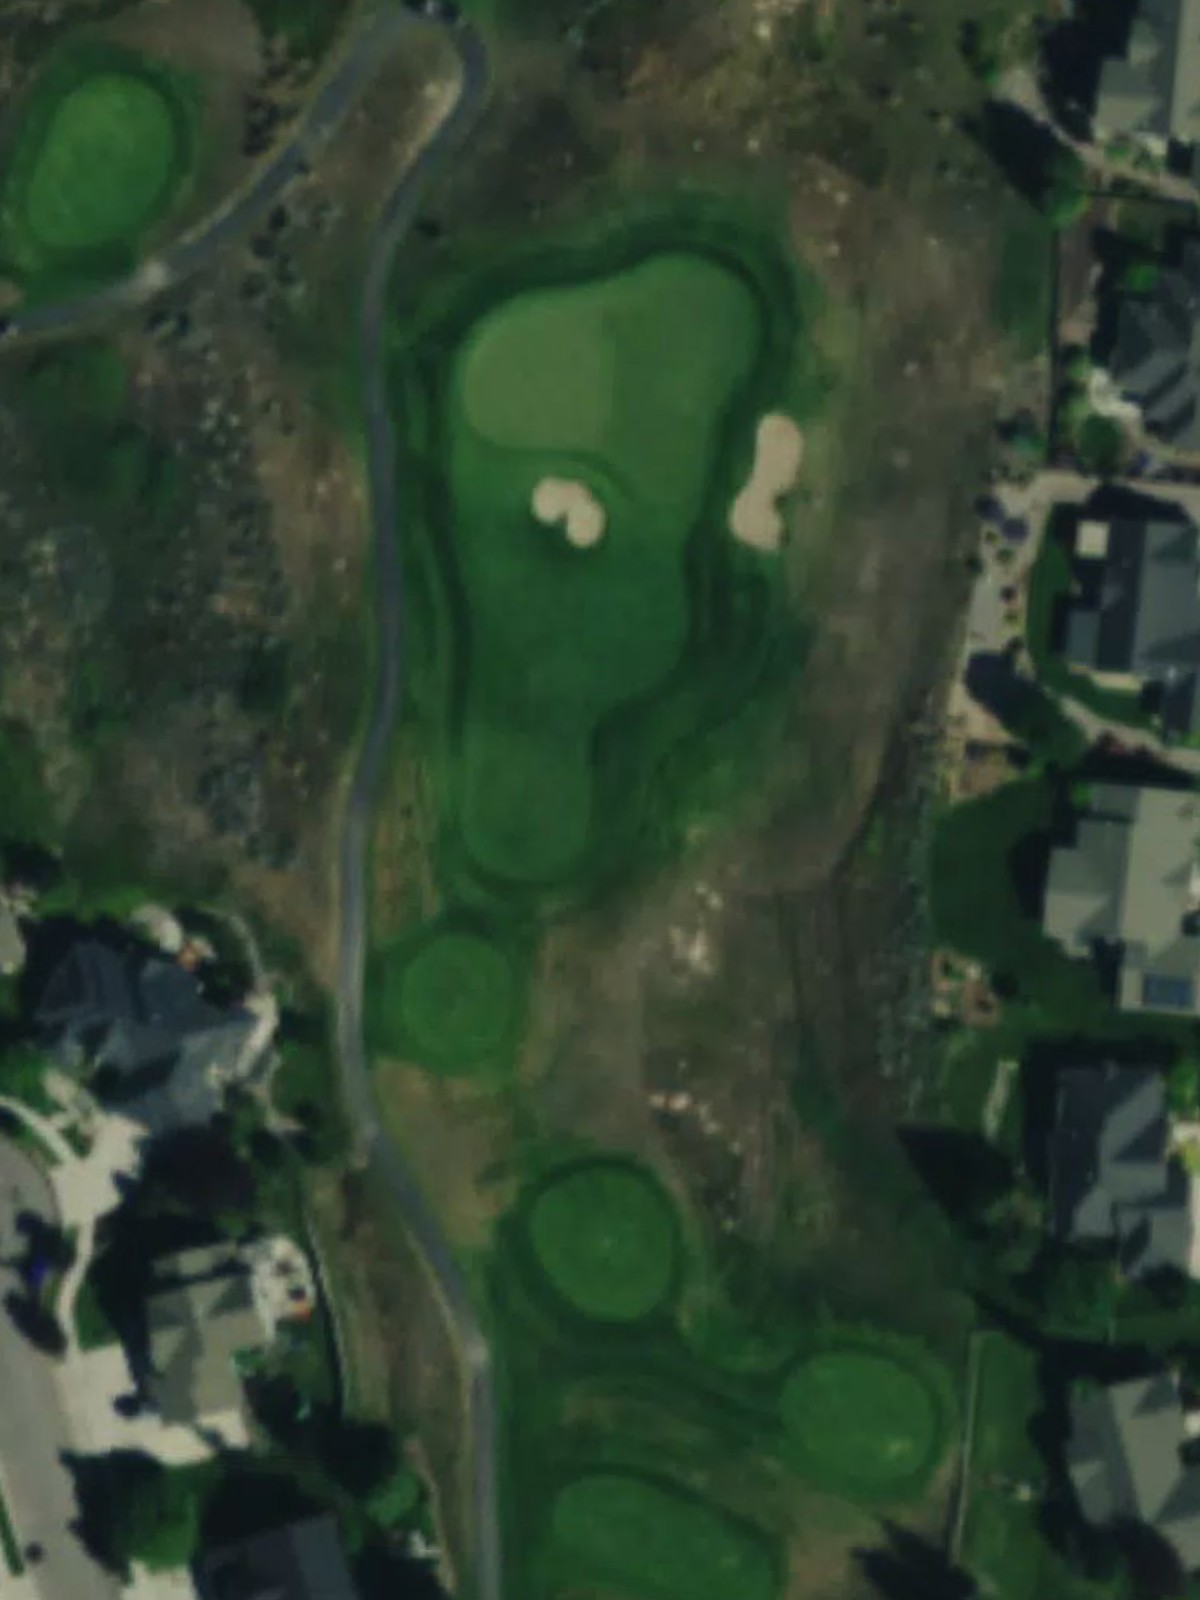
A brief par 3 that serves as the course's easiest hole. The small green and modest yardage make this a straightforward one-shot opportunity.

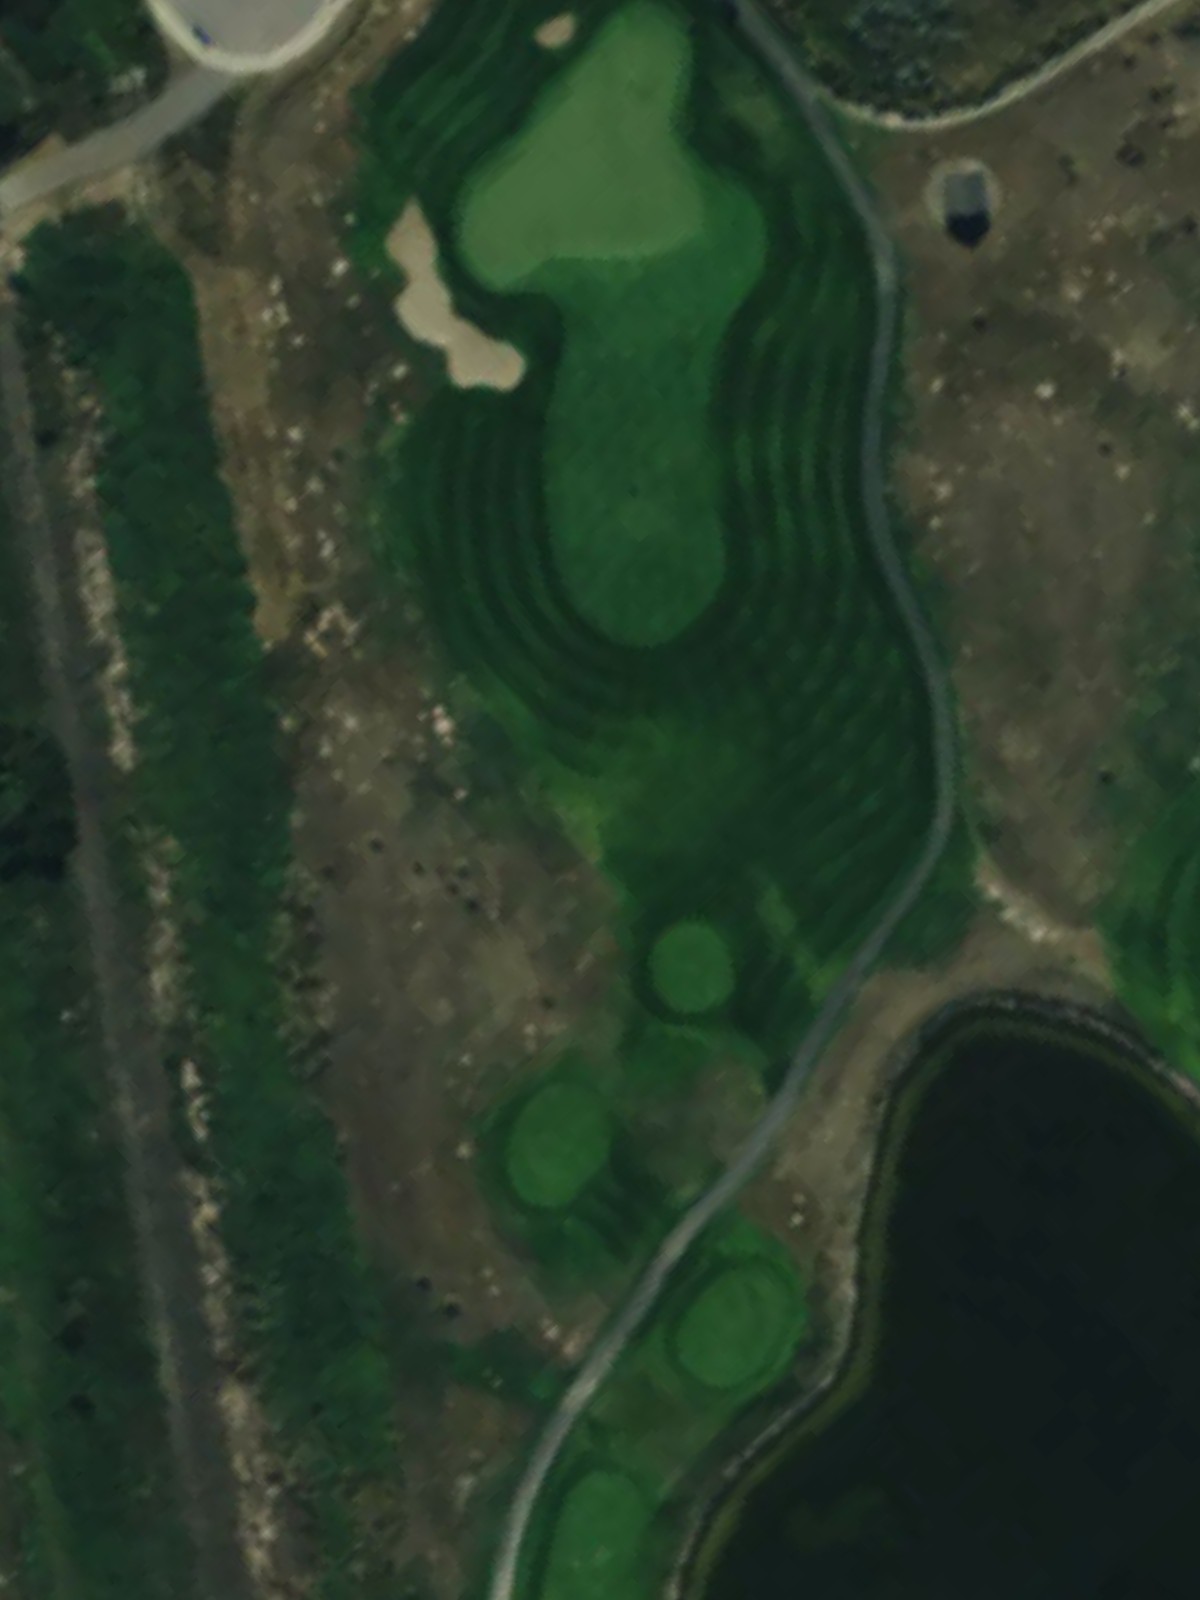
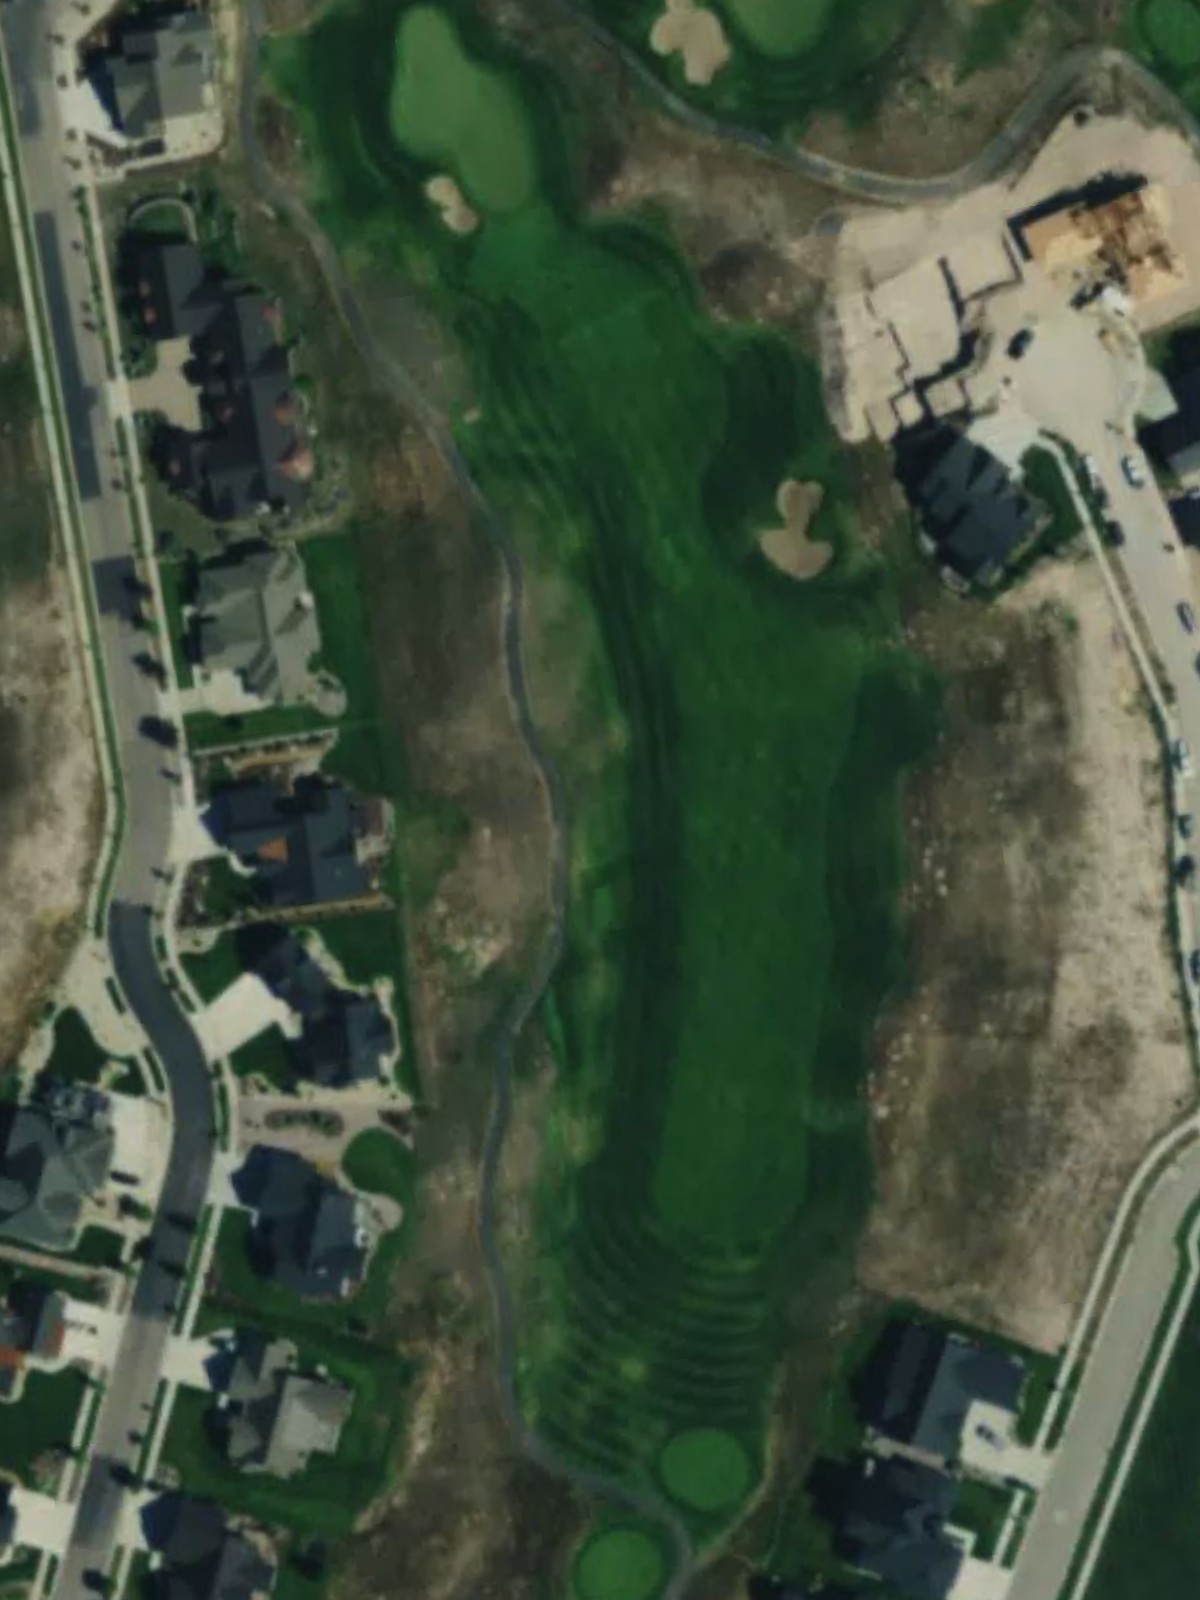
The course's #1 handicap, this demanding par 4 requires two strong shots to reach the green in regulation. Length and strategic positioning are critical to success on this challenging hole.

A mid-length par 3 with a well-defined target. The green's modest size demands an accurate tee shot to find the putting surface.

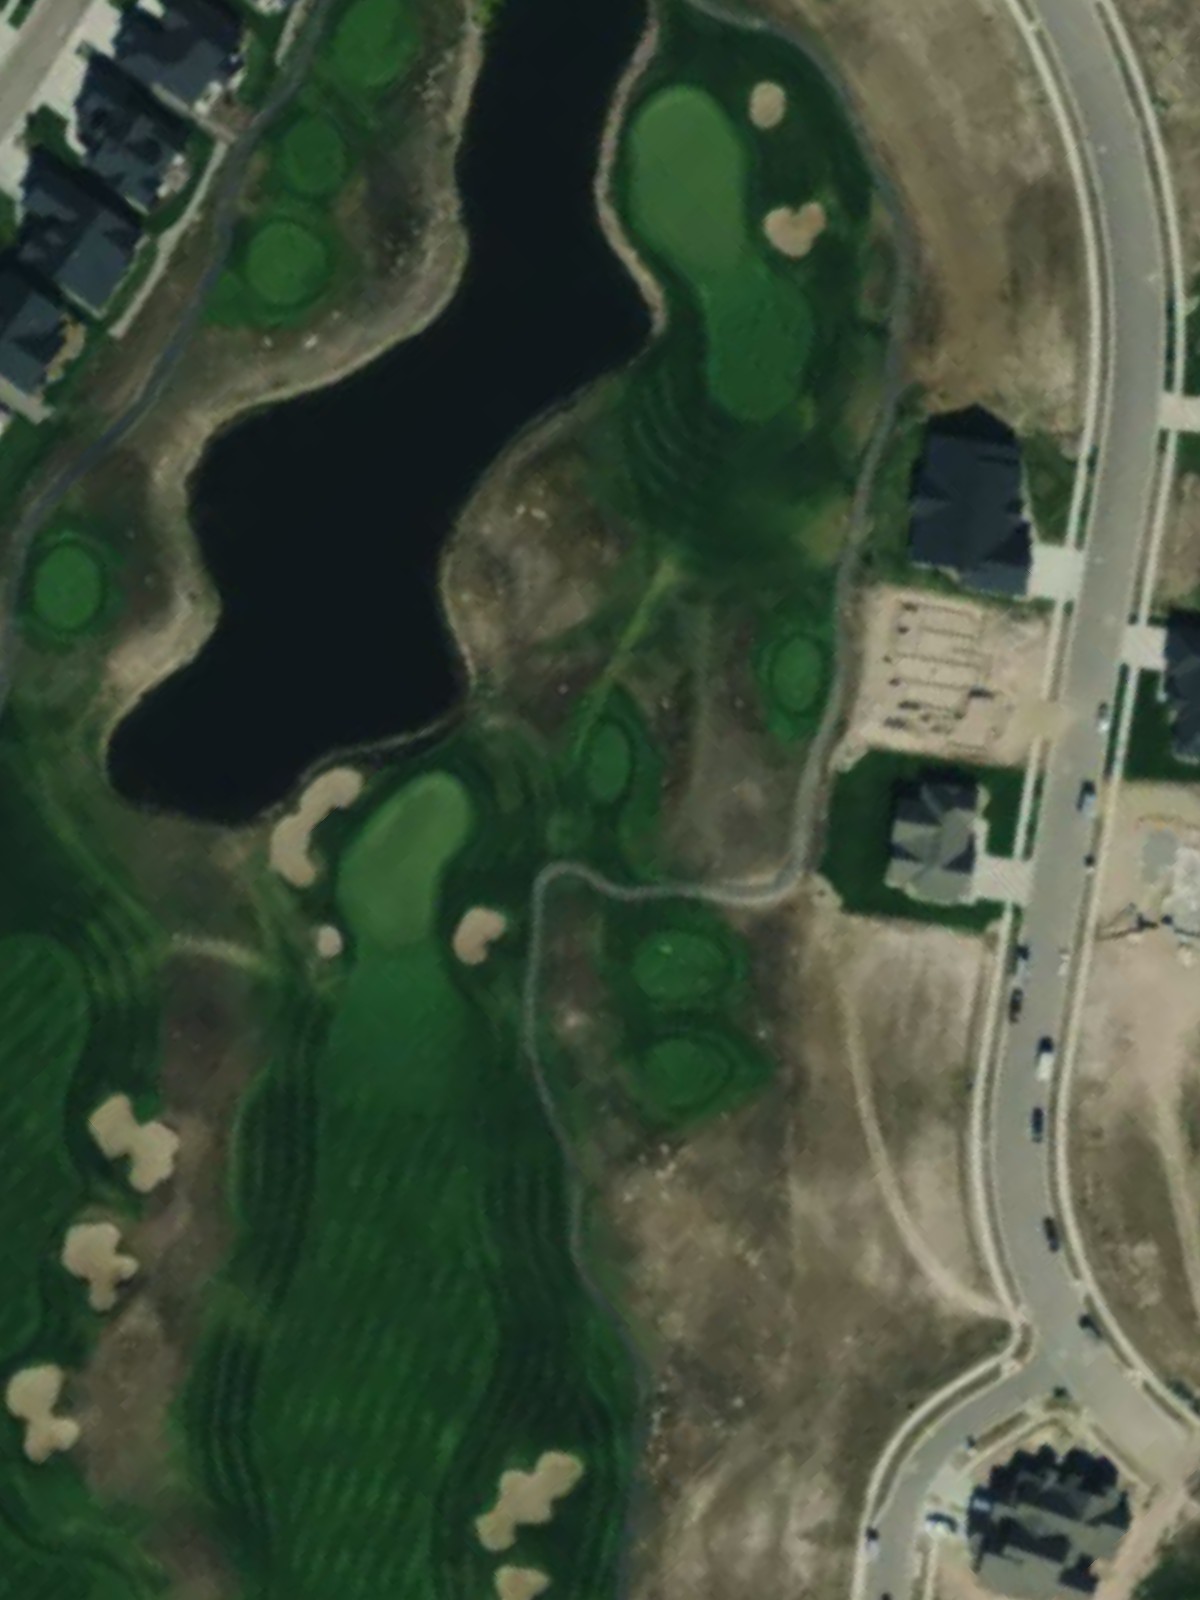
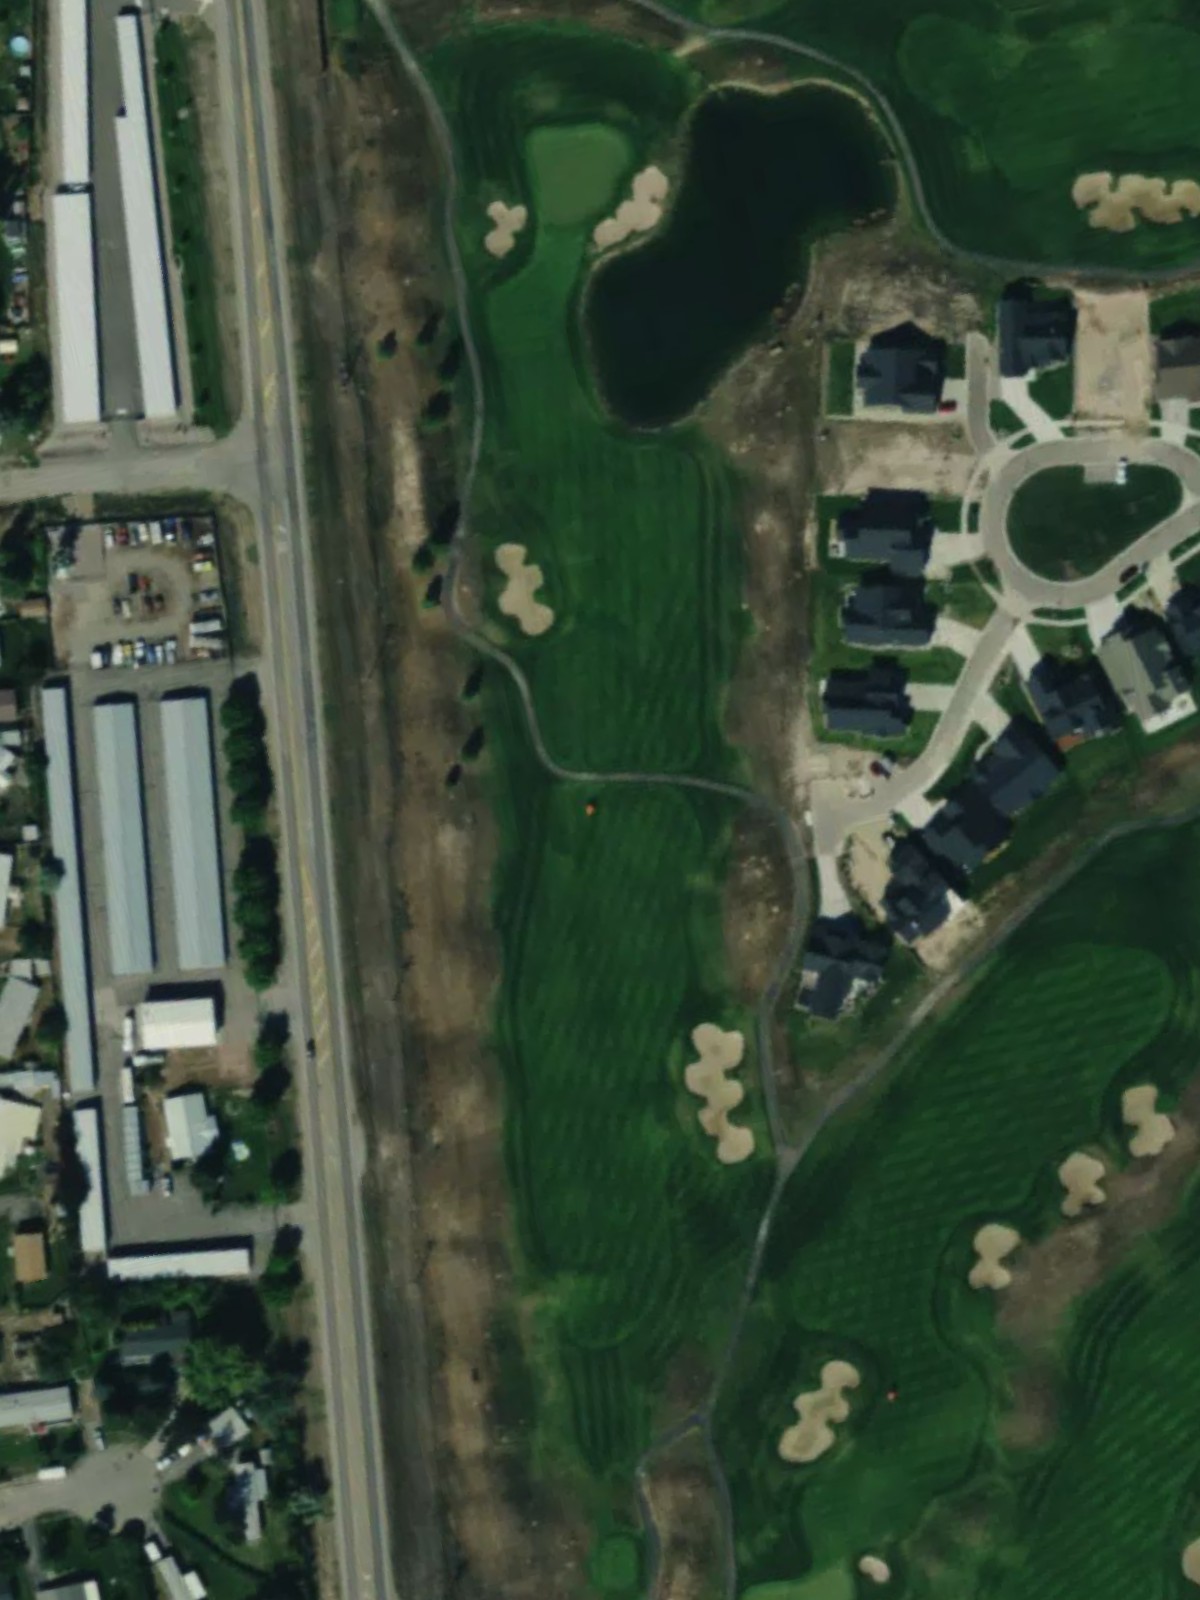
A substantial par 5 that plays as one of the course's most significant scoring opportunities. The hole's considerable length offers players a chance to score well with solid execution.
A mid-range par 3 that presents a moderate challenge from the tee. The green requires a committed swing to find the center and set up a birdie opportunity.
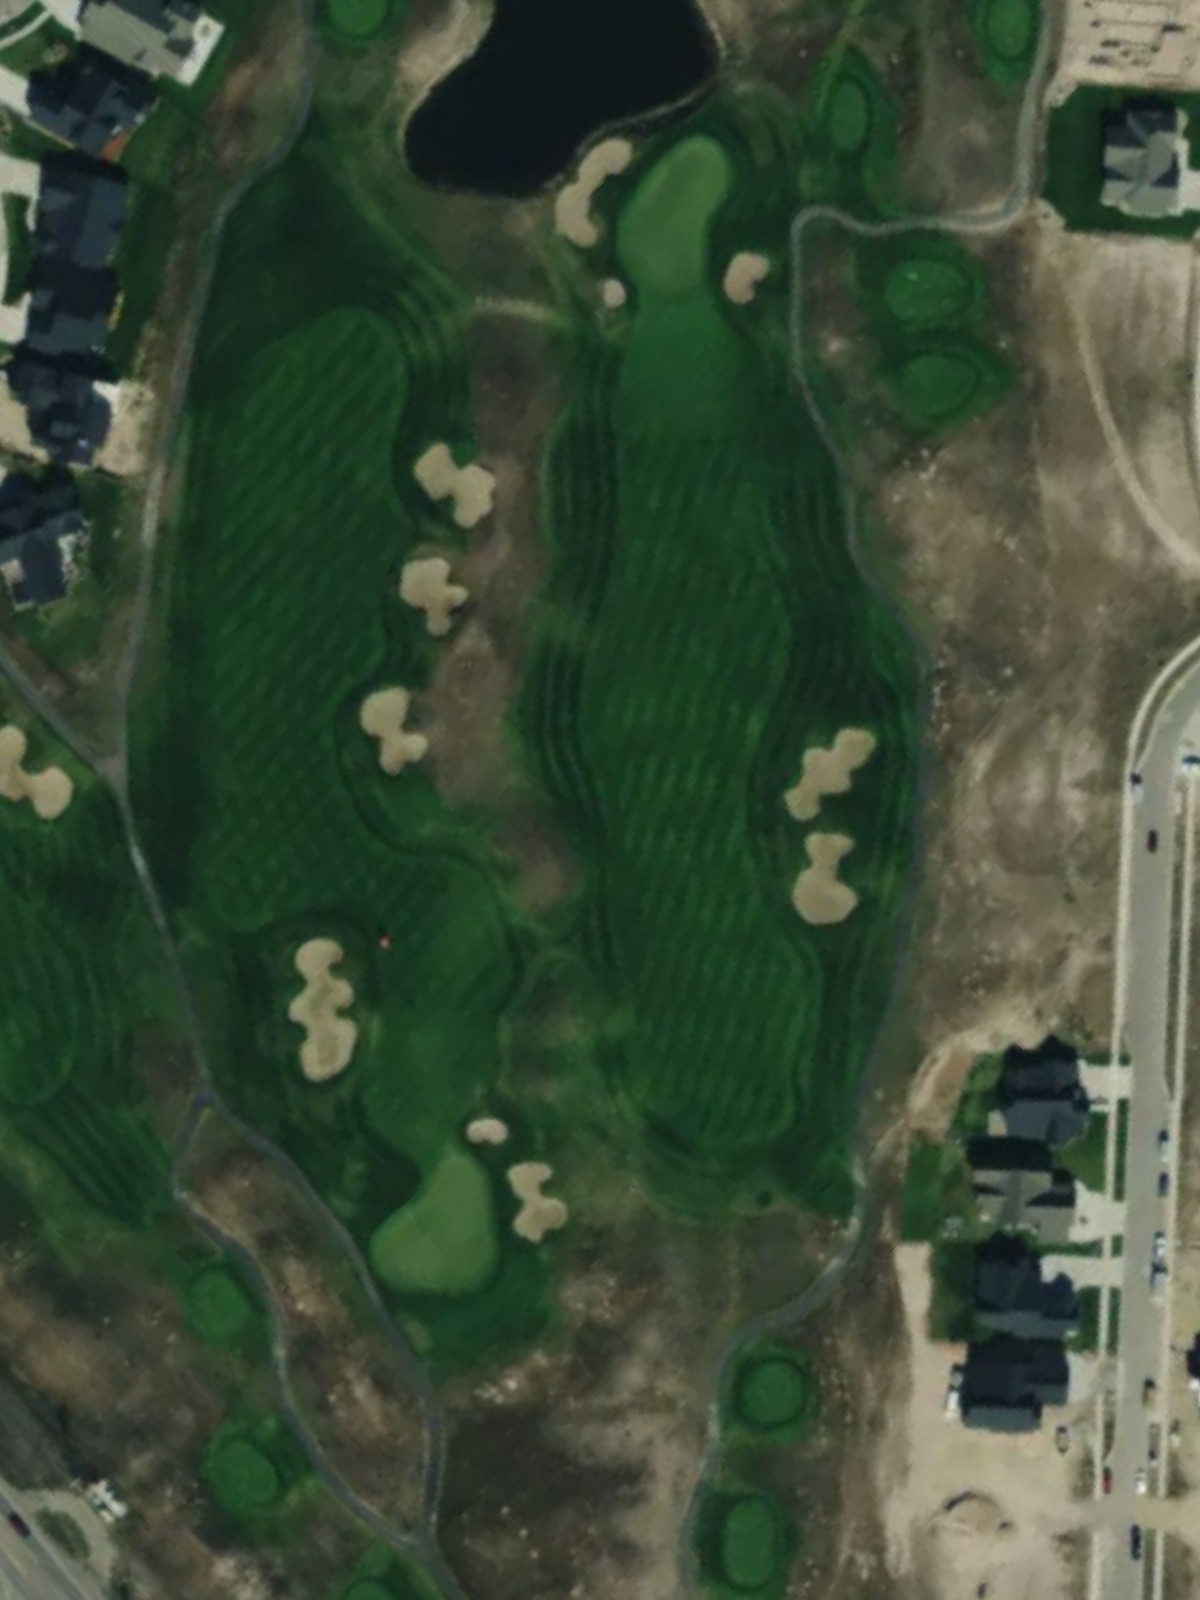
A strong par 5 that demands two quality shots to position for a birdie attempt. The hole's length and layout make it a key scoring hole in the back nine.
A straightforward par 4 that opens the back nine with a balanced test. The hole's design allows players to find rhythm and momentum early on the second nine.

The course's most accessible par 3, this short hole offers a genuine scoring chance. Simplicity in design makes this among the easier one-shot holes on the course.
A lengthy par 5 that plays as a demanding three-shot test for most golfers. The hole's significant yardage and strategic design require thoughtful course management.

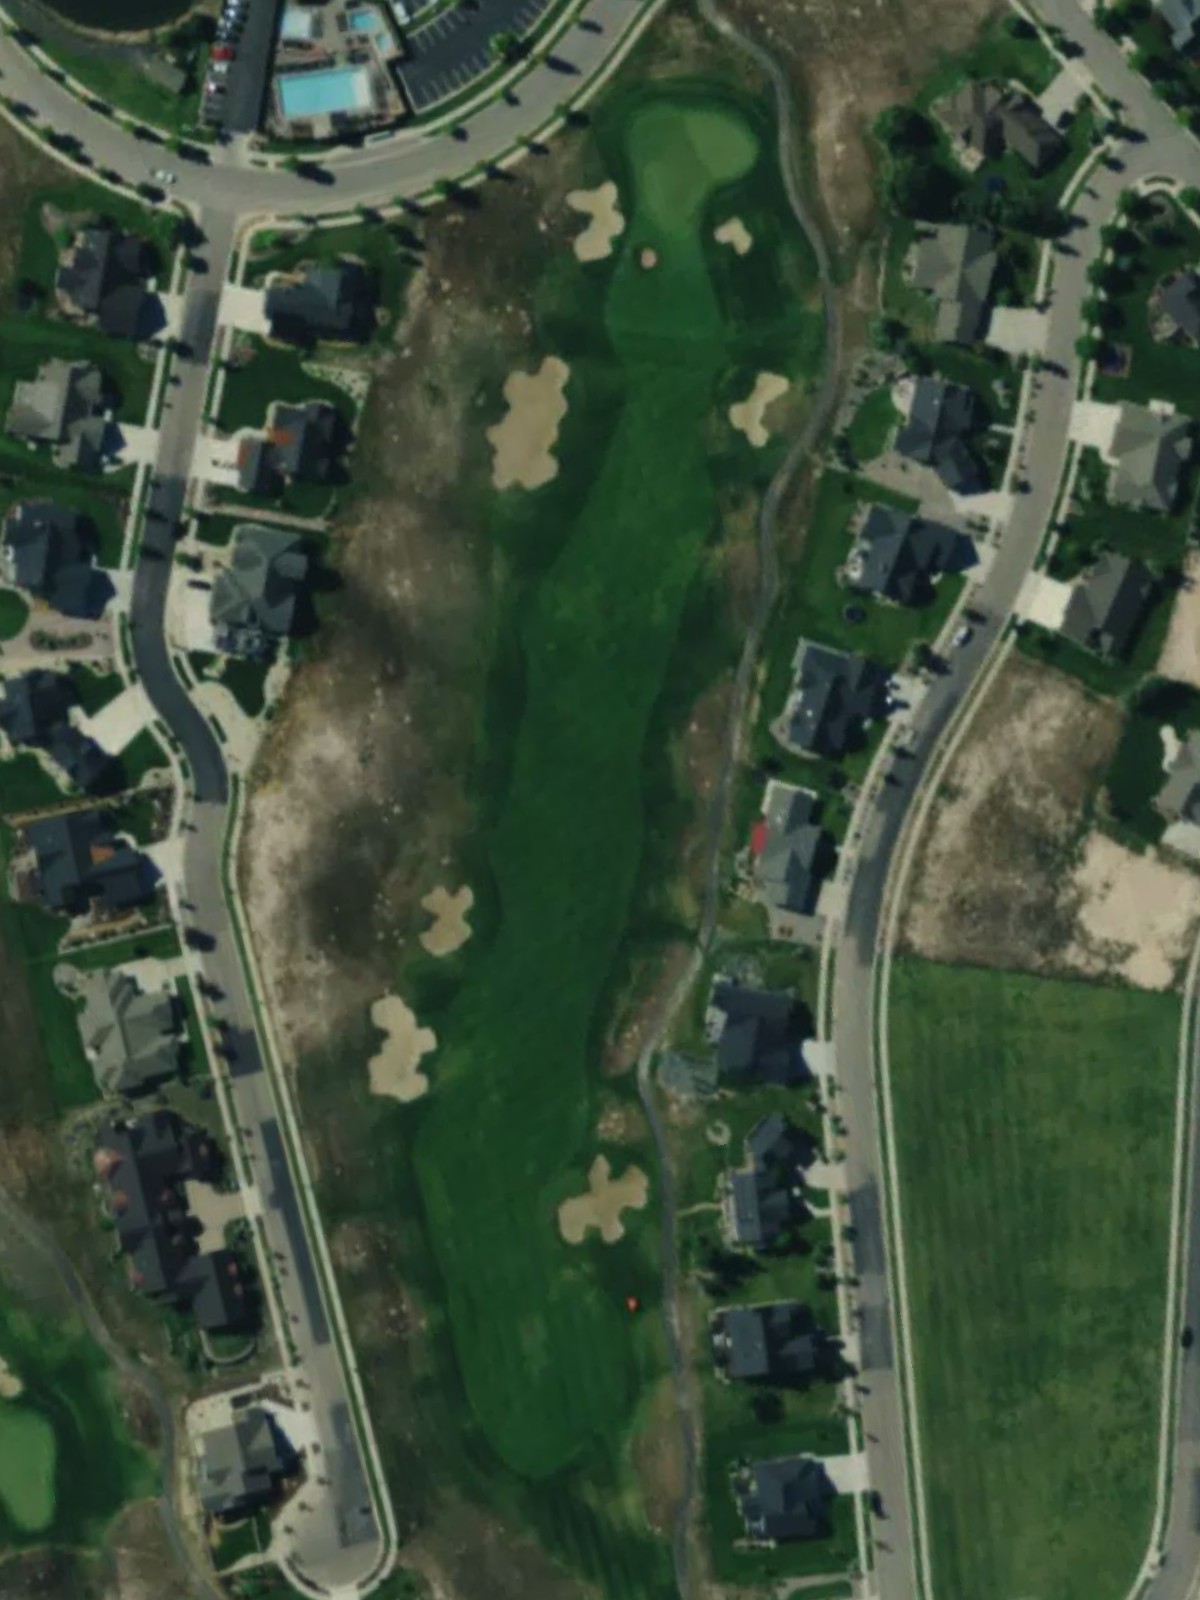
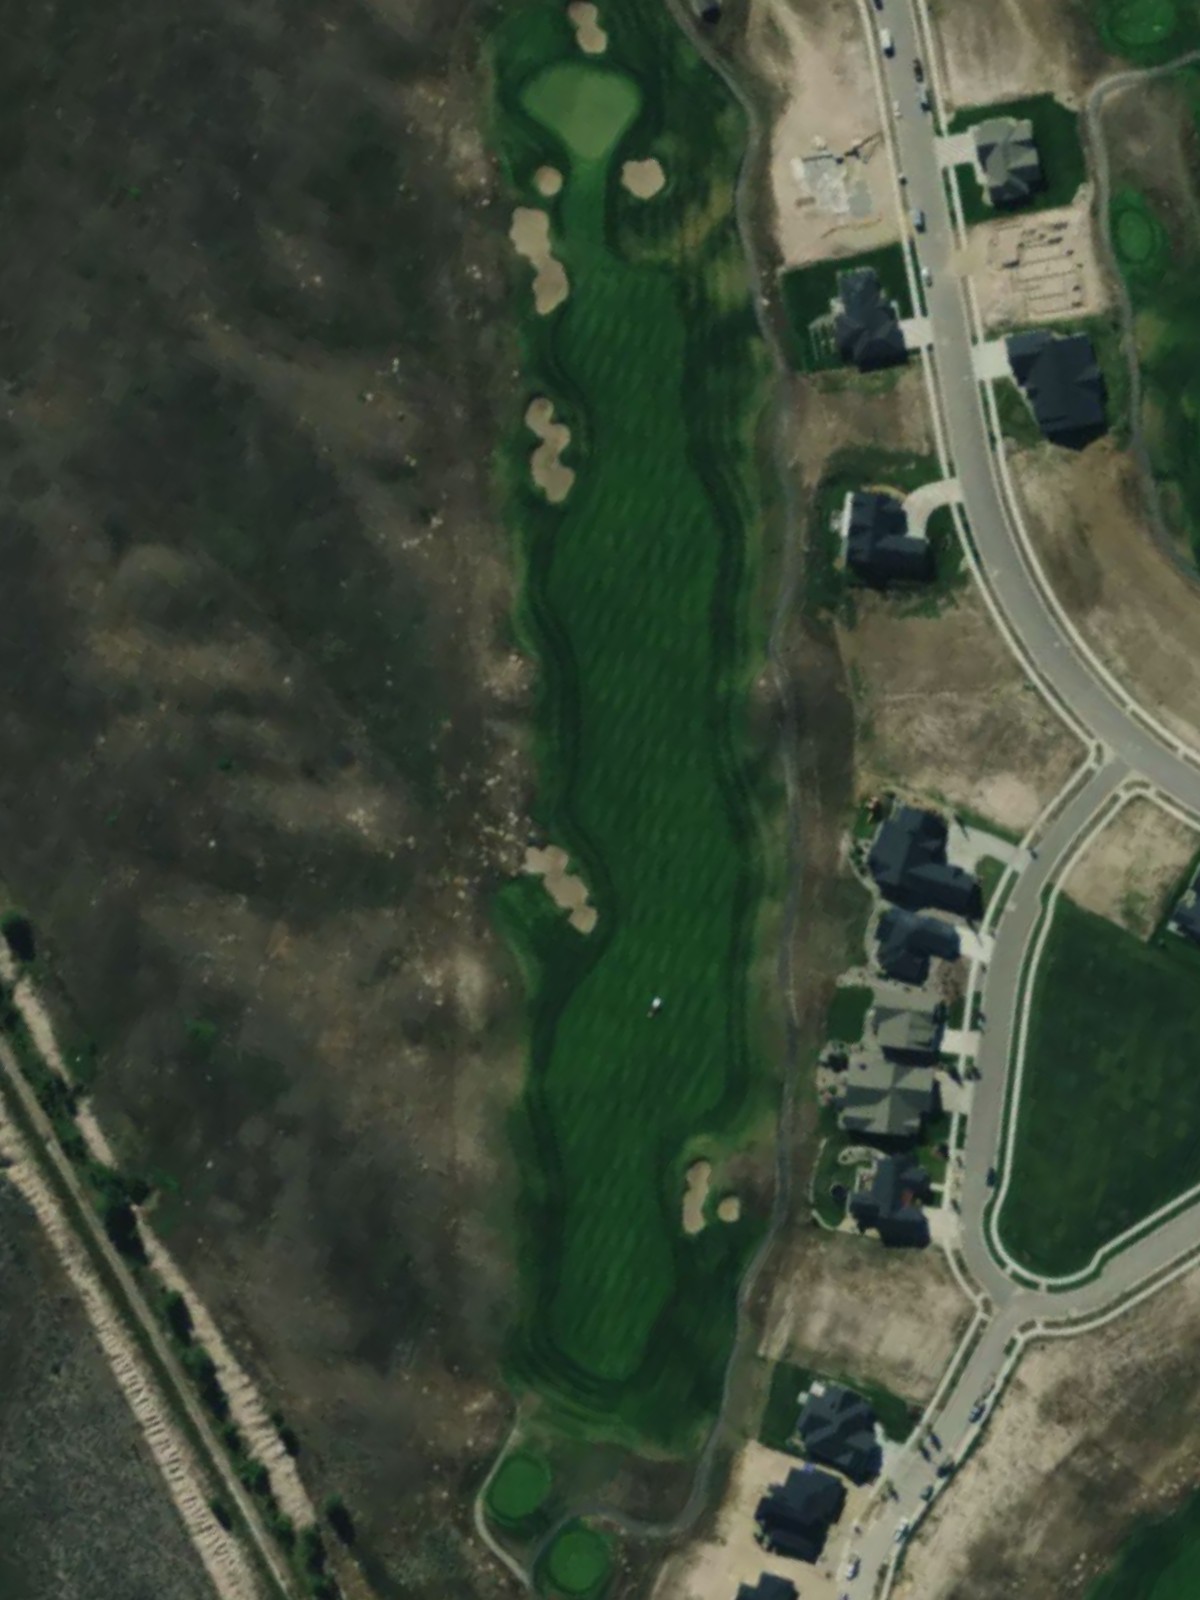
The second-most difficult hole on the course, this par 4 demands two powerful, accurate shots. Length and strategic hazards combine to make this one of the course's premier tests.
A mid-length par 4 with a balanced risk-reward profile. The hole offers multiple routes to the green depending on player preference and ability.
A modest par 3 that provides a brief respite in the scoring opportunities available. The hole's shorter yardage and straightforward design make it an approachable one-shot hole.
The fourth-most difficult hole on the course, this par 4 demands precision and power in equal measure. Strategic positioning is essential to set up a manageable approach to the green.
A strong par 5 that ranks among the course's premier holes for birdie opportunity. The hole's substantial length and design reward aggressive, well-executed play.

The home hole is a challenging par 4 that closes the round with a demanding finish. A quality tee shot and accurate approach are required to sign a satisfactory scorecard.
Scorecard
| Hole | 1 | 2 | 3 | 4 | 5 | 6 | 7 | 8 | 9 | Out | 10 | 11 | 12 | 13 | 14 | 15 | 16 | 17 | 18 | In | Tot |
|---|---|---|---|---|---|---|---|---|---|---|---|---|---|---|---|---|---|---|---|---|---|
| Par | 4 | 5 | 4 | 3 | 4 | 3 | 5 | 3 | 5 | 36 | 4 | 3 | 5 | 4 | 4 | 3 | 4 | 5 | 4 | 36 | 72 |
| HCP | 11 | 5 | 9 | 17 | 1 | 15 | 3 | 13 | 7 | 14 | 18 | 8 | 2 | 12 | 16 | 4 | 6 | 10 | |||
| black | 391 | 520 | 372 | 162 | 468 | 197 | 585 | 237 | 506 | 3438 | 383 | 187 | 569 | 452 | 407 | 191 | 438 | 544 | 418 | 3589 | 7027 |
| black/gold combo | 391 | 520 | 372 | 141 | 435 | 159 | 505 | 195 | 506 | 3224 | 383 | 187 | 537 | 413 | 407 | 168 | 409 | 501 | 418 | 3423 | 6647 |
| gold | 360 | 497 | 341 | 141 | 435 | 159 | 505 | 195 | 472 | 3105 | 349 | 157 | 537 | 413 | 368 | 168 | 409 | 501 | 378 | 3280 | 6385 |
| gold/silver combo | 360 | 474 | 341 | 141 | 388 | 159 | 462 | 141 | 438 | 2904 | 349 | 157 | 456 | 386 | 368 | 168 | 386 | 454 | 378 | 3102 | 6006 |
| silver | 333 | 474 | 302 | 105 | 388 | 132 | 462 | 141 | 438 | 2775 | 322 | 137 | 456 | 386 | 323 | 125 | 386 | 454 | 350 | 2939 | 5714 |
| silver/copper combo | 333 | 413 | 302 | 105 | 341 | 132 | 415 | 141 | 409 | 2591 | 322 | 137 | 437 | 353 | 323 | 125 | 307 | 416 | 350 | 2770 | 5361 |
| copper | 313 | 413 | 259 | 78 | 341 | 102 | 415 | 116 | 409 | 2446 | 296 | 123 | 437 | 353 | 287 | 109 | 307 | 416 | 322 | 2650 | 5096 |