The Legend At Bristlecone is an 18-hole golf course in Hartland, WI with a par of 71. It offers 6 tee sets: black (7,010 yards, slope 138, rating 74.4), blue (6,438 yards, slope 130, rating 71.7), white (5,934 yards, slope 124, rating 69.1), gold (5,526 yards, slope 120, rating 67.2), red (5,062 yards, slope 115, rating 65.2), orange (4,496 yards, slope 110, rating 62.9). The hardest hole is #3, a par 5 playing 436 yards from the first tee.
The Legend At Bristlecone
Hartland, WI
Get PDF Yardage Book
We'll email you the PDF link. No spam, ever.
Create Your Game Plan
Pick your tees, enter your bag, and get a personalized shot-by-shot strategy for every hole.
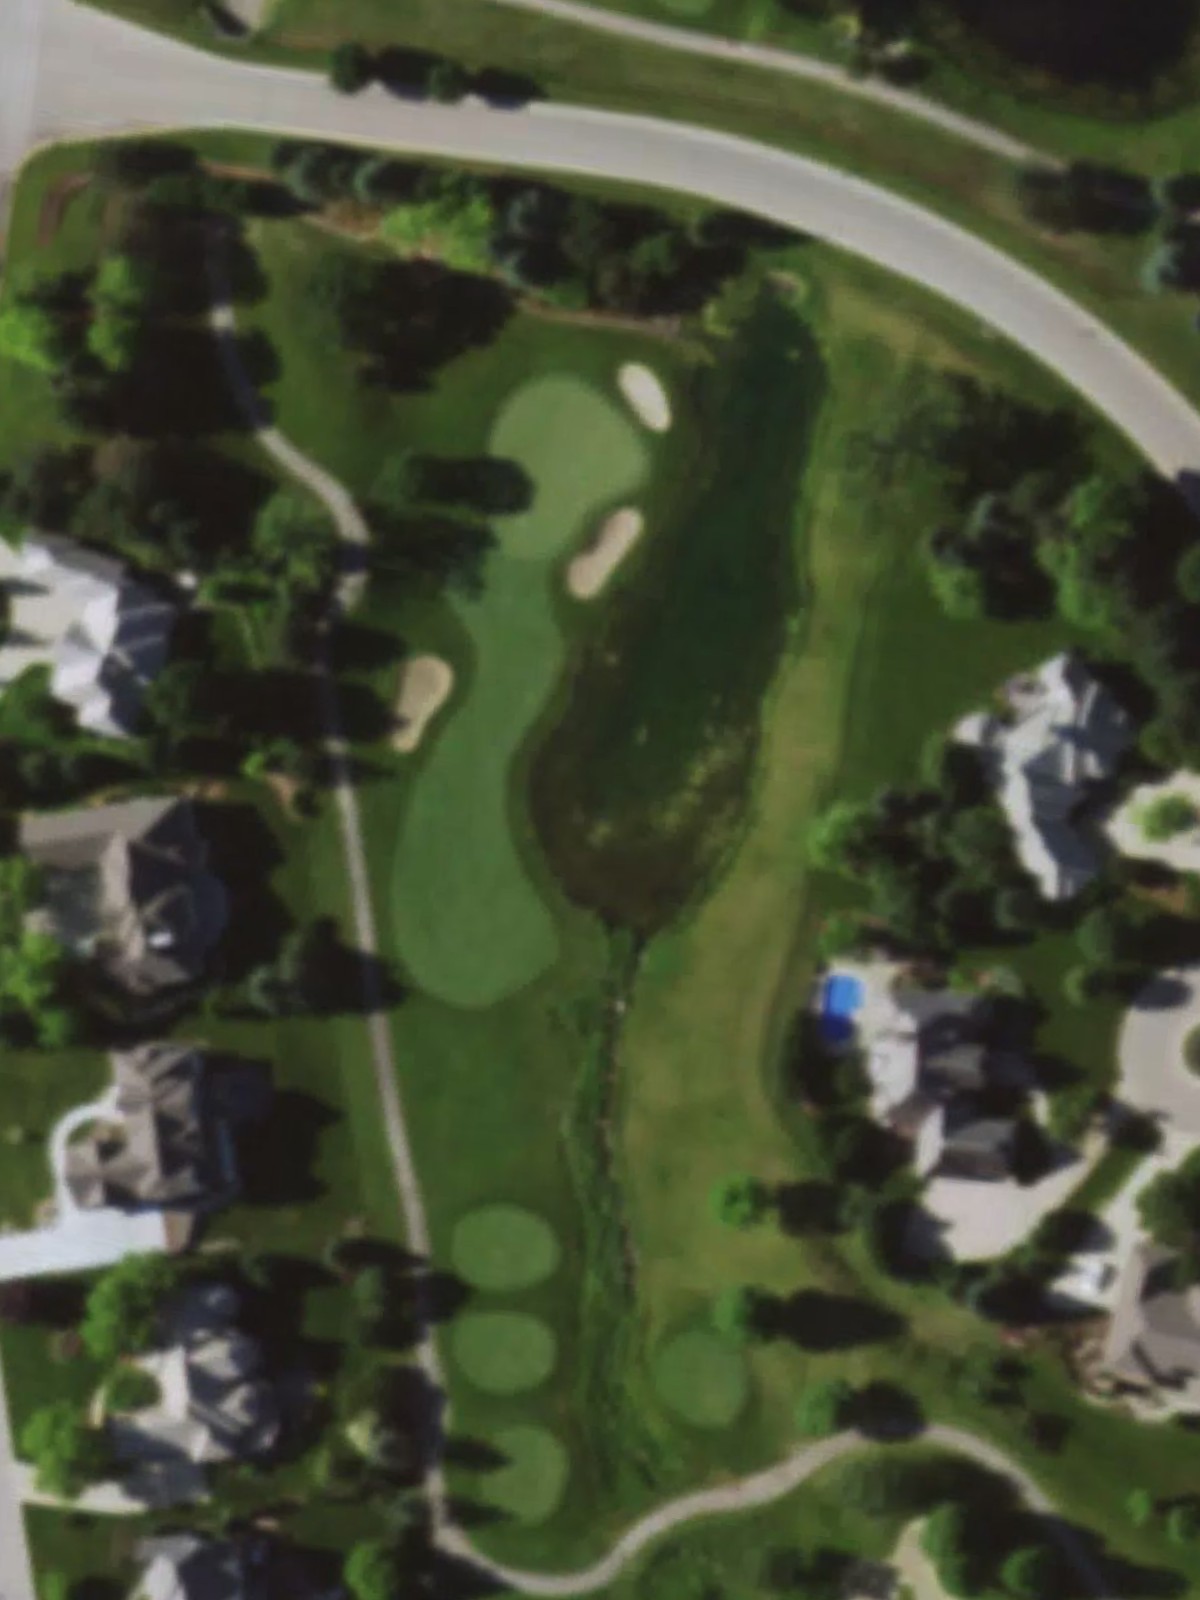
A straightforward opening par 4 with a welcoming fairway that gradually narrows as it approaches the green. Bunkers protect the right side of the putting surface, demanding accuracy on the approach shot.

A moderately lengthed par 4 that plays straight with a fairway tightening in the landing area. Bunkers and rough frame both sides of the green, requiring a precise approach to find the putting surface.
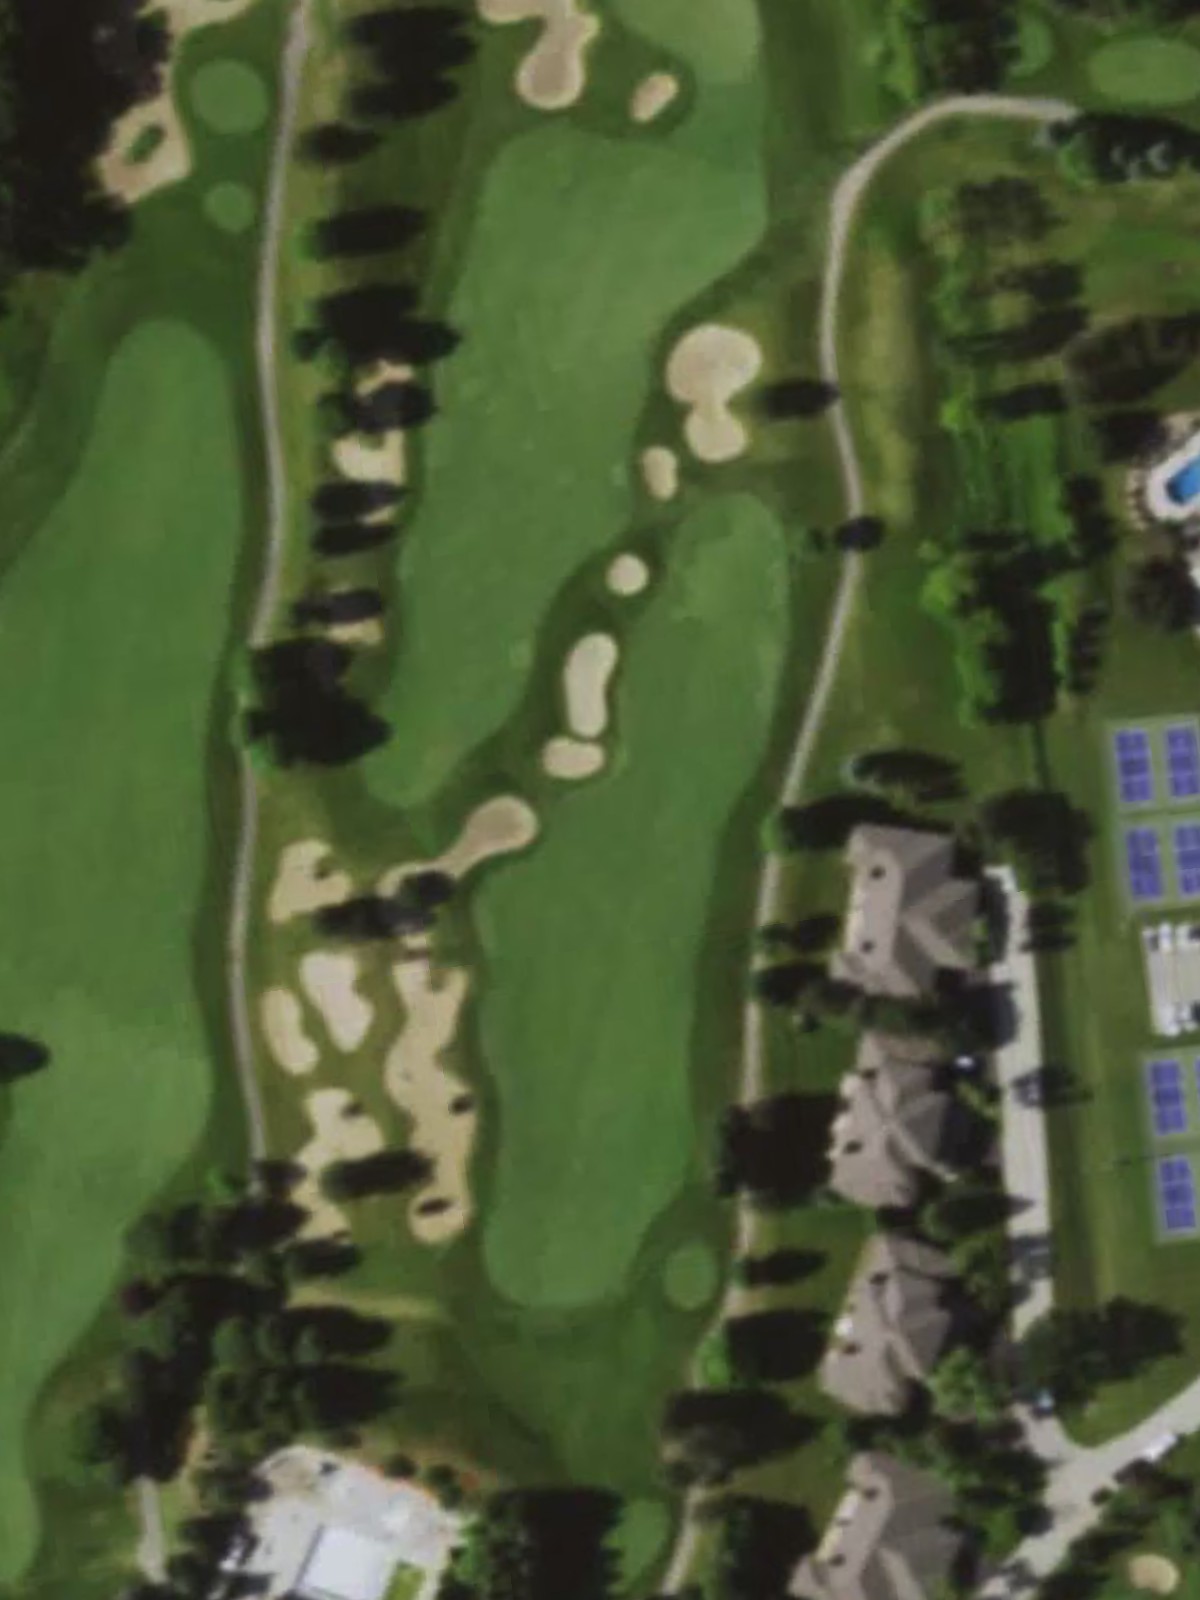
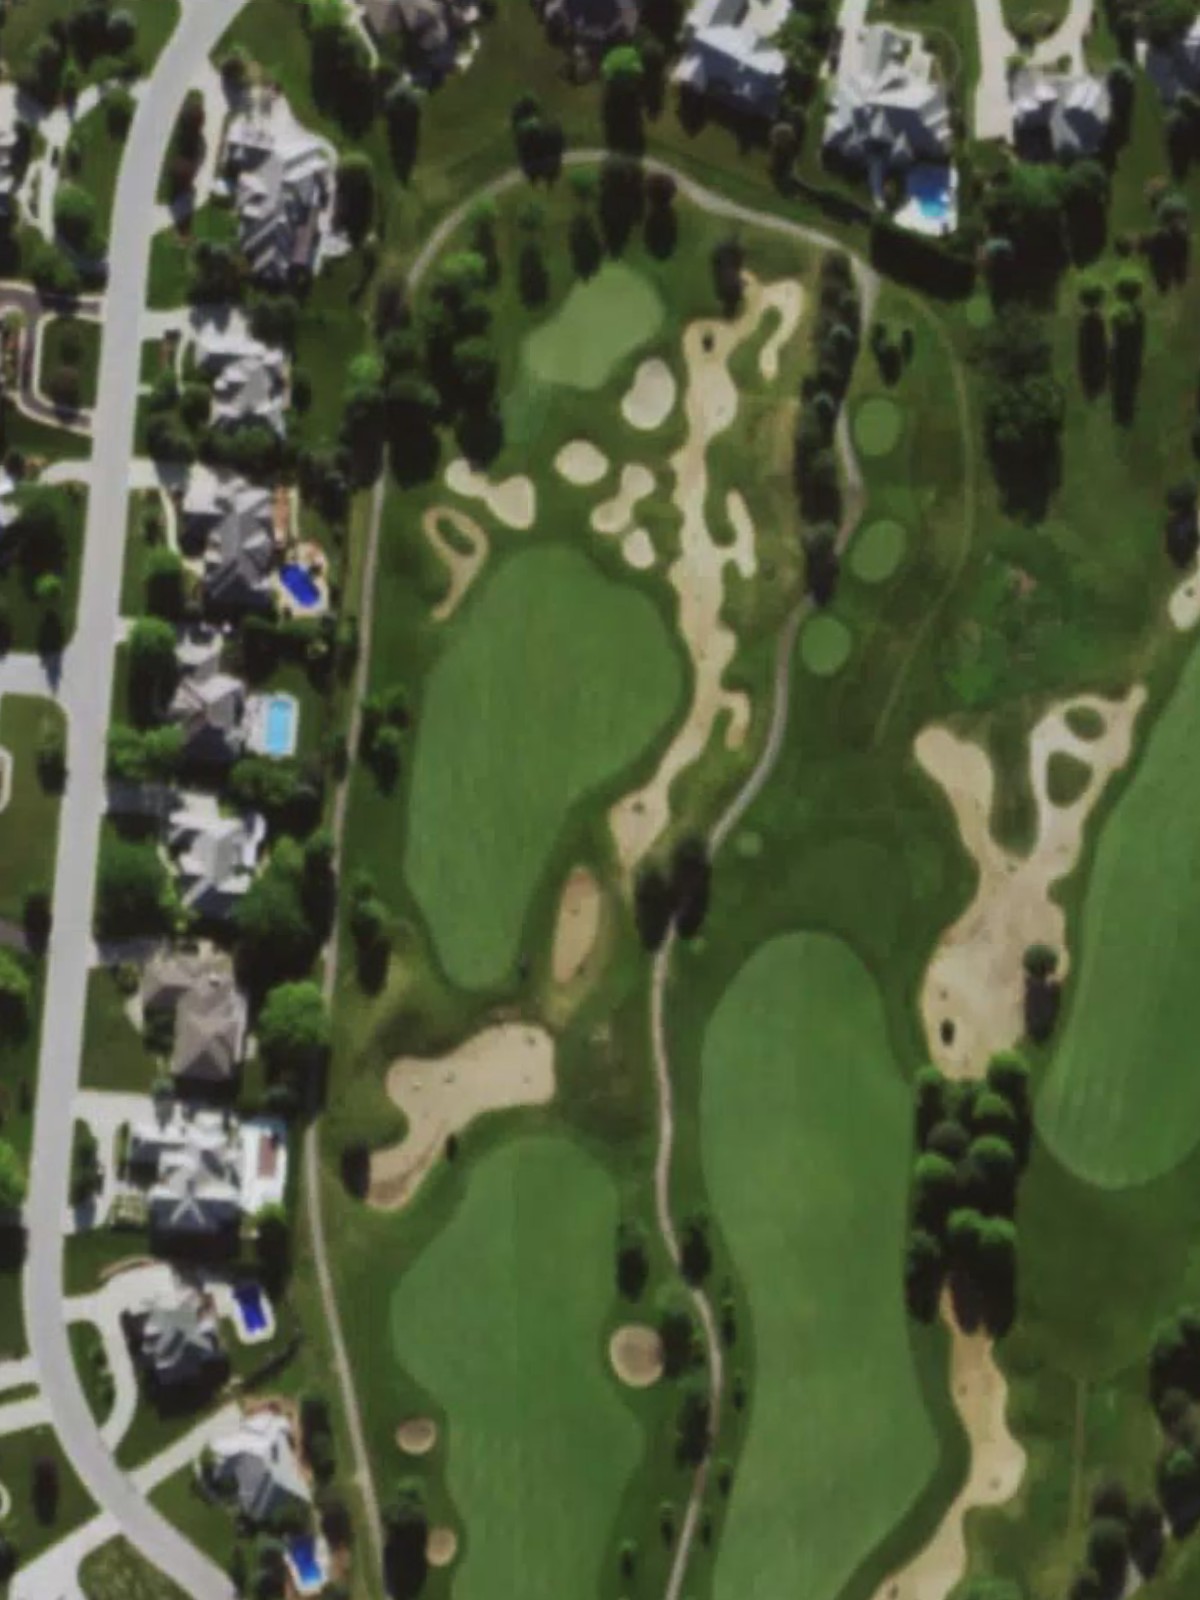
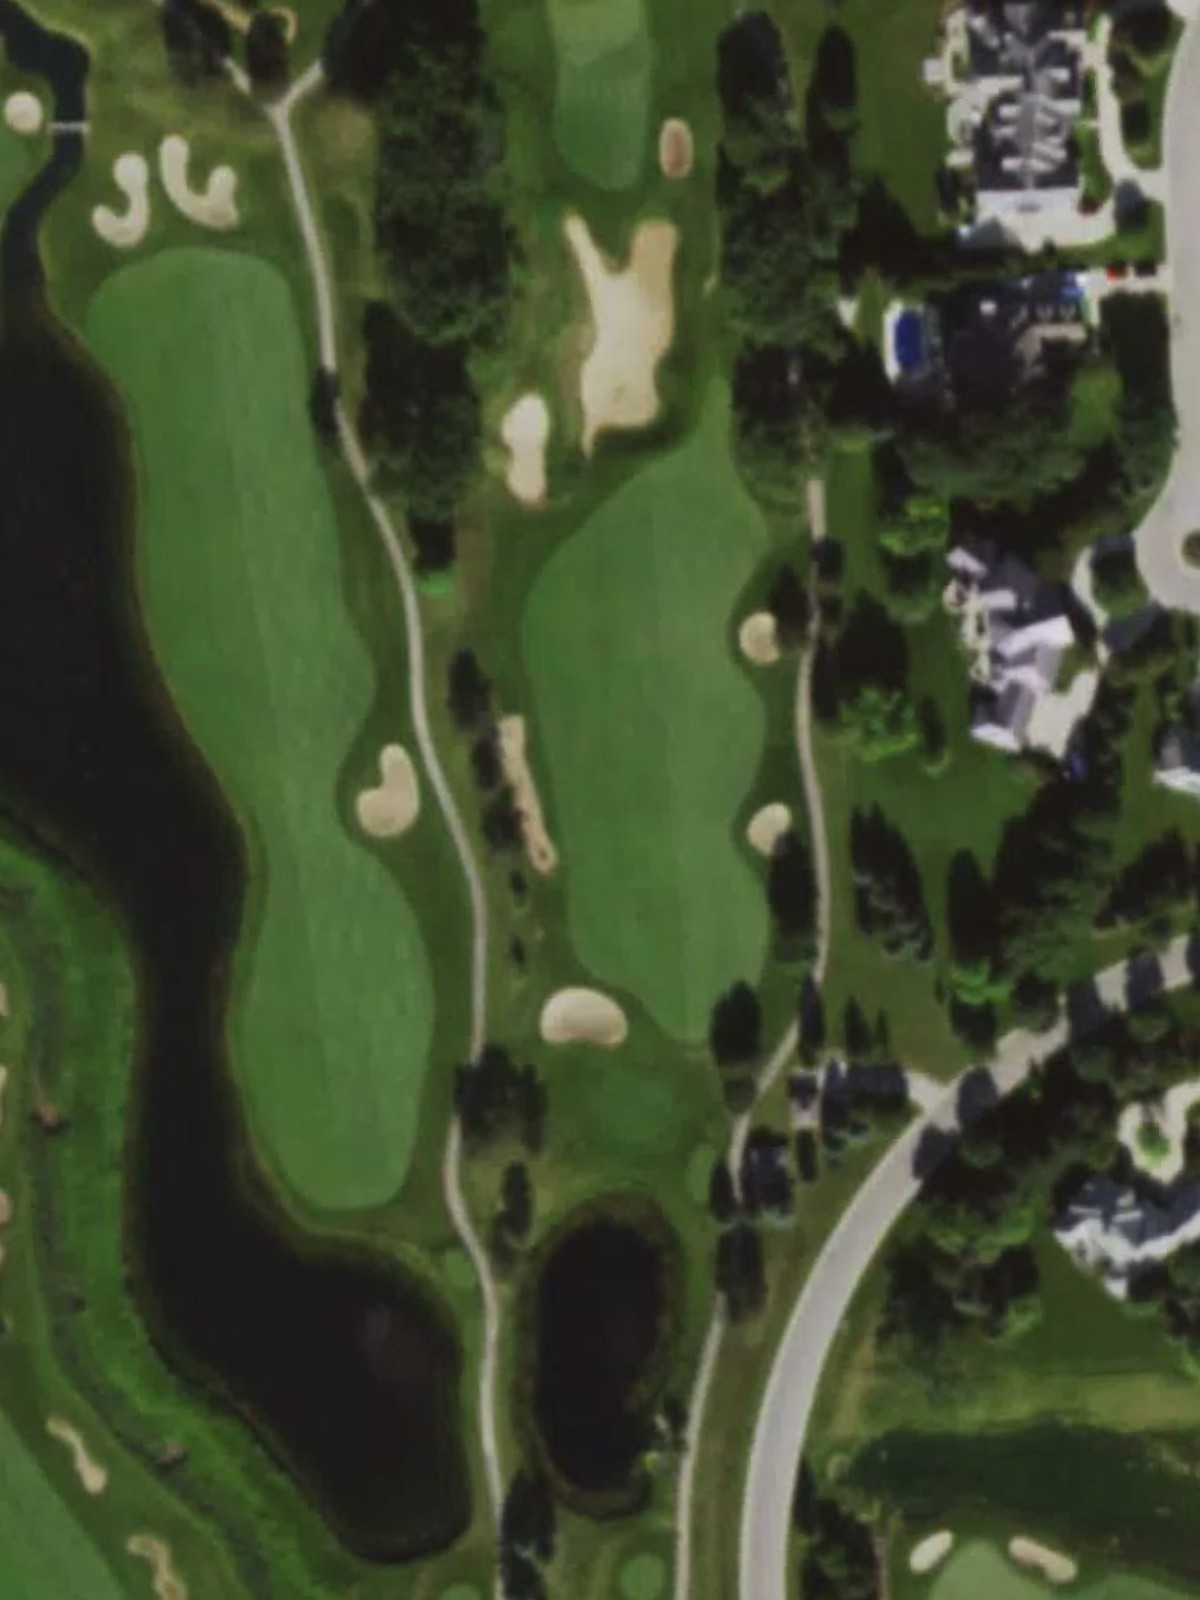
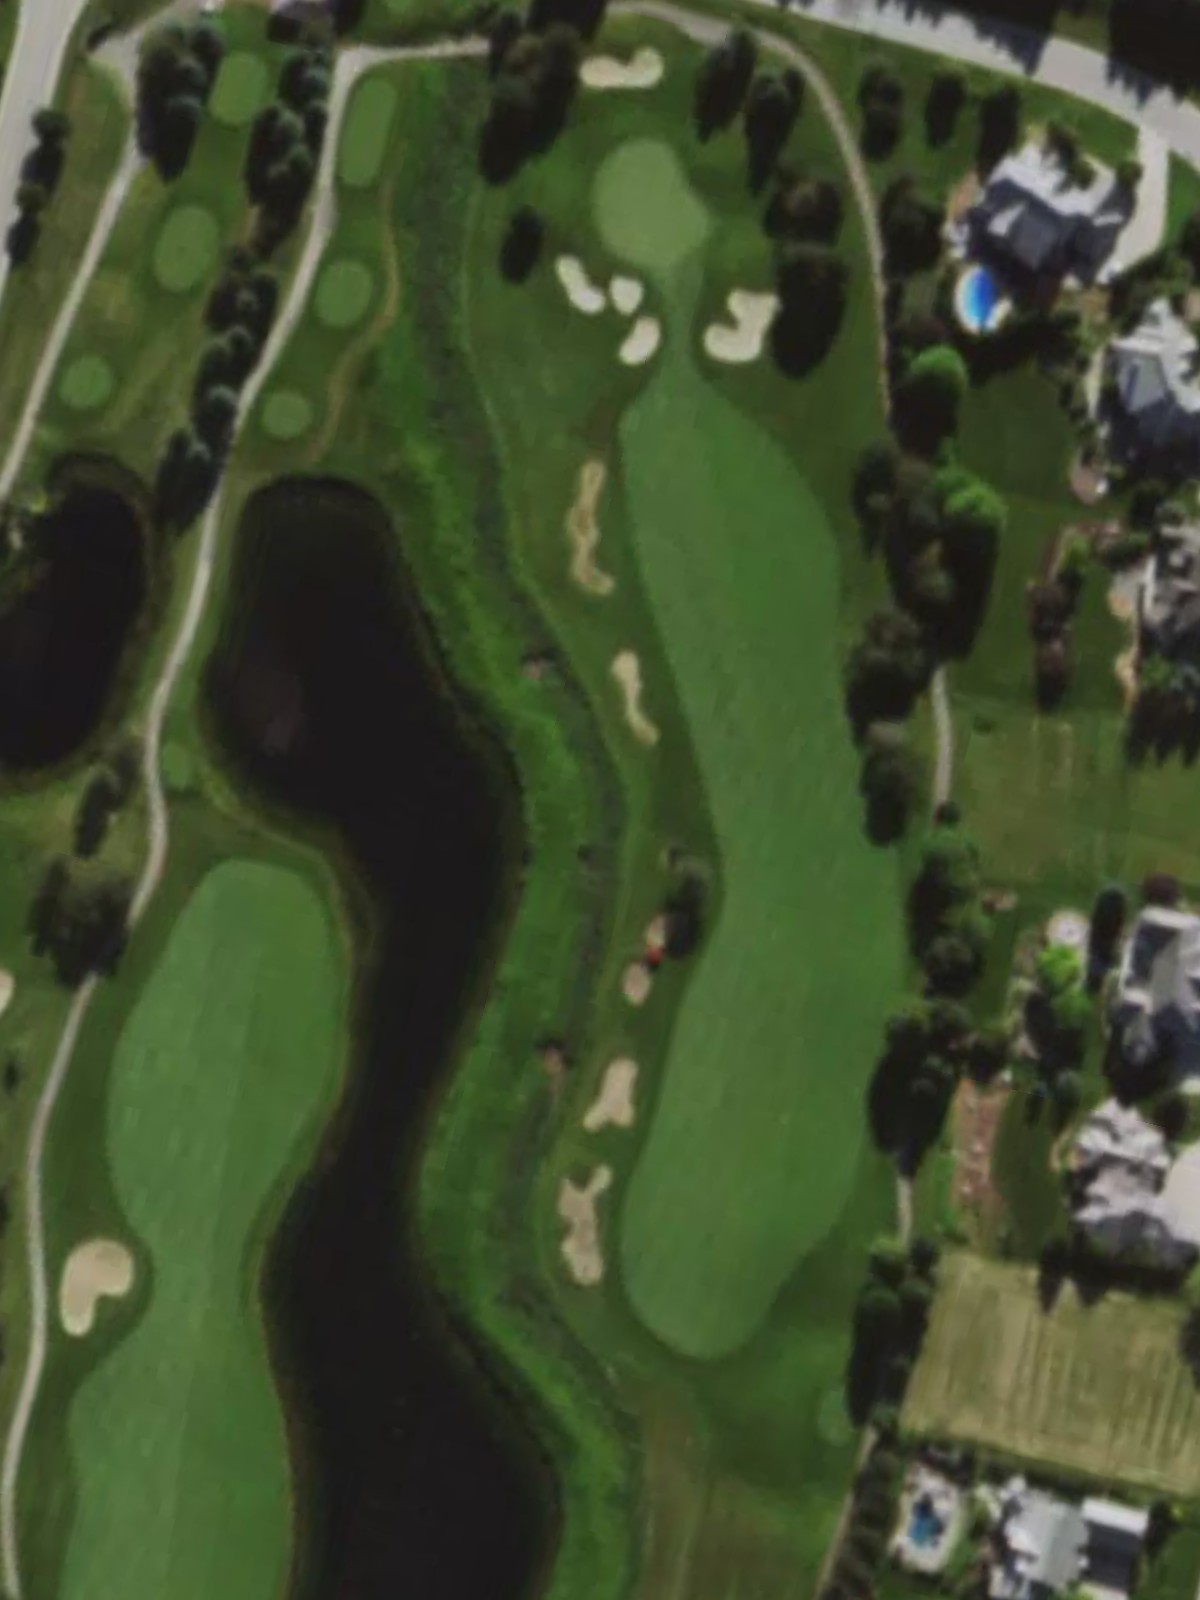
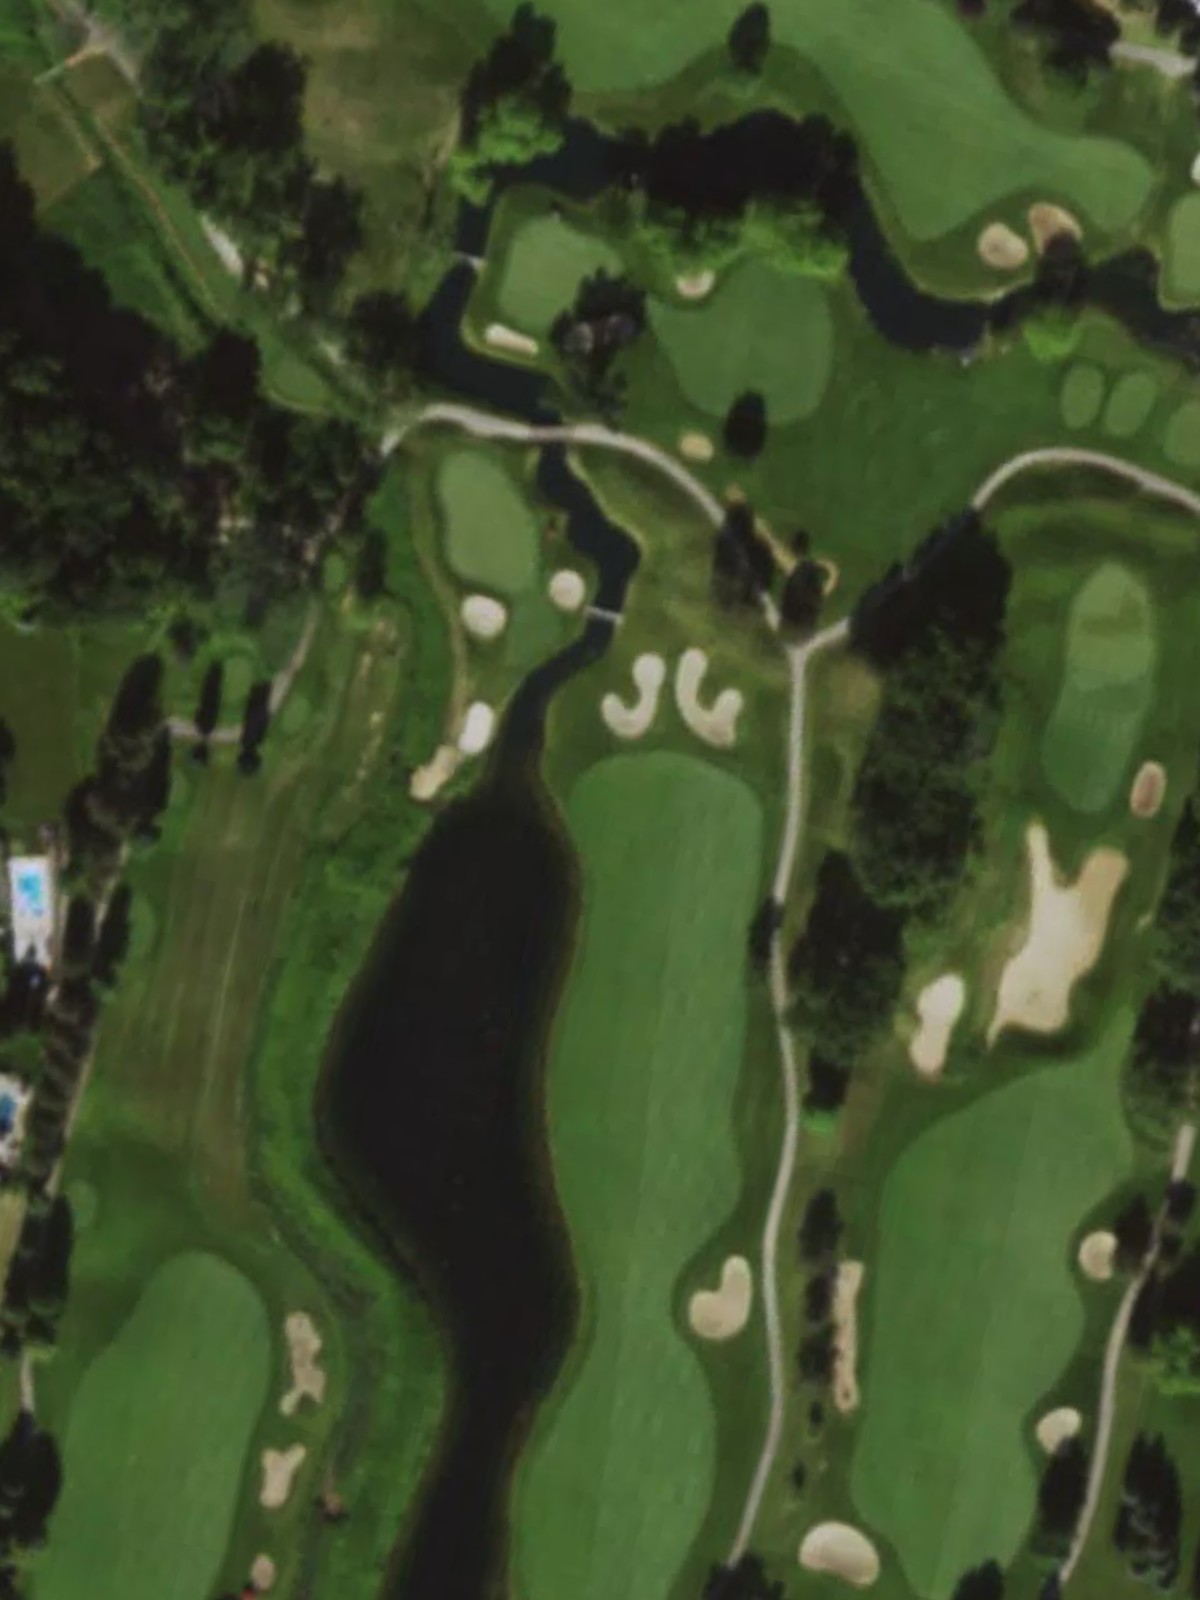
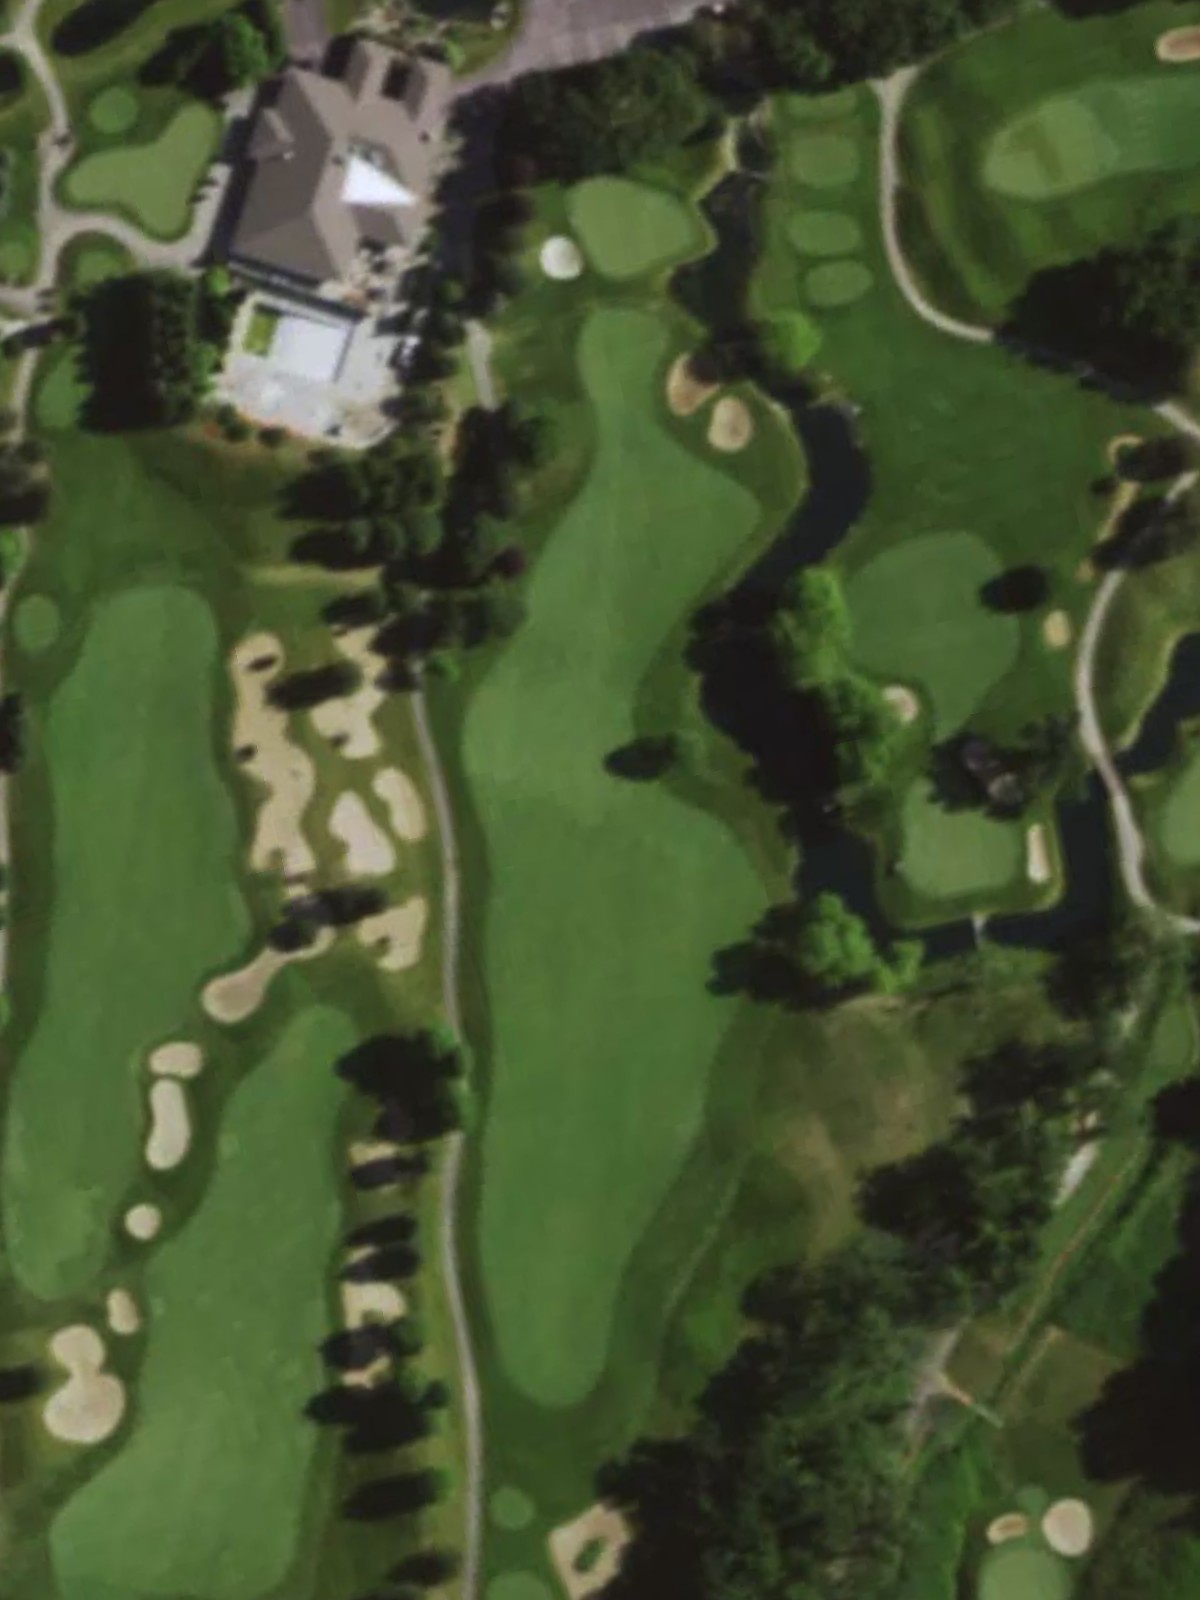
The course's first par 5, a dramatic three-shot hole that demands distance and control off the tee. Strategic bunkering narrows the corridor through the middle, and the green's depth allows for aggressive second shots by longer hitters.
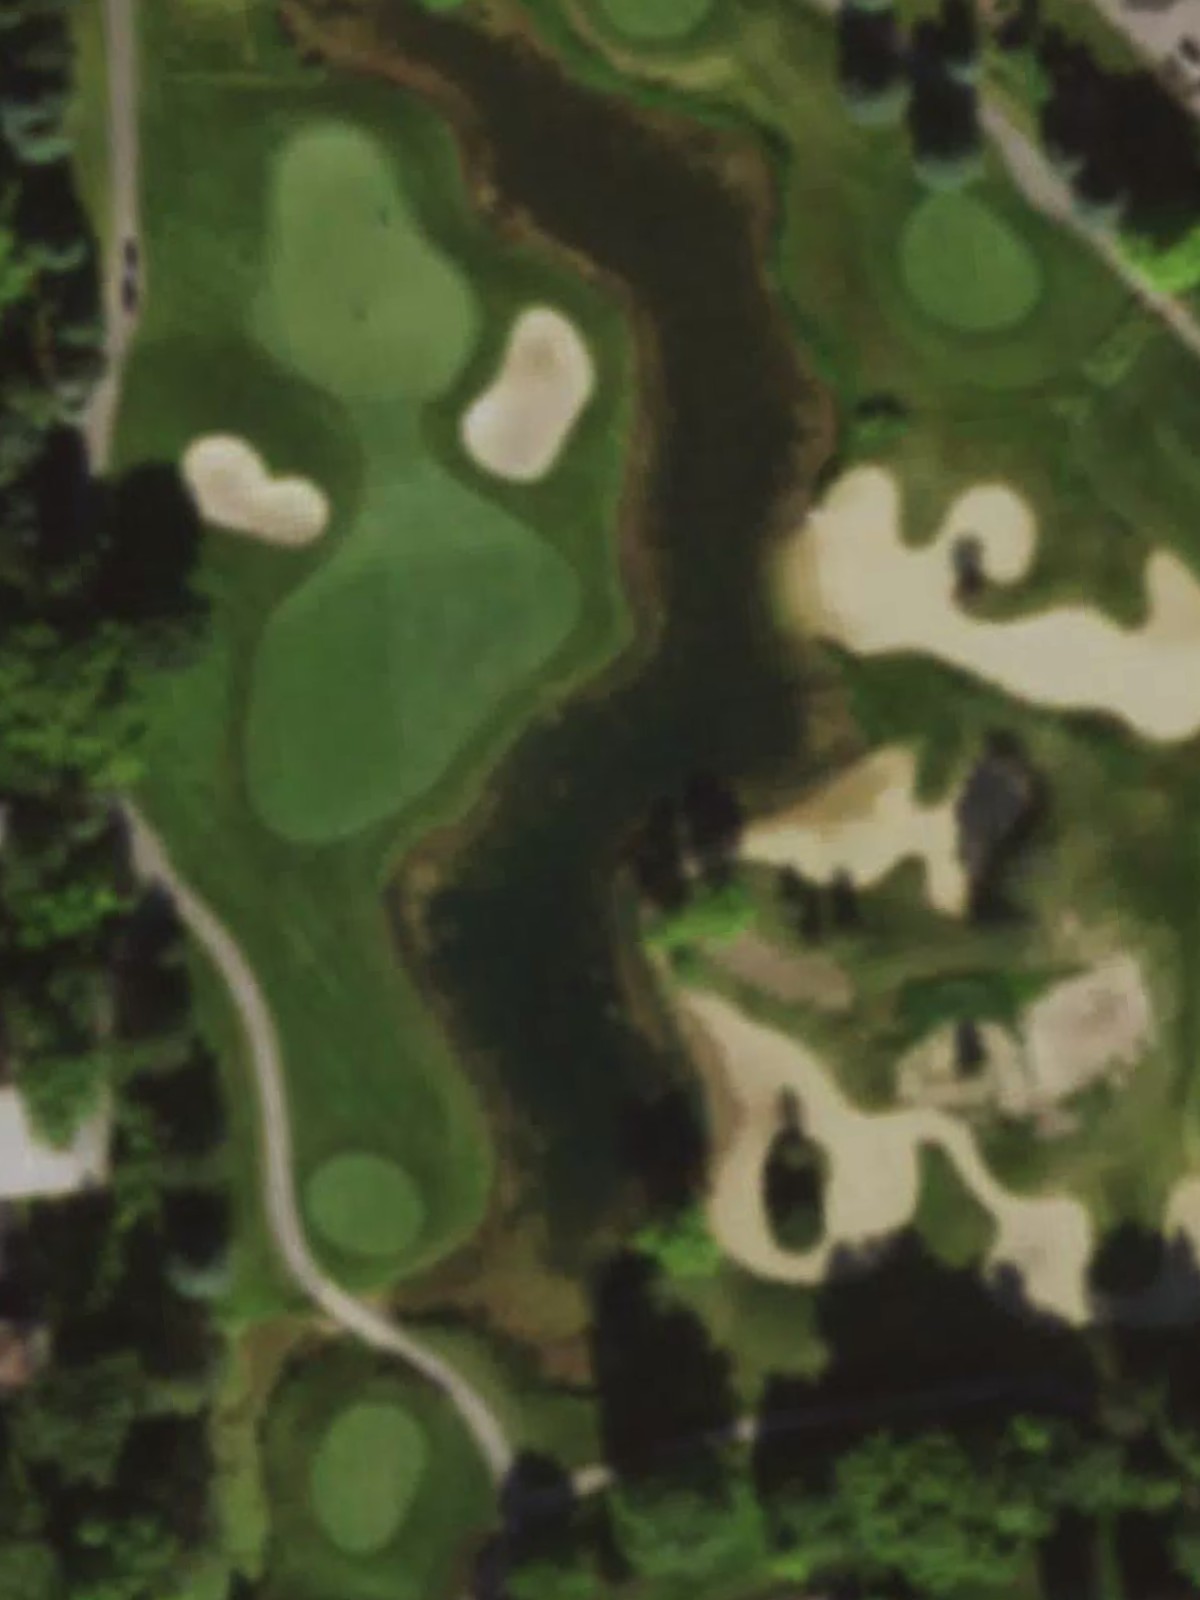
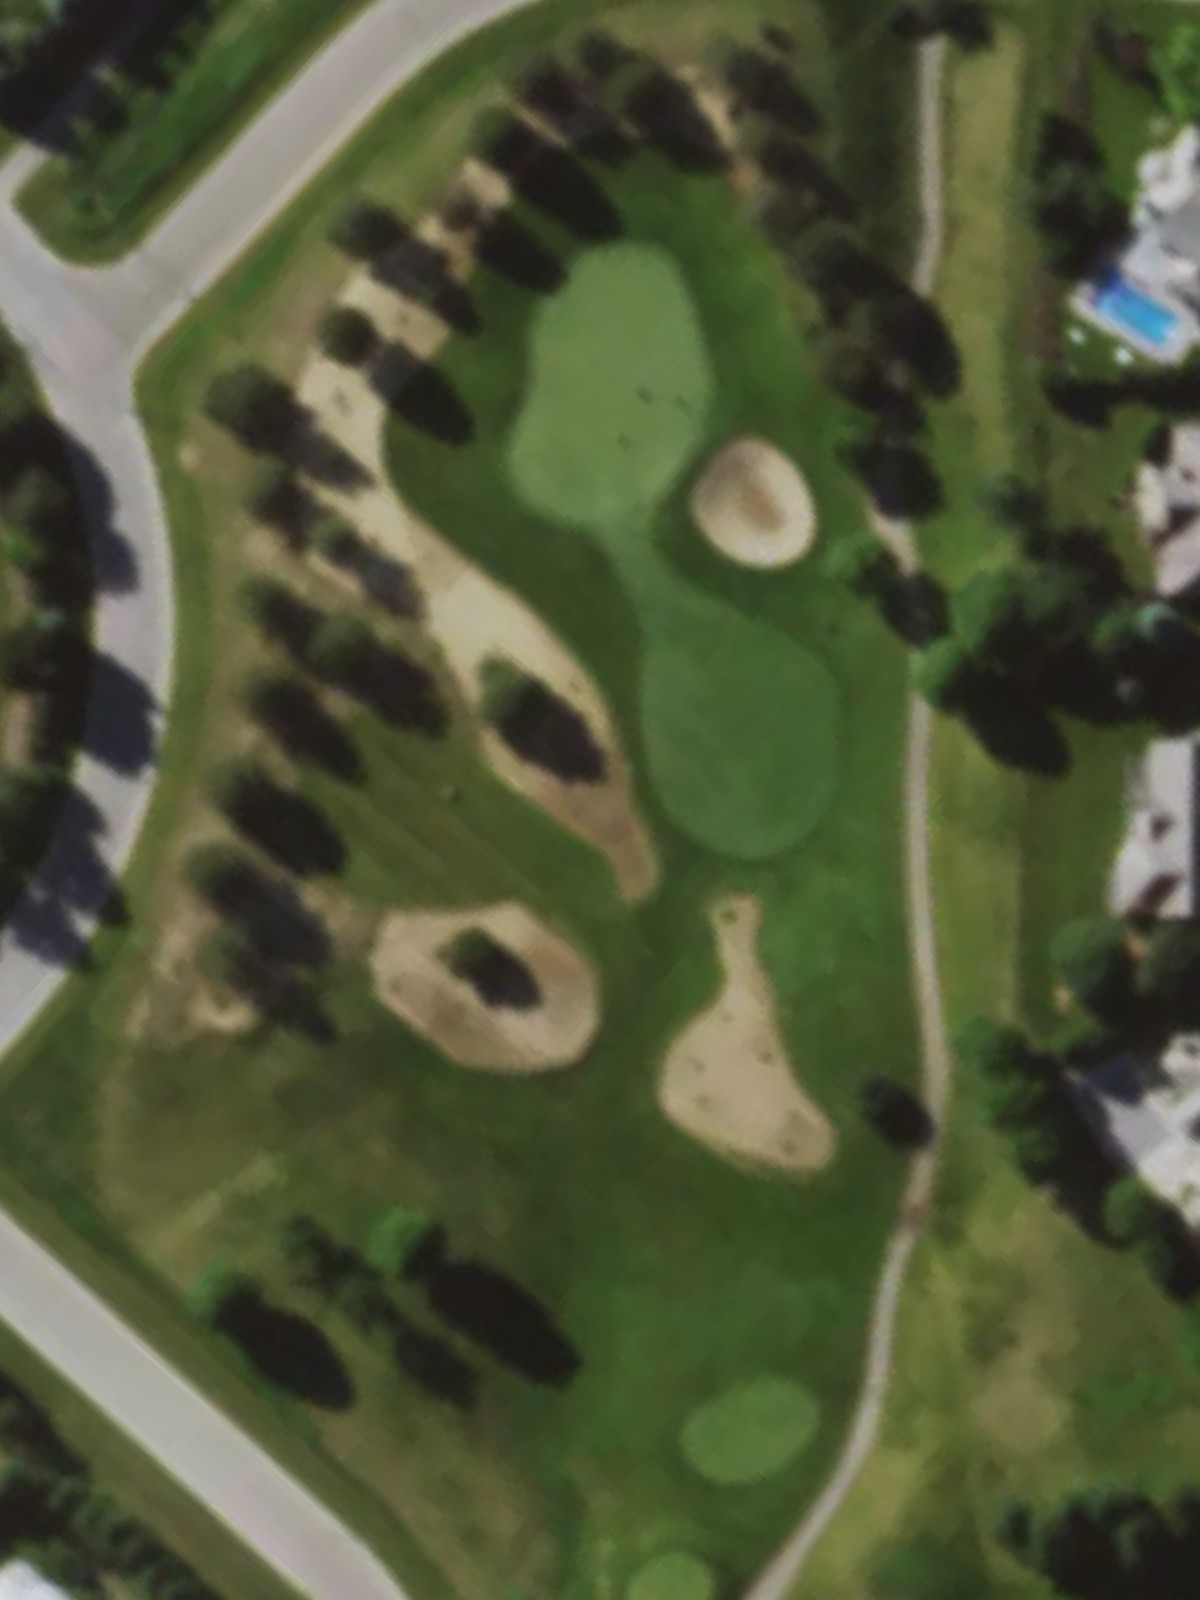
A short par 3 with a receptive green that offers room for error on either side. Water or rough may frame one side, making this an inviting scoring opportunity from the tee.
A well-bunkered par 4 that will test accuracy from the tee through approach. The fairway narrows as it moves toward the green, with hazards positioned to penalize both wayward drives and imprecise approaches.
A short par 3 where placement matters more than distance. Bunkers and trouble guard the green's sides, making center-green positioning the safest route to par.
A long par 5 rewarding length and smart positioning off the tee for a potential two-shot opportunity. Layup options abound for those playing conservatively, with the green opening to accept well-struck approaches.
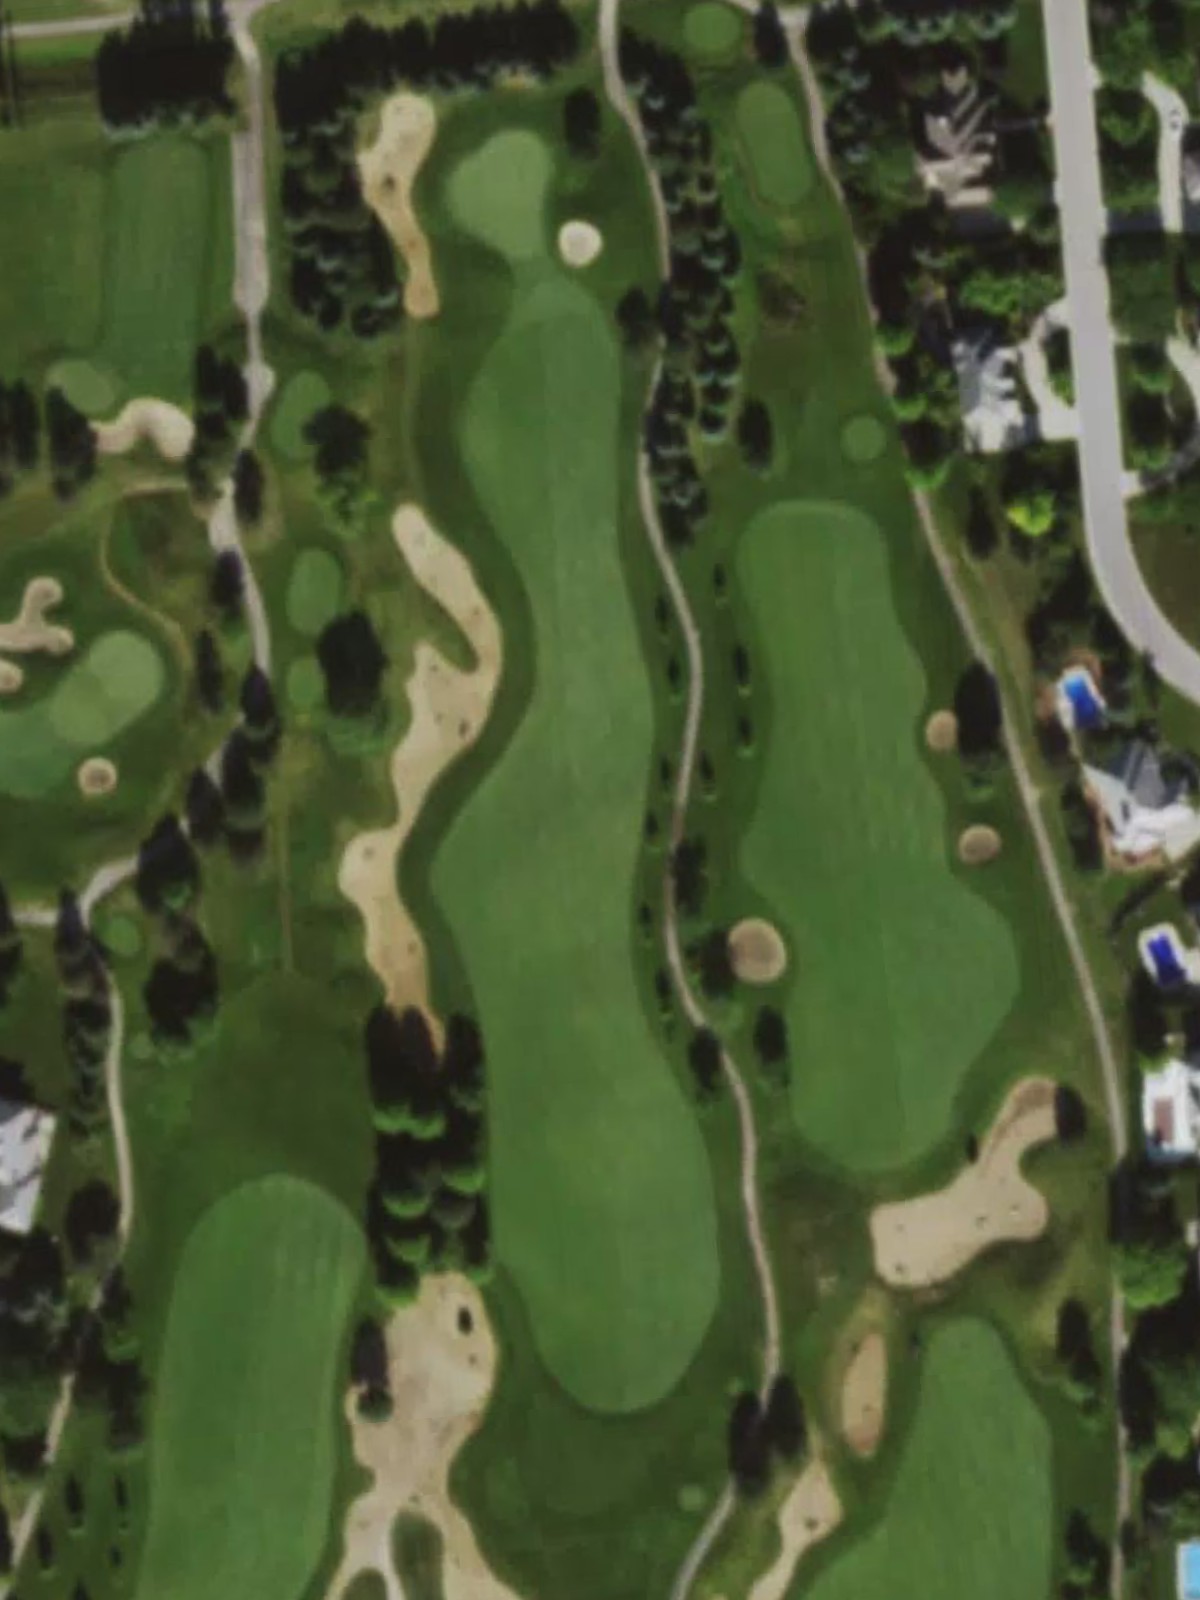
A formidable par 4 with a fairway that shifts or doglegs, requiring strategic positioning to open up the green. Hazards frame the ideal landing area, making the drive a critical decision point.

A strong par 4 with a demanding tee shot and limited margin for error. Bunkers and rough narrow the fairway's effective width, with the green well-protected to challenge the final approach.

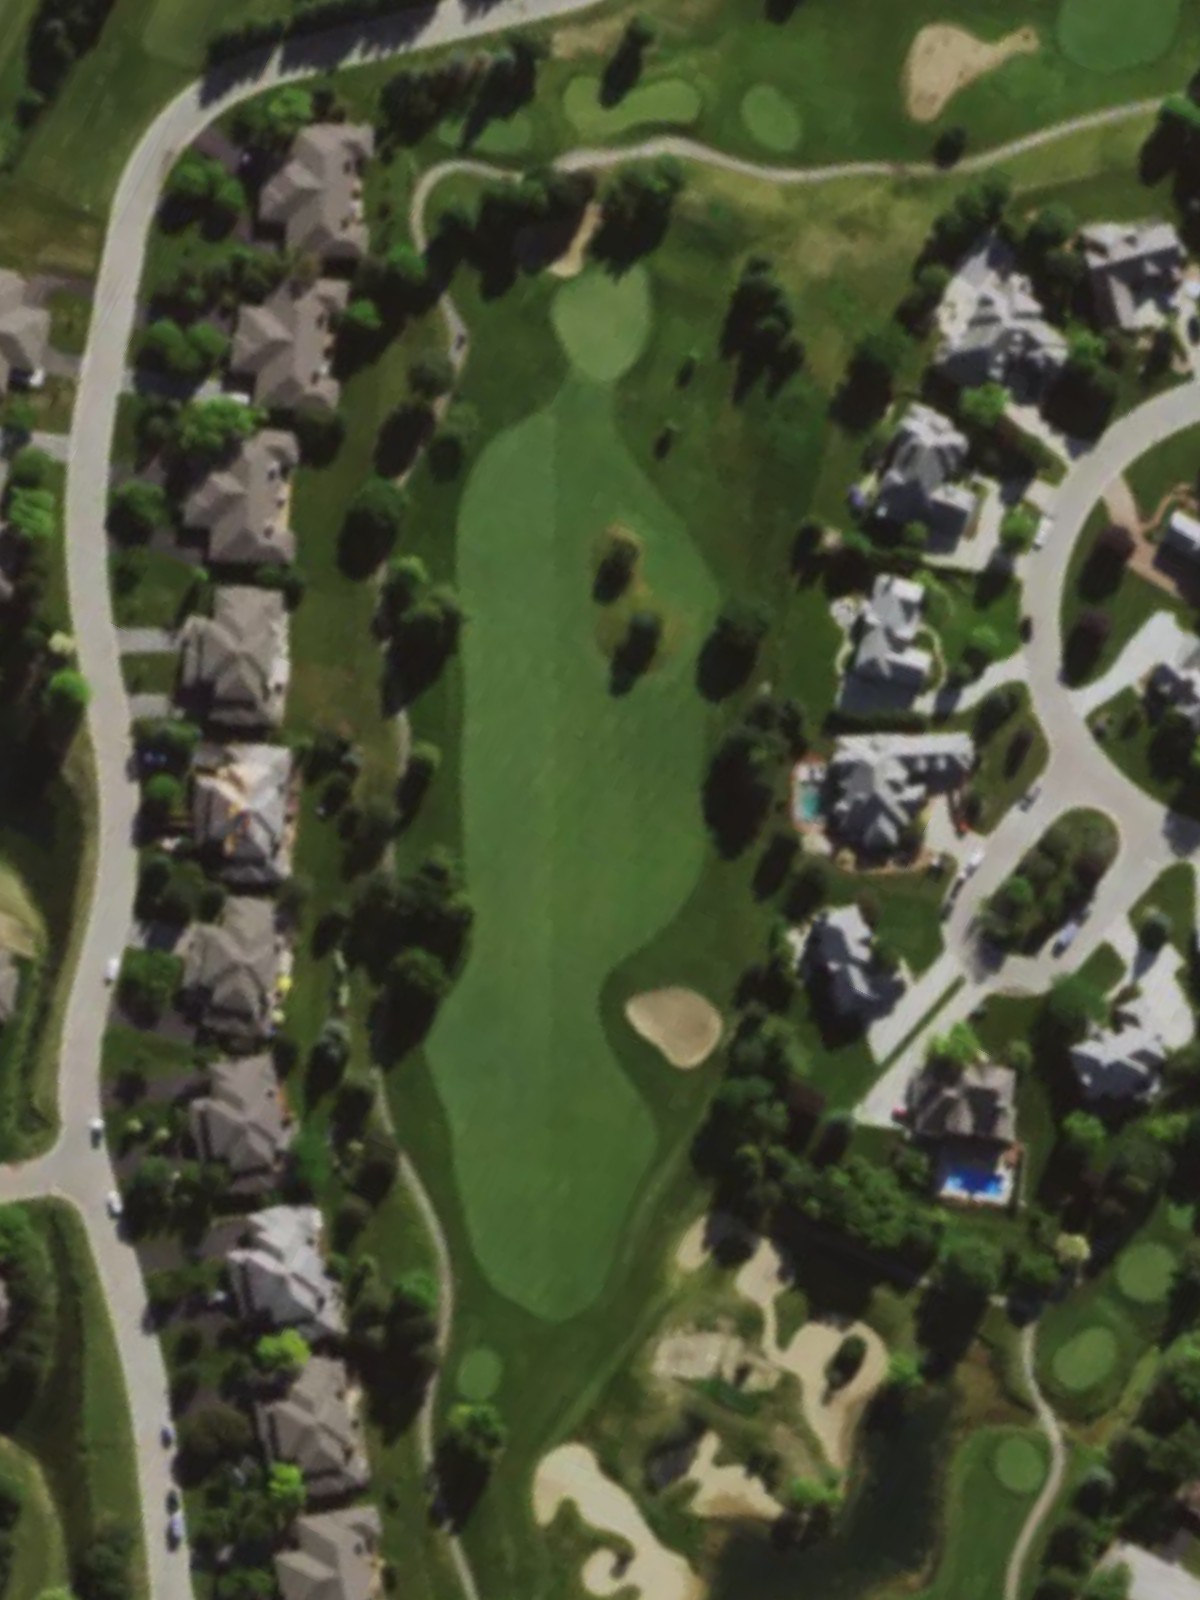
A moderate par 4 with a fairway that permits a solid drive before the green comes into play. Greenside bunkers and strategic rough placement demand a clean approach to secure par.
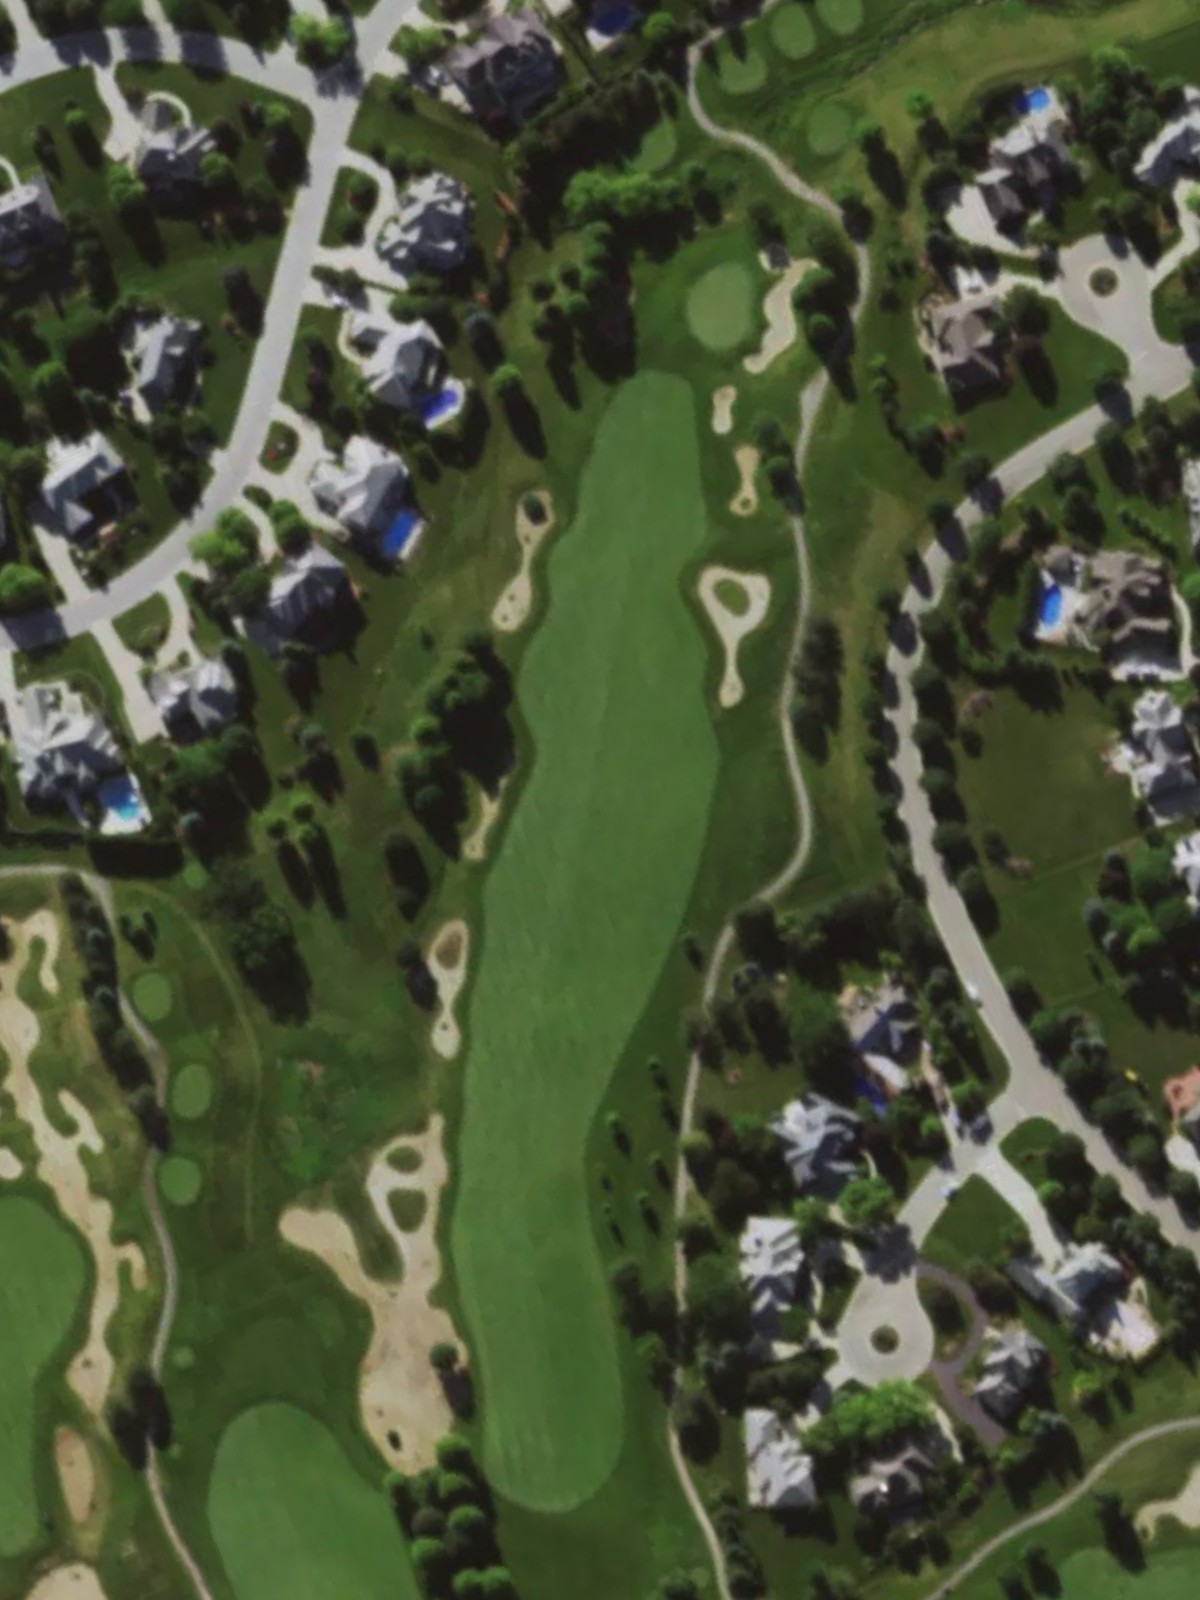
A sprawling par 5 that ranks among the course's most difficult, offering multiple routing options for different skill levels. Bunkering throughout rewards strategic positioning and penalizes both poor drives and misaligned layups.
A short par 3 with a manageable approach but subtle green defenses. Bunkers frame the edges, and the green's slope may reject shots that miss the intended target line.
A dynamic par 4 with a fairway that shifts or doglegs to create both risk and reward off the tee. Hazards are positioned to challenge both the drive and approach, requiring thoughtful shot selection throughout.

A petite par 3 offering one of the round's best birdie chances with proper distance control. The small green leaves little room for error, but trouble is kept modest to encourage aggressive play.
A compelling par 4 where fairway positioning sets up the approach to a well-guarded green. Bunkers and water may frame one or both sides, making strategic placement off the tee crucial.
A long par 5 that demands both power and precision, with bunkering narrowing the corridor on the second and third shots. Multiple decision points reward strategic thinking and penalize errant play throughout the hole.
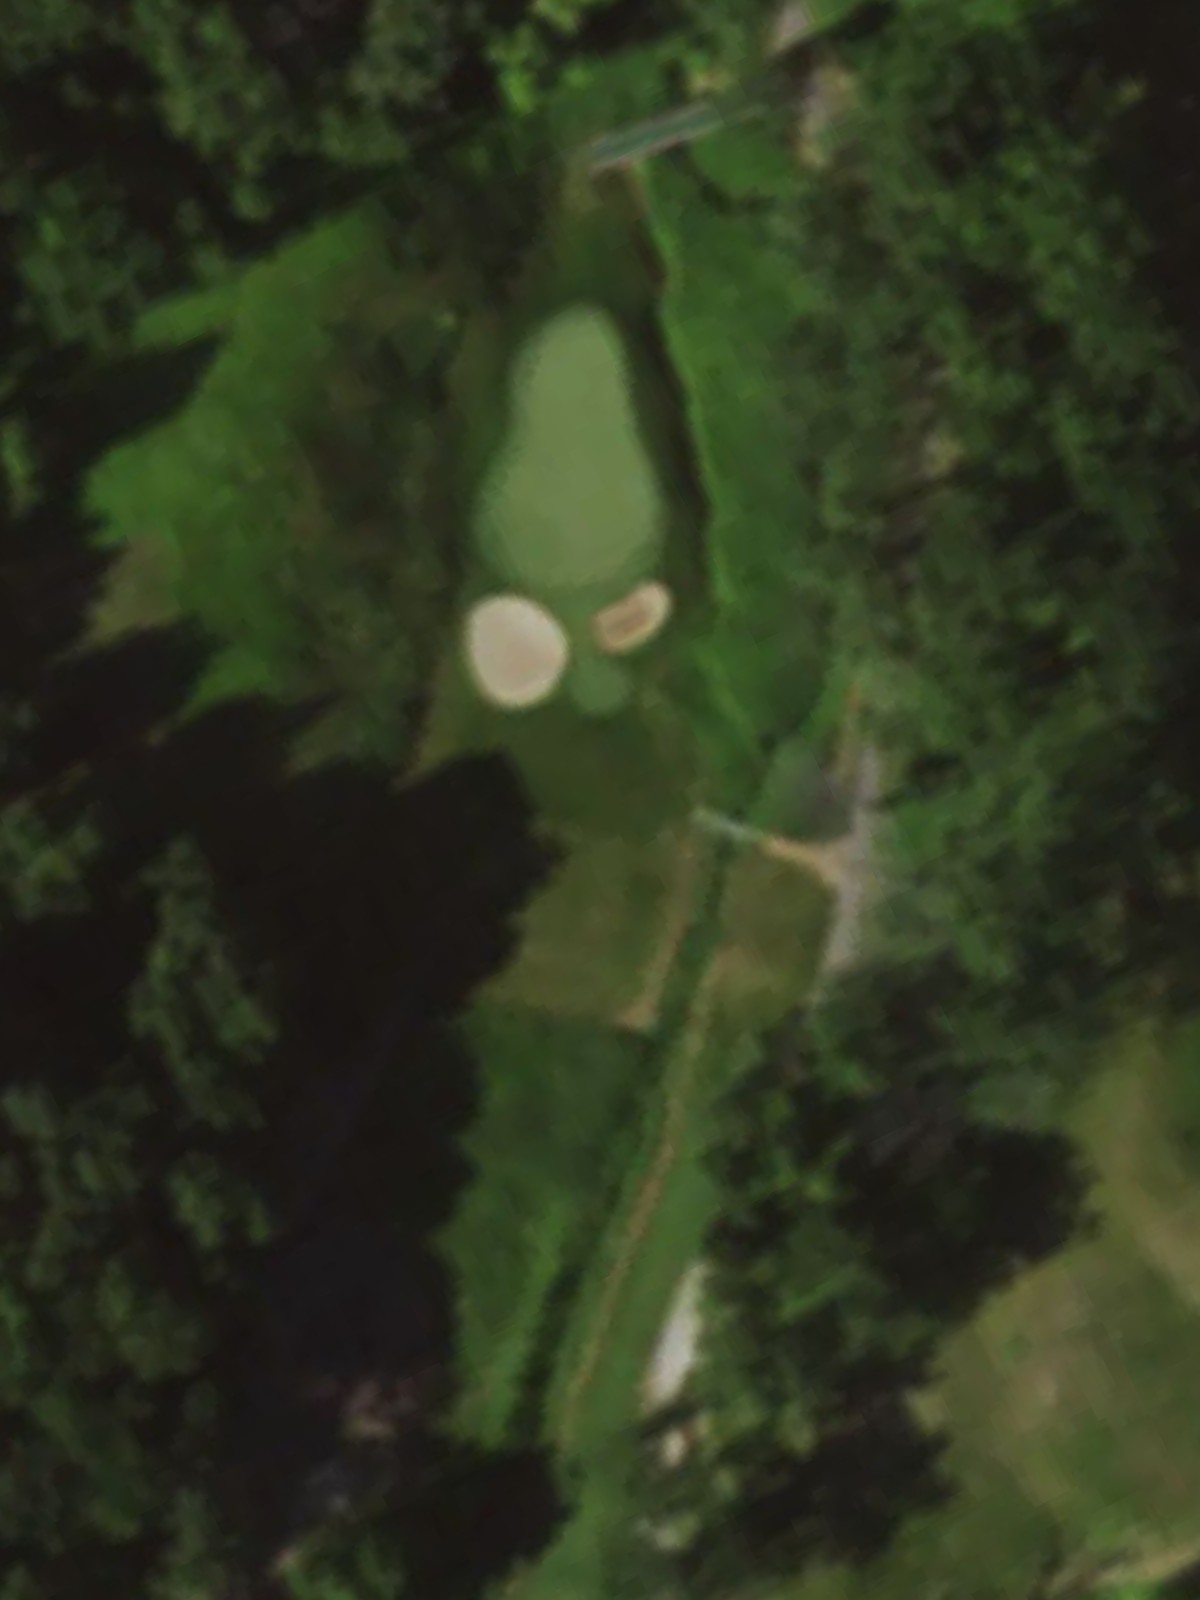
The shortest par 3 on the course, a deceptive one-shotter where the tee shot is the only stroke that matters. Wind and subtle green contours can make this tiny target more challenging than its length suggests.
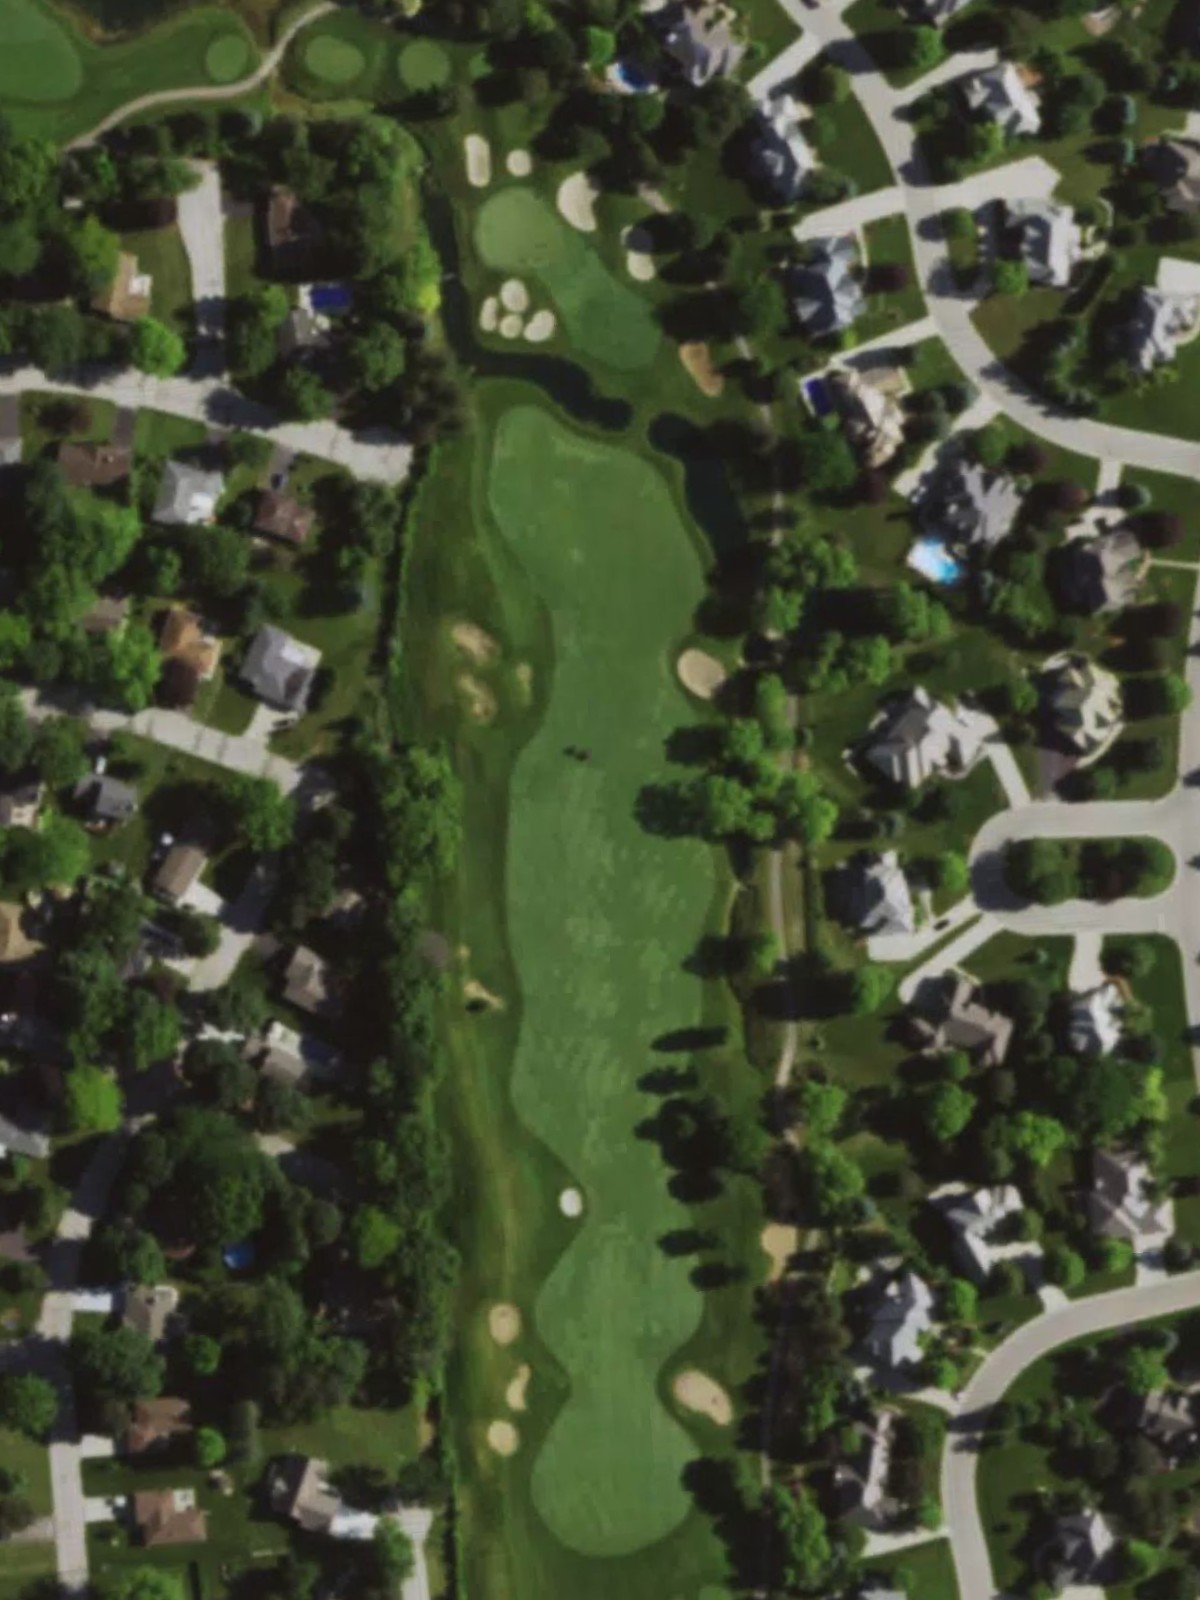
A finishing par 4 with a straightforward design that offers a dramatic closing stretch to the round. Bunkers and hazards frame the approach area, with the green's presentation rewarding solid execution down the final fairway.
Scorecard
| Hole | 1 | 2 | 3 | 4 | 5 | 6 | 7 | 8 | 9 | Out | 10 | 11 | 12 | 13 | 14 | 15 | 16 | 17 | 18 | In | Tot |
|---|---|---|---|---|---|---|---|---|---|---|---|---|---|---|---|---|---|---|---|---|---|
| Par | 4 | 4 | 5 | 3 | 4 | 3 | 5 | 4 | 4 | 36 | 4 | 5 | 3 | 4 | 3 | 4 | 5 | 3 | 4 | 35 | 71 |
| HCP | 13 | 11 | 1 | 15 | 9 | 17 | 3 | 7 | 5 | 14 | 2 | 12 | 6 | 16 | 10 | 4 | 18 | 8 | |||
| black | 352 | 395 | 613 | 199 | 463 | 223 | 509 | 474 | 448 | 3676 | 430 | 582 | 230 | 448 | 178 | 430 | 488 | 146 | 402 | 3334 | 7010 |
| blue | 345 | 376 | 544 | 179 | 414 | 191 | 486 | 440 | 421 | 3396 | 378 | 538 | 166 | 412 | 163 | 398 | 466 | 132 | 389 | 3042 | 6438 |
| white | 323 | 362 | 497 | 151 | 363 | 166 | 475 | 407 | 395 | 3139 | 341 | 515 | 154 | 378 | 147 | 370 | 453 | 107 | 330 | 2795 | 5934 |
| gold | 323 | 362 | 468 | 151 | 363 | 145 | 465 | 328 | 315 | 2920 | 341 | 450 | 154 | 282 | 147 | 370 | 425 | 107 | 330 | 2606 | 5526 |
| red | 273 | 322 | 436 | 117 | 281 | 145 | 404 | 328 | 315 | 2621 | 321 | 423 | 145 | 282 | 136 | 336 | 397 | 95 | 306 | 2441 | 5062 |
| orange | 273 | 322 | 353 | 117 | 281 | 145 | 260 | 308 | 290 | 2349 | 301 | 337 | 128 | 282 | 127 | 269 | 316 | 81 | 306 | 2147 | 4496 |