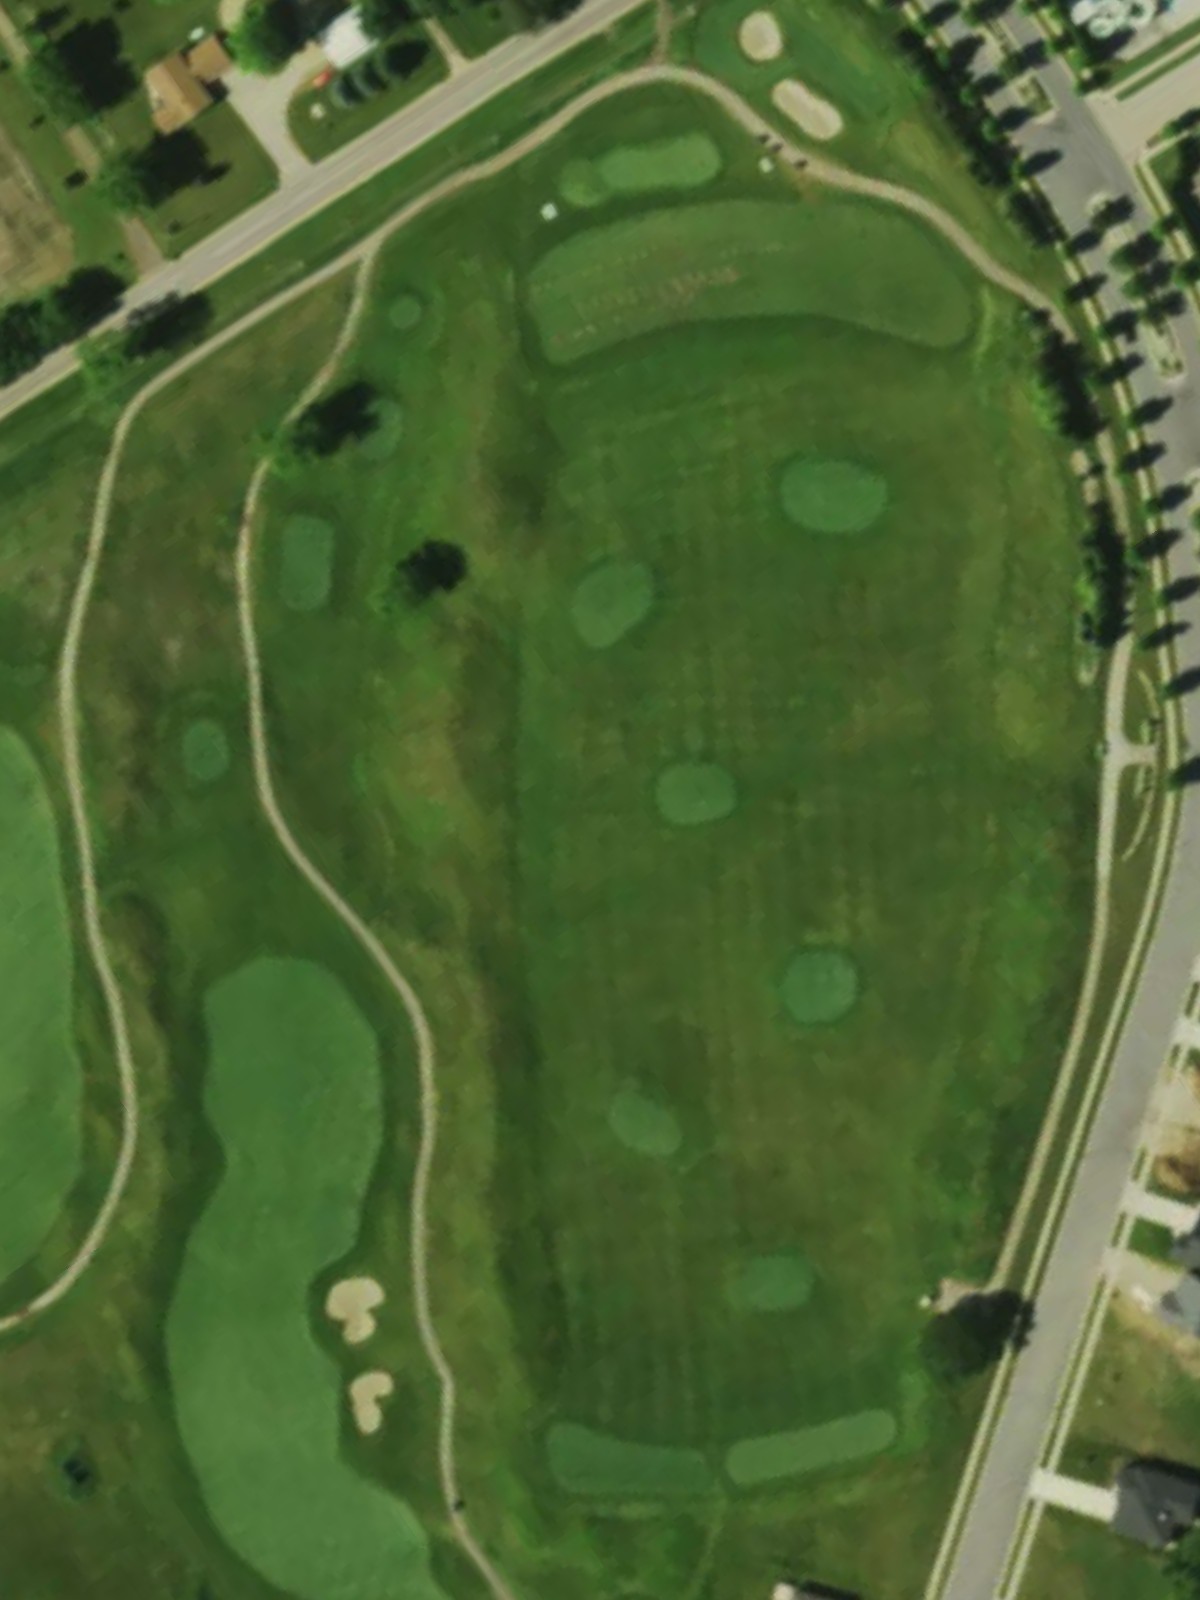
The Legend At Bergamont is an 18-hole golf course in Oregon, WI with a par of 72. It offers 3 tee sets: black (7,305 yards, slope 137, rating 75), blue (6,763 yards, slope 132, rating 72.5), white (6,222 yards, slope 127, rating 70.1). The hardest hole is #6, a par 4 playing 409 yards from the first tee.
The Legend At Bergamont
Oregon, WI
Get PDF Yardage Book
We'll email you the PDF link. No spam, ever.
Create Your Game Plan
Pick your tees, enter your bag, and get a personalized shot-by-shot strategy for every hole.
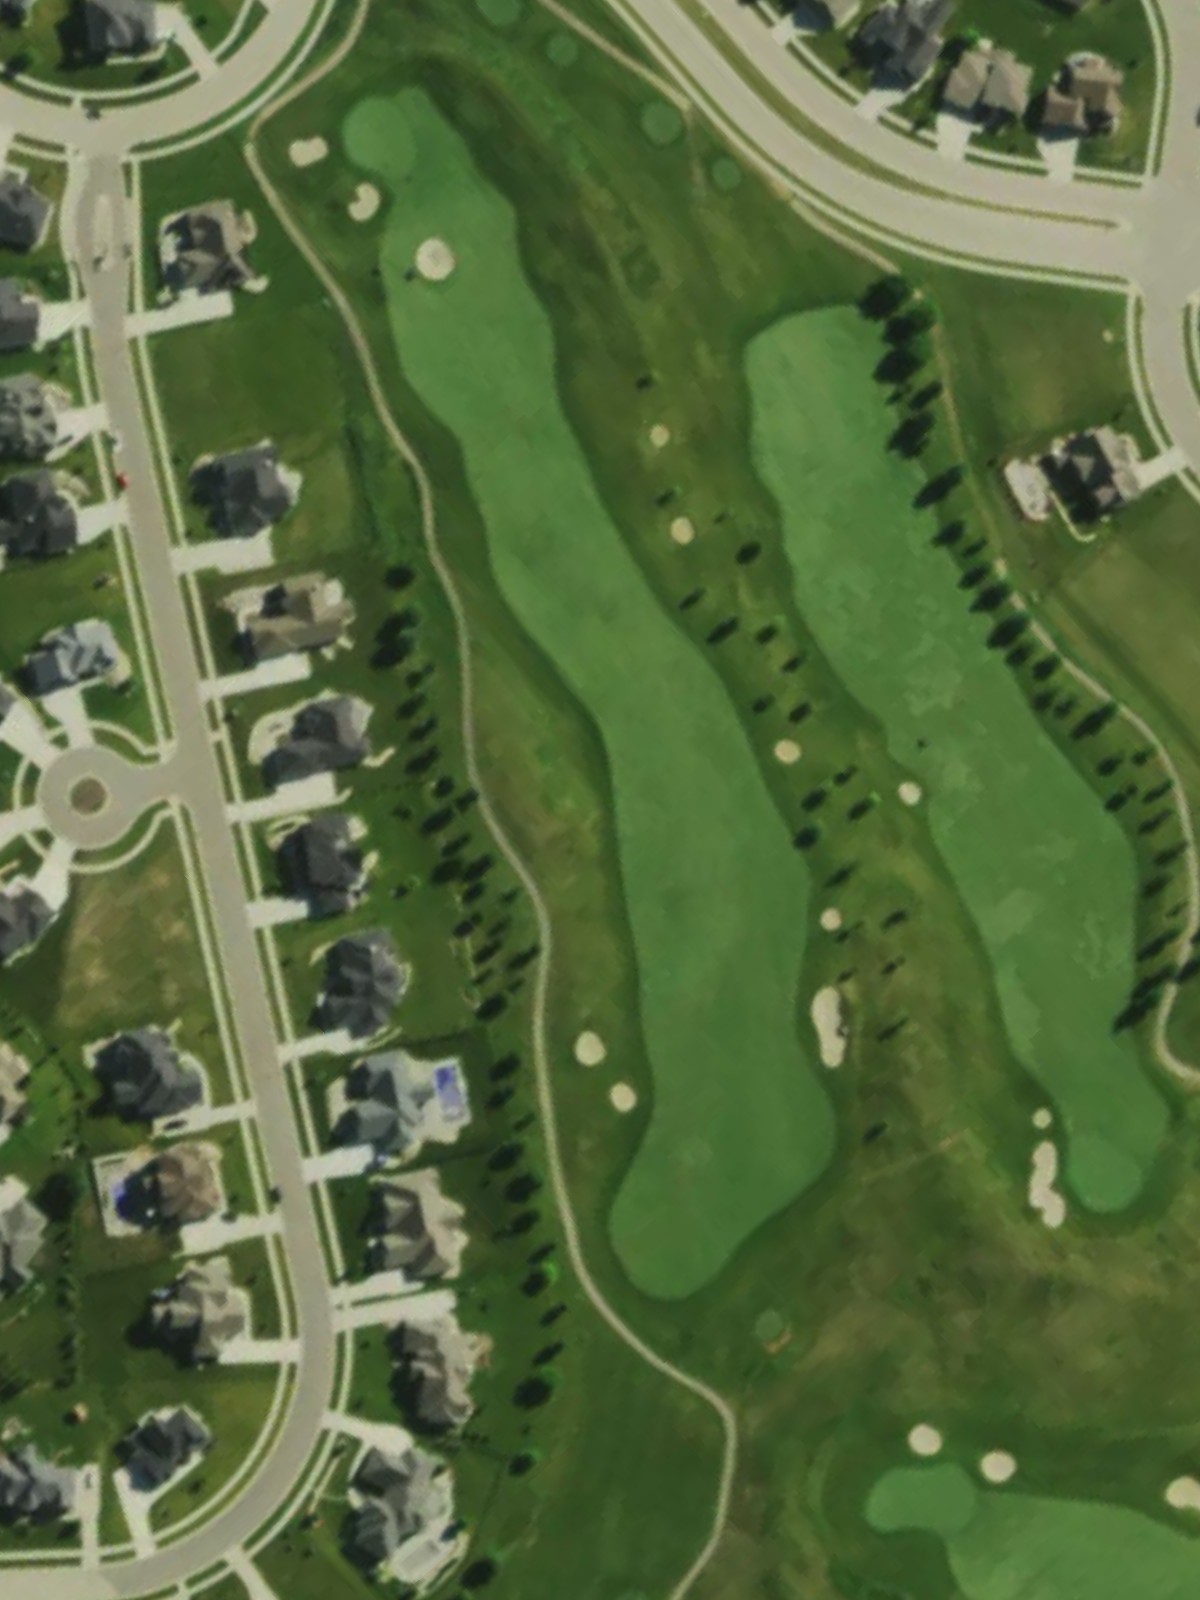
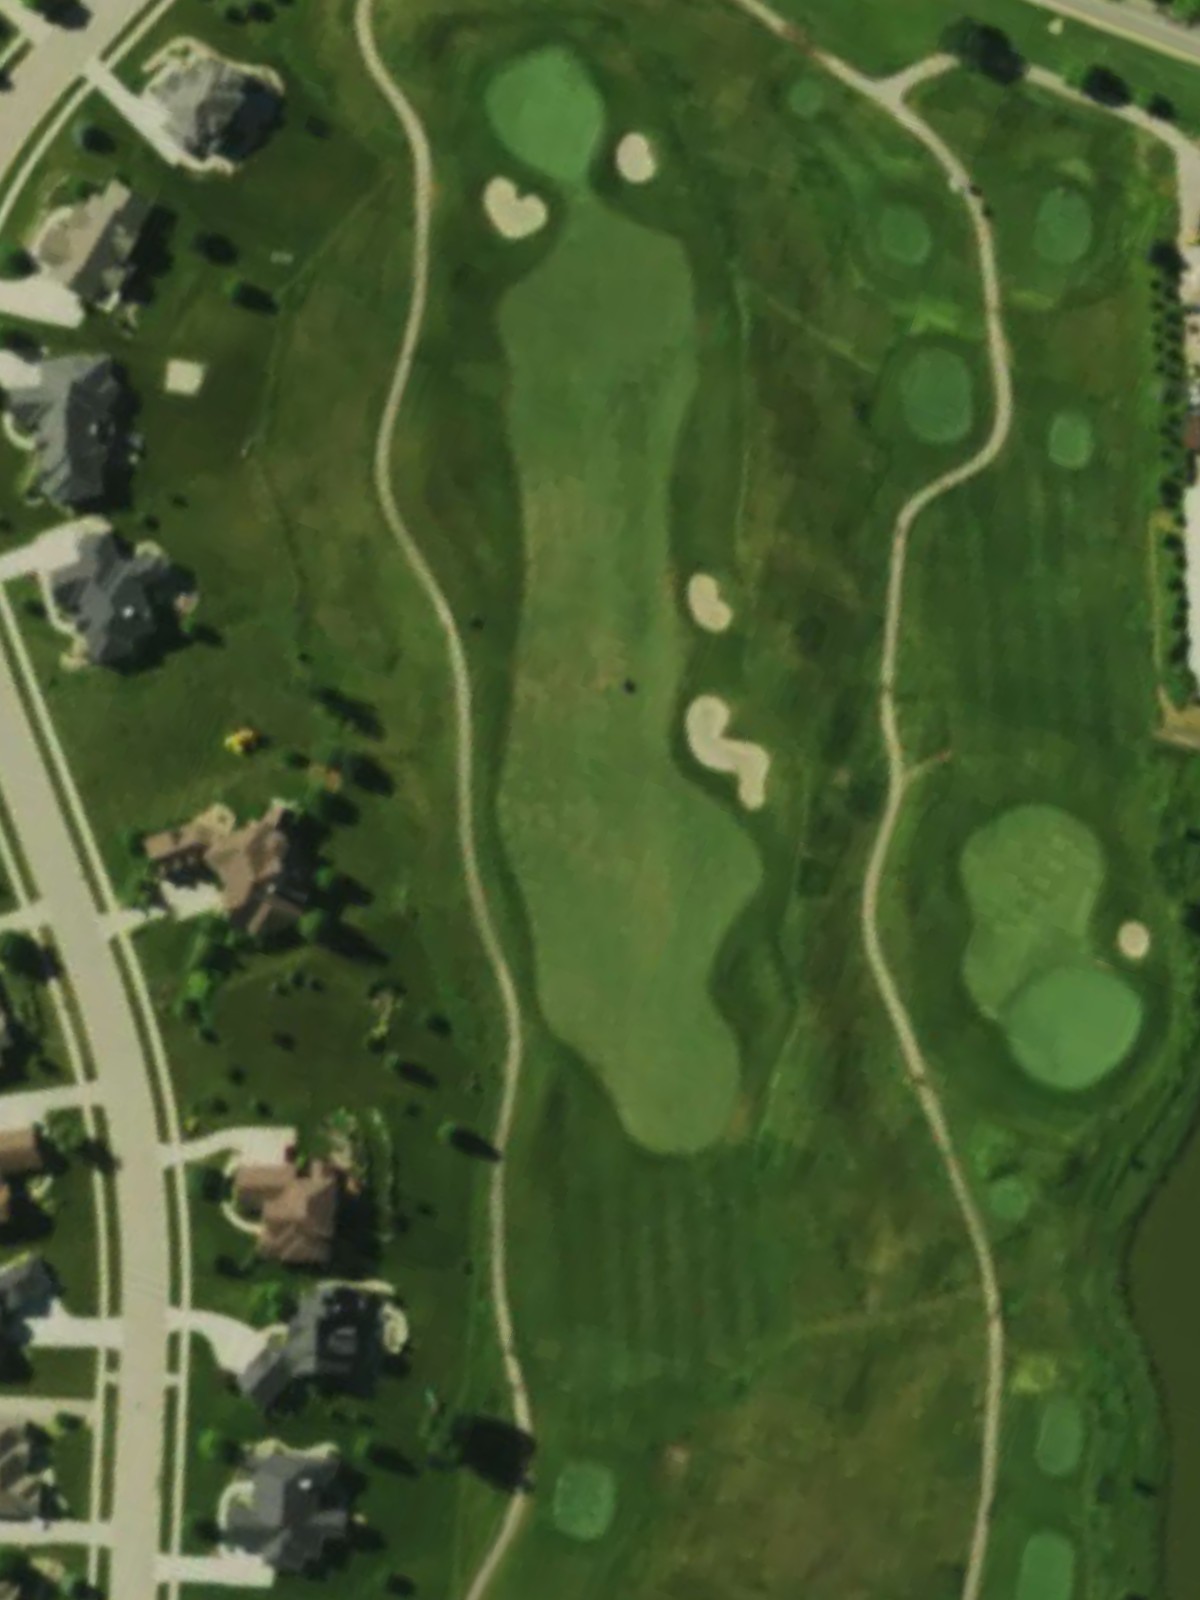
A welcoming opening par 4 that plays relatively straight with a fairway that gradually narrows as it approaches the green. Bunkers pinch the right side of the landing area and guard the green's right flank, rewarding accurate ball-striking off the tee.
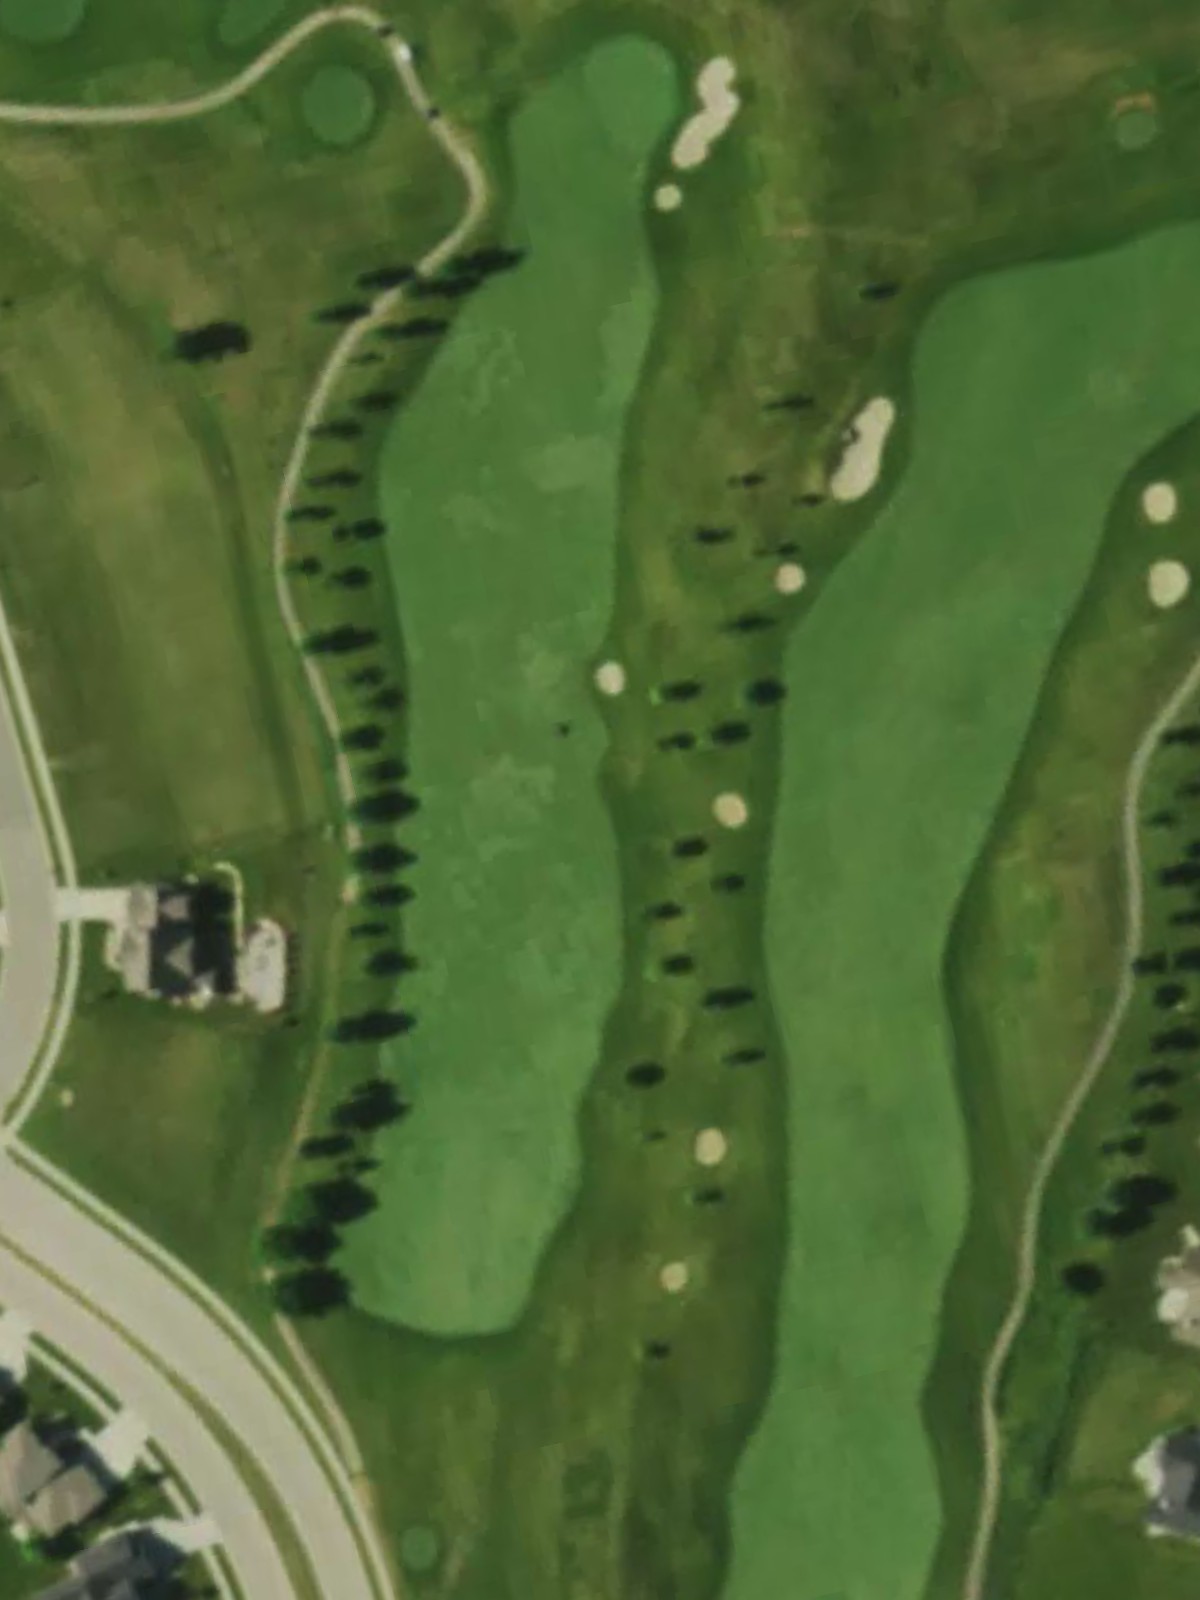
A solid par 4 with a well-defined fairway that demands accuracy from the outset. Strategic bunkering frames both sides of the approach, making position off the tee critical for a clear shot to the green.
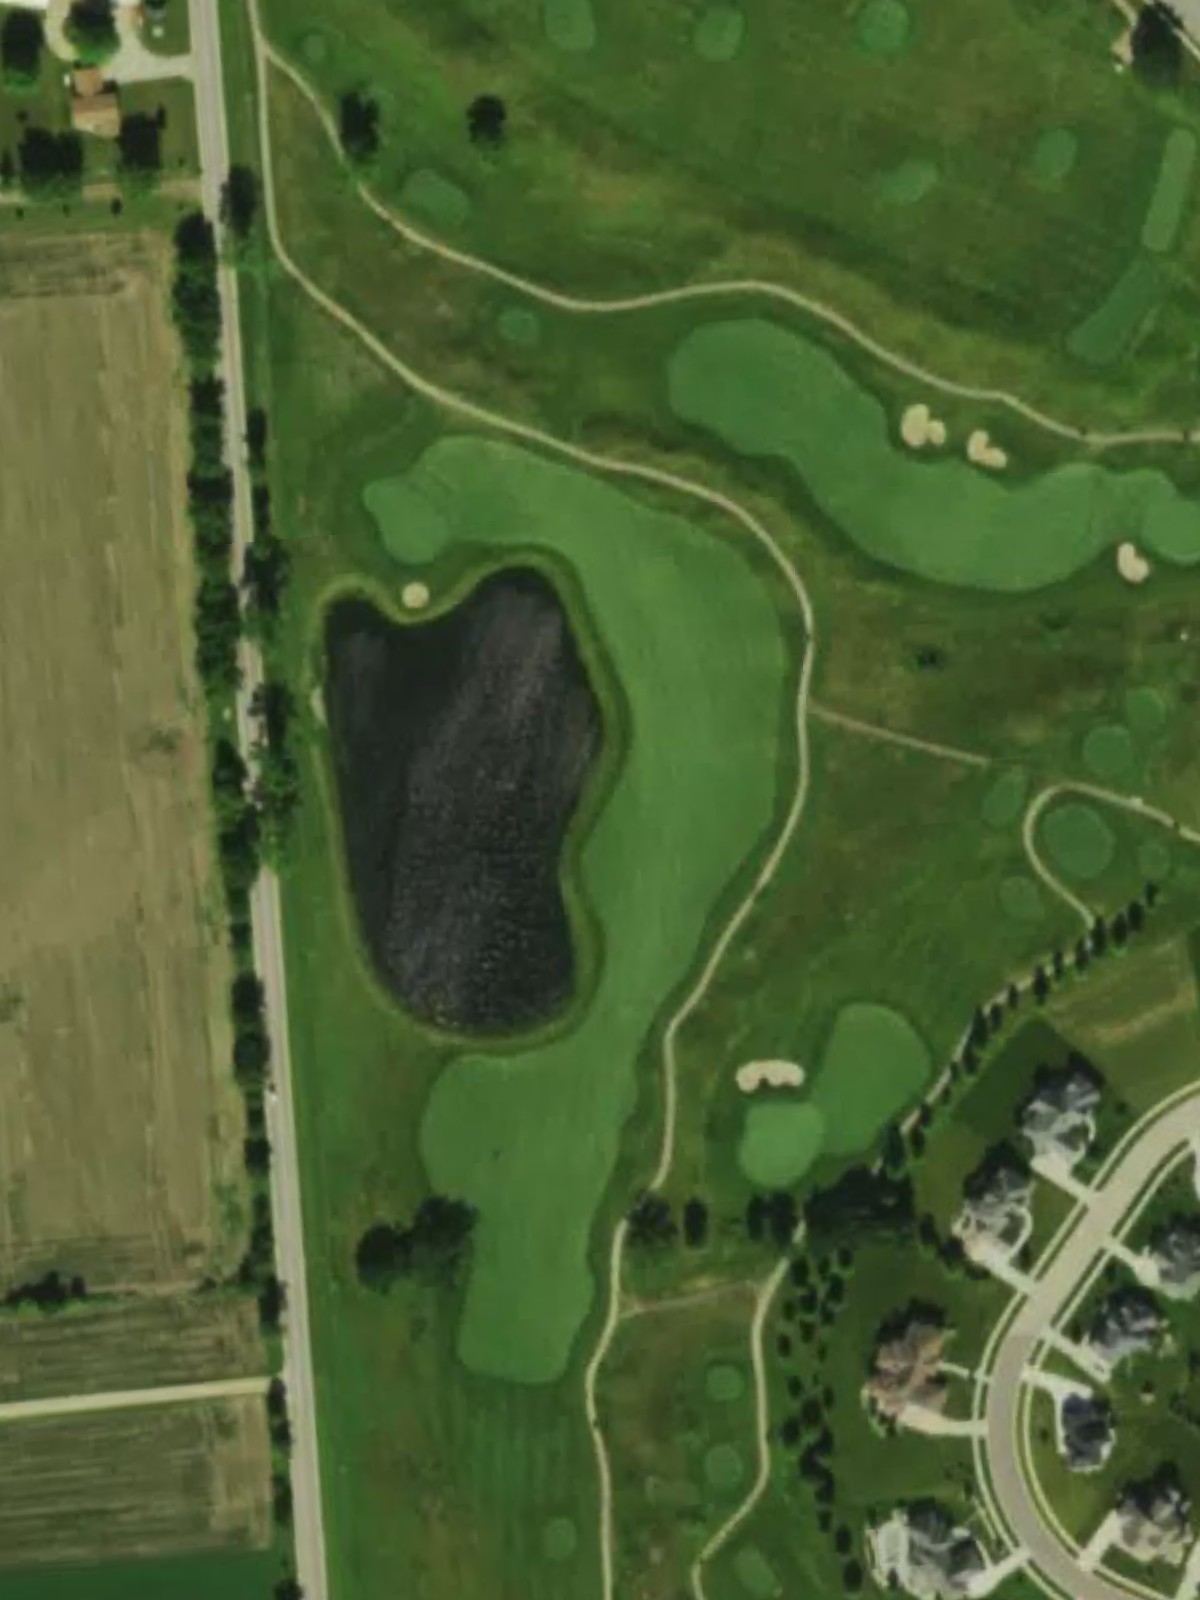
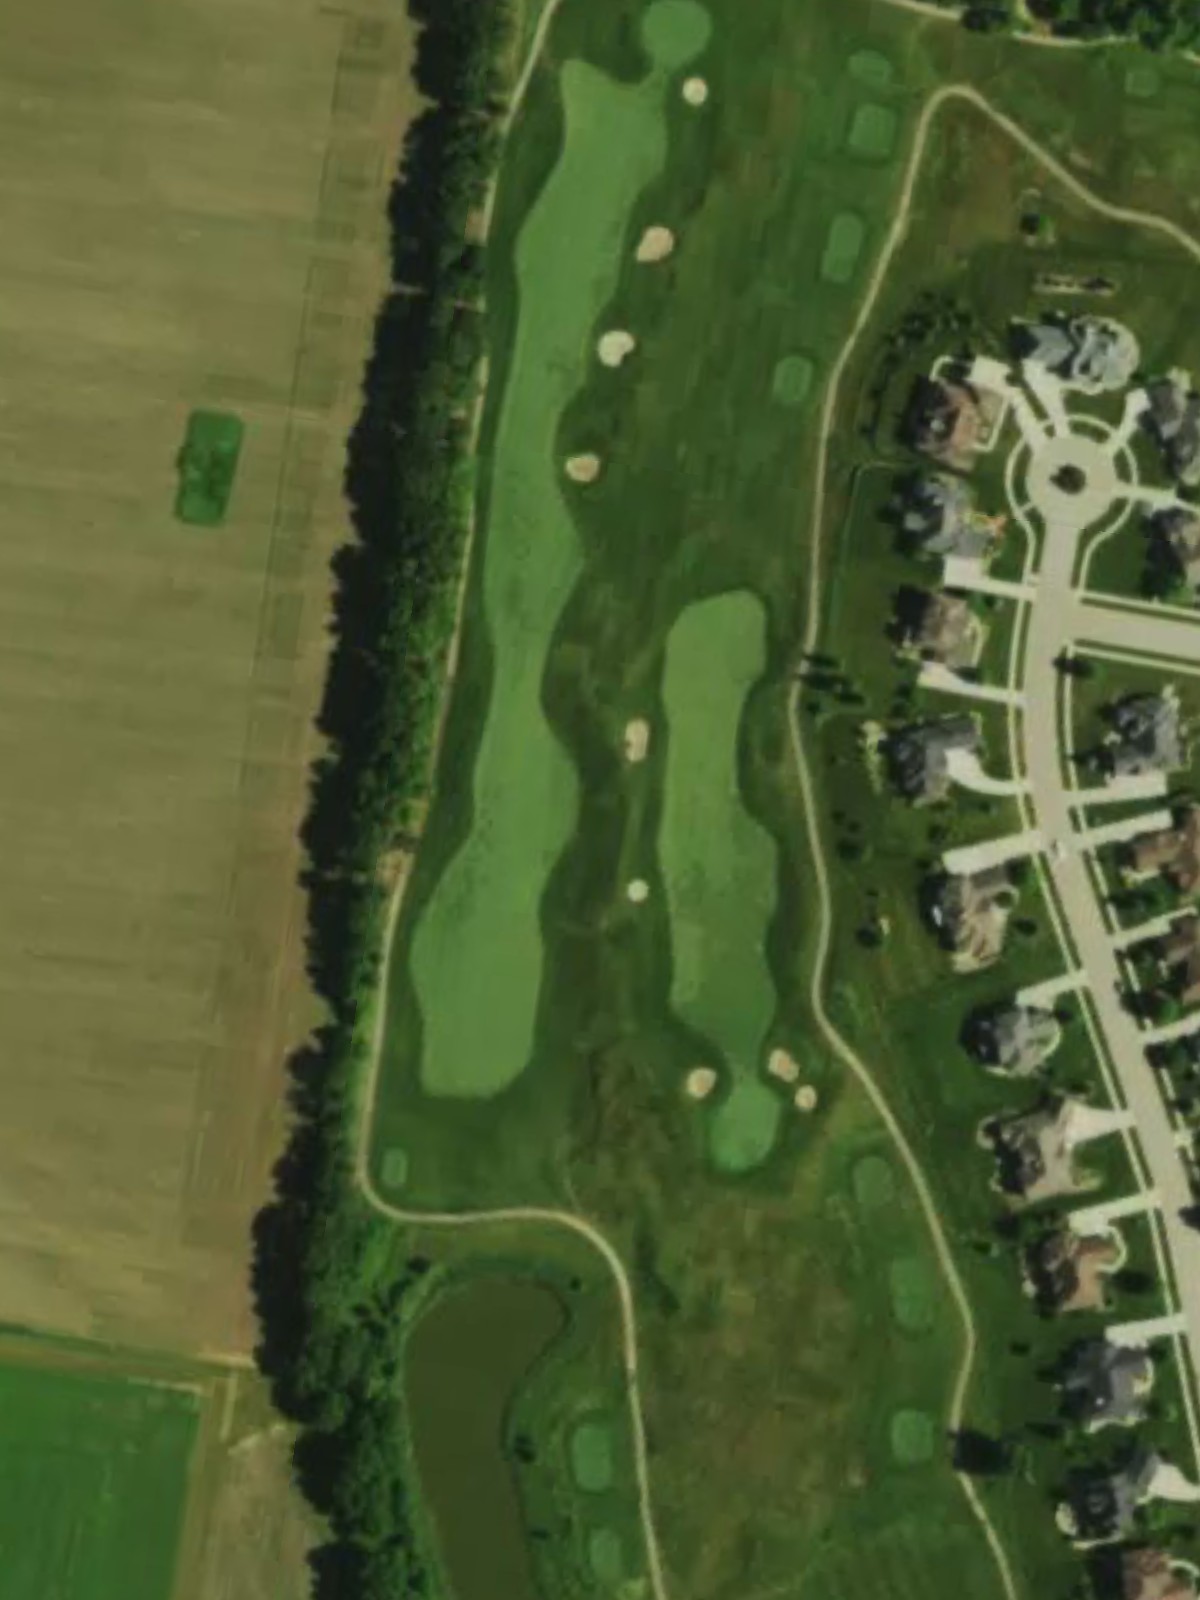
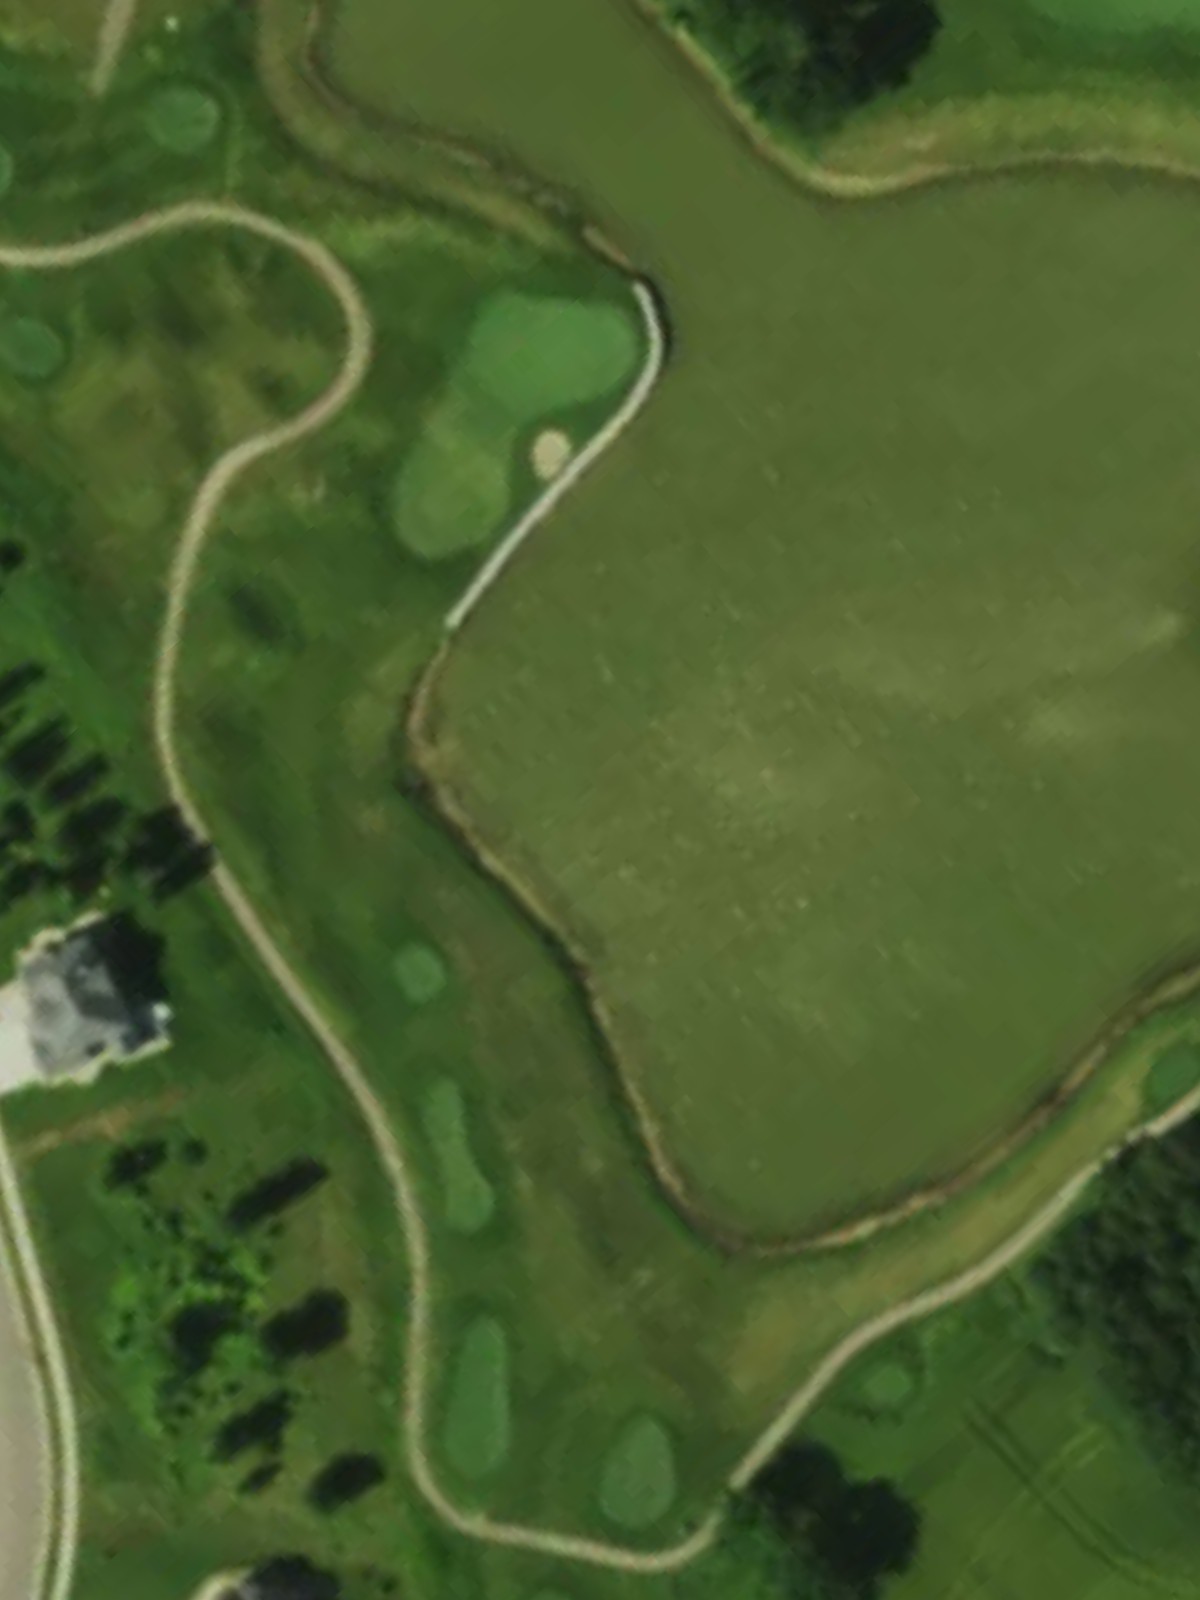
The course's signature hole and a stern par 4 that plays as one of the toughest on the layout. Water or significant hazards come into play, and the green is protected in ways that demand precision on both tee and approach shots.
A mid-length par 3 with a deceptive character that plays trickier than yardage suggests. Water guards at least one side of the green, and elevated bunkering adds to the challenge of finding the putting surface.
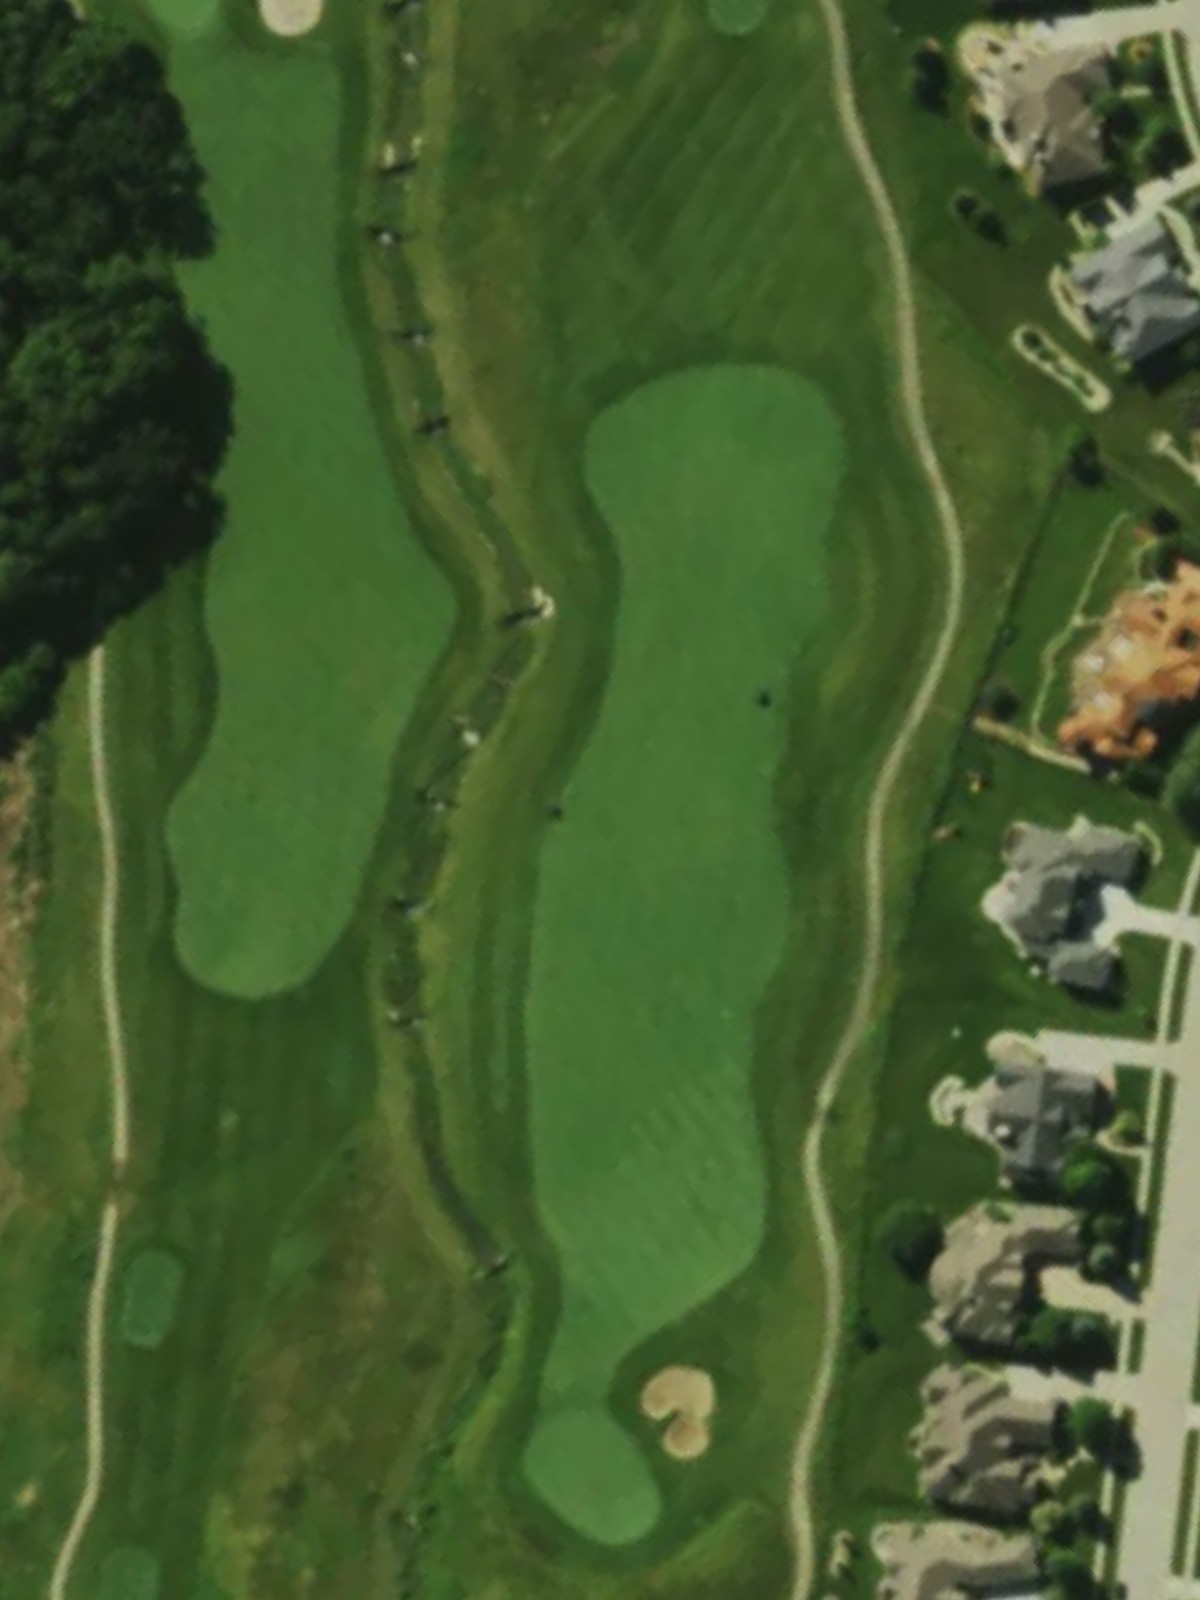
An inviting par 5 that offers birdie opportunity for longer hitters, though the hole's shape—likely a dogleg or strategic bend—requires careful routing through the fairway. Hazards are positioned to penalize aggressive play, particularly on the approach to the green.
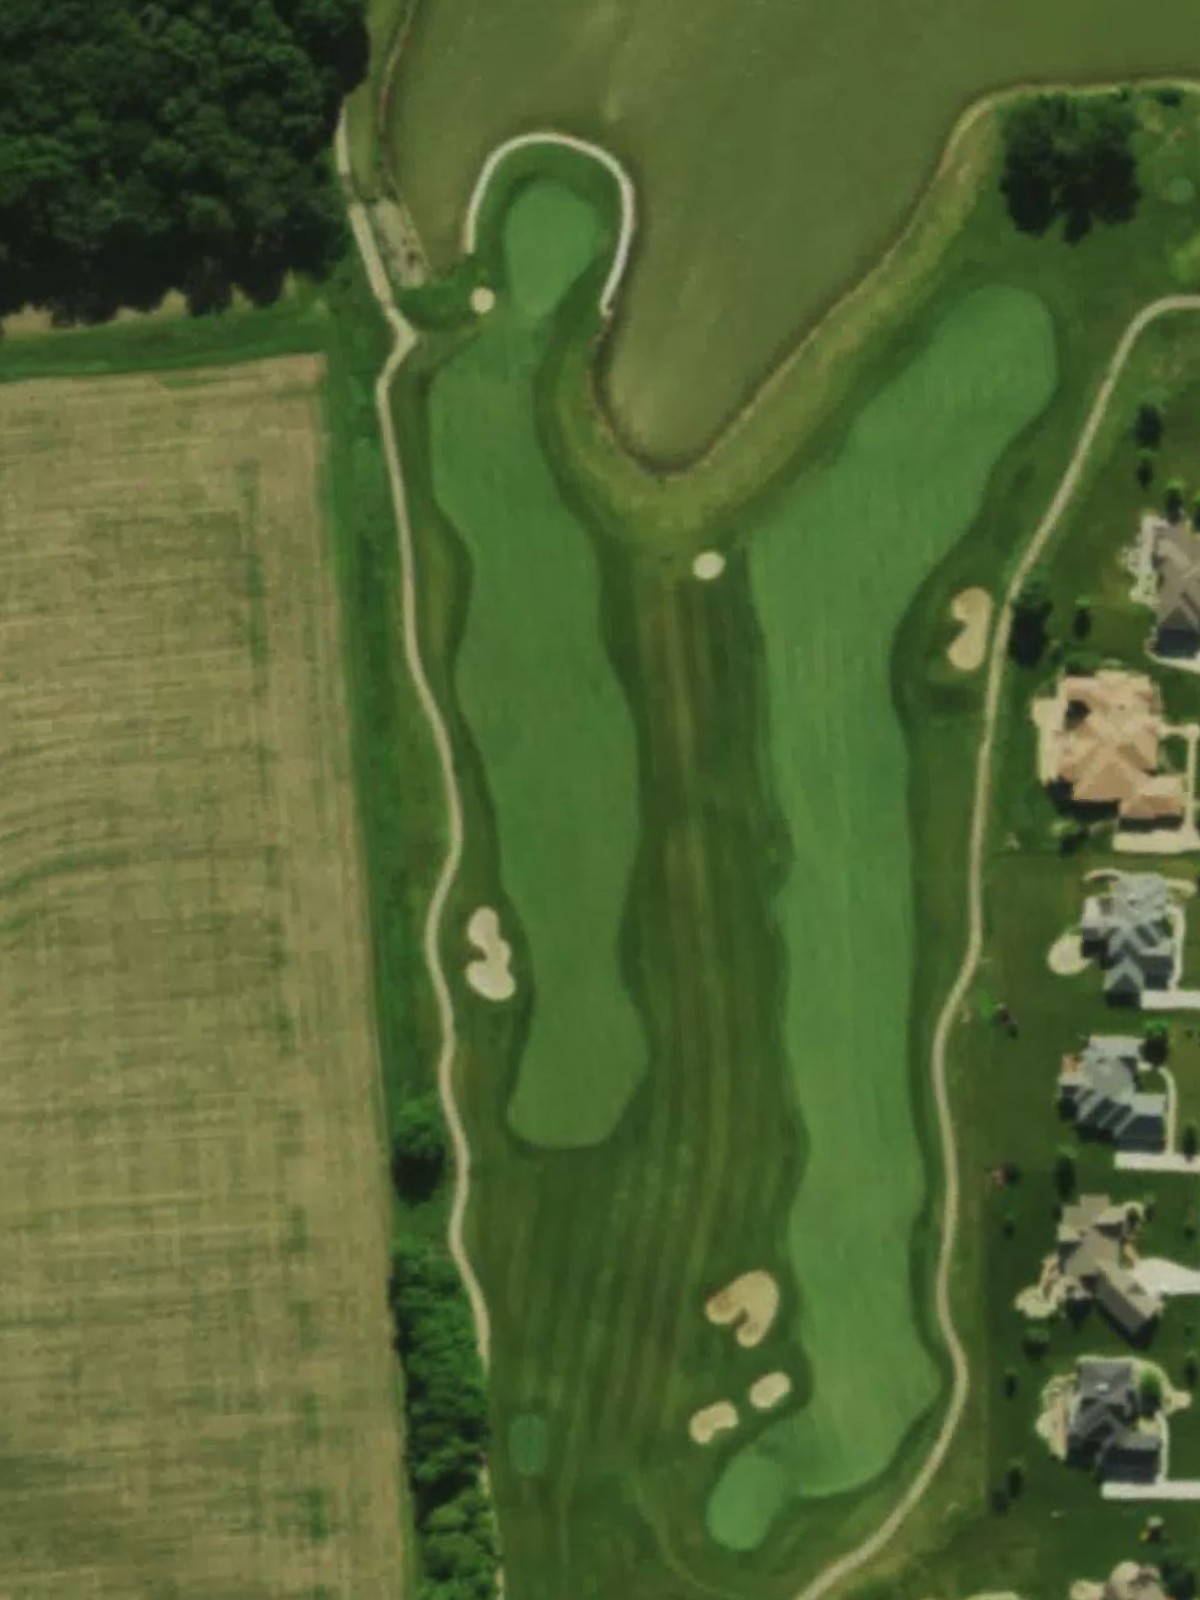
The most difficult hole on the course, this par 4 presents a formidable test with length and complexity working together. Water, out-of-bounds, or dramatic bunkering creates a challenging gauntlet that demands two quality strikes to reach the green safely.
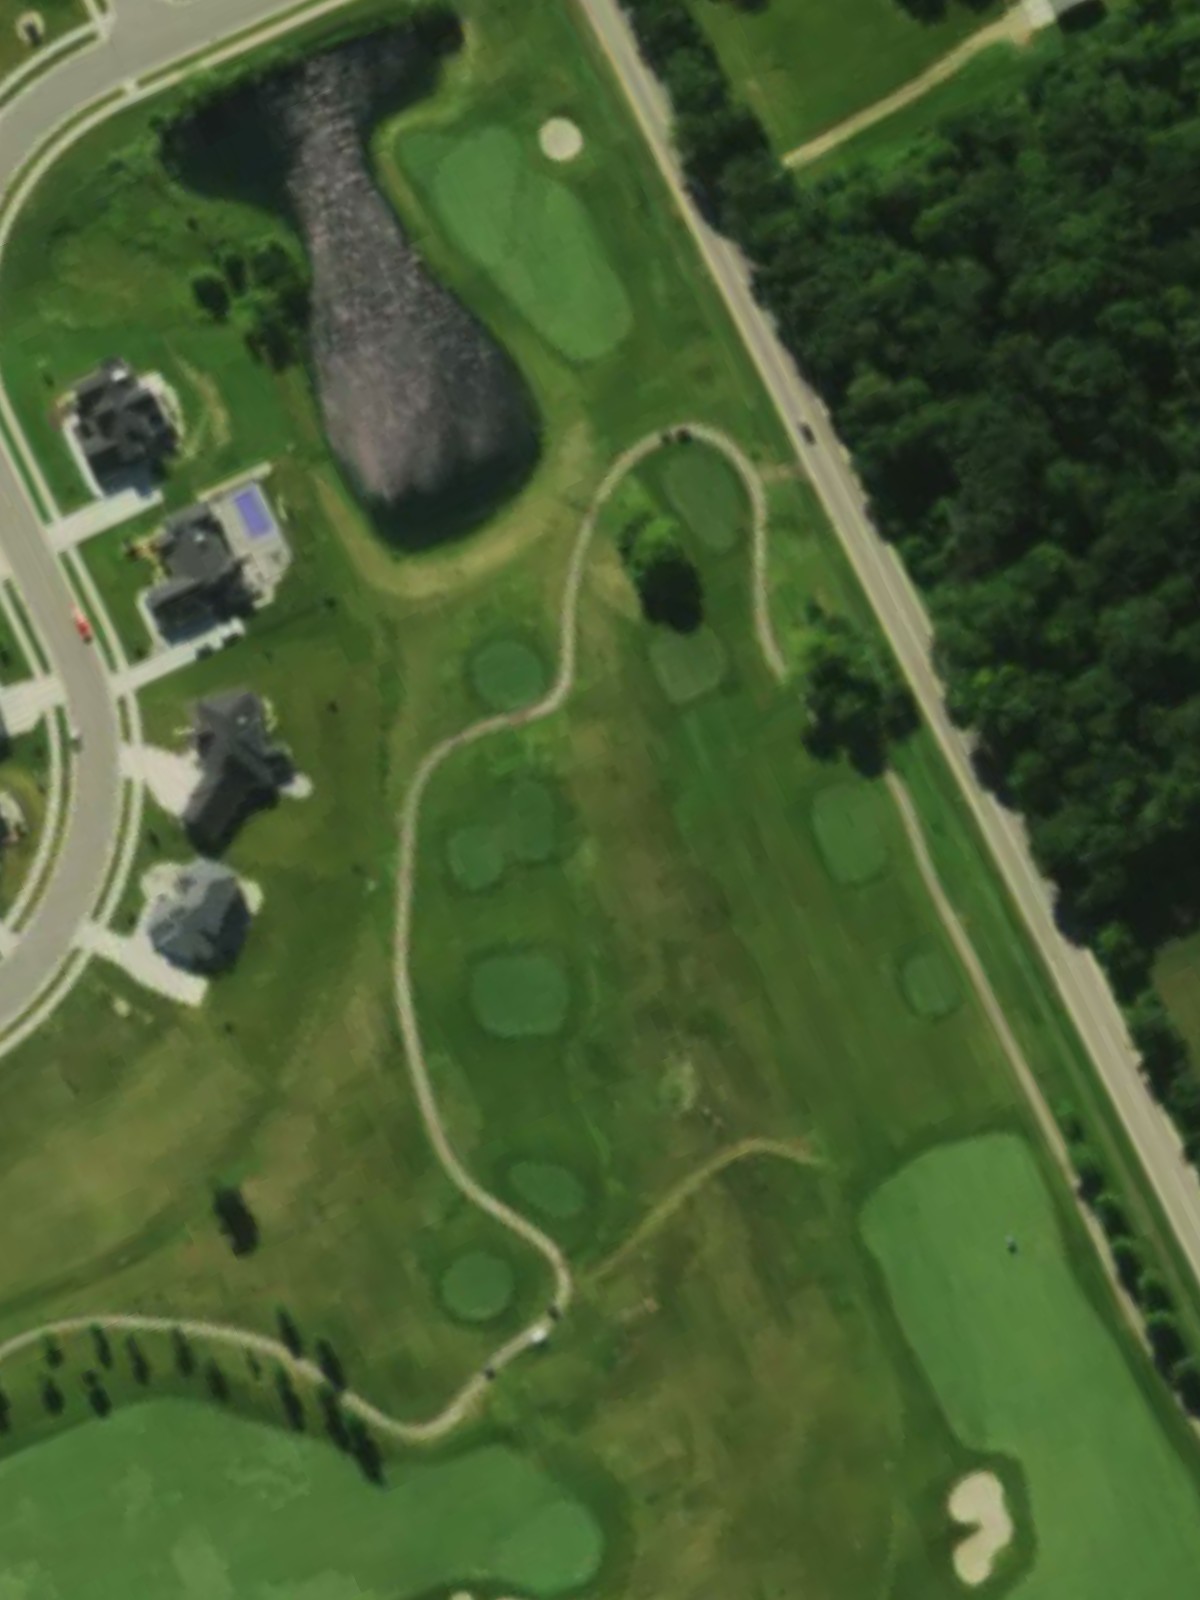
A long par 3 that requires a substantial carry over hazardous terrain to a well-protected green. Bunkers and water frame the putting surface, making this a memorable one-shot hole with little margin for error.
The easiest par 4 on the course, this short hole plays downhill or through an open corridor that rewards confident play. Relatively modest hazarding makes this a scoring opportunity, though the layout still demands solid contact.
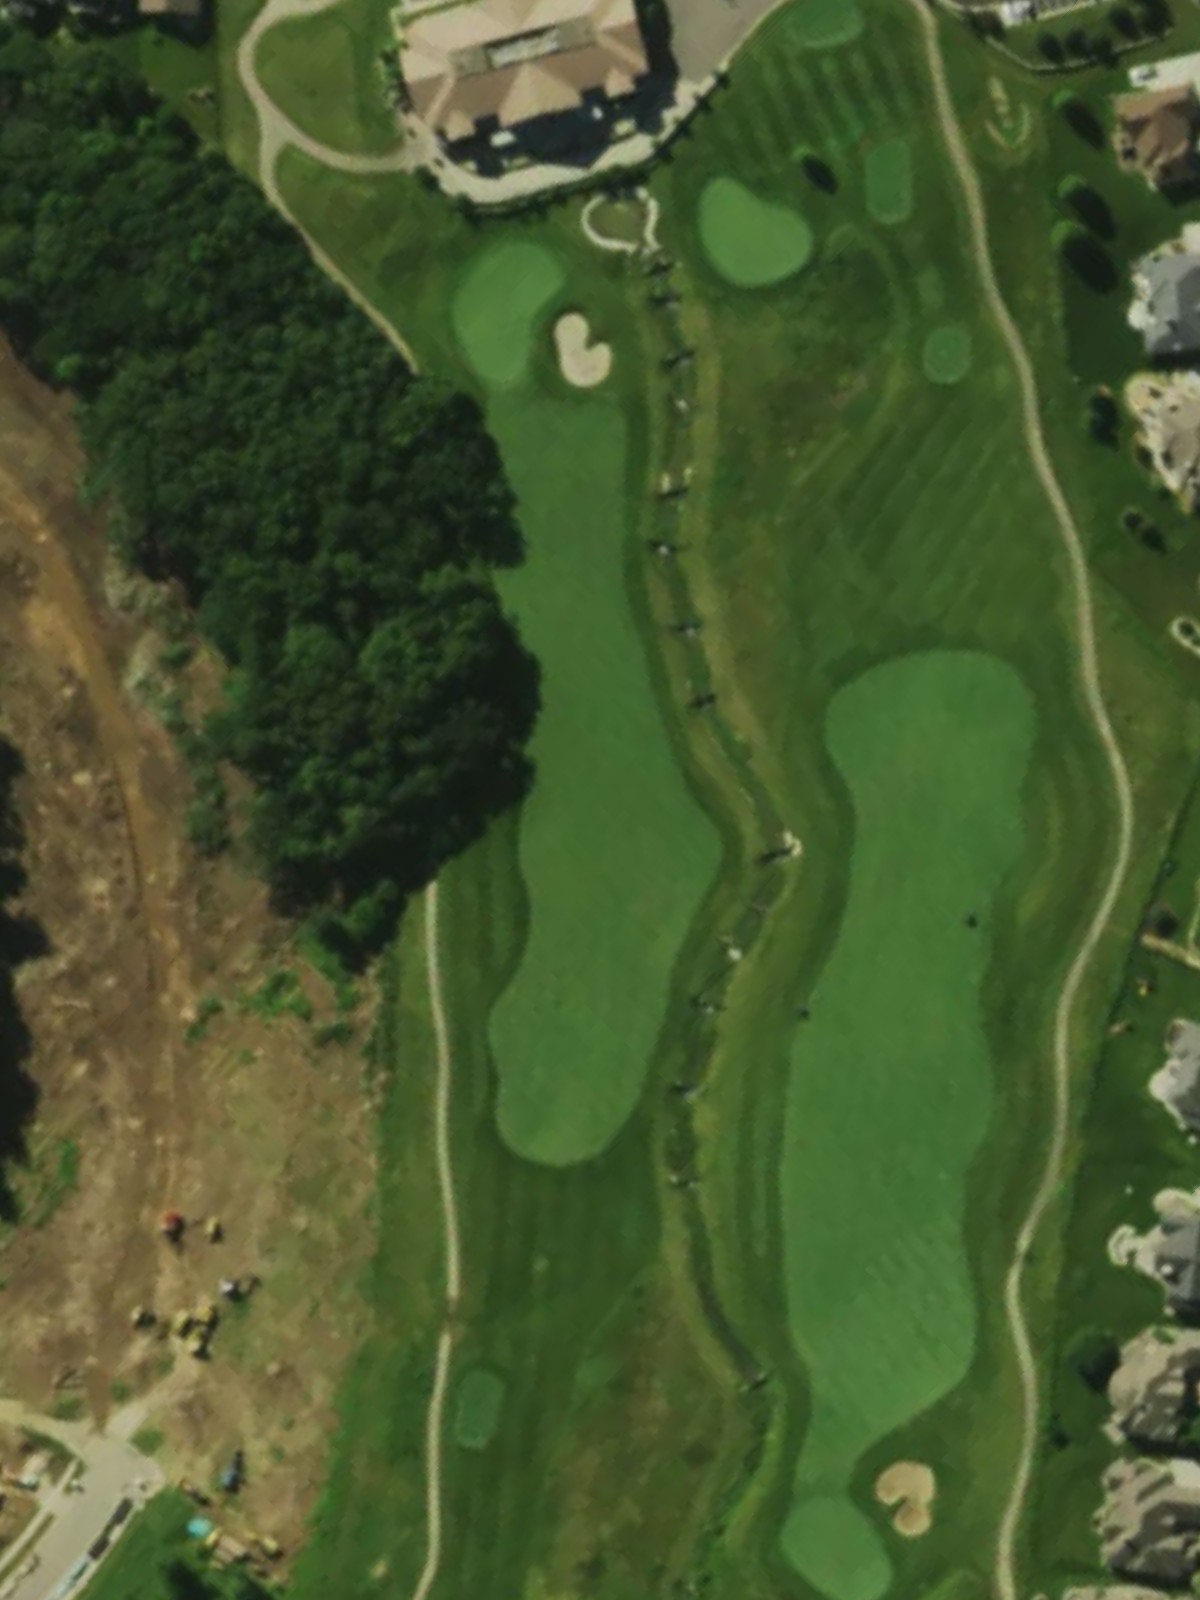
A dramatic finishing hole on the front nine and a long par 5 that features significant length and strategic complexity. Water or bunkering likely shapes the hole's routing, with the green well-defended and requiring positioning through the fairway to set up an attacking third shot.
A solid par 4 that opens the back nine with character and definition. Strategic hazards frame the fairway or guard the green, placing emphasis on strategic positioning and controlled approach play to a target that rewards precision.
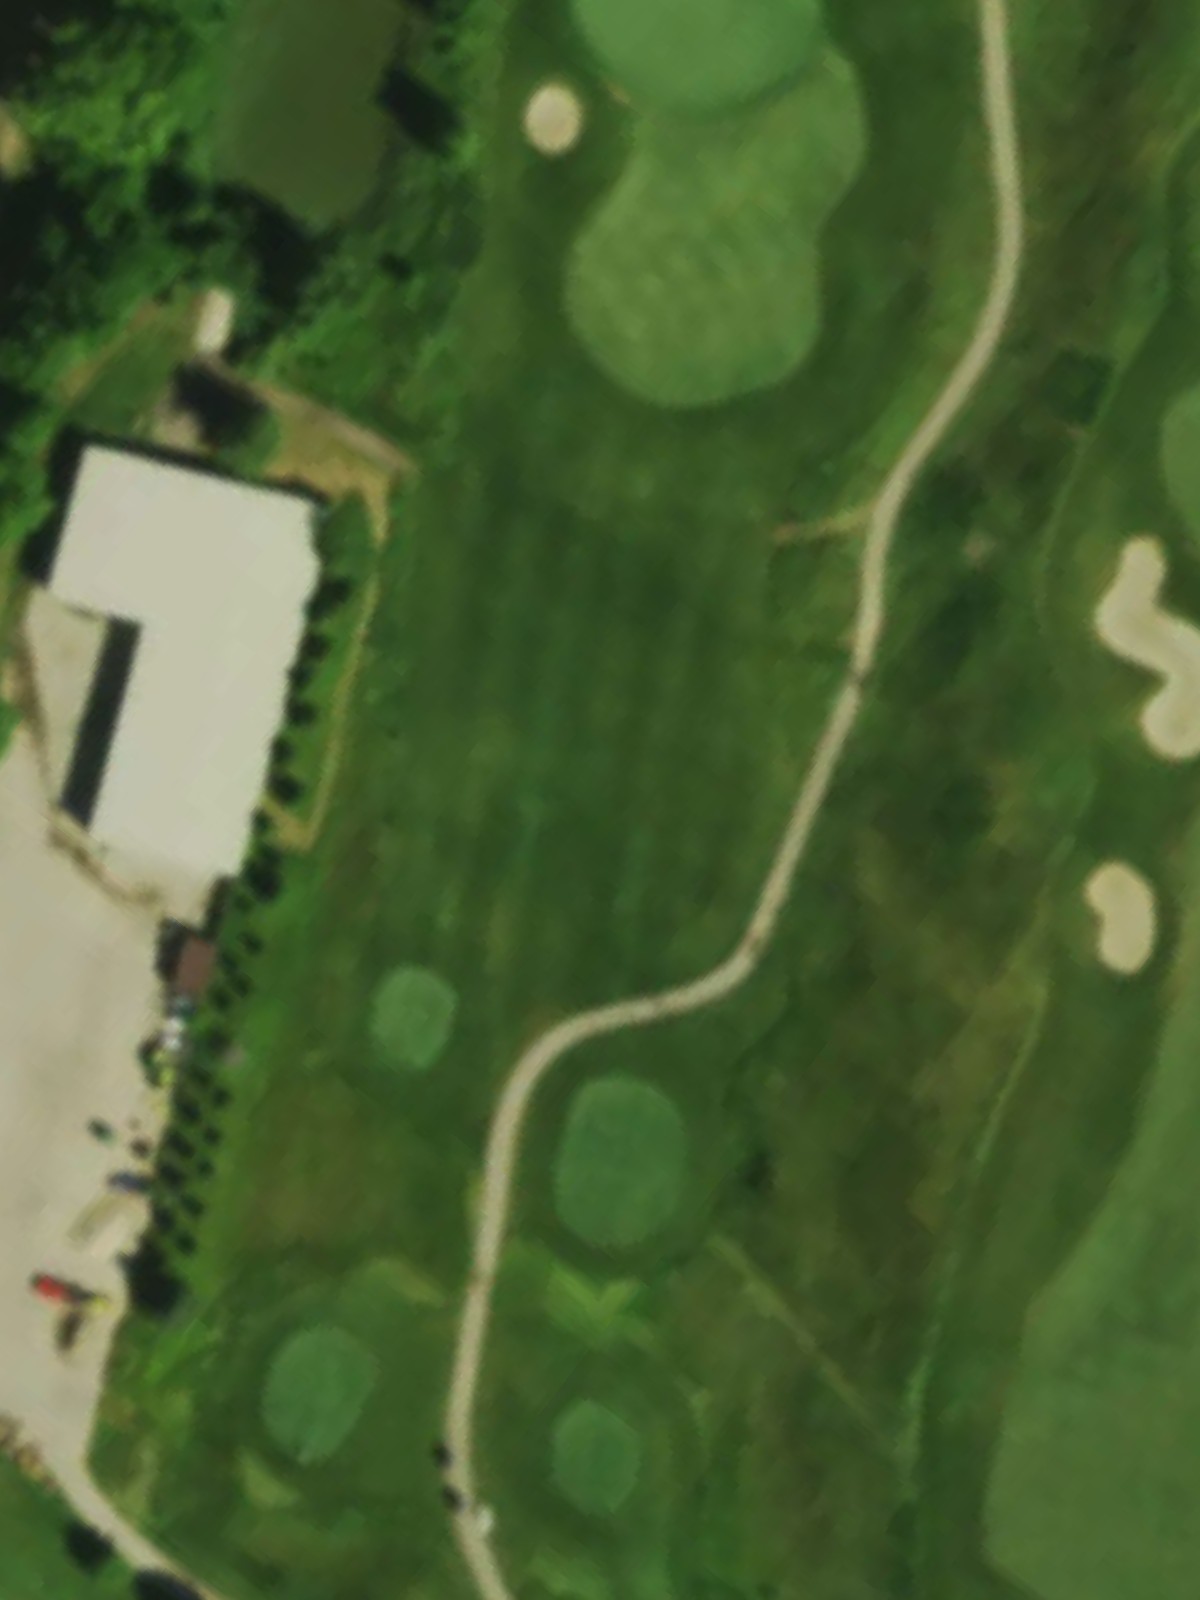
A moderately-length par 5 that provides a realistic birdie opportunity with smart execution. The fairway likely features a dogleg or strategic bend, with bunkers or water positioned to catch wayward shots and defend the approach zone.
The easiest par 4 on the back nine, this hole offers a birdie opportunity despite its straightforward setup. Open fairway lines and modest hazarding allow aggressive golfers to attack, making this a potential scoring hole.
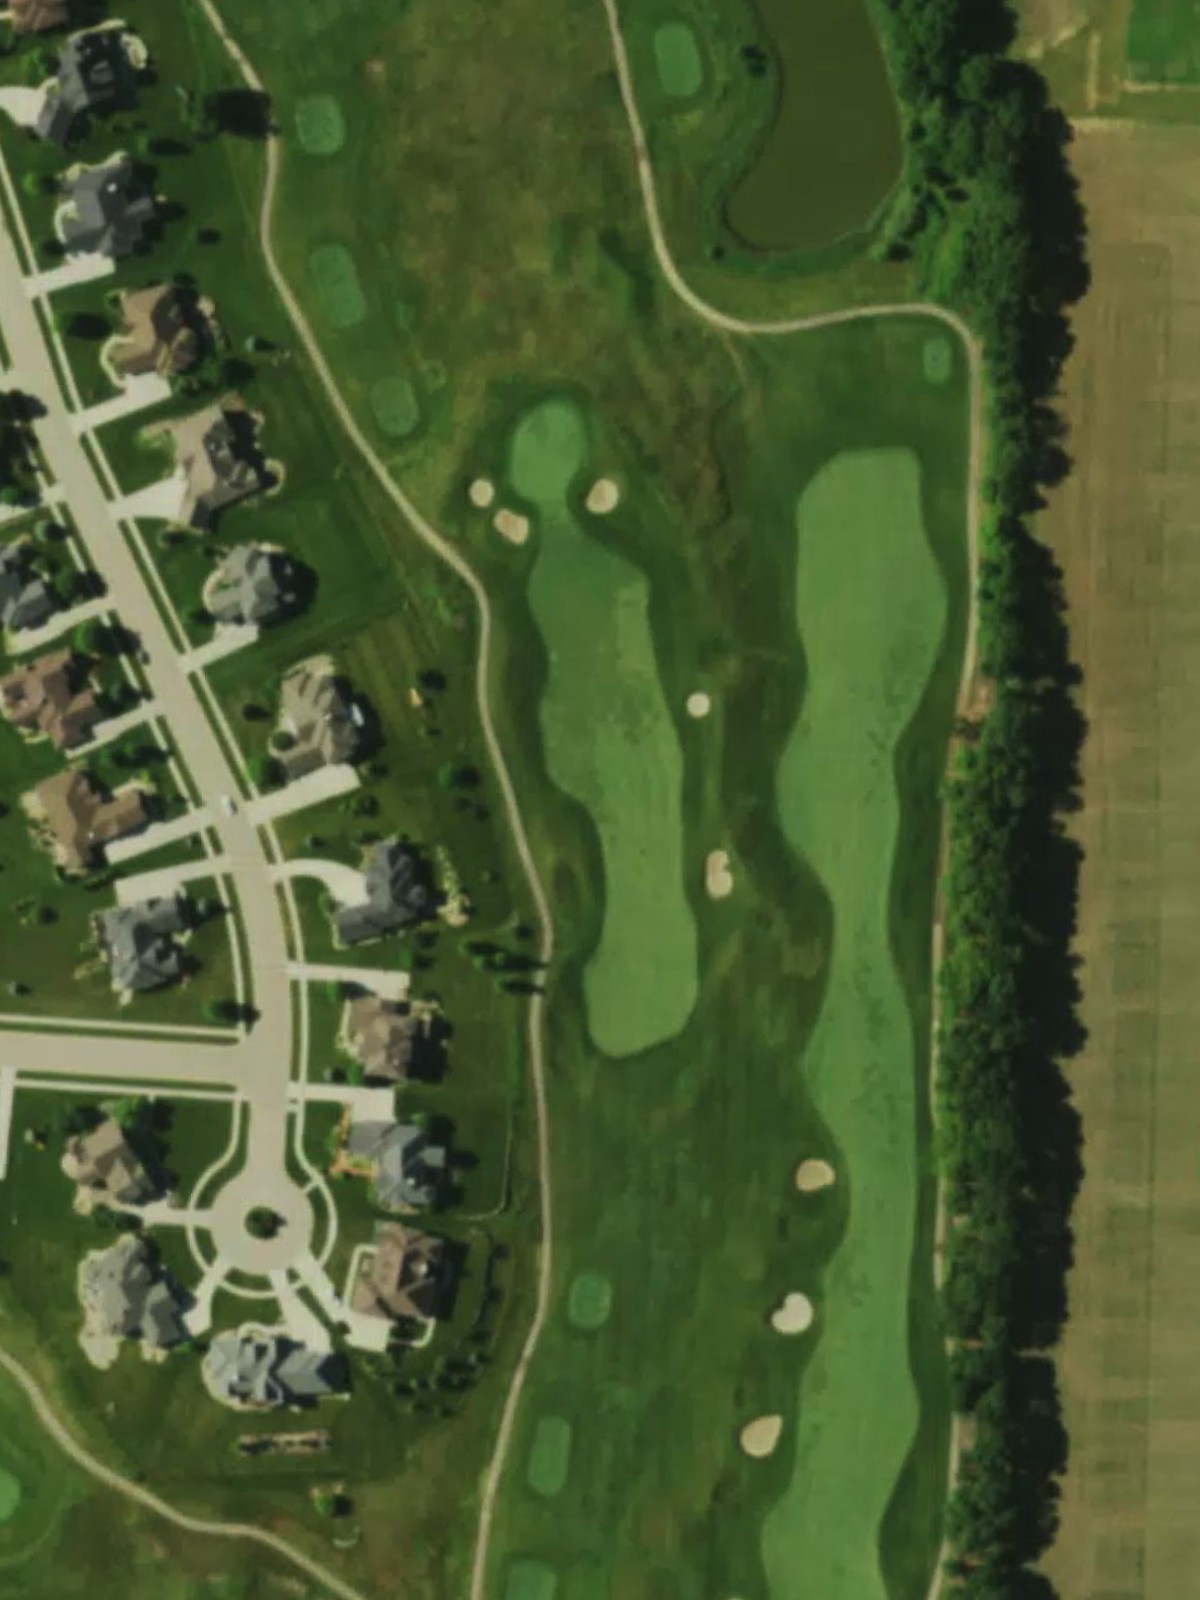
The second-most difficult hole on the course, this par 4 combines length with strategic complexity to create a stern test. Hazards frame the fairway and surround the green, leaving little room for mistakes on either shot.
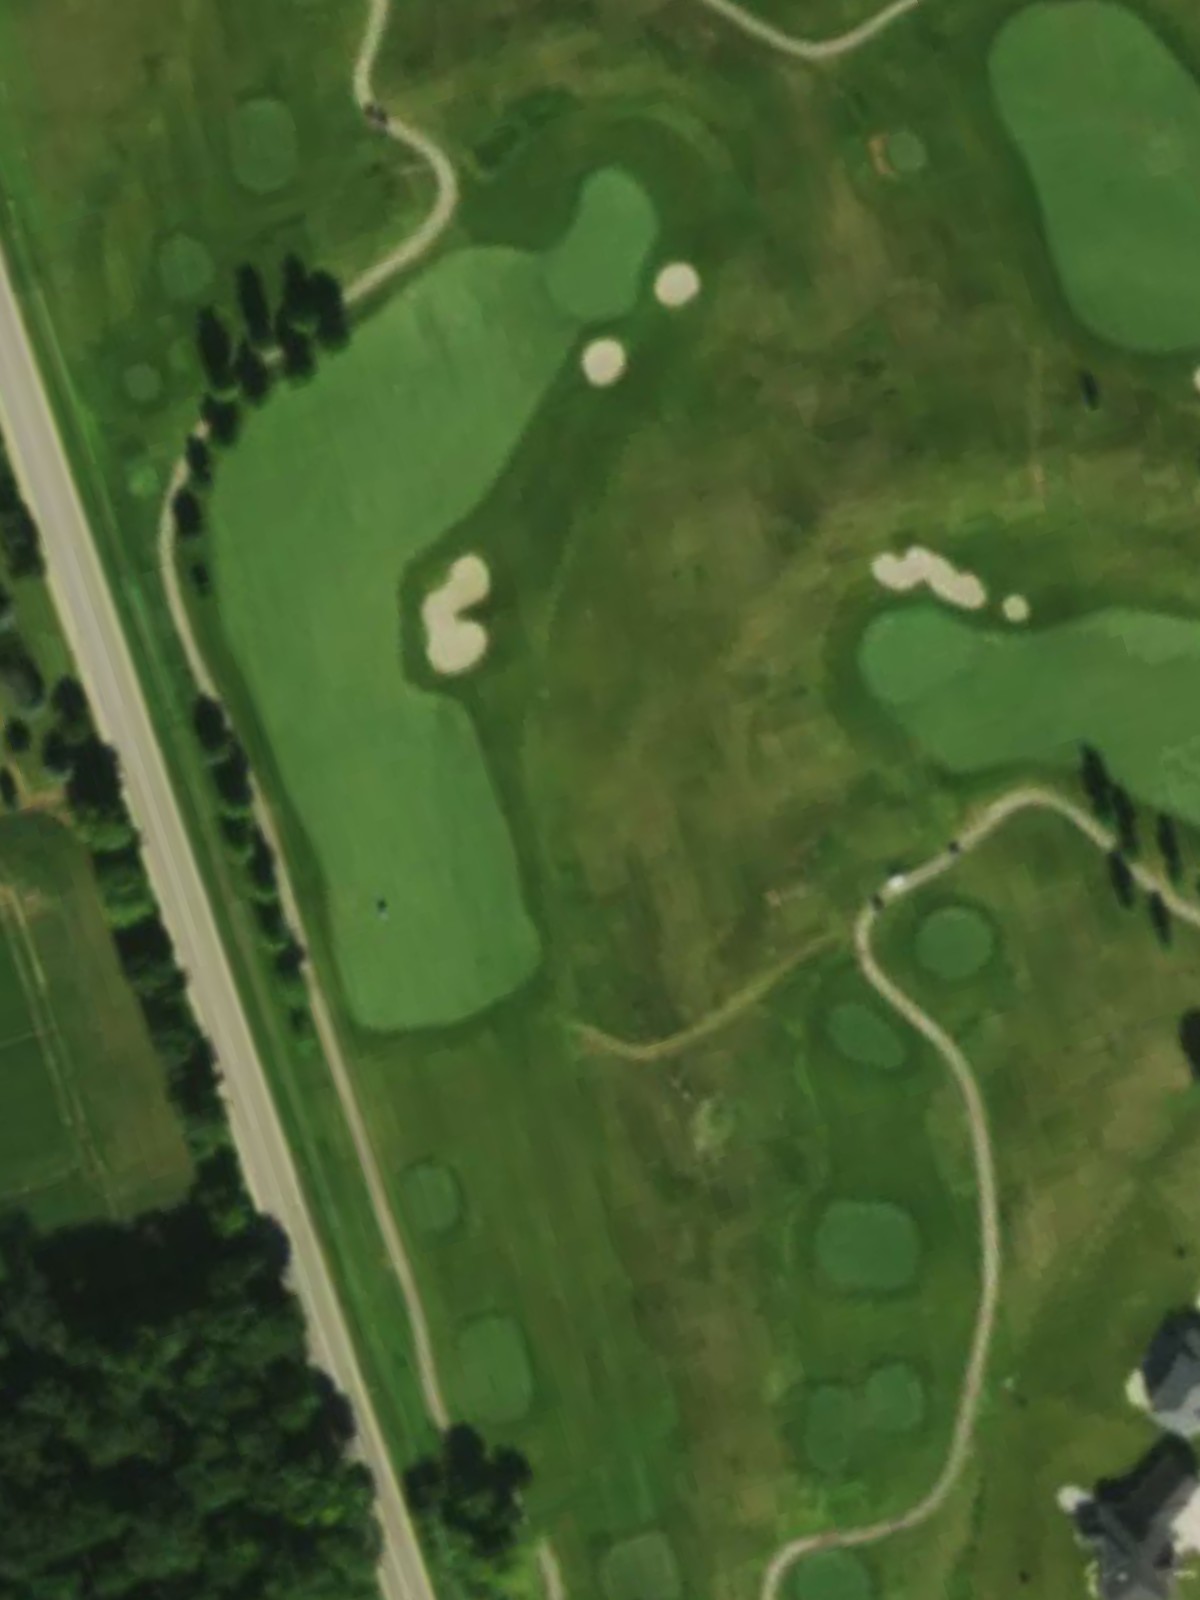
A short par 3 that plays deceptively difficult despite modest yardage, with a well-bunkered green and likely elevated or island-green features. Accurate distance control is essential to avoid the hazards surrounding this protected target.
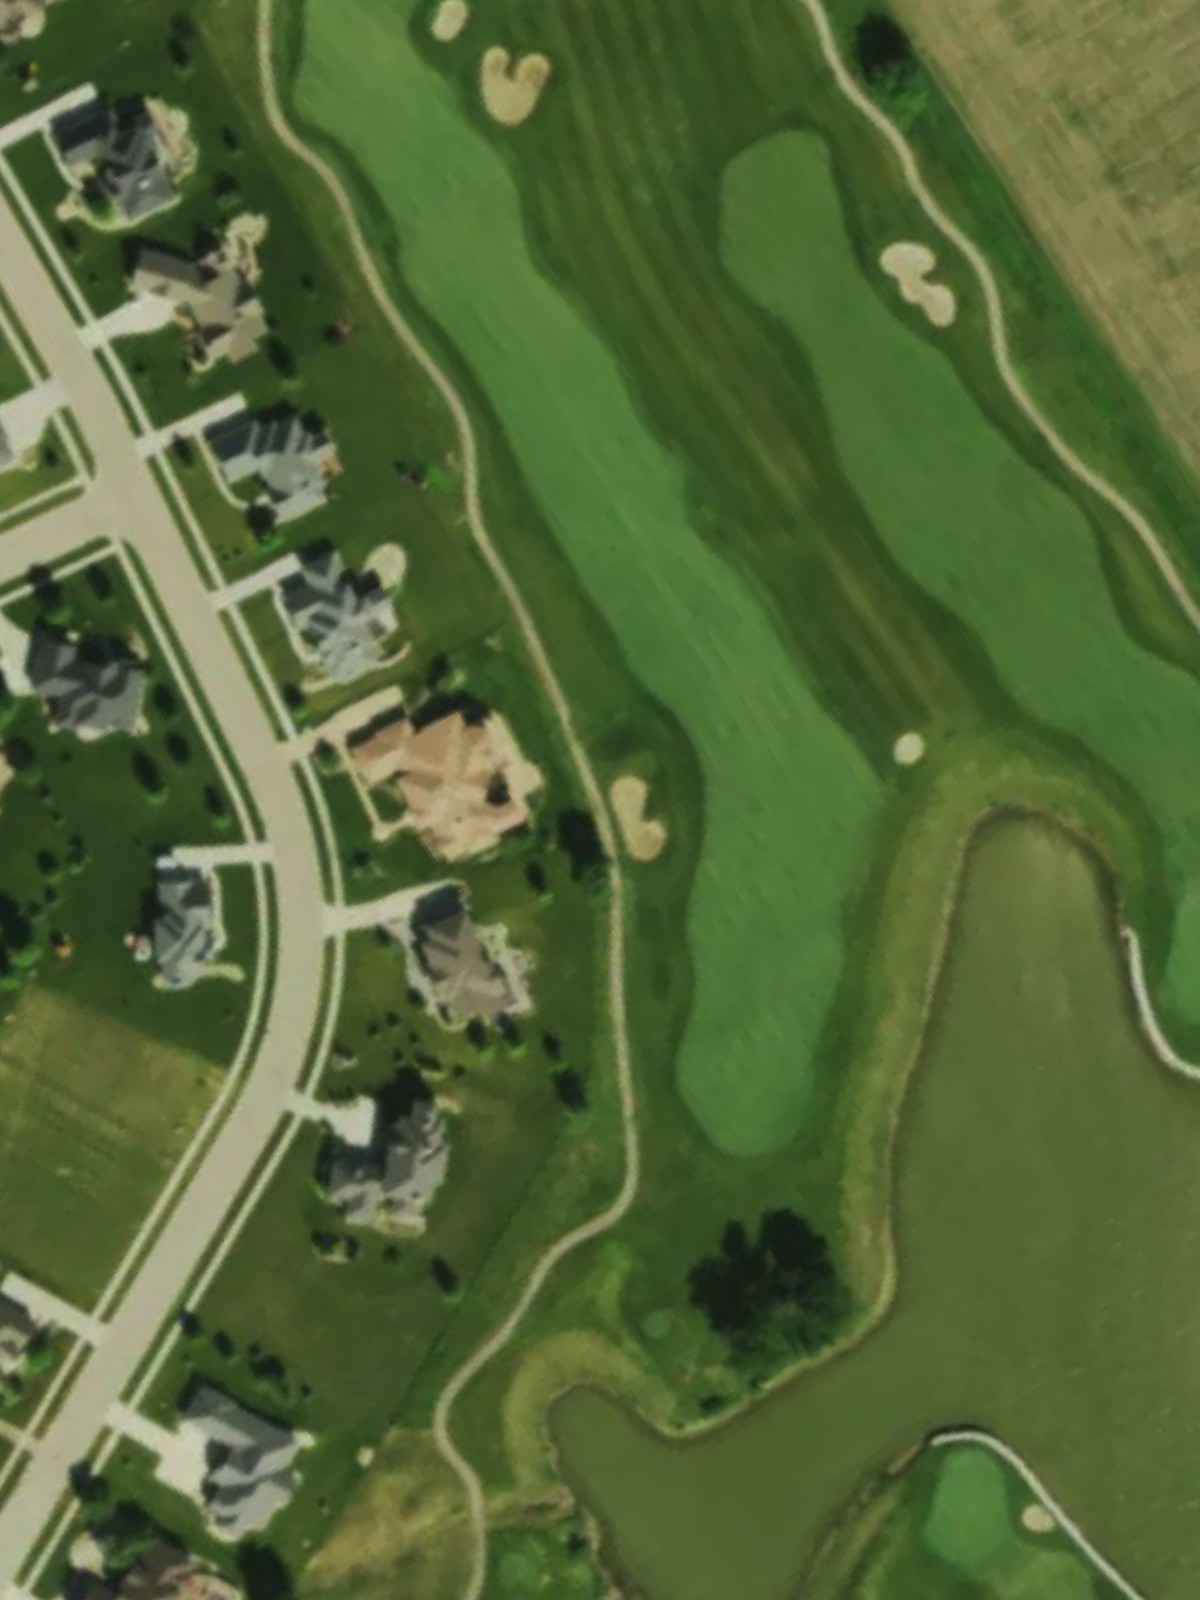
A lengthy par 5 that tests length and endurance while rewarding strategic thinking through the fairway. Multiple hazards are positioned at key yardages to challenge aggressive play, with the green demanding a precise third shot to avoid trouble.
A well-crafted par 4 with moderate length and balanced hazarding that creates an engaging mid-round test. The fairway's shape—likely a slight dogleg—and the green's protection combine to reward thoughtful play and solid execution.
A short, straightforward par 3 that plays as a respite before the closing challenge. The small target and modest hazarding make this a birdie opportunity for accurate strikers seeking to build momentum toward the finish.
A fitting and challenging finale, this par 4 combines length and complexity to create a dramatic closing hole. Water, bunkers, or strategic bunkering frames the fairway and surrounds the green, demanding two committed shots to conclude the round well.
Scorecard
| Hole | 1 | 2 | 3 | 4 | 5 | 6 | 7 | 8 | 9 | Out | 10 | 11 | 12 | 13 | 14 | 15 | 16 | 17 | 18 | In | Tot |
|---|---|---|---|---|---|---|---|---|---|---|---|---|---|---|---|---|---|---|---|---|---|
| Par | 4 | 4 | 4 | 3 | 5 | 4 | 3 | 4 | 5 | 36 | 4 | 5 | 4 | 4 | 3 | 5 | 4 | 3 | 4 | 36 | 72 |
| HCP | 11 | 9 | 3 | 15 | 13 | 1 | 7 | 17 | 5 | 6 | 14 | 18 | 2 | 16 | 12 | 10 | 8 | 4 | |||
| black | 393 | 424 | 403 | 221 | 567 | 430 | 264 | 364 | 627 | 3693 | 420 | 516 | 380 | 428 | 234 | 599 | 421 | 197 | 417 | 3612 | 7305 |
| blue | 360 | 375 | 370 | 199 | 541 | 409 | 241 | 332 | 602 | 3429 | 380 | 492 | 359 | 388 | 199 | 542 | 385 | 184 | 405 | 3334 | 6763 |
| white | 321 | 367 | 356 | 165 | 501 | 384 | 194 | 278 | 578 | 3144 | 369 | 459 | 317 | 376 | 156 | 508 | 373 | 143 | 377 | 3078 | 6222 |