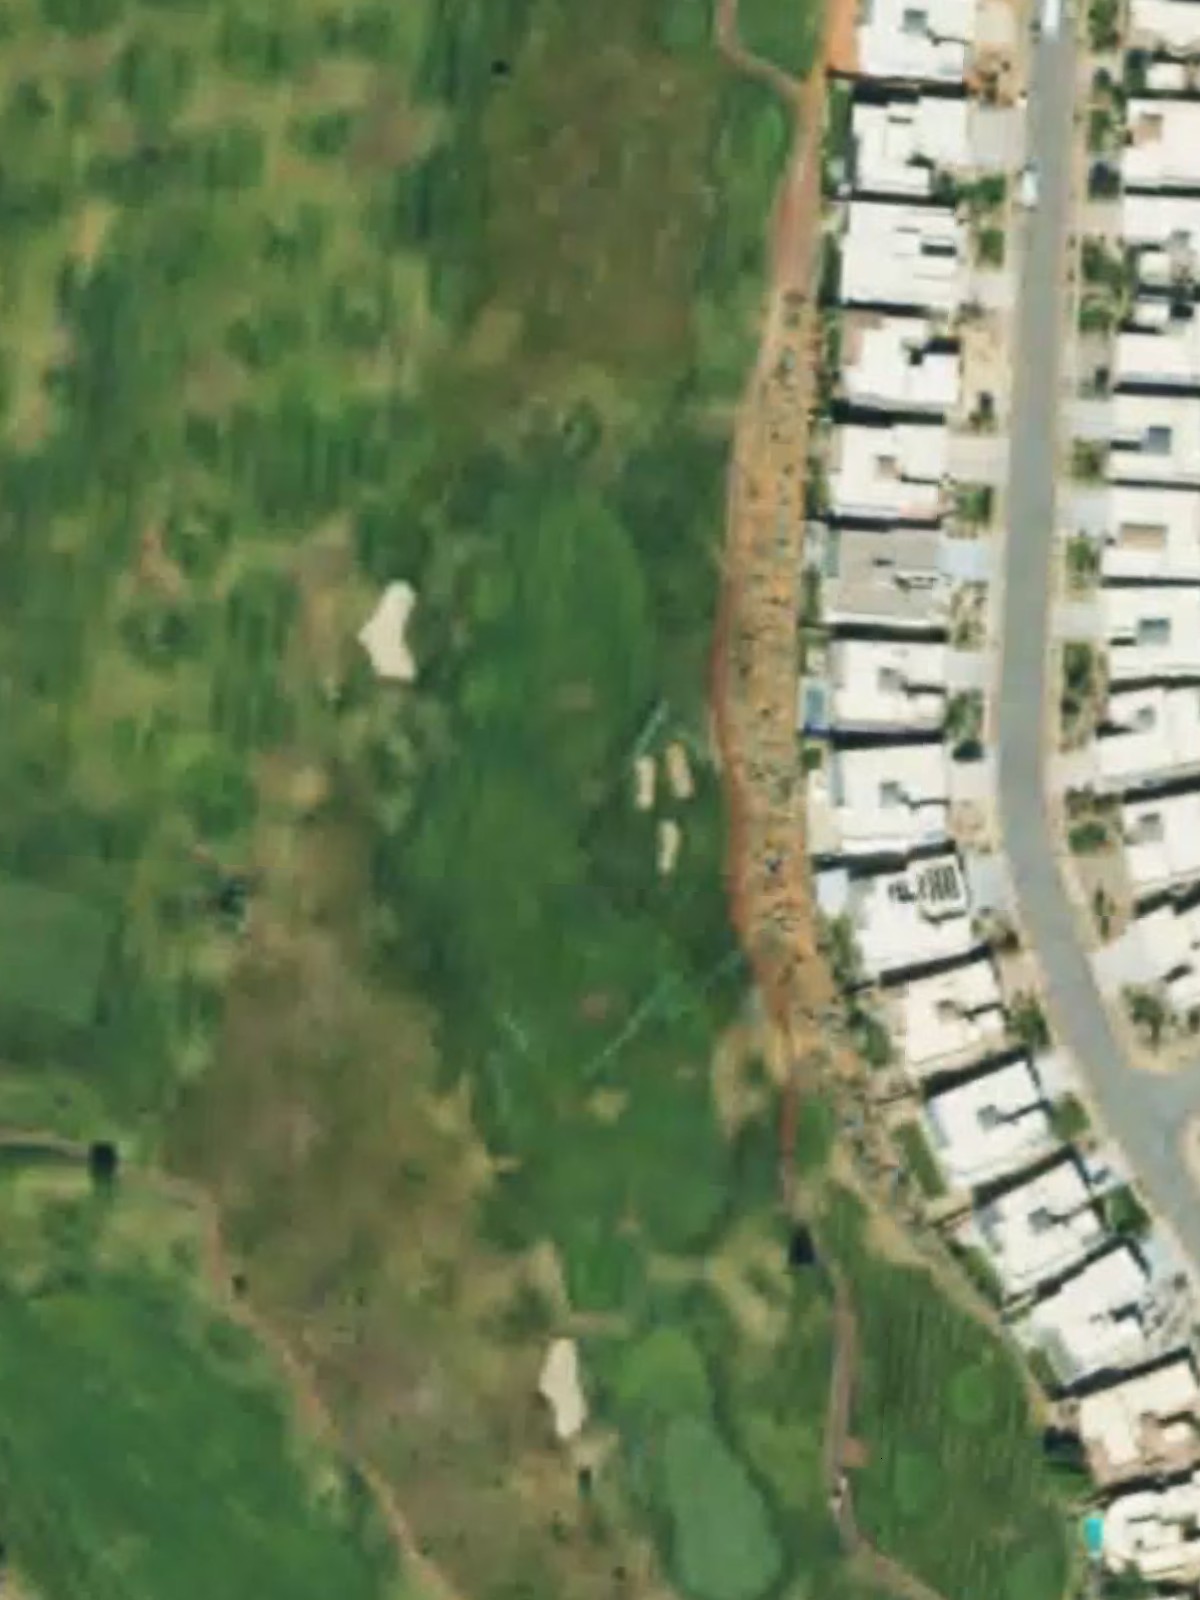
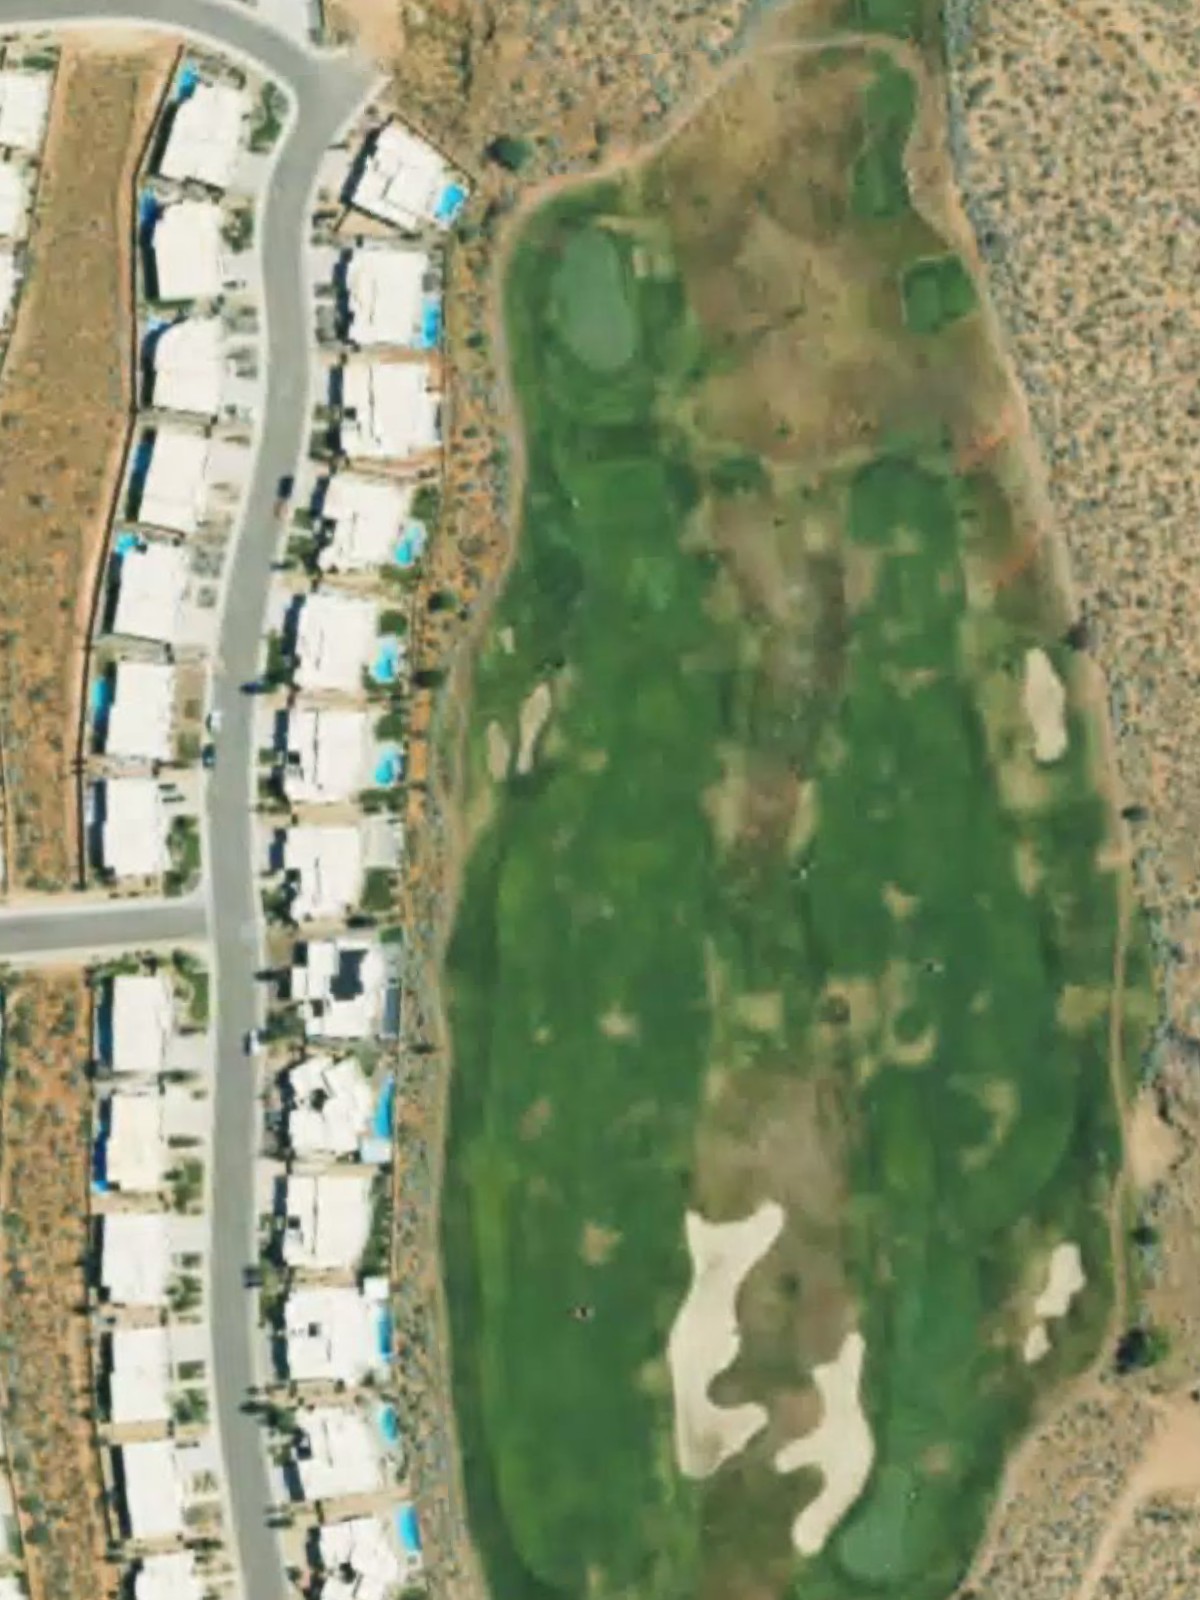
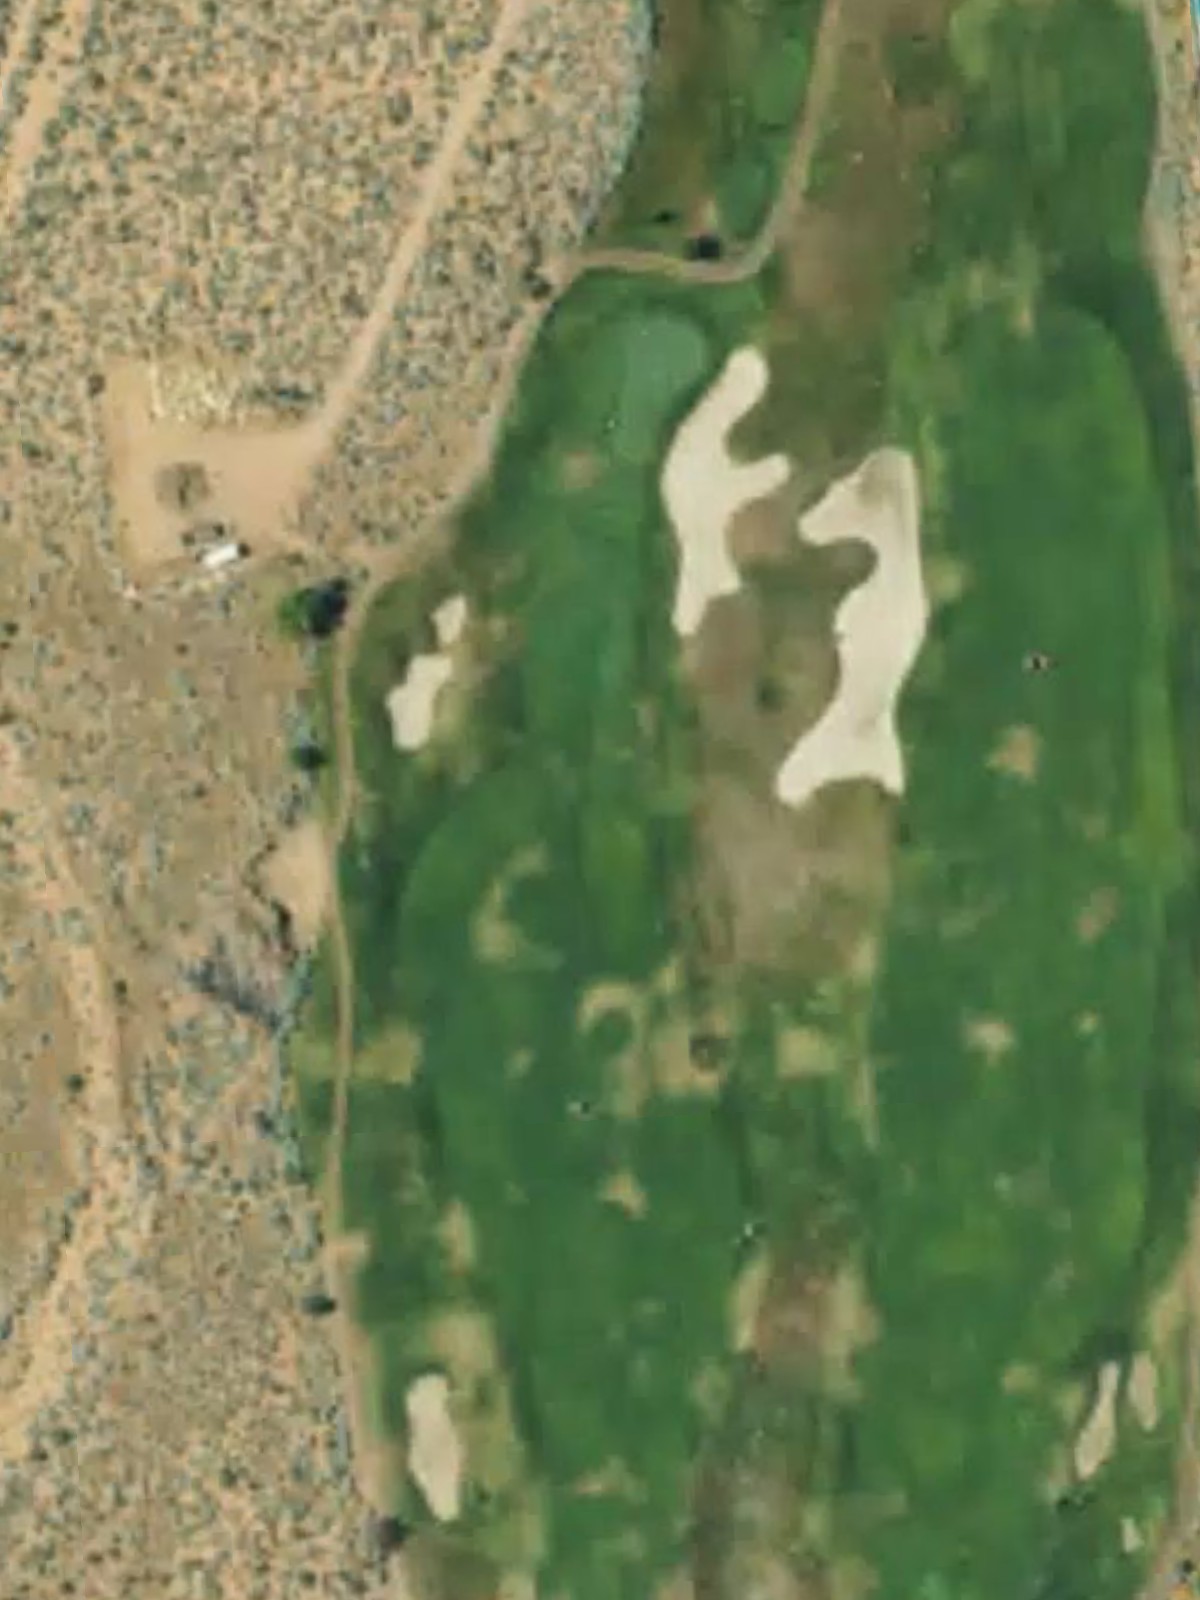
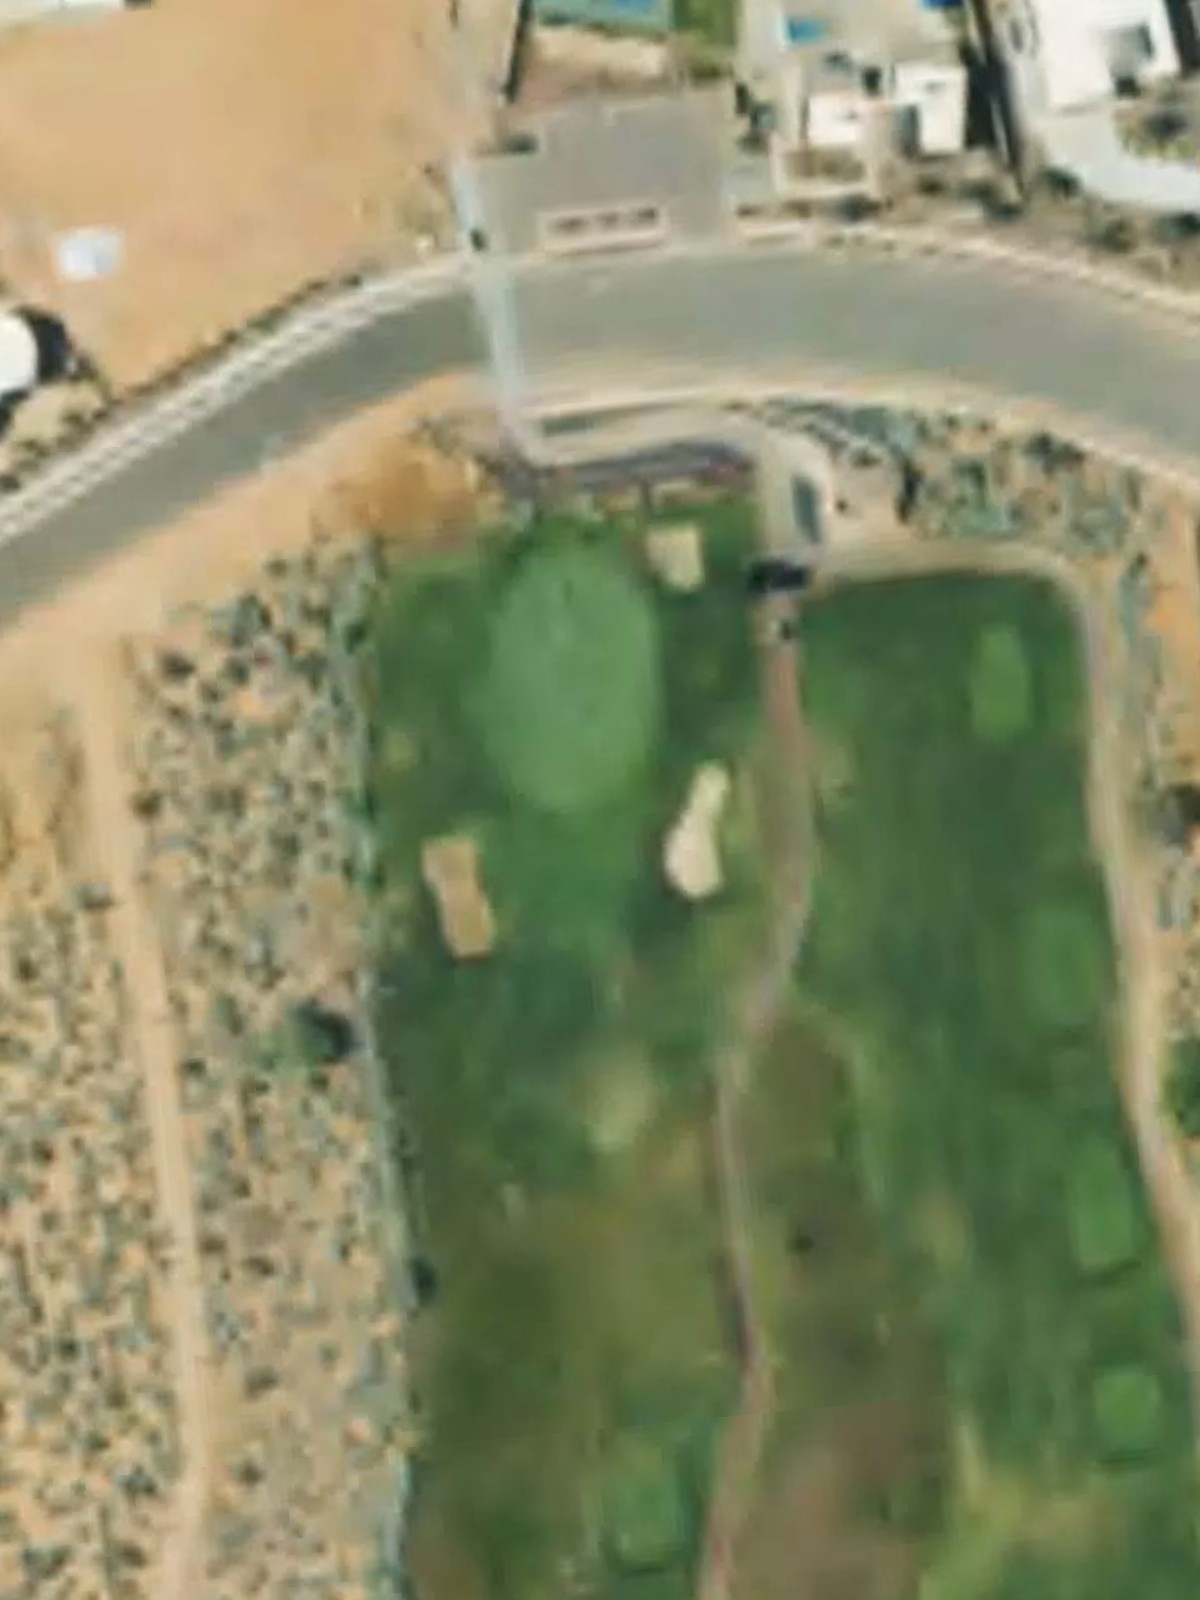
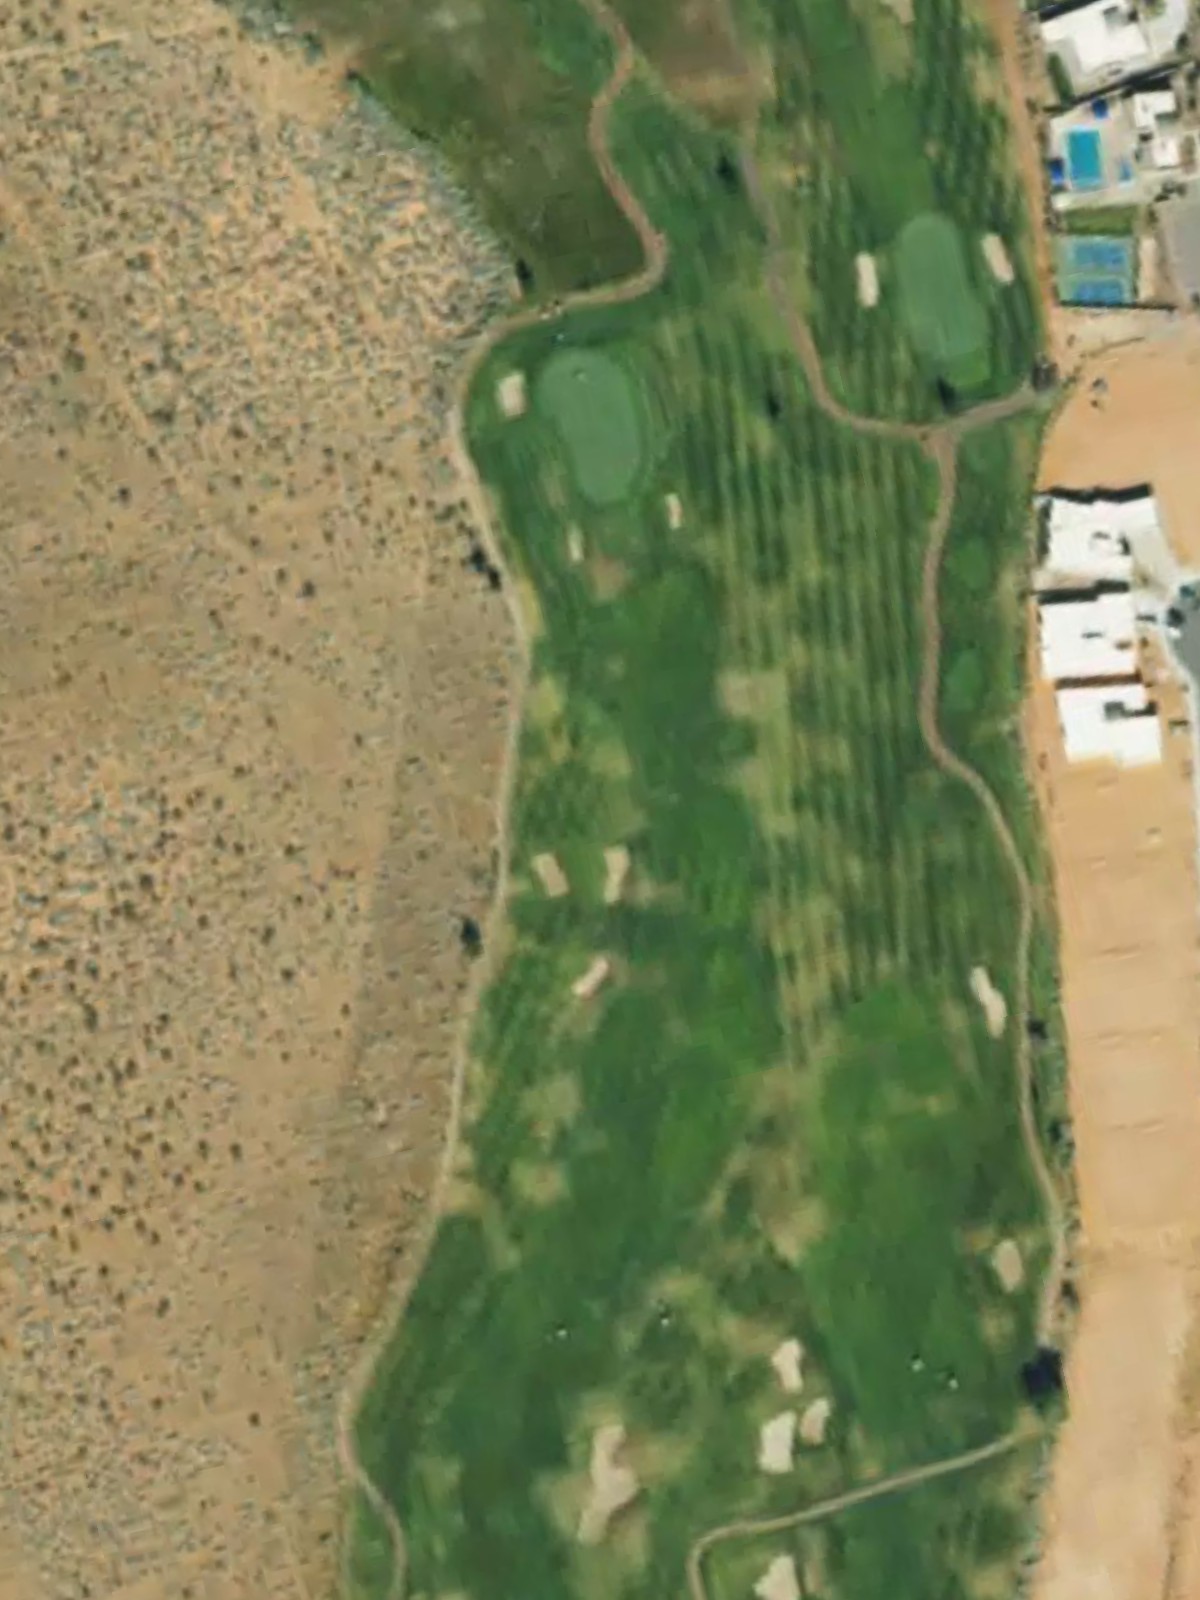
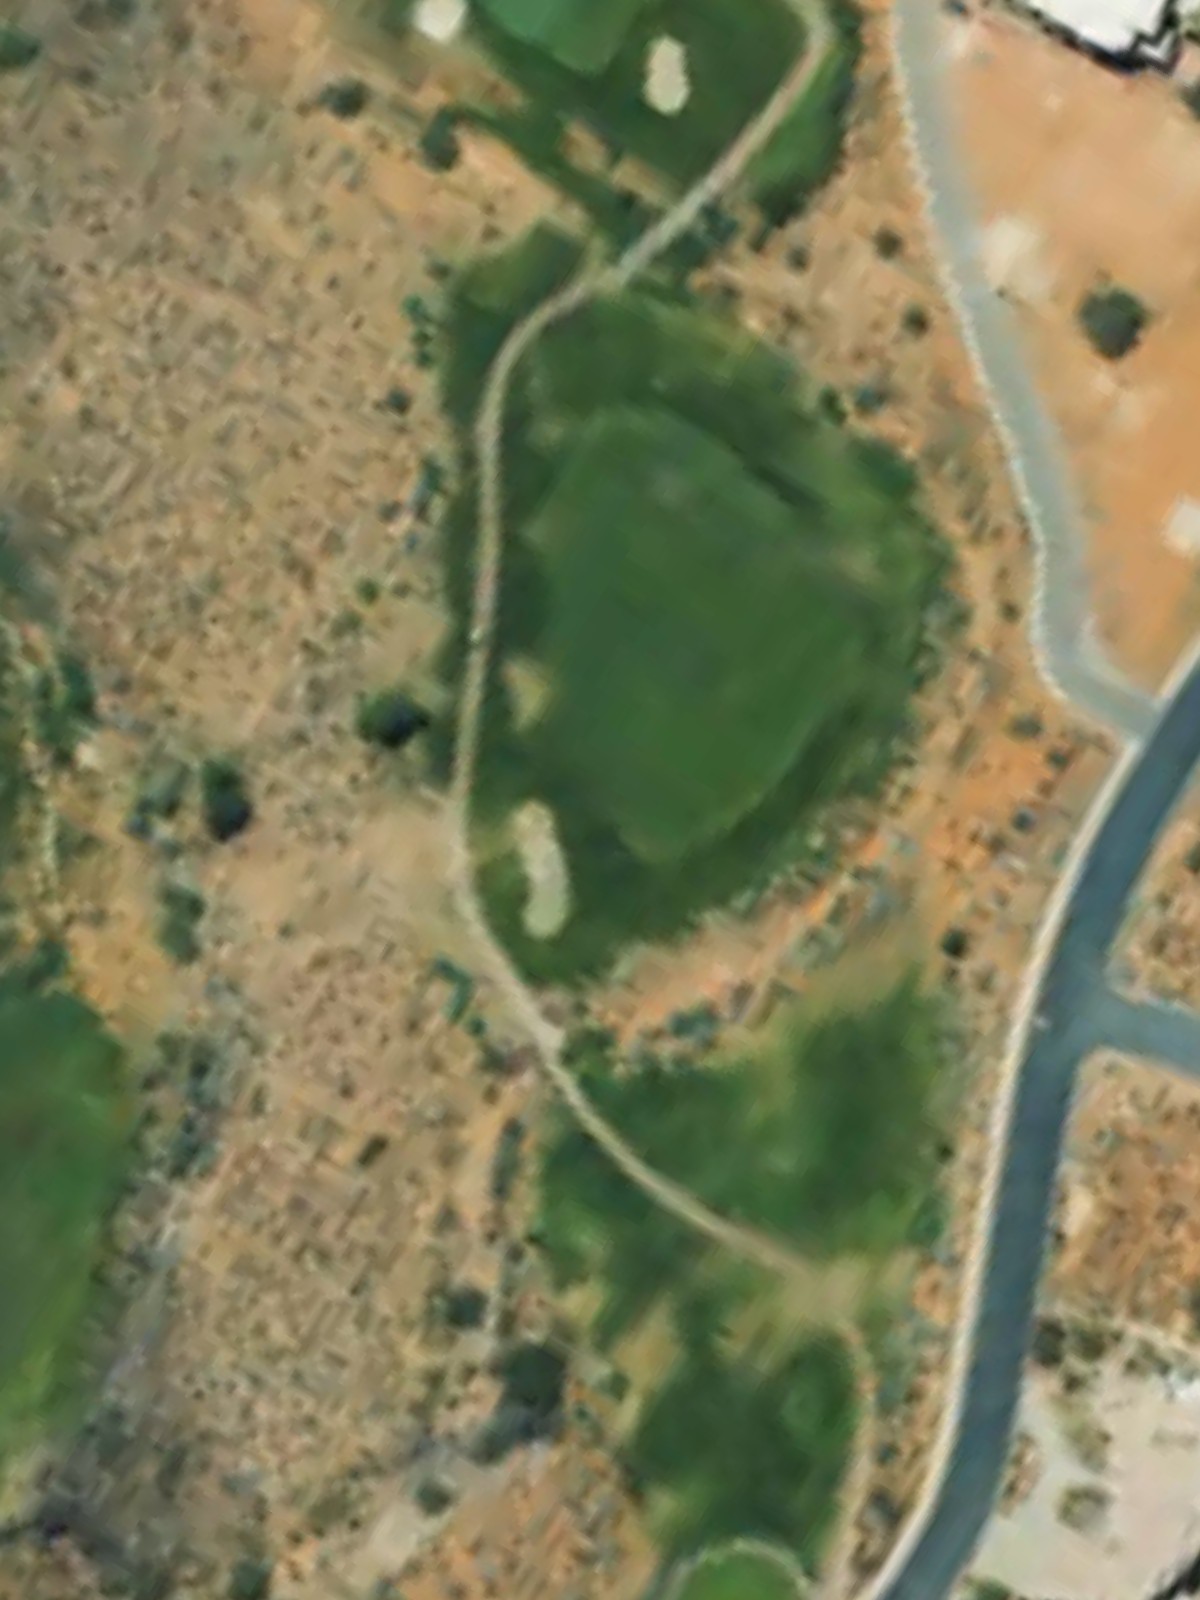
The Ledges is an 18-hole golf course in St. George, UT with a par of 72. It offers 4 tee sets: black (6,988 yards, slope 127, rating 72.7), blue (6,491 yards, slope 122, rating 70.3), white (6,011 yards, slope 117, rating 68.1), red (5,384 yards, slope 110, rating 64.9). The hardest hole is #7, a par 5 playing 458 yards from the first tee.
The Ledges
St. George, UT
Get PDF Yardage Book
We'll email you the PDF link. No spam, ever.
Create Your Game Plan
Pick your tees, enter your bag, and get a personalized shot-by-shot strategy for every hole.
A relatively straightforward opening par 4 with a wide fairway that gradually narrows as it approaches the green. Bunkers frame the right side of the green, while the left offers a safer approach for those willing to play away from the pin.

A short par 3 playing over varied yardage to a well-bunkered green. The hole's brevity makes precision critical, as miss-hits are quickly punished by the surrounding hazards.
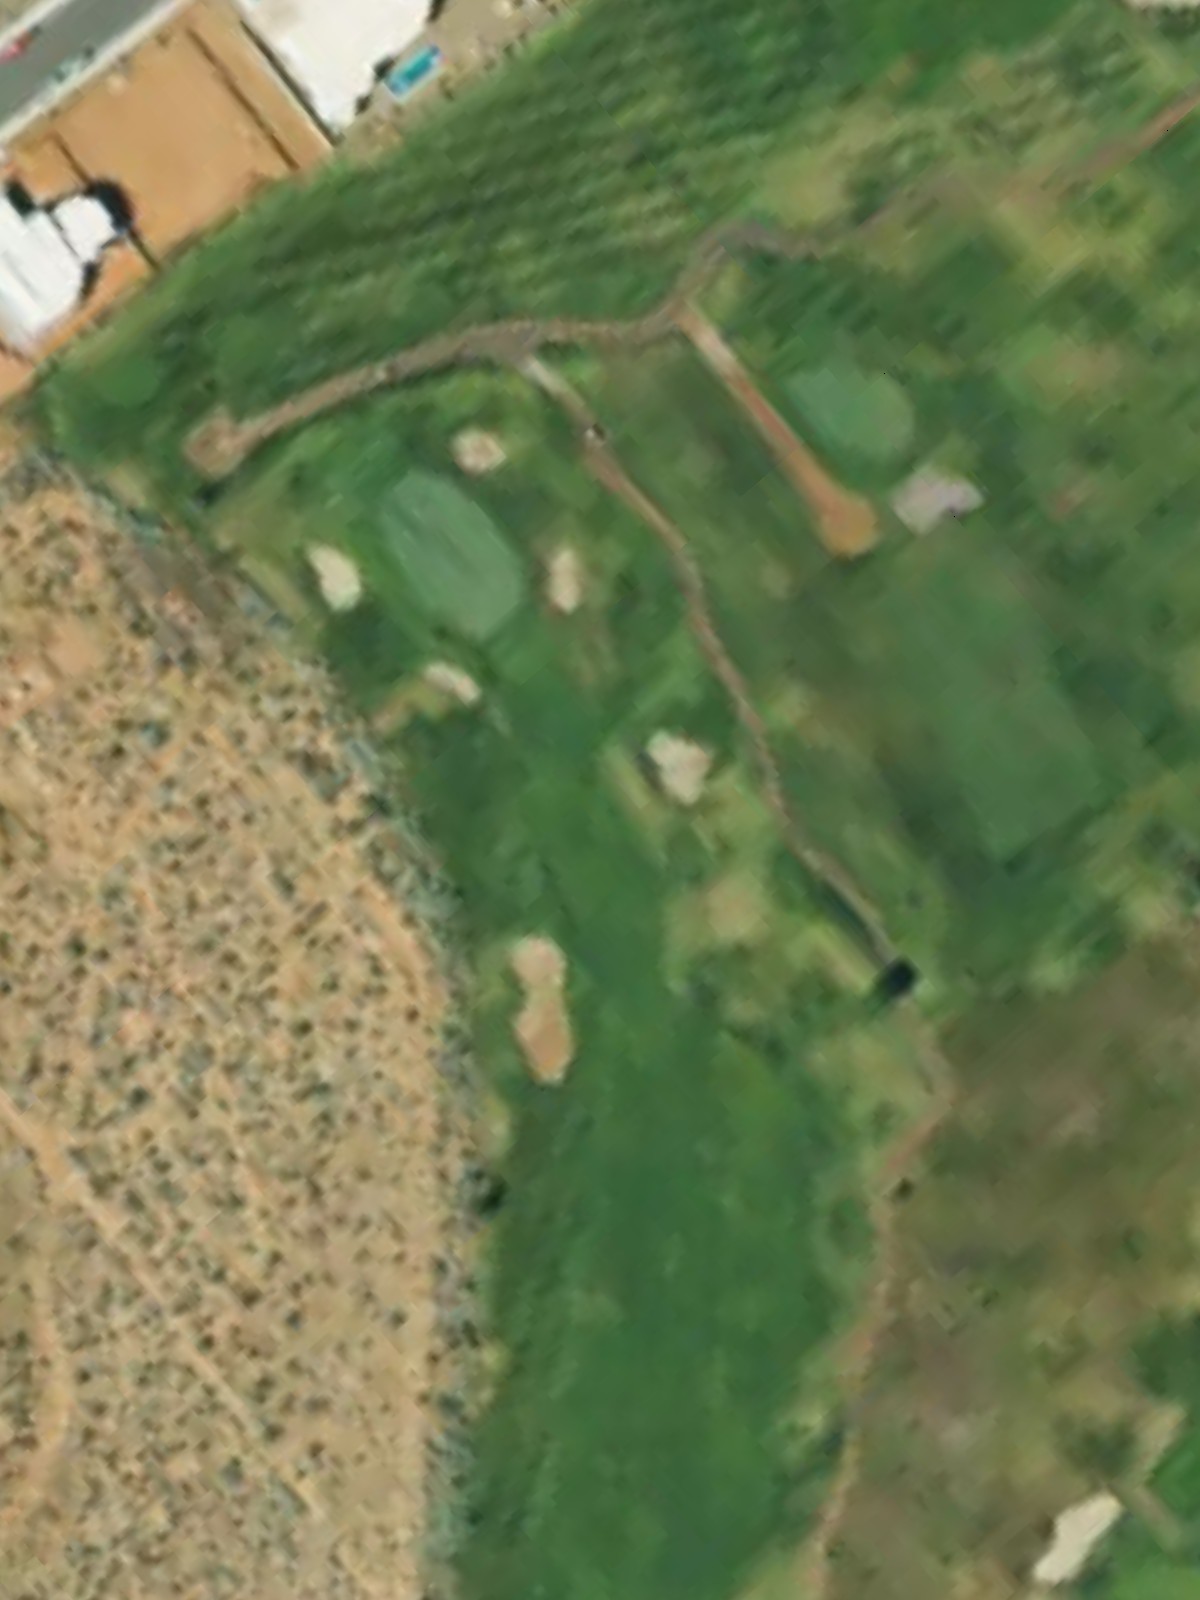
The first par 5 plays as a three-shotter for most, with a fairway that widens through the middle section before narrowing near the green. Strategic bunkering protects the approach, rewarding accurate positioning on the second shot.
A demanding par 4 with a fairway that tightens considerably as it approaches a well-guarded green. Accurate placement is essential, as the narrowing corridor leaves little room for recovery.
A short but exacting par 3 that plays downhill to a tight green. The compact target and surrounding hazards make this a precision test despite its modest length.

A solid par 4 with bunkers strategically positioned along the fairway and around the green. The hole demands accurate intermediate shots to set up a clear approach to the putting surface.
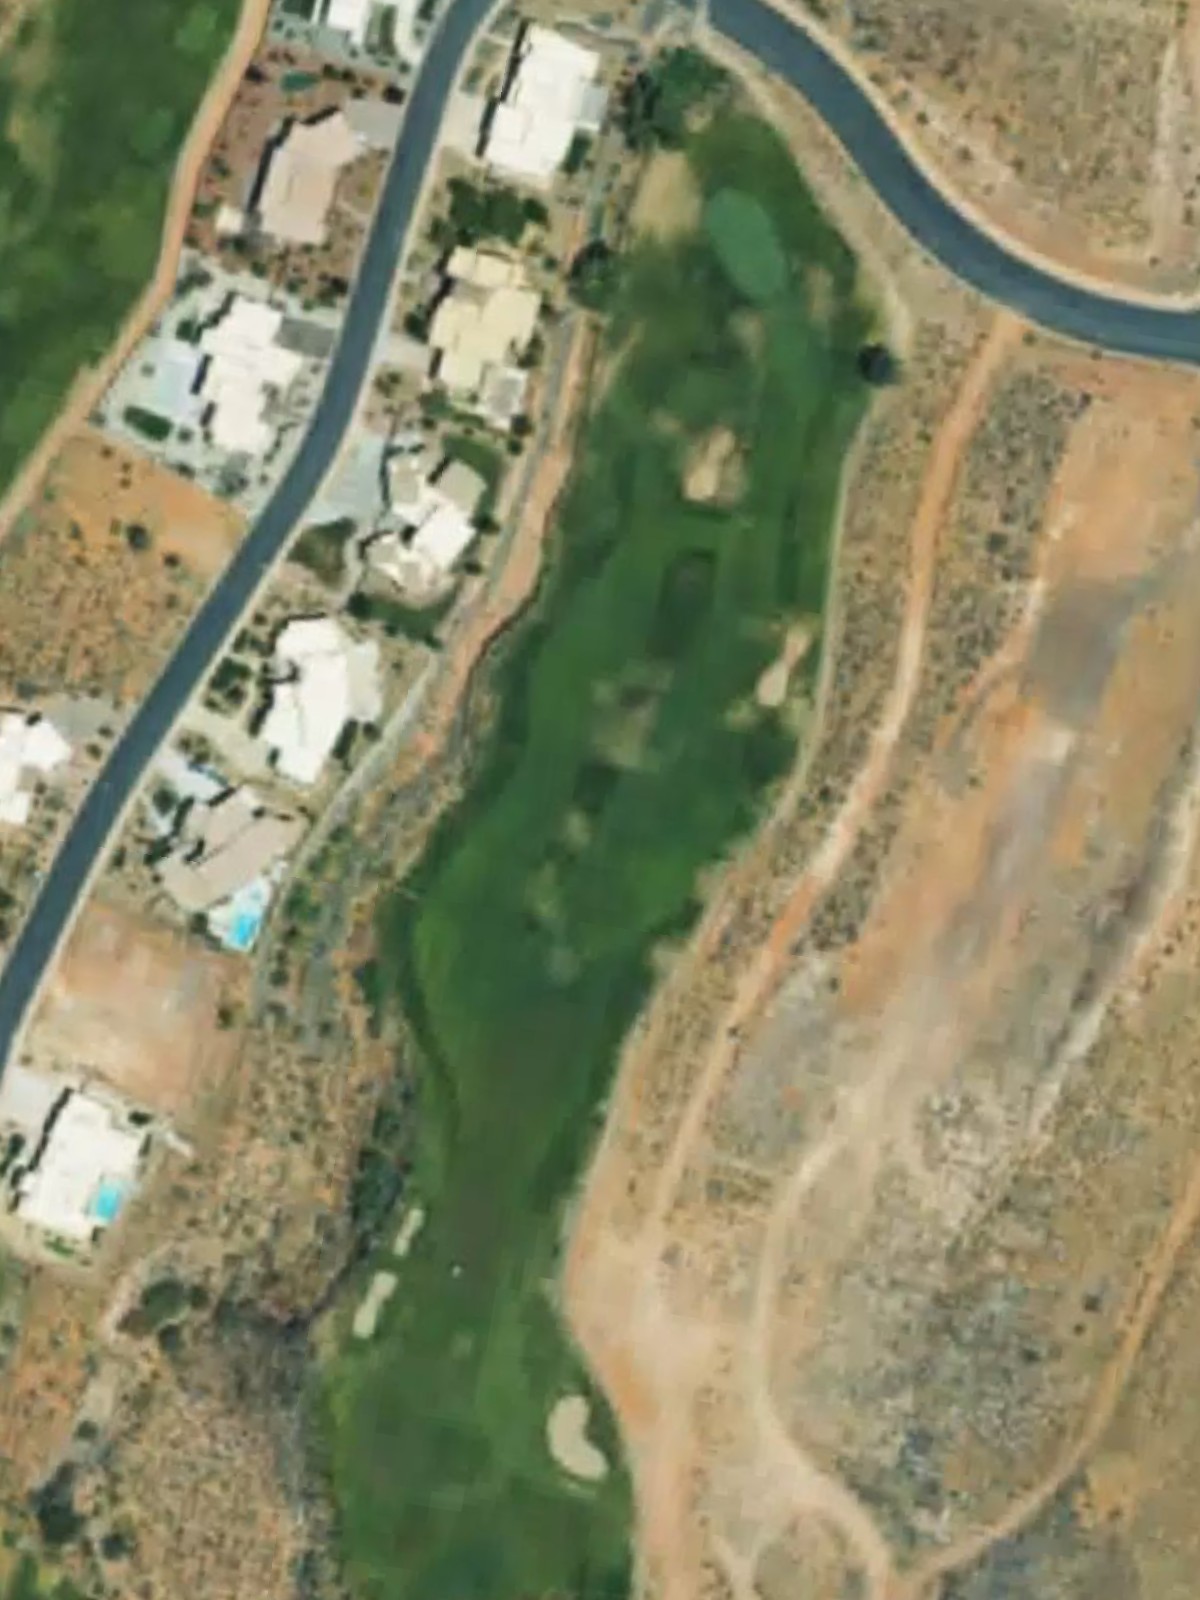
The signature par 5 at The Ledges, offering a dramatic and memorable routing with excellent length and character. Strategic bunkering and elevation changes reward bold play while punishing wayward shots, making this the course's most demanding three-shotter.
A shorter par 4 with a compact playing corridor that requires careful navigation. Hazards frame both sides of the fairway, making positional accuracy more important than distance.
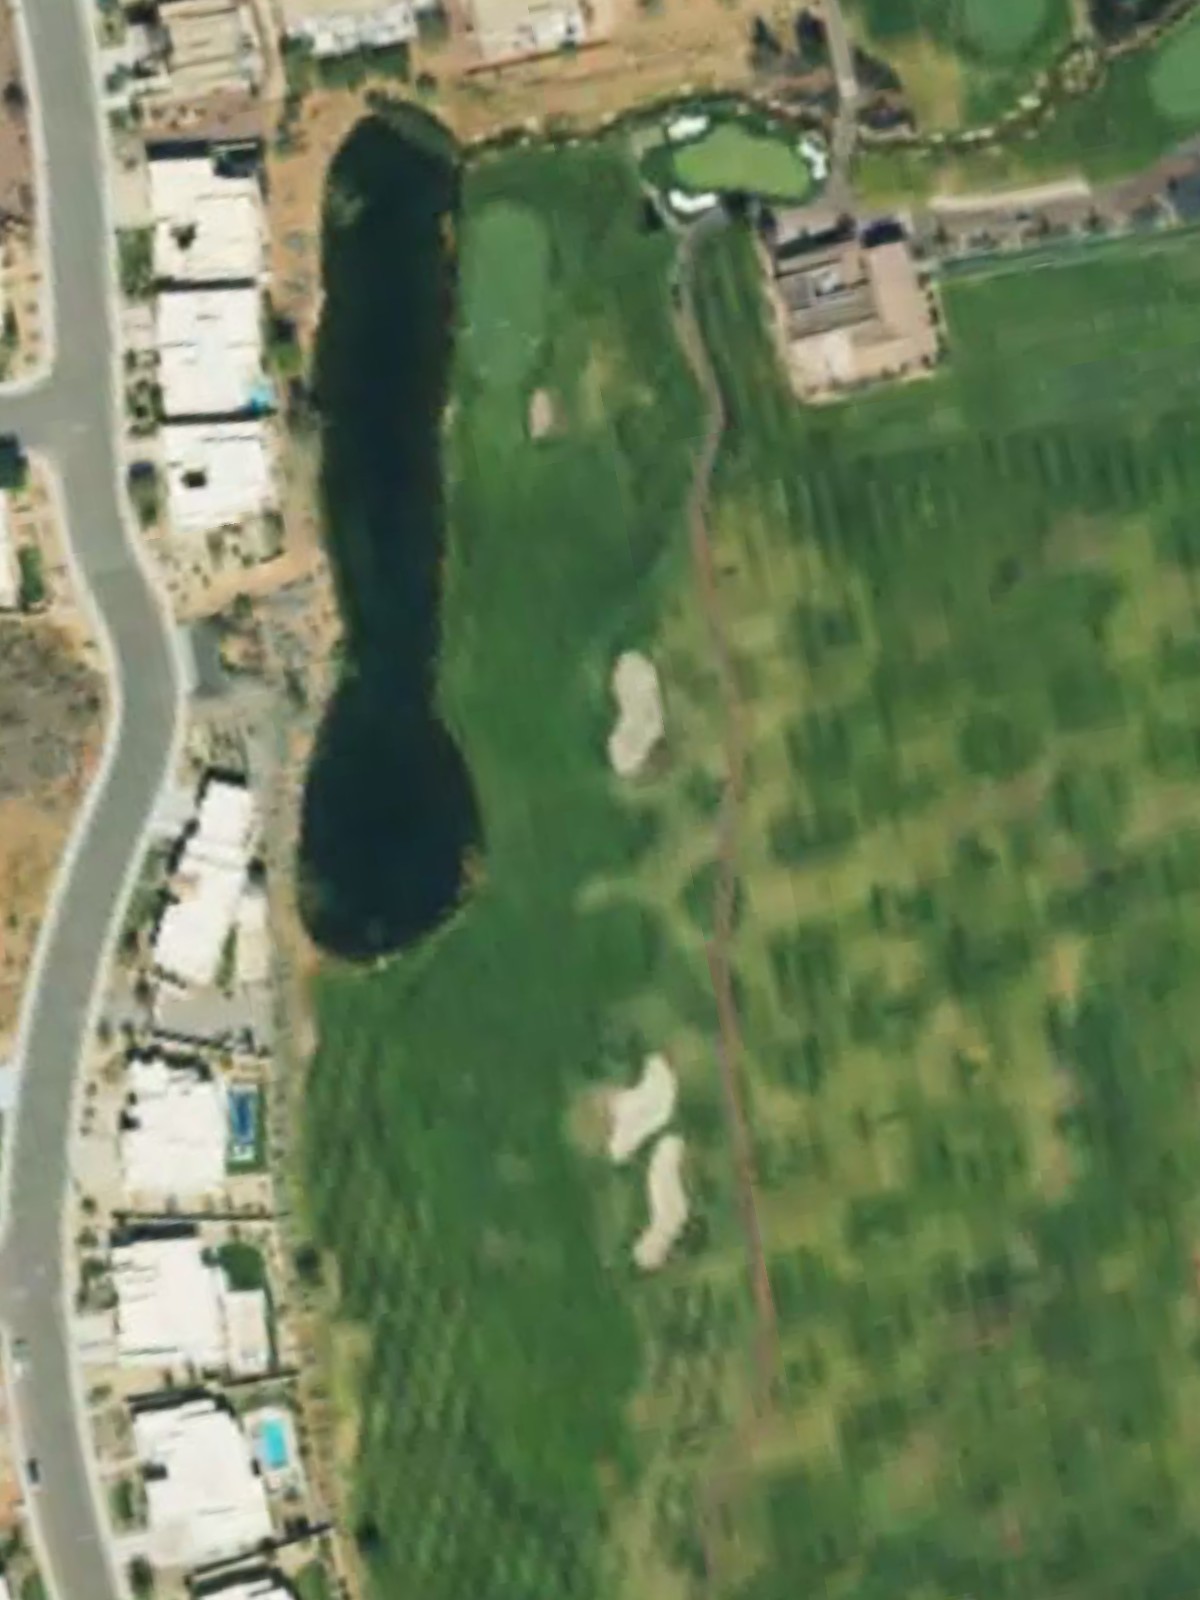
A challenging par 4 with a strategic fairway design that rewards placement over power. Bunkers and natural features guide the golfer toward the correct angles for the approach shot.
A mid-length par 3 with a green protected by bunkers and potentially difficult pin placements. The exposed nature of the hole makes wind a significant factor in club selection.
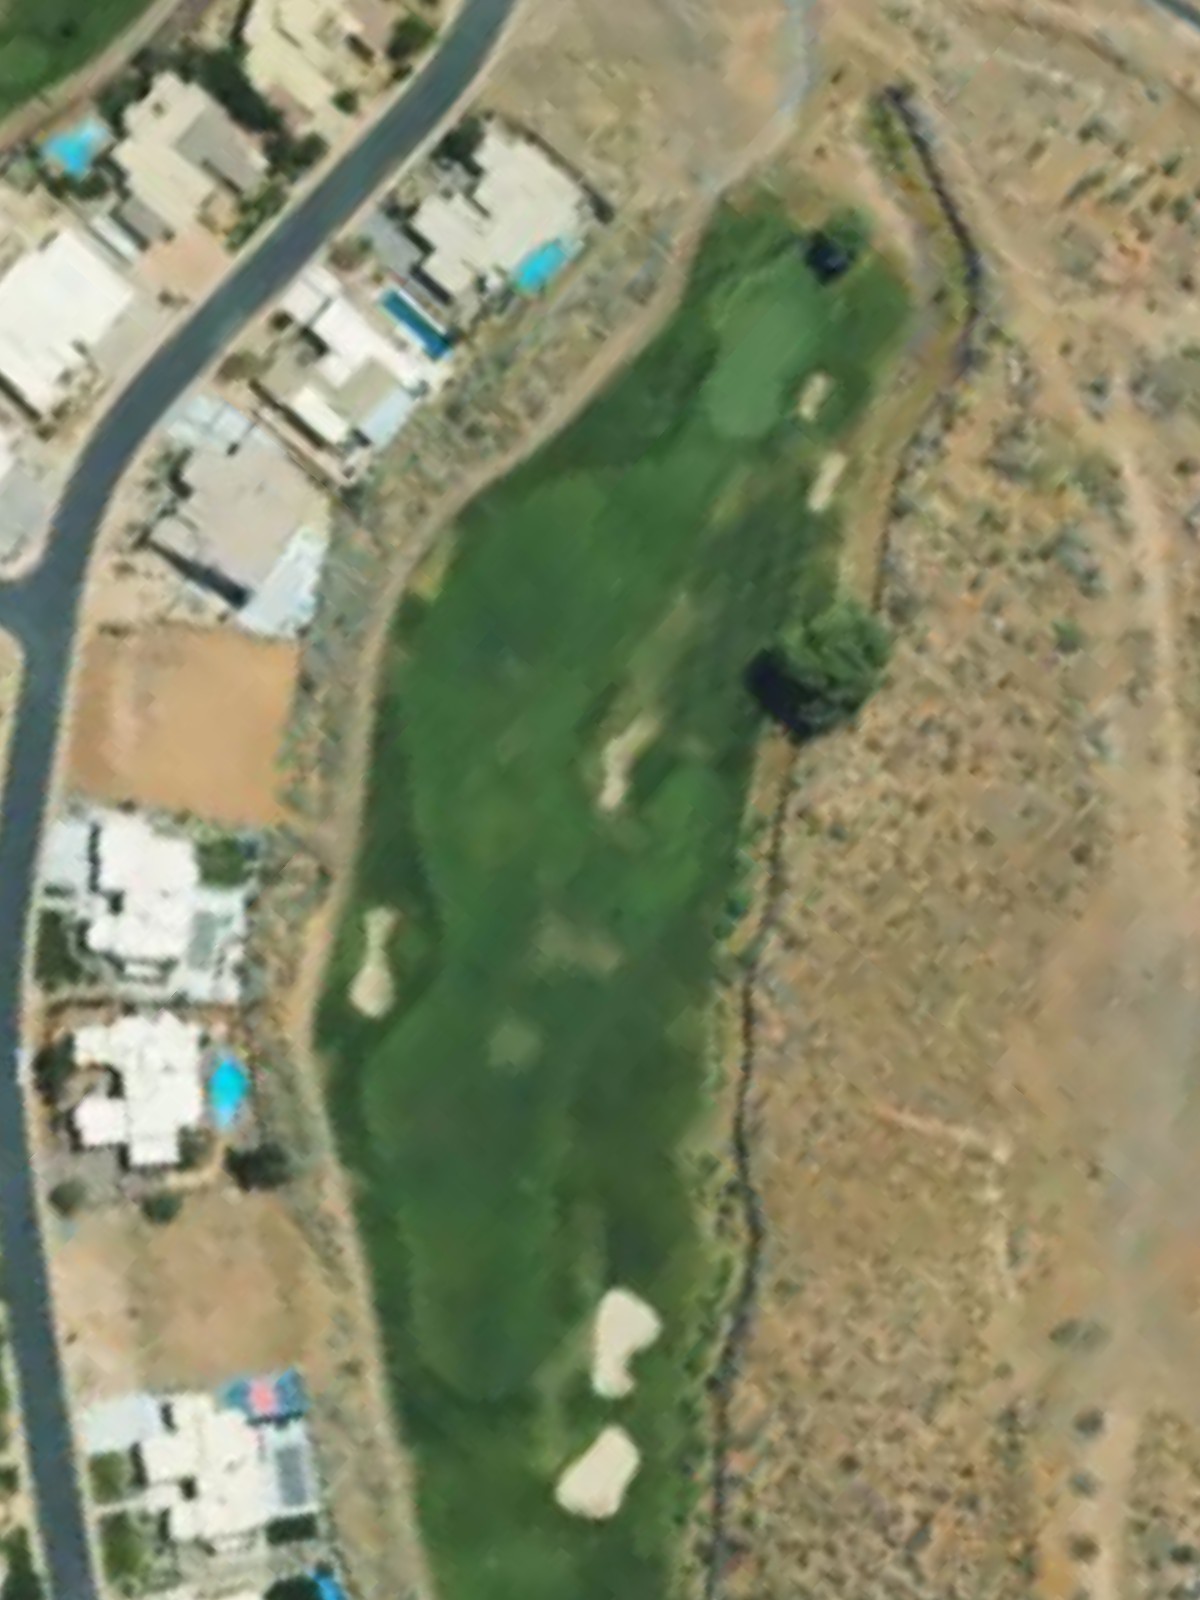
A long and demanding par 5 that tests stamina and strategy over three shots. Bunker placement throughout the hole and a well-defended green require precise execution to score well.
The shortest par 3 on the course, playing to a small and challenging green. Despite its length, the target demands accuracy and the bunkers punish anything offline.
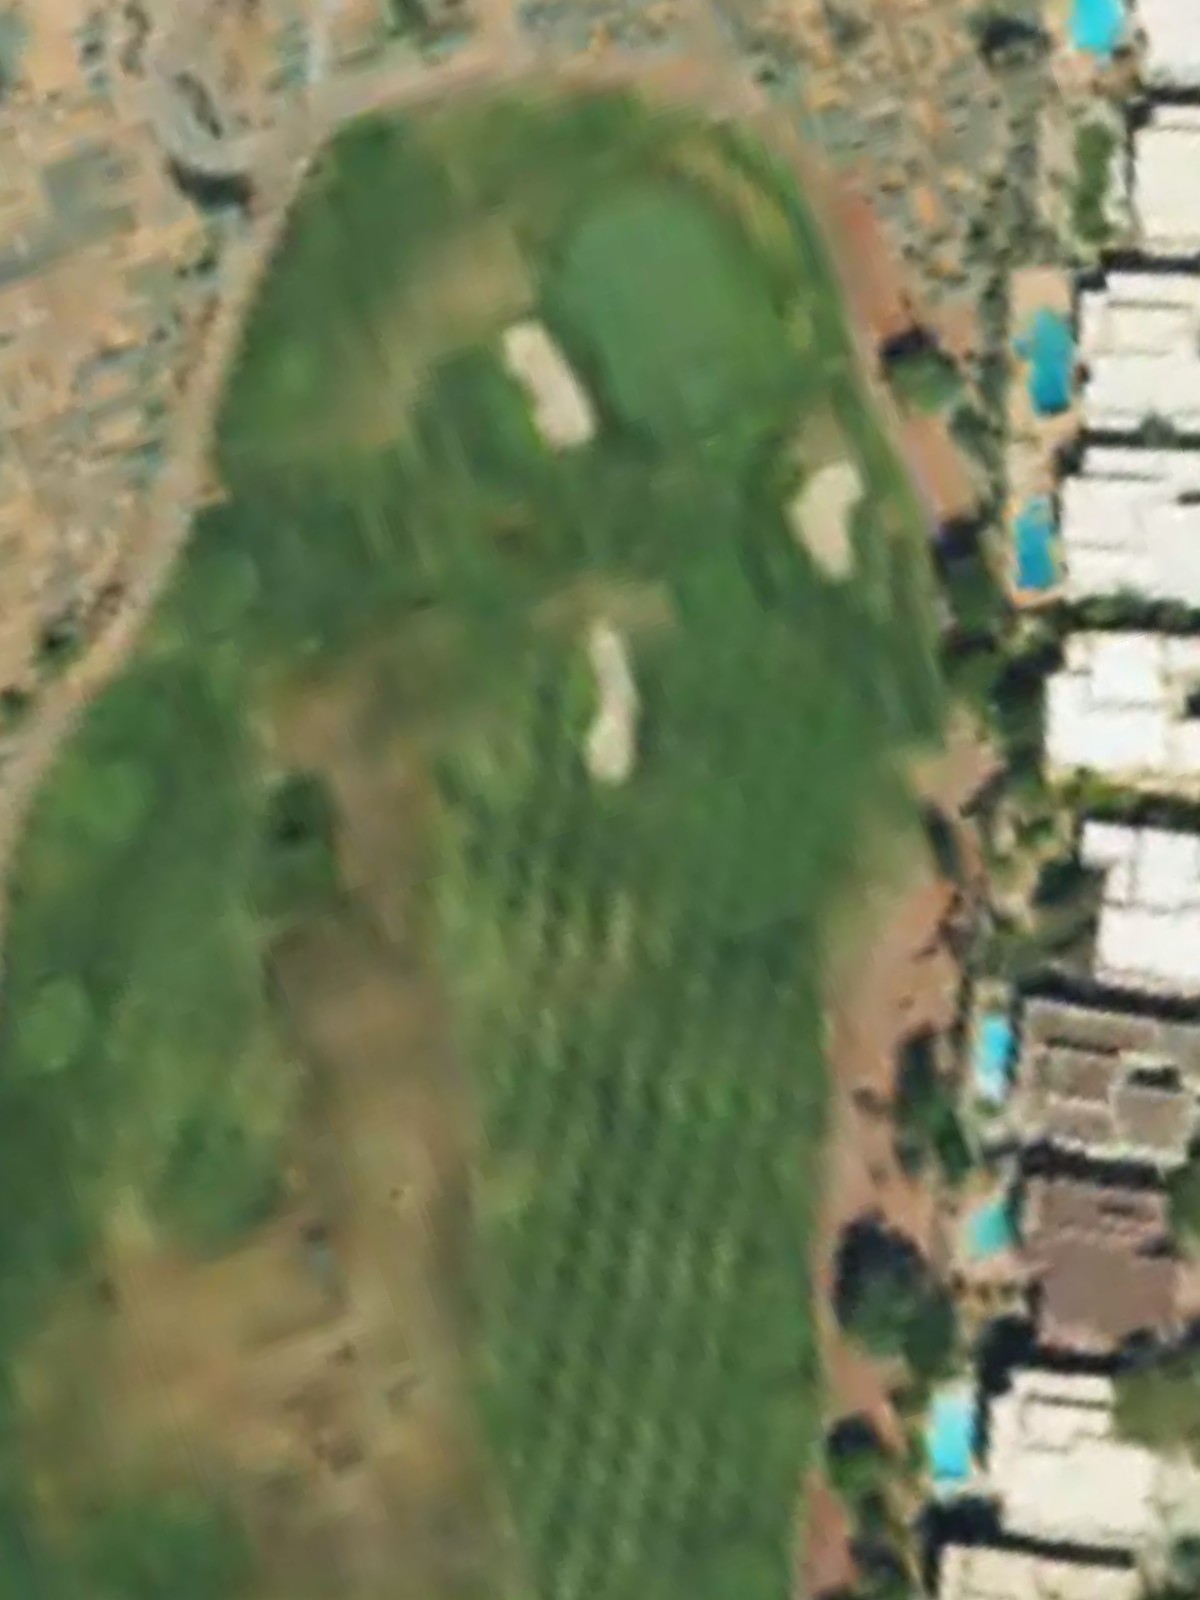
A straightforward par 4 with a fairway that offers reasonable width for the first shot. The green is modestly defended, making this one of the course's more forgiving opportunities.
A mid-length par 4 with a fairway that bends slightly and narrows toward the green. Strategic bunkering frames the approach, requiring thoughtful shot placement for the best angles.
A shorter par 4 that plays deceptively challenging due to its tight green and surrounding hazards. The hole's brevity is offset by the precision required on the approach shot.
A dramatic and lengthy par 5 featuring significant elevation and strategic bunkering throughout. This hole's scale and complexity make it one of the course's most formidable tests, demanding excellent course management over the full three shots.
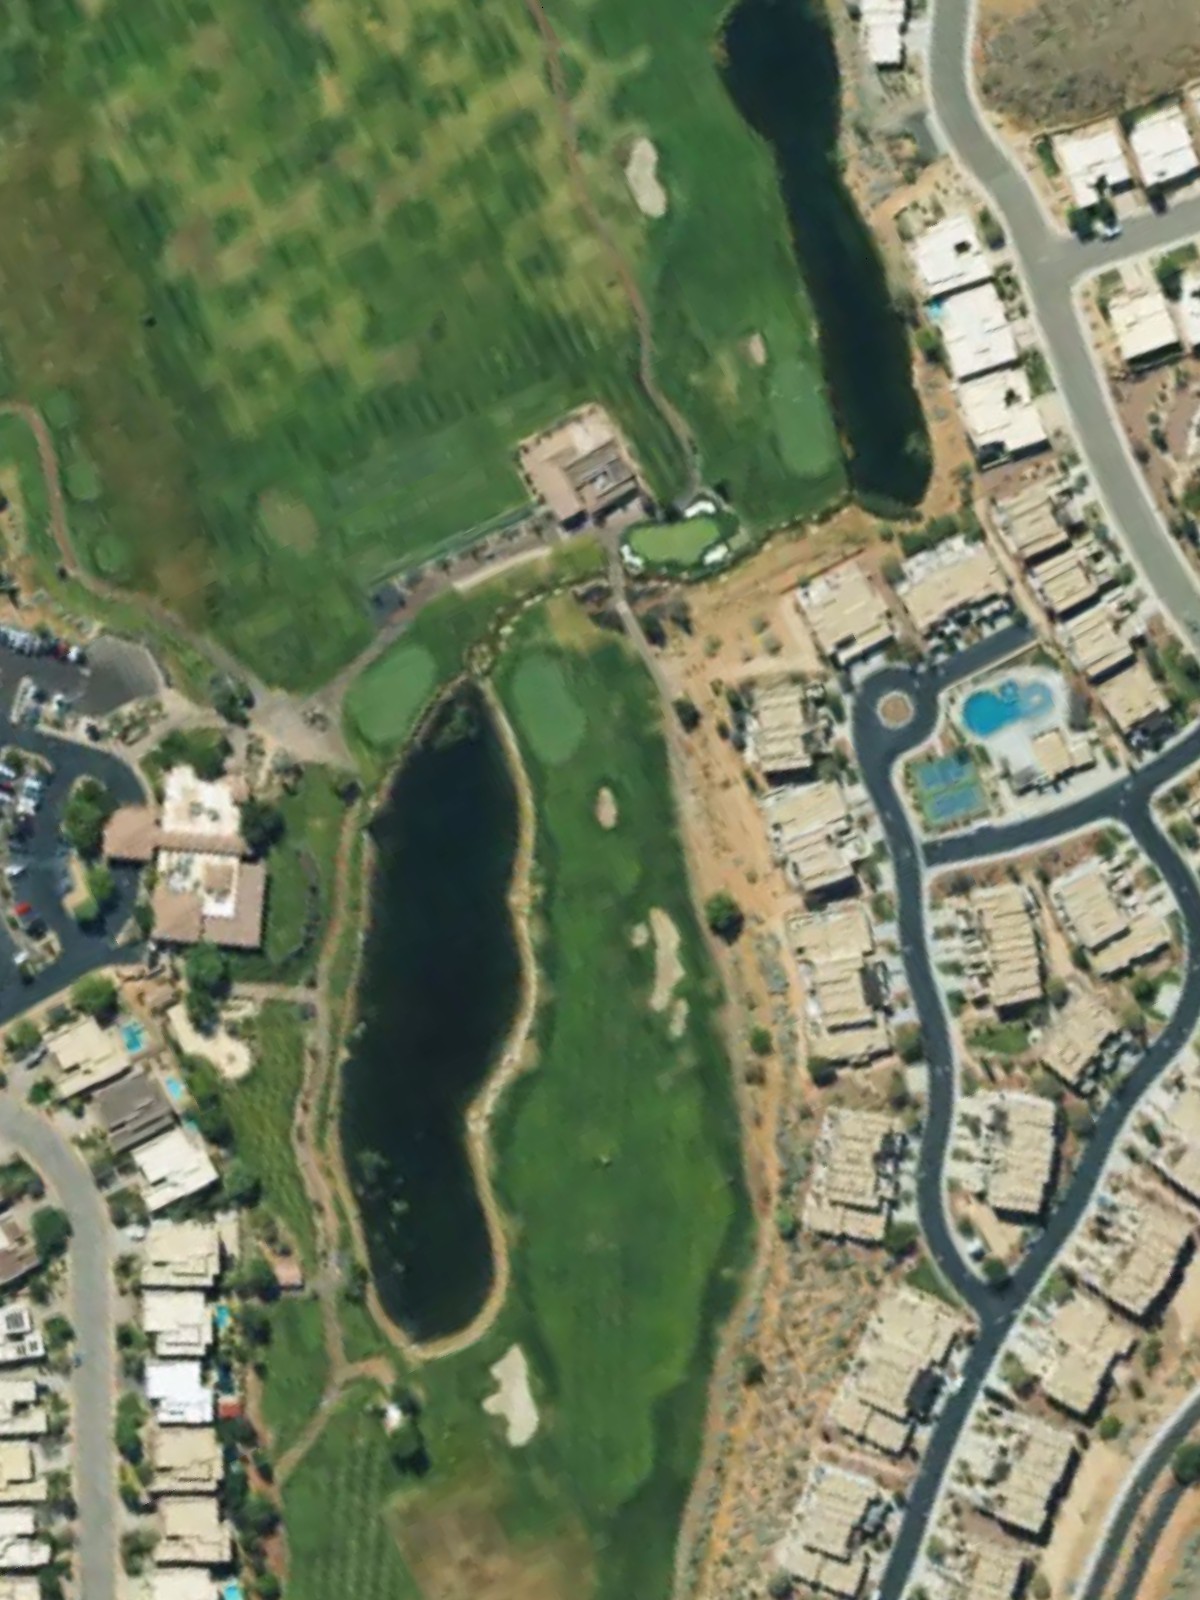
A premium par 4 with excellent design and memorable character that defines the back nine. Hazards are positioned to challenge both aggressive and conservative lines, rewarding accurate ball-striking.
A fitting finishing par 4 with a fairway that offers width off the tee but tightens significantly near a well-guarded green. The closing hole presents a satisfying final test to cap the round.
Scorecard
| Hole | 1 | 2 | 3 | 4 | 5 | 6 | 7 | 8 | 9 | Out | 10 | 11 | 12 | 13 | 14 | 15 | 16 | 17 | 18 | In | Tot |
|---|---|---|---|---|---|---|---|---|---|---|---|---|---|---|---|---|---|---|---|---|---|
| Par | 4 | 3 | 5 | 4 | 3 | 4 | 5 | 4 | 4 | 36 | 3 | 5 | 3 | 4 | 4 | 4 | 5 | 4 | 4 | 36 | 72 |
| HCP | 15 | 7 | 3 | 9 | 17 | 11 | 1 | 13 | 5 | 8 | 4 | 18 | 16 | 14 | 12 | 2 | 6 | 10 | |||
| black | 390 | 231 | 554 | 444 | 161 | 423 | 575 | 361 | 417 | 3556 | 233 | 519 | 164 | 413 | 382 | 296 | 594 | 405 | 426 | 3432 | 6988 |
| blue | 362 | 209 | 518 | 416 | 138 | 392 | 541 | 337 | 392 | 3305 | 211 | 492 | 140 | 388 | 358 | 283 | 535 | 381 | 398 | 3186 | 6491 |
| white | 338 | 185 | 488 | 390 | 130 | 360 | 508 | 307 | 362 | 3068 | 172 | 469 | 120 | 343 | 329 | 268 | 520 | 352 | 370 | 2943 | 6011 |
| red | 317 | 122 | 461 | 357 | 107 | 323 | 458 | 278 | 326 | 2749 | 132 | 436 | 100 | 308 | 304 | 236 | 462 | 315 | 342 | 2635 | 5384 |