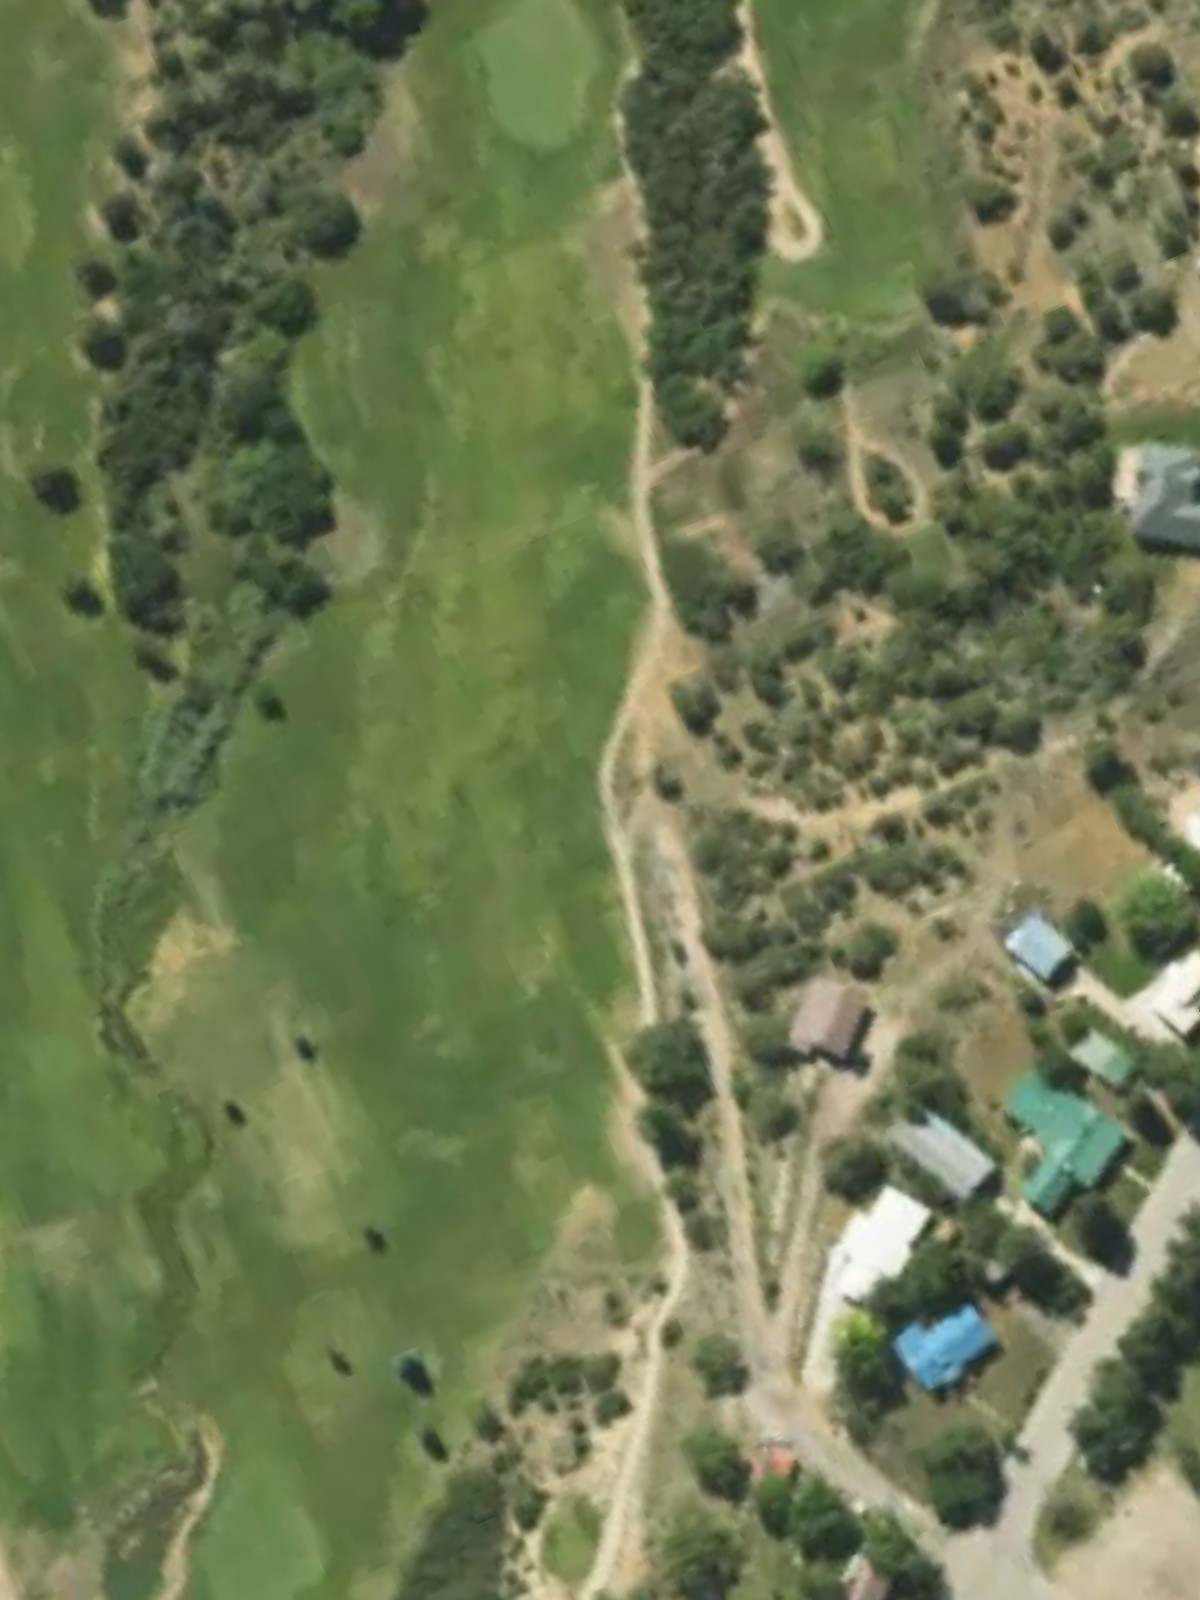
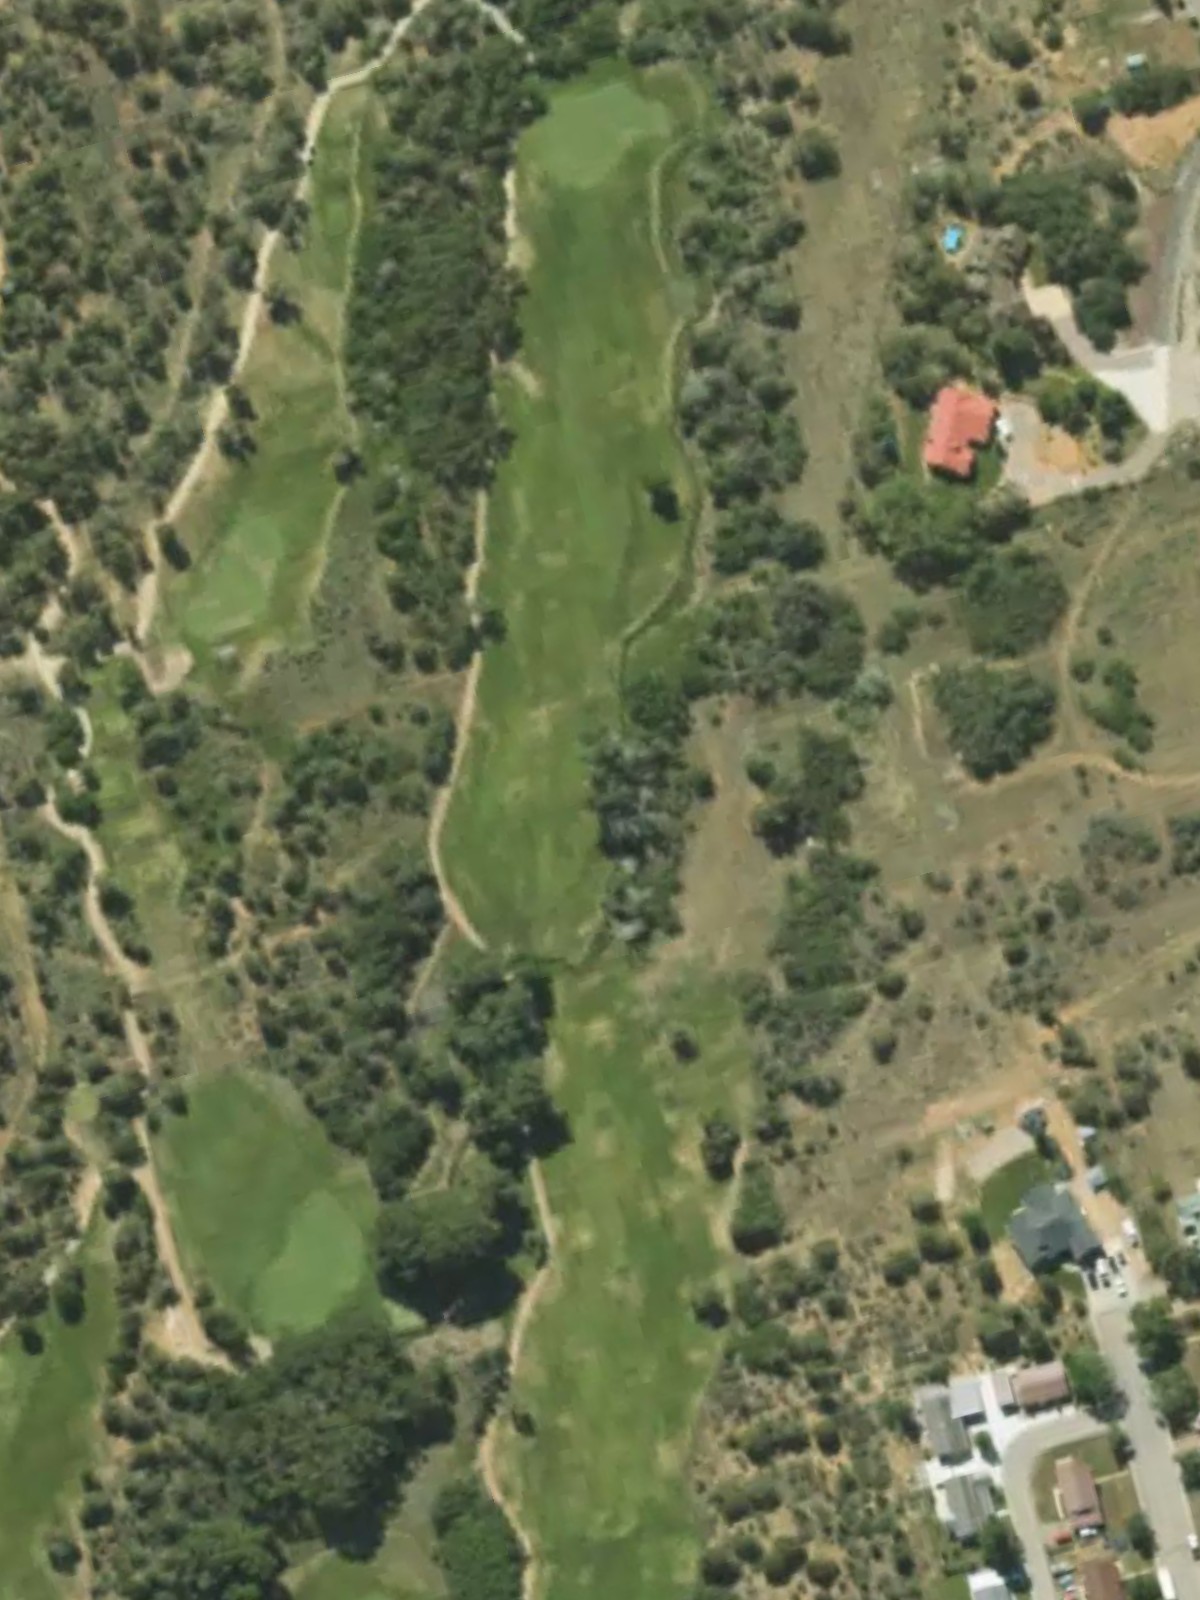
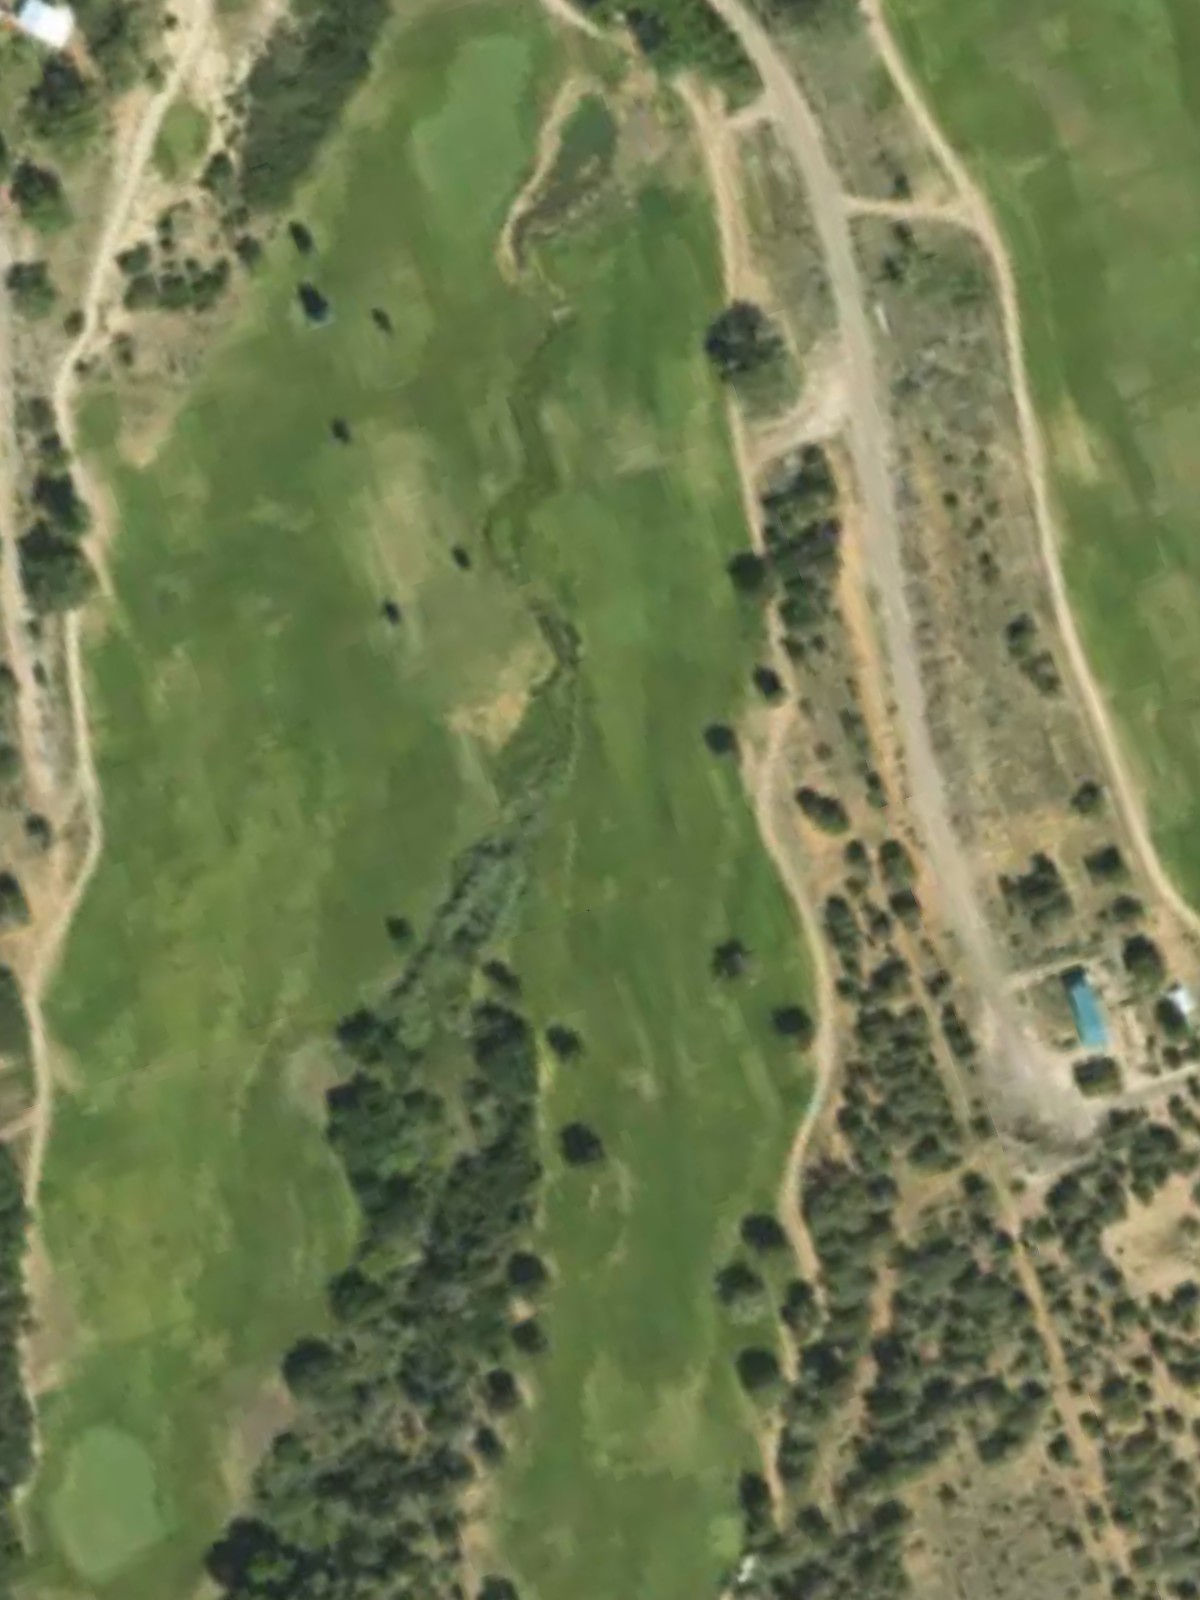
The Hideout Gc is an 18-hole golf course in Monticello, UT with a par of 72. It offers 4 tee sets: gold (6,652 yards, slope 136, rating 71.9), blue (6,155 yards, slope 129, rating 69.7), white (5,577 yards, slope 116, rating 67.4), red (4,832 yards, slope 112, rating 63.4). The hardest hole is #8, a par 4 playing 268 yards from the first tee.
The Hideout Gc
Monticello, UT
Get PDF Yardage Book
We'll email you the PDF link. No spam, ever.
Create Your Game Plan
Pick your tees, enter your bag, and get a personalized shot-by-shot strategy for every hole.
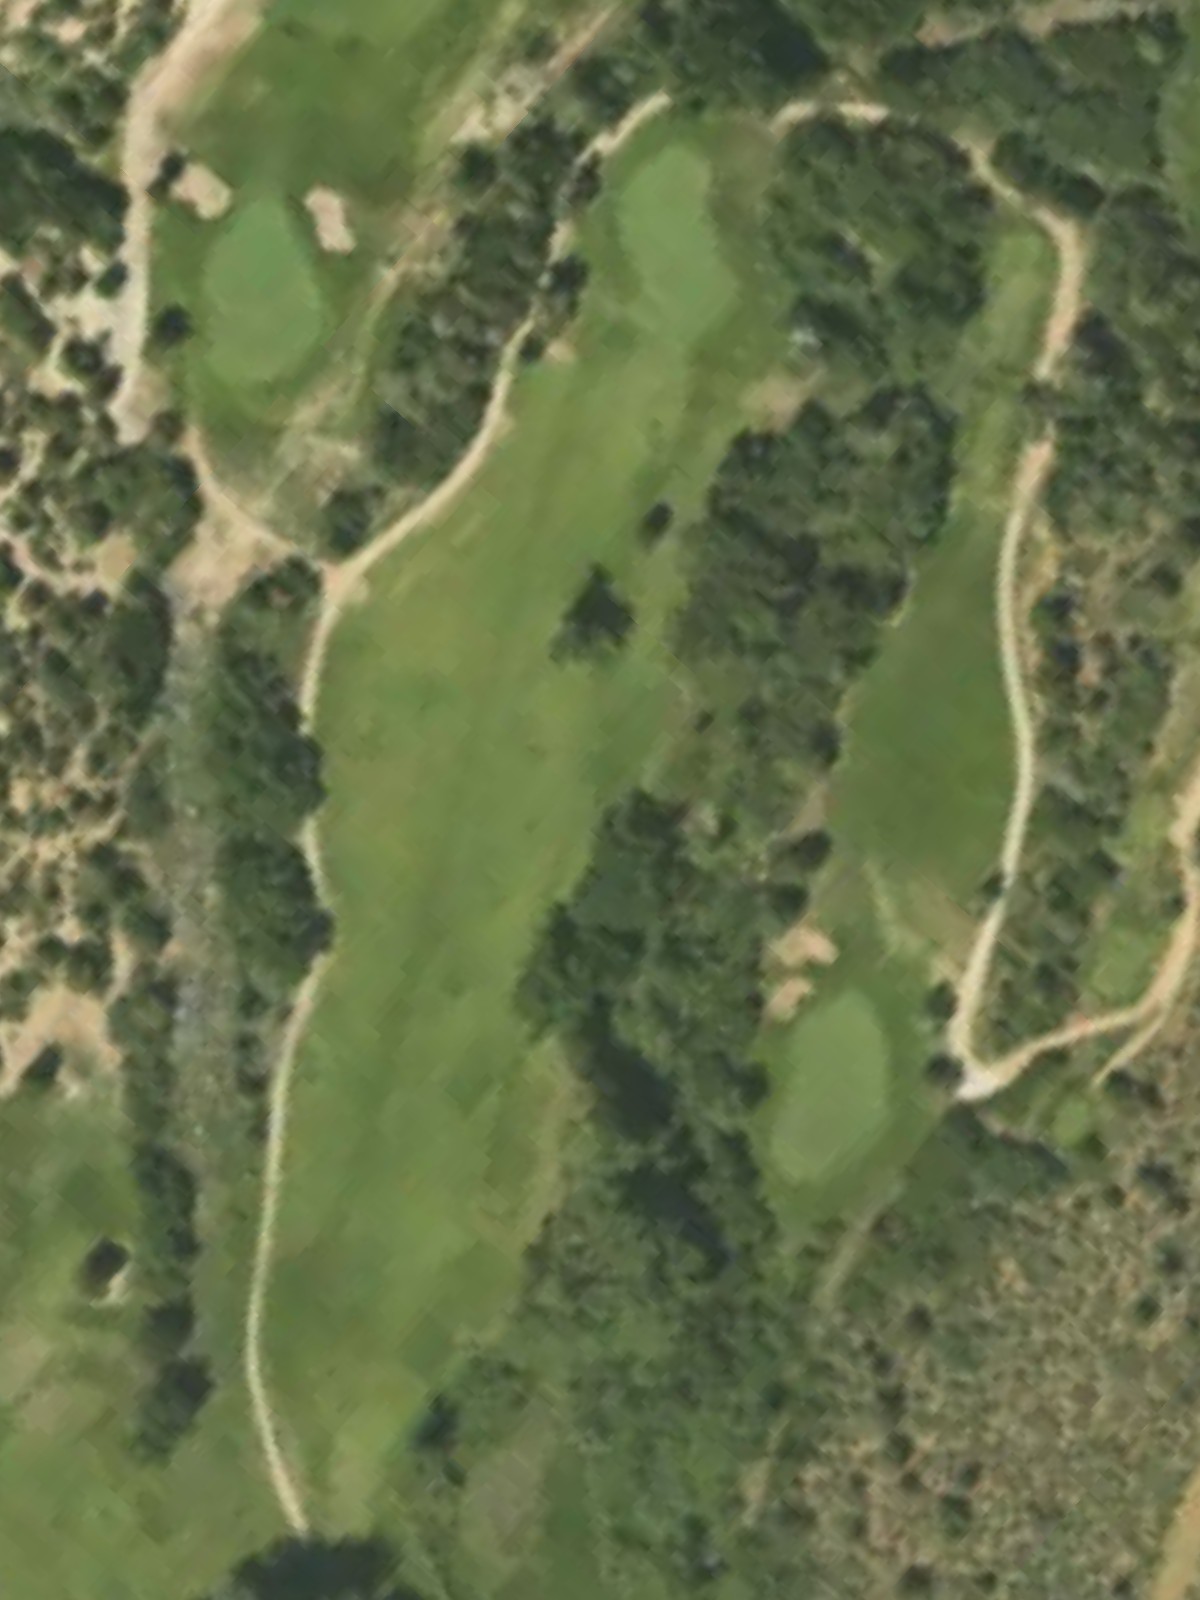
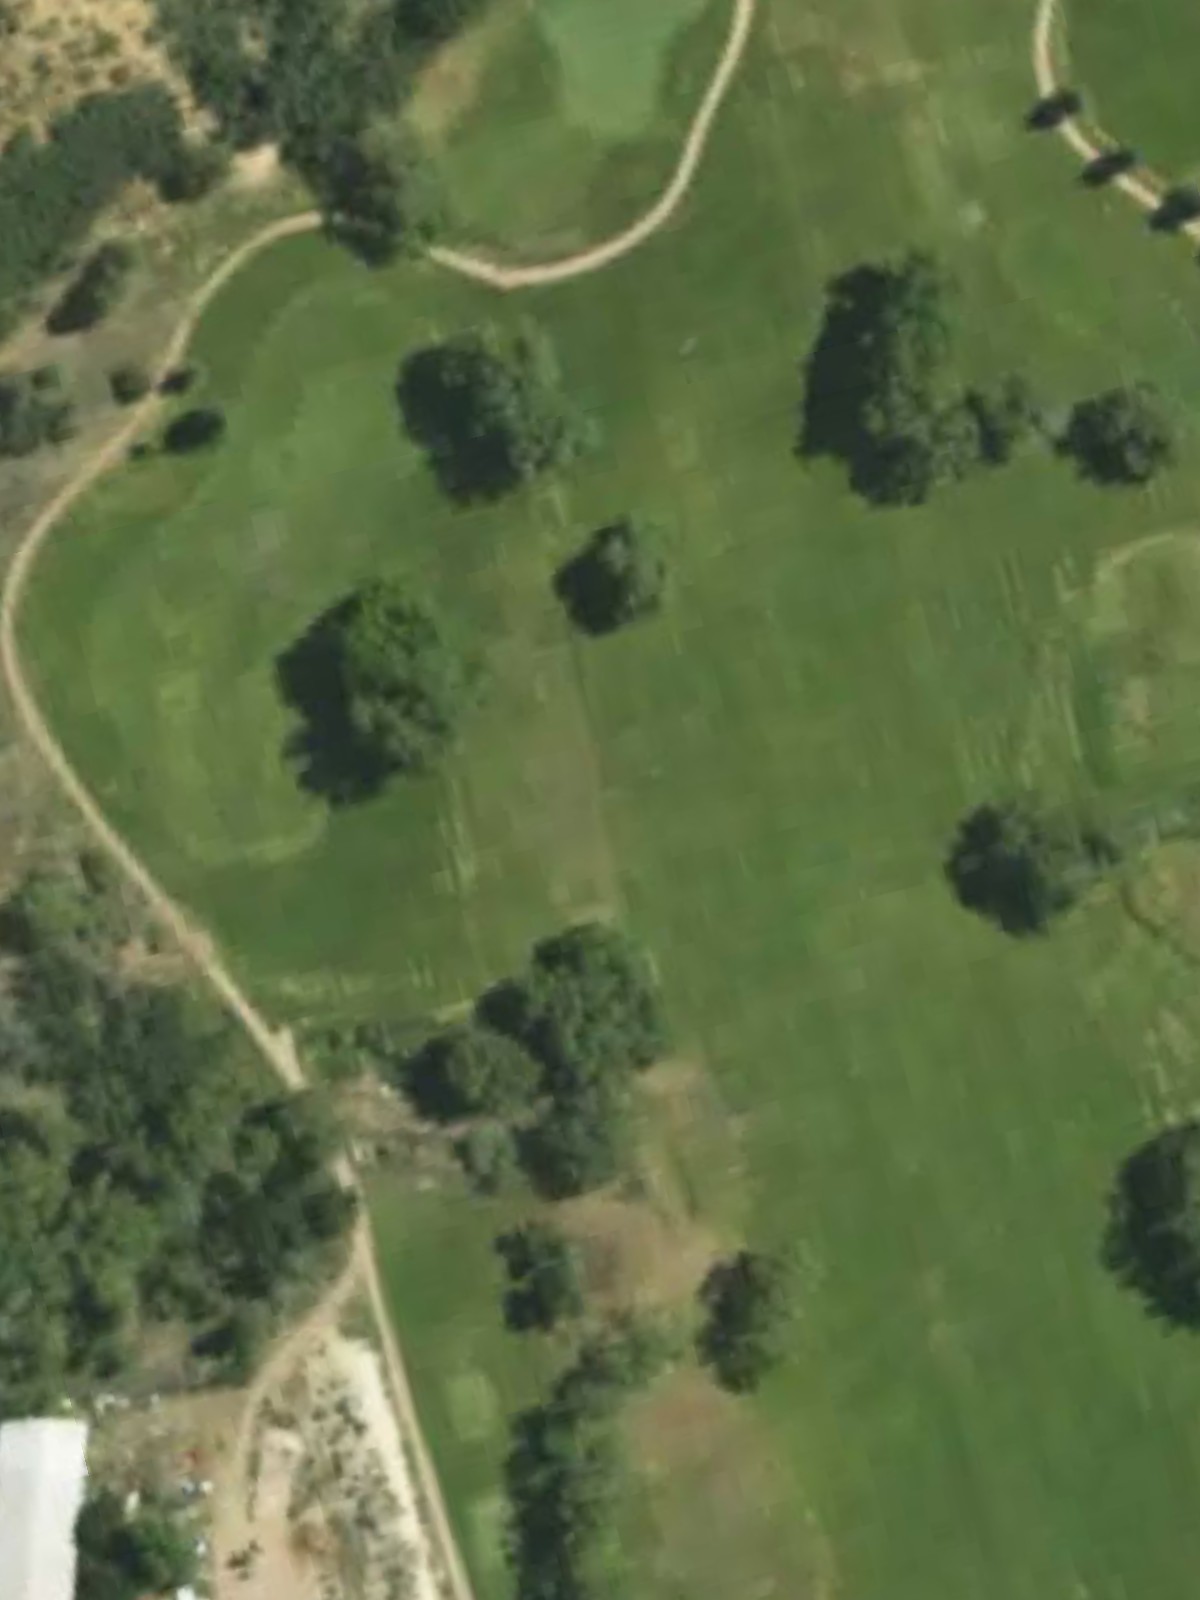
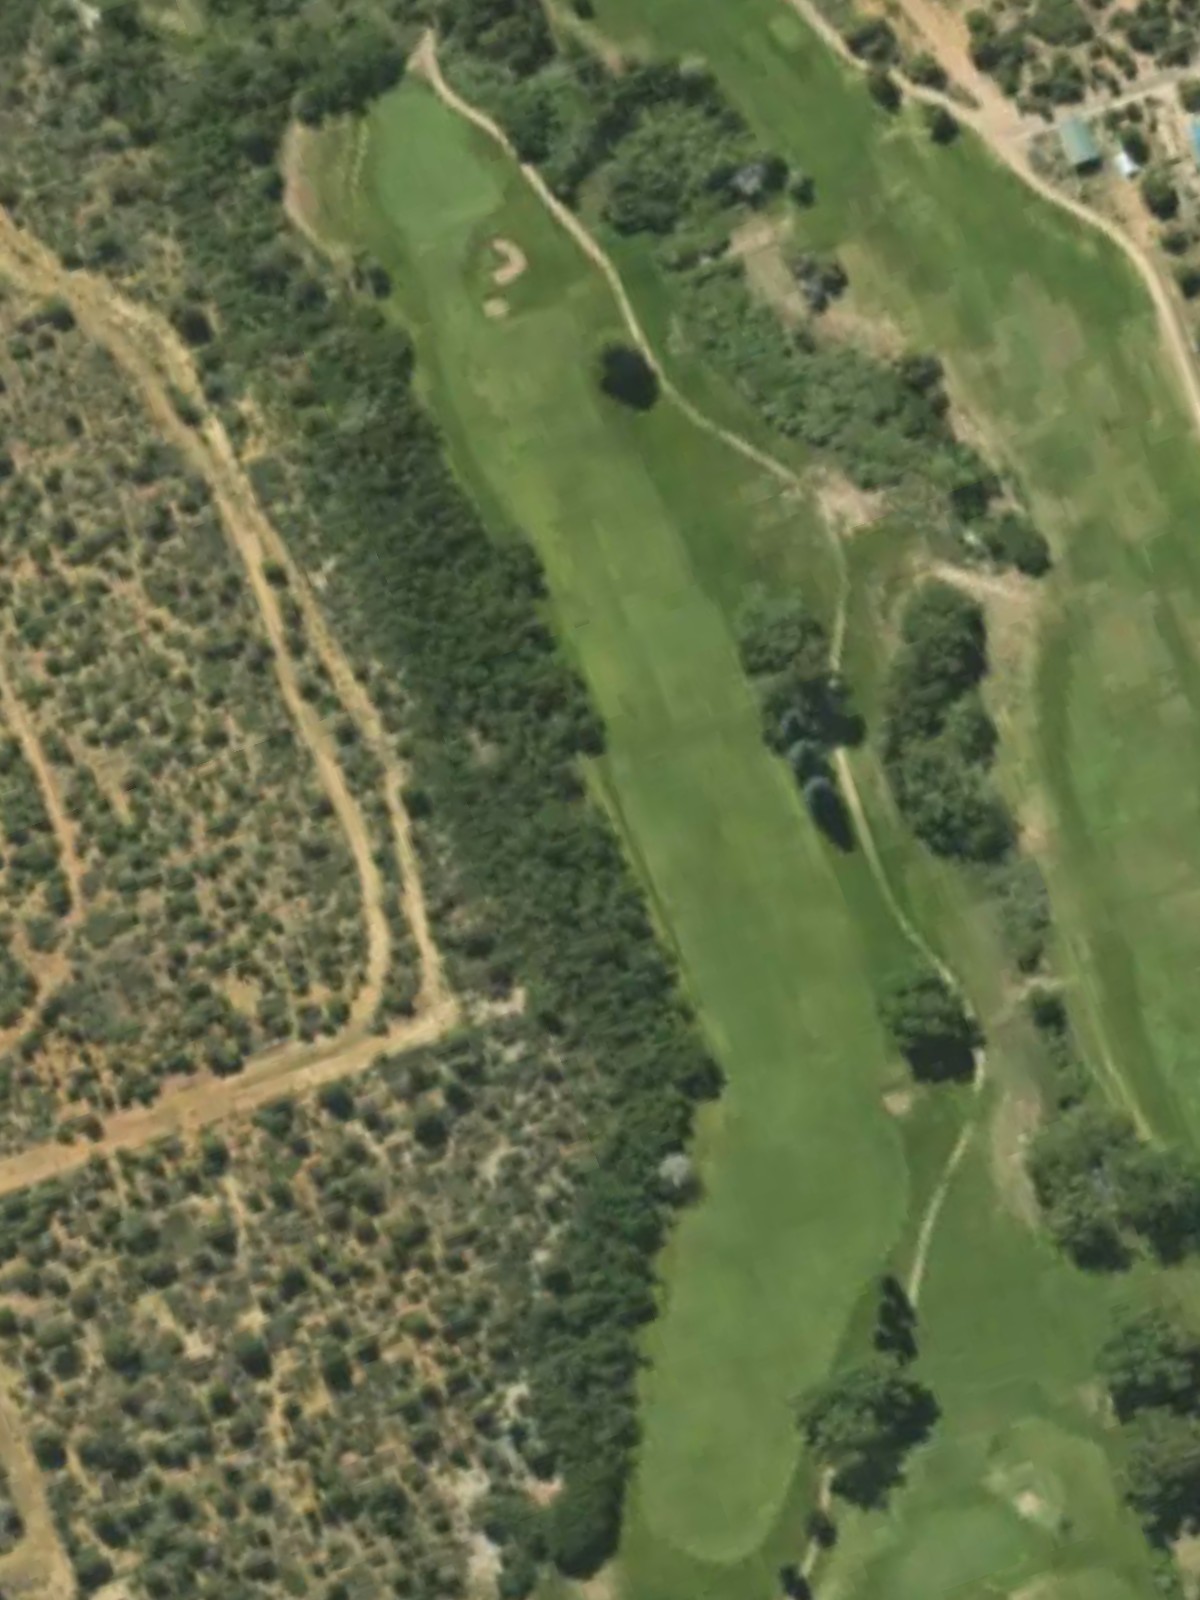
A welcoming opening par 4 with a relatively straight fairway that gradually narrows as it approaches the green. Bunkers protect the right side of the green, demanding accuracy on the approach shot.
A birdie opportunity par 5 that plays relatively straightforward without major doglegs. The hole opens with a wide fairway but tightens near the green, where strategic bunkering rewards aggressive play.
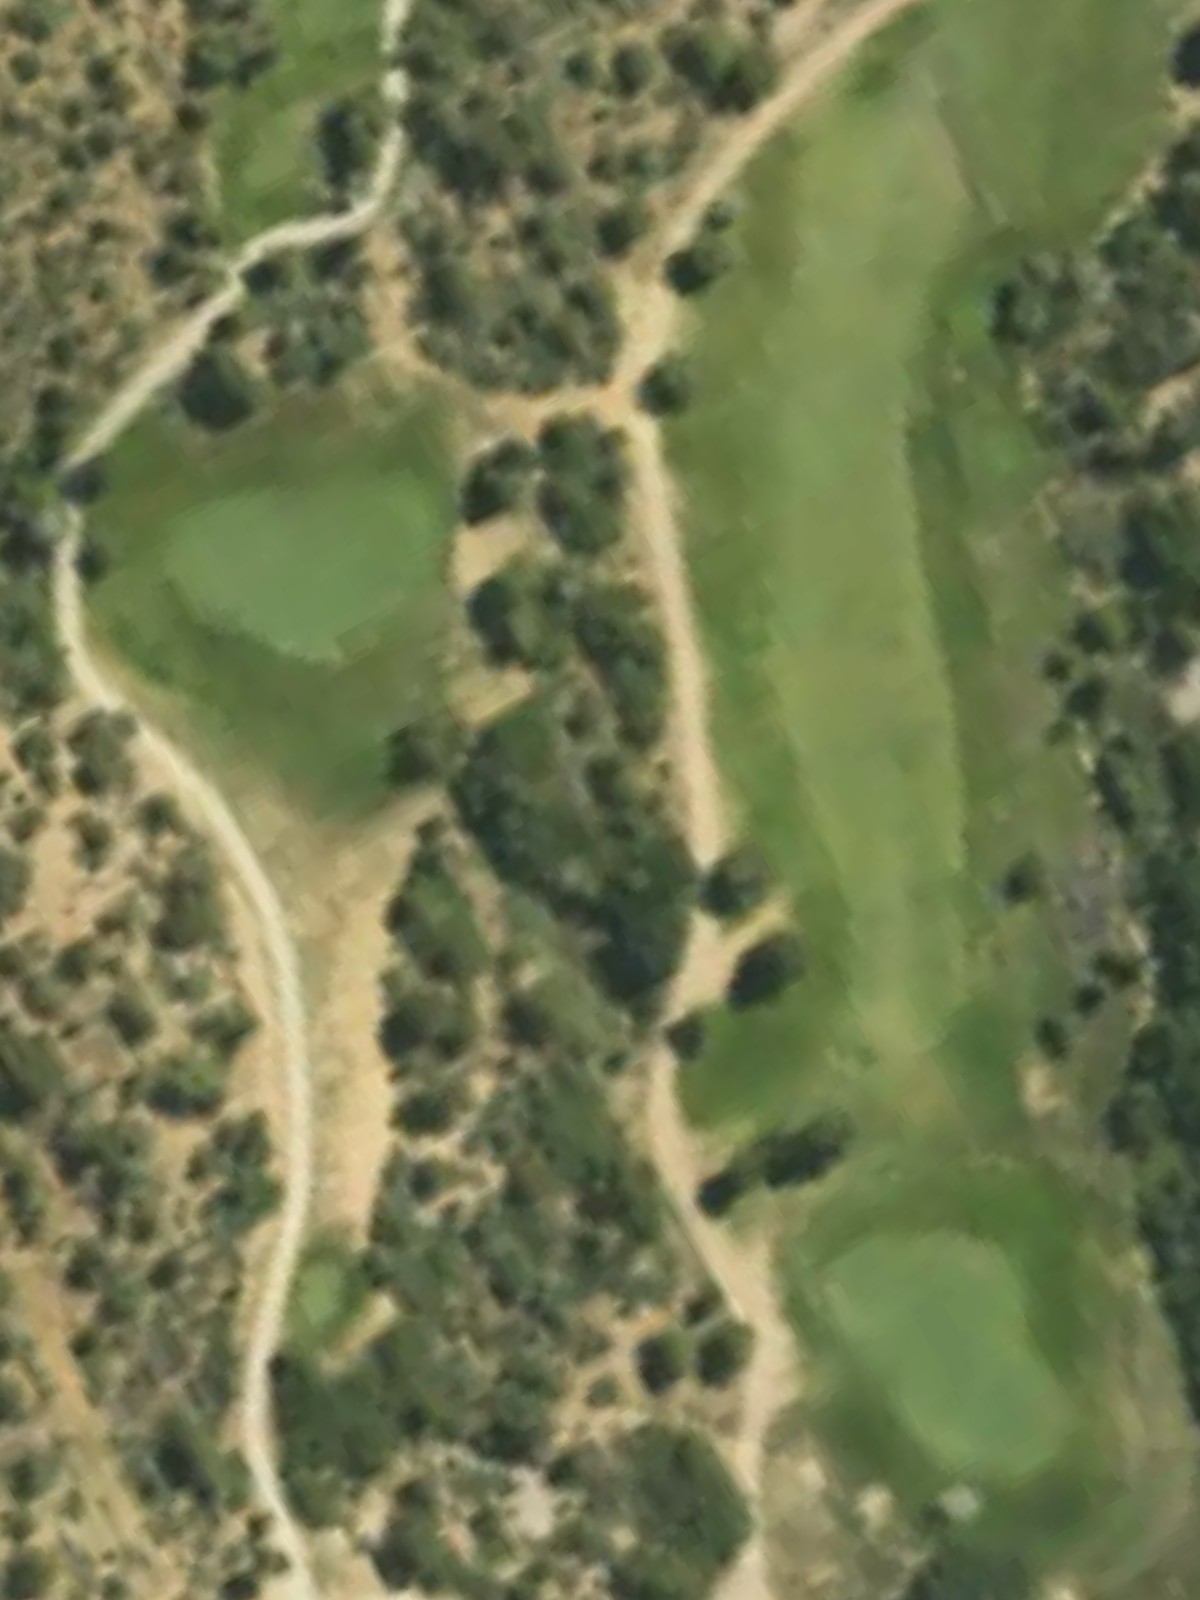
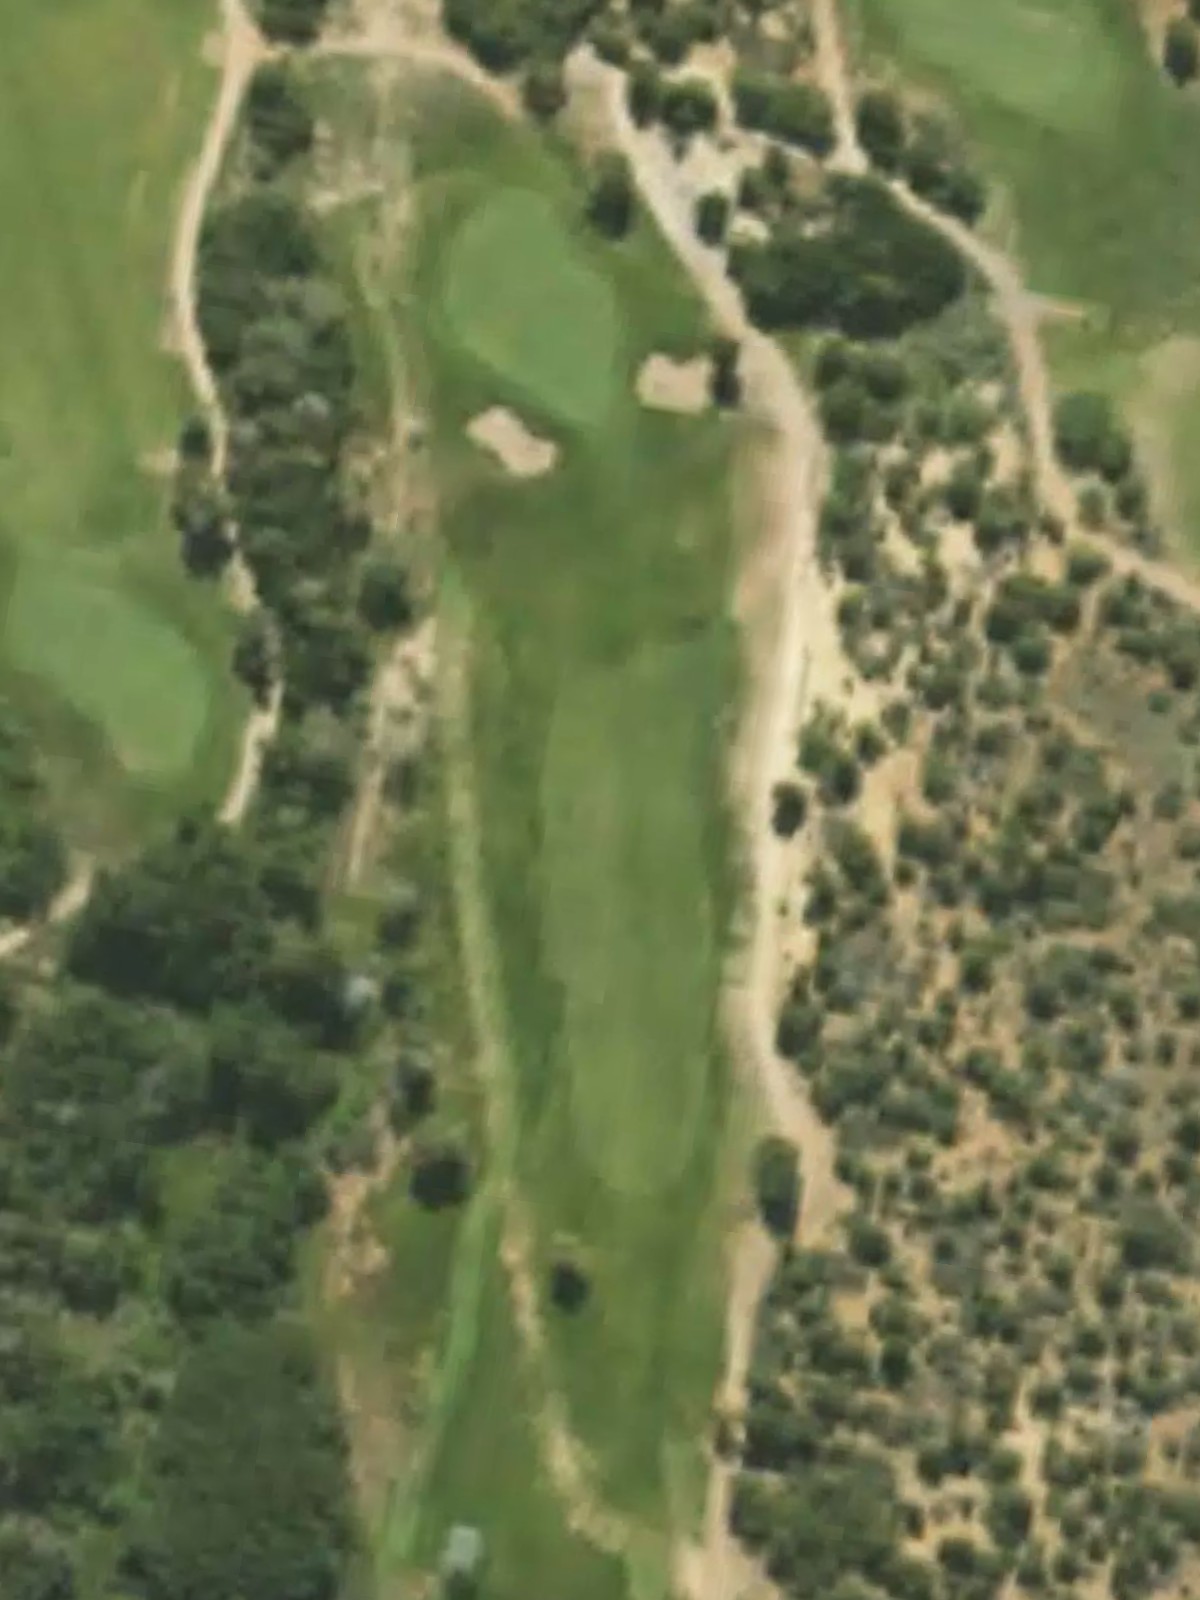
A short par 3 over a modest distance with minimal hazards, making it an accessible scoring chance. The green is relatively open, though precise distance control is essential given the hole's brevity.
A challenging par 4 with a defined shape that requires thoughtful positioning off the tee. Water or other hazards come into play, particularly on the approach, testing both power and control.

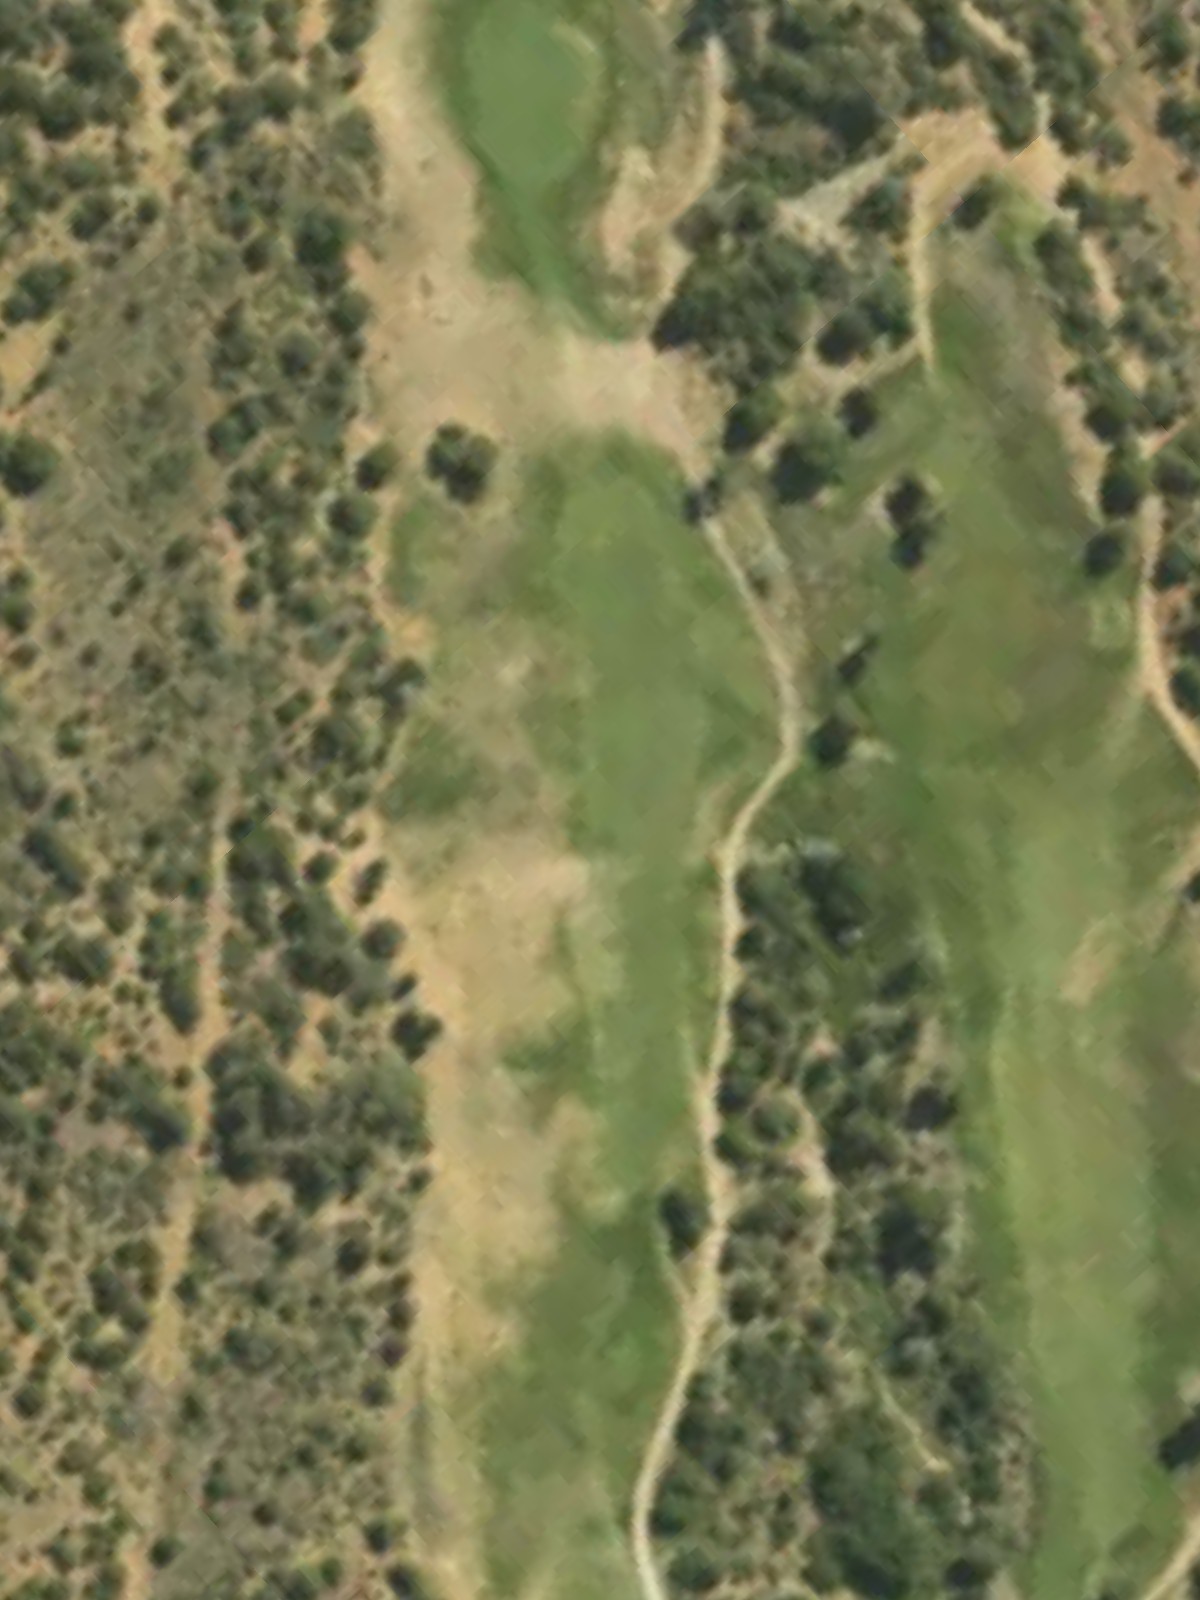
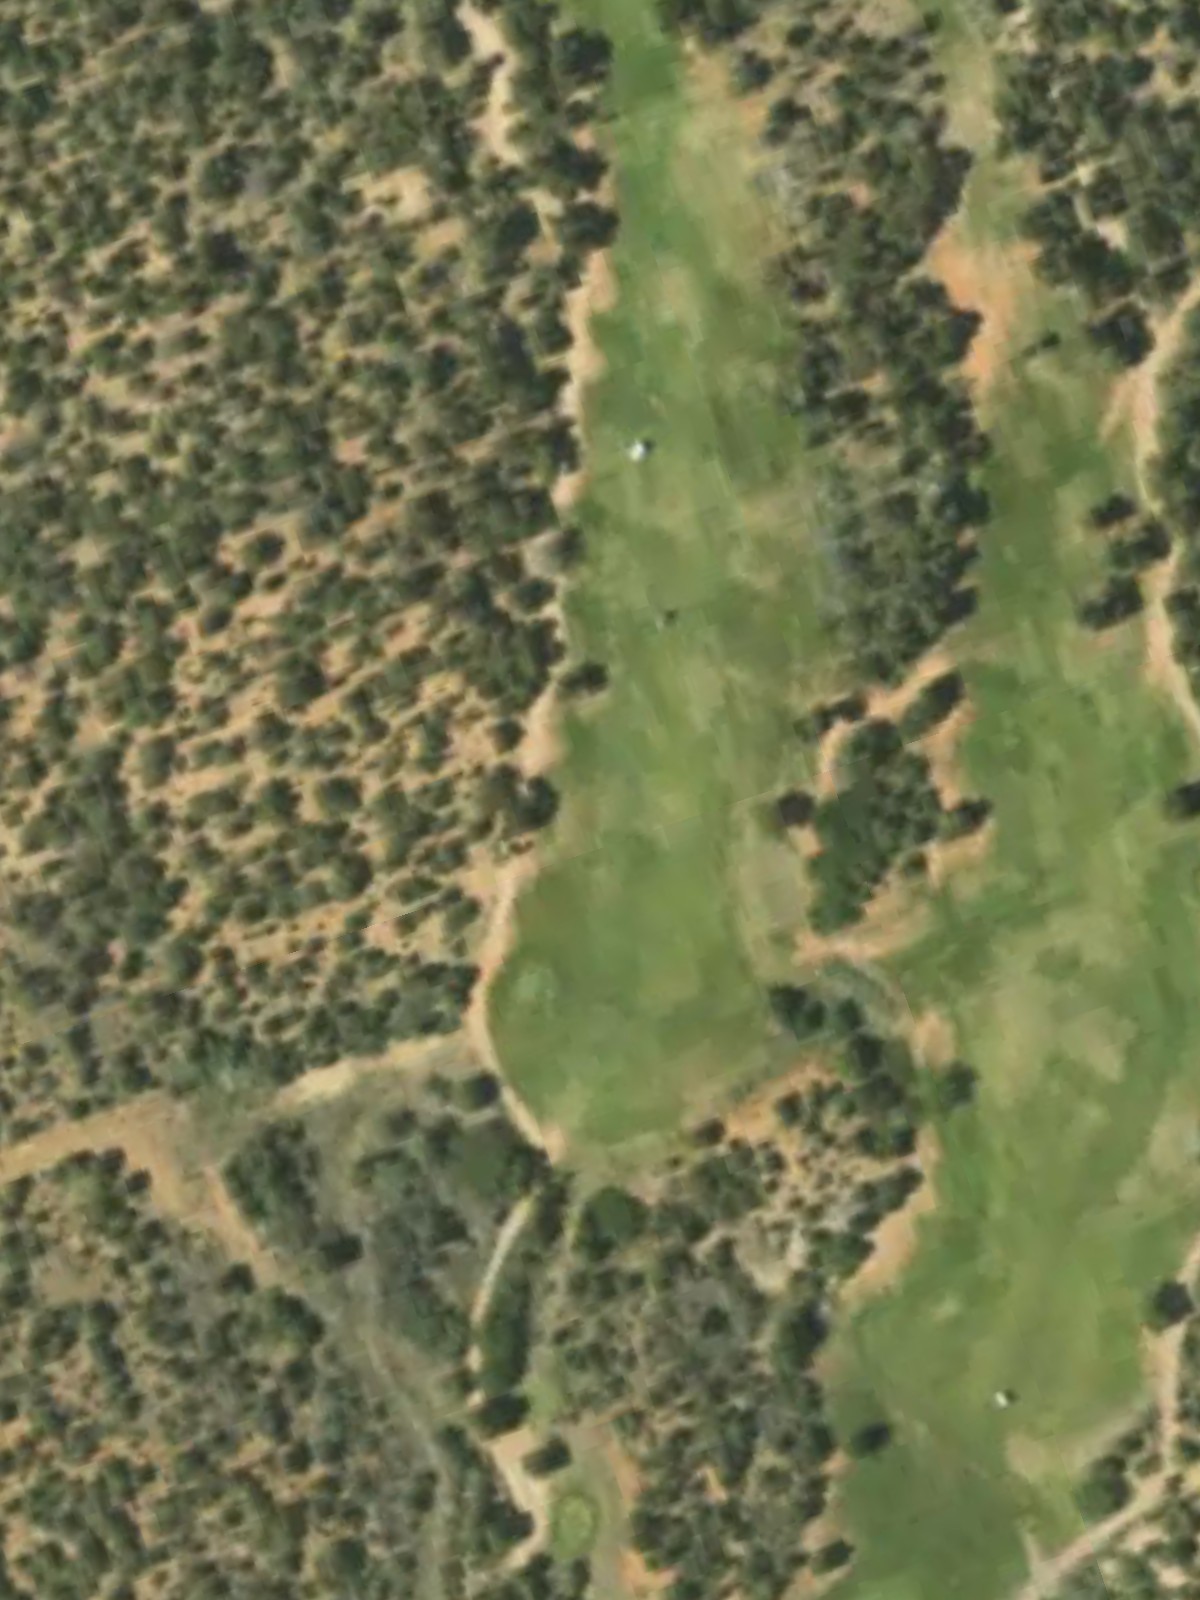
A mid-length par 4 that plays shorter than its yardage suggests, offering good scoring potential. The key challenge lies in navigating hazards strategically placed to penalize wayward shots.
A solid par 4 with character defined by its hazard placement and green-side bunkering. The fairway demands a disciplined tee shot, as hazards guard key angles into the green.
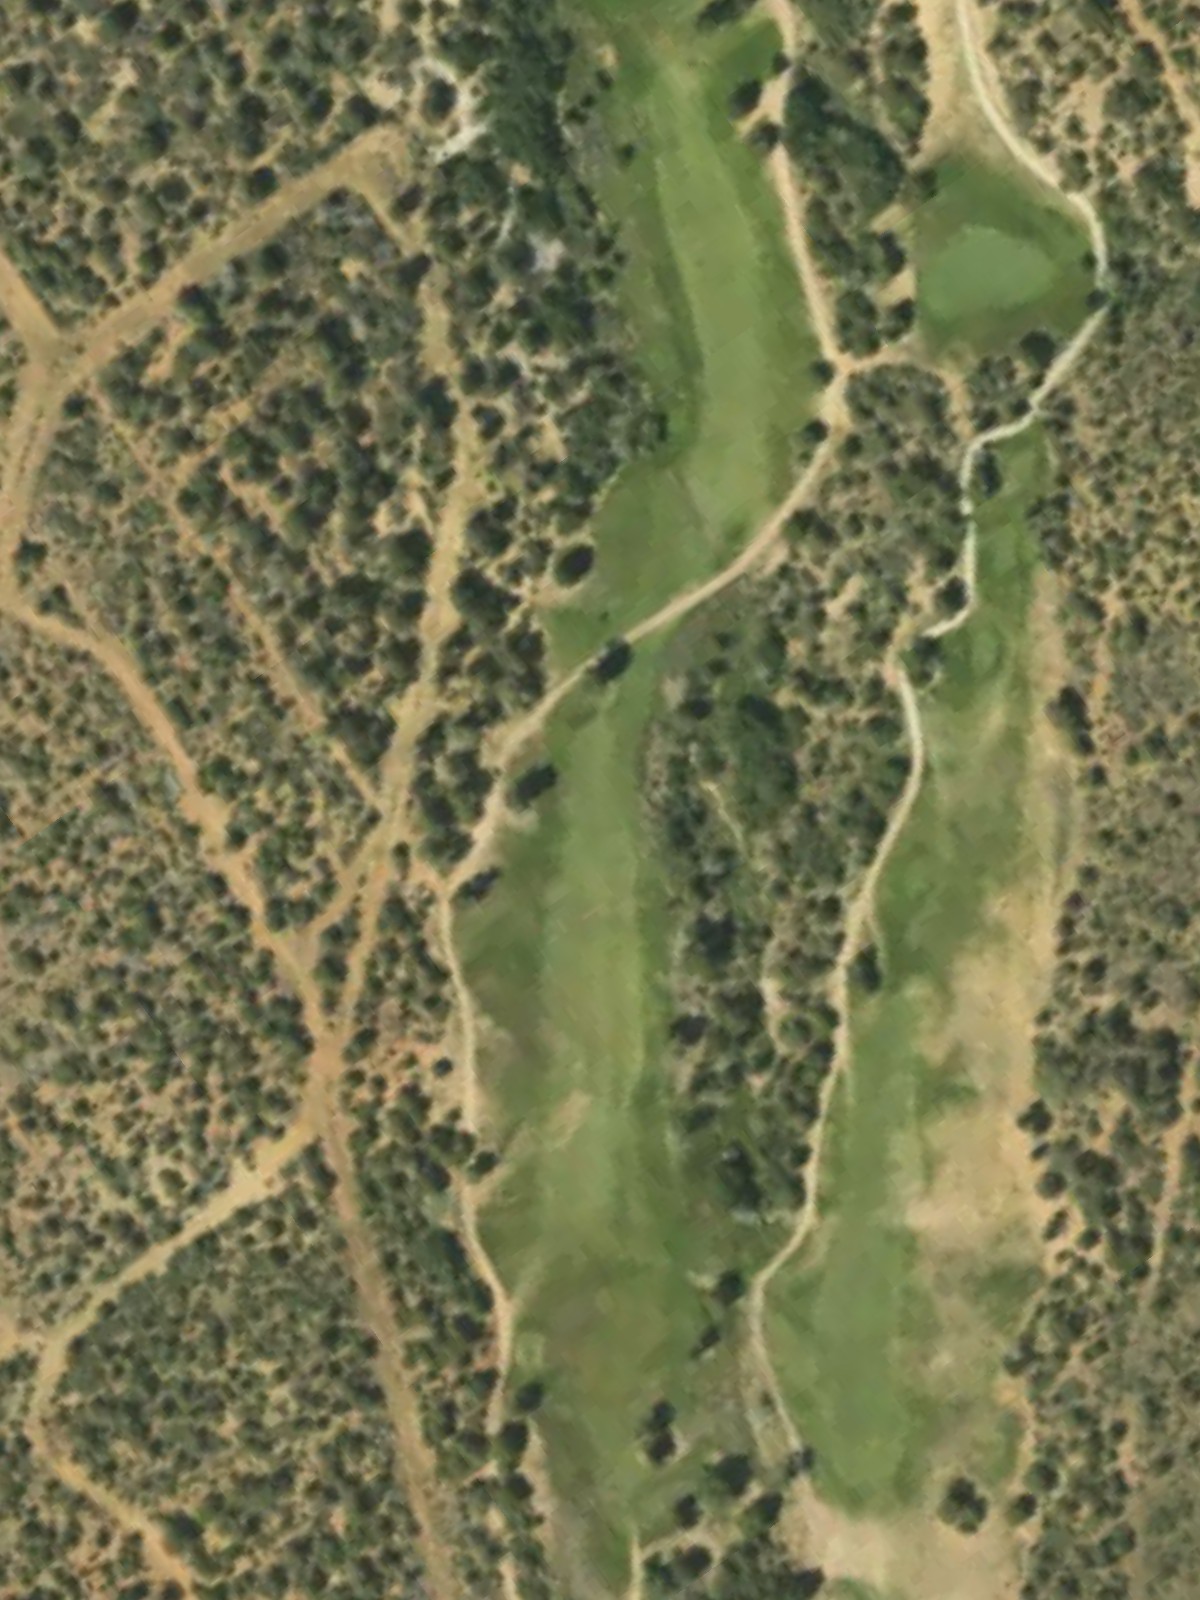
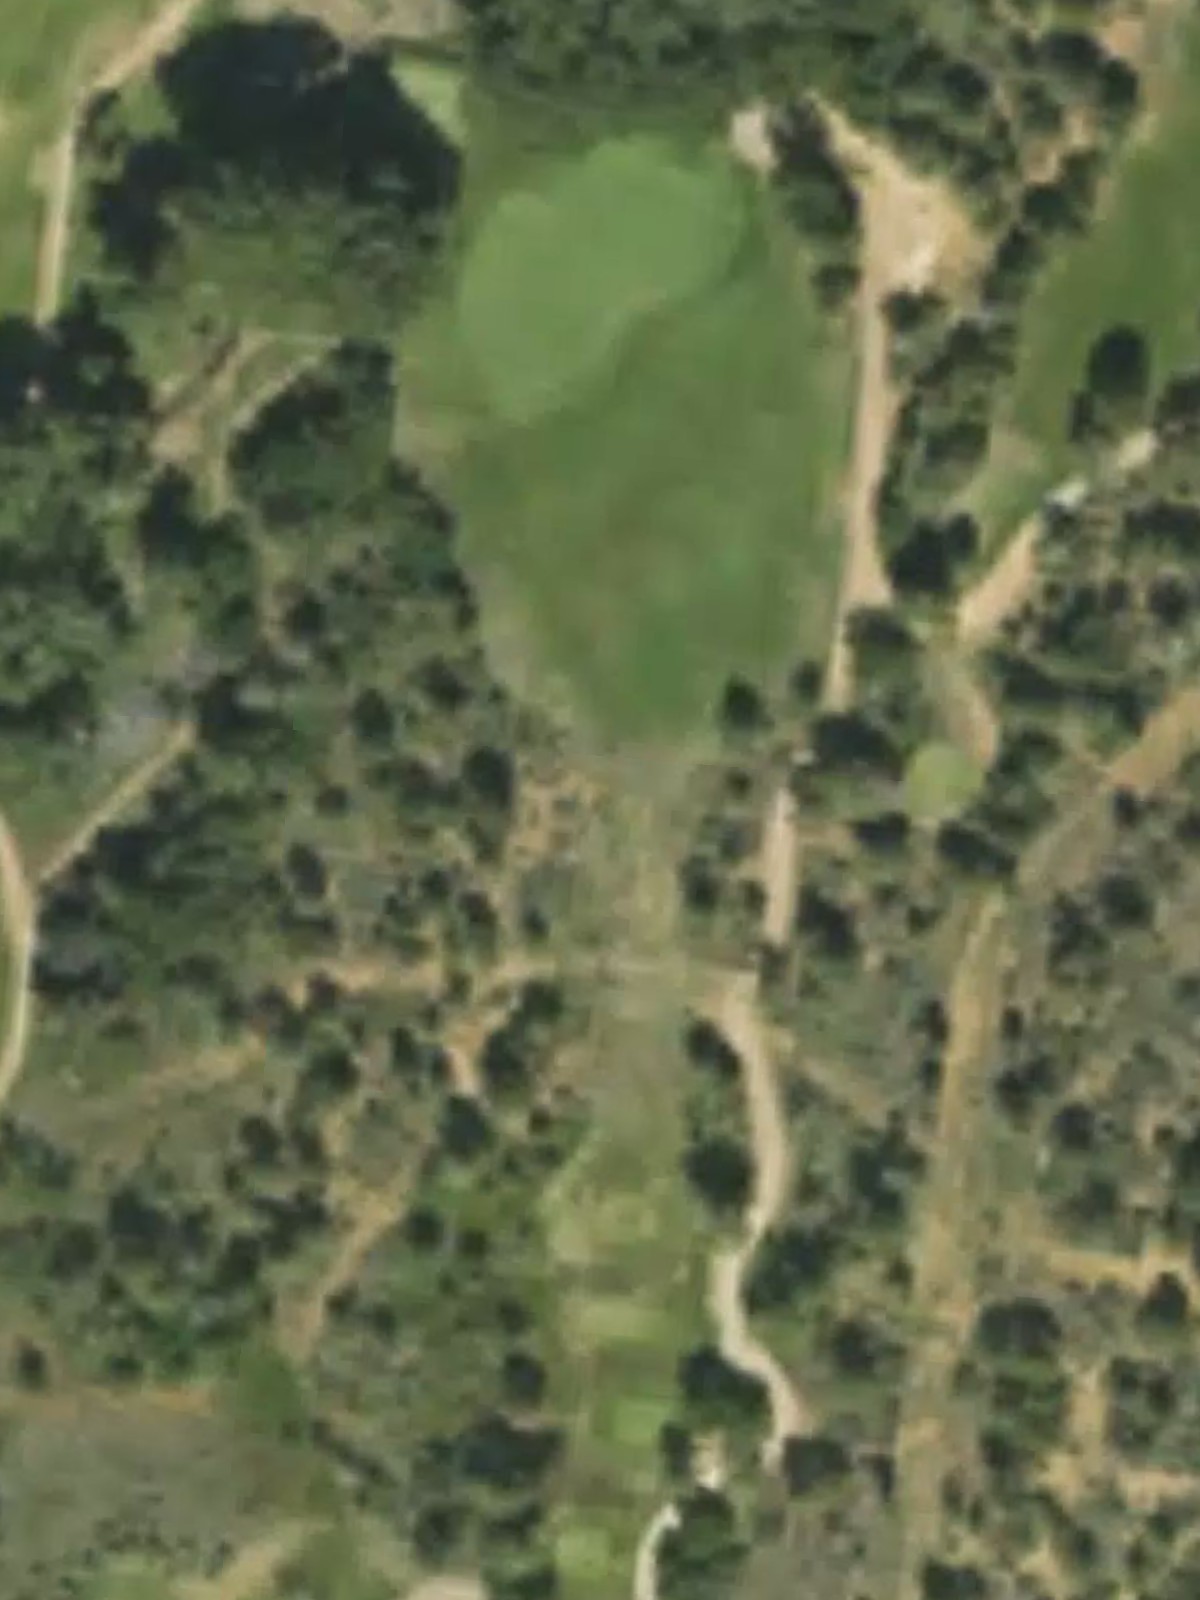
A mid-distance par 3 with a straightforward design but enough character to warrant respect. Well-placed hazards frame the green, making club selection and accuracy paramount.
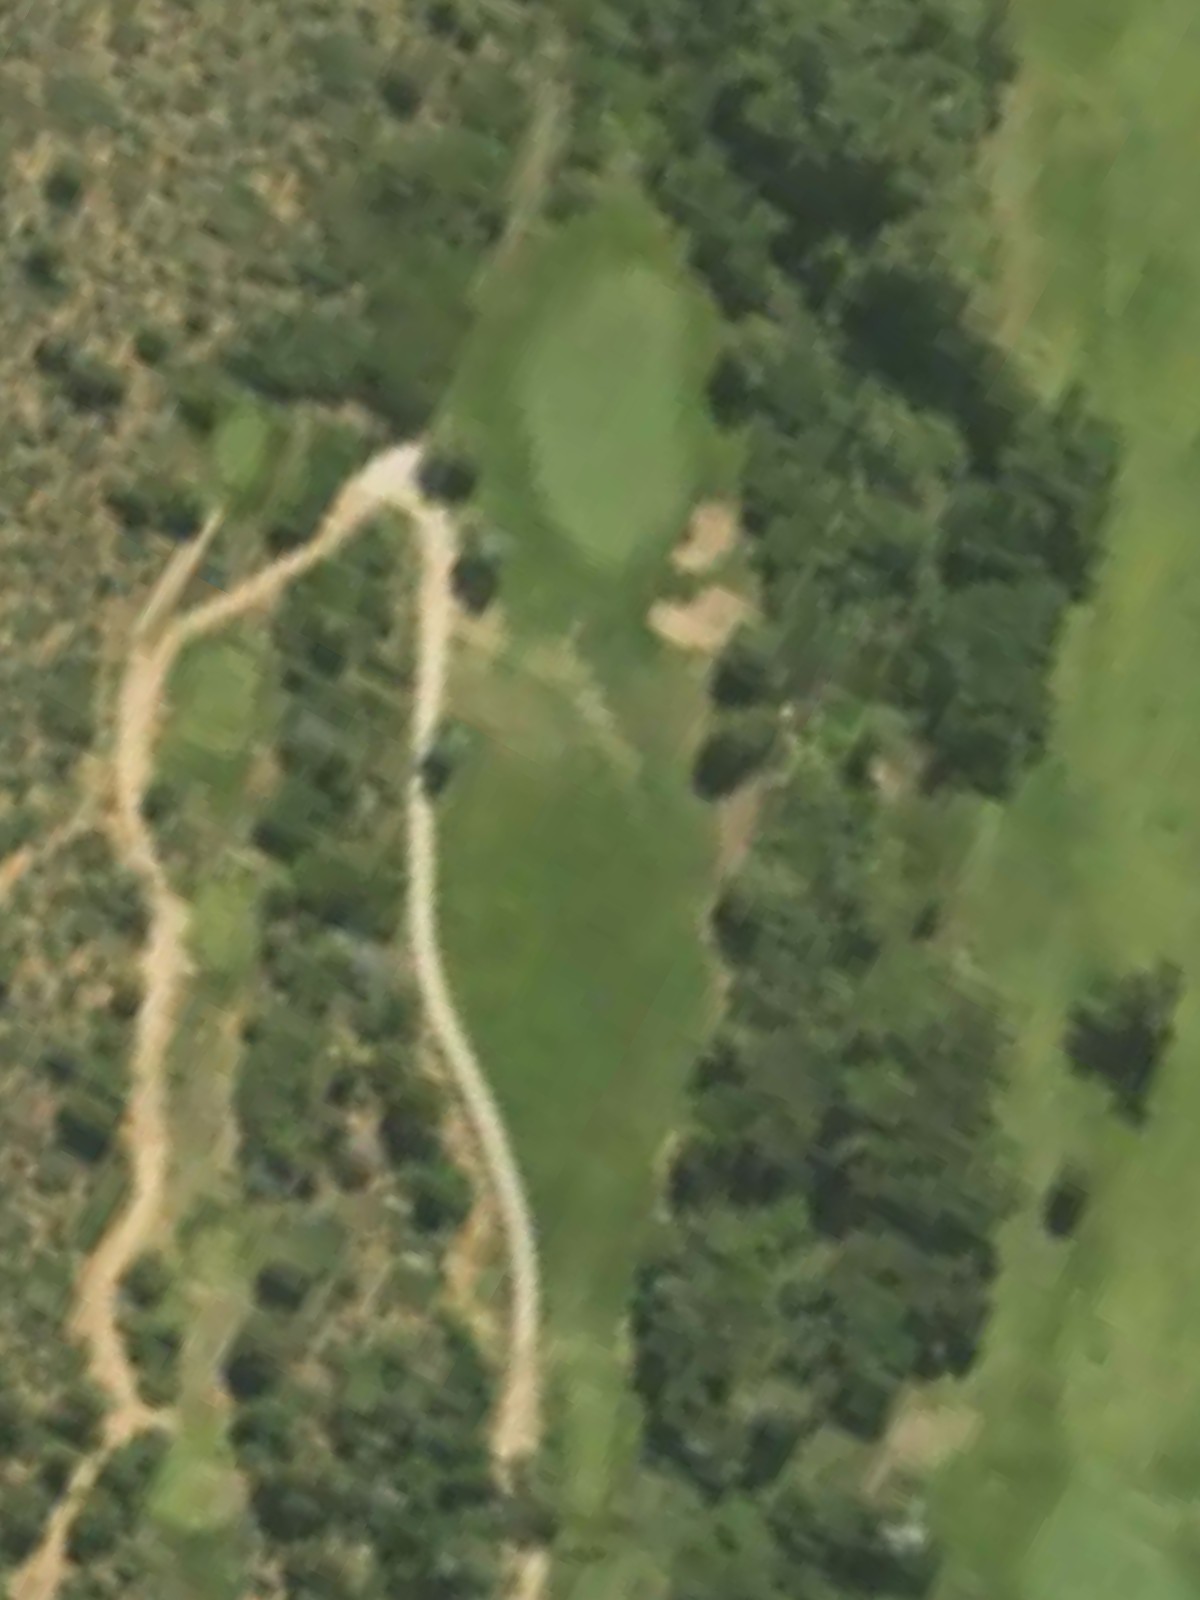
The course's signature par 4 and most demanding hole, featuring a dramatic dogleg or significant hazard that punishes poor positioning. The green is heavily guarded, requiring a precise approach to escape with par.
A strong par 5 that ranks among the course's most challenging holes, demanding three quality shots to reach the green. Strategic hazards frame the hole throughout, with particular emphasis near the green where bunkers or water defend.
A well-balanced par 4 with moderate length and strategic hazard placement. The hole's challenge lies in the approach, where bunkering or water requires careful distance and direction control.
The shortest par 3 on the course, presenting a straightforward but not risk-free scoring opportunity. The green's modest size and surrounding hazards demand precise contact despite the reduced yardage.
A short par 4 with potential as a birdie hole, though its routing and hazards prevent it from being a gimme. The narrow approach corridor and greenside bunkering test precision over distance.
A strong par 5 that plays challenging from the back tees, featuring strategic hazards that define the optimal routing through the hole. Water or bunkers reward patience and punish aggressive positioning.
A generous par 5 that offers birdie chances for solid ballstrikers, with a fairway that permits multiple approaches. Hazards increase in severity the closer one ventures toward the green, creating decision points throughout.
A short and straightforward par 4 that plays as a genuine scoring opportunity despite its seemingly simple design. The compact fairway and small green demand accuracy on both tee and approach shots.
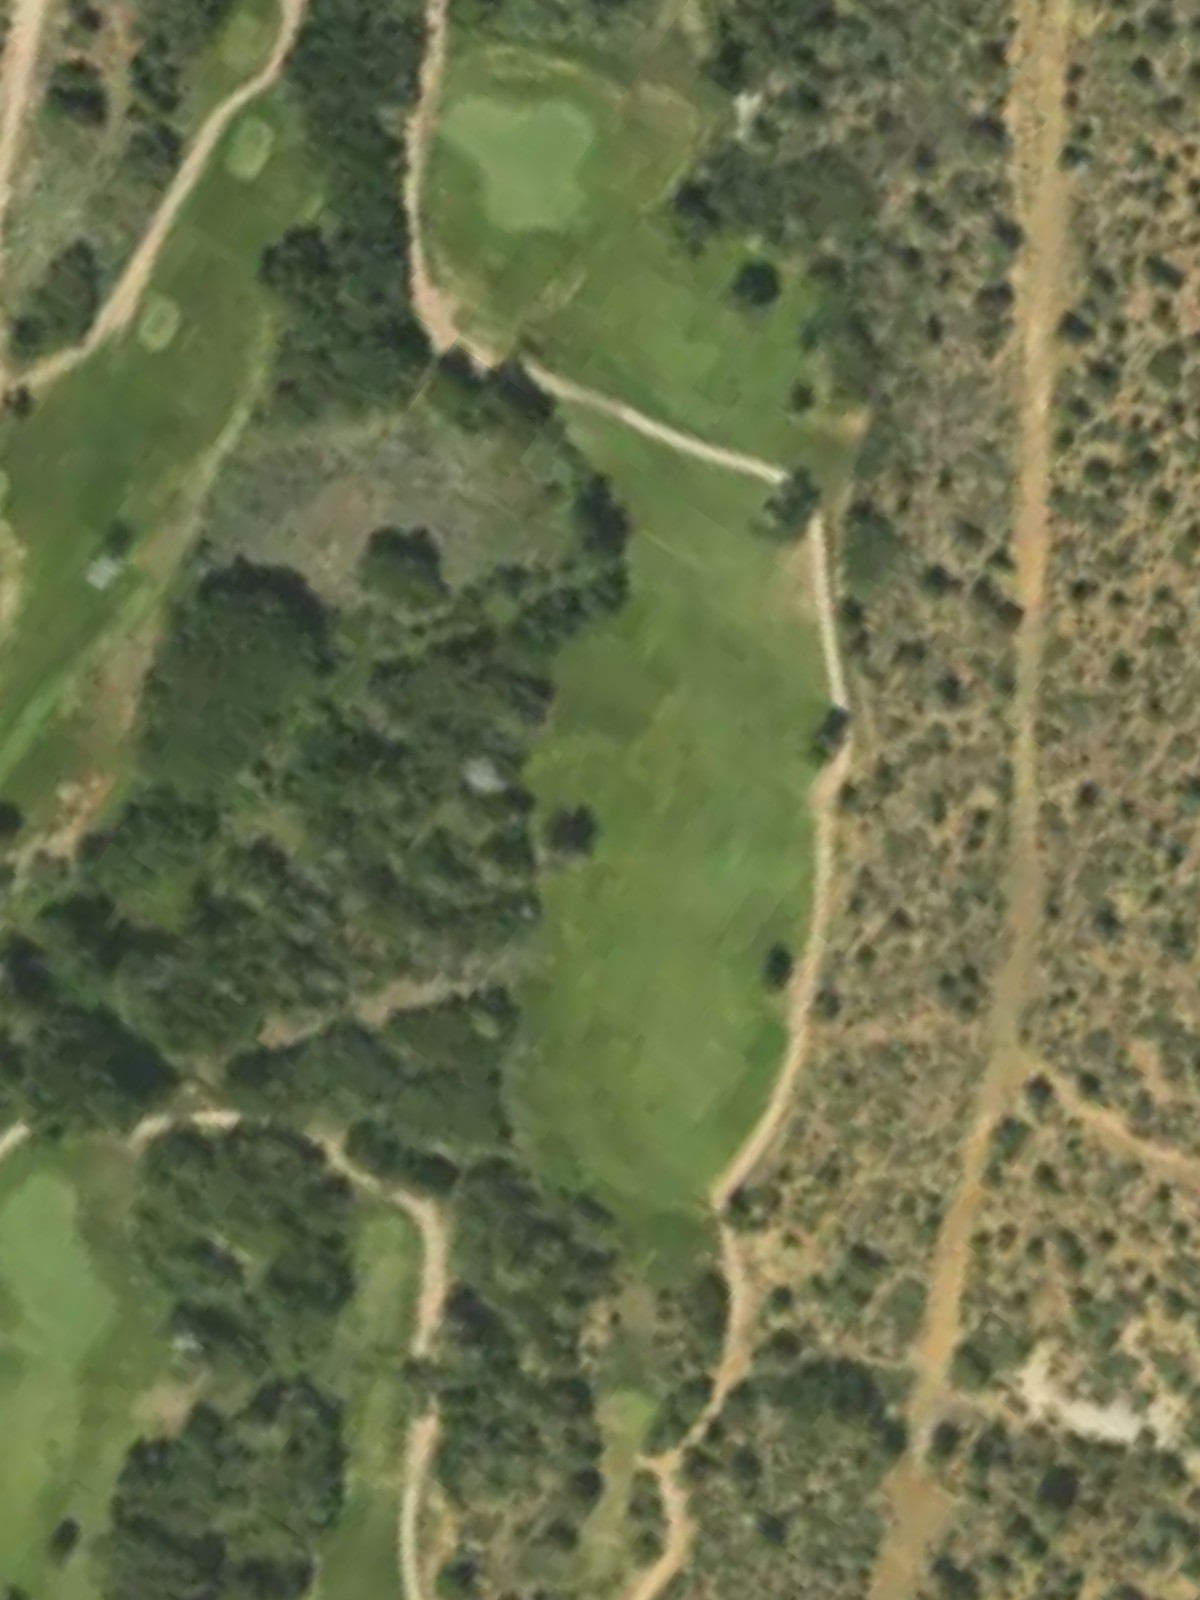
The course's second-most difficult par 4, featuring a dramatic shape or significant hazards that command respect. The hole's length and green-side defenses make it one of the back nine's defining tests.
The course's most difficult par 3, playing to a distance that requires a full swing and absolute accuracy. Hazards fully surround the green, leaving little margin for error on this iconic finishing par 3.
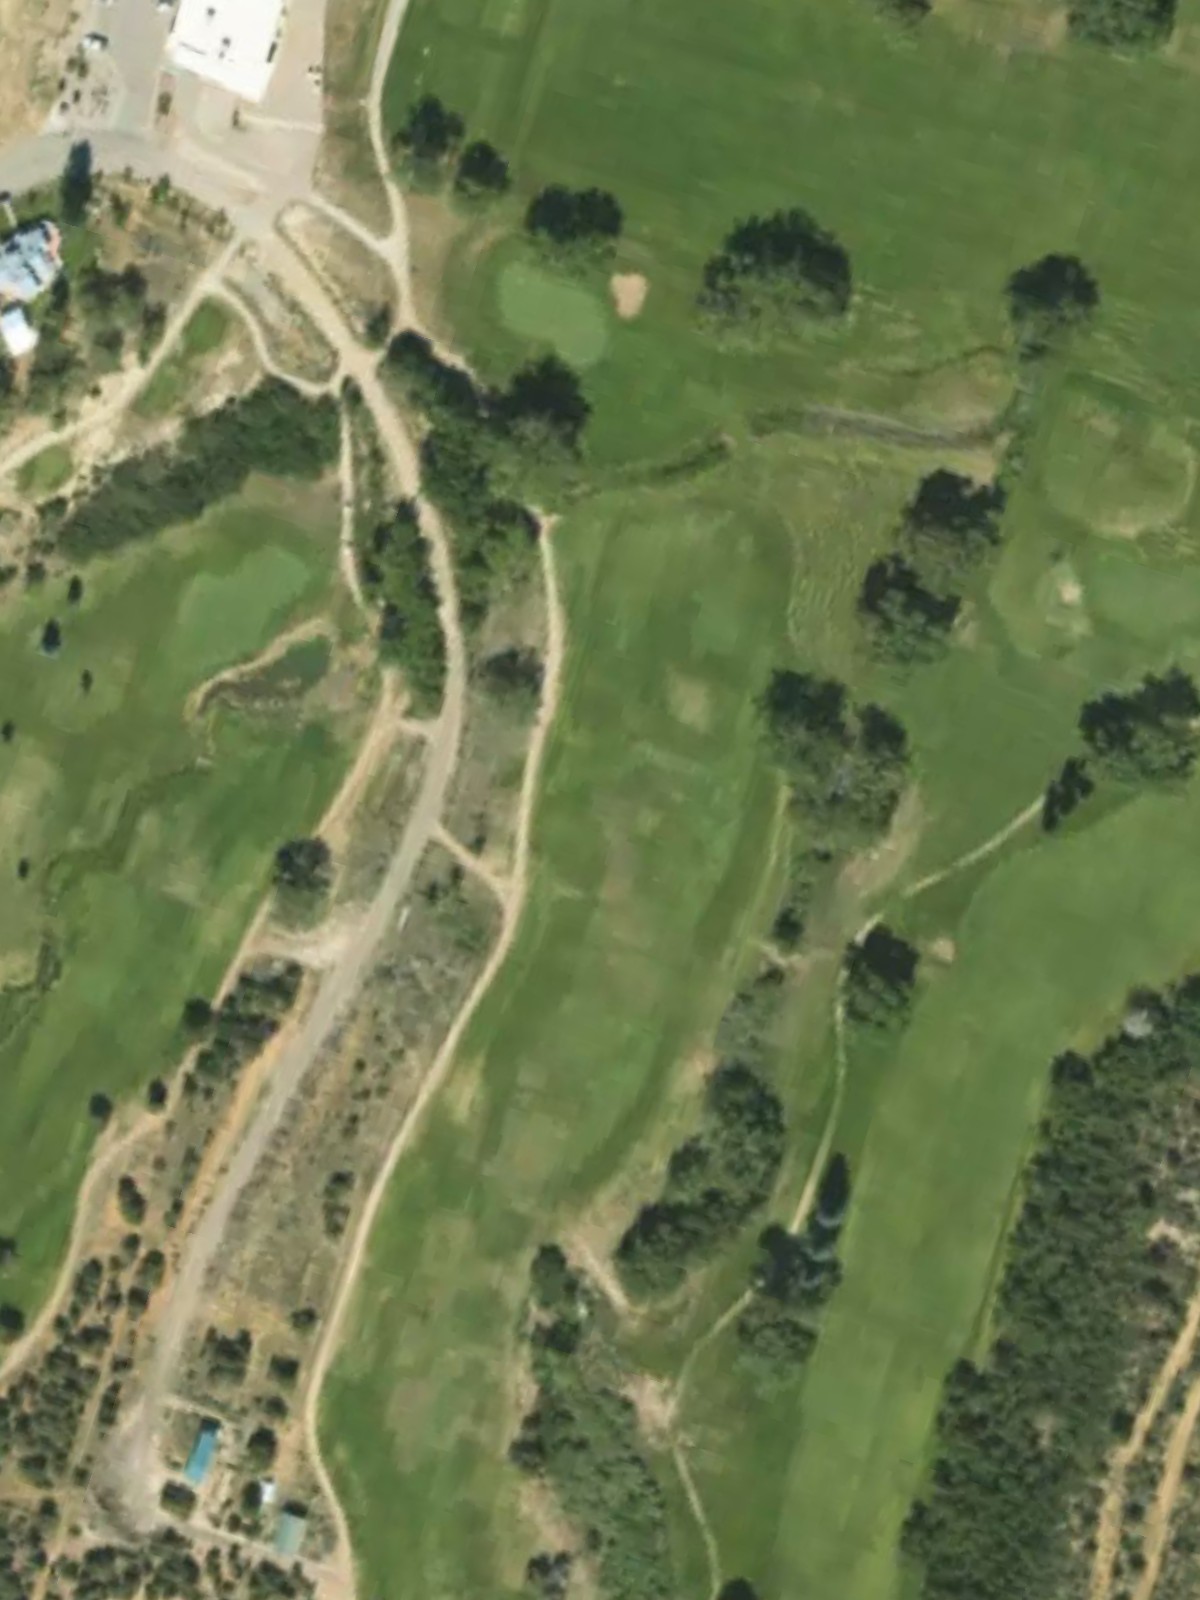
A dramatic finishing par 4 that builds tension and delivers a fitting conclusion to the round. Strategic hazards frame the hole throughout, with particular emphasis on the approach, rewarding composed play down the stretch.
Scorecard
| Hole | 1 | 2 | 3 | 4 | 5 | 6 | 7 | 8 | 9 | Out | 10 | 11 | 12 | 13 | 14 | 15 | 16 | 17 | 18 | In | Tot |
|---|---|---|---|---|---|---|---|---|---|---|---|---|---|---|---|---|---|---|---|---|---|
| Par | 4 | 5 | 3 | 4 | 4 | 4 | 3 | 4 | 5 | 36 | 4 | 3 | 4 | 5 | 5 | 4 | 4 | 3 | 4 | 36 | 72 |
| HCP | 15 | 5 | 17 | 7 | 9 | 11 | 13 | 1 | 3 | 12 | 14 | 8 | 6 | 10 | 16 | 2 | 18 | 4 | |||
| gold | 374 | 554 | 156 | 373 | 329 | 396 | 172 | 402 | 572 | 3328 | 388 | 168 | 349 | 563 | 515 | 297 | 405 | 181 | 458 | 3324 | 6652 |
| blue | 350 | 500 | 138 | 356 | 310 | 354 | 160 | 373 | 547 | 3088 | 355 | 157 | 327 | 523 | 490 | 280 | 374 | 167 | 394 | 3067 | 6155 |
| white | 313 | 468 | 123 | 329 | 279 | 330 | 138 | 341 | 497 | 2818 | 317 | 146 | 299 | 463 | 440 | 239 | 342 | 150 | 363 | 2759 | 5577 |
| red | 246 | 420 | 109 | 304 | 229 | 284 | 131 | 268 | 440 | 2431 | 293 | 98 | 239 | 395 | 405 | 190 | 316 | 136 | 329 | 2401 | 4832 |