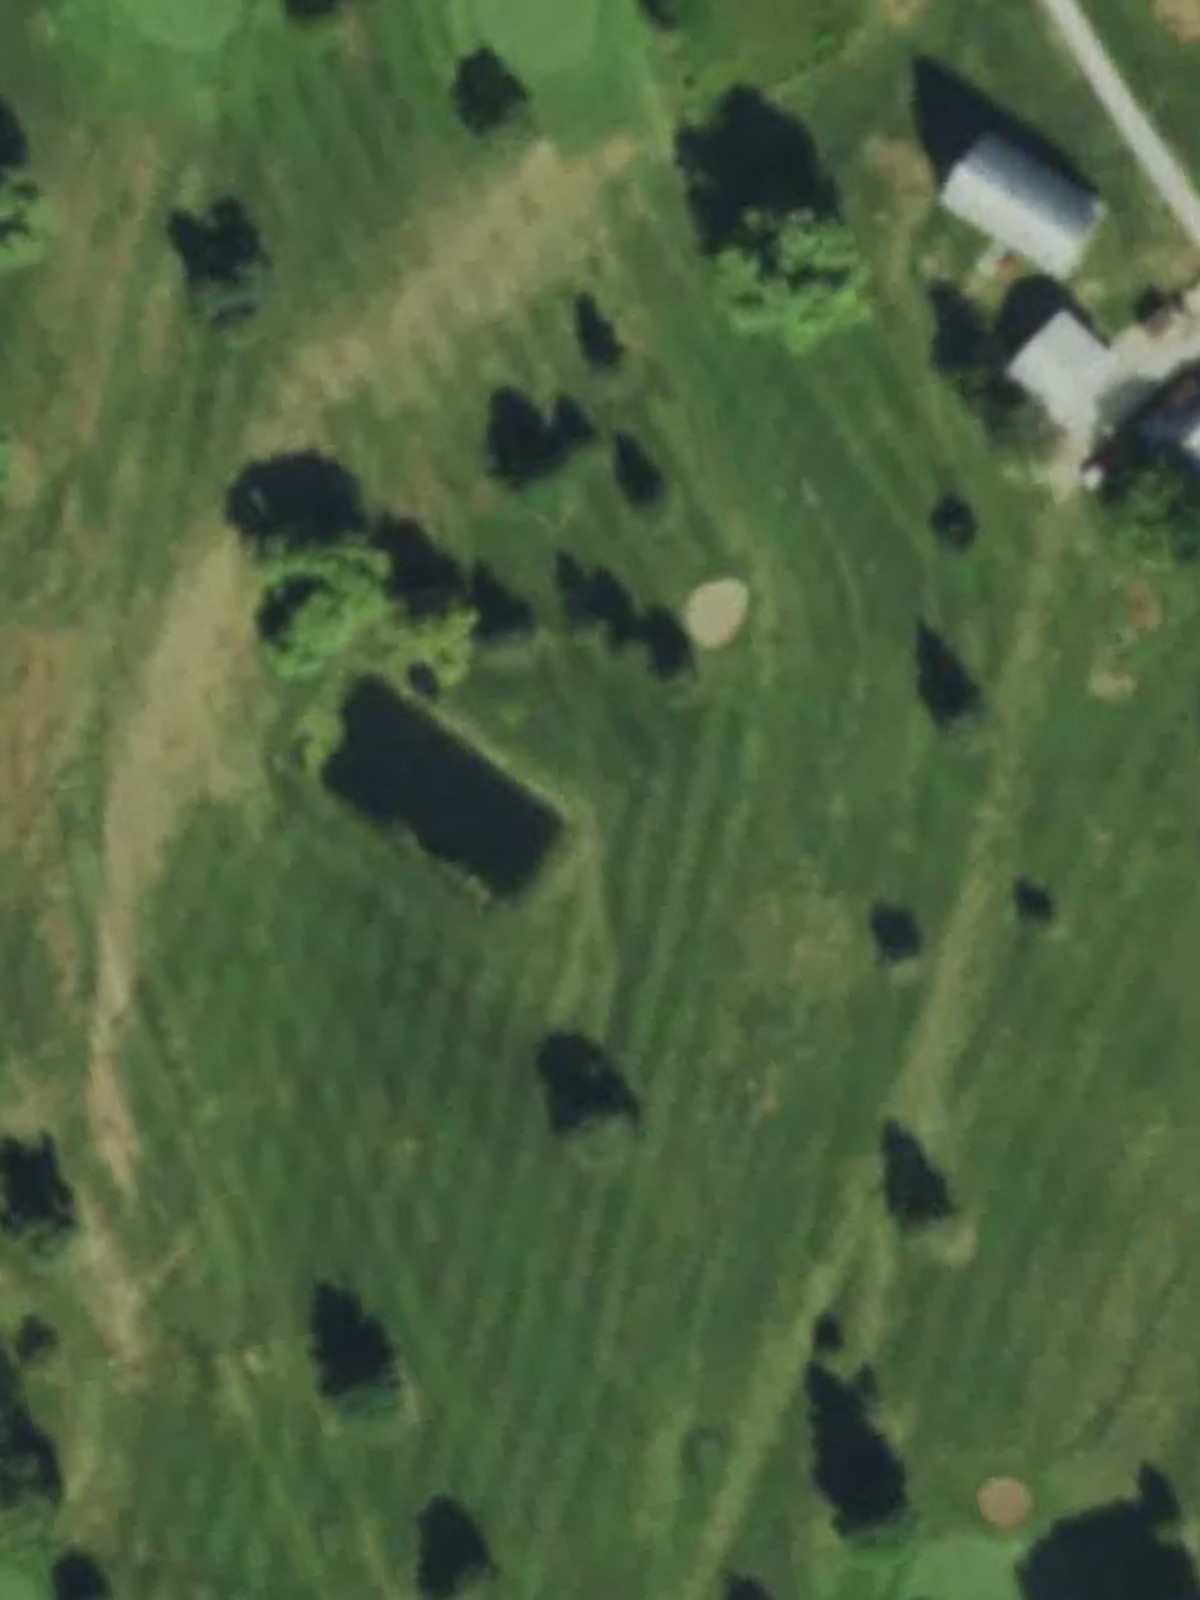
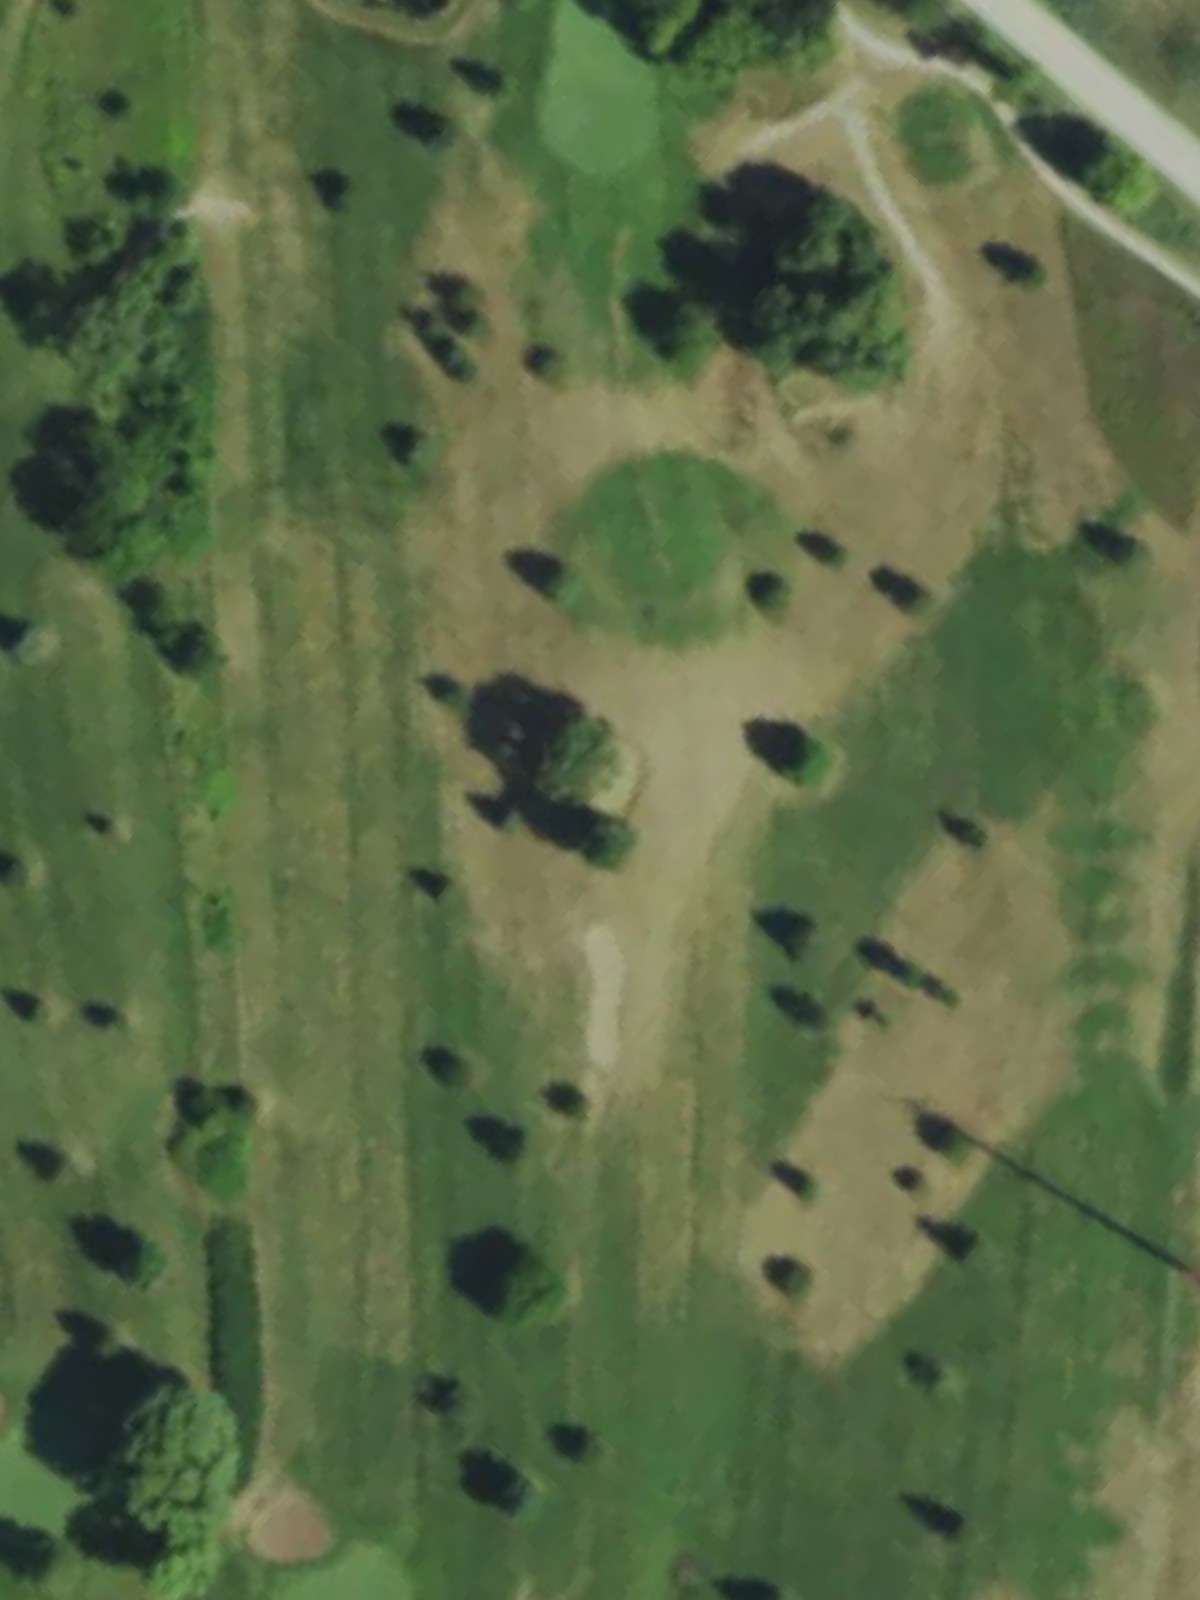
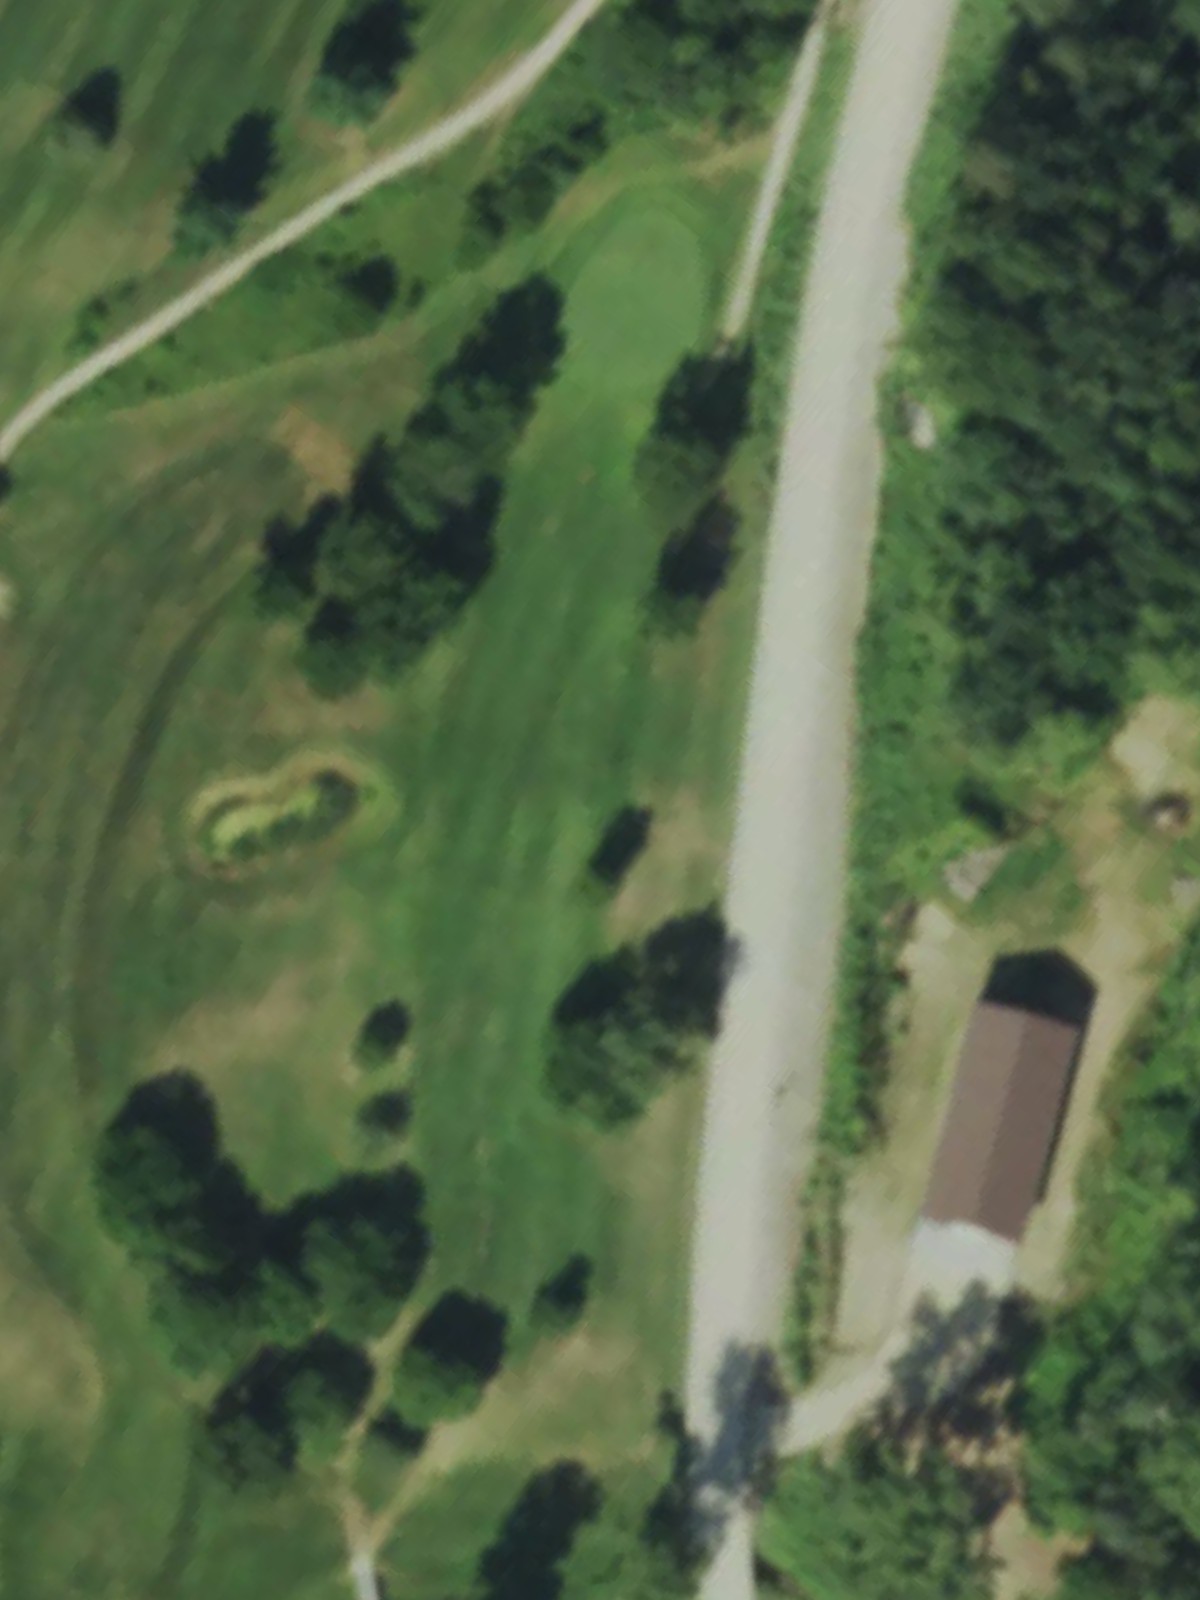
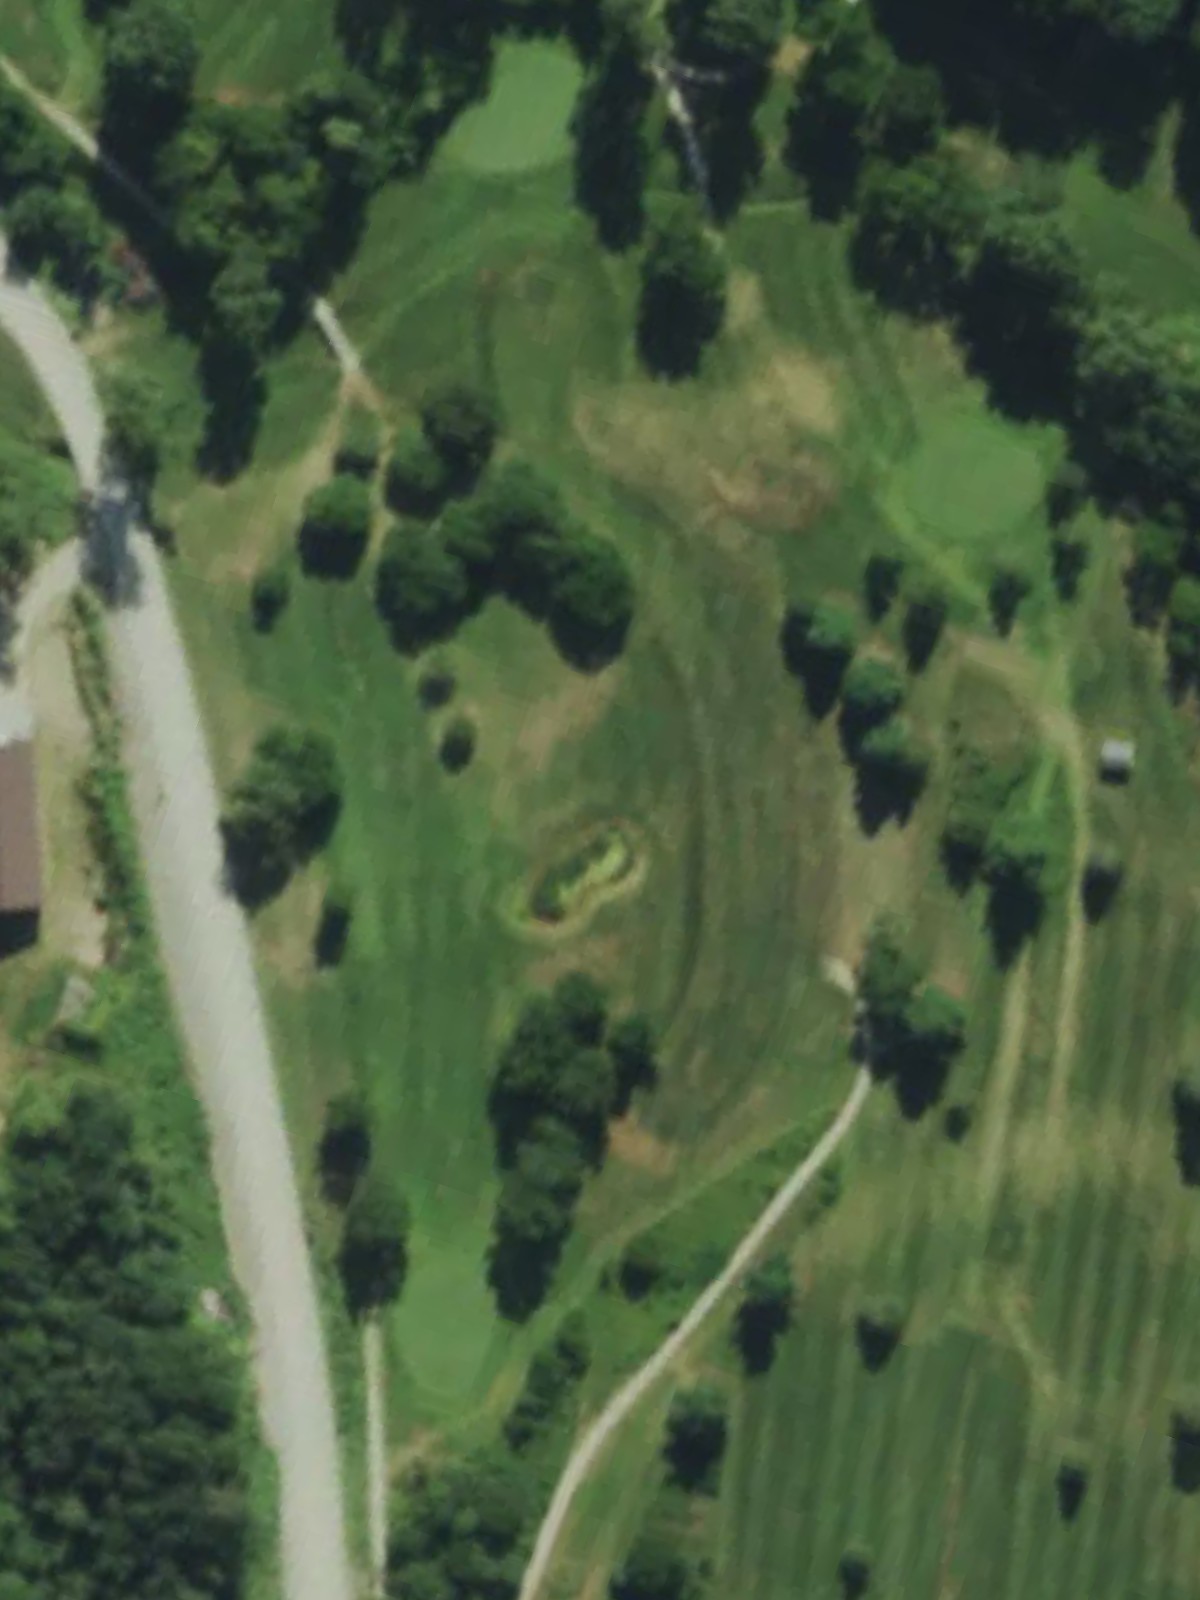
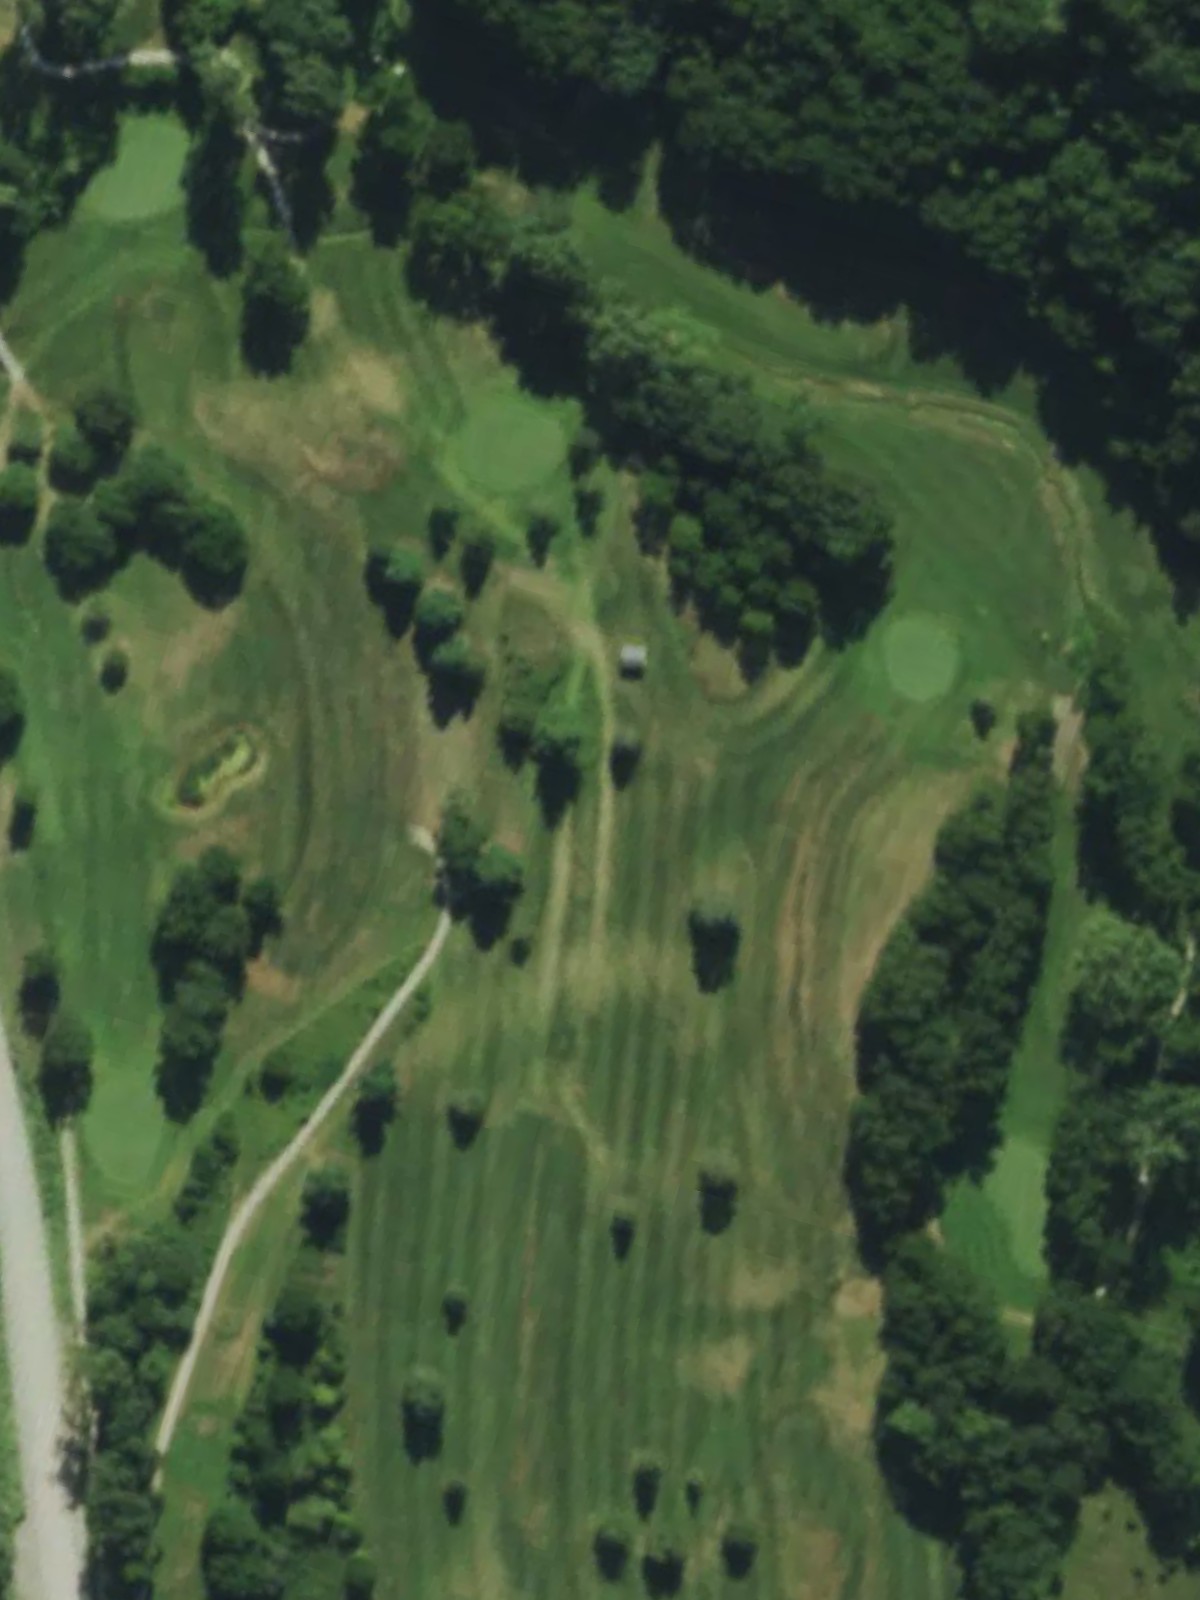
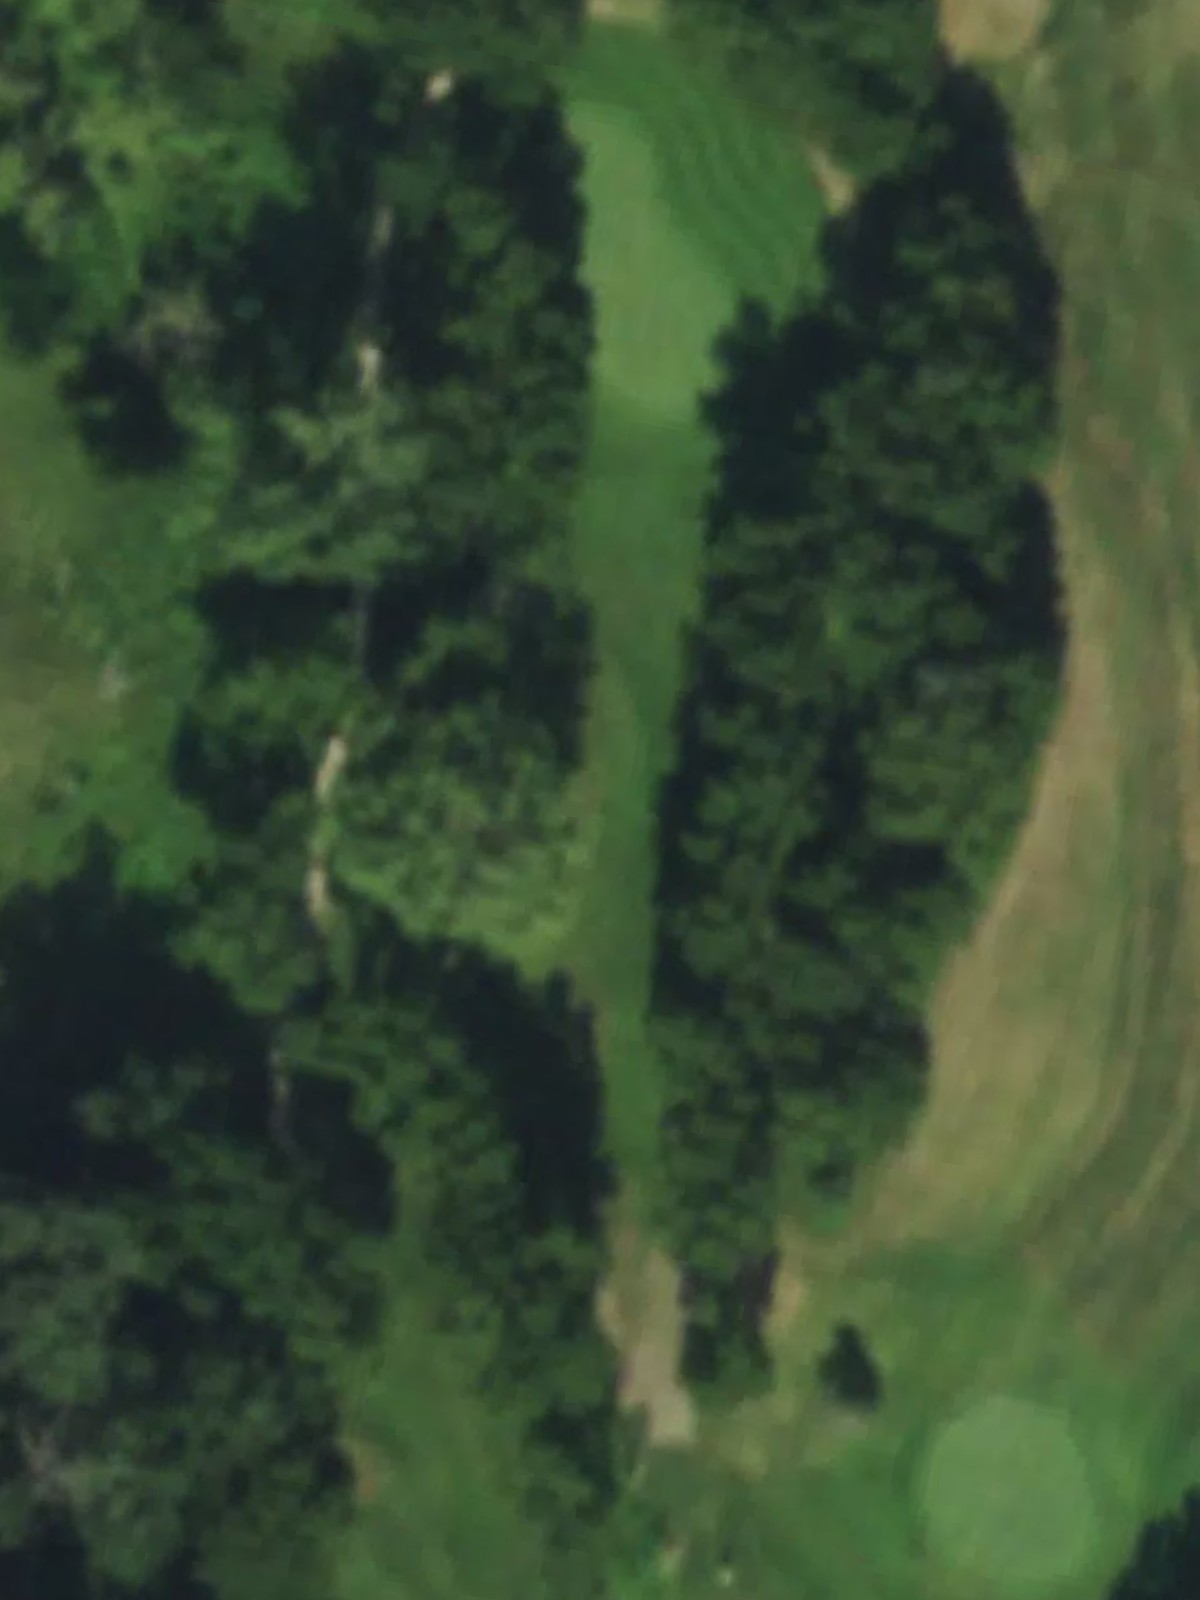
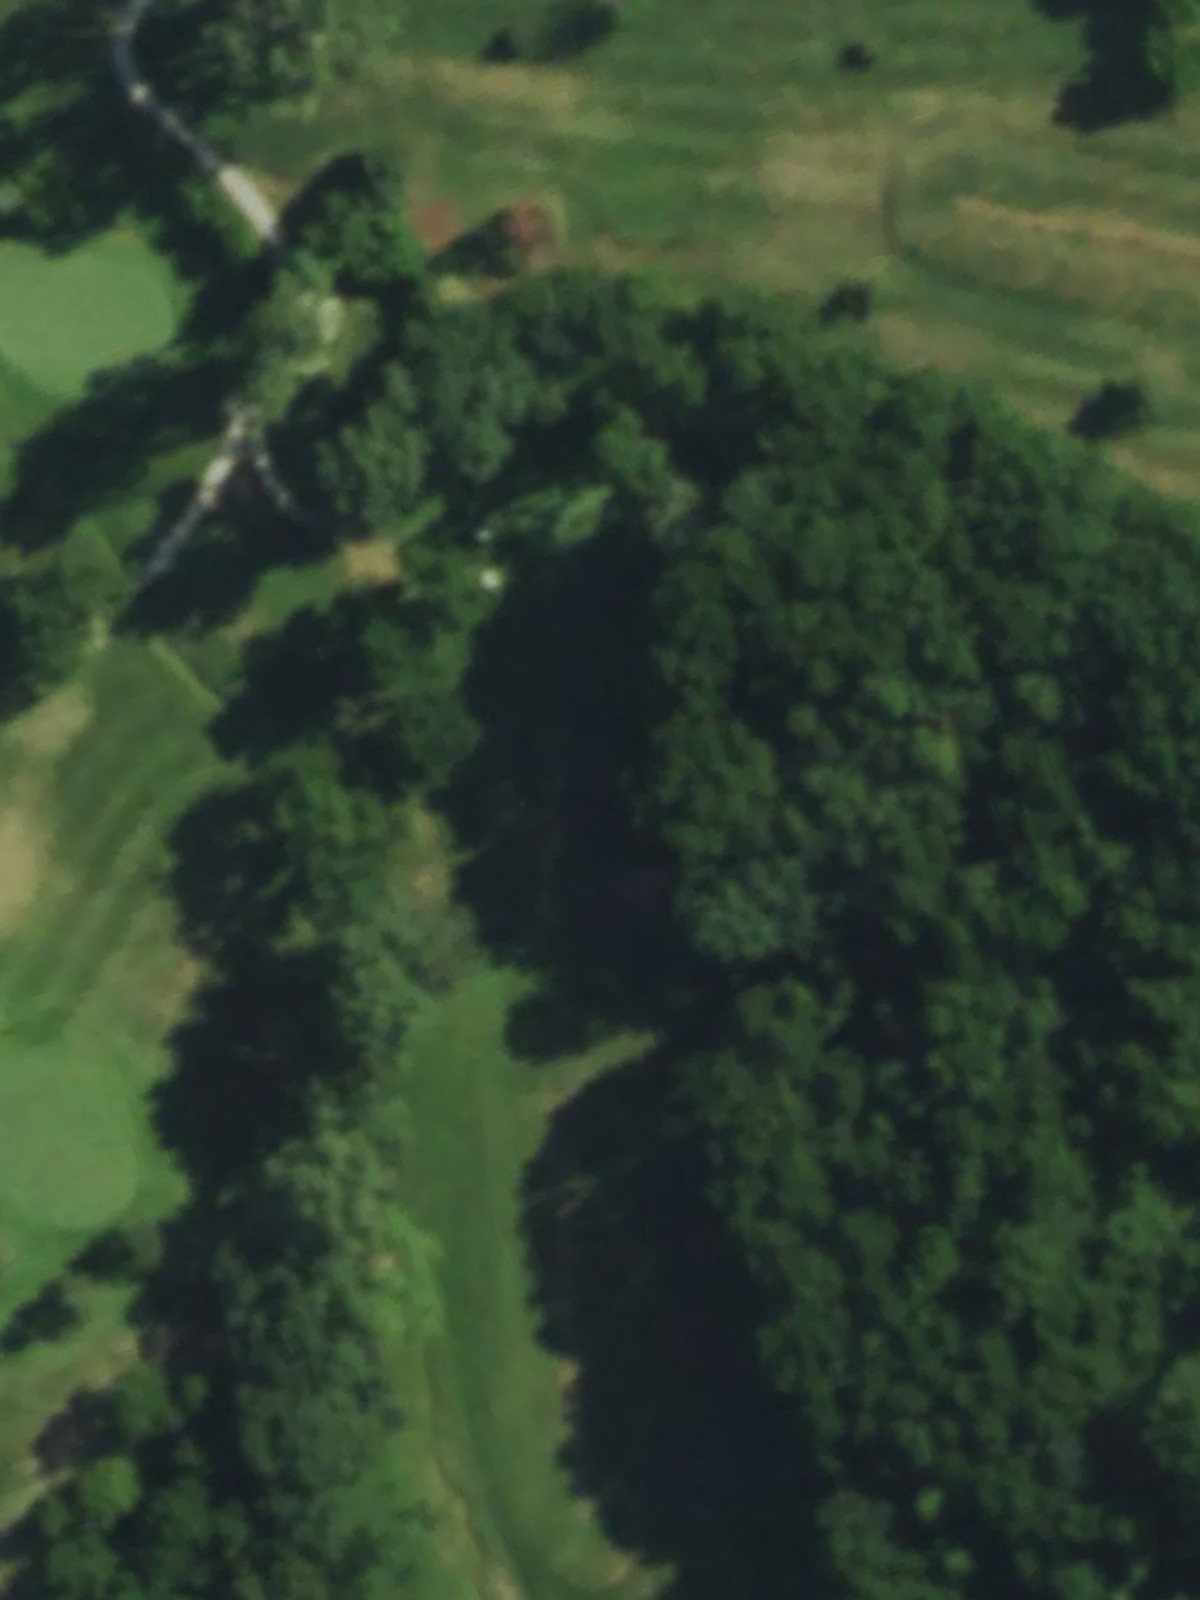
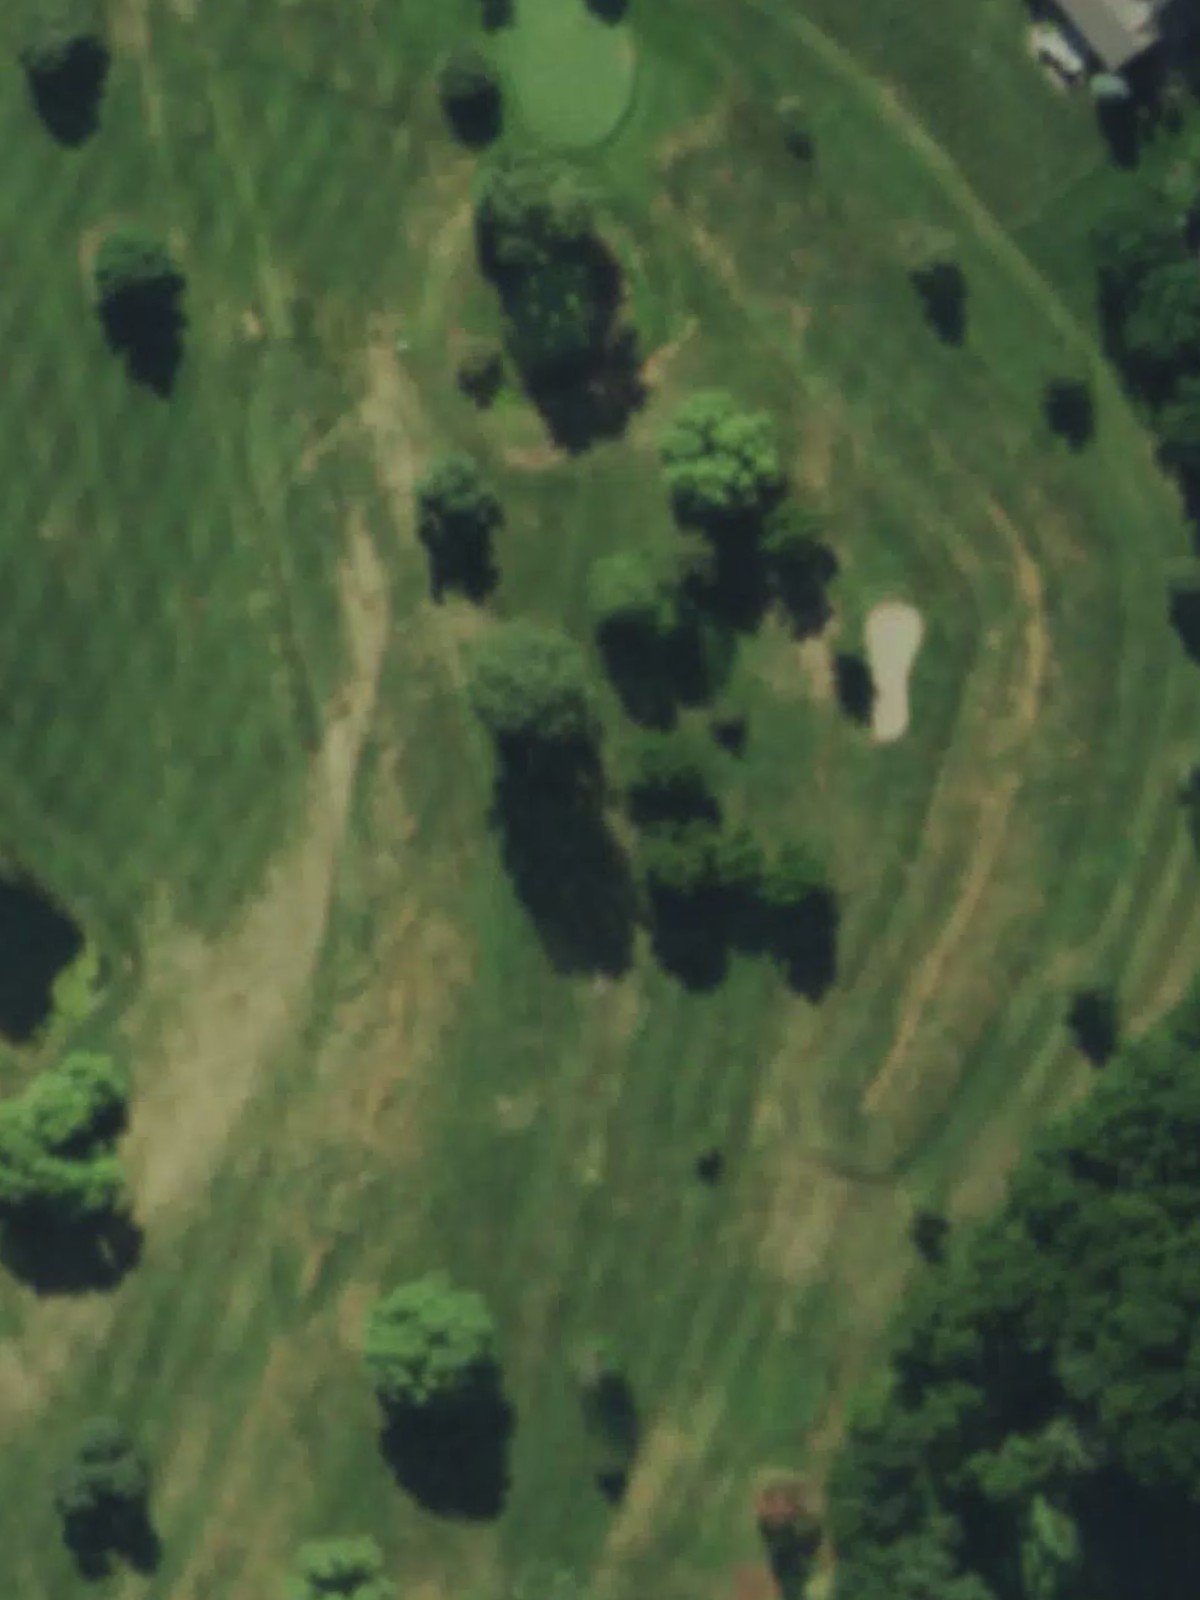
The Grove Golf Course is an 18-hole golf course in Cochrane, WI with a par of 70. It offers 4 tee sets: blue (5,897 yards, slope 116, rating 68.1), white (5,424 yards, slope 109, rating 66.2), green (4,906 yards, slope 100, rating 64.2), red (3,941 yards, slope 94, rating 60.9). The hardest hole is #9, a par 4 playing 248 yards from the first tee.
The Grove Golf Course
Cochrane, WI
Get PDF Yardage Book
We'll email you the PDF link. No spam, ever.
Create Your Game Plan
Pick your tees, enter your bag, and get a personalized shot-by-shot strategy for every hole.
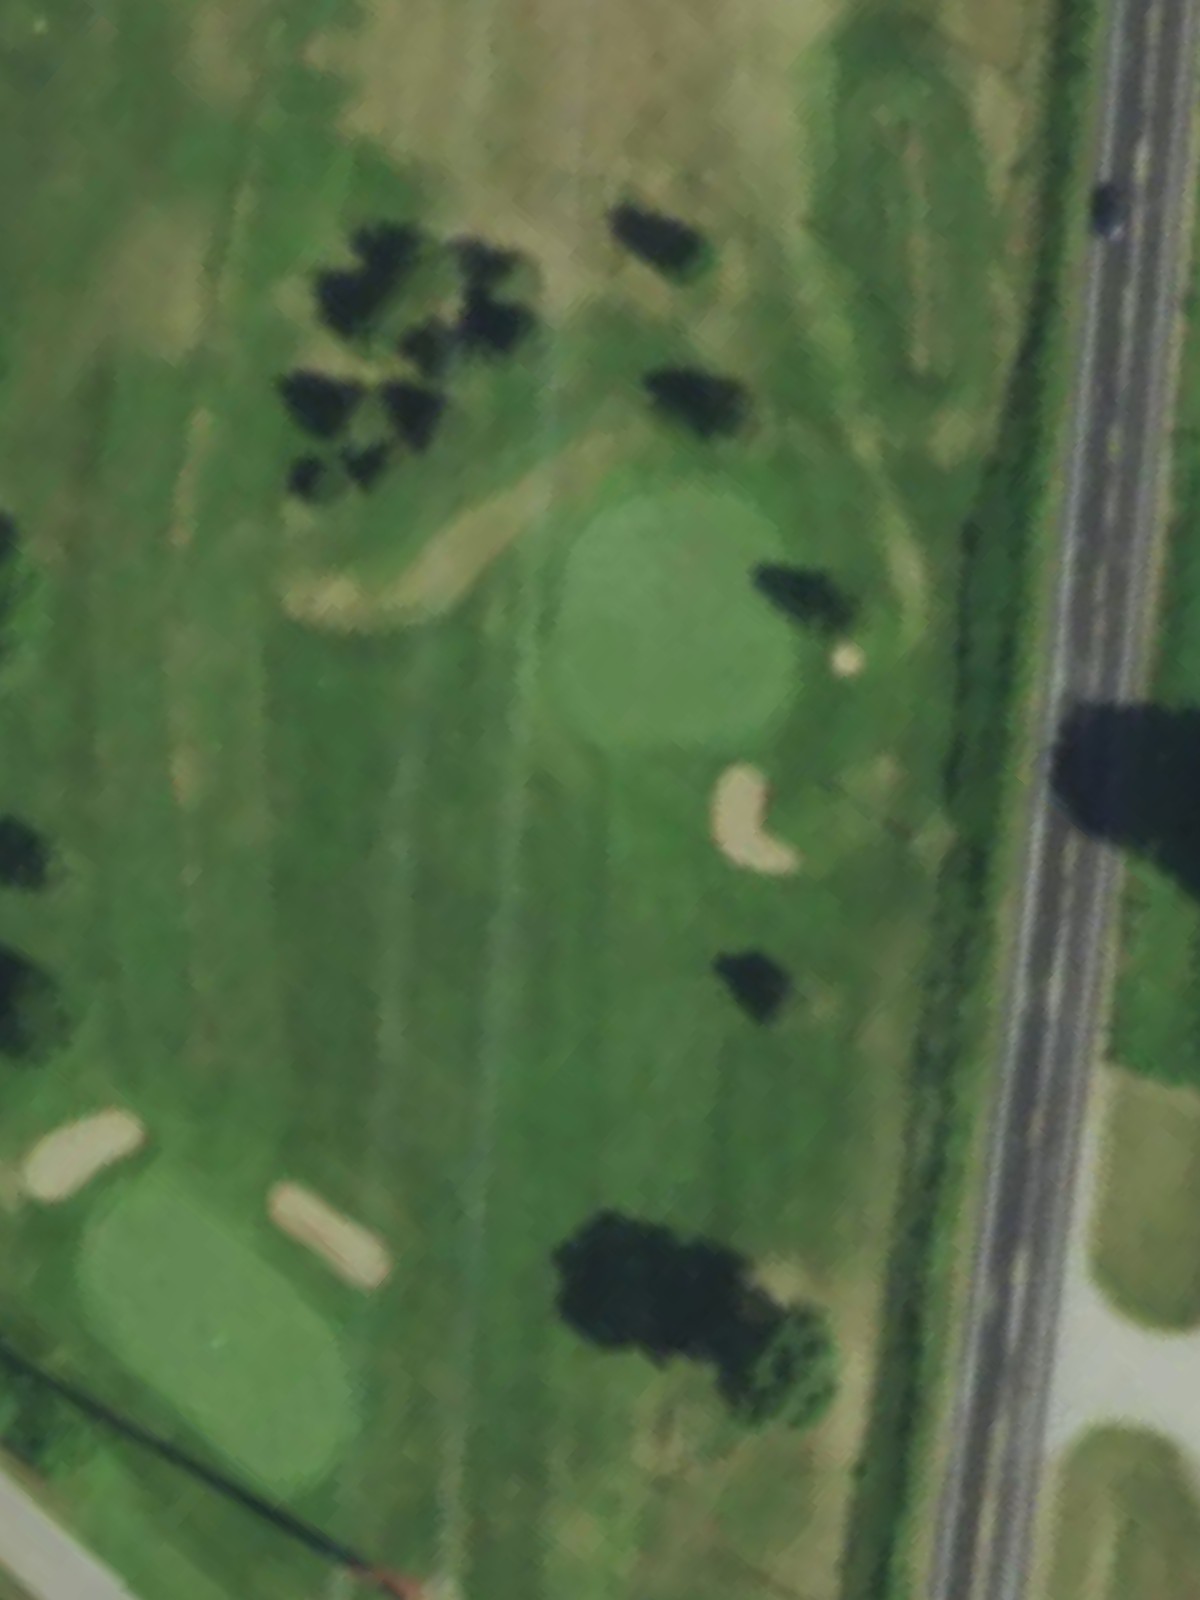
A straightforward opening par 4 with a welcoming fairway that gradually narrows as it approaches the green. Bunkers protect the right side of the putting surface, demanding accuracy on the approach shot.
A short par 3 that plays downhill to a relatively open green. The hole's brevity belies its precision requirement, as the exposed green offers little margin for error.

A gently dogleg-right par 4 with plenty of fairway width off the tee. The green sits in a natural amphitheater with bunkers guarding the left side, making the approach the hole's primary challenge.
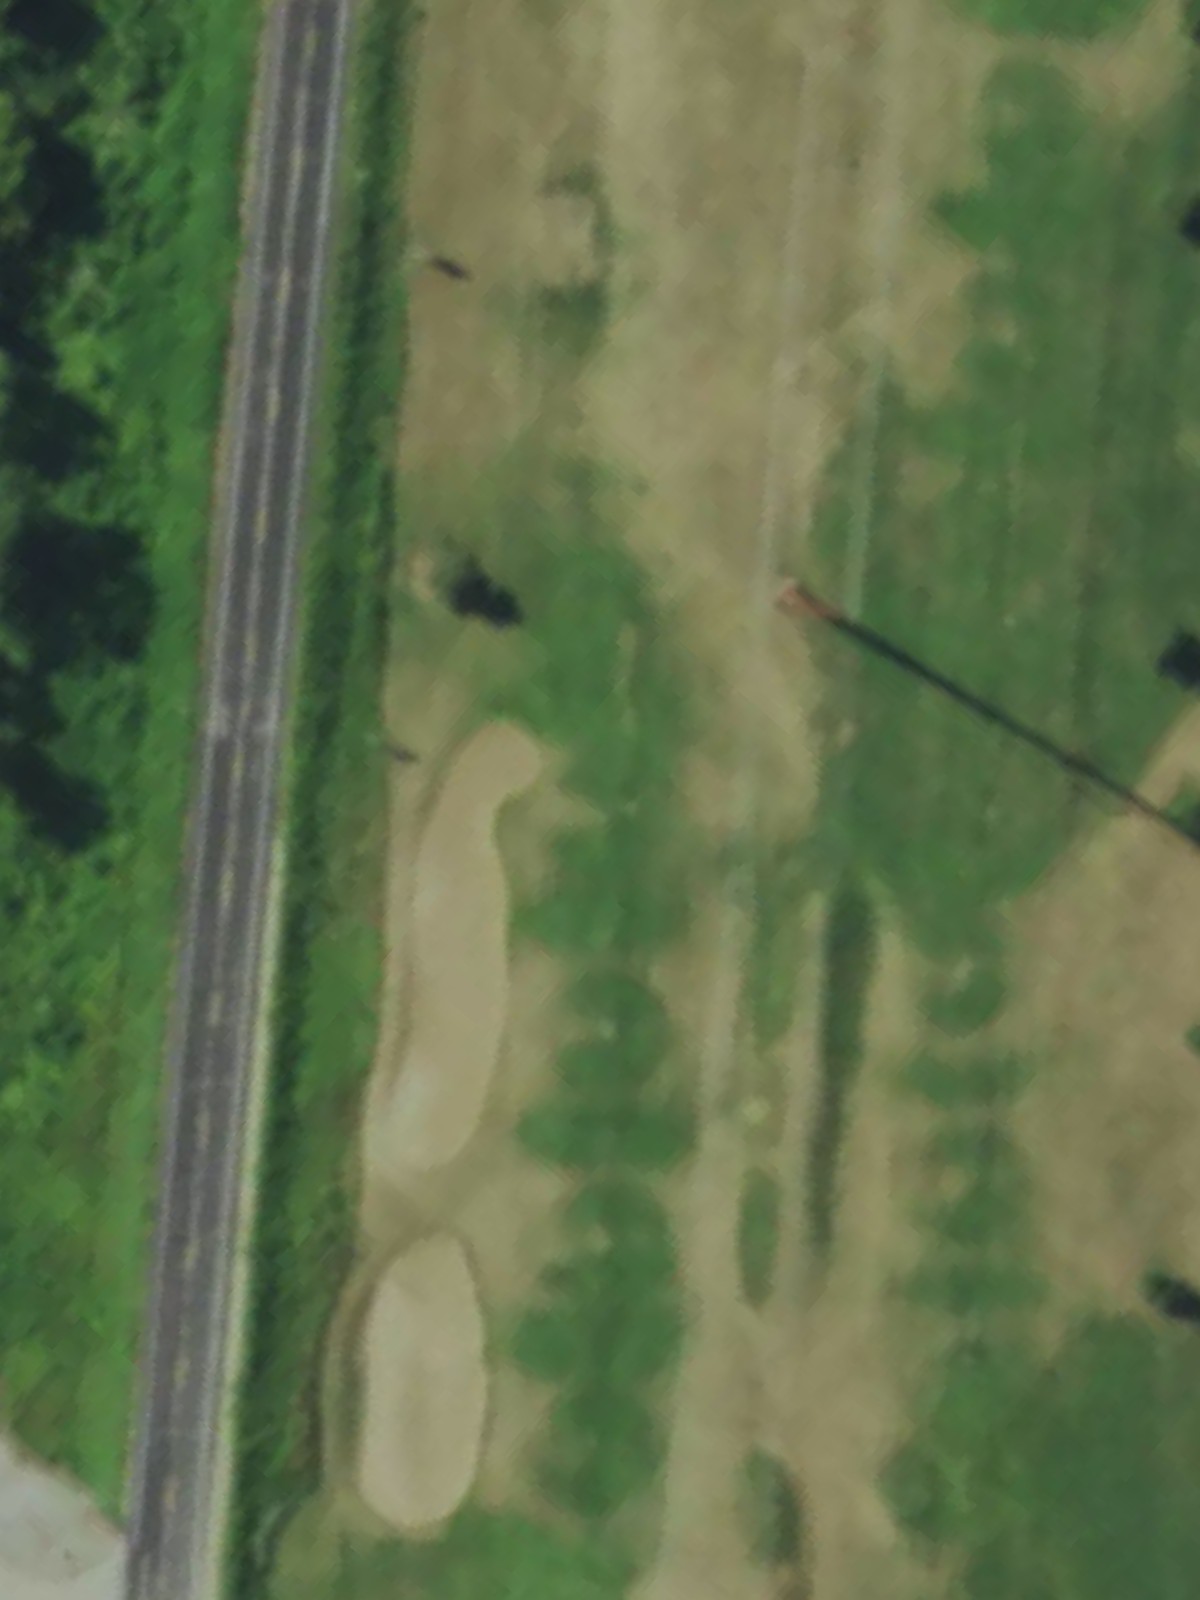
The hardest hole on the course, this par 4 demands length and accuracy with out-of-bounds lurking right and water threatening the left side throughout. The fairway narrows considerably 250 yards out, punishing anything wayward.
A sweeping par 5 that bends gently left through the heart of the course. Water hazards frame the left side, while bunkers guard the right approach, offering multiple strategic routes to the green.
A diminutive par 3 with a severely undulating green that presents significant elevation changes despite its short yardage. The small target and dramatic slopes make this deceptively challenging.
A short par 4 that plays uphill to an elevated green surrounded by bunkers. The compact fairway and elevated putting surface create a risk-reward scenario on the approach.
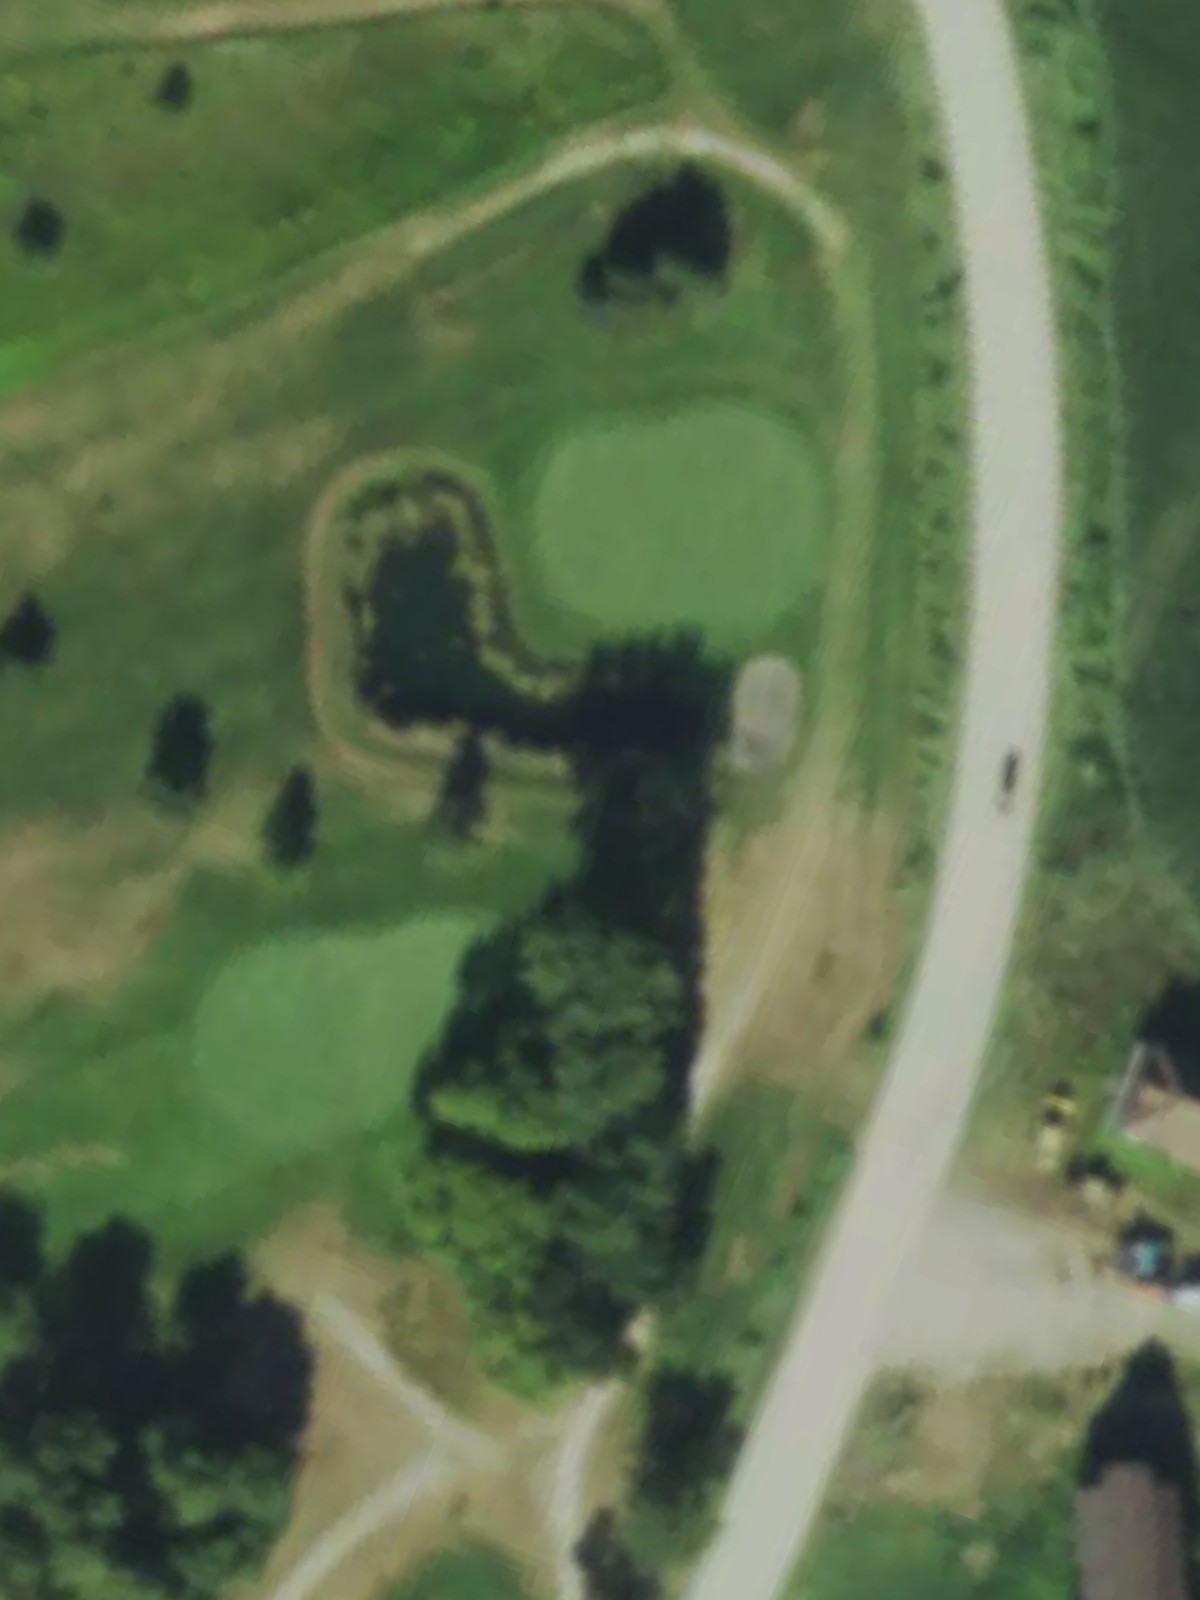
The course's shortest hole, this par 3 is essentially a pitch shot to a tight, well-bunkered green. Deceptive slopes on the green amplify the challenge despite the modest yardage.

The second-hardest hole on the course, this par 4 features a dramatic dogleg-left with water hazarding the entire left side and fairway. The narrow landing area and difficult approach make this a punishing finishing hole for the front nine.
A straightforward par 4 with a fair driving corridor and a green guarded by bunkers left and right. The relatively open approach provides a good scoring opportunity to begin the back nine.
A compact par 4 with bunkers flanking both sides of the fairway in the landing zone. The green sits elevated and well-protected, requiring a precise approach to a relatively small target.
The second-hardest hole on the course, this imposing par 4 stretches the field with length and water hazards protecting the left side throughout. The fairway tightens significantly near the green, demanding both power and control.
A diminutive par 3 with out-of-bounds left and bunkers right framing a narrow green. Despite its brevity, the hole's tight confines and surrounding hazards create a tense short-game test.
A dramatic par 5 featuring a dogleg-right with water guarding the inside of the turn and bunkers dotting the right side. The expansive fairway provides strategic options, but the water hazard controls the hole's architecture.

A generous par 5 that doglegs slightly left with water hazards protecting the left side and bunkers right. The length and width offer multiple routes, but accuracy is required to avoid the water and set up scoring opportunities.
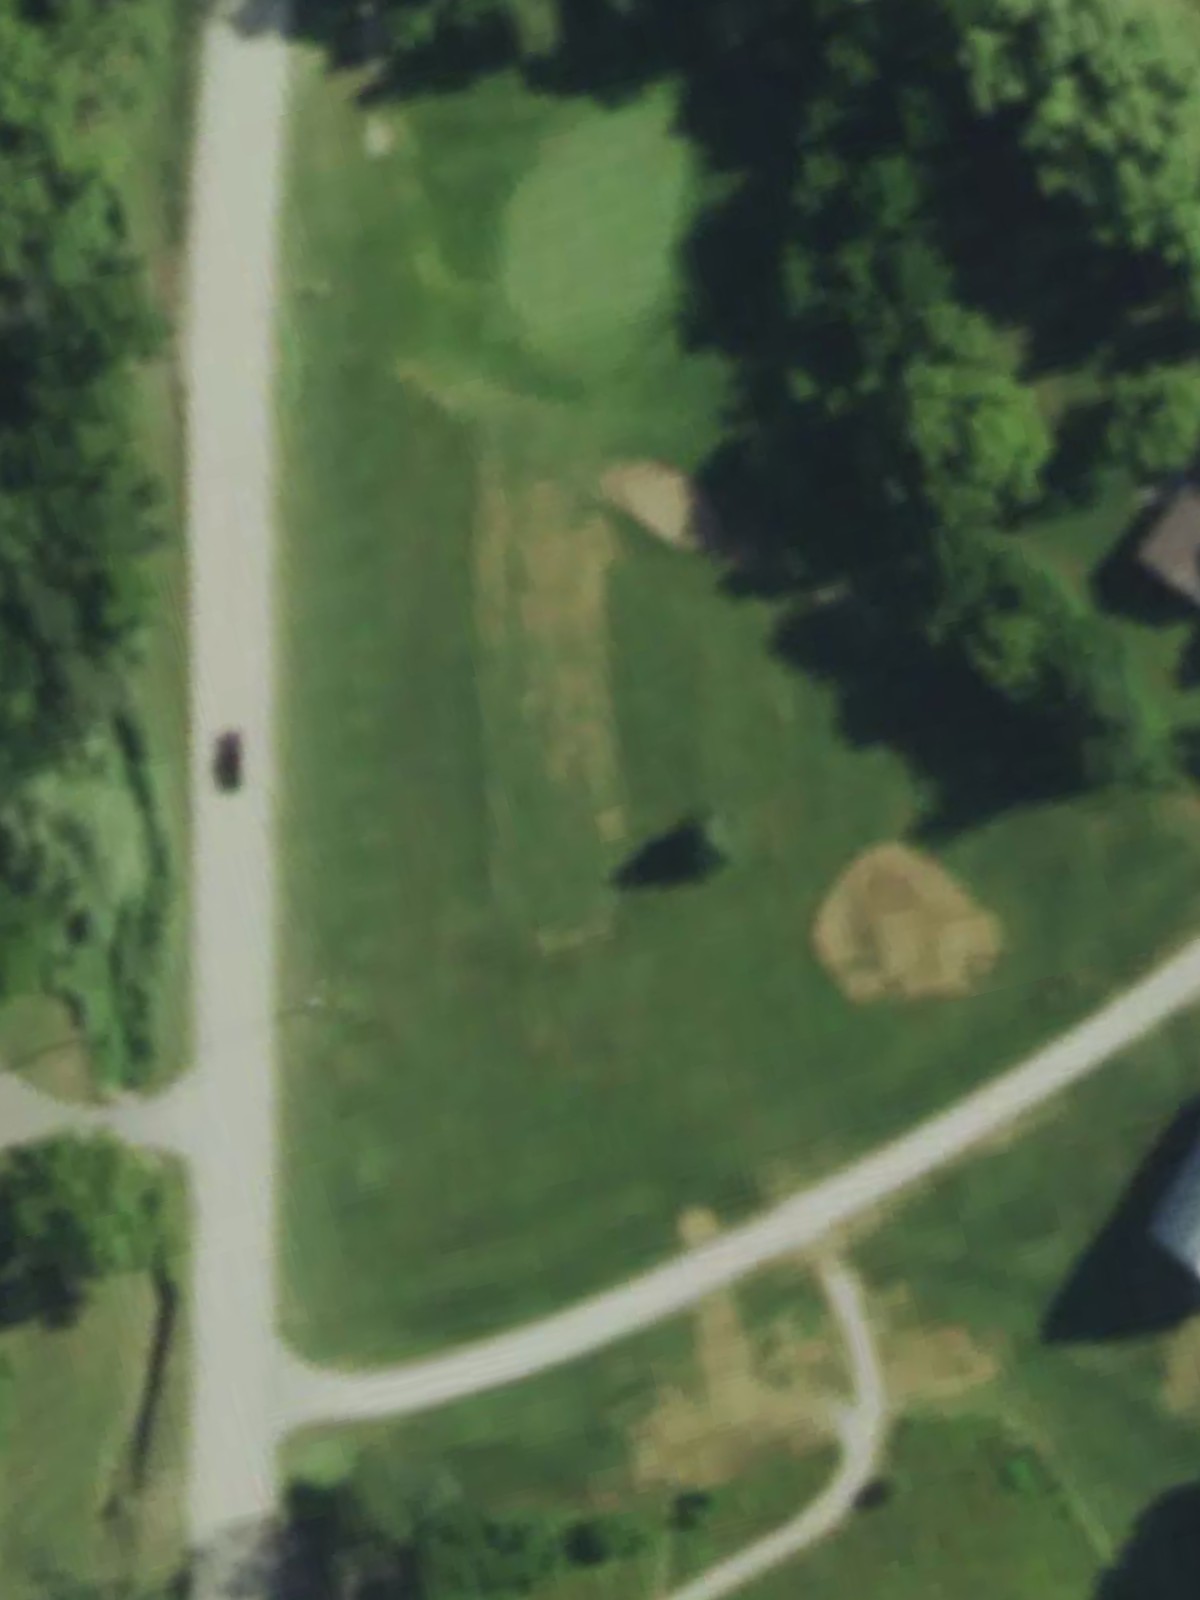
The easiest hole on the course, this par 3 plays to a receptive green with minimal hazards. The open green provides the most forgiving target of any par 3, offering a genuine birdie opportunity.
A short par 4 with a narrow fairway that bends right toward the green. Bunkers guard the inside of the dogleg, while the compressed fairway and tight approach create challenge despite the modest yardage.
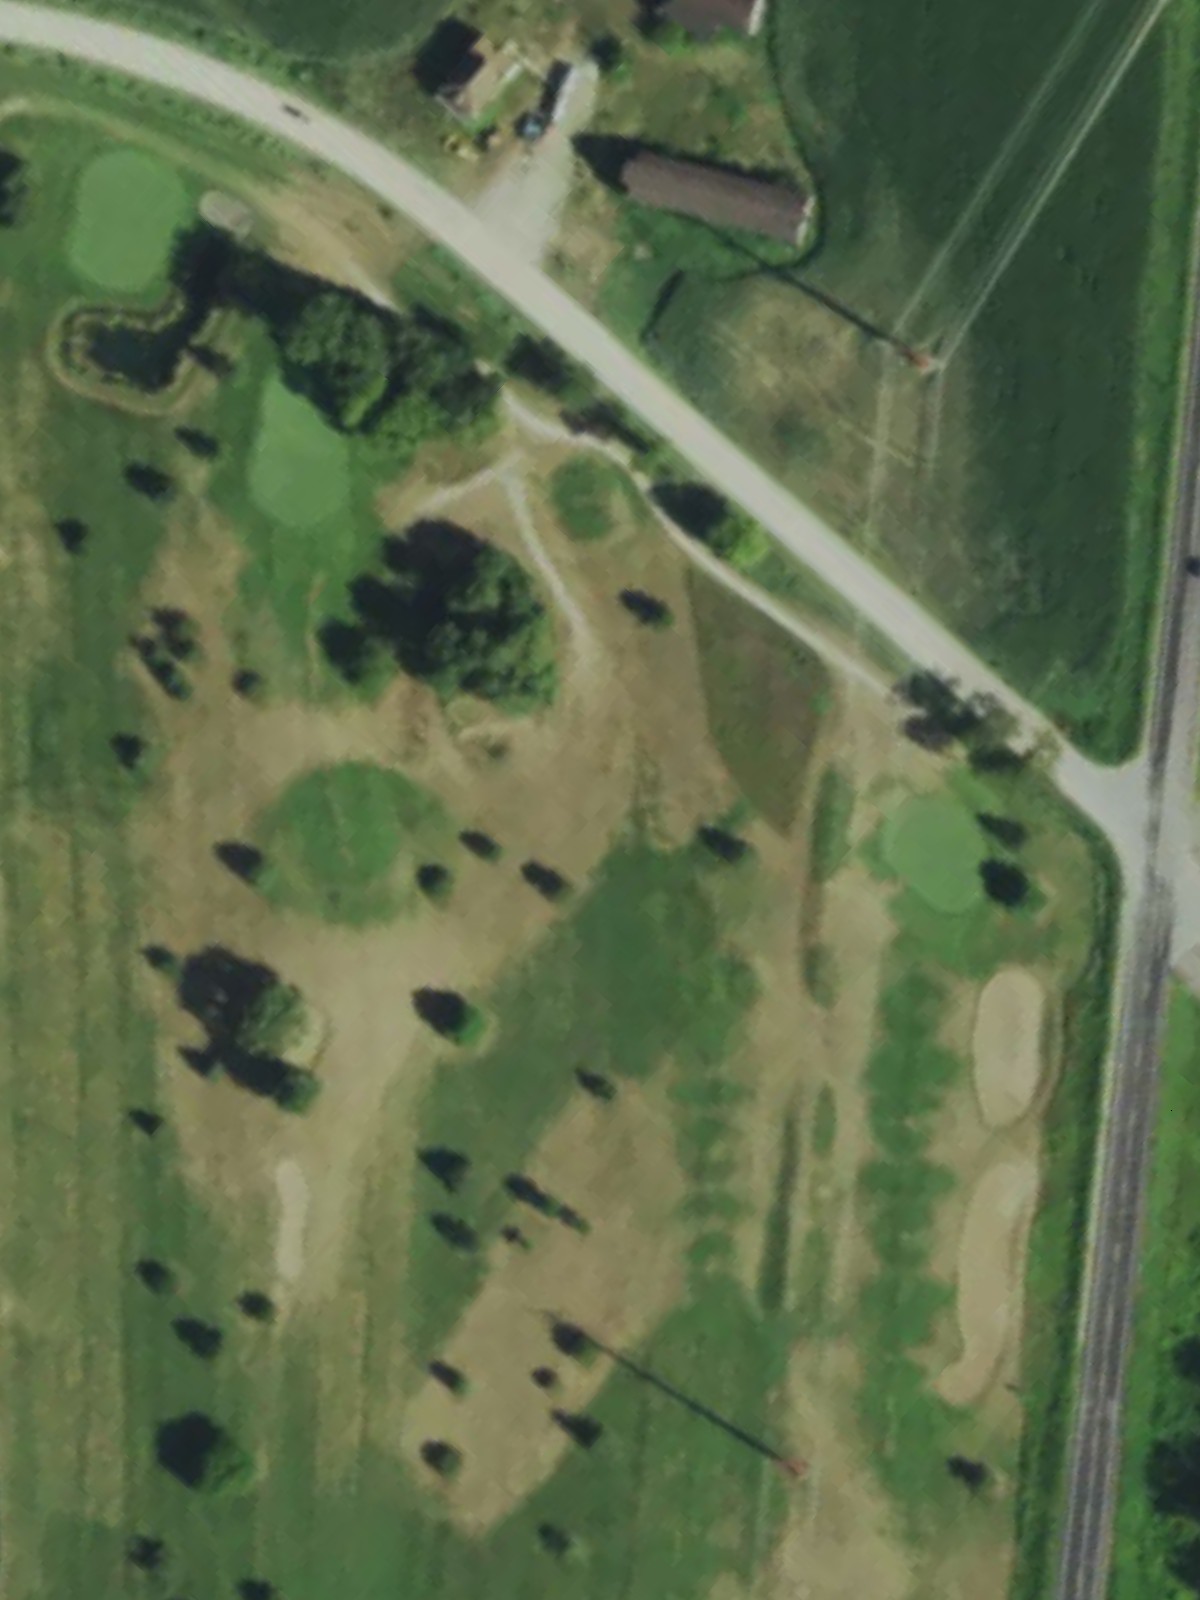
A balanced finishing par 4 with bunkers guarding both sides of the fairway and the green. The hole's strategic design requires accurate placement off the tee to set up a manageable approach to a well-defended green.
Scorecard
| Hole | 1 | 2 | 3 | 4 | 5 | 6 | 7 | 8 | 9 | Out | 10 | 11 | 12 | 13 | 14 | 15 | 16 | 17 | 18 | In | Tot |
|---|---|---|---|---|---|---|---|---|---|---|---|---|---|---|---|---|---|---|---|---|---|
| Par | 4 | 3 | 4 | 4 | 5 | 3 | 4 | 3 | 4 | 34 | 4 | 4 | 4 | 3 | 5 | 5 | 3 | 4 | 4 | 36 | 70 |
| HCP | 9 | 7 | 13 | 3 | 5 | 15 | 11 | 17 | 1 | 8 | 6 | 2 | 16 | 4 | 12 | 18 | 14 | 10 | |||
| blue | 369 | 210 | 382 | 449 | 513 | 154 | 275 | 93 | 408 | 2853 | 358 | 324 | 424 | 130 | 533 | 513 | 136 | 289 | 337 | 3044 | 5897 |
| white | 347 | 199 | 344 | 382 | 480 | 142 | 264 | 82 | 371 | 2611 | 330 | 297 | 384 | 121 | 490 | 480 | 117 | 286 | 308 | 2813 | 5424 |
| green | 322 | 188 | 302 | 371 | 396 | 131 | 252 | 82 | 307 | 2351 | 285 | 289 | 338 | 121 | 451 | 408 | 117 | 249 | 297 | 2555 | 4906 |
| red | 269 | 105 | 246 | 309 | 346 | 95 | 199 | 71 | 248 | 1888 | 247 | 221 | 207 | 80 | 410 | 366 | 89 | 193 | 240 | 2053 | 3941 |