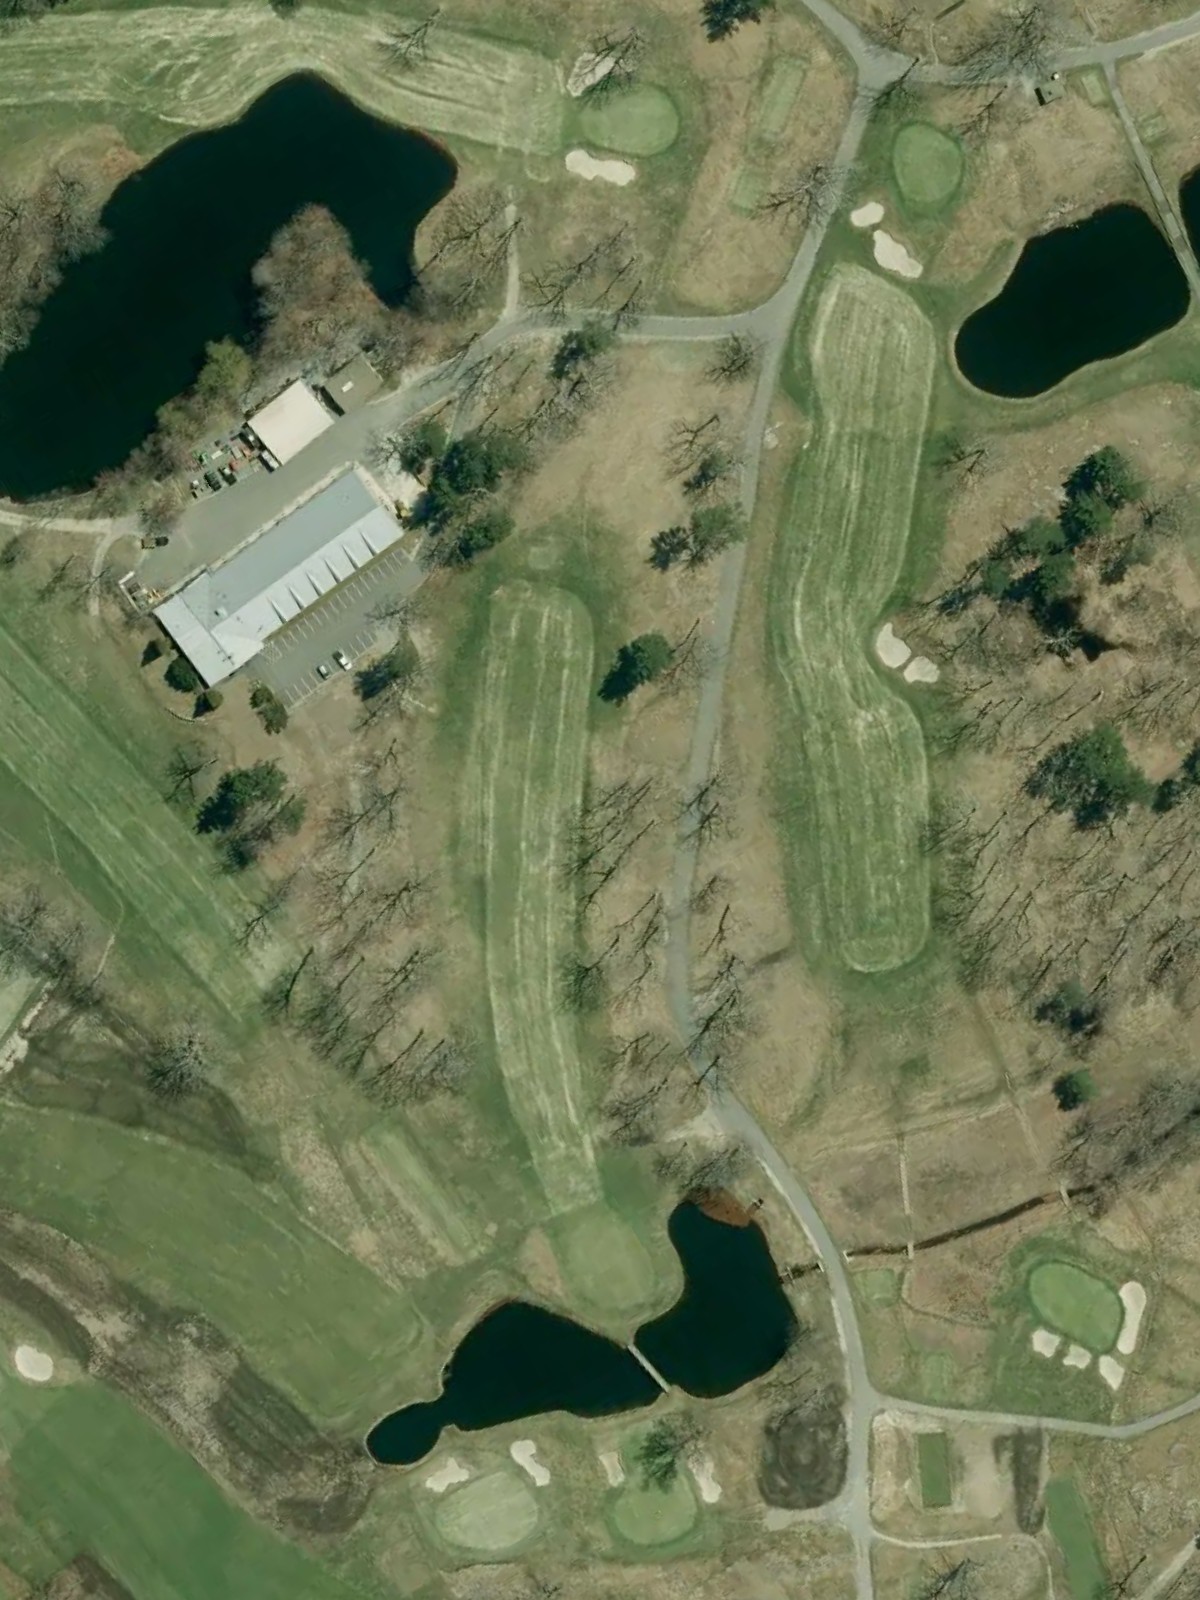
The Country Club is an 18-hole golf course in Brookline, MA with a par of 71. It offers 5 tee sets: black (7,381 yards, slope 153, rating 77.8), blue (6,977 yards, slope 147, rating 76.1), white (6,580 yards, slope 143, rating 74), yellow (6,150 yards, slope 141, rating 72.3), red (5,435 yards, slope 134, rating 69.2). The hardest hole is #4, a par 4 playing 284 yards from the first tee.
The Country Club
Brookline, MA
Get PDF Yardage Book
We'll email you the PDF link. No spam, ever.
Create Your Game Plan
Pick your tees, enter your bag, and get a personalized shot-by-shot strategy for every hole.
A straightforward par 4 with a wide-open fairway that gradually narrows as it approaches the green. Bunkers guard both sides of the green, requiring accuracy on the approach shot to a relatively shallow putting surface.
A short par 3 playing to an elevated green with minimal hazards. The green's elevated position and modest size make club selection and accuracy the primary challenges on this opening one-shotter.
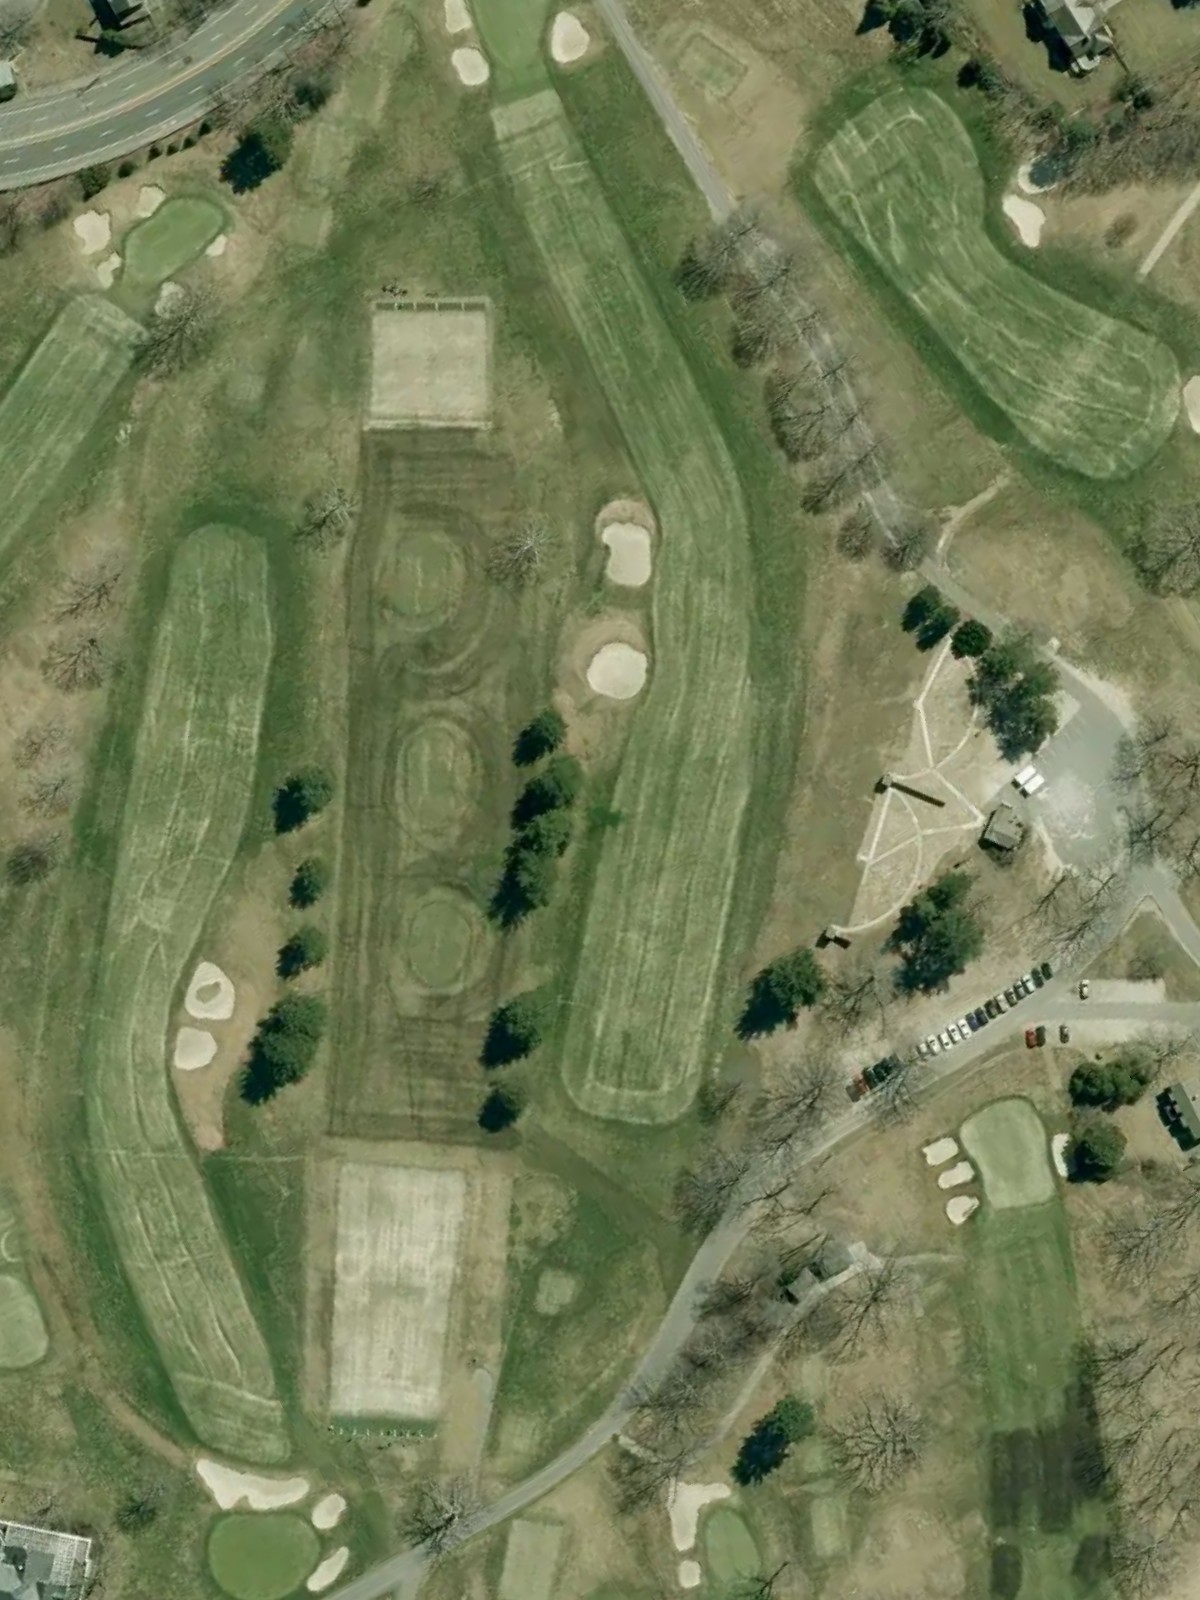
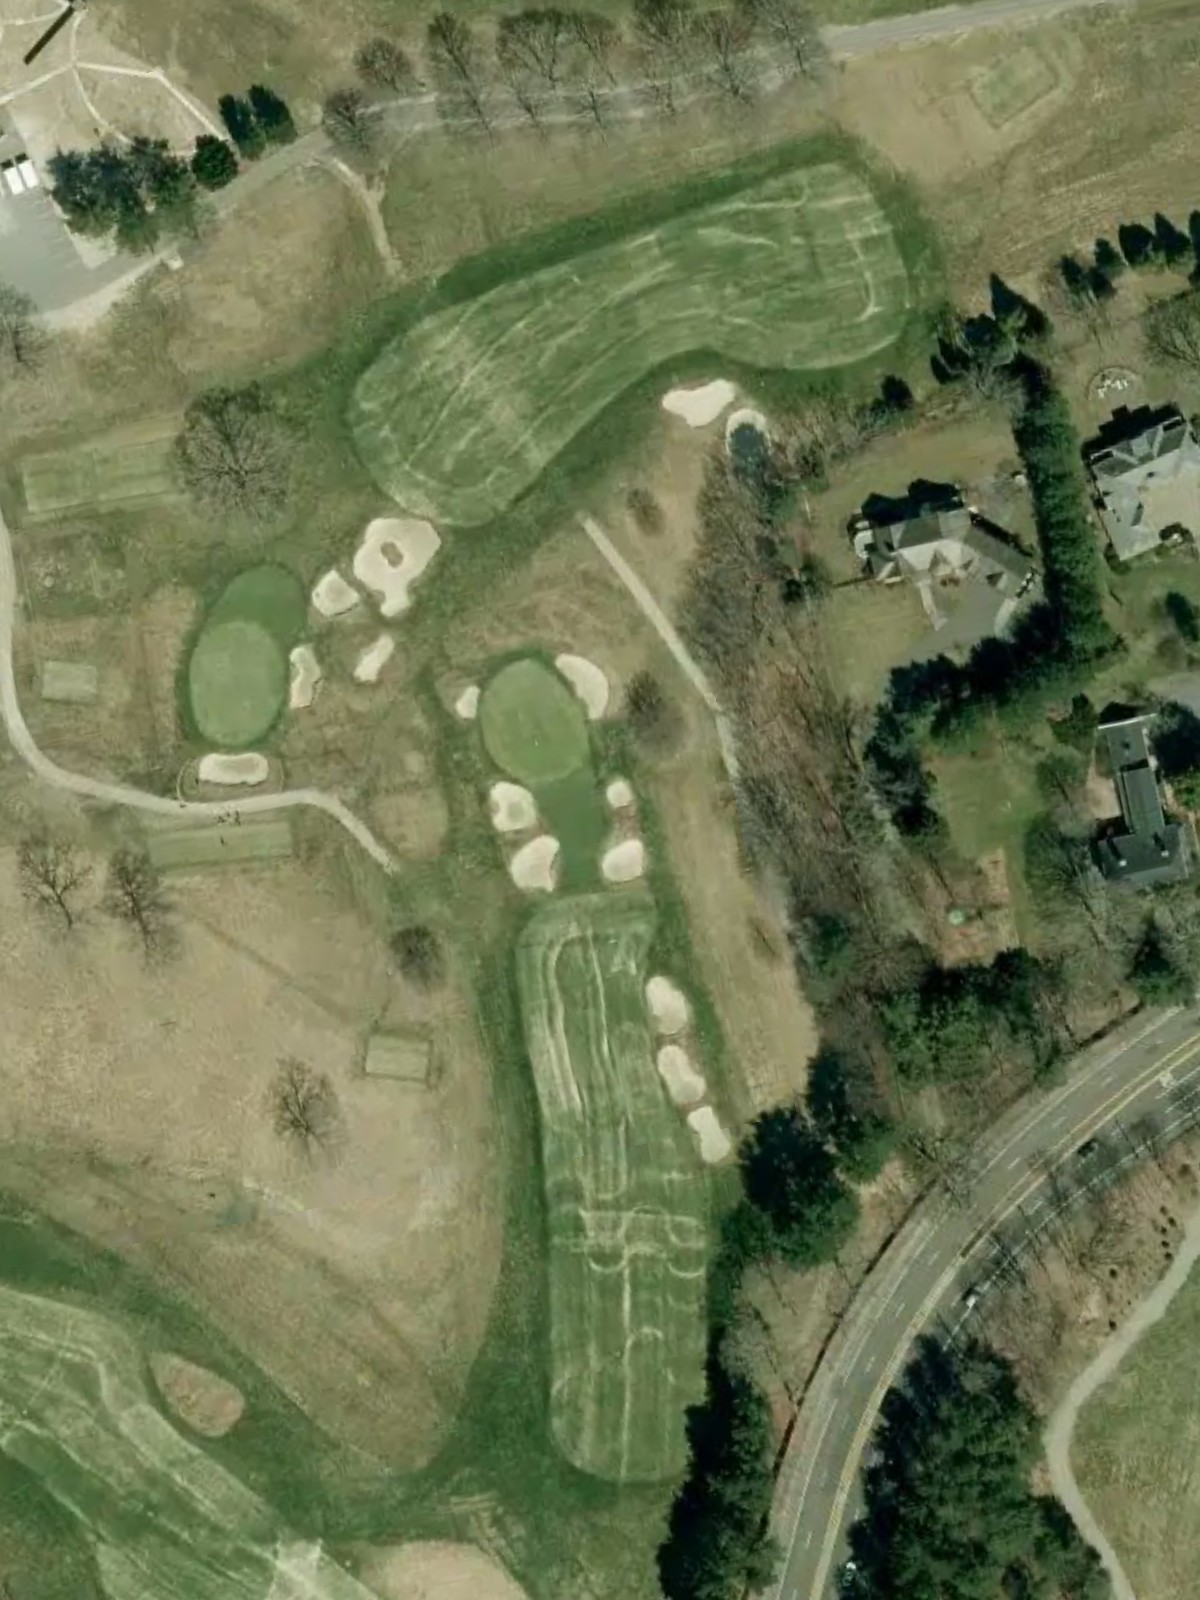
A challenging par 4 that plays as the course's third-hardest hole, with a fairway that demands precision off the tee. Bunkers and rough frame the landing area, while additional hazards guard the green entrance to punish wayward approaches.
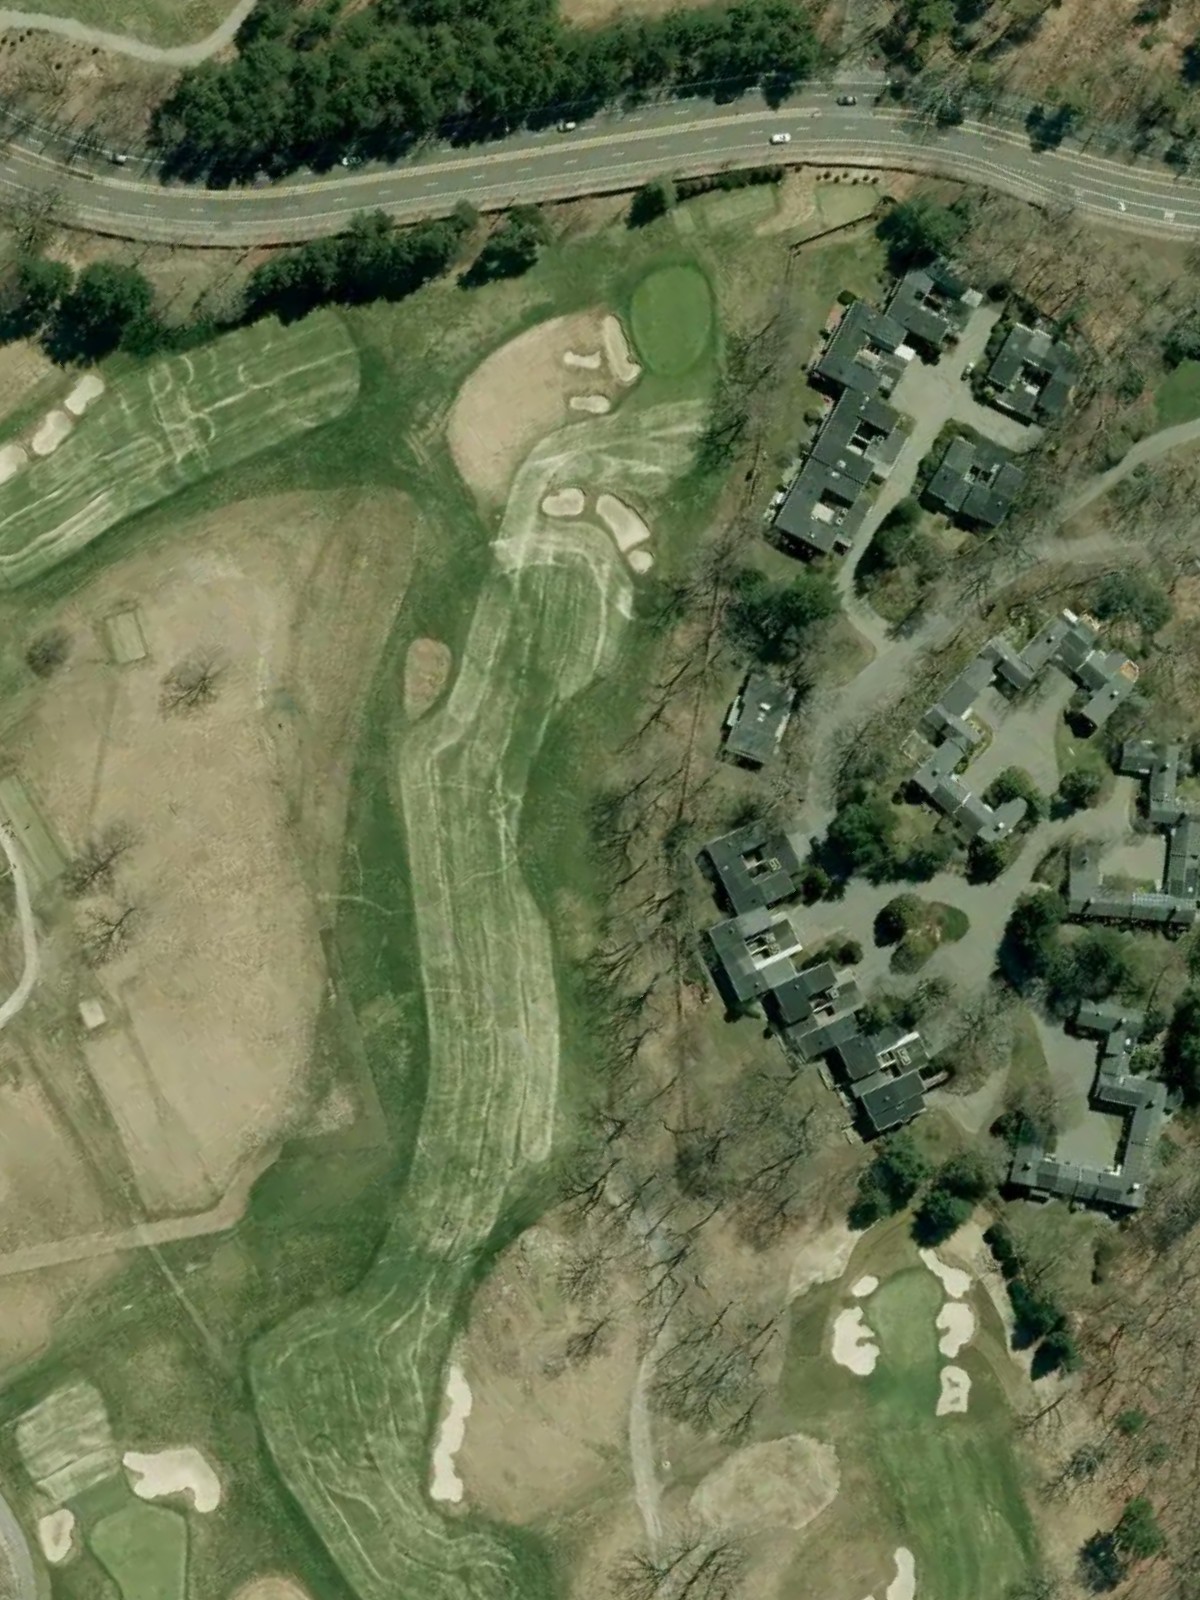
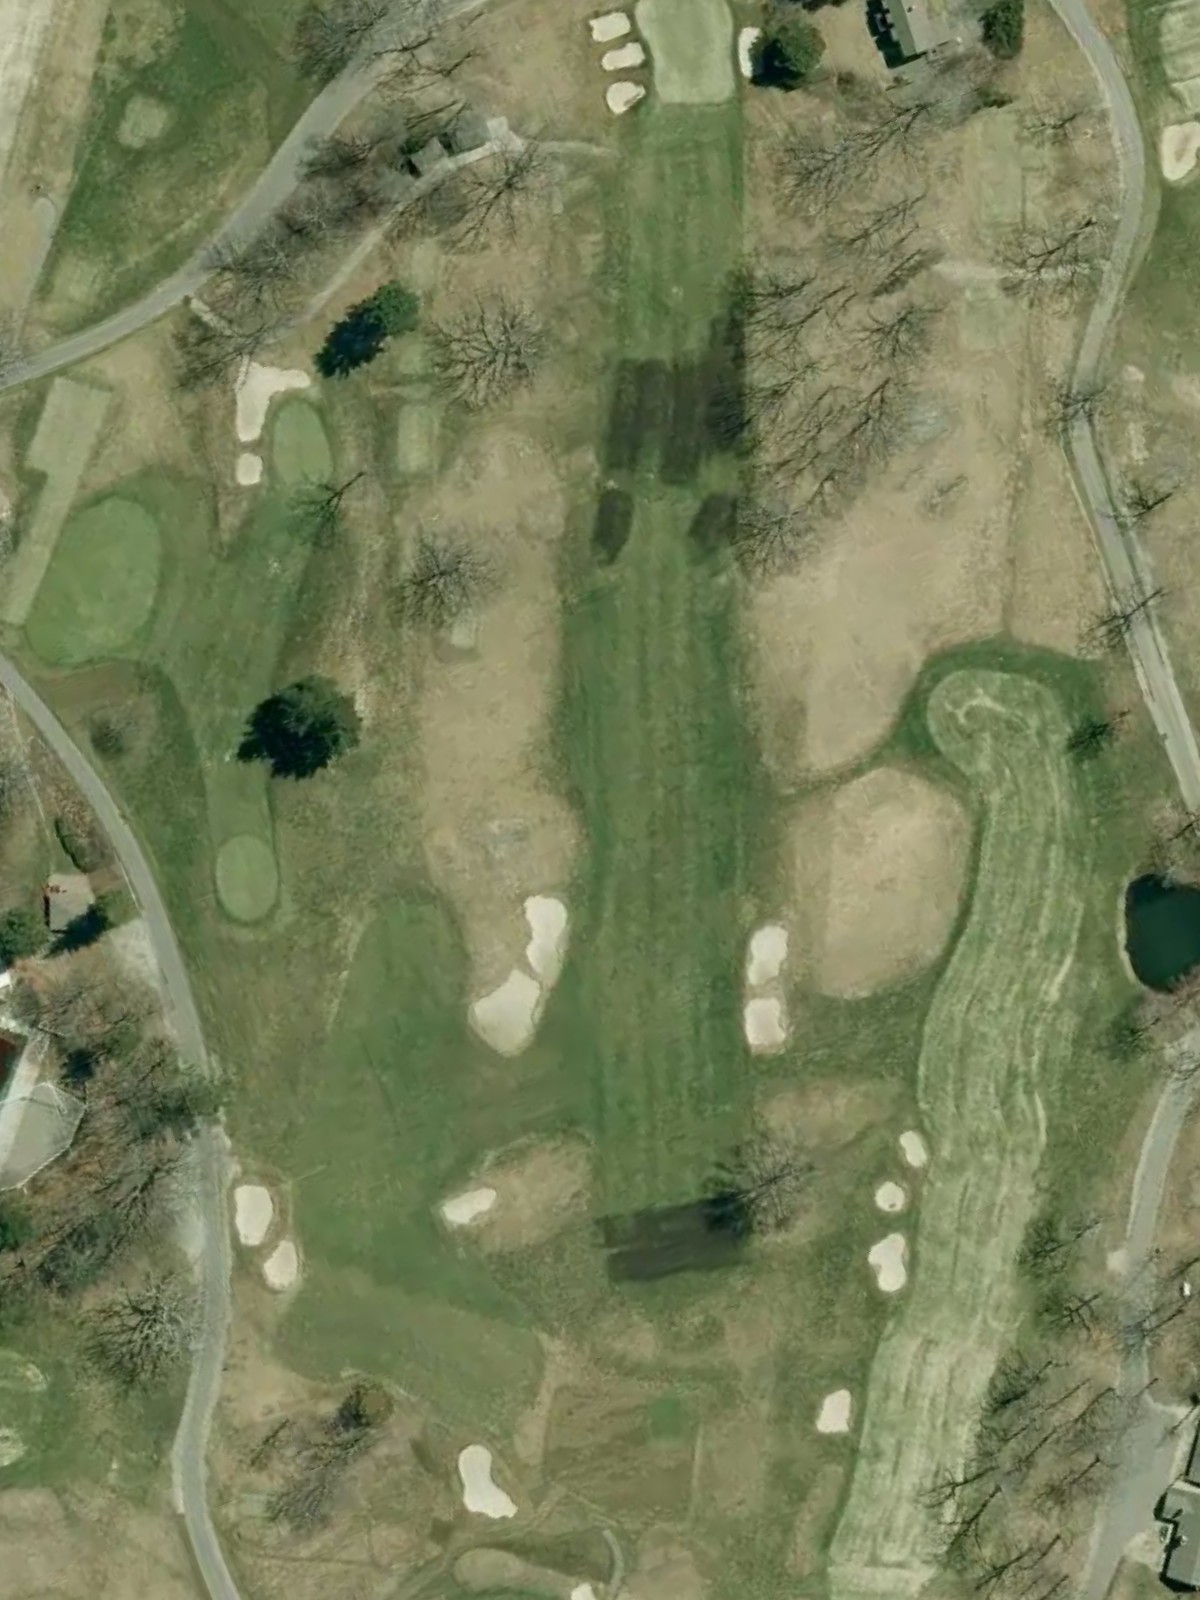
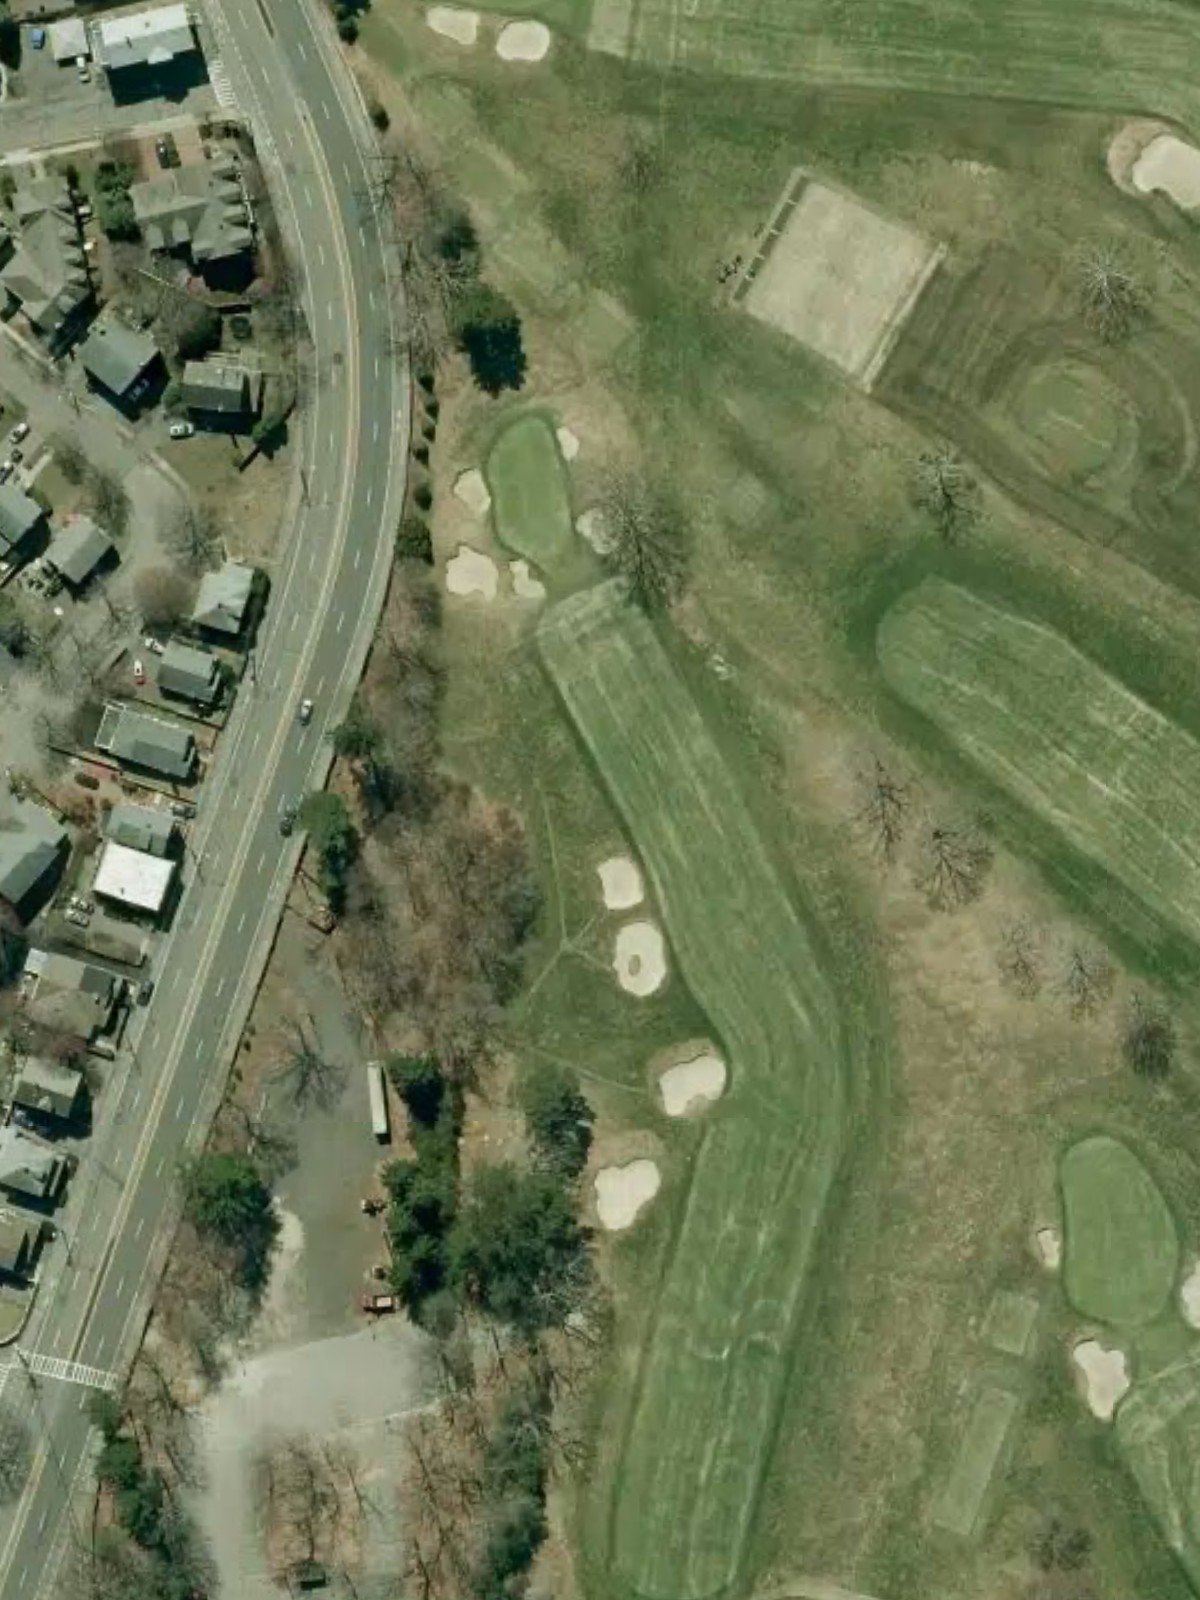
The course's most difficult hole, this par 4 features a tight fairway with trouble lurking on both sides. The green is well-bunkered and requires a precise approach to avoid penalty strokes on this demanding test.
A short, straightforward par 4 that offers a birdie opportunity for those who find the fairway. The modest length and relatively open green create an inviting scoring hole compared to its neighbors.
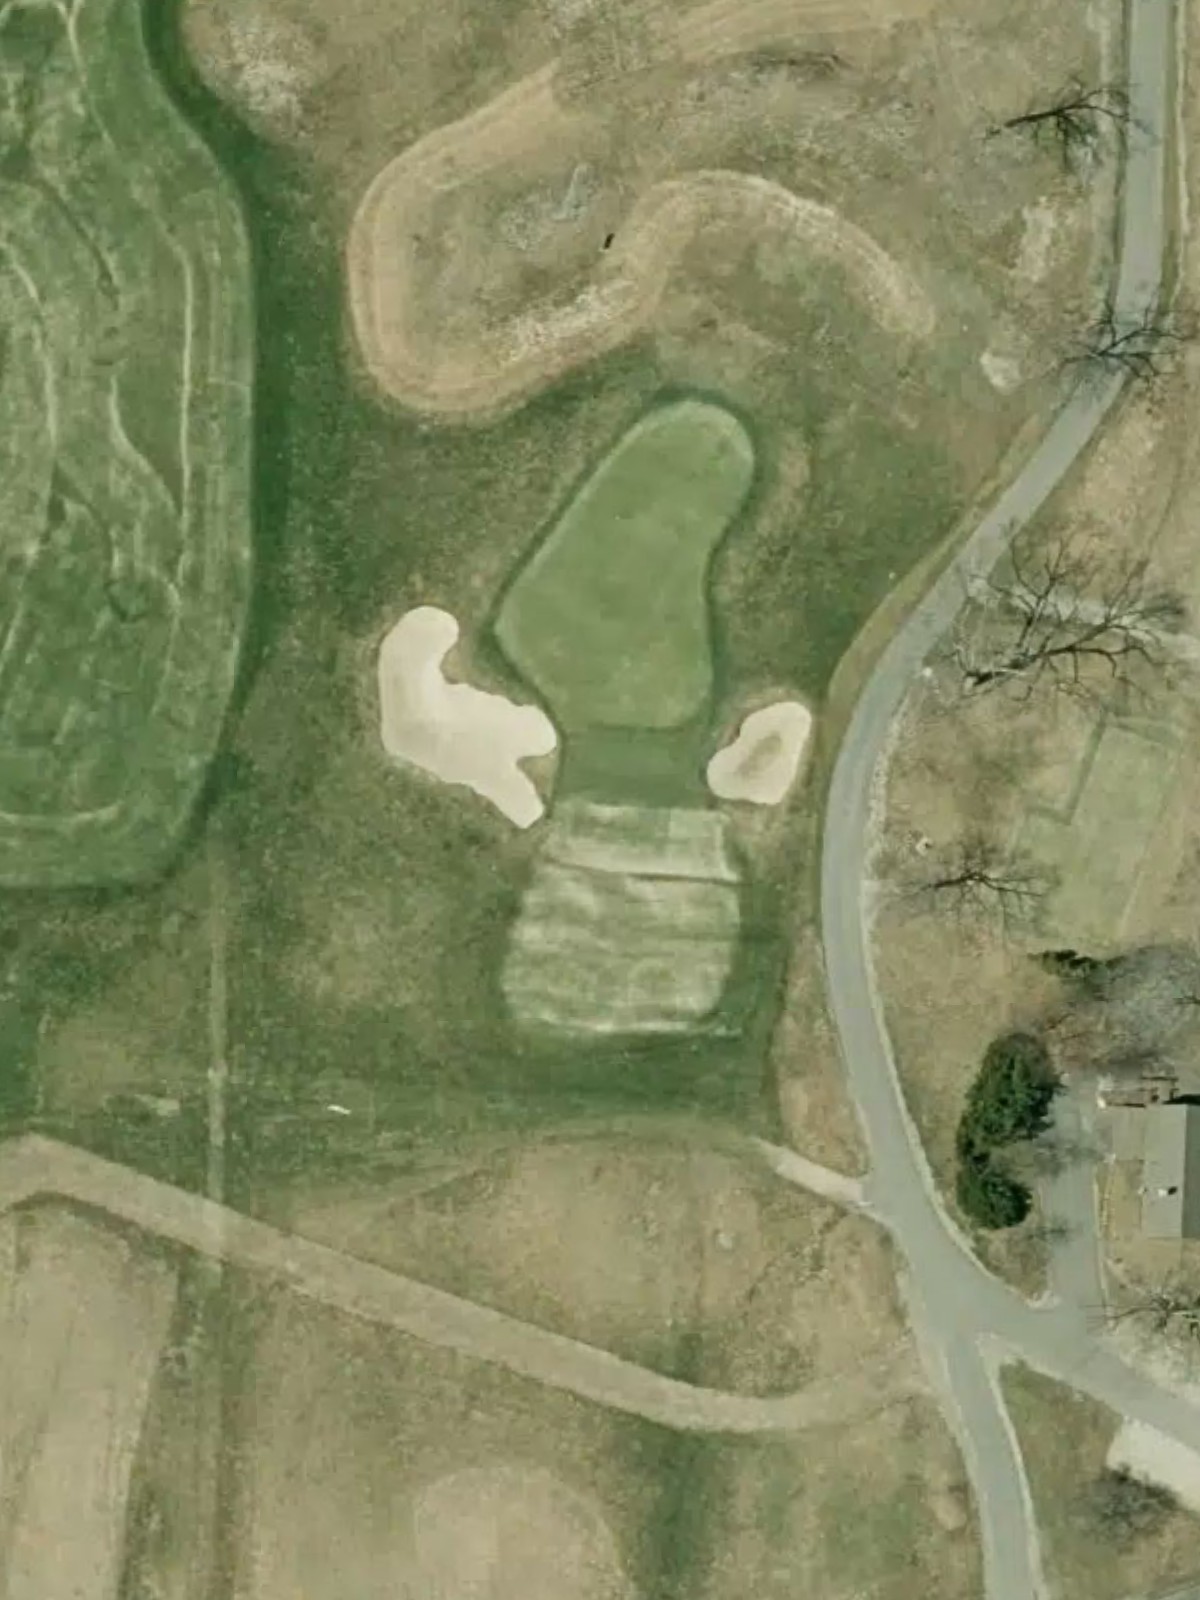
A short par 3 with a small, well-guarded green surrounded by bunkers and rough. The compact putting surface demands accurate iron play to avoid scrambling from greenside trouble.
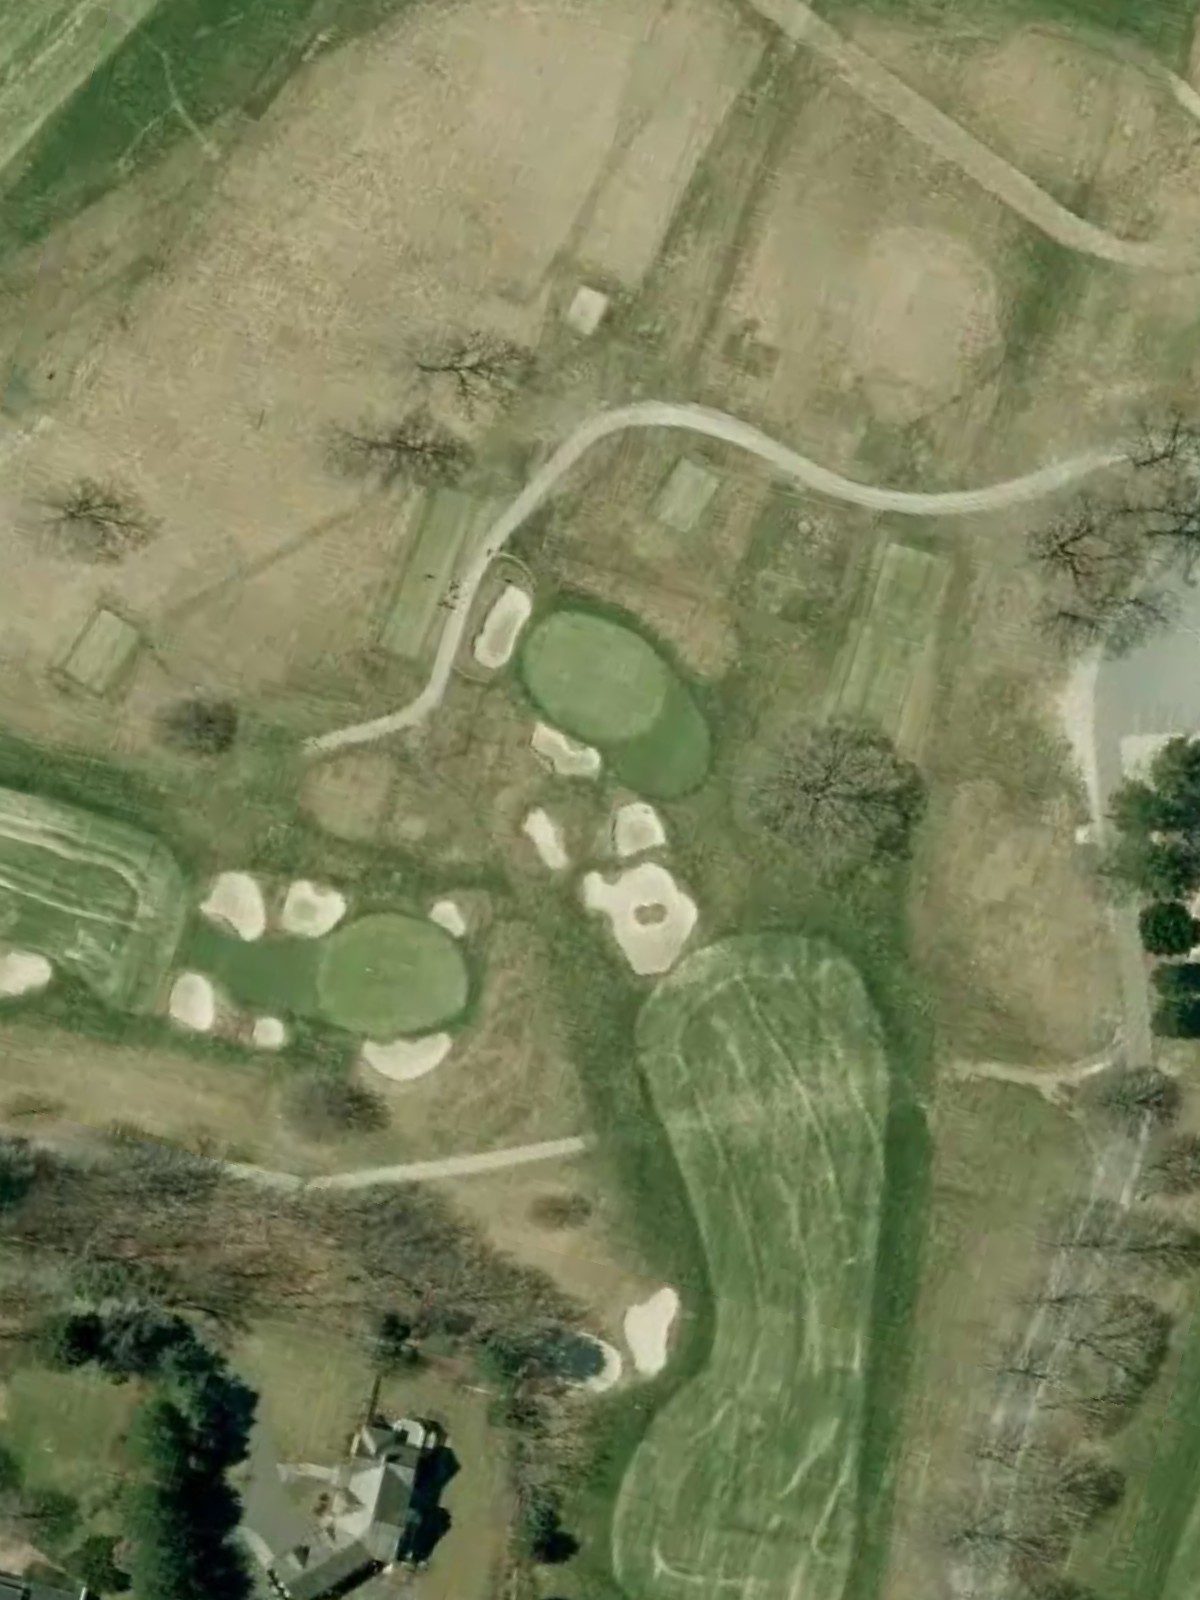
A moderate-length par 4 with a relatively open driving area and a green that sits comfortably in the landscape. Strategic bunkering around the green rewards careful approach play over power off the tee.
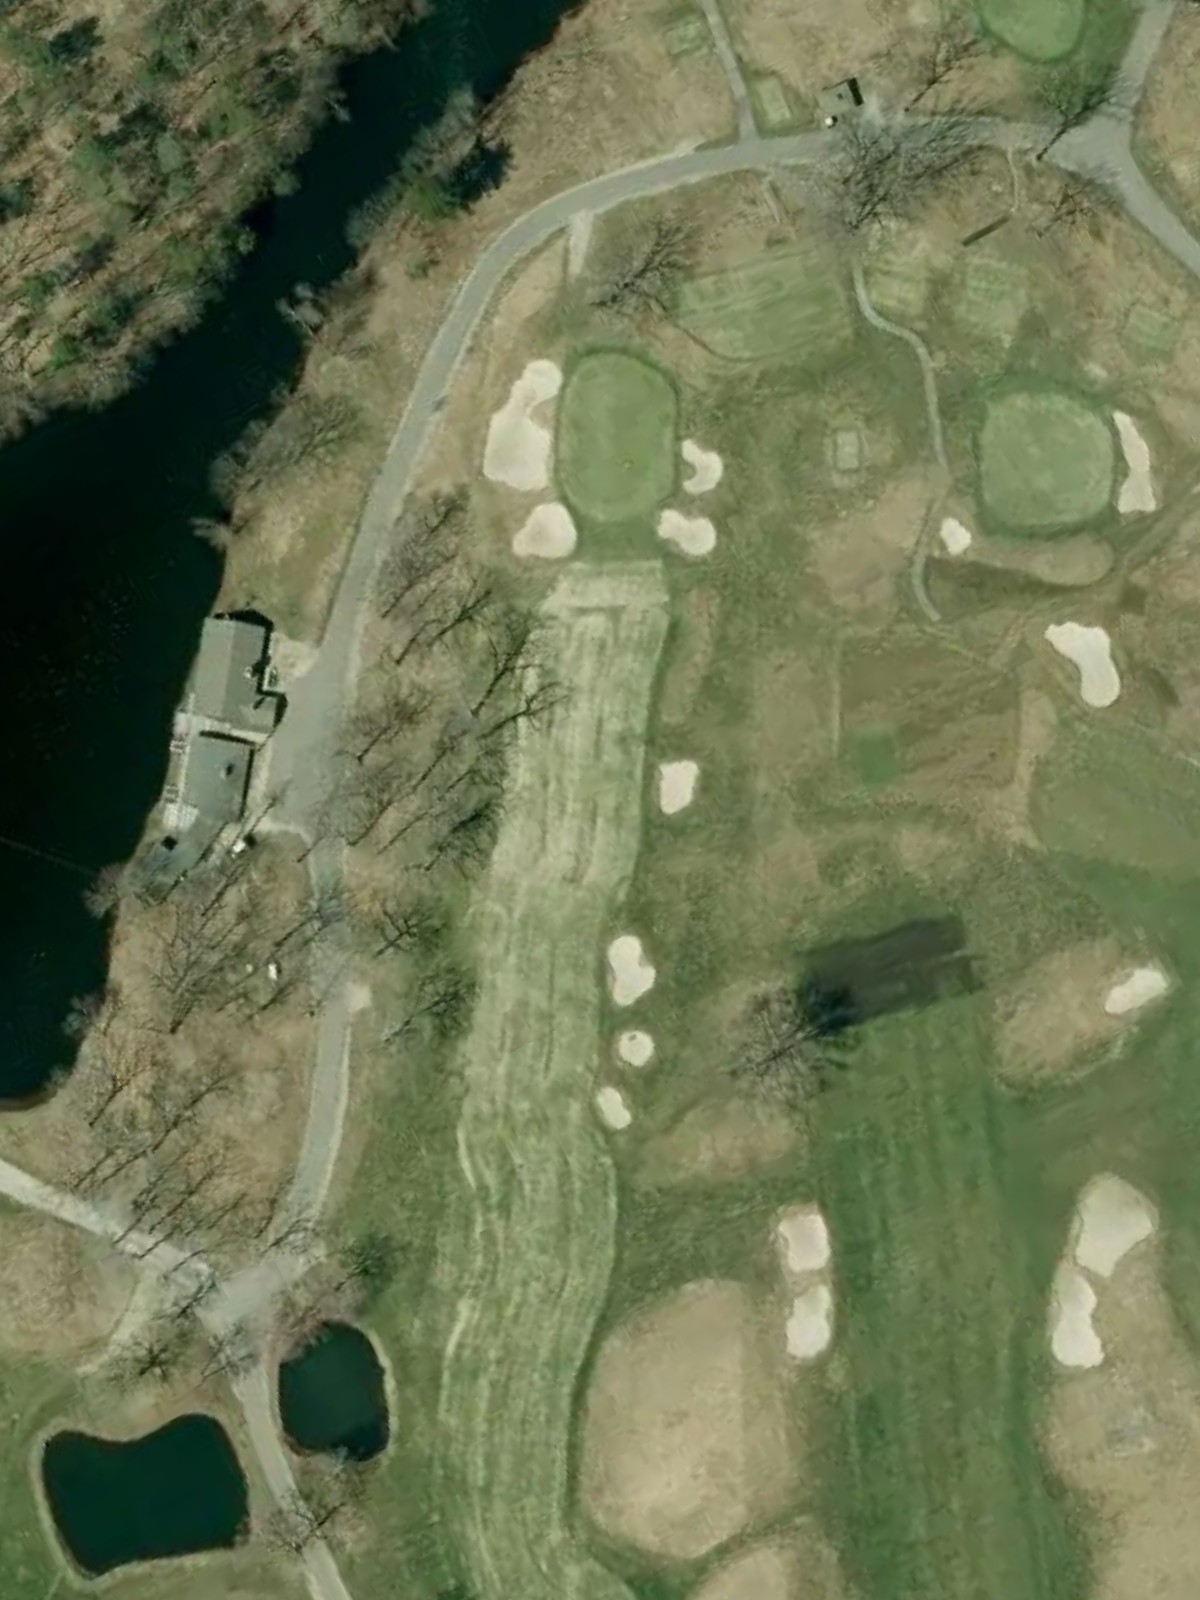
A substantial par 5 that can be reached in two by longer hitters, but strategic hazards and bunkering complicate aggressive play. The fairway tightens as it approaches the green, punishing errant long shots.
A mid-length par 4 with defined fairway edges and potential trouble left and right. The green is elevated and bunkered, making the approach shot the key to posting a good score on this penultimate front-nine hole.
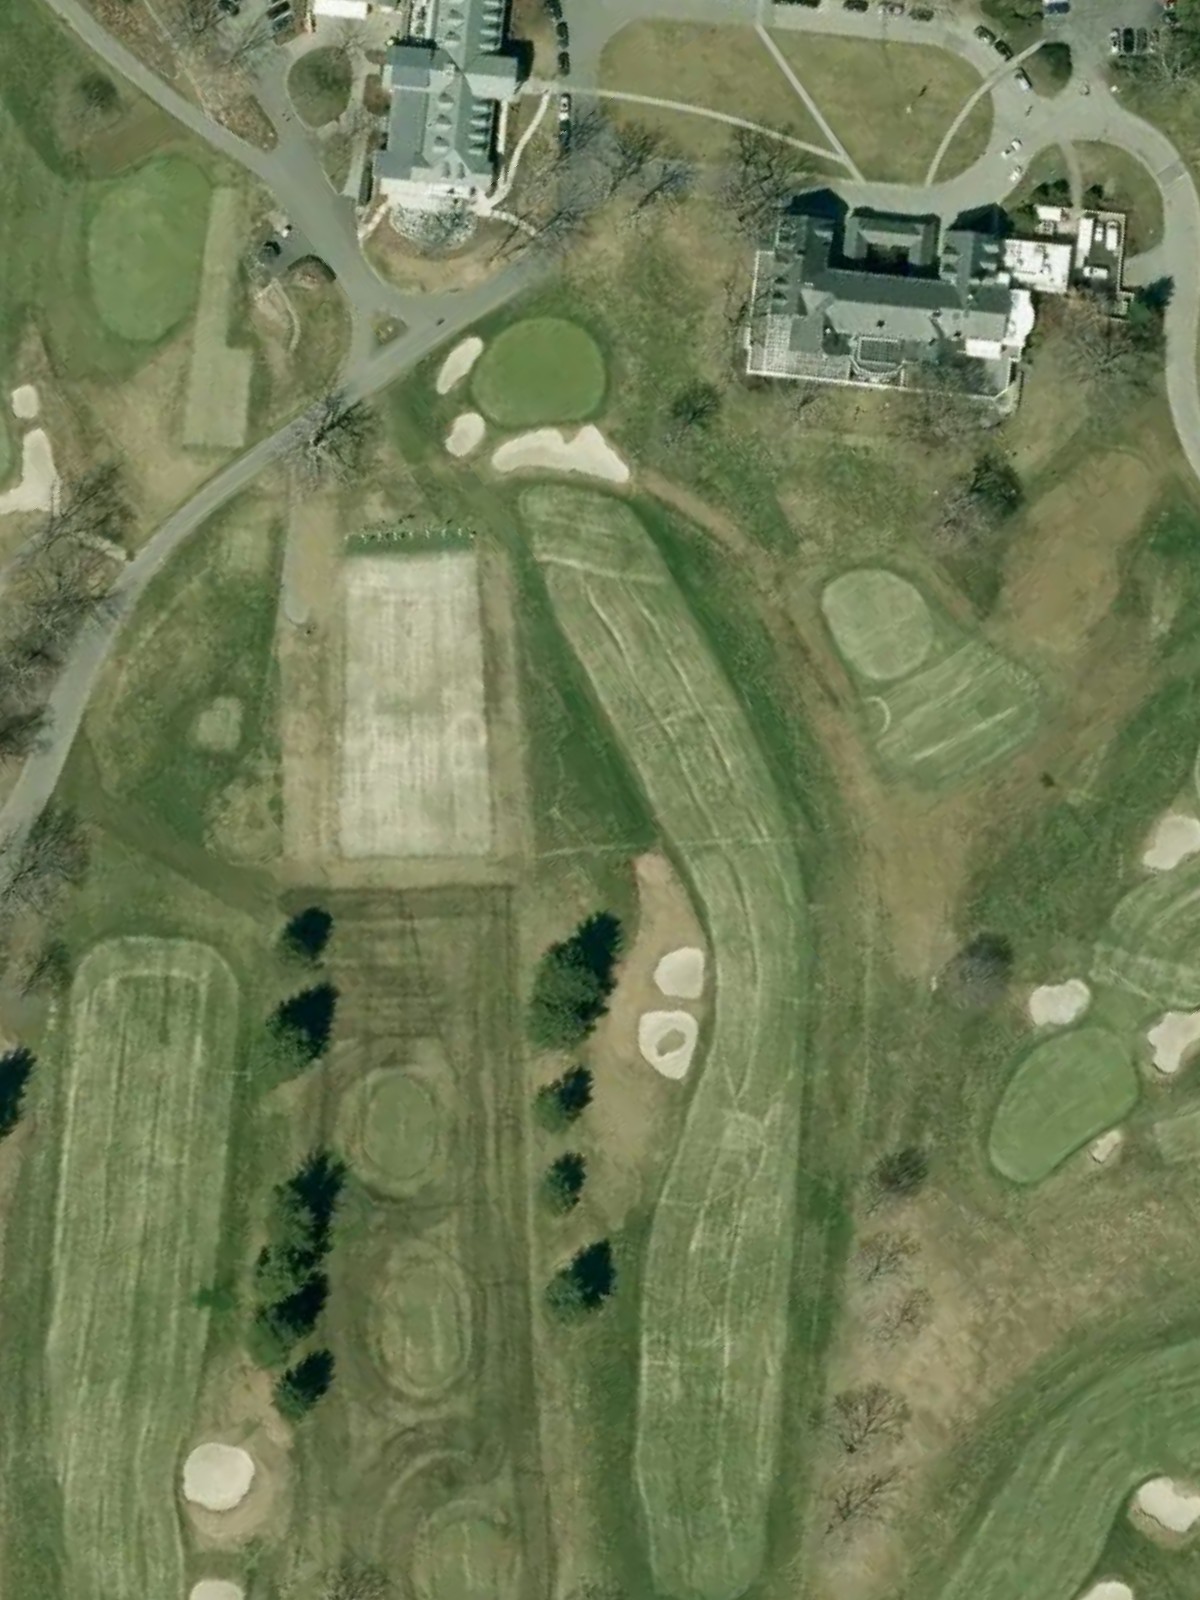
The back nine's fourth-most difficult hole, this long par 5 rewards strategic positioning over brute length. Hazards are positioned to punish both poorly placed drives and overly aggressive second shots, with the green well-protected on approach.
A diminutive par 3 and the course's easiest hole, playing to a relatively open, accessible green. Despite its brevity and minimal hazards, it offers a brief reprieve before the closing stretch.
A solid par 4 with a fairway that narrows in the driving zone and bunkering that frames both sides of the green. The approach shot is the decisive moment on this mid-back-nine test.
A mid-length par 4 that plays as the sixth-hardest on the course, with out-of-bounds or heavy rough threatening both sides of the fairway. Bunkers and hazards guard the green, creating a comprehensive examination of shotmaking.
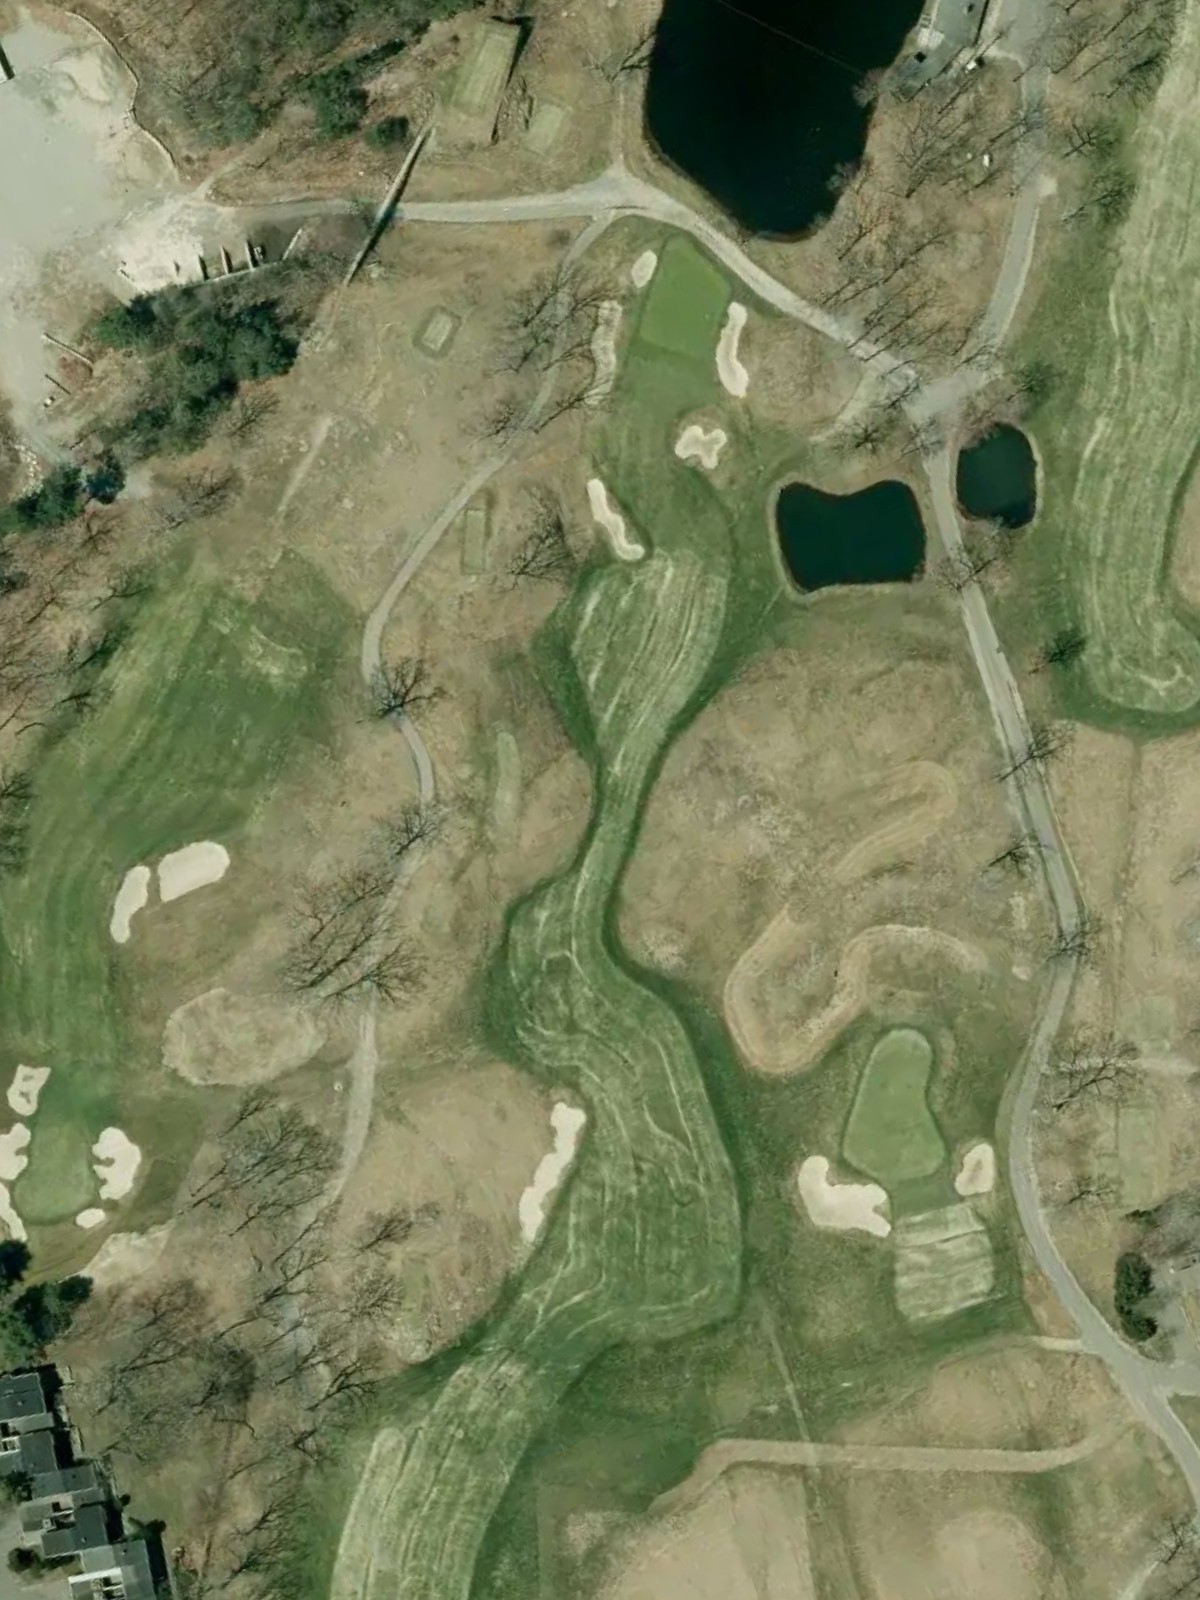
The second-hardest hole on the course, this dramatic par 5 demands strategic club selection and course management throughout. Length and well-positioned hazards make this hole play significantly longer than its yardage suggests.
A strong par 4 with a fairway that presents clear opportunities and punishments based on accuracy off the tee. Bunkers and water guard the green complex, requiring a controlled approach to finish with a birdie opportunity.
A short par 3 with a diminutive green surrounded by bunkers and rough. The elevated nature of the green and its limited size make precision iron play essential despite the modest yardage.
A moderate par 4 with a straightforward layout and consistent hazarding around the green. The hole plays as a fair test without excessive penal features, creating a strategic setup before the closing hole.
A fitting finishing par 4 with a fairway that demands accuracy off the tee and bunkering that protects both sides of the green. The hole's closing position and hazard placement create drama appropriate to a championship-caliber finish.
Scorecard
| Hole | 1 | 2 | 3 | 4 | 5 | 6 | 7 | 8 | 9 | Out | 10 | 11 | 12 | 13 | 14 | 15 | 16 | 17 | 18 | In | Tot |
|---|---|---|---|---|---|---|---|---|---|---|---|---|---|---|---|---|---|---|---|---|---|
| Par | 4 | 3 | 4 | 4 | 4 | 3 | 4 | 5 | 4 | 35 | 5 | 3 | 4 | 4 | 5 | 4 | 3 | 4 | 4 | 36 | 71 |
| HCP | 5 | 11 | 3 | 1 | 17 | 15 | 13 | 7 | 9 | 4 | 18 | 10 | 6 | 2 | 8 | 16 | 14 | 12 | |||
| black | 495 | 220 | 504 | 497 | 310 | 197 | 378 | 567 | 425 | 3593 | 513 | 131 | 478 | 490 | 625 | 515 | 211 | 370 | 455 | 3788 | 7381 |
| blue | 450 | 220 | 456 | 432 | 310 | 197 | 378 | 511 | 440 | 3394 | 513 | 131 | 438 | 450 | 625 | 435 | 186 | 370 | 435 | 3583 | 6977 |
| white | 441 | 210 | 434 | 419 | 280 | 179 | 371 | 510 | 425 | 3269 | 503 | 130 | 400 | 440 | 486 | 420 | 169 | 365 | 398 | 3311 | 6580 |
| yellow | 413 | 150 | 424 | 363 | 280 | 165 | 371 | 510 | 420 | 3096 | 502 | 124 | 373 | 400 | 386 | 374 | 155 | 363 | 377 | 3054 | 6150 |
| red | 368 | 115 | 391 | 284 | 265 | 152 | 341 | 434 | 316 | 2666 | 447 | 123 | 344 | 286 | 386 | 374 | 123 | 361 | 325 | 2769 | 5435 |