The Country Club At Muirfield is an 18-hole golf course in Dublin, OH with a par of 72. It offers 5 tee sets: blue (6,762 yards, slope 131, rating 72.3), white/blue combo (6,538 yards, slope 133, rating 71.3), white (6,348 yards, slope 129, rating 70.5), white/gold combo (6,103 yards, slope 127, rating 69.2), gold (5,889 yards, slope 125, rating 67.8). The hardest hole is #8, a par 5 playing 518 yards from the first tee.
The Country Club At Muirfield
Dublin, OH
Get PDF Yardage Book
We'll email you the PDF link. No spam, ever.
Create Your Game Plan
Pick your tees, enter your bag, and get a personalized shot-by-shot strategy for every hole.

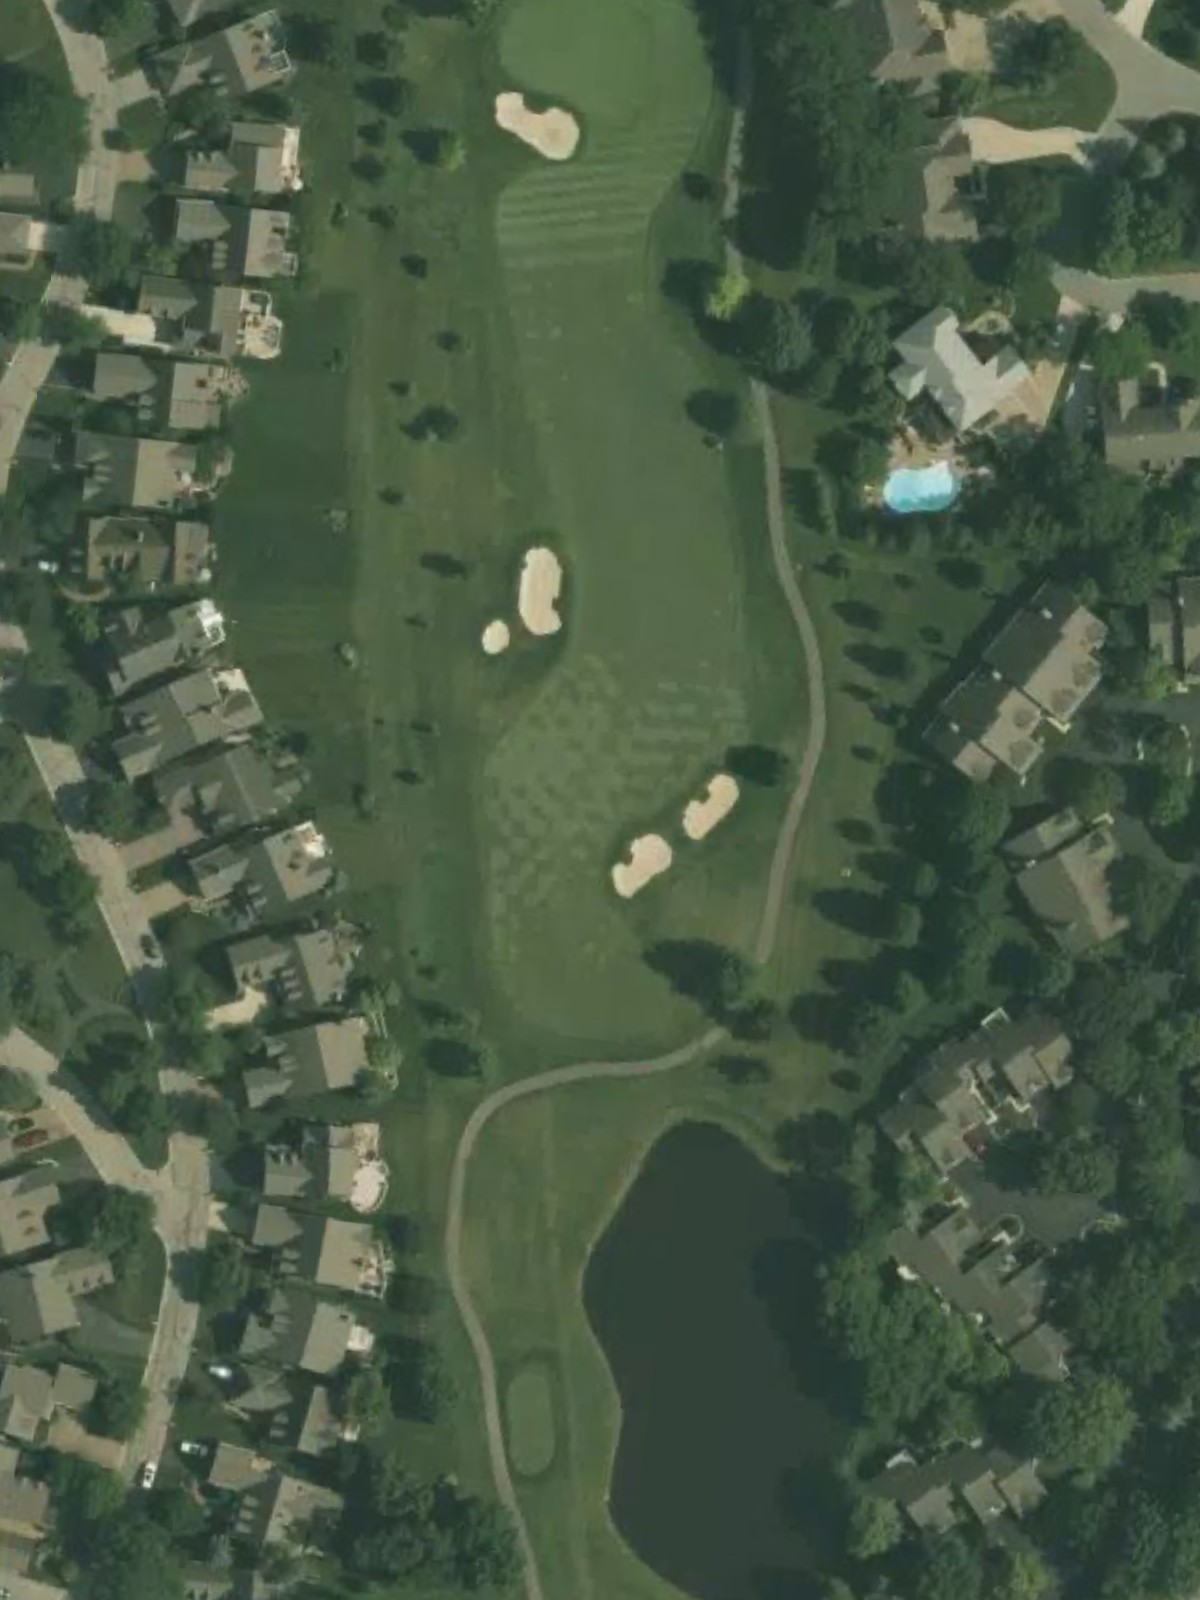
A straightforward opening par 4 with a fairway that gradually narrows as it approaches the green. Bunkers guard both sides of the green, requiring accuracy on the approach shot to avoid sand play.
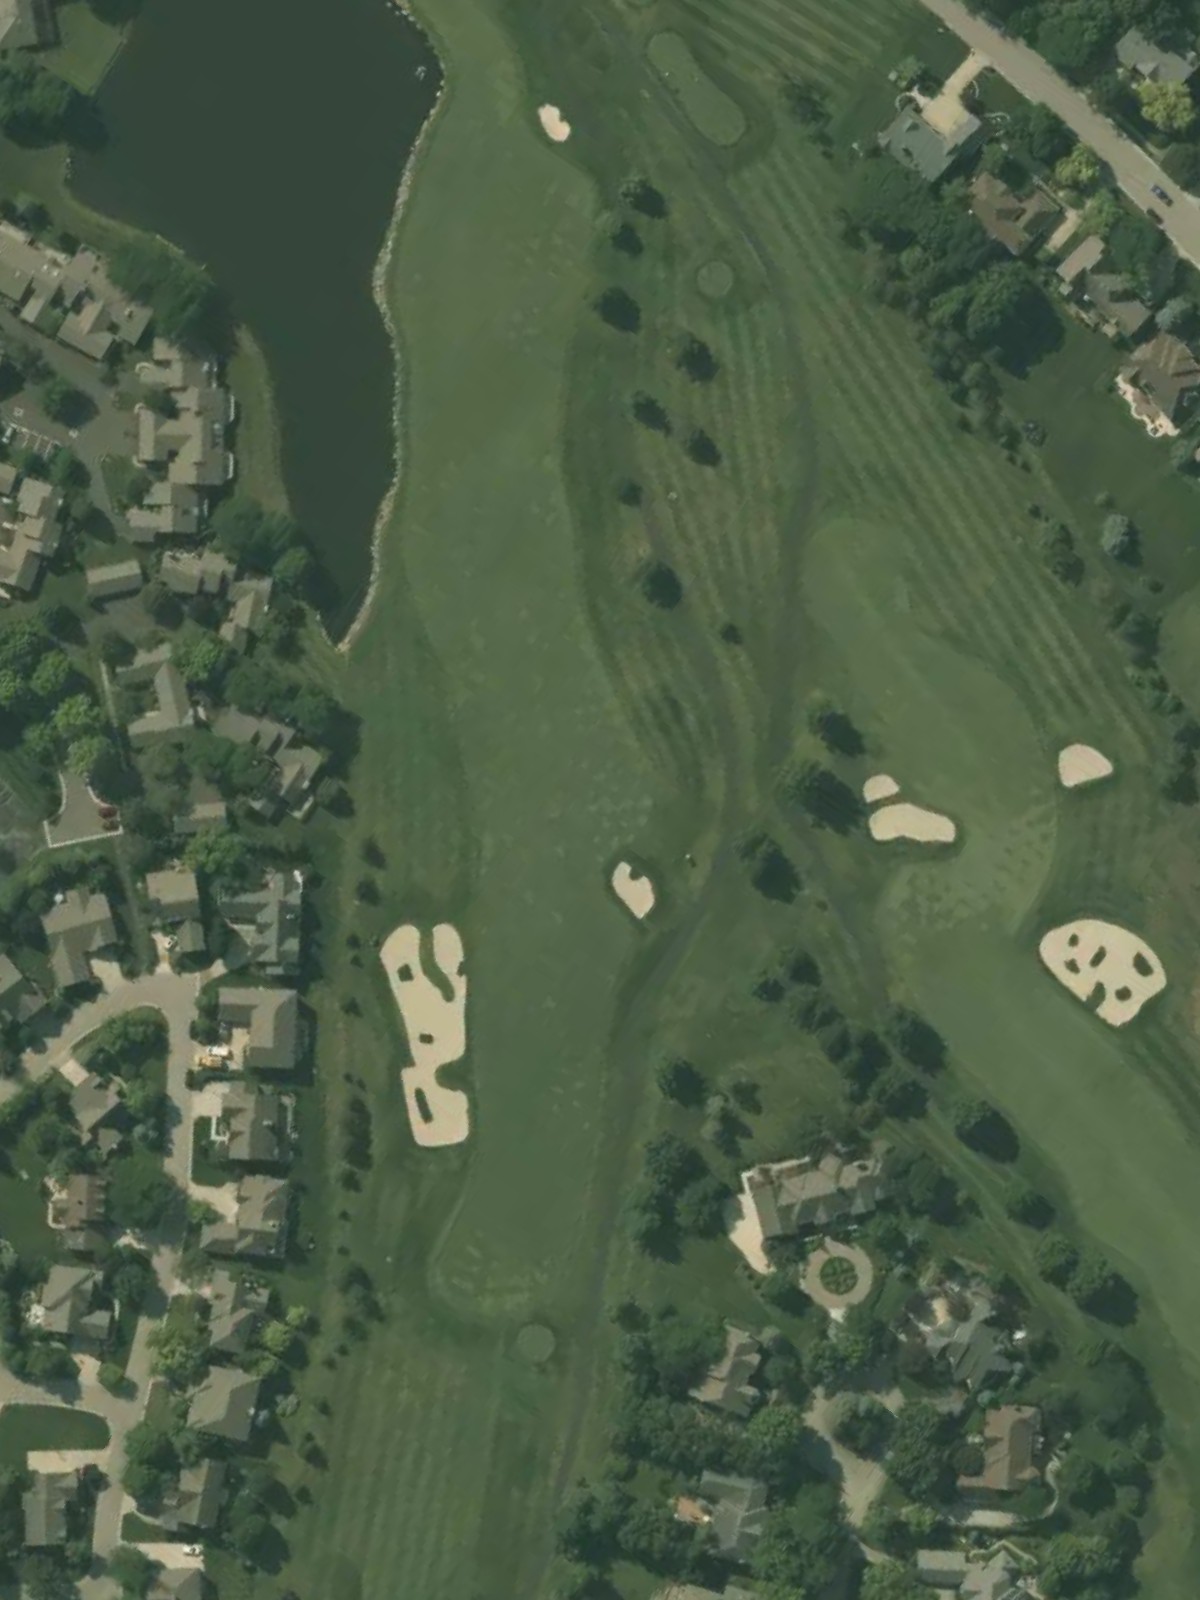
A lengthy par 5 that presents birdie opportunity for strong players willing to navigate its length. Water hazards and strategic bunkering reward aggressive play while penalizing wayward shots.
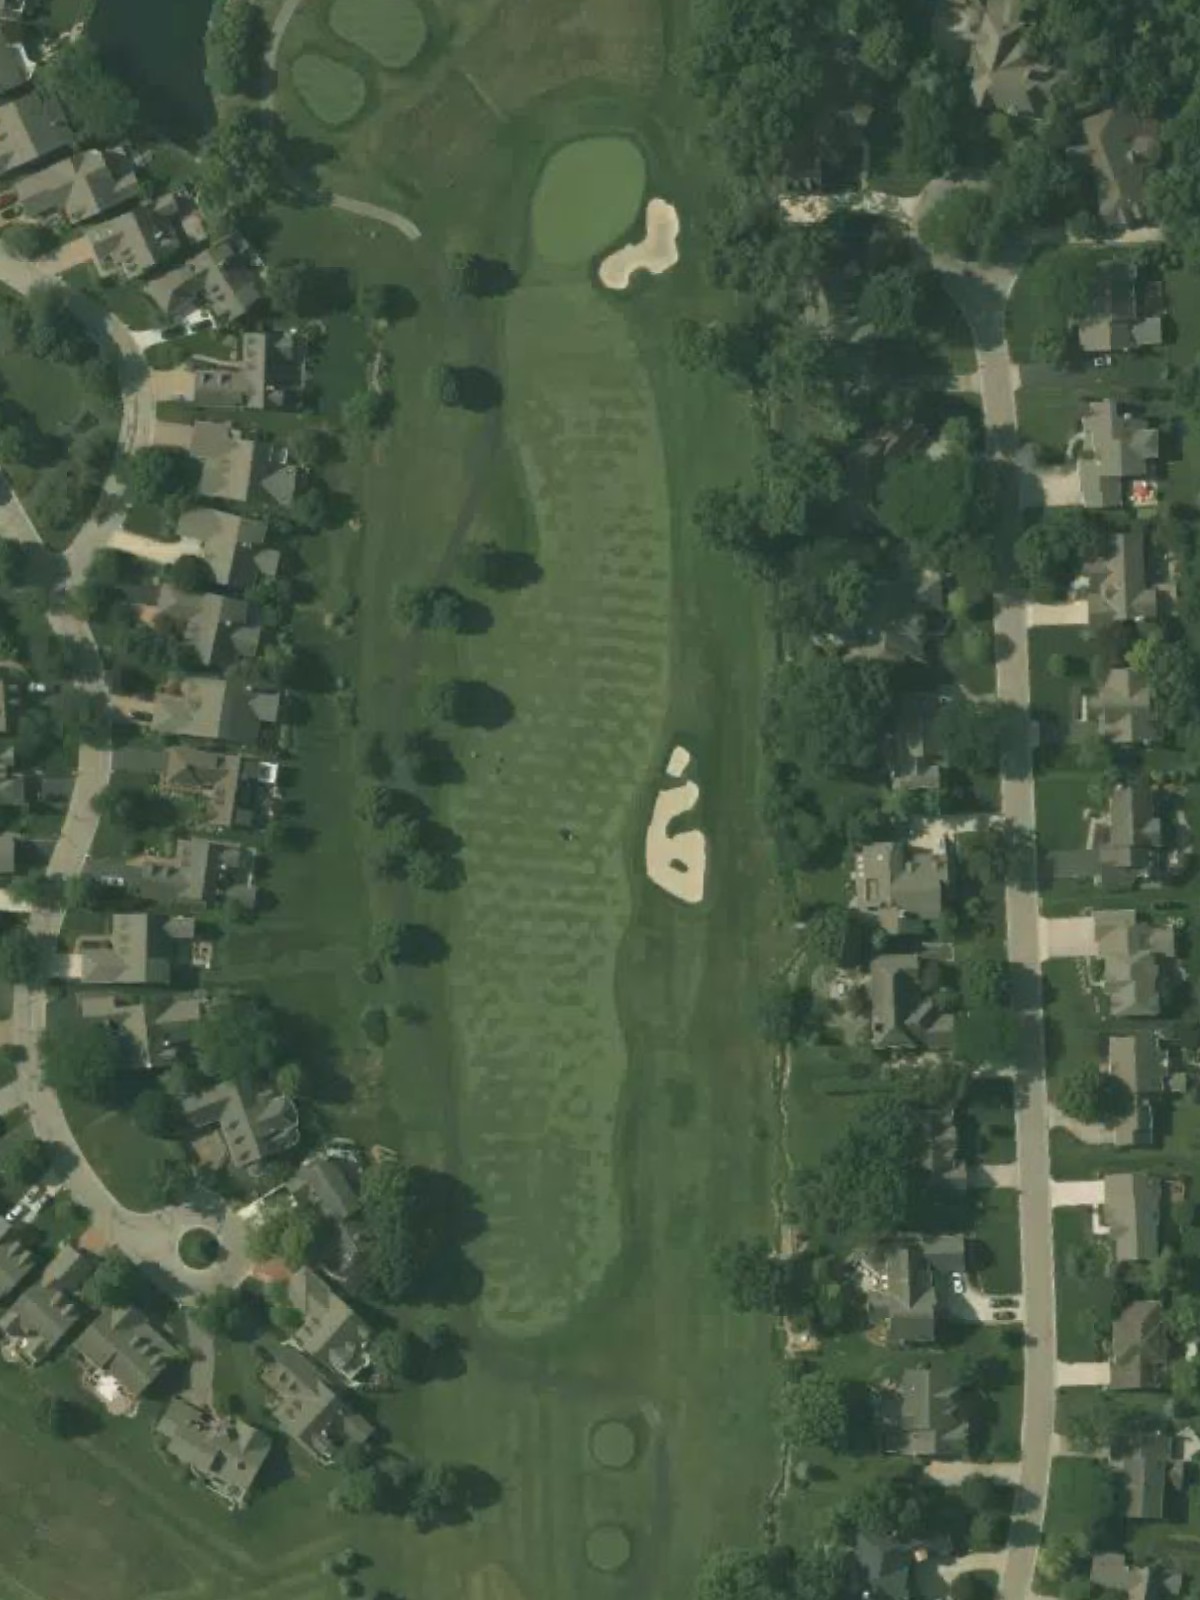
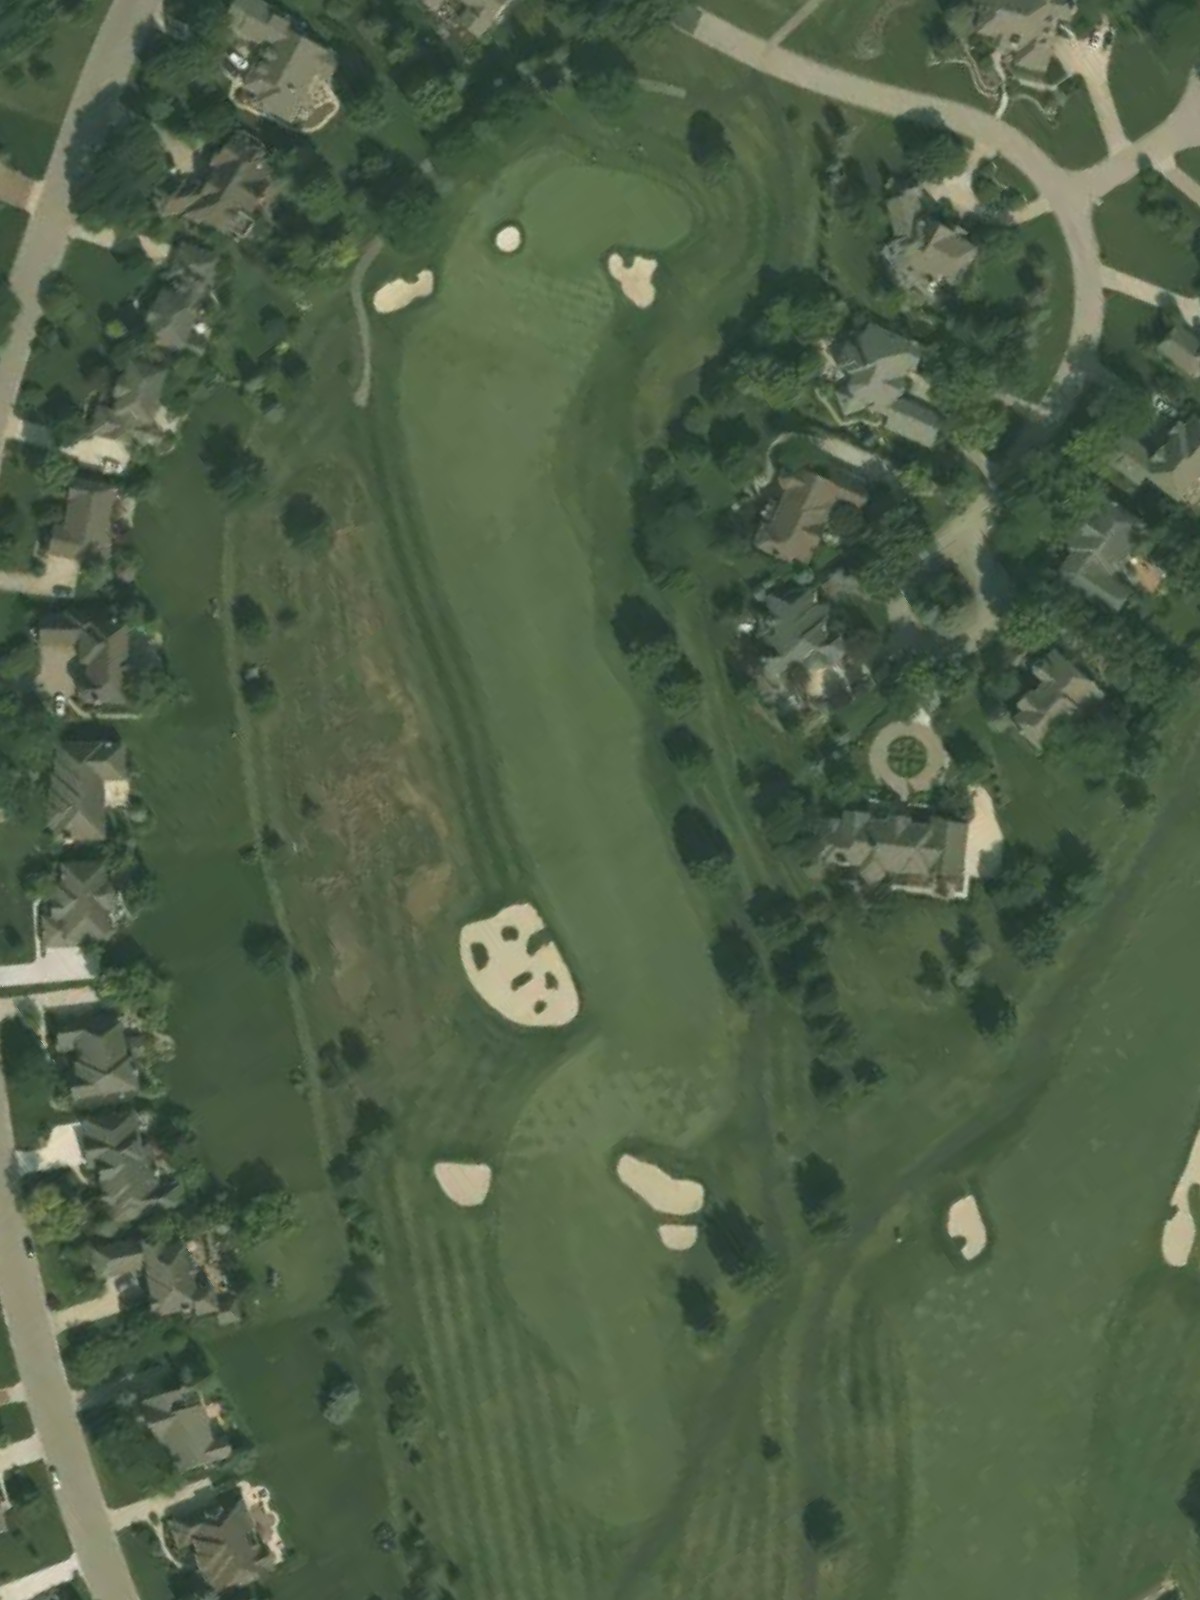
A mid-length par 4 featuring a relatively open fairway with bunkers positioned to catch errant approach shots. The green complex demands precision to avoid the surrounding hazards.
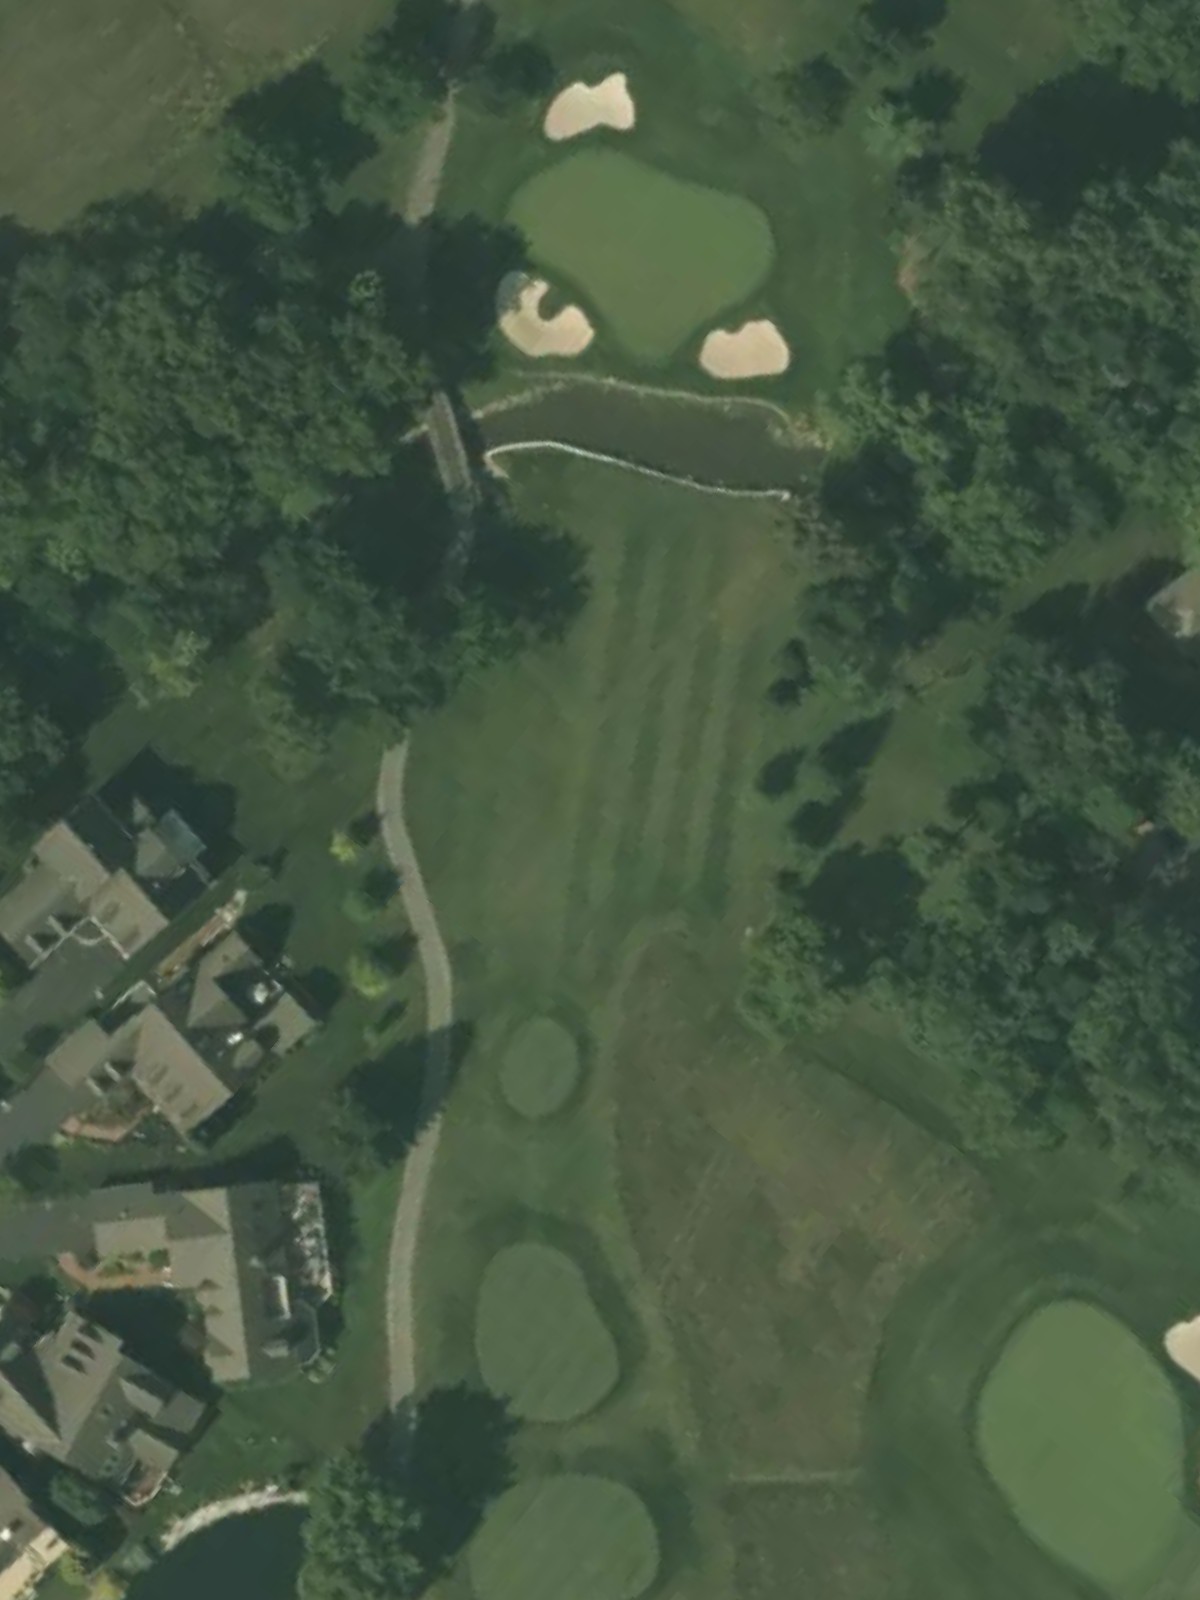
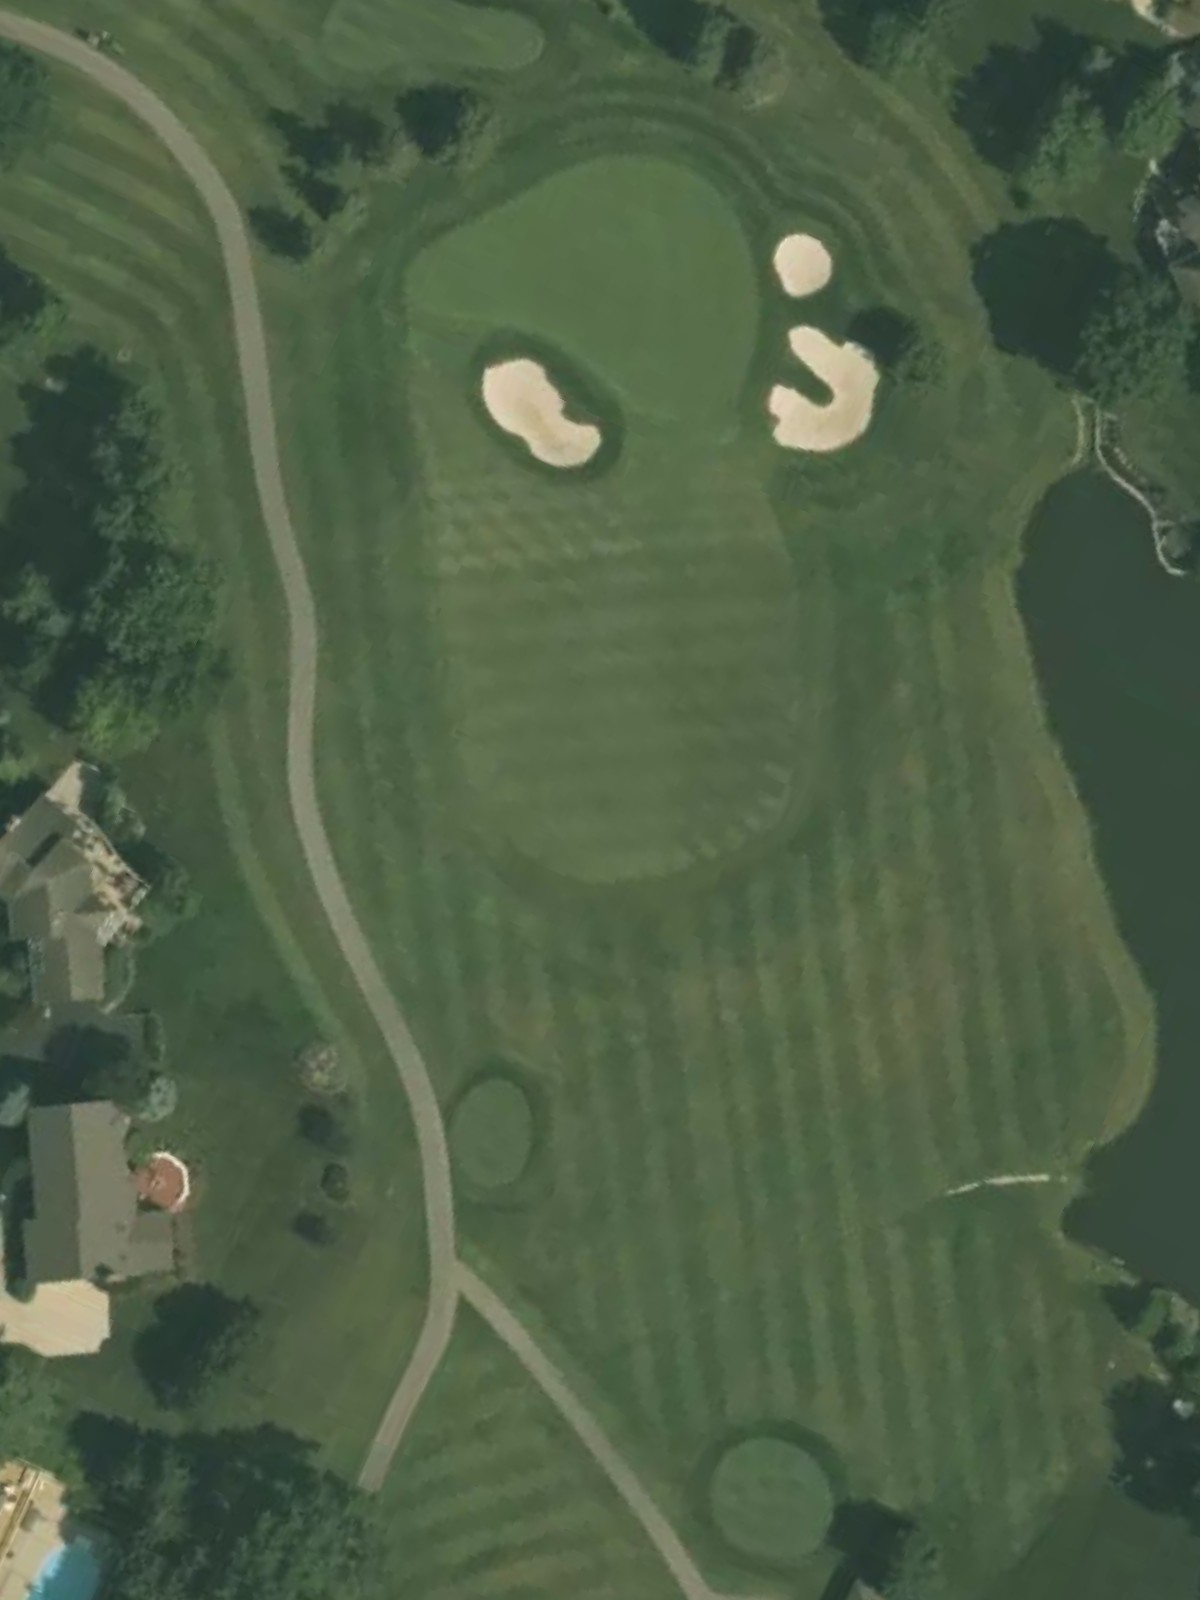
A short par 3 that plays downhill to a well-bunkered green. Despite the modest yardage, the hazard placement and green contours create a deceptively challenging one-shot hole.
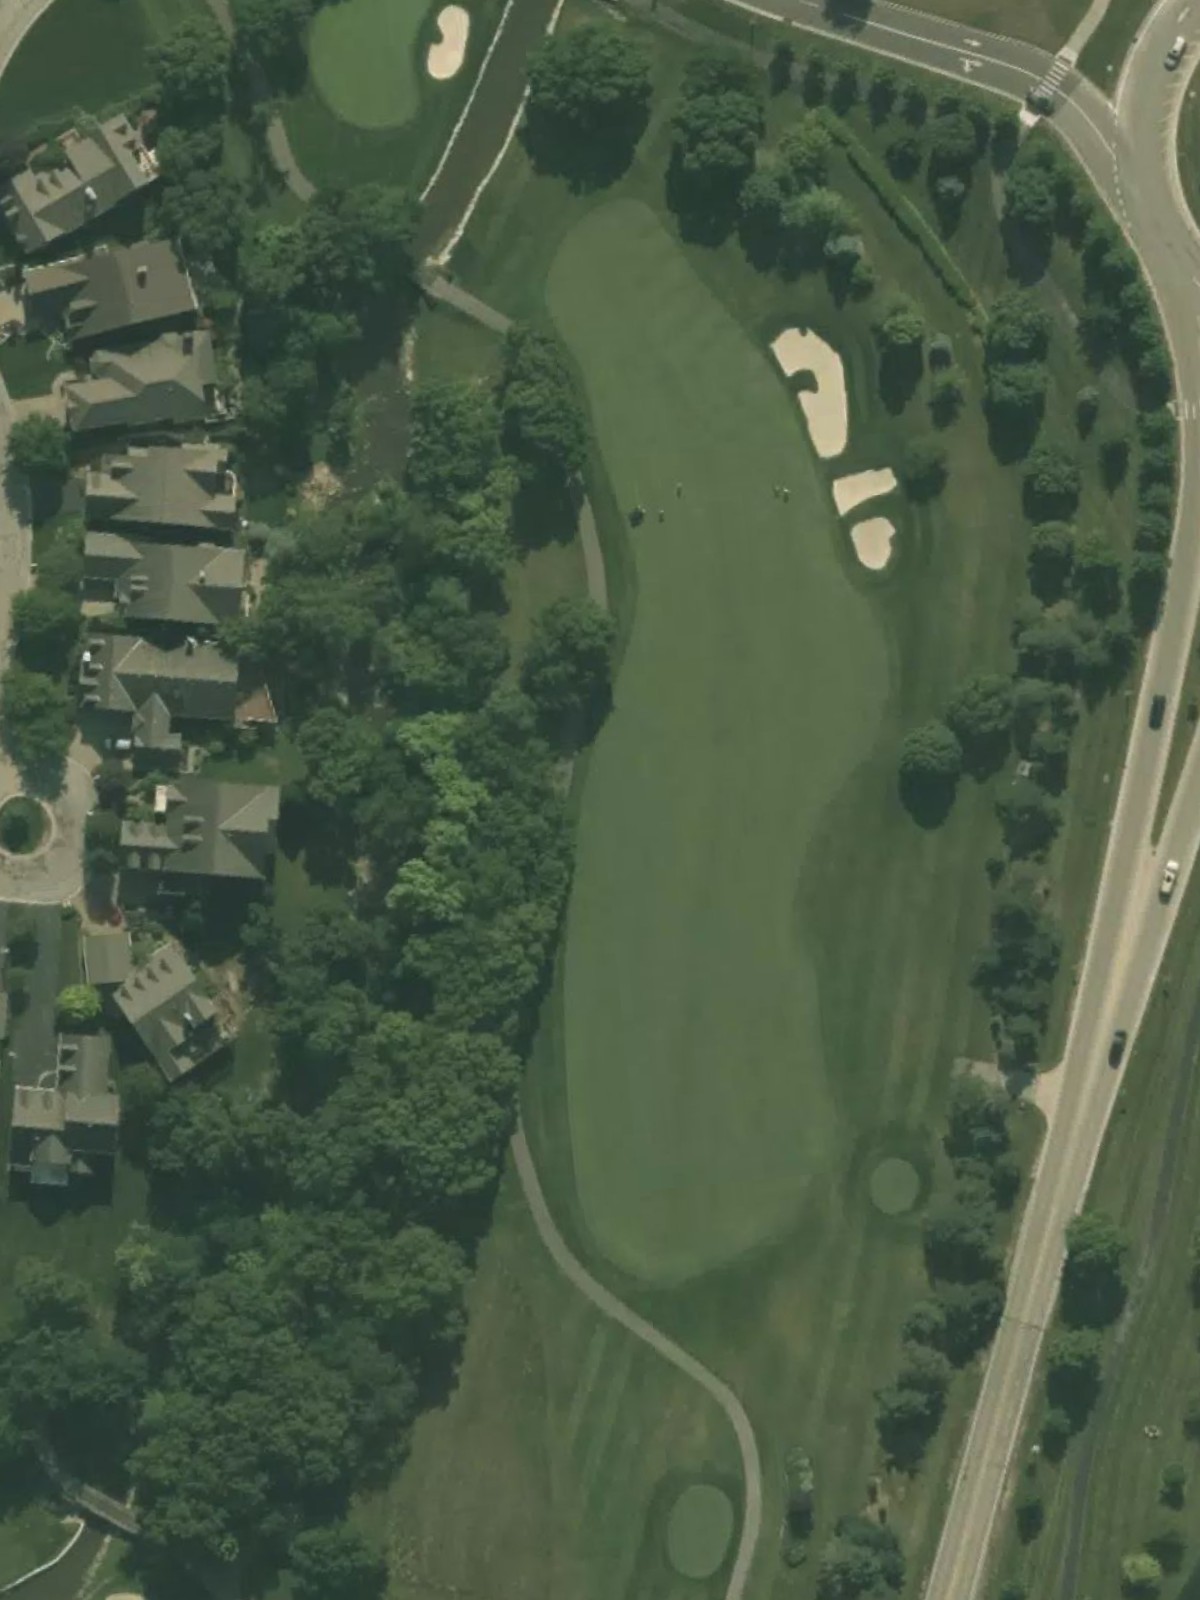
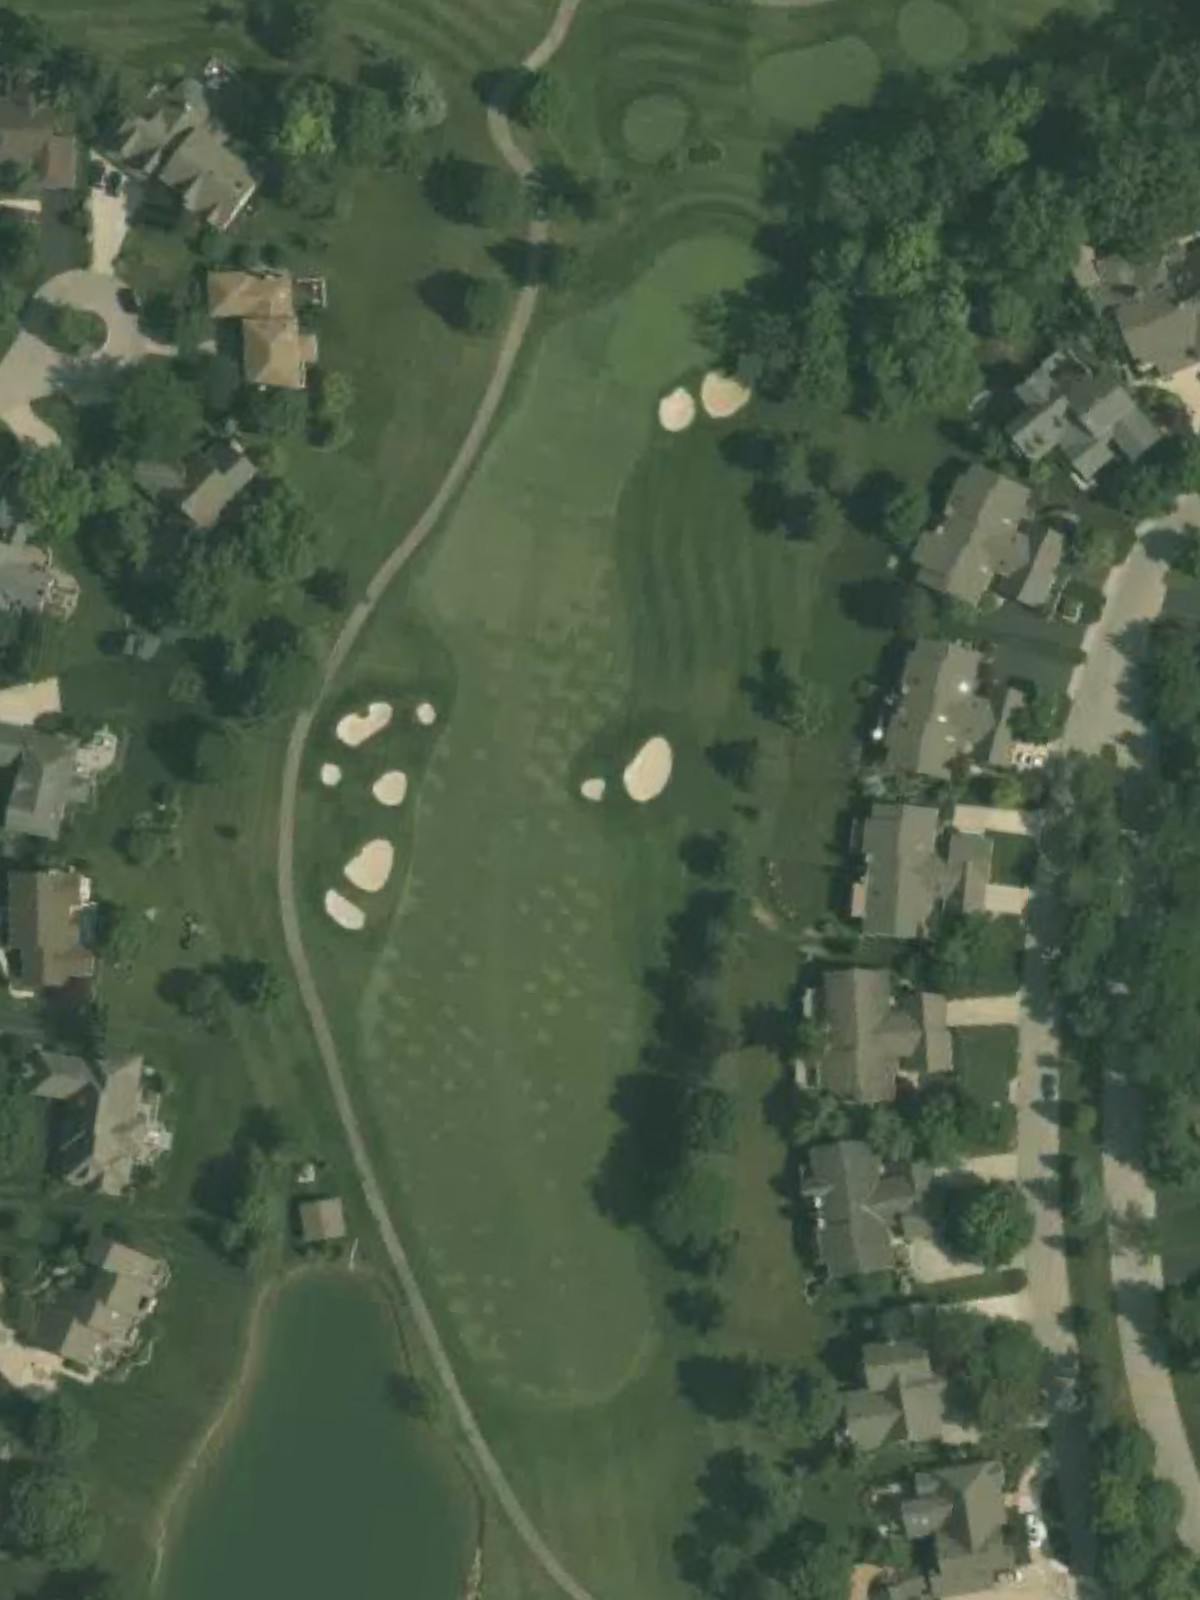
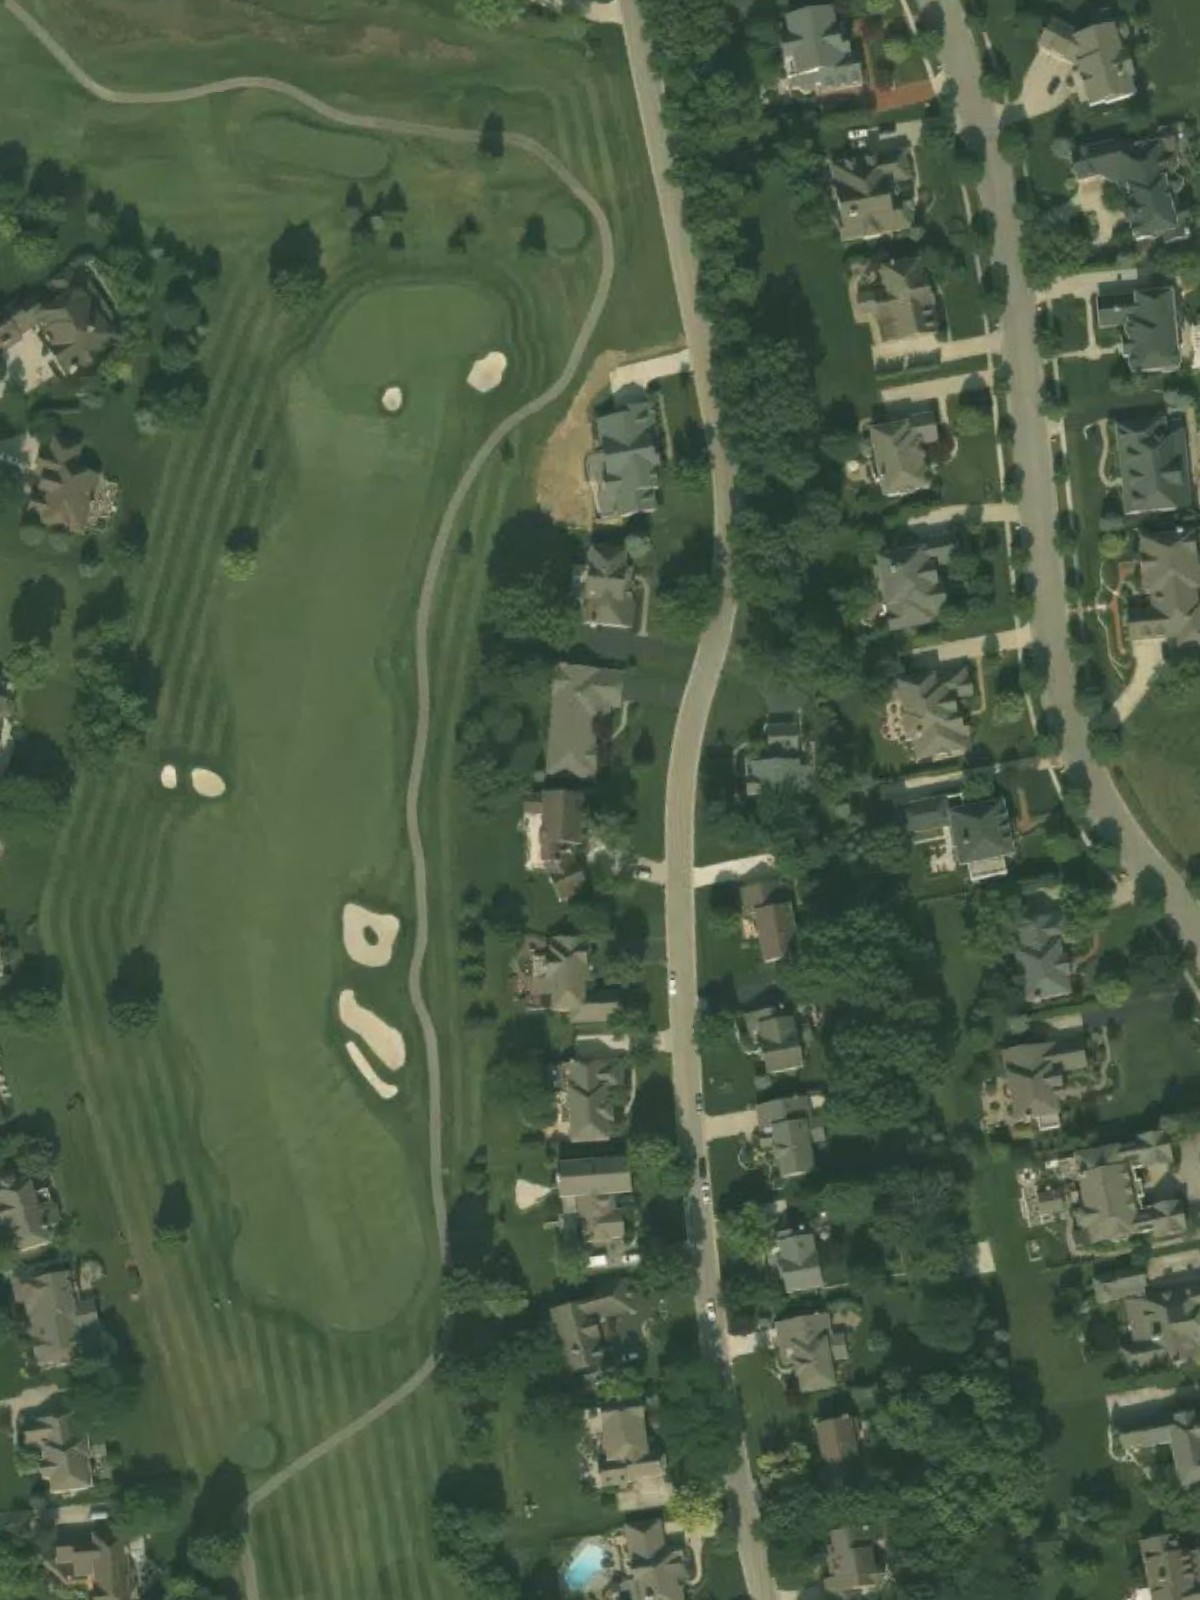
A compact par 4 with a tight fairway corridor and strategic bunkering that narrows the landing zone. The approach to a protected green requires careful positioning off the tee.
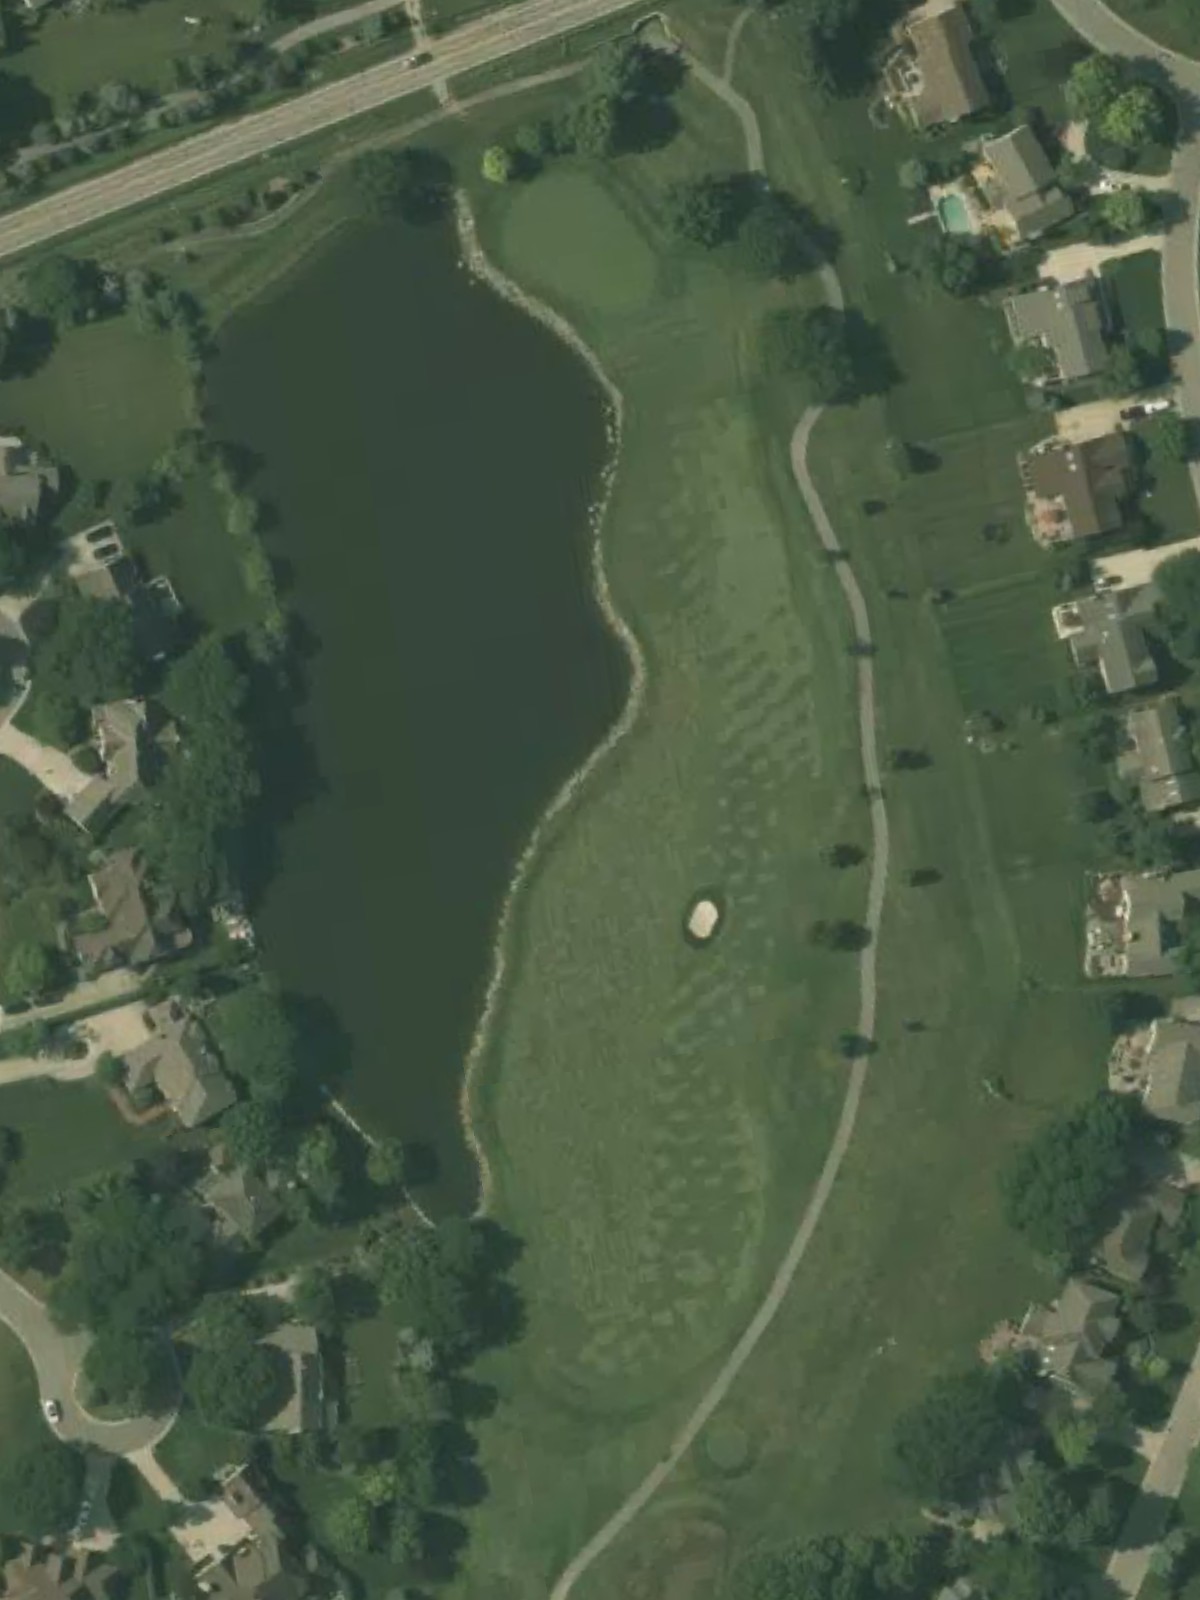
A demanding par 4 with water or lateral hazards creating a significant risk-reward component throughout the hole. Bunkers frame the approach, making this one of the course's most penal tests.

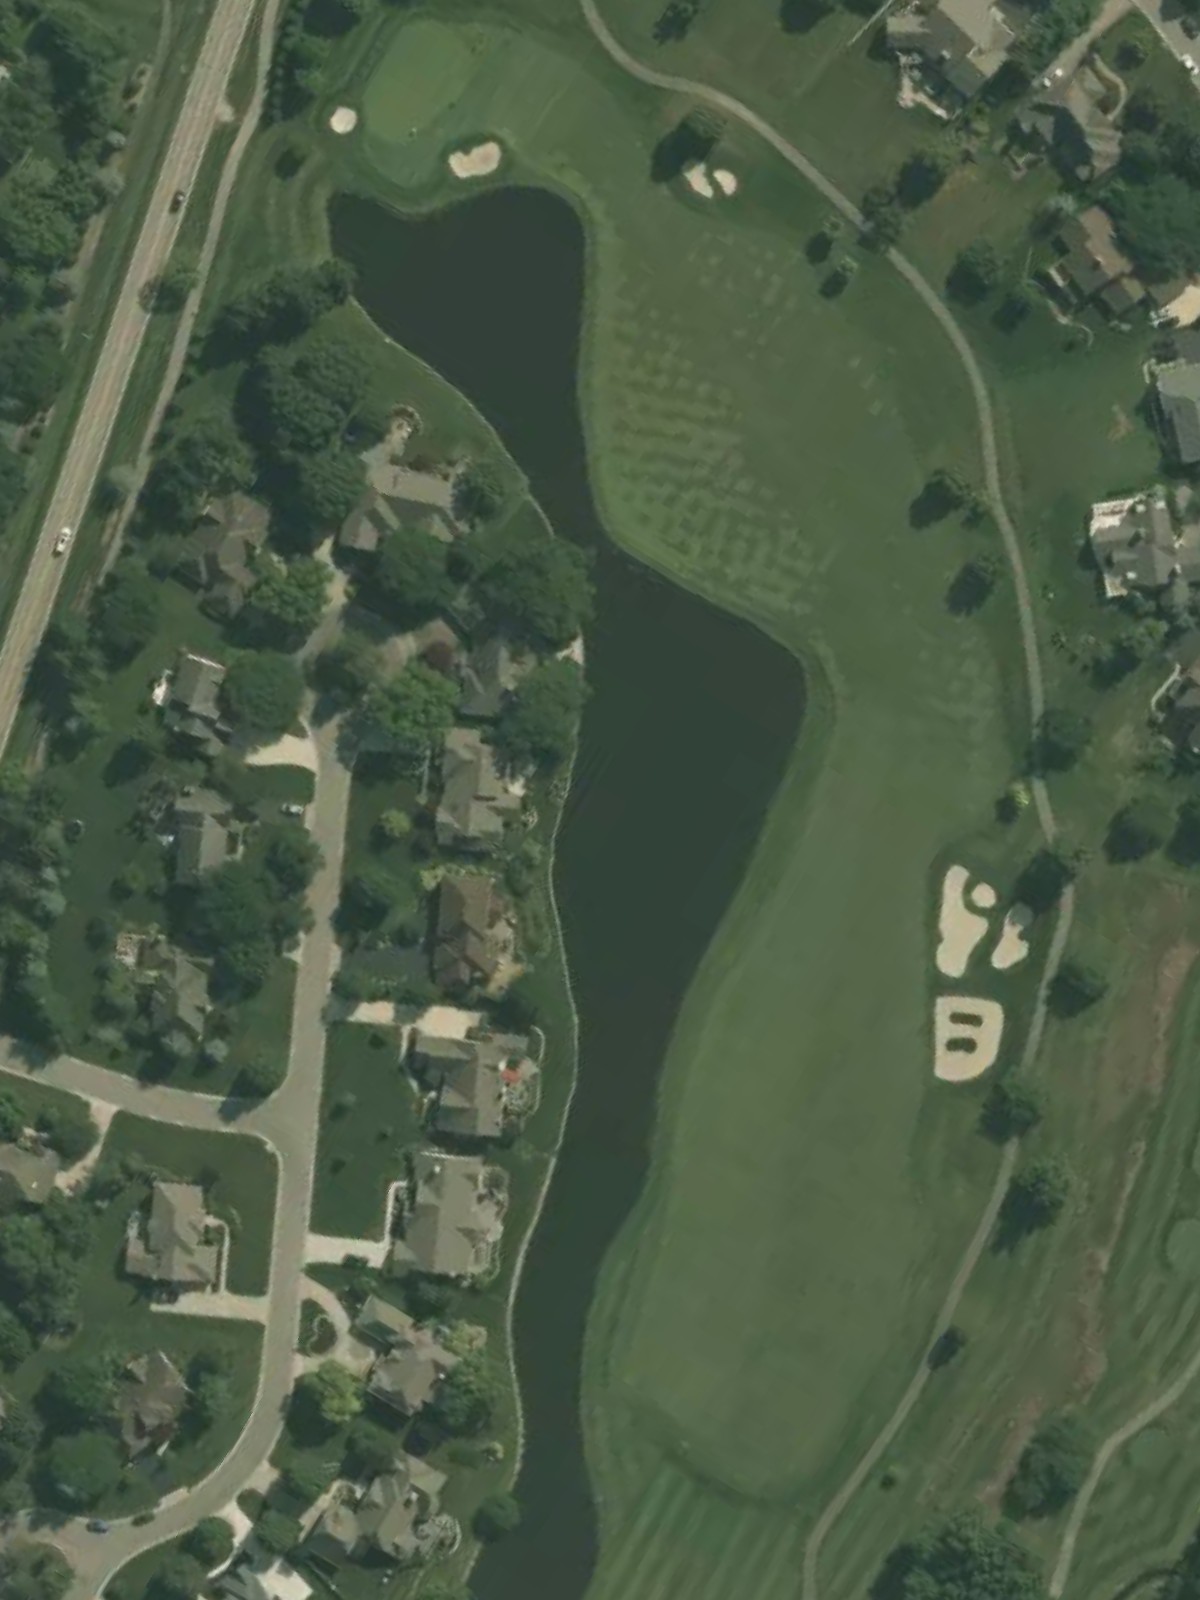
A modest par 3 playing to an elevated green protected by bunkers on multiple sides. The green's positioning and surrounding hazards make club selection and accuracy critical despite the short distance.
The signature par 5 that plays as the course's strongest hole, offering legitimate three-shot opportunity. Strategic hazards—likely water and bunkering—are positioned to challenge aggressive players attempting to reach in two.

A mid-length par 4 with a fairway that requires precision to set up a manageable approach. Greenside bunkers and hazards protect the landing area, demanding solid execution from tee to green.
A relatively forgiving par 4 with a wide fairway and straightforward routing back to the green. The generous landing area provides recovery opportunities despite any strategic hazards near the putting surface.

A short par 3 with a modest green complex protected by minimal hazards. The hole's simplicity belies any challenges hidden in green contours or positioning that may demand precision.

A compact par 4 that plays shorter than its yardage suggests, offering scoring opportunity despite its elevated handicap rating. Bunkers and hazards are positioned to penalize poor execution rather than to dominate the hole.
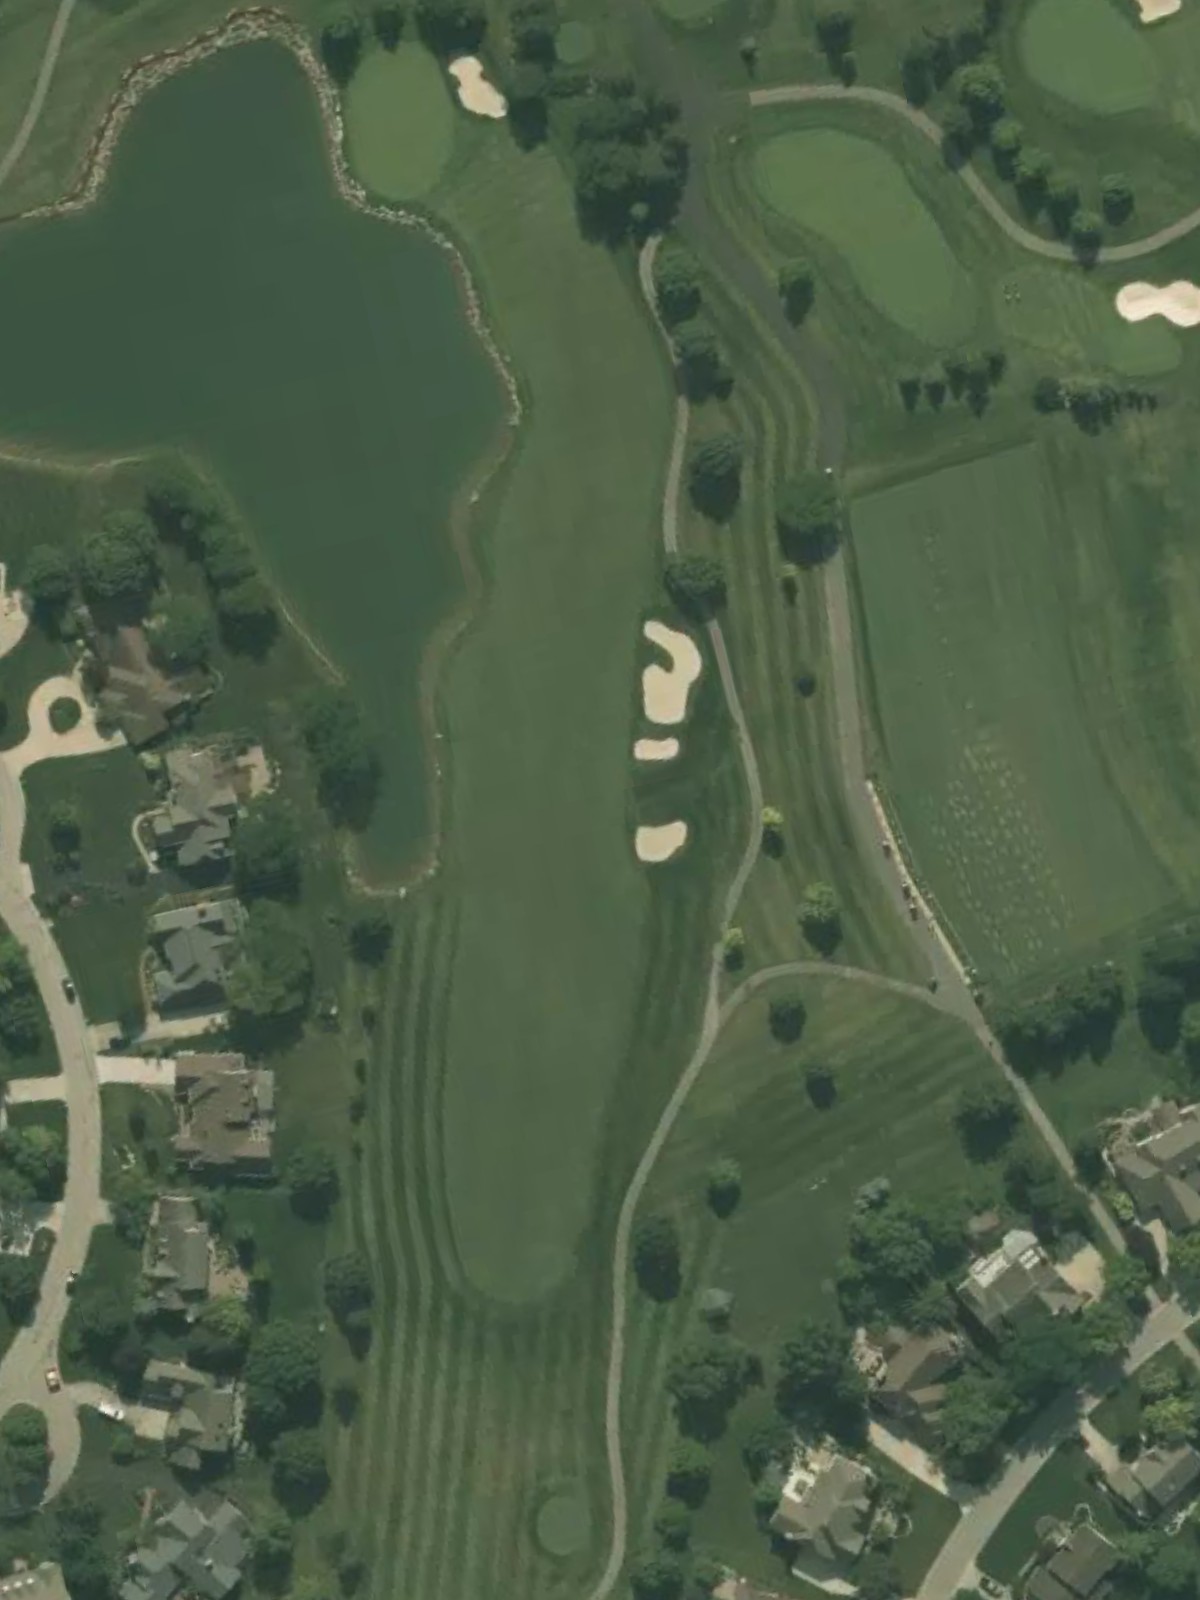
A mid-length par 5 with strategic bunkering and water hazards that define the proper routing through the hole. The risk-reward layout rewards intelligent shot-making while punishing overambitious attempts.
The course's most difficult par 3, playing to an island green or severely constrained landing area surrounded by hazards. The exposed green offers minimal margin for error, making this a memorable par-3 test.
A strong par 4 ranked among the course's toughest holes, featuring significant length and strategic hazards throughout. Water or out-of-bounds left create a narrow corridor to the green, demanding both power and precision.
A challenging par 4 with bunkering and hazards positioned to catch drives in the landing zone and approaches to the green. The hole's layout creates a series of strategic decisions affecting the final approach.

A lengthy par 5 that provides birdie opportunity for players who navigate its hazards successfully. The routing rewards aggressive play while maintaining penal consequences for mistakes in critical areas.
The closing par 4 presents a strong finishing hole with strategic hazards and a well-protected green. The hole's design demands a quality second shot to conclude the round on a testing note.
Scorecard
| Hole | 1 | 2 | 3 | 4 | 5 | 6 | 7 | 8 | 9 | Out | 10 | 11 | 12 | 13 | 14 | 15 | 16 | 17 | 18 | In | Tot |
|---|---|---|---|---|---|---|---|---|---|---|---|---|---|---|---|---|---|---|---|---|---|
| Par | 4 | 5 | 4 | 3 | 4 | 4 | 3 | 5 | 4 | 36 | 4 | 3 | 4 | 5 | 3 | 4 | 4 | 5 | 4 | 36 | 72 |
| HCP | 11 | 3 | 9 | 15 | 7 | 5 | 17 | 1 | 13 | 16 | 14 | 4 | 6 | 18 | 2 | 12 | 10 | 8 | |||
| blue | 406 | 553 | 396 | 182 | 367 | 399 | 182 | 518 | 392 | 3395 | 374 | 172 | 358 | 514 | 191 | 430 | 410 | 498 | 420 | 3367 | 6762 |
| white/blue combo | 382 | 553 | 396 | 162 | 367 | 371 | 182 | 518 | 376 | 3307 | 374 | 146 | 358 | 514 | 181 | 390 | 366 | 498 | 404 | 3231 | 6538 |
| white | 382 | 530 | 385 | 162 | 349 | 371 | 164 | 494 | 376 | 3213 | 340 | 146 | 332 | 505 | 181 | 390 | 366 | 471 | 404 | 3135 | 6348 |
| white/gold combo | 338 | 530 | 385 | 135 | 349 | 340 | 164 | 494 | 335 | 3070 | 340 | 146 | 308 | 505 | 165 | 370 | 350 | 471 | 378 | 3033 | 6103 |
| gold | 338 | 500 | 375 | 135 | 310 | 340 | 145 | 470 | 335 | 2948 | 340 | 135 | 308 | 455 | 165 | 370 | 350 | 440 | 378 | 2941 | 5889 |