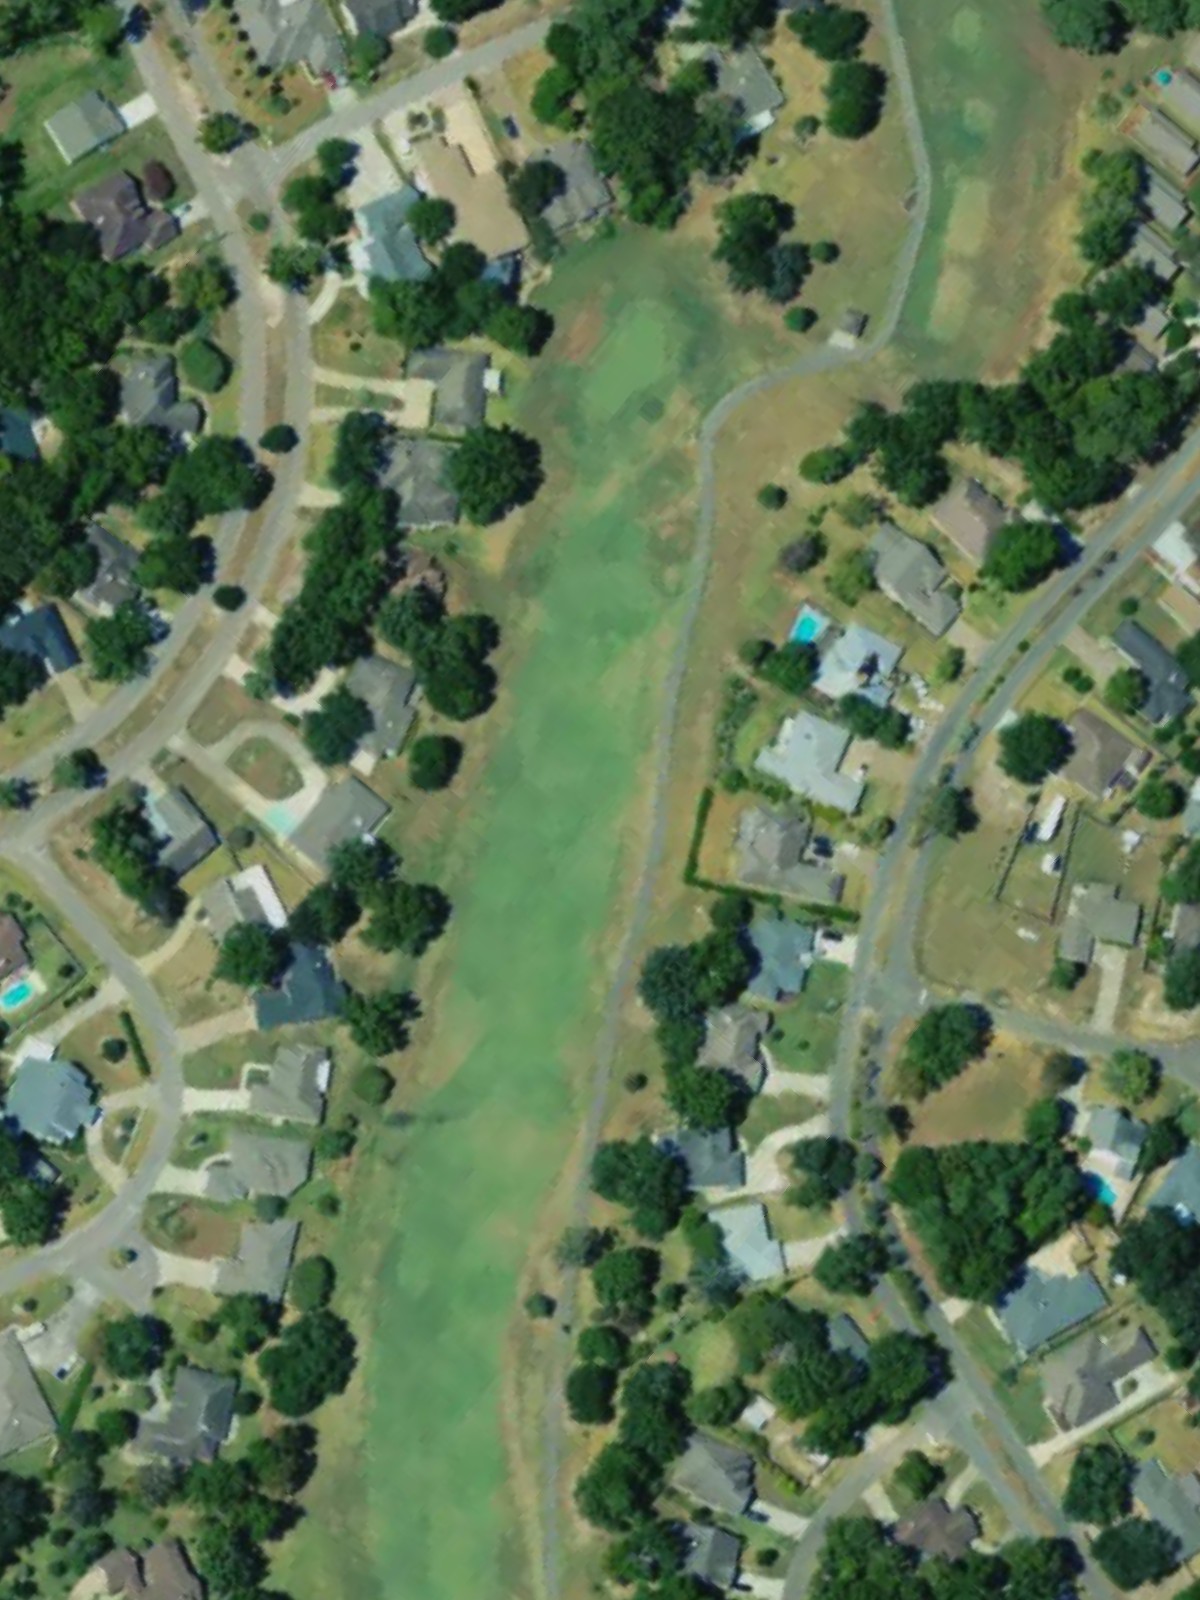
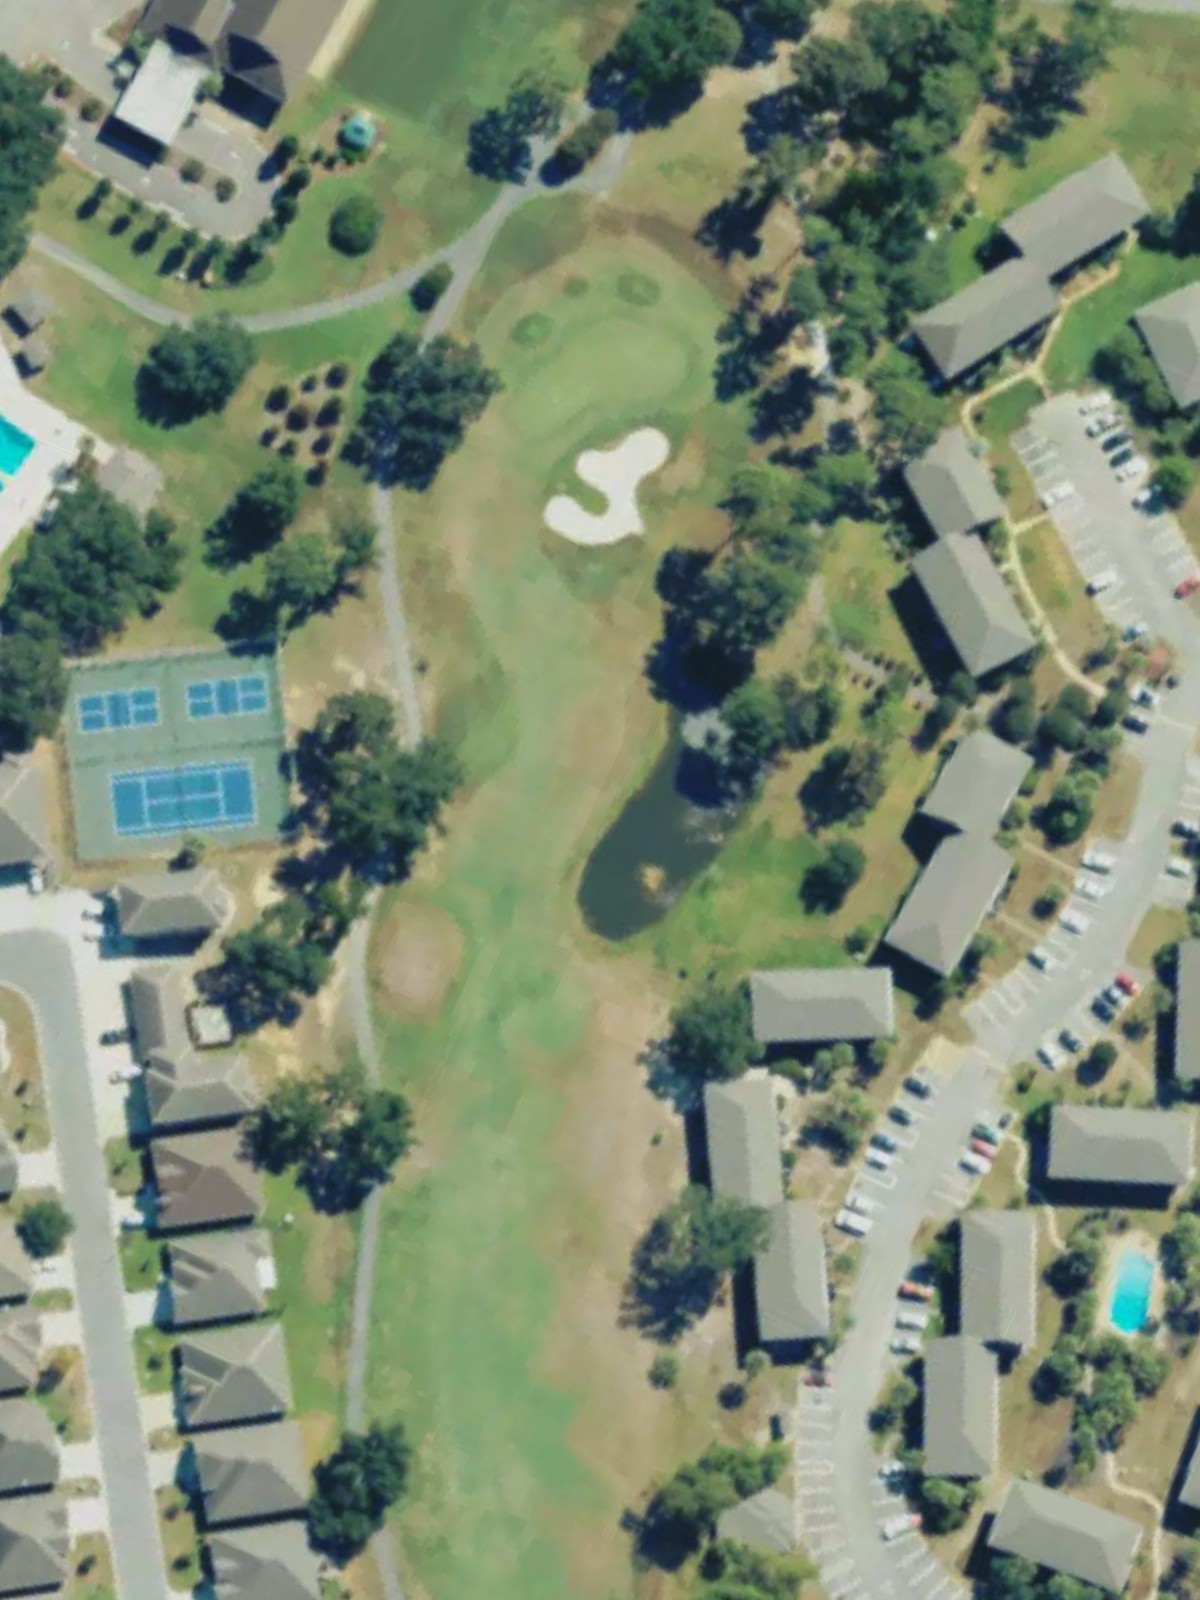
The Club At Diamondhead is an 18-hole golf course in Diamondhead, MS with a par of 72. It offers 10 tee sets: blue (6,784 yards, slope 136, rating 72.8), blue/white combo (6,640 yards, slope 140, rating 72.1), white (6,324 yards, slope 134, rating 70.5), white/gold combo (6,139 yards, slope 131, rating 69.5), gold (5,853 yards, slope 122, rating 68.5), gold/red (5,560 yards, slope 118, rating 67.3), gold/red 9 forward (5,525 yards, slope 120, rating 67.1), red (5,193 yards, slope 115, rating 65.9), red/black combo (4,706 yards, slope 107, rating 63.9), black (4,120 yards, slope 105, rating 61.5). The hardest hole is #4, a par 4 playing 326 yards from the first tee.
The Club At Diamondhead
Diamondhead, MS
Get PDF Yardage Book
We'll email you the PDF link. No spam, ever.
Create Your Game Plan
Pick your tees, enter your bag, and get a personalized shot-by-shot strategy for every hole.
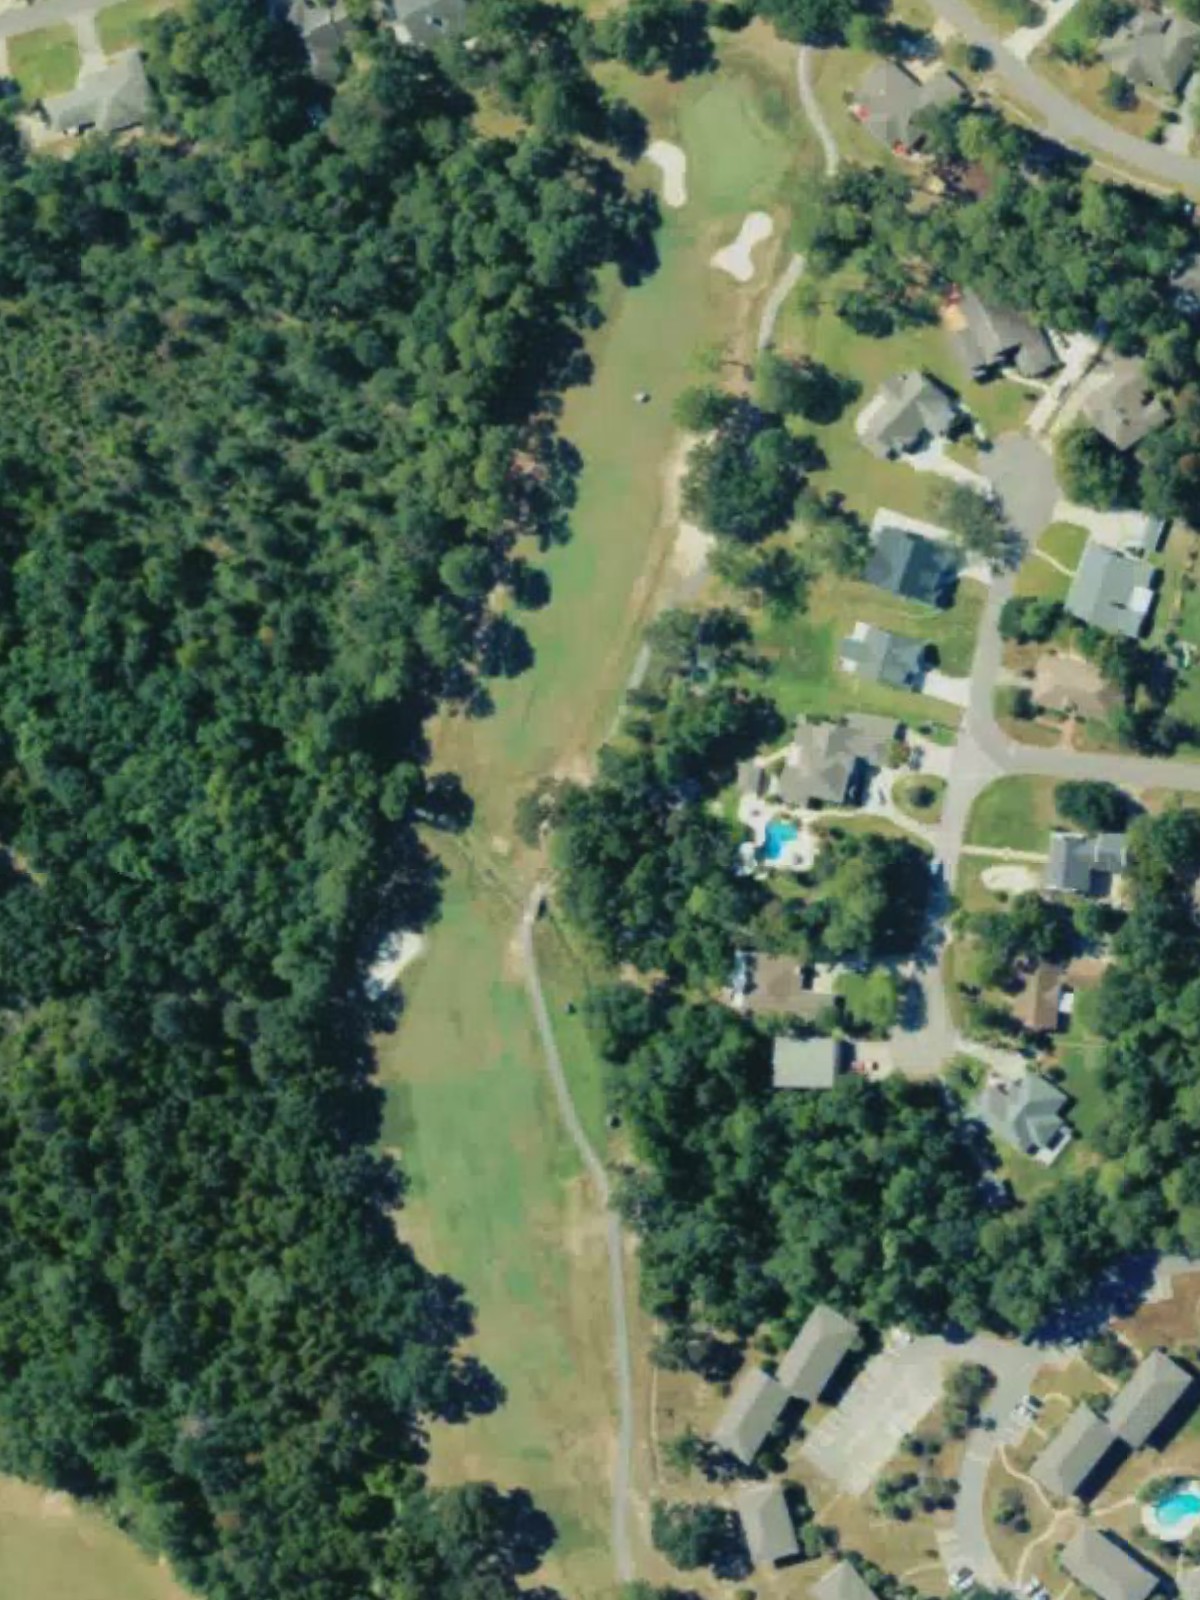
A long par 5 that plays straightforward with a fairway that gradually narrows toward the green. The hole's length demands accuracy on the approach, with distance being the primary challenge on this three-shot hole.
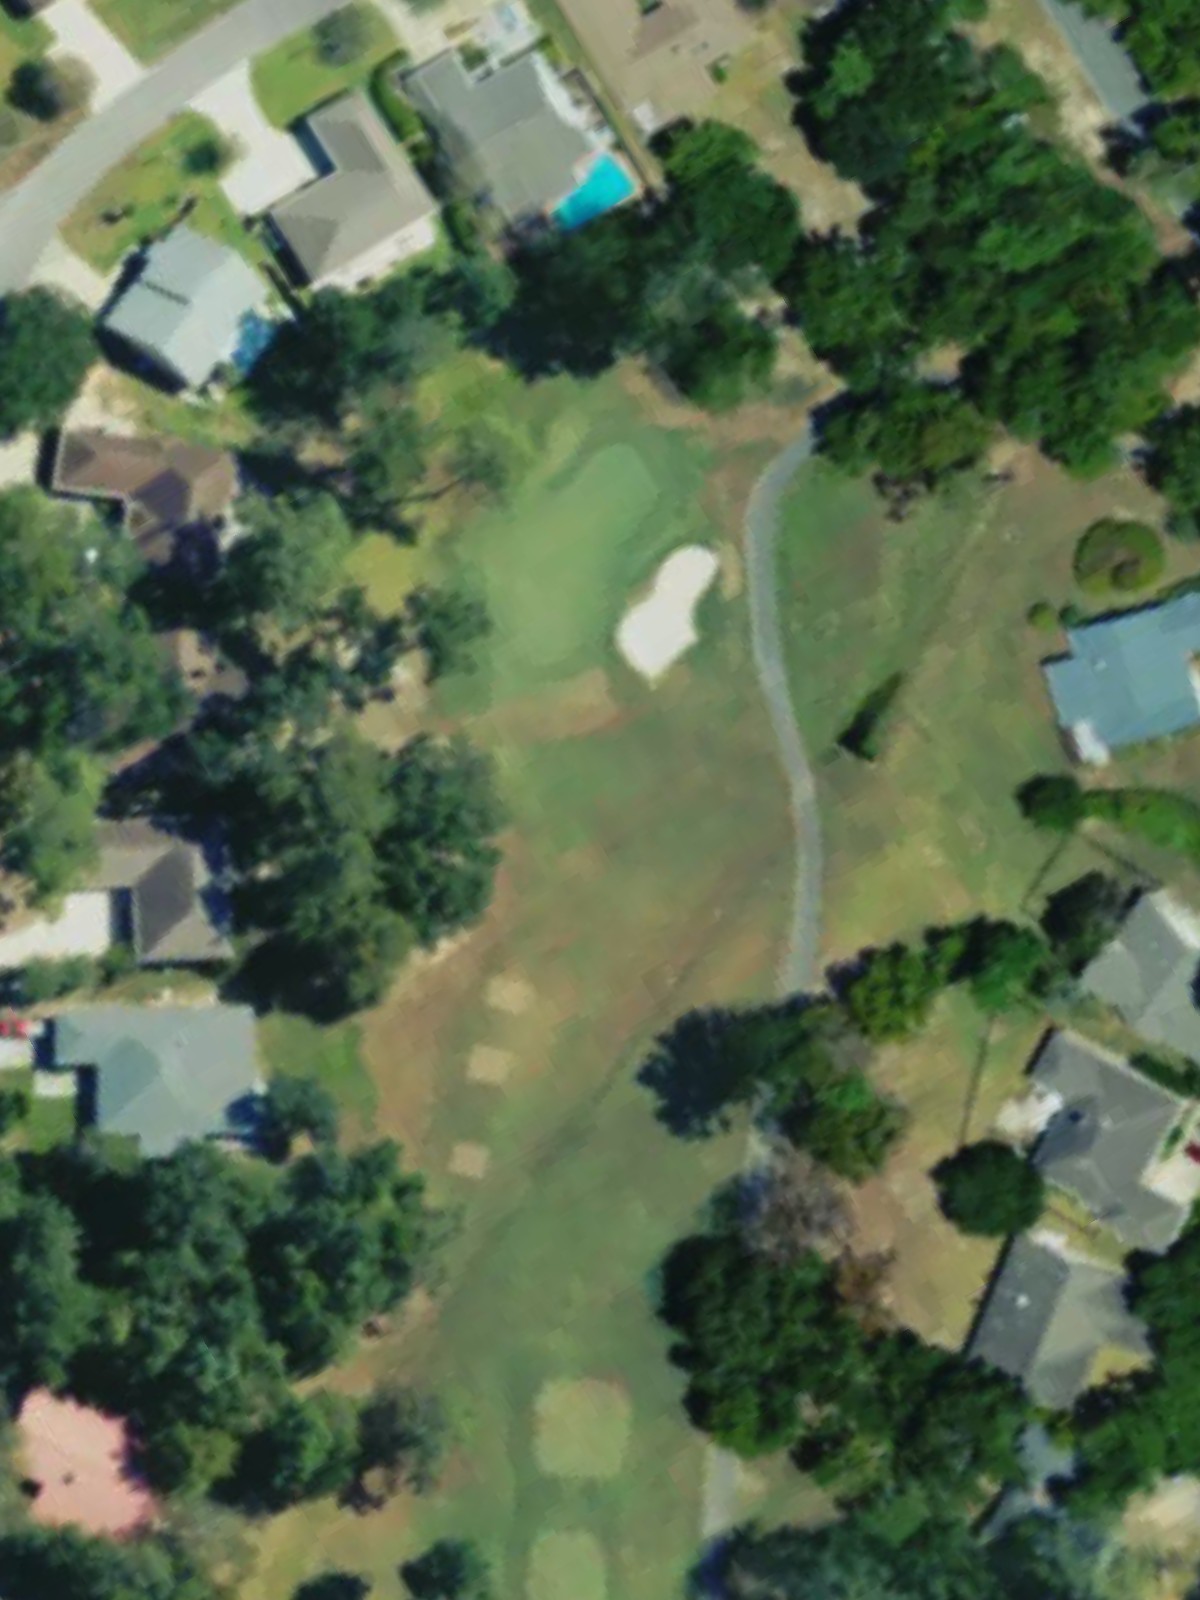
A short par 3 requiring an accurate tee shot to find the green. The modest length makes club selection and precision more critical than distance.
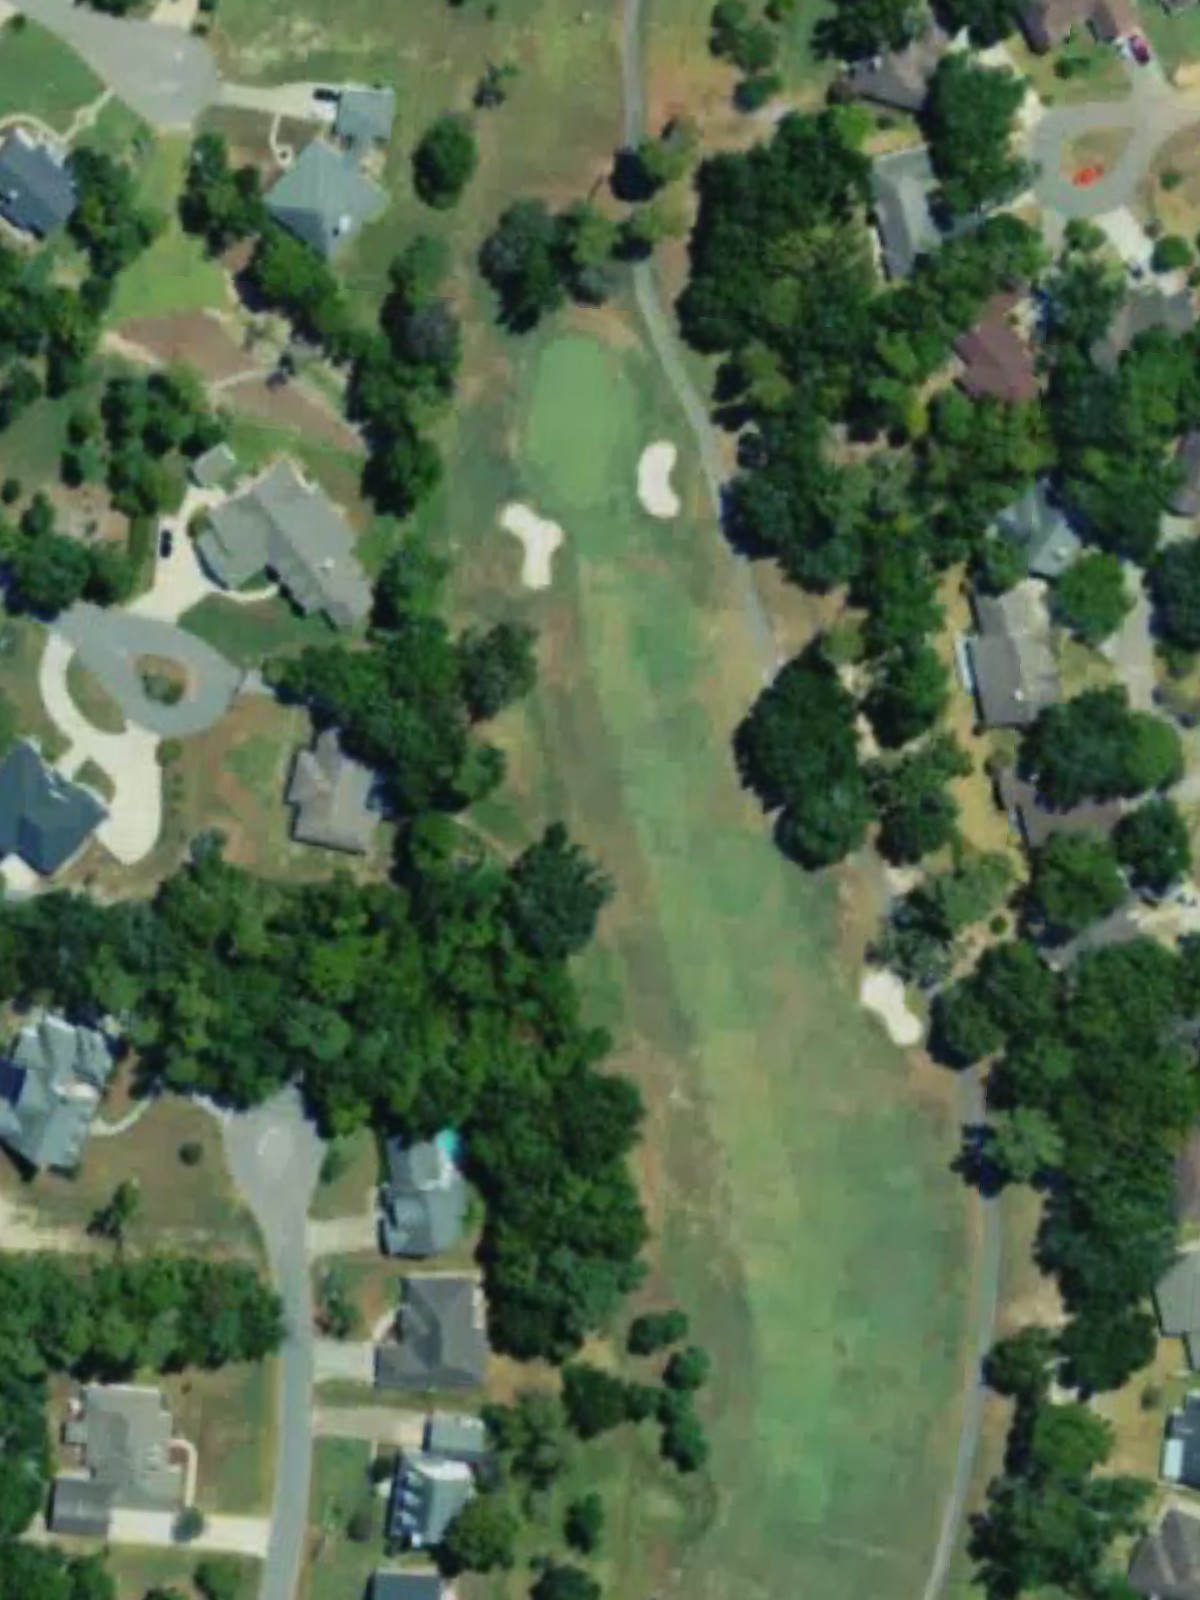
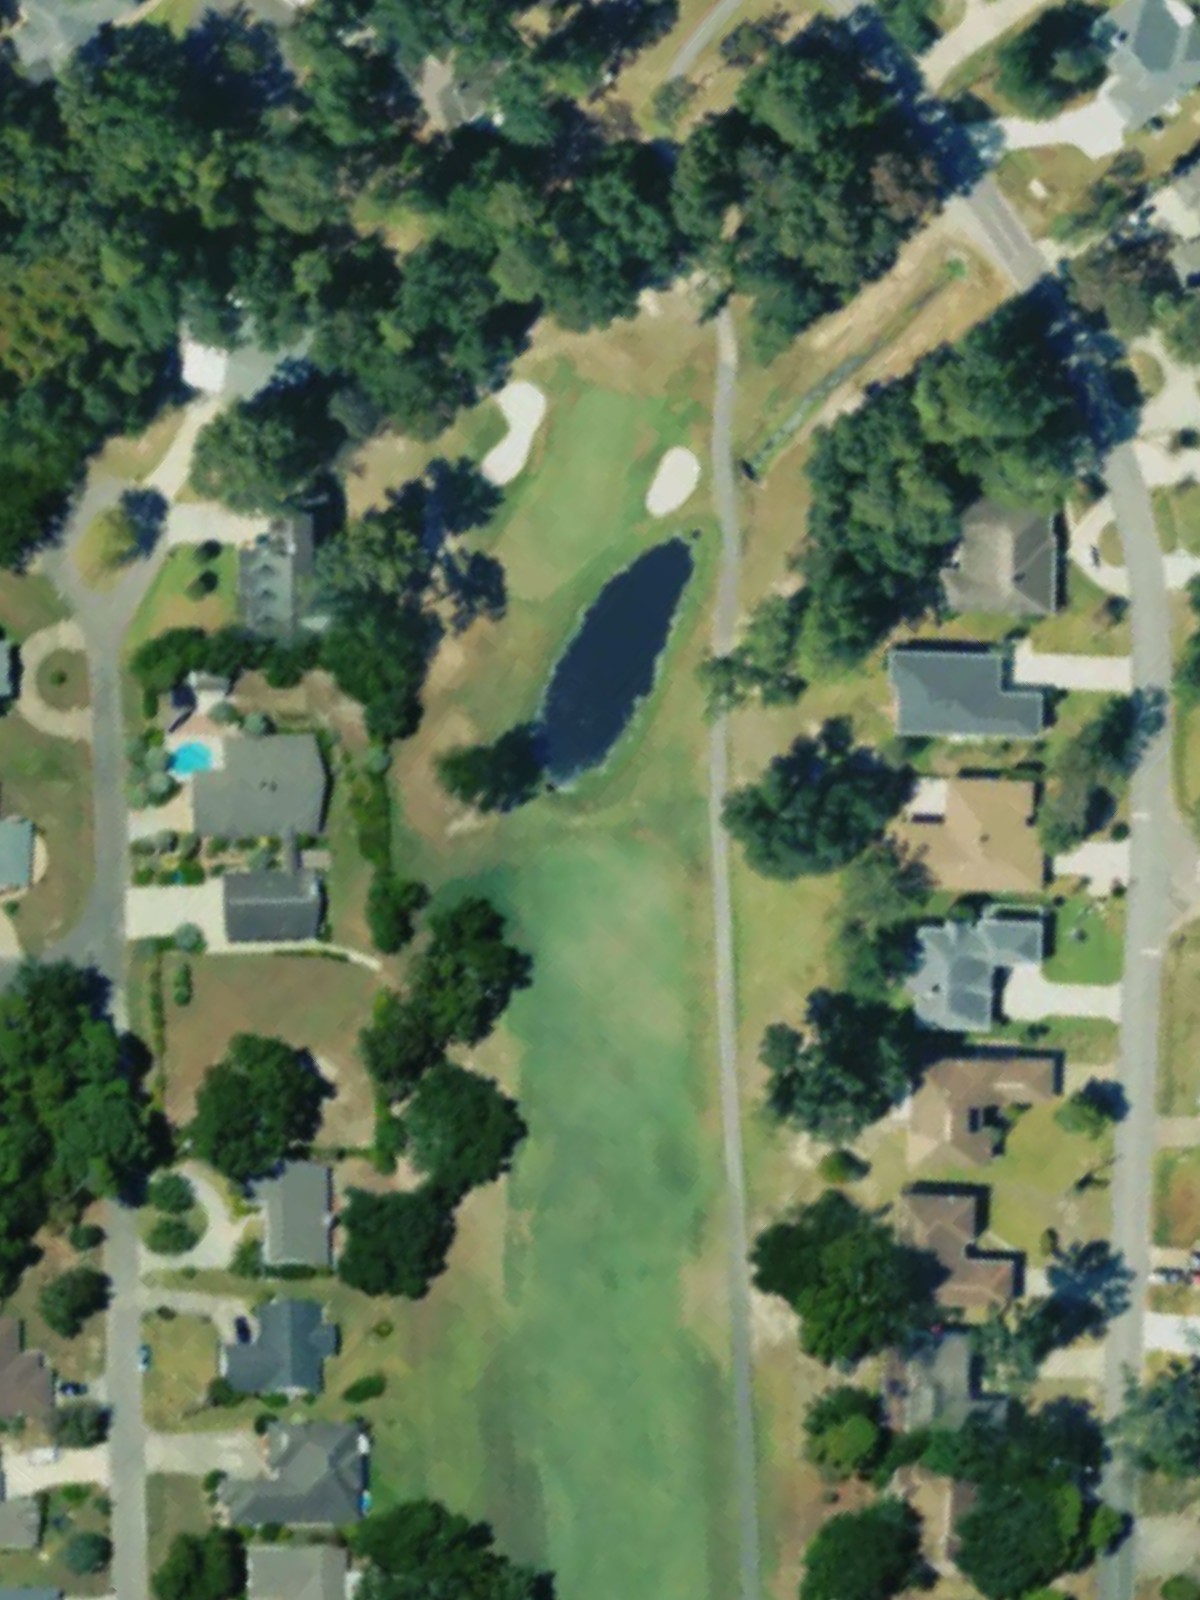
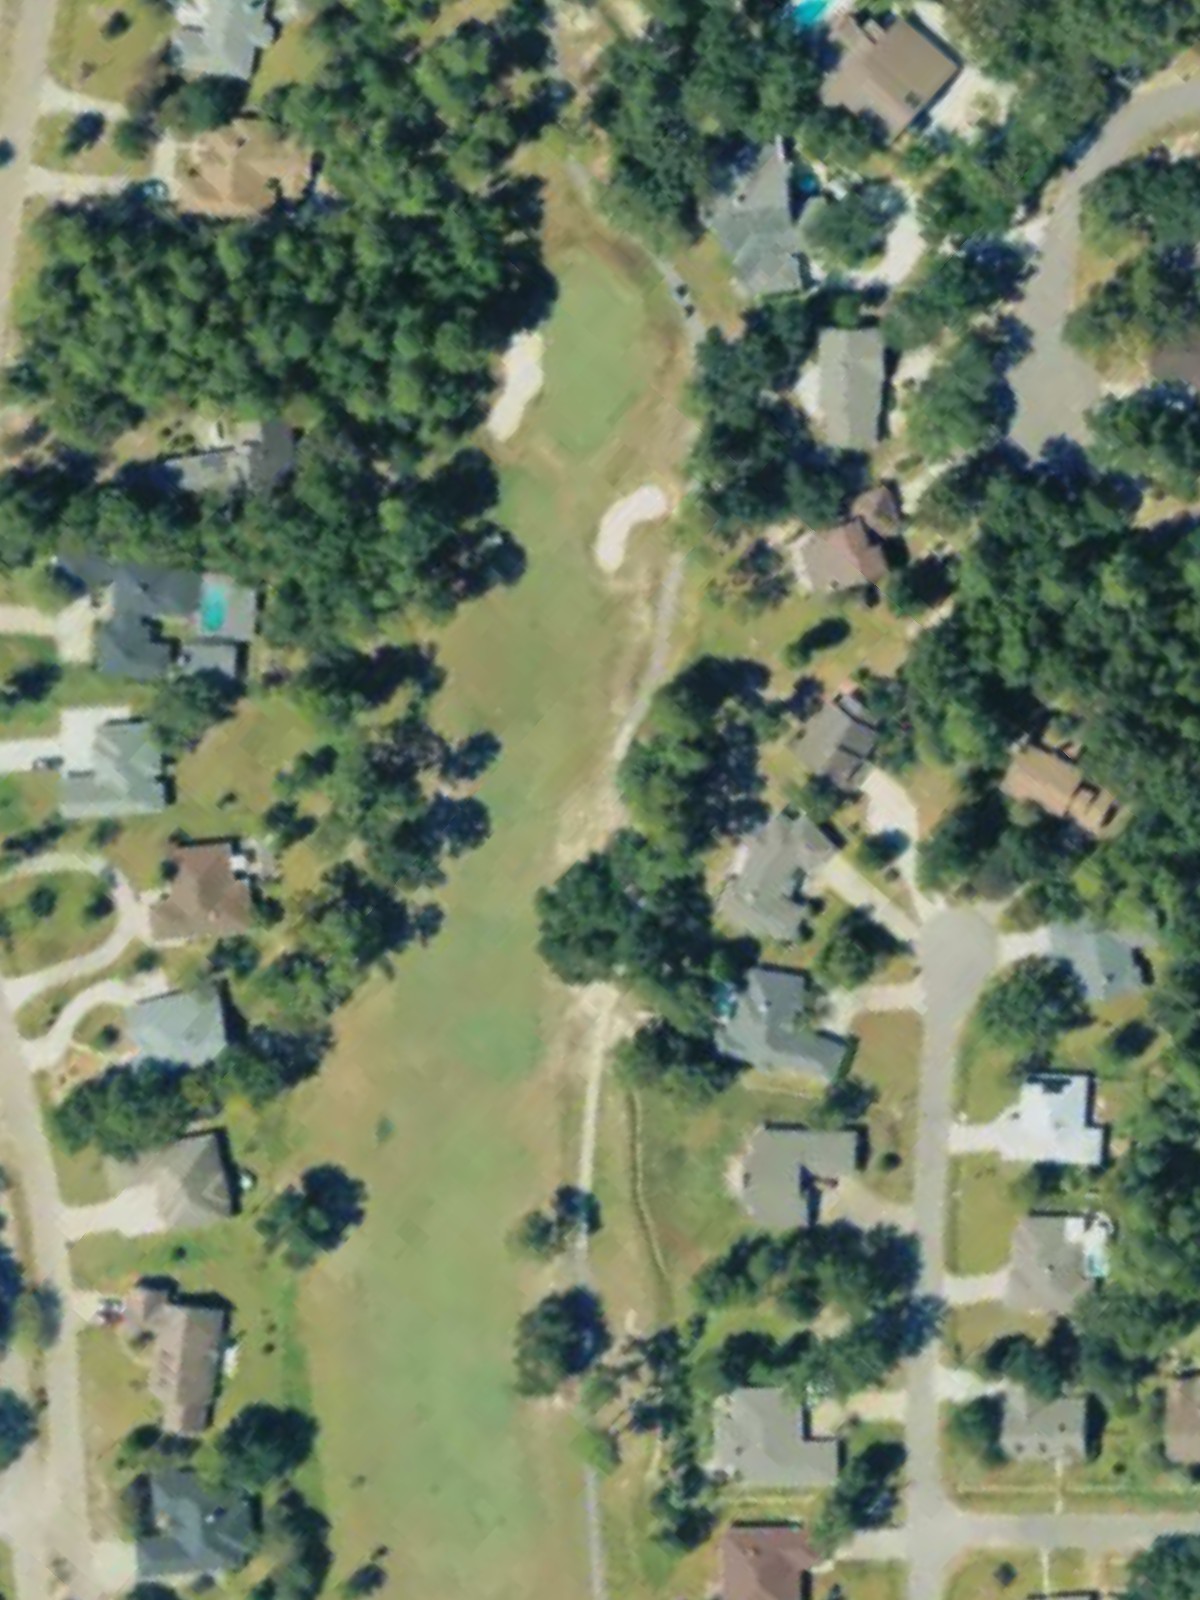
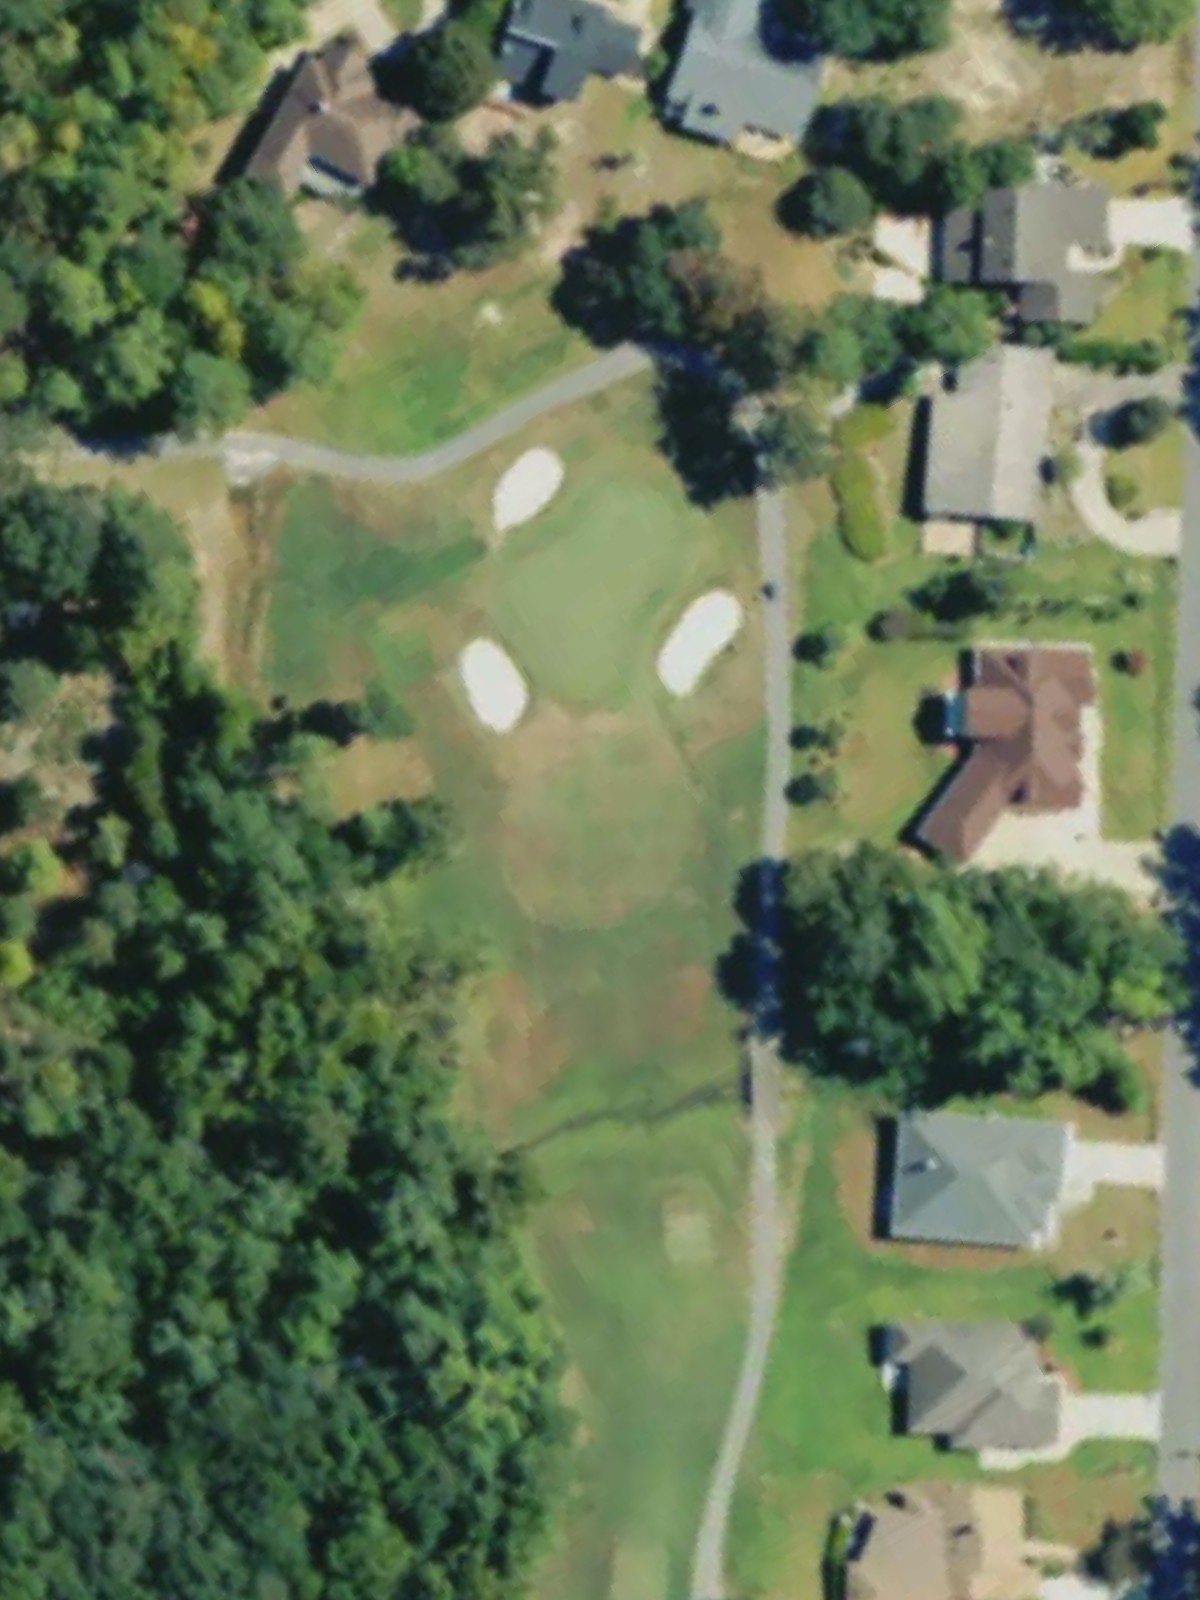
A strong par 4 that plays as the course's fifth-most difficult hole. The hole requires a solid approach shot to reach a well-defined green, with the length creating the primary challenge.
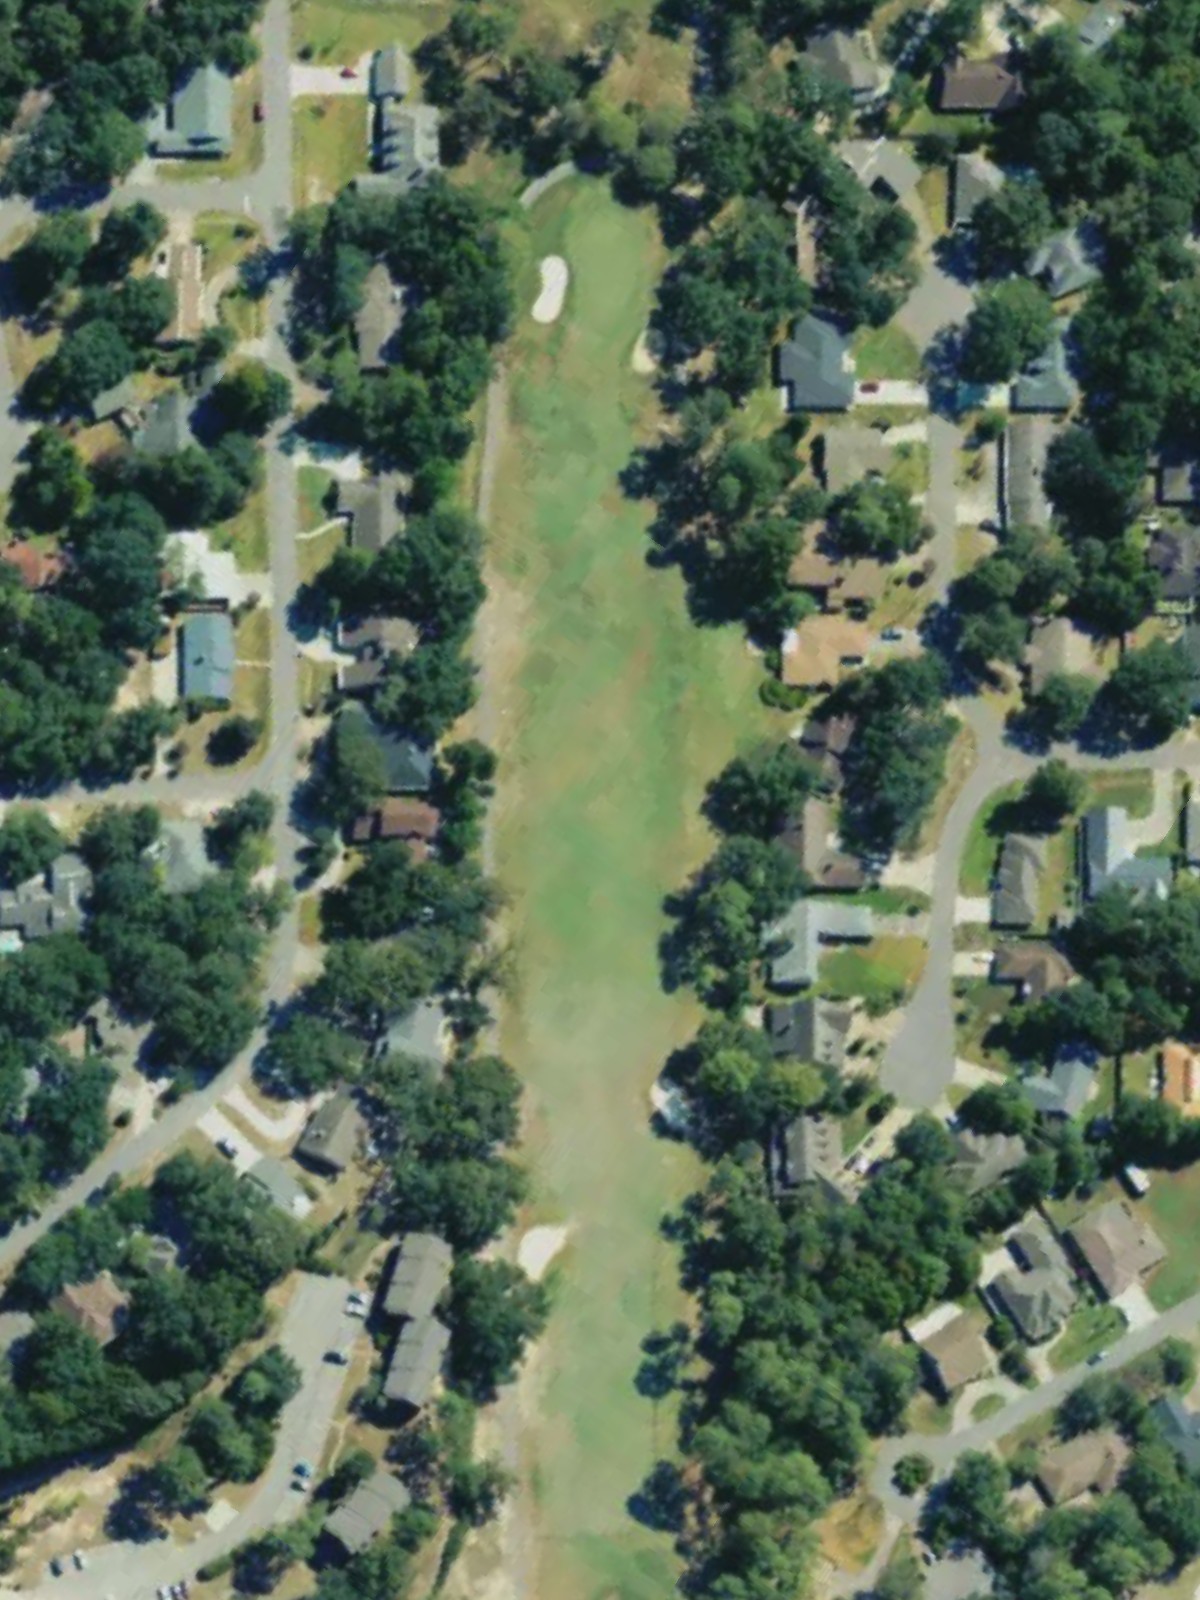
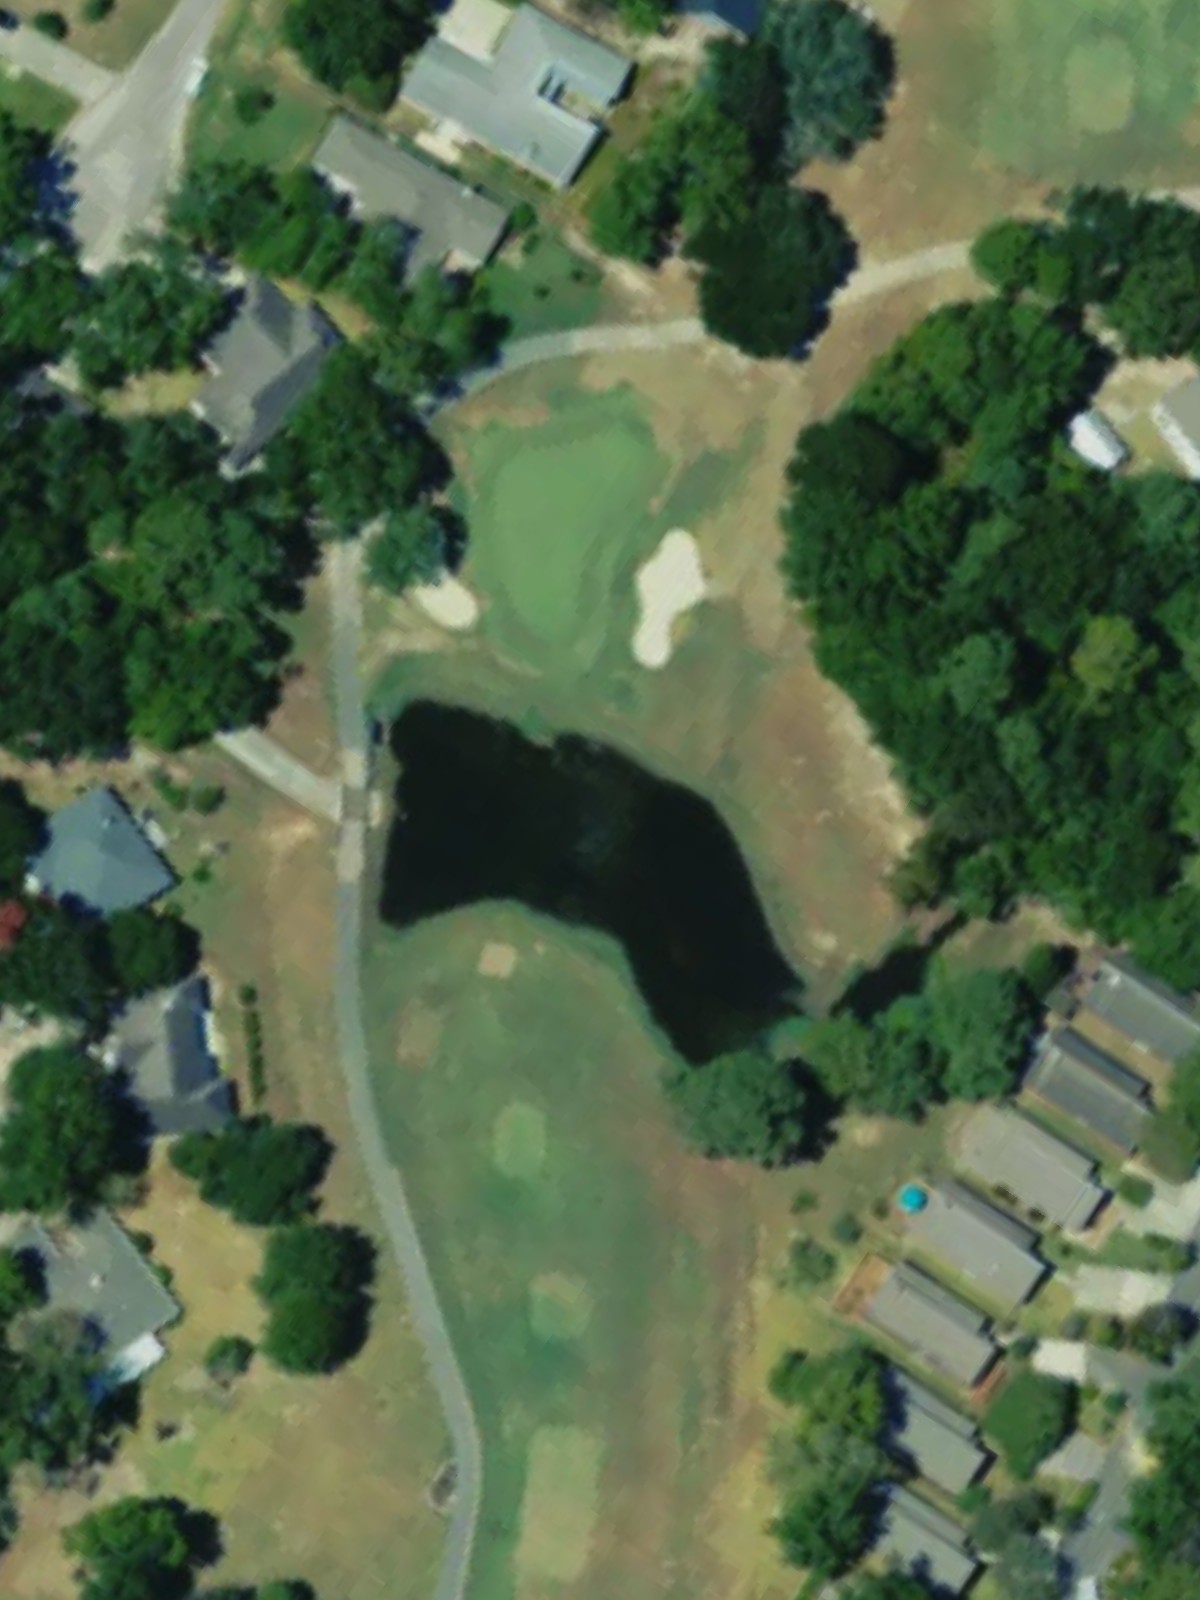
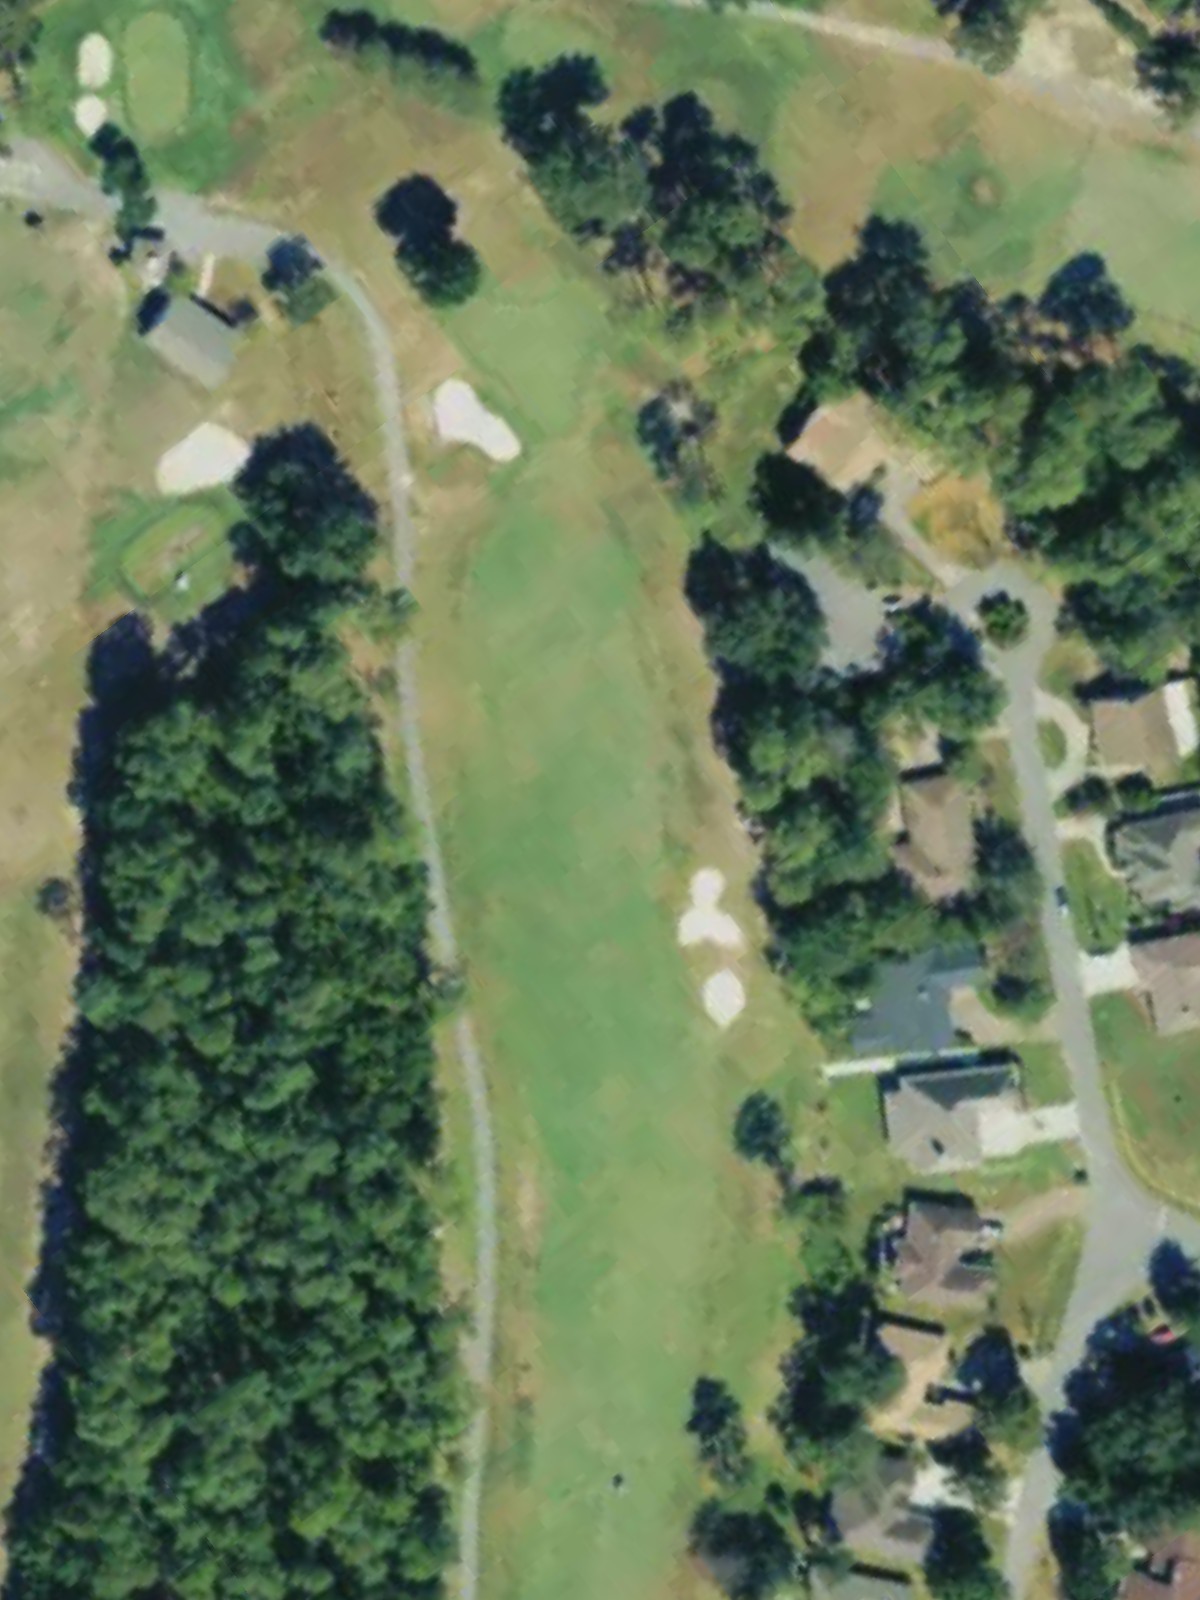
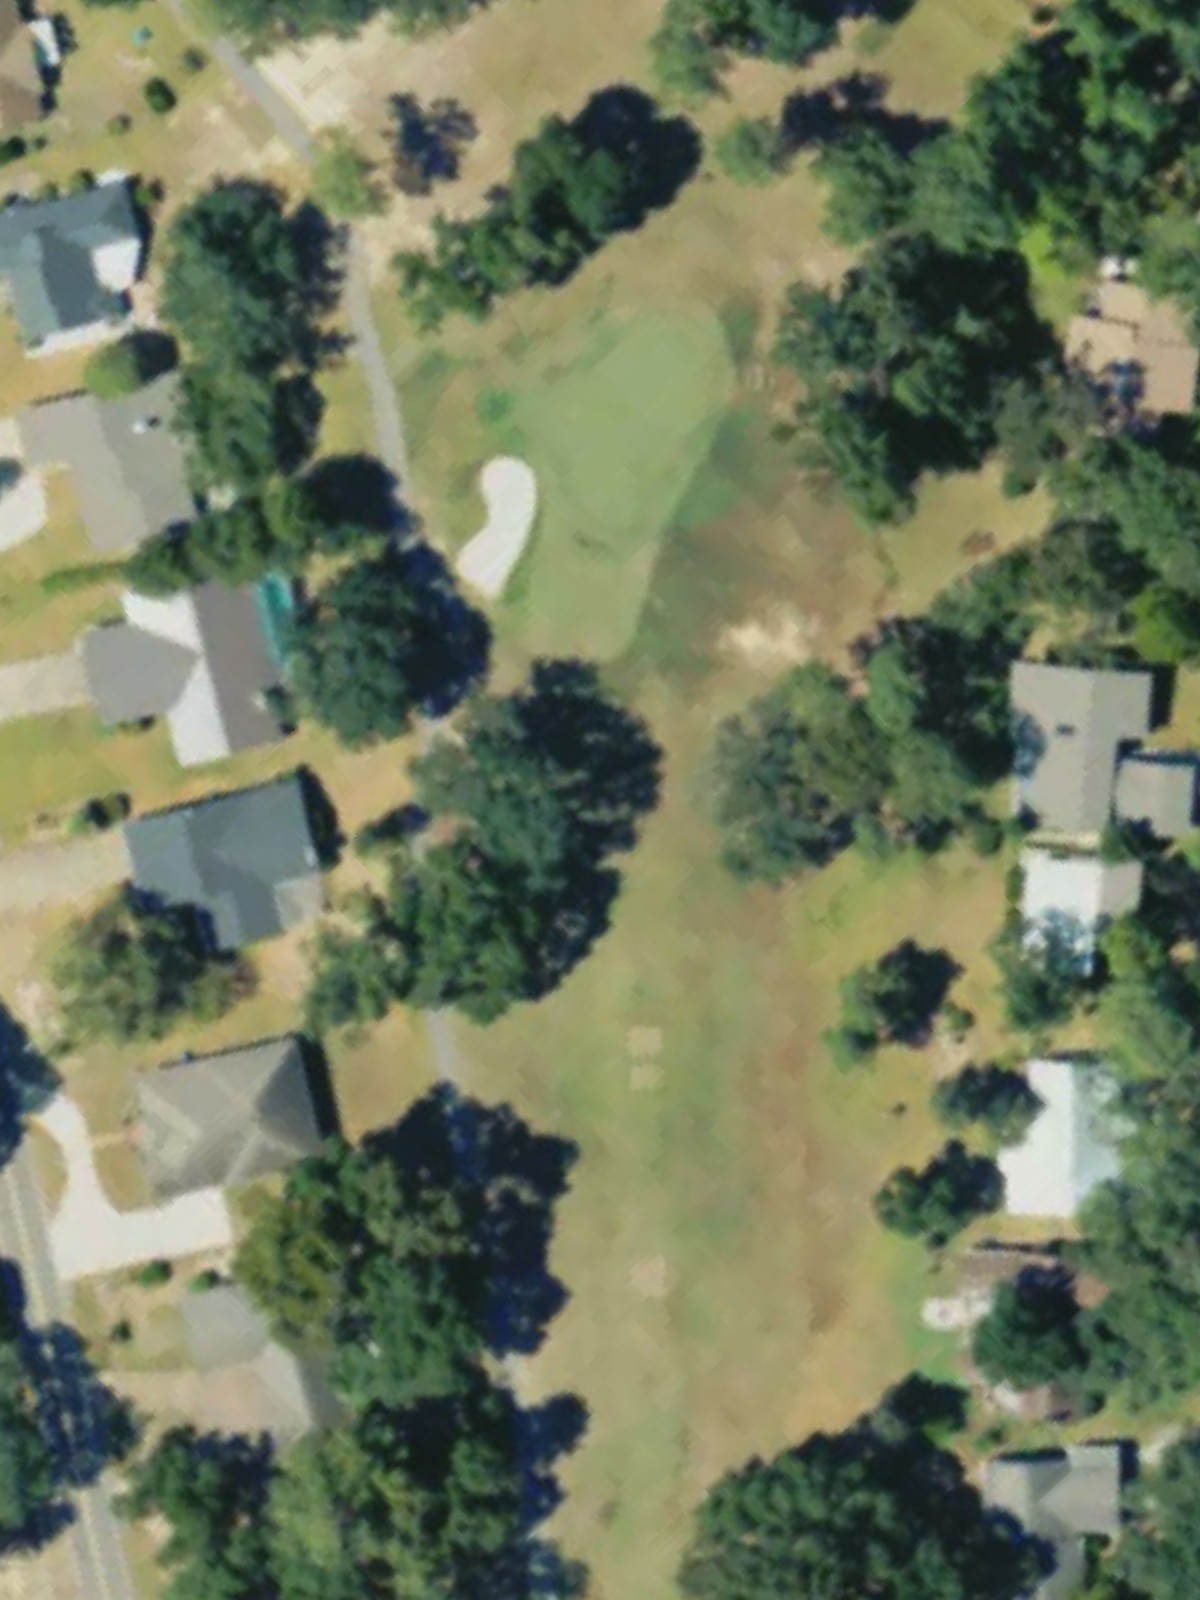
The course's most difficult hole, this par 4 demands respect from the tee and through the green. Accuracy off the tee and a precise approach are essential to scoring well on this demanding test.
A par 5 that stretches across the landscape, requiring two solid shots to set up a manageable approach. The length is the primary test on this three-shot hole.
A diminutive par 3 that plays short and direct to a small green. The brevity of the hole makes precision paramount, with little margin for error.
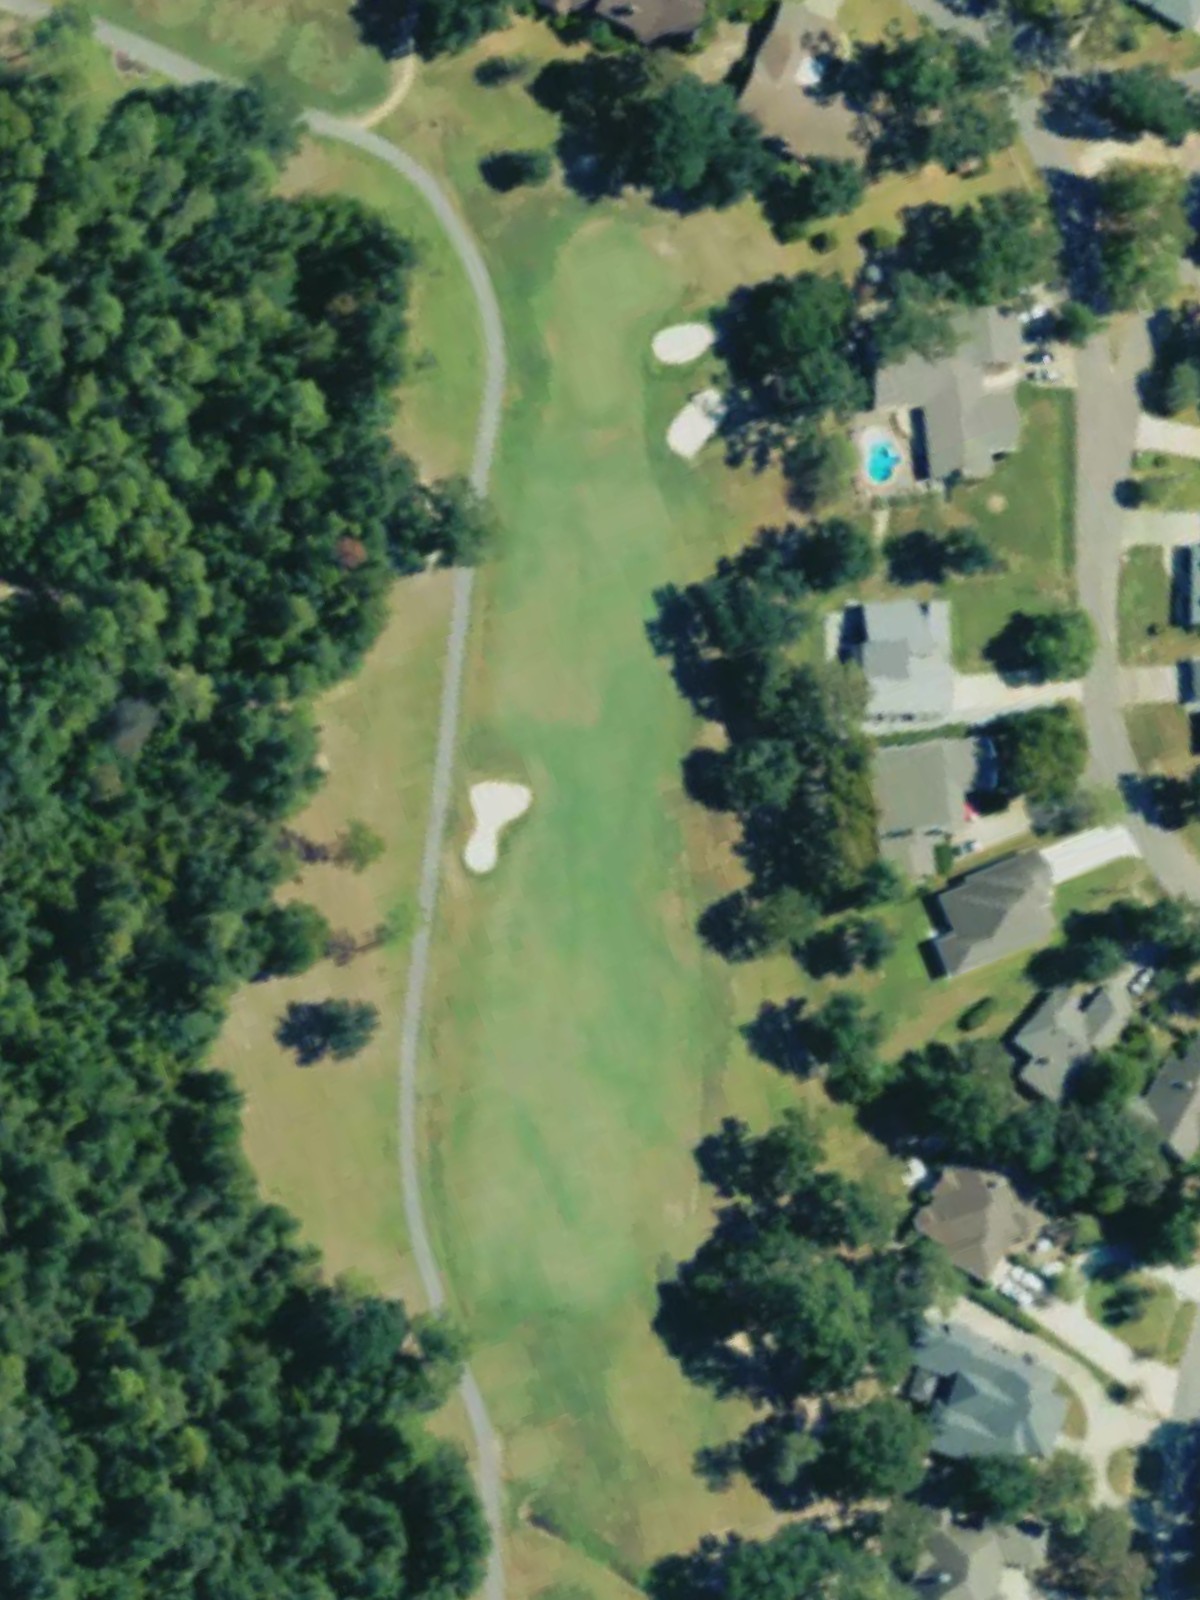
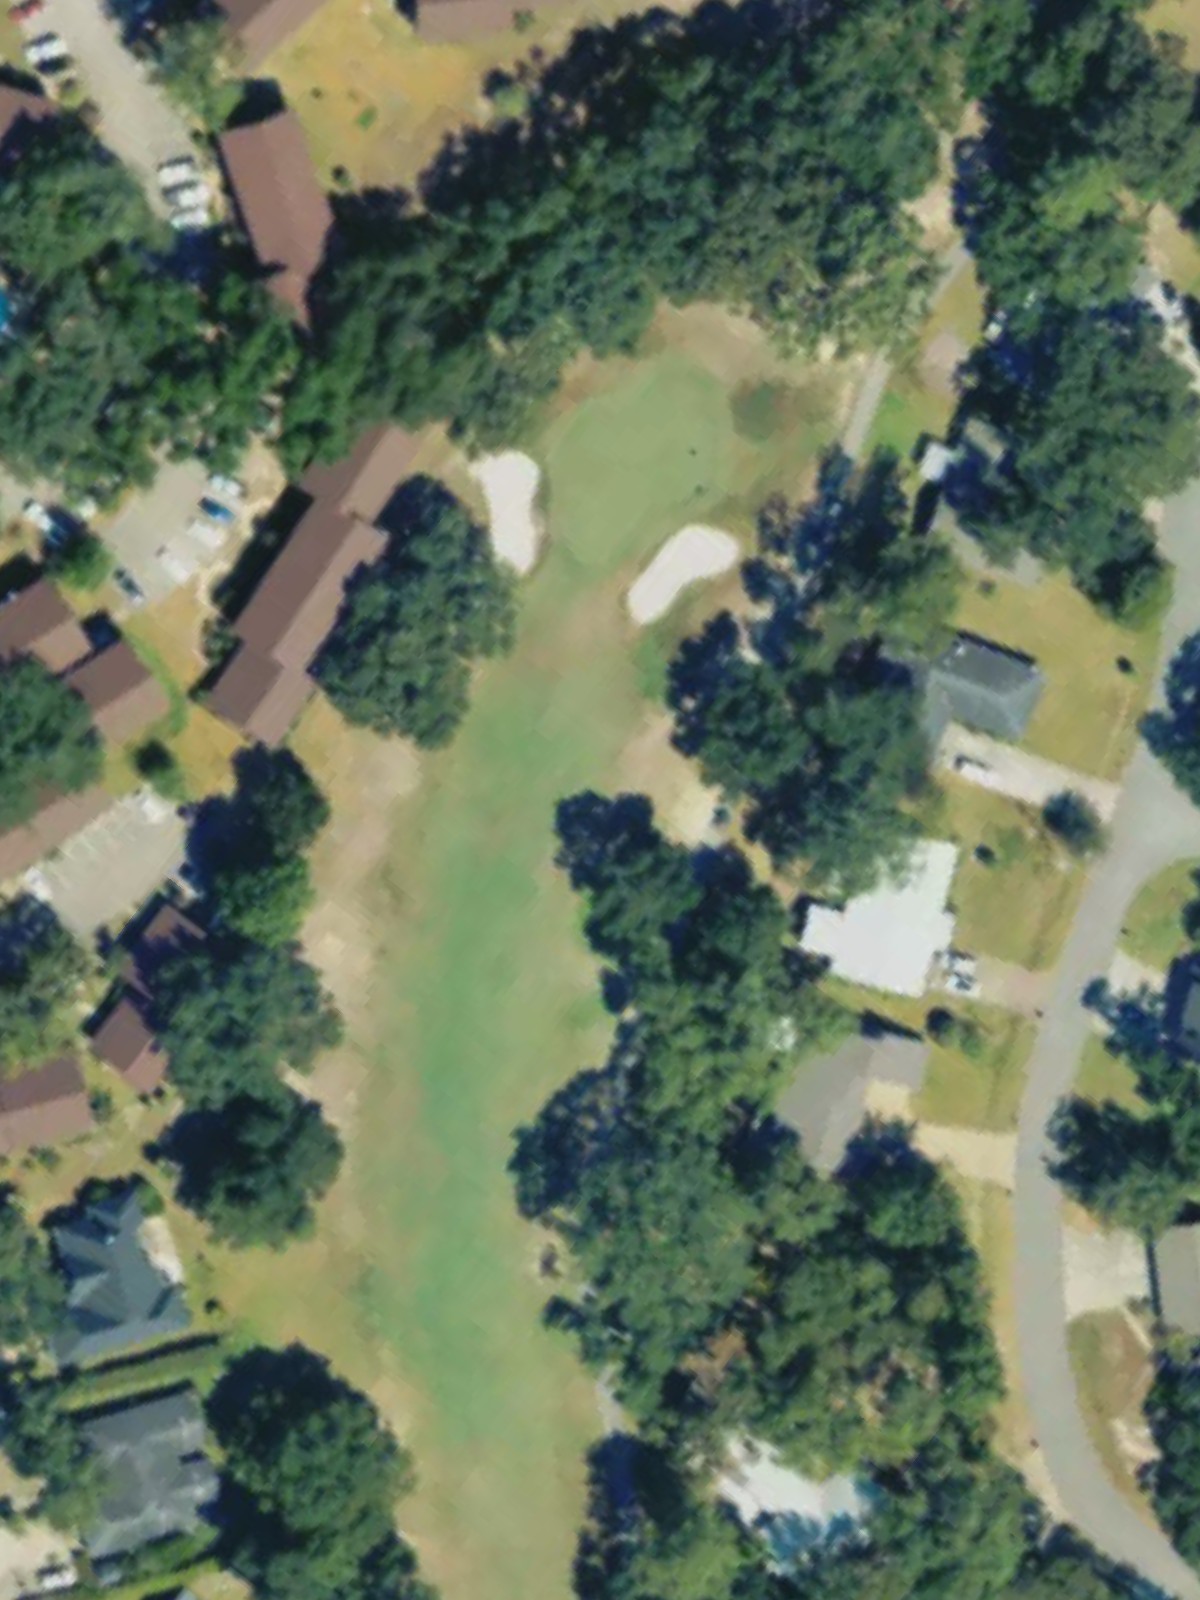
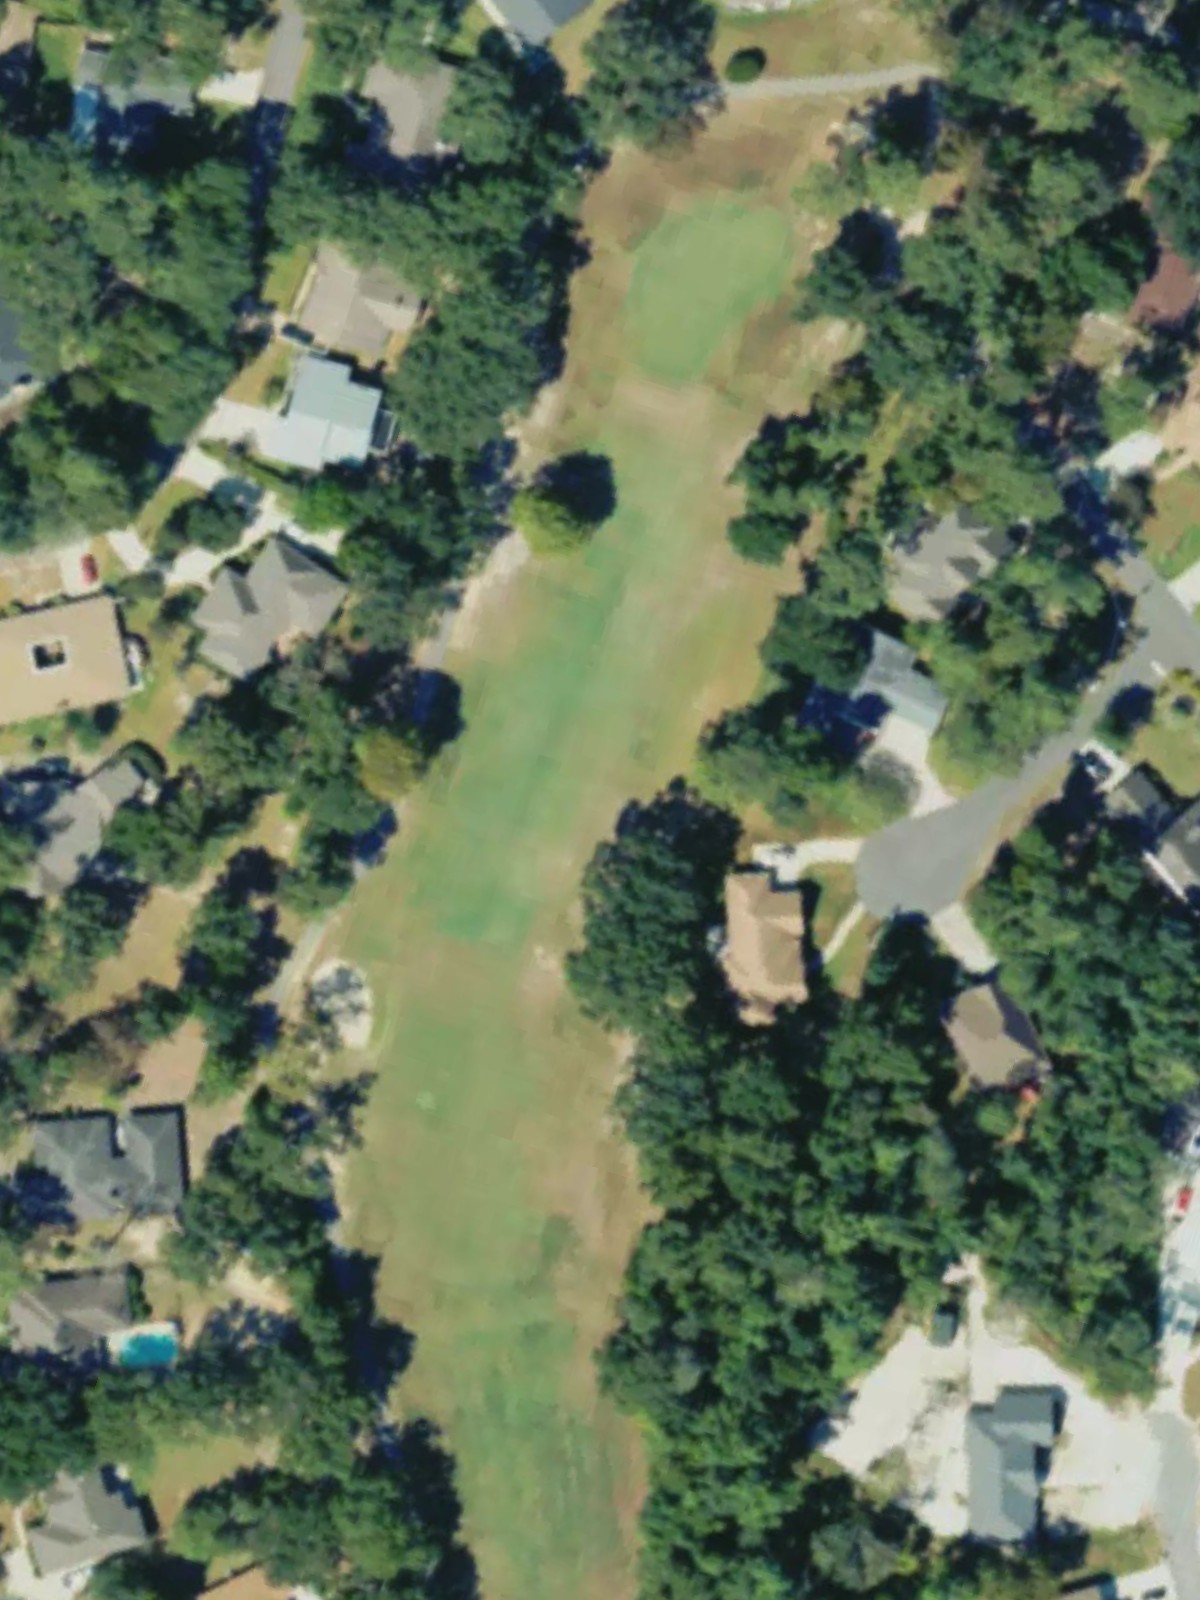
A mid-length par 4 with a relatively open layout that allows the fairway to dictate play. The hole presents a straightforward risk-reward opportunity for an approach shot.
A par 4 of moderate length that plays fairly direct to the green. Consistency rather than heroics defines this hole's character.
A par 4 that ranks among the course's three most challenging holes and demands precision throughout. Both the tee shot and approach require accuracy to navigate this demanding finishing hole for the front nine.
A par 5 that offers a three-shot opportunity with straightforward routing. The hole's length is balanced by a fairway that guides play toward the green.
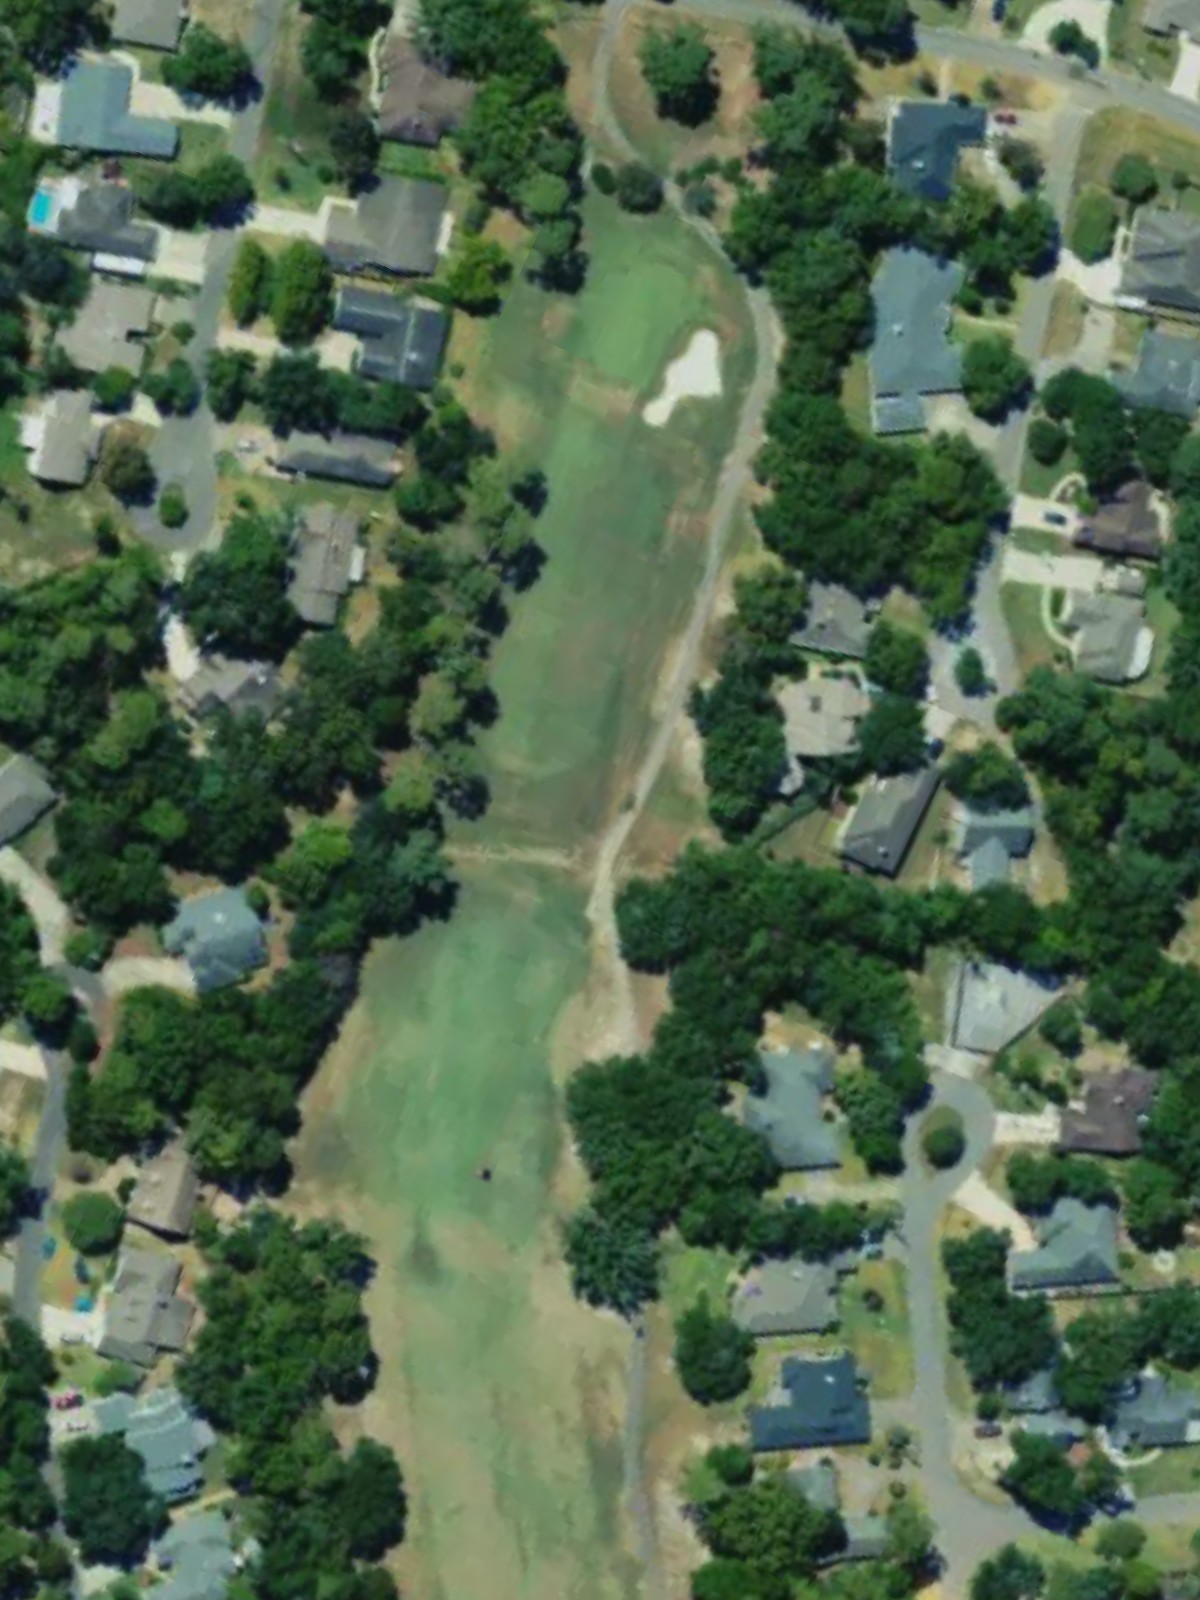
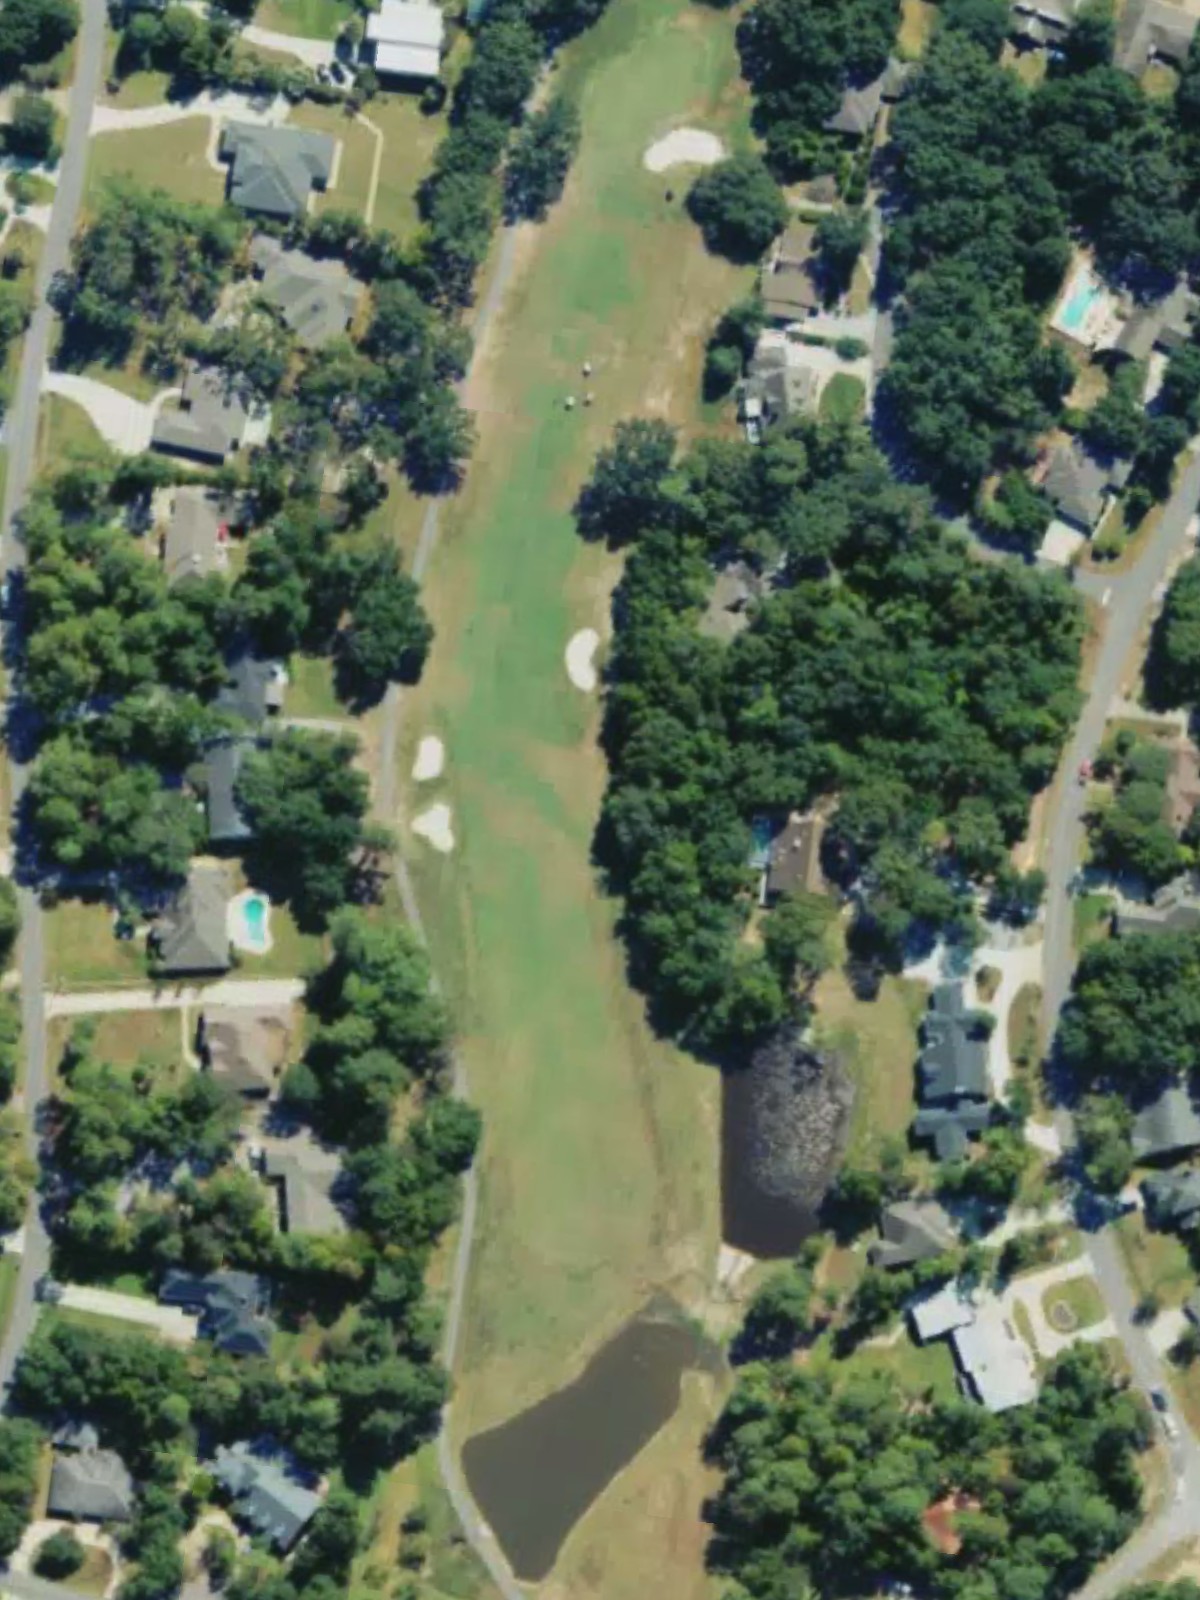
The second-most difficult hole on the course, this par 4 stands as a stiff test from start to finish. Both shot-making and course management are tested on this demanding hole.
A short par 4 that plays quicker than its length suggests. The brevity of the hole offers an opportunity for scoring if the fairway is found.
A mid-length par 3 that requires an accurate tee shot to find the green. The hole presents a straightforward test of shot-making over distance.
A par 4 that plays with moderate difficulty and offers a balanced challenge from tee to green. The hole's character rewards solid, consistent play.
A short par 3 with a modest distance that emphasizes precision in club selection and execution. The hole's brevity makes accuracy essential.

A strong par 4 ranked sixth in difficulty, this hole demands accurate shot-making throughout. The combination of length and layout creates a meaningful test.
The longest par 5 on the course, this hole presents the ultimate three-shot challenge with length being the defining characteristic. The fairway guides play but distance management remains paramount.
A fourth-ranked difficult par 4 that finishes the round with authority, requiring strong execution both off the tee and into the green. The hole's challenge makes for a dramatic conclusion to the round.
Scorecard
| Hole | 1 | 2 | 3 | 4 | 5 | 6 | 7 | 8 | 9 | Out | 10 | 11 | 12 | 13 | 14 | 15 | 16 | 17 | 18 | In | Tot |
|---|---|---|---|---|---|---|---|---|---|---|---|---|---|---|---|---|---|---|---|---|---|
| Par | 5 | 3 | 4 | 4 | 5 | 3 | 4 | 4 | 4 | 36 | 5 | 4 | 4 | 3 | 4 | 3 | 4 | 5 | 4 | 36 | 72 |
| HCP | 15 | 13 | 5 | 1 | 17 | 11 | 7 | 9 | 3 | 12 | 2 | 16 | 14 | 8 | 10 | 6 | 18 | 4 | |||
| blue | 522 | 177 | 411 | 439 | 538 | 162 | 365 | 353 | 394 | 3361 | 556 | 433 | 311 | 206 | 409 | 191 | 418 | 514 | 385 | 3423 | 6784 |
| blue/white combo | 522 | 177 | 386 | 410 | 538 | 162 | 365 | 353 | 379 | 3292 | 556 | 408 | 311 | 206 | 388 | 191 | 389 | 514 | 385 | 3348 | 6640 |
| white | 495 | 150 | 386 | 410 | 513 | 131 | 328 | 334 | 379 | 3126 | 528 | 408 | 292 | 180 | 388 | 170 | 389 | 484 | 359 | 3198 | 6324 |
| white/gold combo | 495 | 150 | 356 | 384 | 513 | 131 | 328 | 334 | 347 | 3038 | 528 | 374 | 292 | 180 | 353 | 170 | 361 | 484 | 359 | 3101 | 6139 |
| gold | 468 | 125 | 356 | 384 | 491 | 110 | 304 | 322 | 347 | 2907 | 496 | 374 | 279 | 161 | 353 | 142 | 361 | 450 | 330 | 2946 | 5853 |
| gold/red | 468 | 125 | 310 | 326 | 491 | 110 | 304 | 322 | 347 | 2803 | 496 | 317 | 279 | 161 | 270 | 142 | 312 | 450 | 330 | 2757 | 5560 |
| gold/red 9 forward | 468 | 125 | 310 | 326 | 491 | 110 | 304 | 322 | 312 | 2768 | 496 | 317 | 279 | 161 | 270 | 142 | 312 | 450 | 330 | 2757 | 5525 |
| red | 438 | 125 | 310 | 326 | 423 | 89 | 283 | 295 | 312 | 2601 | 413 | 317 | 270 | 134 | 270 | 142 | 312 | 409 | 325 | 2592 | 5193 |
| red/black combo | 438 | 125 | 245 | 200 | 423 | 89 | 283 | 295 | 220 | 2318 | 413 | 240 | 270 | 134 | 210 | 142 | 245 | 409 | 325 | 2388 | 4706 |
| black | 370 | 125 | 245 | 200 | 370 | 89 | 250 | 215 | 220 | 2084 | 370 | 240 | 200 | 134 | 210 | 90 | 245 | 342 | 205 | 2036 | 4120 |