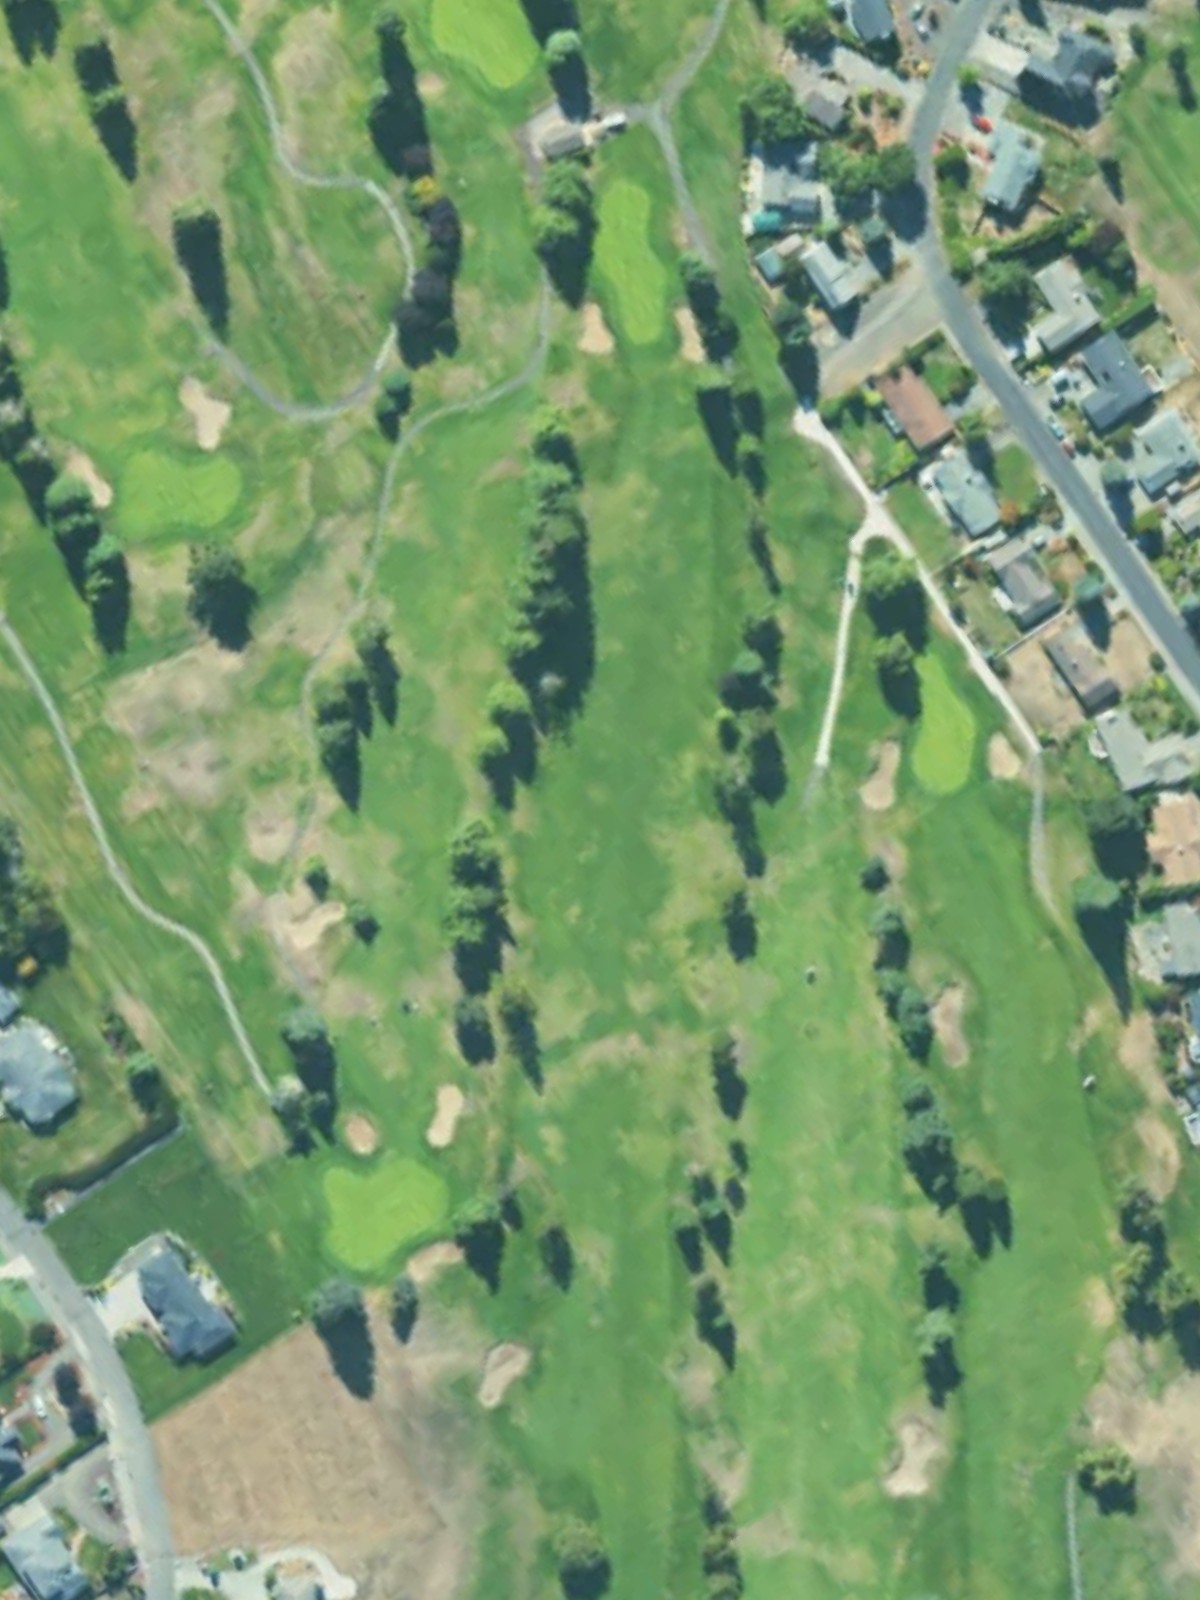
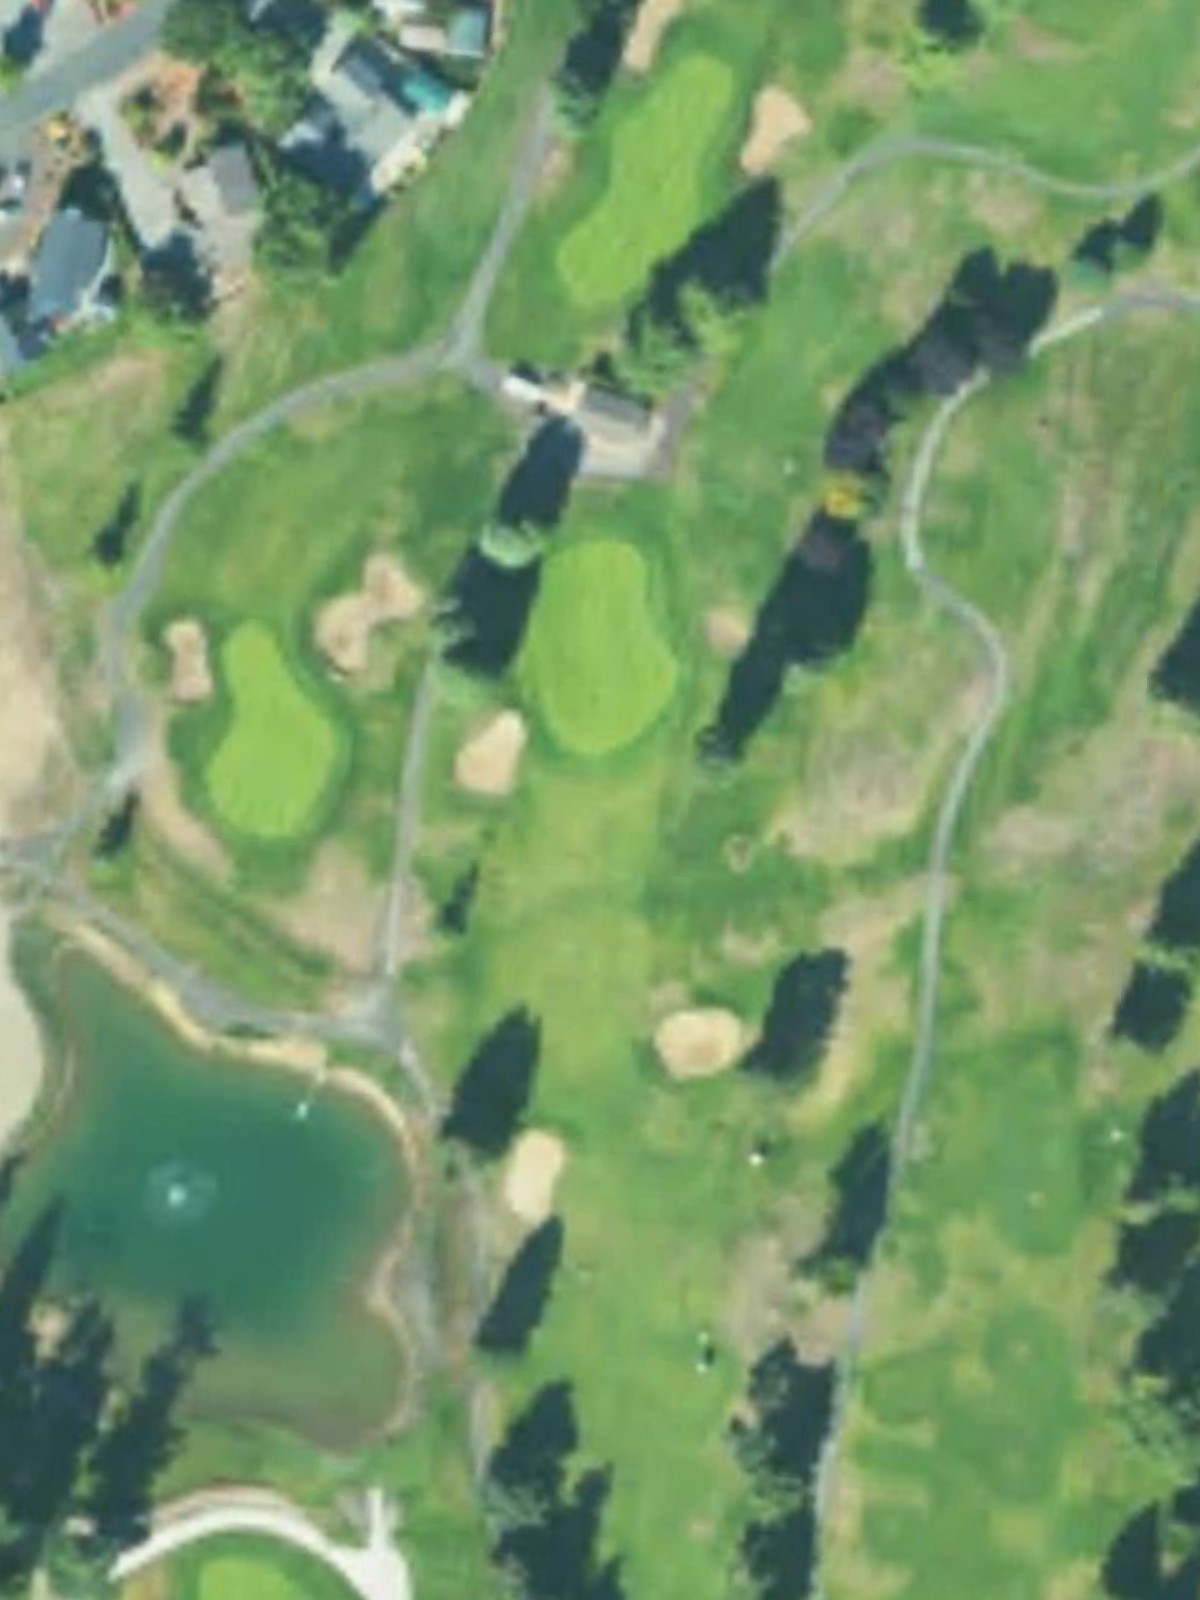
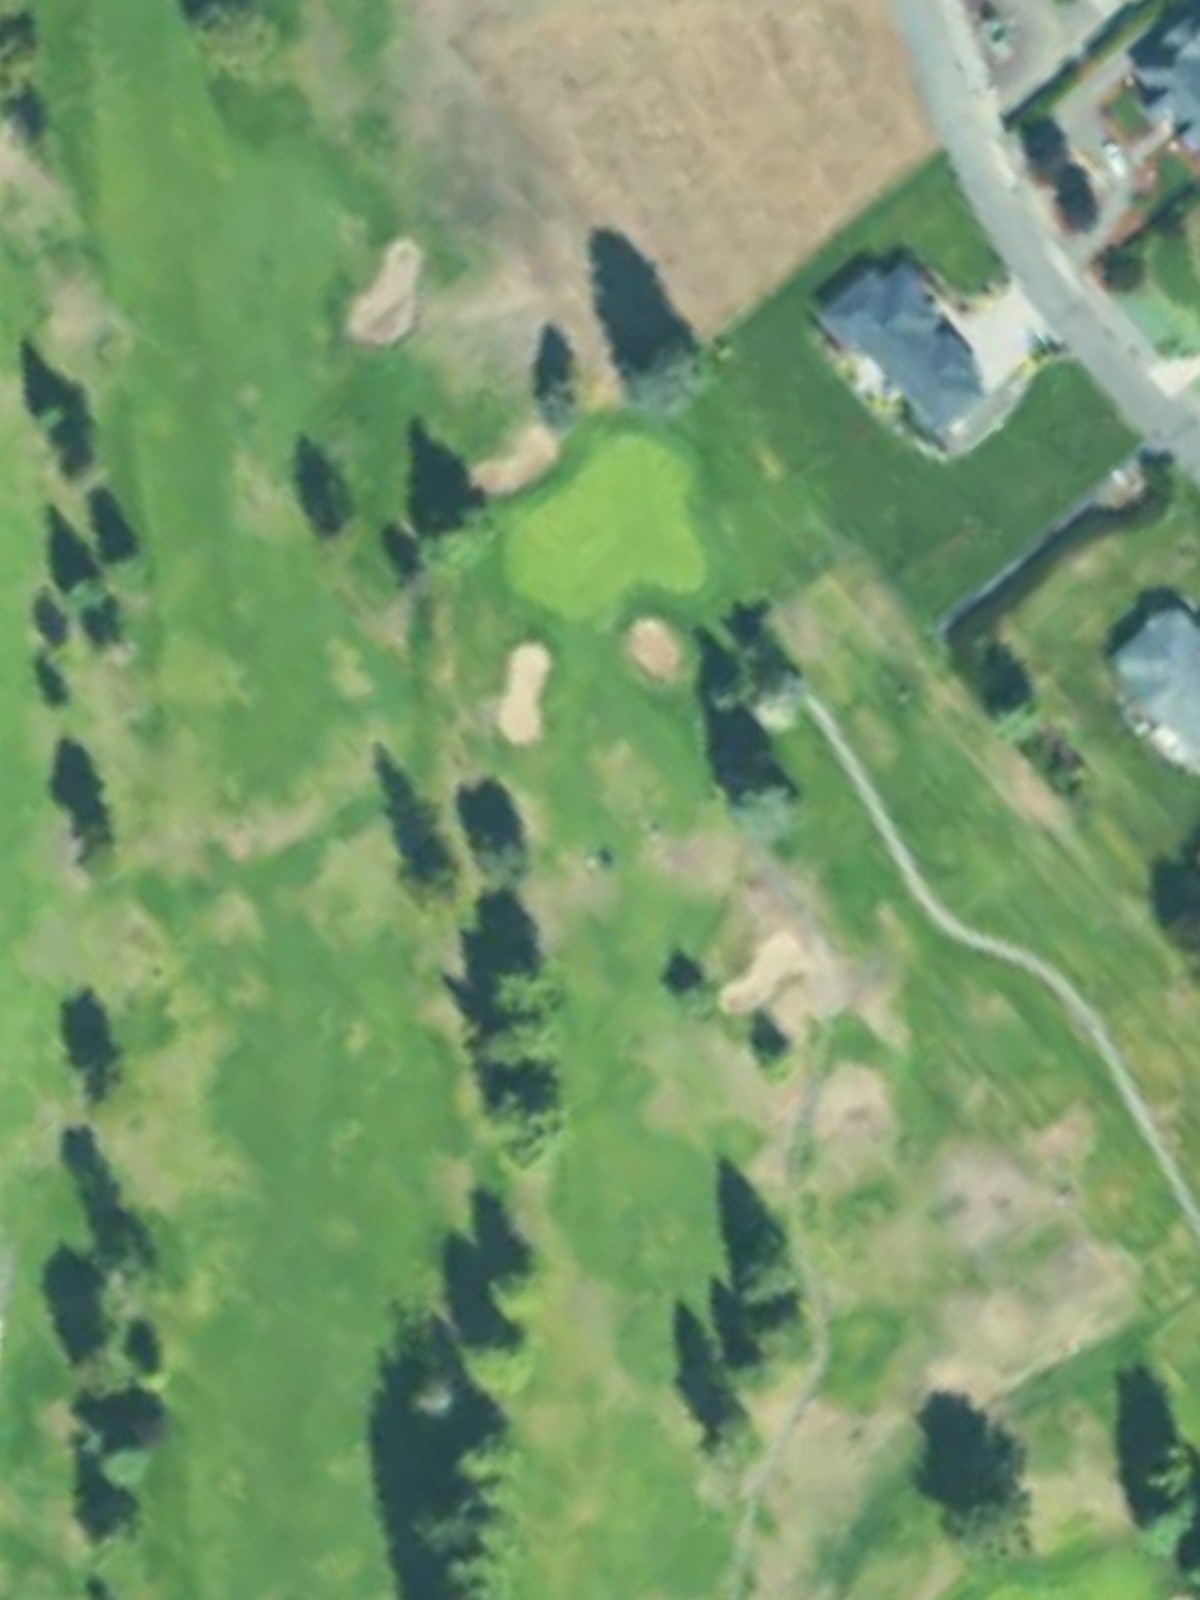
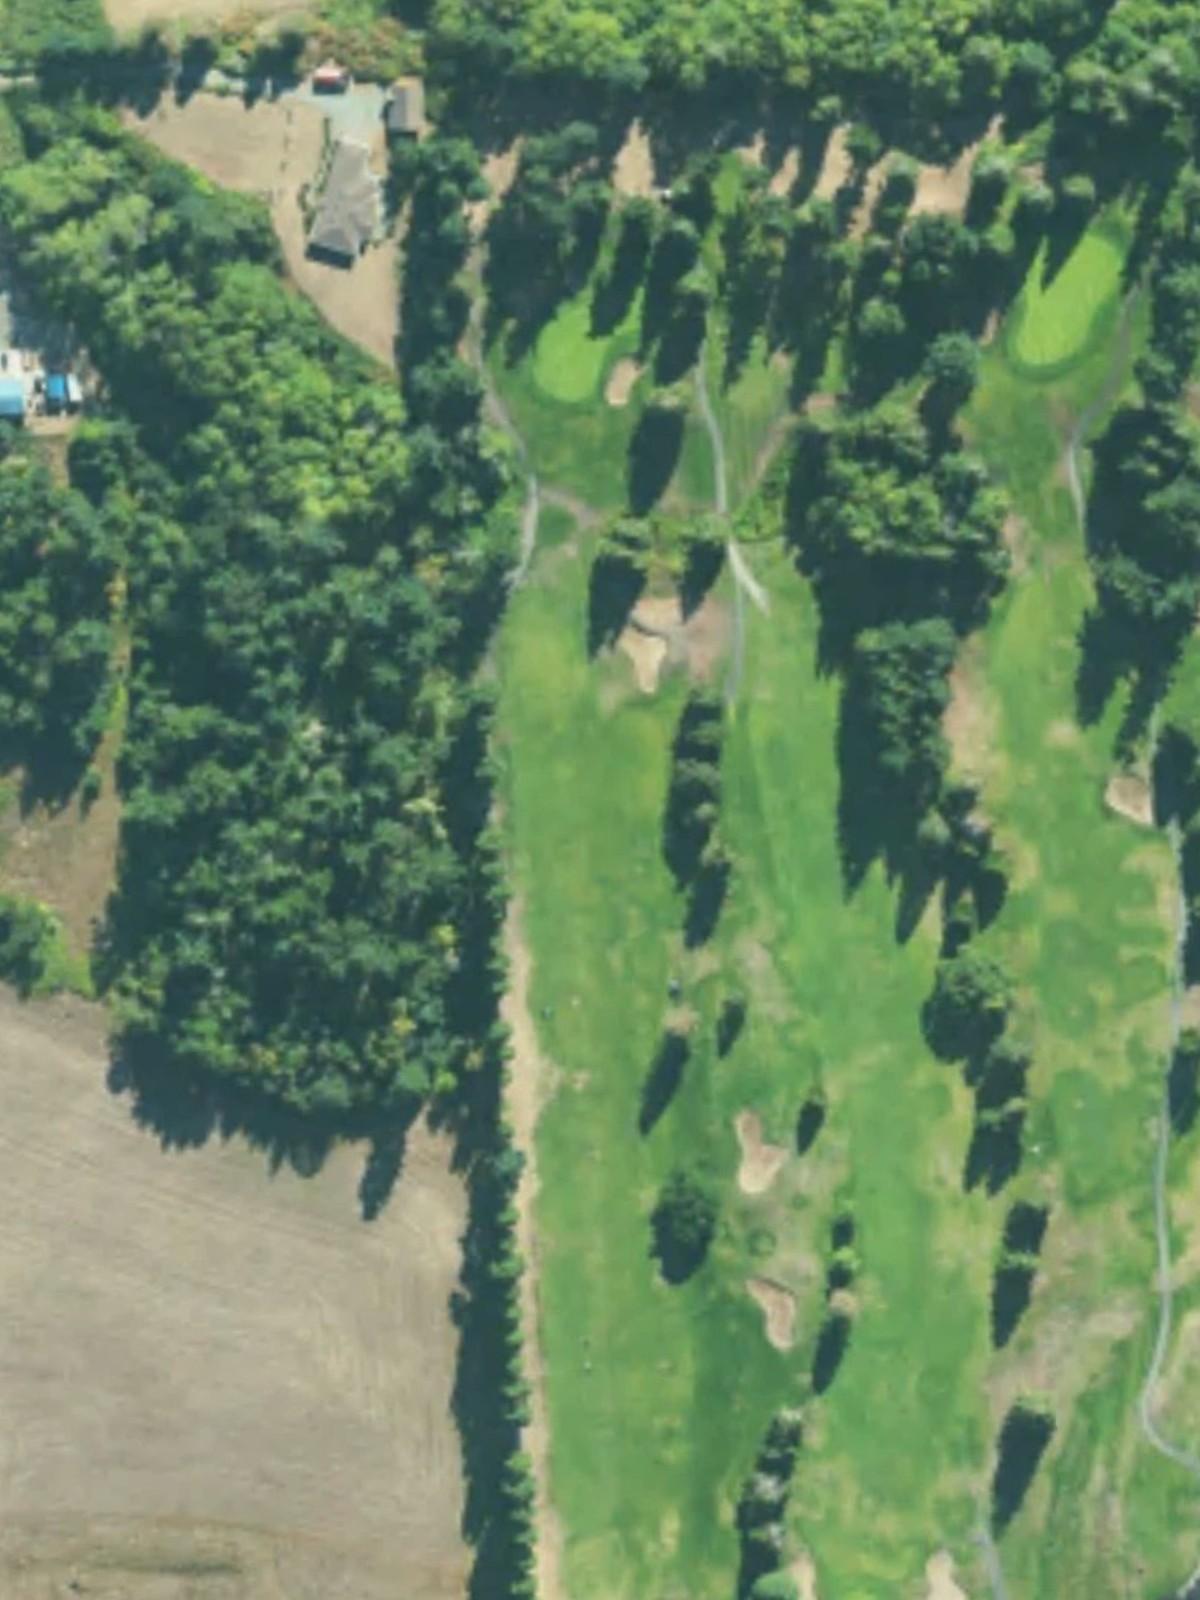
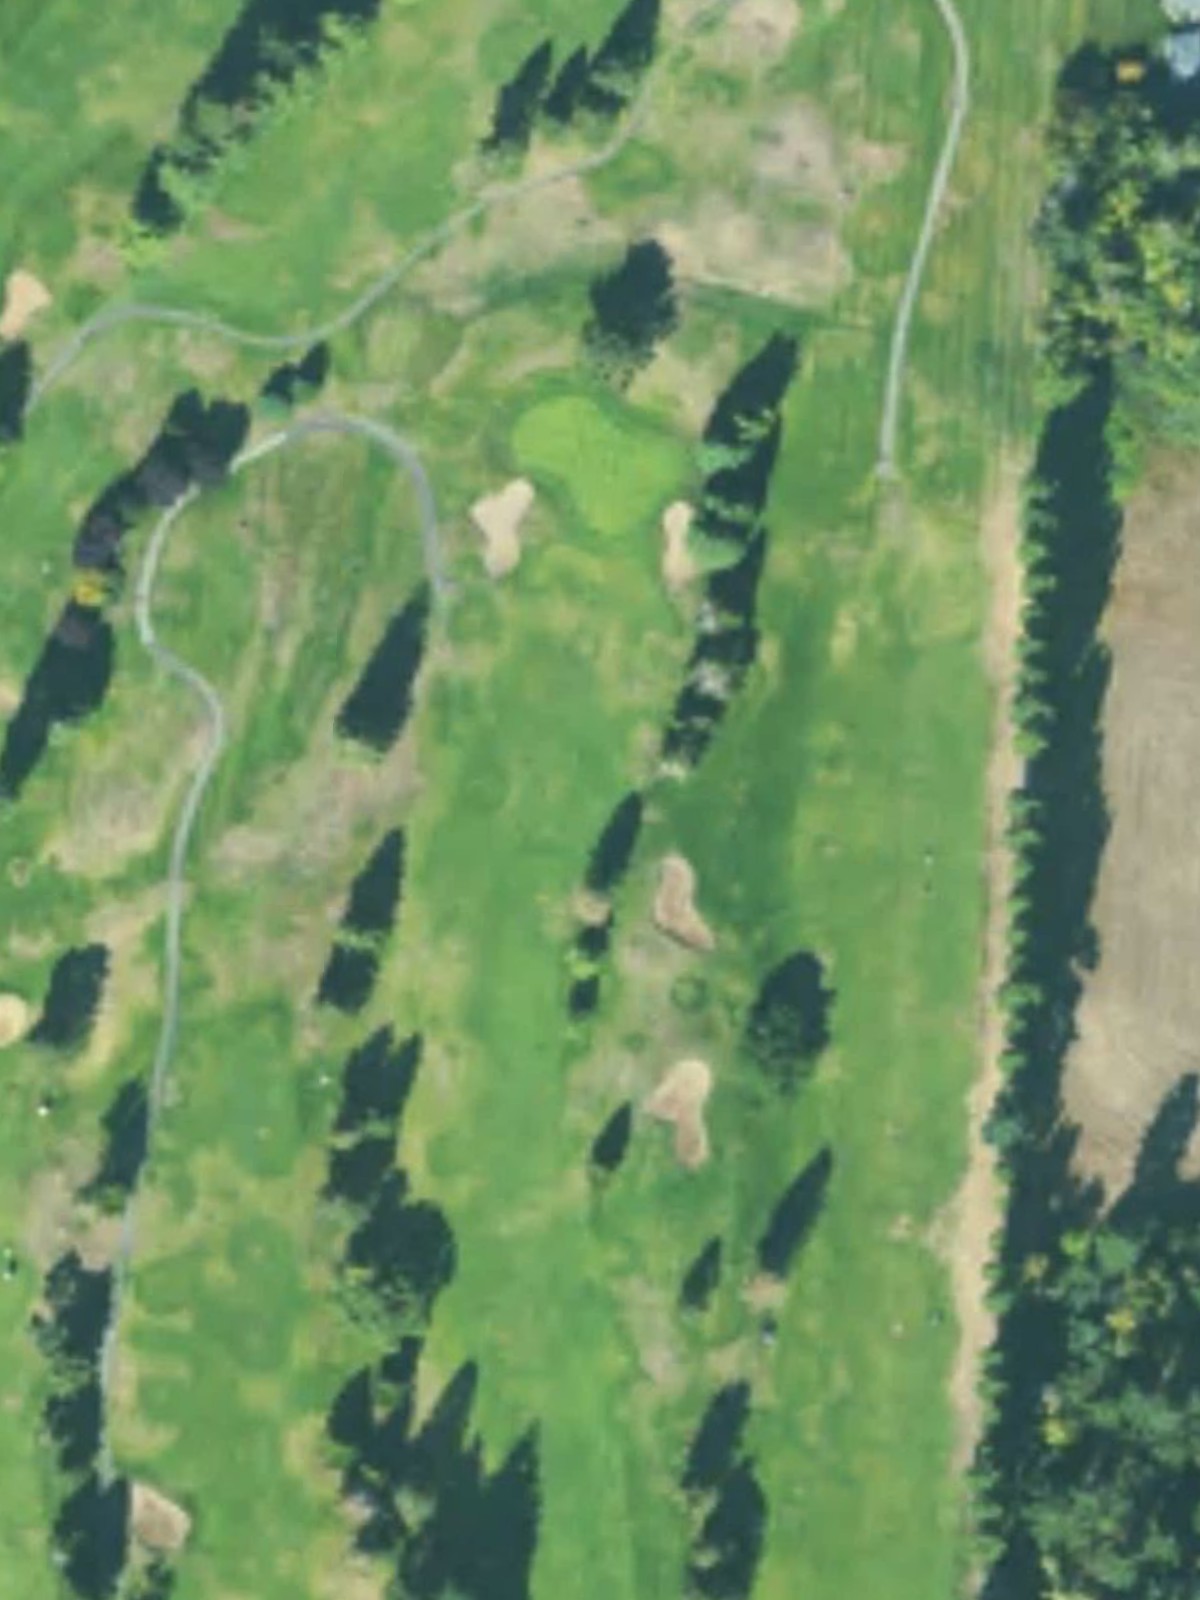
The Cedars At Dungeness is an 18-hole golf course in Sequim, WA with a par of 72. It offers 6 tee sets: black (6,477 yards, slope 124, rating 70.9), copper (6,073 yards, slope 118, rating 68.7), silver/copper (5,634 yards, slope 113, rating 66.8), silver (5,338 yards, slope 111, rating 65.3), silver/bronze (4,681 yards, slope 104, rating 62.6), bronze (4,460 yards, slope 102, rating 61.9). The hardest hole is #7, a par 5 playing 582 yards from the first tee.
The Cedars At Dungeness
Sequim, WA
Get PDF Yardage Book
We'll email you the PDF link. No spam, ever.
Create Your Game Plan
Pick your tees, enter your bag, and get a personalized shot-by-shot strategy for every hole.

A straightforward par 4 opening hole with a relatively generous fairway that tightens as it approaches the green. Bunkers protect the right side of the green, demanding accuracy on the approach shot.
A solid par 4 with moderate length and a fairway that narrows toward the landing area. Strategic bunkering around the green adds difficulty to what plays as a key early test.
A long par 5 that offers birdie opportunity for those who can find the fairway off the tee. The hole's length and potential hazards require two well-executed shots to set up a manageable approach.
A short par 3 with modest yardage from most tees, making it an accessible scoring opportunity. The green's compact size means precision is still required despite the brief distance.
A demanding par 4 that plays as one of the course's most difficult holes relative to par. Tight fairways and strategic hazards punish wayward drives and demand a controlled approach.

A par 5 with reasonable length that rewards solid ballstriking with a birdie look. The fairway provides adequate width, but hazards come into play for those who stray significantly off line.
The course's longest hole, this par 5 requires three quality shots to reach the green in regulation. Length and potential hazards make this a defining challenge on the front nine.

A brief par 3 that represents one of the easiest holes on the course from the tee. The short distance leaves little margin for error on this green.

A strong par 4 and one of the course's most difficult holes that demands distance and accuracy. Hazards frame the hole, making positioning off the tee critical for success.

A solid par 4 with a fairway that requires precision to avoid hazards left and right. The green demands a controlled approach shot to set up par.

A brief par 3 that plays as the course's easiest hole, offering a welcome reprieve. Despite its modest length, the green requires an accurate tee shot.
A short par 4 that tempts aggressive play off the tee but features hazards that penalize poor positioning. The hole's brevity is offset by its strategic demands.
A compact par 4 that plays shorter than many on the course, making it a potential scoring hole. Tight fairways and greenside challenges keep this modest length from being a gimmie.
A strong par 5 that provides birdie potential for those who can navigate its hazards and length. The fairway's width varies, requiring careful positioning to set up the third shot.
A difficult par 4 that ranks among the course's toughest and demands both length and accuracy. Hazards frame the approach, making this a critical test in the closing stretch.

A challenging par 4 with significant length and strategic bunkering around the green. The fairway requires precision, and the approach shot demands distance control and accuracy.

A mid-length par 3 that demands an accurate tee shot to a well-defined green. The hole's moderate yardage and exposed nature make it a fair but firm test.

A strong finishing par 4 that requires solid ballstriking to close out the round. The hole's length and strategic hazards make it a fitting conclusion to the round.
Scorecard
| Hole | 1 | 2 | 3 | 4 | 5 | 6 | 7 | 8 | 9 | Out | 10 | 11 | 12 | 13 | 14 | 15 | 16 | 17 | 18 | In | Tot |
|---|---|---|---|---|---|---|---|---|---|---|---|---|---|---|---|---|---|---|---|---|---|
| Par | 4 | 4 | 5 | 3 | 4 | 5 | 5 | 3 | 4 | 37 | 4 | 3 | 4 | 4 | 5 | 4 | 4 | 3 | 4 | 35 | 72 |
| HCP | 13 | 9 | 7 | 15 | 5 | 11 | 1 | 17 | 3 | 6 | 18 | 12 | 14 | 8 | 2 | 10 | 16 | 4 | |||
| black | 334 | 395 | 480 | 156 | 385 | 462 | 582 | 159 | 402 | 3355 | 379 | 162 | 334 | 313 | 549 | 399 | 408 | 190 | 388 | 3122 | 6477 |
| copper | 332 | 353 | 463 | 152 | 382 | 439 | 548 | 144 | 360 | 3173 | 365 | 138 | 316 | 305 | 518 | 378 | 357 | 143 | 380 | 2900 | 6073 |
| silver/copper | 332 | 353 | 438 | 152 | 334 | 439 | 458 | 144 | 302 | 2952 | 319 | 138 | 316 | 305 | 471 | 299 | 357 | 143 | 334 | 2682 | 5634 |
| silver | 302 | 306 | 438 | 118 | 334 | 414 | 458 | 94 | 302 | 2766 | 319 | 110 | 303 | 282 | 471 | 299 | 327 | 127 | 334 | 2572 | 5338 |
| silver/bronze | 302 | 306 | 322 | 118 | 271 | 382 | 336 | 94 | 302 | 2433 | 267 | 110 | 202 | 282 | 406 | 224 | 327 | 127 | 303 | 2248 | 4681 |
| bronze | 277 | 246 | 322 | 99 | 271 | 382 | 336 | 76 | 273 | 2282 | 267 | 87 | 202 | 252 | 406 | 224 | 318 | 119 | 303 | 2178 | 4460 |