The Brassie Golf Club is an 18-hole golf course in Chesterton, IN with a par of 72. It offers 3 tee sets: black (6,903 yards, slope 130, rating 73.4), blue (6,403 yards, slope 126, rating 70.8), white (5,989 yards, slope 121, rating 68.5). The hardest hole is #6, a par 4 playing 421 yards from the first tee.
The Brassie Golf Club
Chesterton, IN
Get PDF Yardage Book
We'll email you the PDF link. No spam, ever.
Create Your Game Plan
Pick your tees, enter your bag, and get a personalized shot-by-shot strategy for every hole.
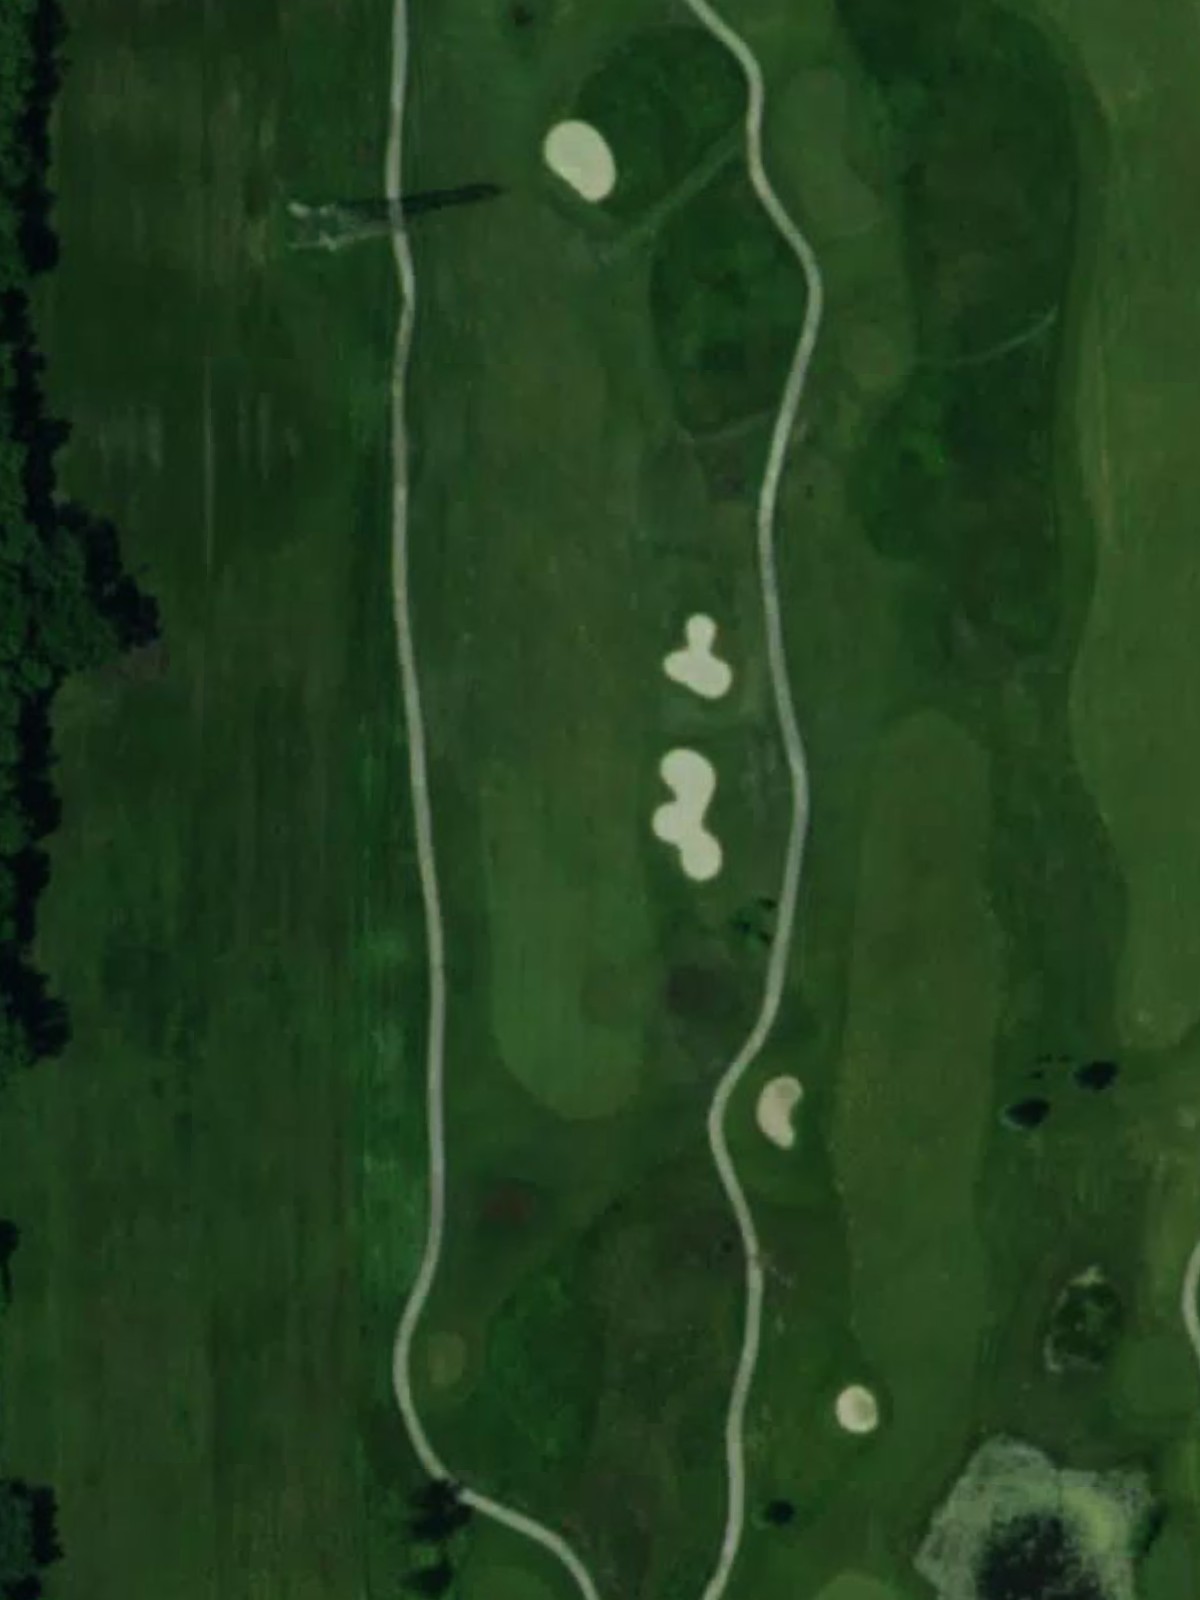
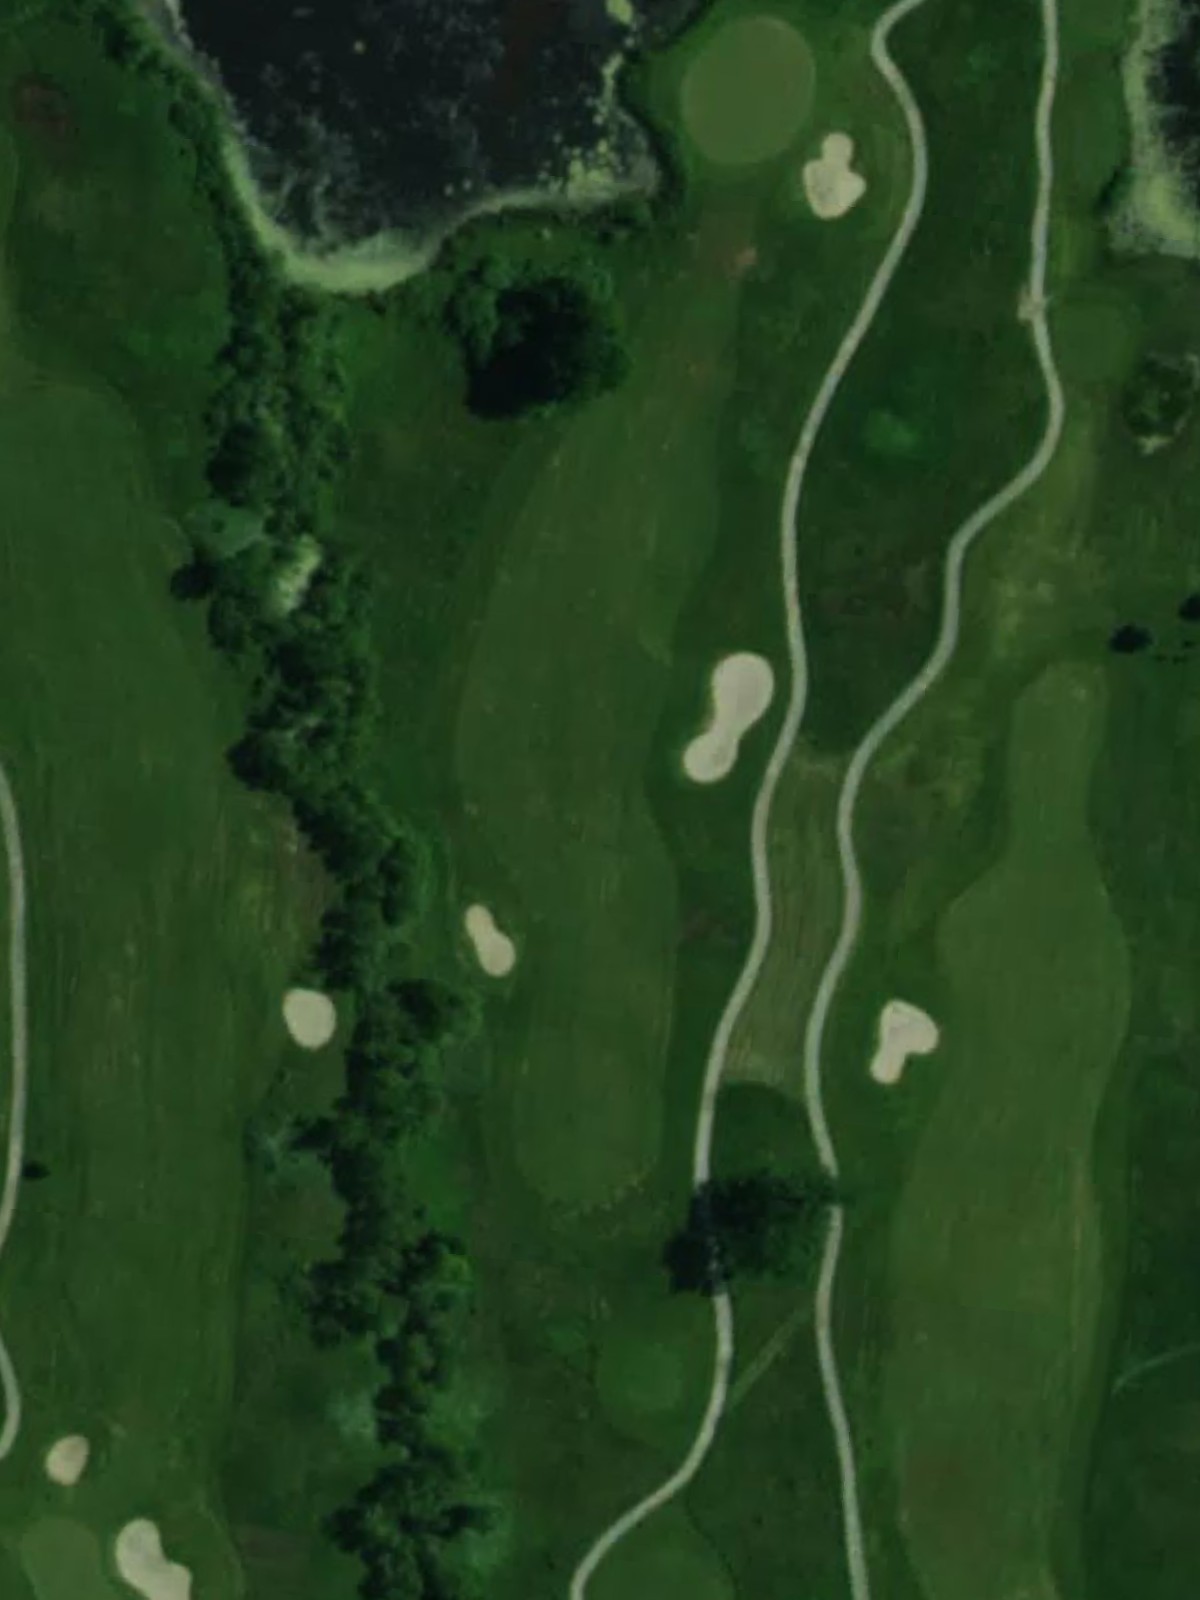
A strong opening par 5 that plays relatively straight with a narrow fairway corridor. The approach to the green requires precision as bunkers and rough frame both sides, making this a demanding hole despite its favorable handicap position.
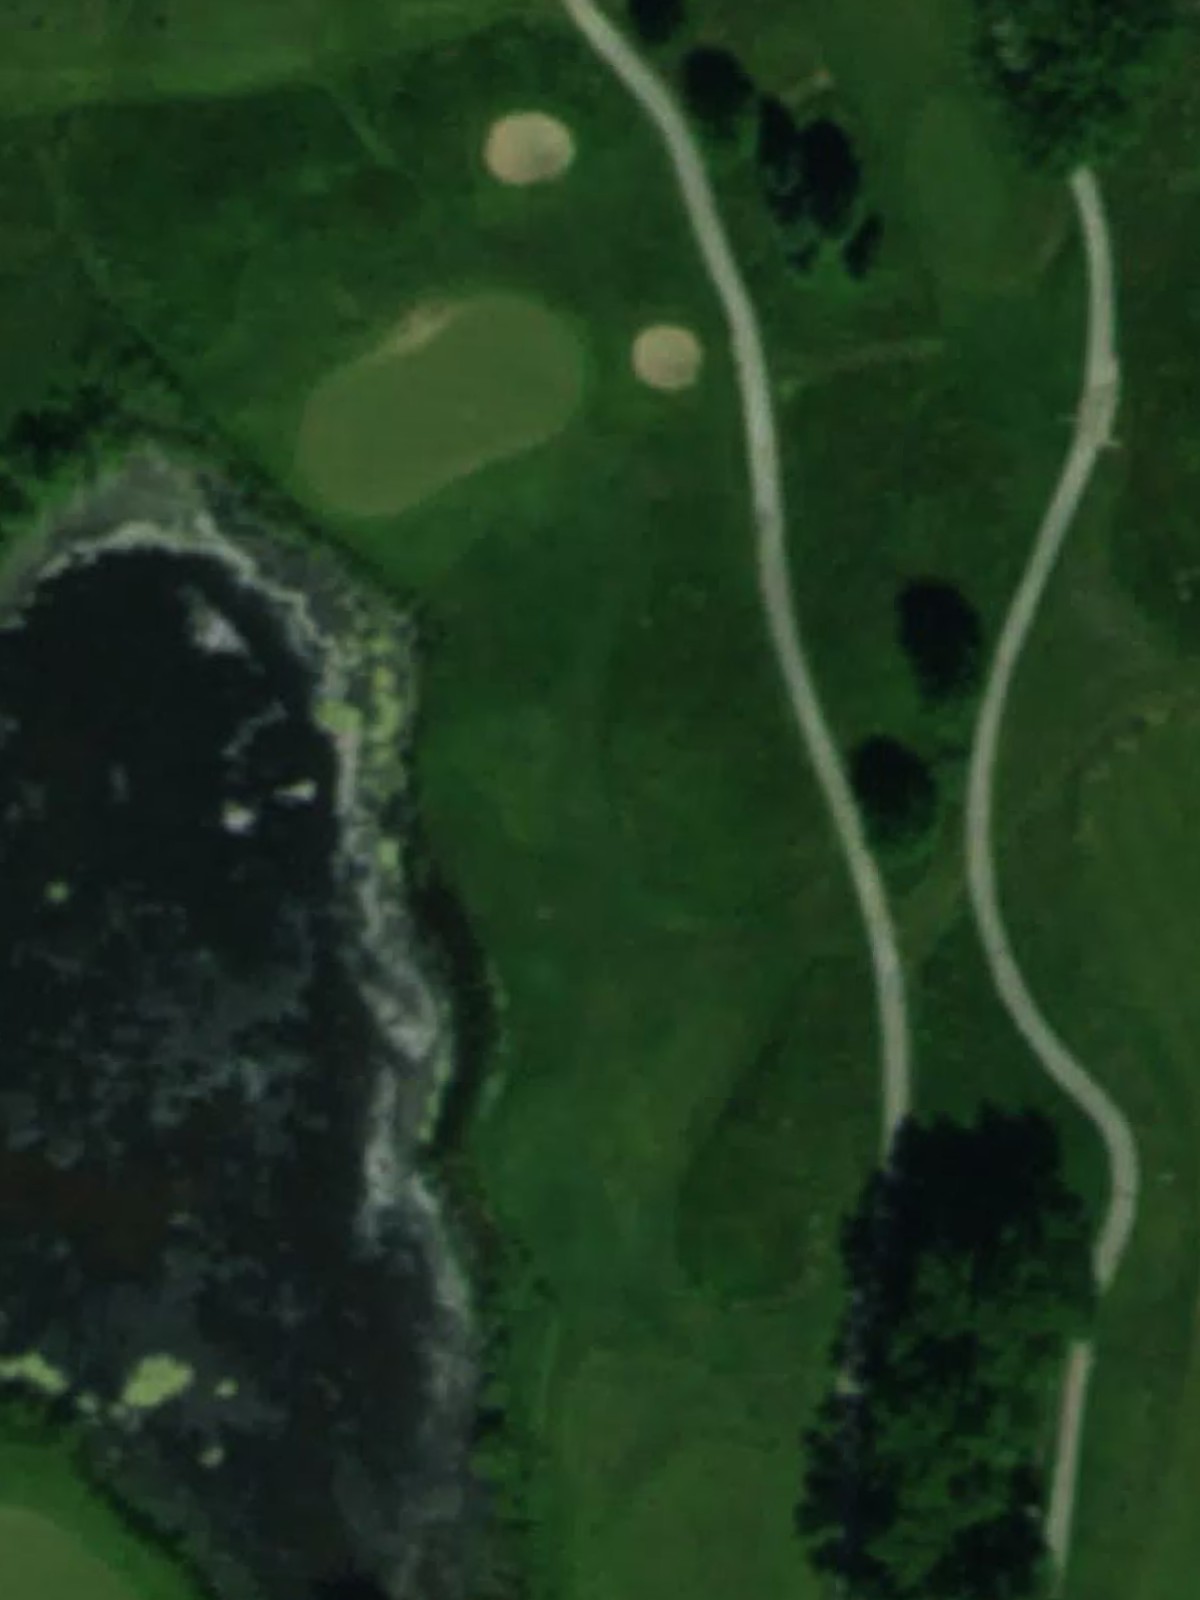
A short par 4 with an inviting fairway that opens up for aggressive play. Strategic bunkering near the green and potential out-of-bounds right of the fairway reward accurate tee shots and well-placed approaches.
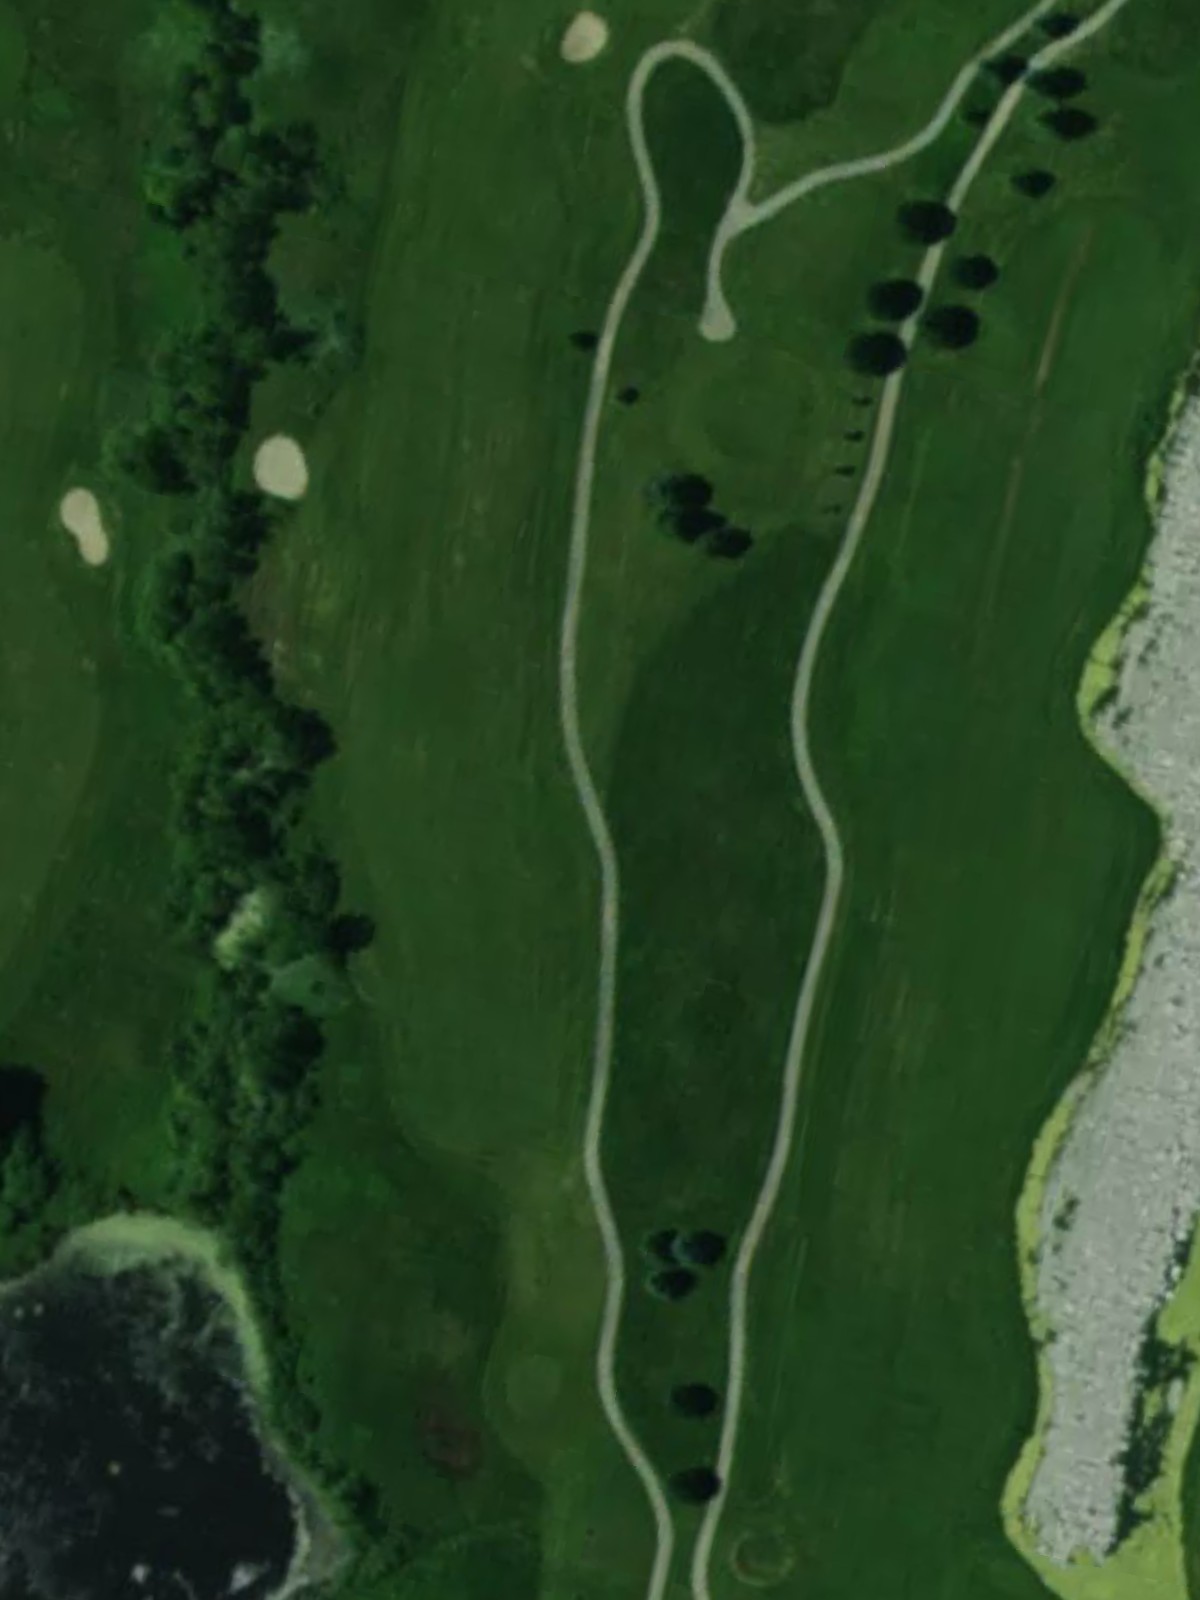
A short par 3 featuring a tight, well-bunkered green complex surrounded by hazards. The elevated green and narrow landing area make this seemingly modest hole deceptively challenging regardless of wind conditions.

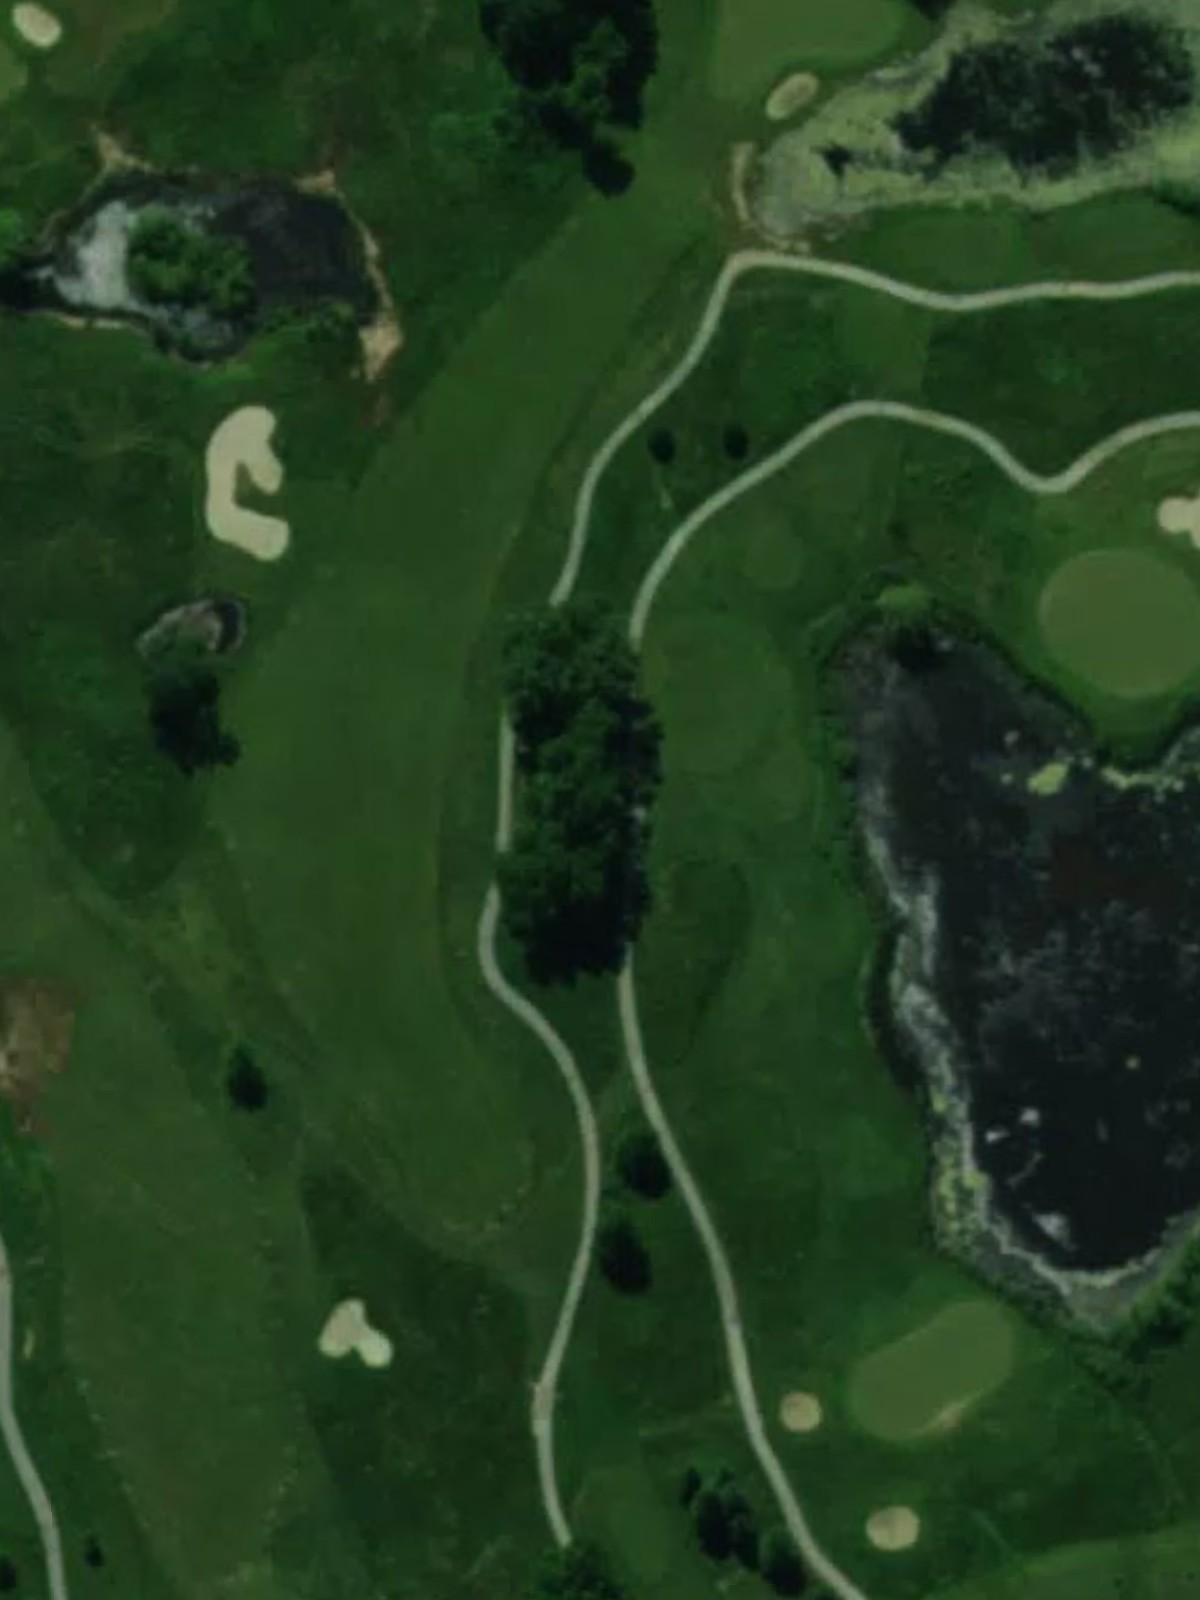
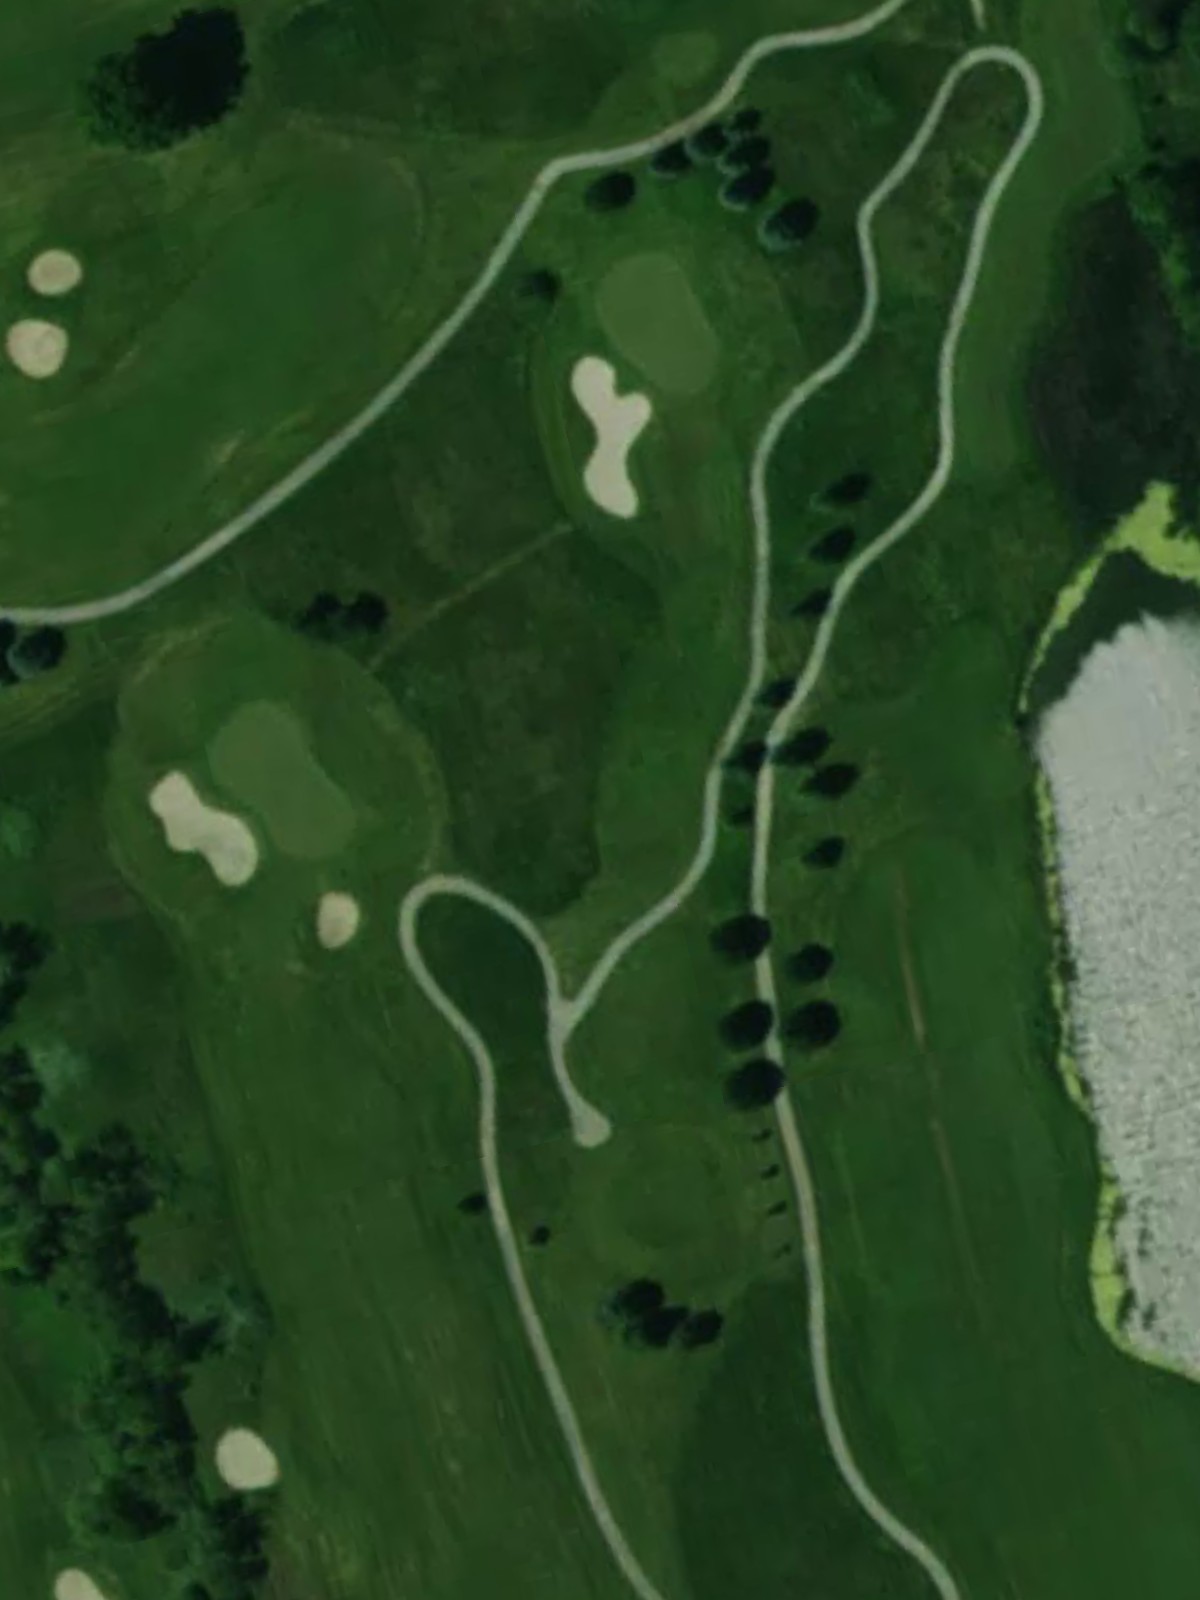
A dramatic par 5 with doglegging right through the middle section where the fairway pinches significantly. Water hazards and bunkers along the dogleg bend demand placement off the tee, and the green's peninsula-like setting adds to the complexity of the approach.
A mid-length par 4 with a straightforward layout and relatively open fairway. Bunkers guard the approach zones on both sides, and the green sits defensively, requiring a precise second shot to secure scoring position.
The stroke 1 handicap hole, this par 4 presents a stern test with a narrow fairway and significant hazards throughout. The green complex is heavily fortified with bunkers and requires a demanding long approach shot to reach scoring range.
A compact par 4 with a fairway that remains fairly open off the tee but narrows appreciably near the green. Strategic rough and bunkering frame the approach, making positioning critical for the second shot.
A short par 3 with a relatively forgiving layout and accessible green. While moderate in length and difficulty, water or bunkers may frame the putting surface, providing a brief respite in the back nine.
A straightforward par 4 with reasonable fairway width and an uncluttered approach zone. The green sits receptively but is likely protected by modest bunkering or elevation changes that reward precision approaching the pin.
A demanding par 4 with a tightening fairway that requires an accurate drive to a narrow landing area. The green approach demands length and accuracy, with hazards positioned to penalize both short and offline shots.
The second-ranked handicap hole, this par 5 presents a formidable test with fairway narrowing and strategic hazard placement throughout. Water, bunkers, or rough line the routing to create multiple decision points and demand precision on all three shots.
A solid par 4 with a moderately wide fairway and a challenging approach into a well-protected green. Bunkers or water near the green complex make the second shot a critical moment in the hole's difficulty.
A shorter par 4 that offers a more inviting tee shot but features a selective approach into its green complex. Strategic bunkering or elevation at the green rewards accuracy while punishing errant approaches.
A balanced par 4 with fairway character that may feature a gentle bend or slope requiring thoughtful positioning. The approach shot plays into a green surrounded by strategic hazards that demand precision and proper distance control.
A mid-length par 3 with a well-defined target and moderate green-side defense. The hole's character likely features bunkers or water positioned to catch shots that miss the narrow putting surface.
A testing par 4 with consistent fairway width that may tighten or bend toward the green. Strategic hazards frame the approach zones, making both the tee shot and second shot critical to score well.
The easiest par 3 on the course with a generous green and forgiving approach. Despite its handicap ranking, the hole presents a straightforward target that offers relief in the final stretch of the round.
A finishing par 5 with potential routing complexity—likely dogleg or dramatic in character—that provides a fitting climax to the round. The hole's length and hazard placement throughout create a demanding closing challenge that tests the golfer's full skill set.
Scorecard
| Hole | 1 | 2 | 3 | 4 | 5 | 6 | 7 | 8 | 9 | Out | 10 | 11 | 12 | 13 | 14 | 15 | 16 | 17 | 18 | In | Tot |
|---|---|---|---|---|---|---|---|---|---|---|---|---|---|---|---|---|---|---|---|---|---|
| Par | 5 | 4 | 3 | 5 | 4 | 4 | 4 | 3 | 4 | 36 | 4 | 5 | 4 | 4 | 4 | 3 | 4 | 3 | 5 | 36 | 72 |
| HCP | 3 | 11 | 15 | 5 | 9 | 1 | 7 | 17 | 13 | 4 | 2 | 12 | 14 | 8 | 16 | 10 | 18 | 6 | |||
| black | 510 | 387 | 189 | 528 | 400 | 450 | 380 | 179 | 392 | 3415 | 436 | 520 | 423 | 360 | 413 | 192 | 422 | 185 | 537 | 3488 | 6903 |
| blue | 463 | 348 | 145 | 488 | 385 | 421 | 350 | 167 | 370 | 3137 | 412 | 500 | 394 | 335 | 387 | 179 | 399 | 150 | 510 | 3266 | 6403 |
| white | 437 | 312 | 129 | 471 | 372 | 389 | 328 | 154 | 348 | 2940 | 362 | 469 | 375 | 336 | 365 | 155 | 358 | 139 | 490 | 3049 | 5989 |