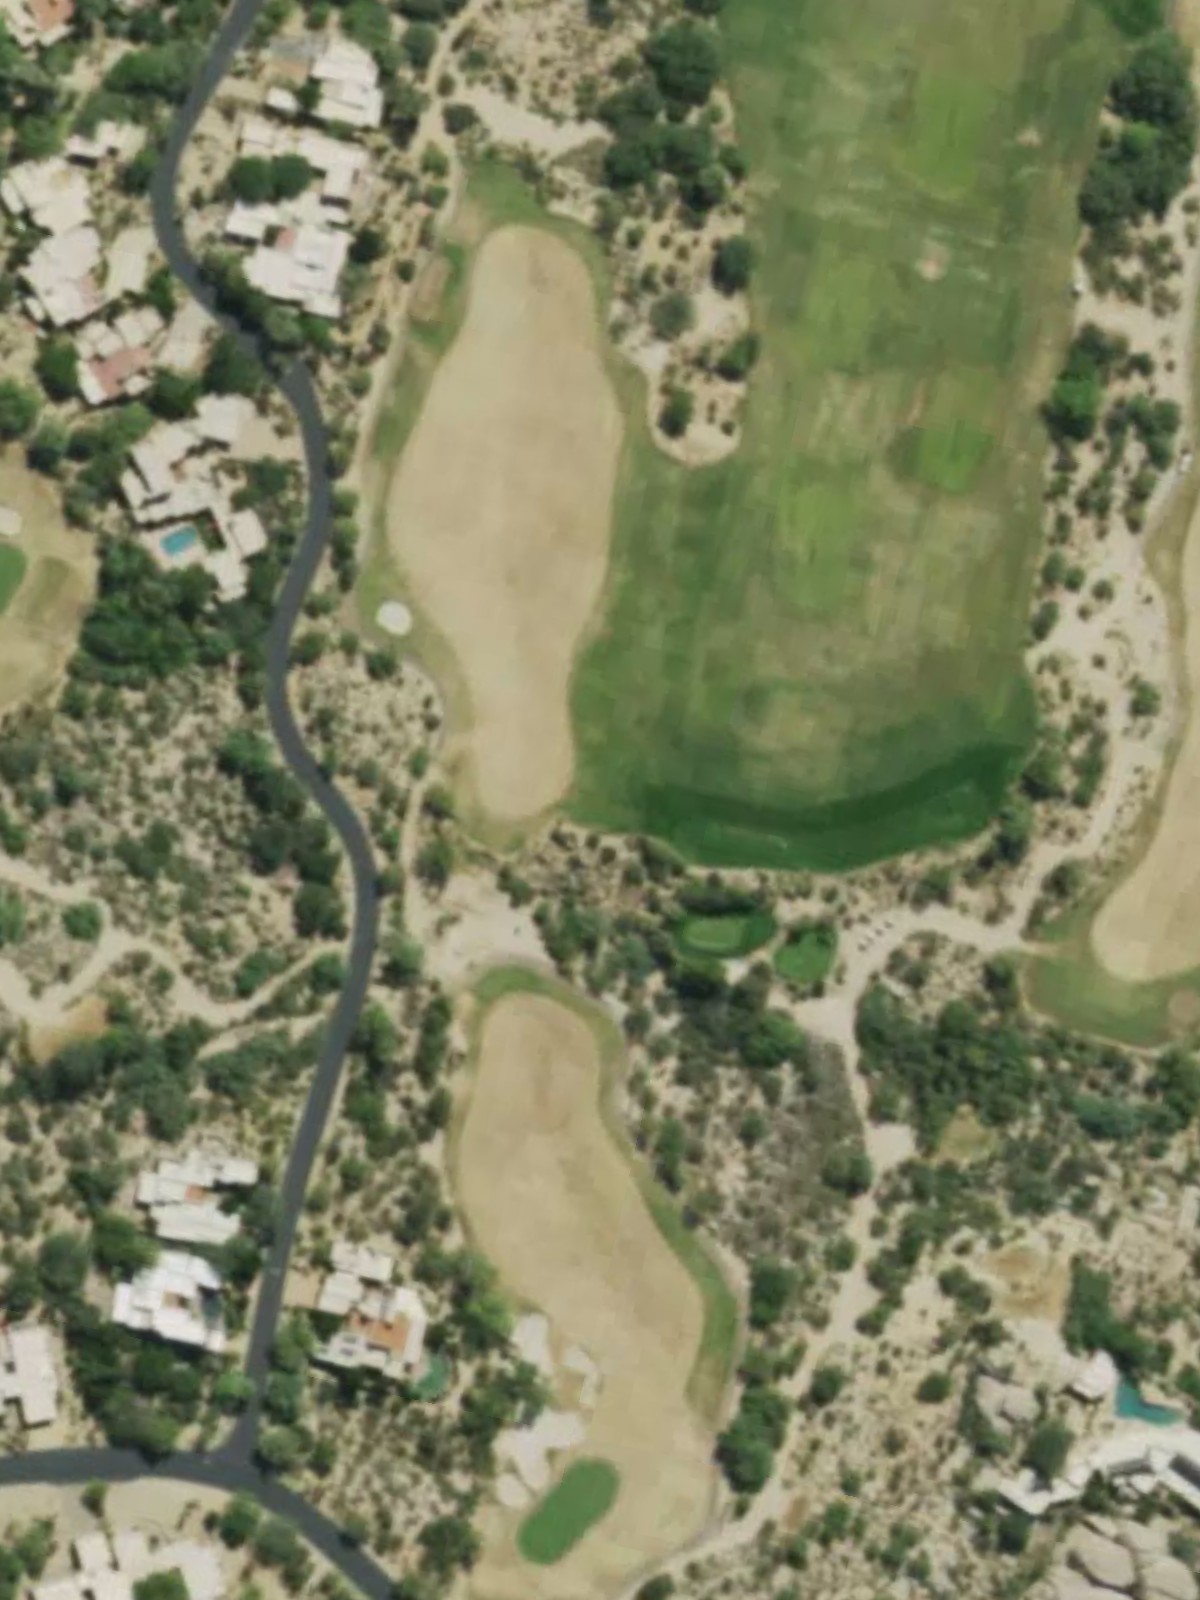
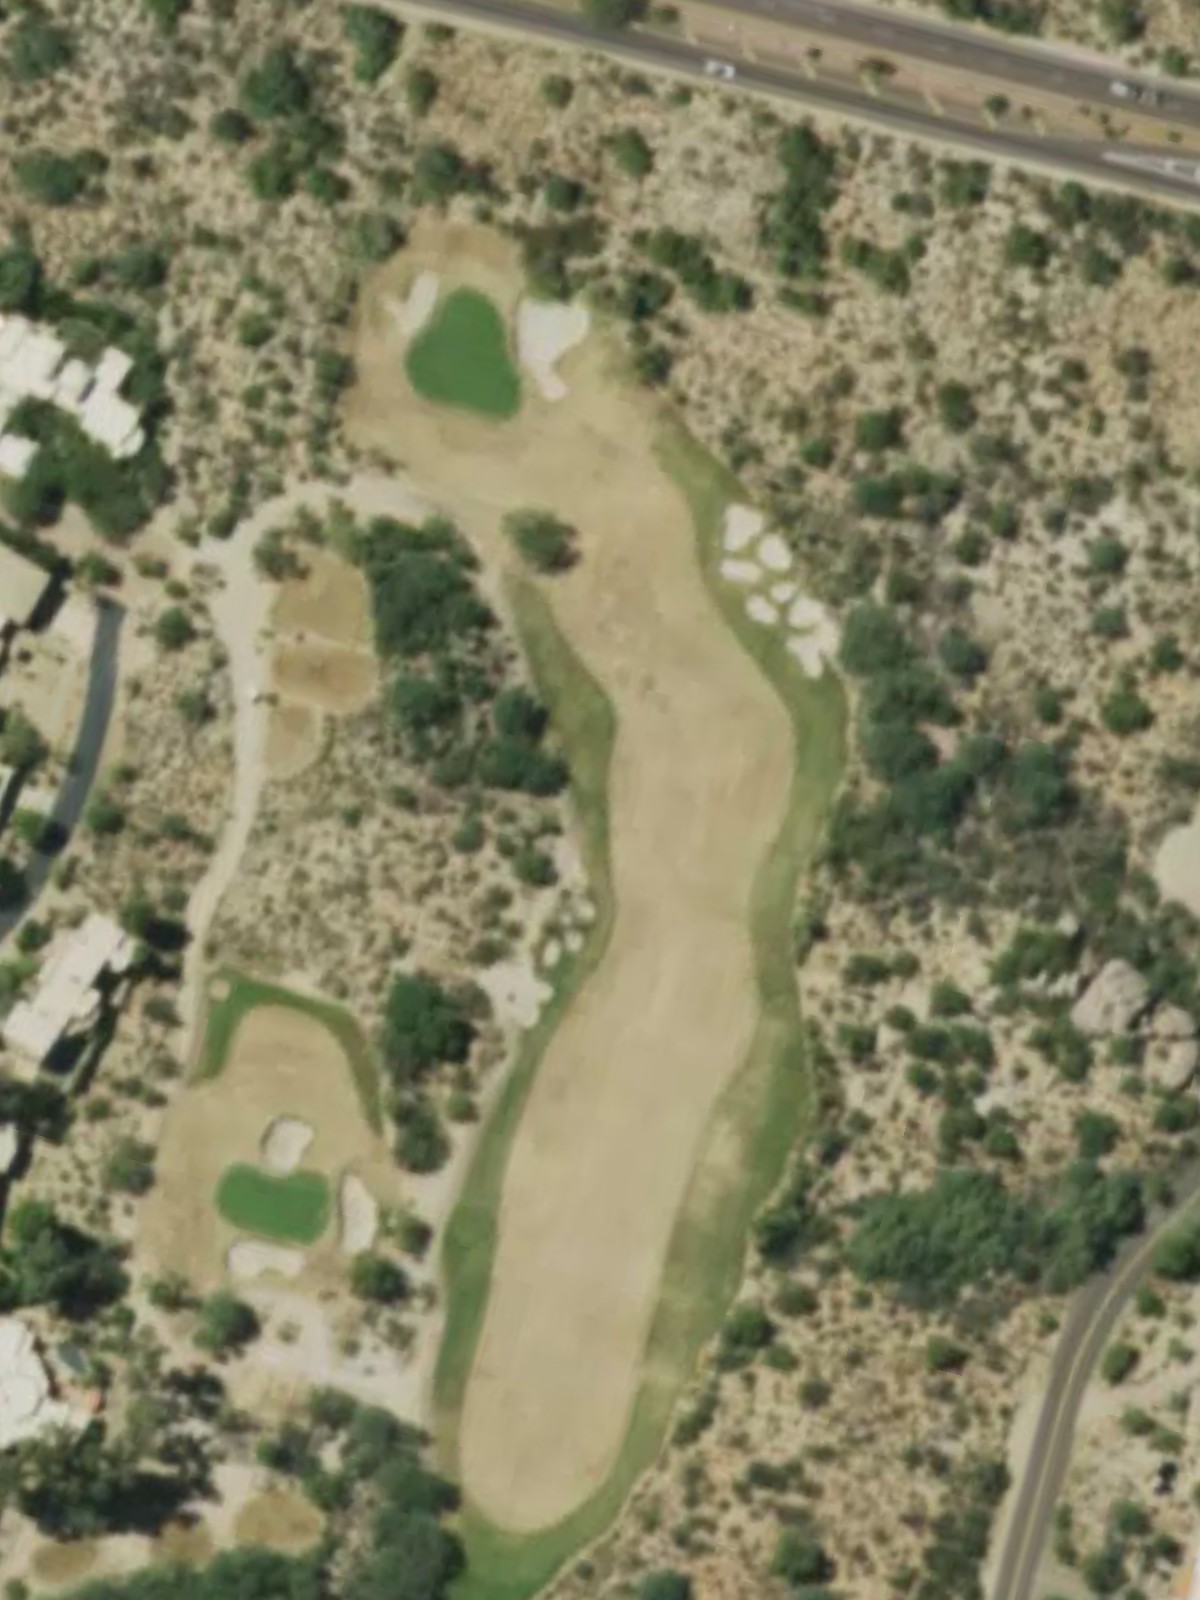
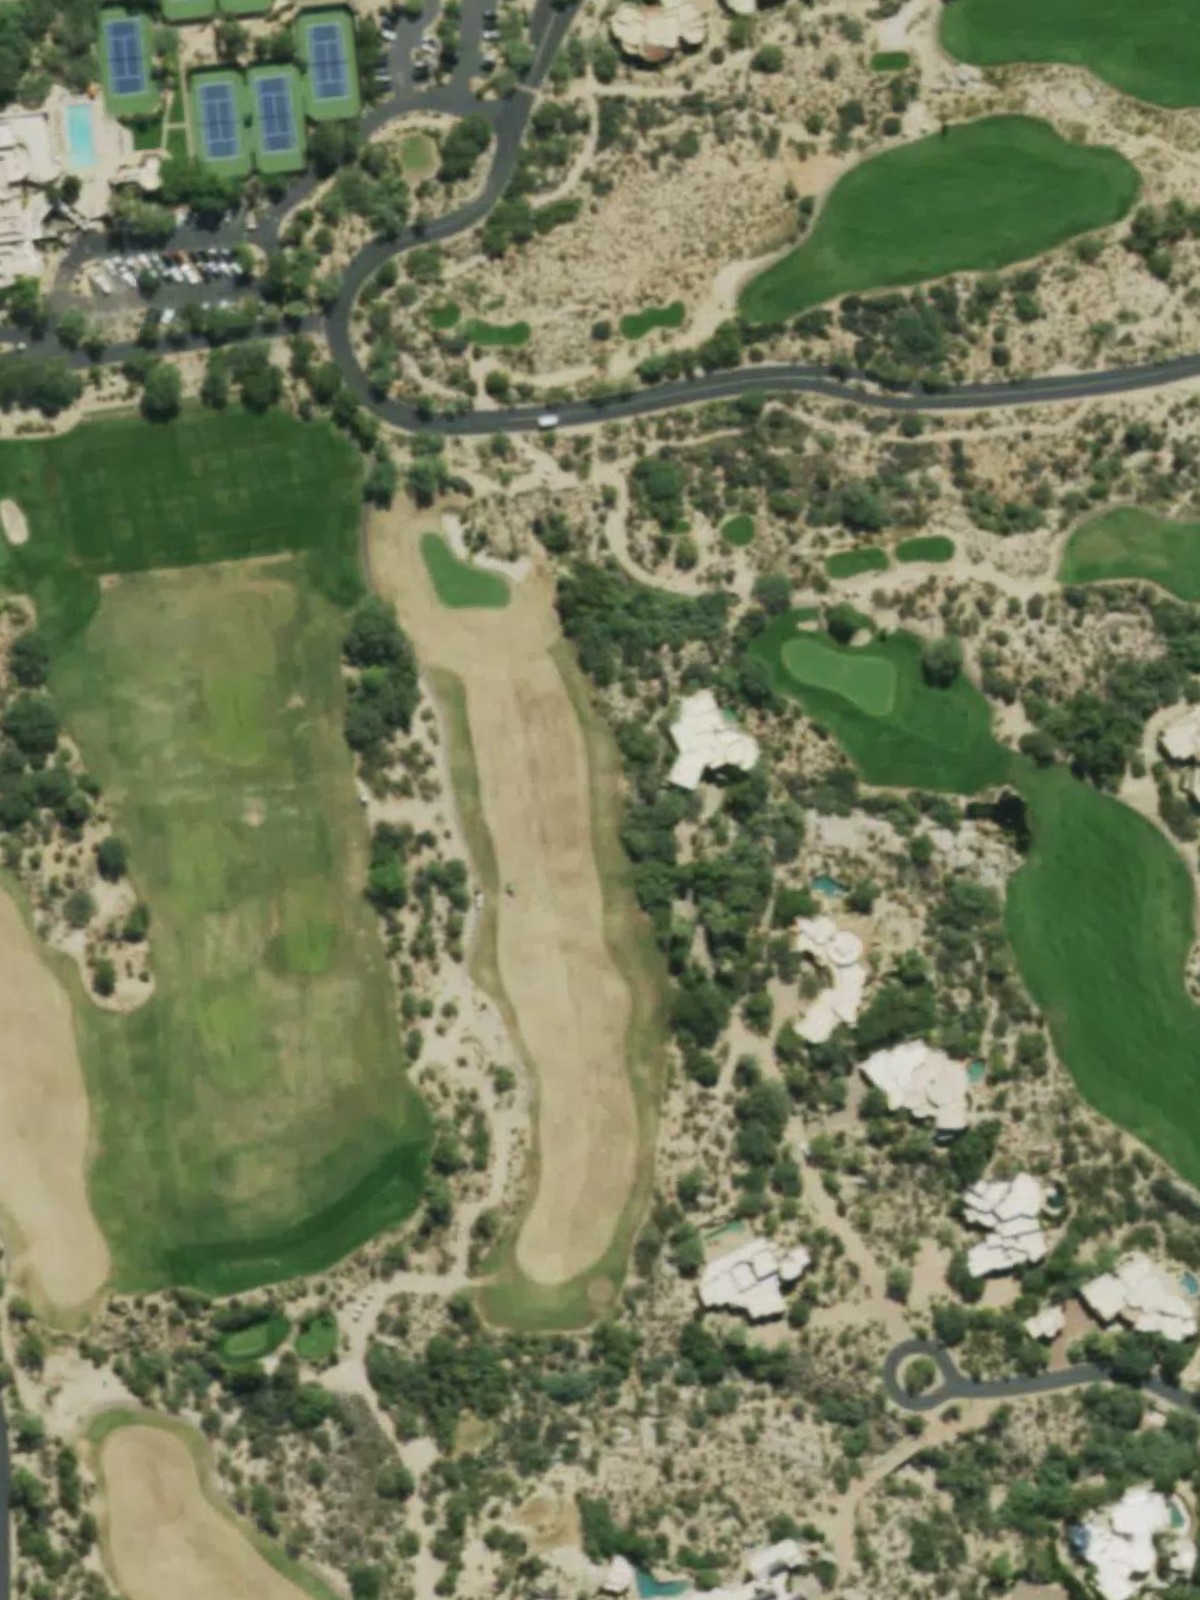
Terravita Golf Club is an 18-hole golf course in Scottsdale, AZ with a par of 72. It offers 8 tee sets: black (7,075 yards, slope 142, rating 73.4), players (6,756 yards, slope 138, rating 72), blue (6,589 yards, slope 133, rating 71.3), member (6,332 yards, slope 130, rating 70.1), white (6,108 yards, slope 127, rating 69), club (5,823 yards, slope 125, rating 67.4), burgundy (5,605 yards, slope 121, rating 66.6), gold (5,250 yards, slope 119, rating 64.8). The hardest hole is #10, a par 4 playing 407 yards from the first tee.
Terravita Golf Club
Scottsdale, AZ
Get PDF Yardage Book
We'll email you the PDF link. No spam, ever.
Create Your Game Plan
Pick your tees, enter your bag, and get a personalized shot-by-shot strategy for every hole.
A straightforward opening par 4 with a fairway that gradually narrows as it approaches the green. Bunkers protect the right side of the putting surface, requiring accuracy on the approach shot to avoid sand play.
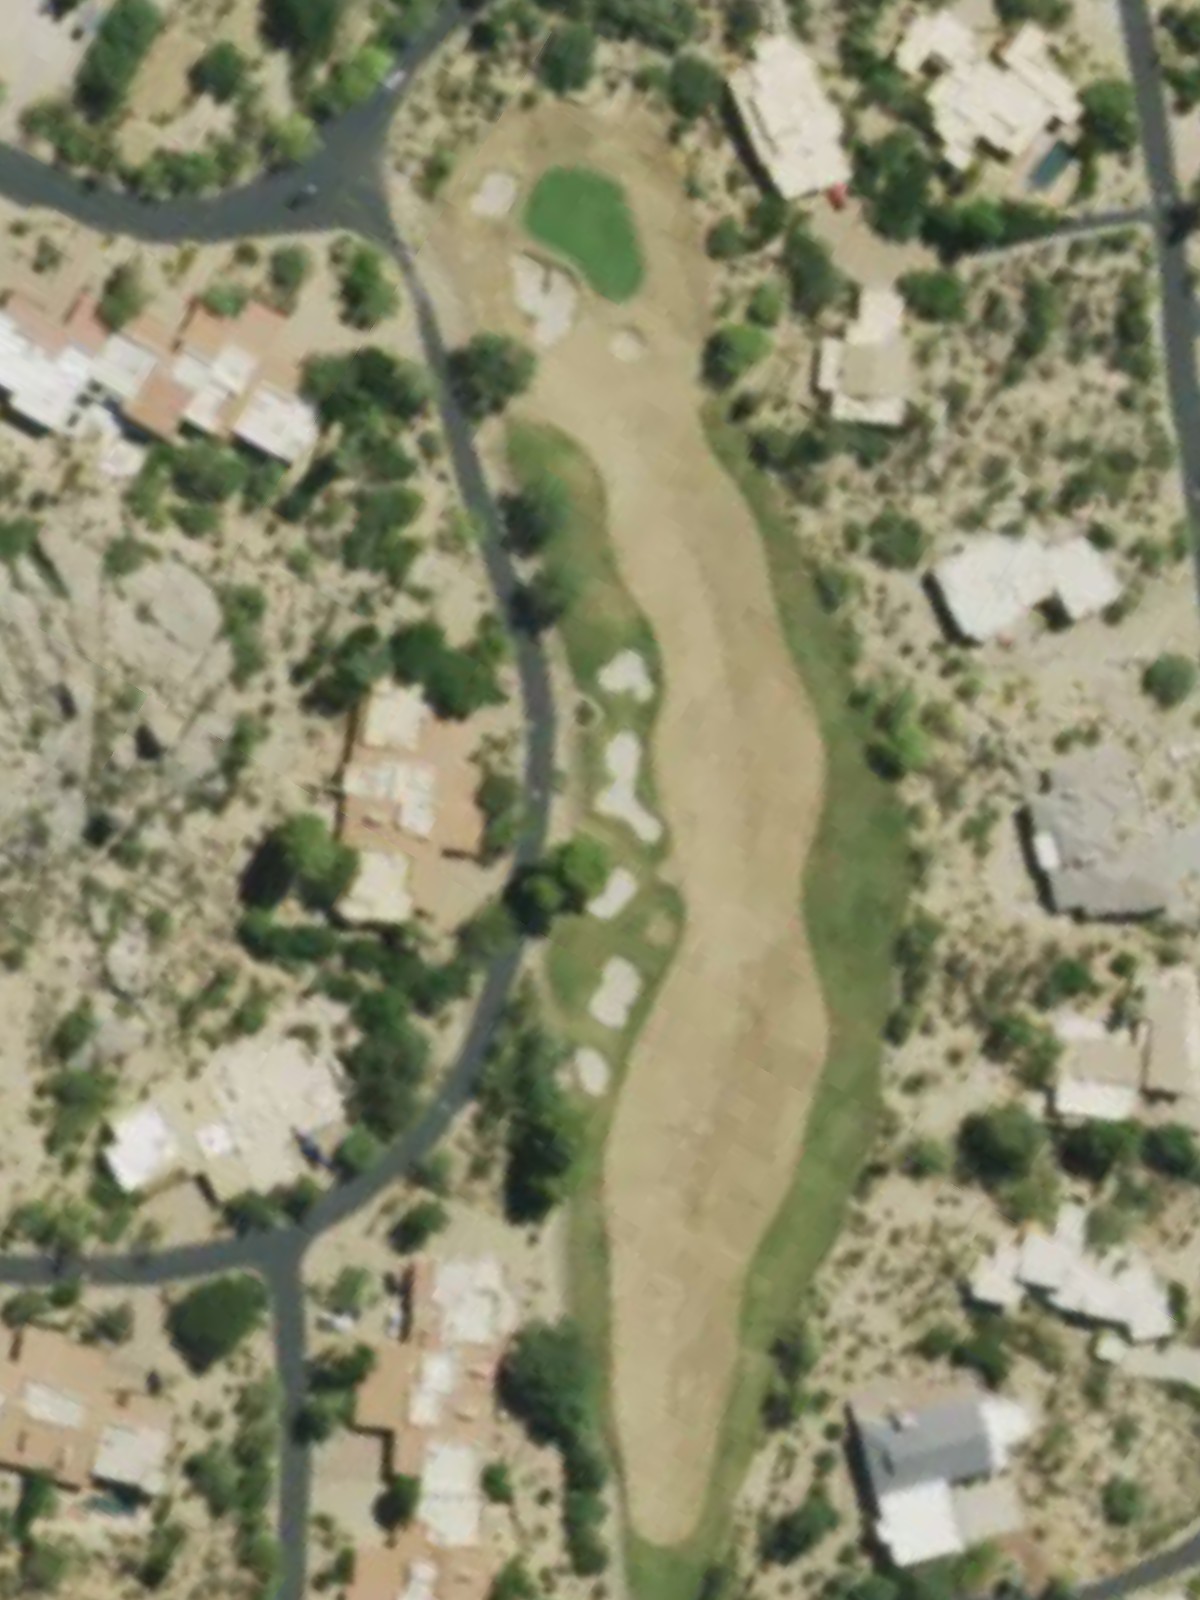
A demanding par 4 that plays longer than the scorecard suggests, with a tight fairway corridor. Strategic bunkering frames both sides of the green, making placement off the tee critical for a clear approach.
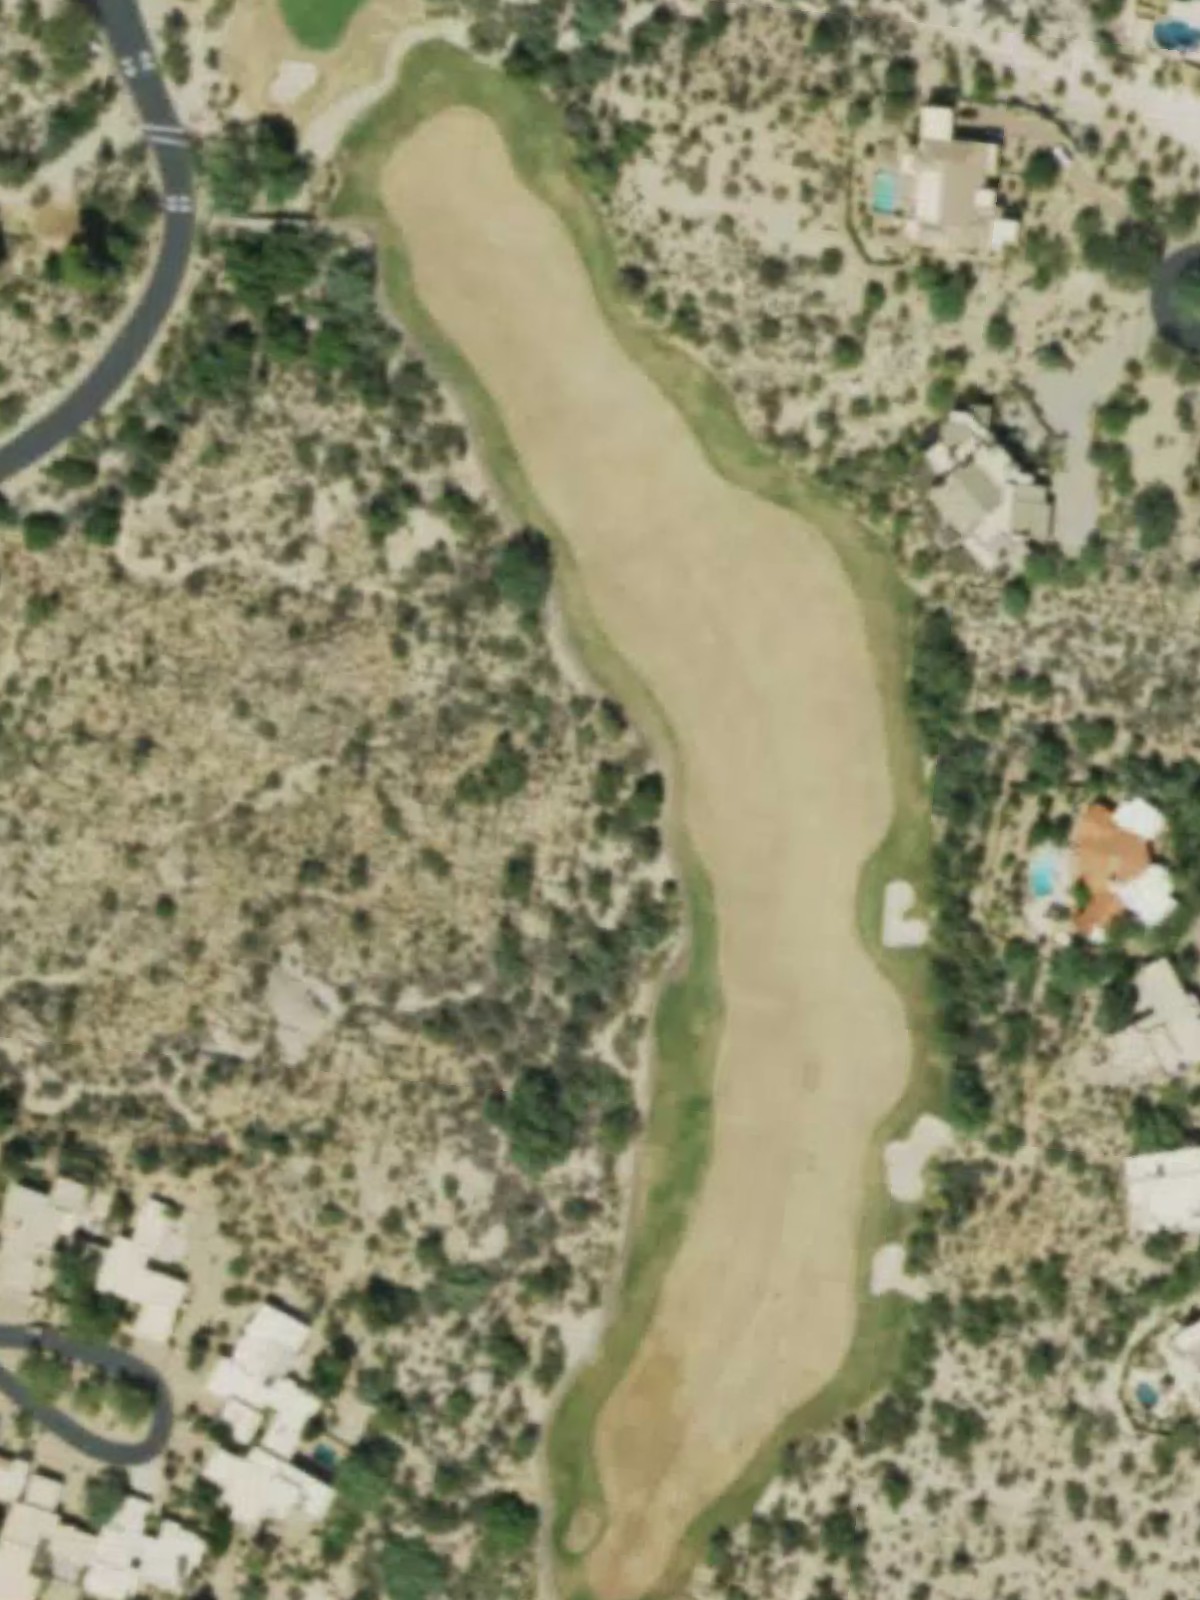
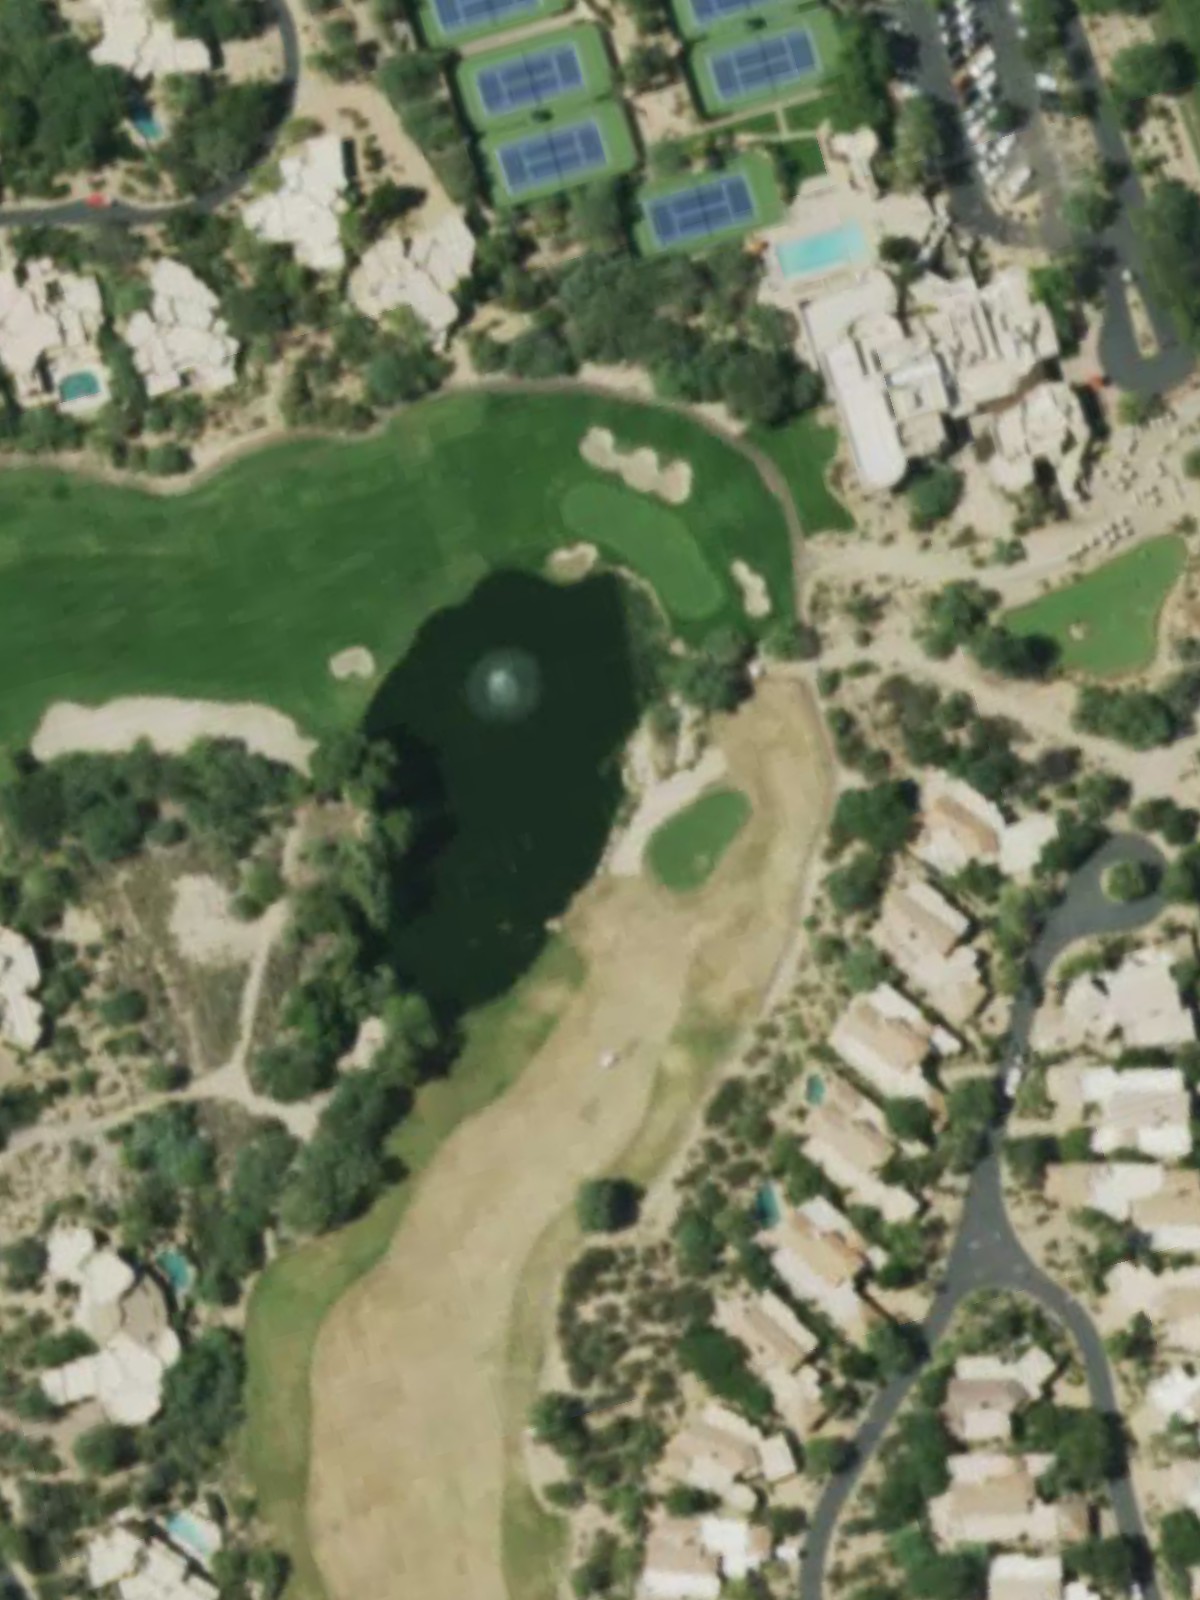
The course's first three-shot hole is a substantial par 5 with length and strategic complexity. Water and bunker hazards reward careful positioning on both the drive and second shot to set up a manageable approach.
A short par 3 with a receptive green target, though its modest length should not be underestimated. Bunkers frame the green's sides, and the small target area demands precision despite the yardage.
A mid-length par 4 with a relatively open fairway that tightens near the green. Hazards frame the approach zone, requiring a well-struck second shot to avoid trouble around the putting surface.
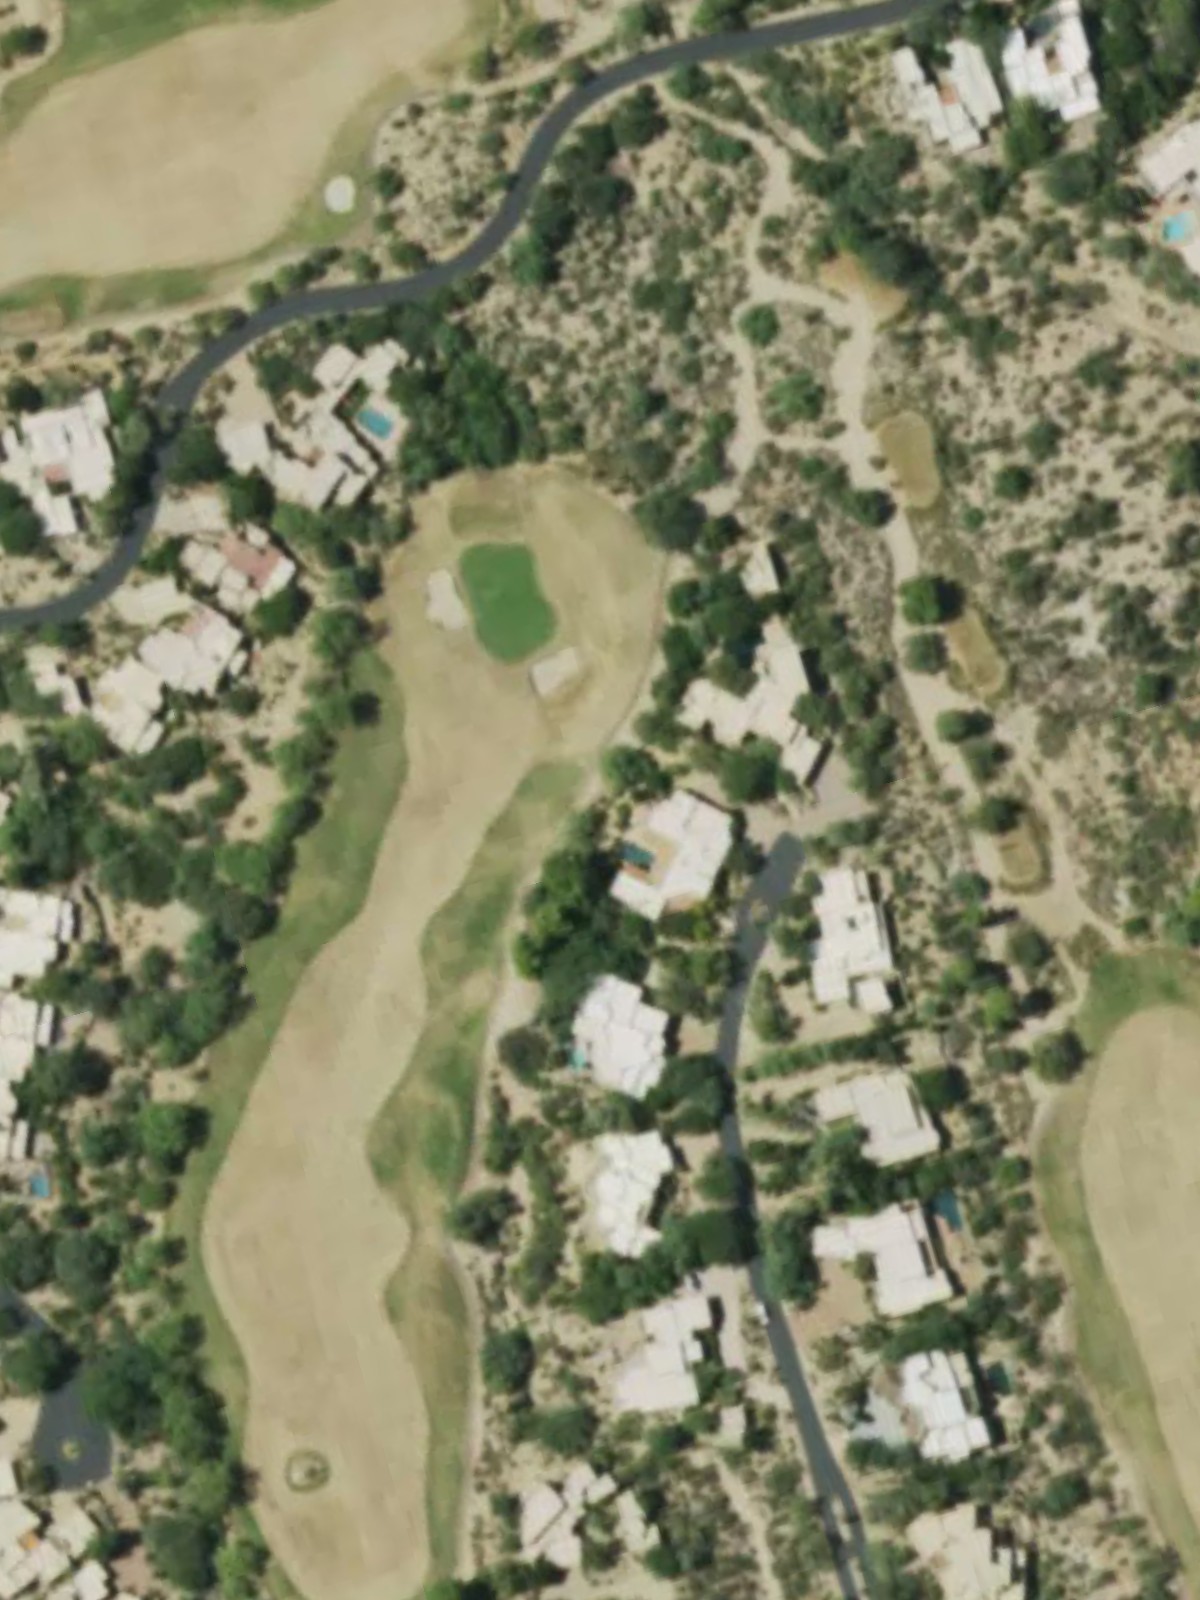
One of the course's most challenging par 4s, playing considerably longer and more penal than its handicap suggests. Strategic hazards pressure the fairway and green complex, making both accuracy and distance essential.
A strong par 5 that demands respect with its length and architectural complications. Water and bunker placement reward smart positioning on the first two shots, with the green well-protected on approach.
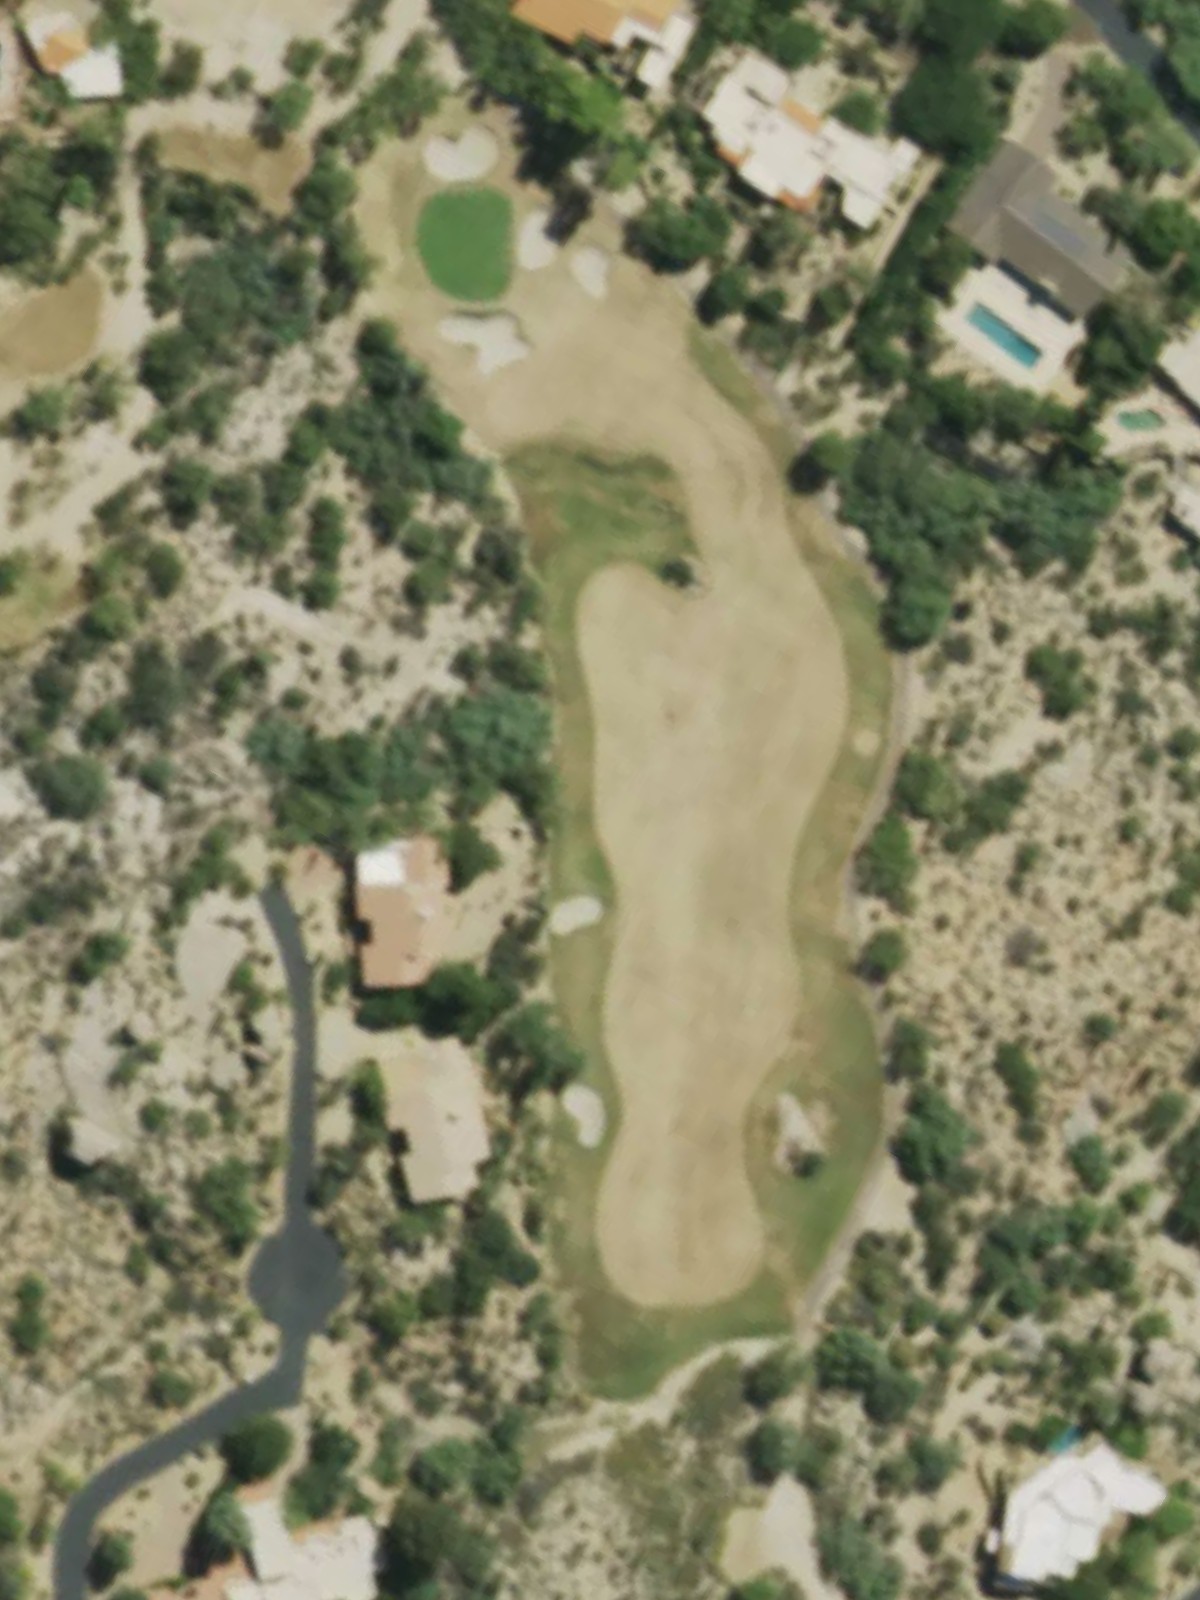
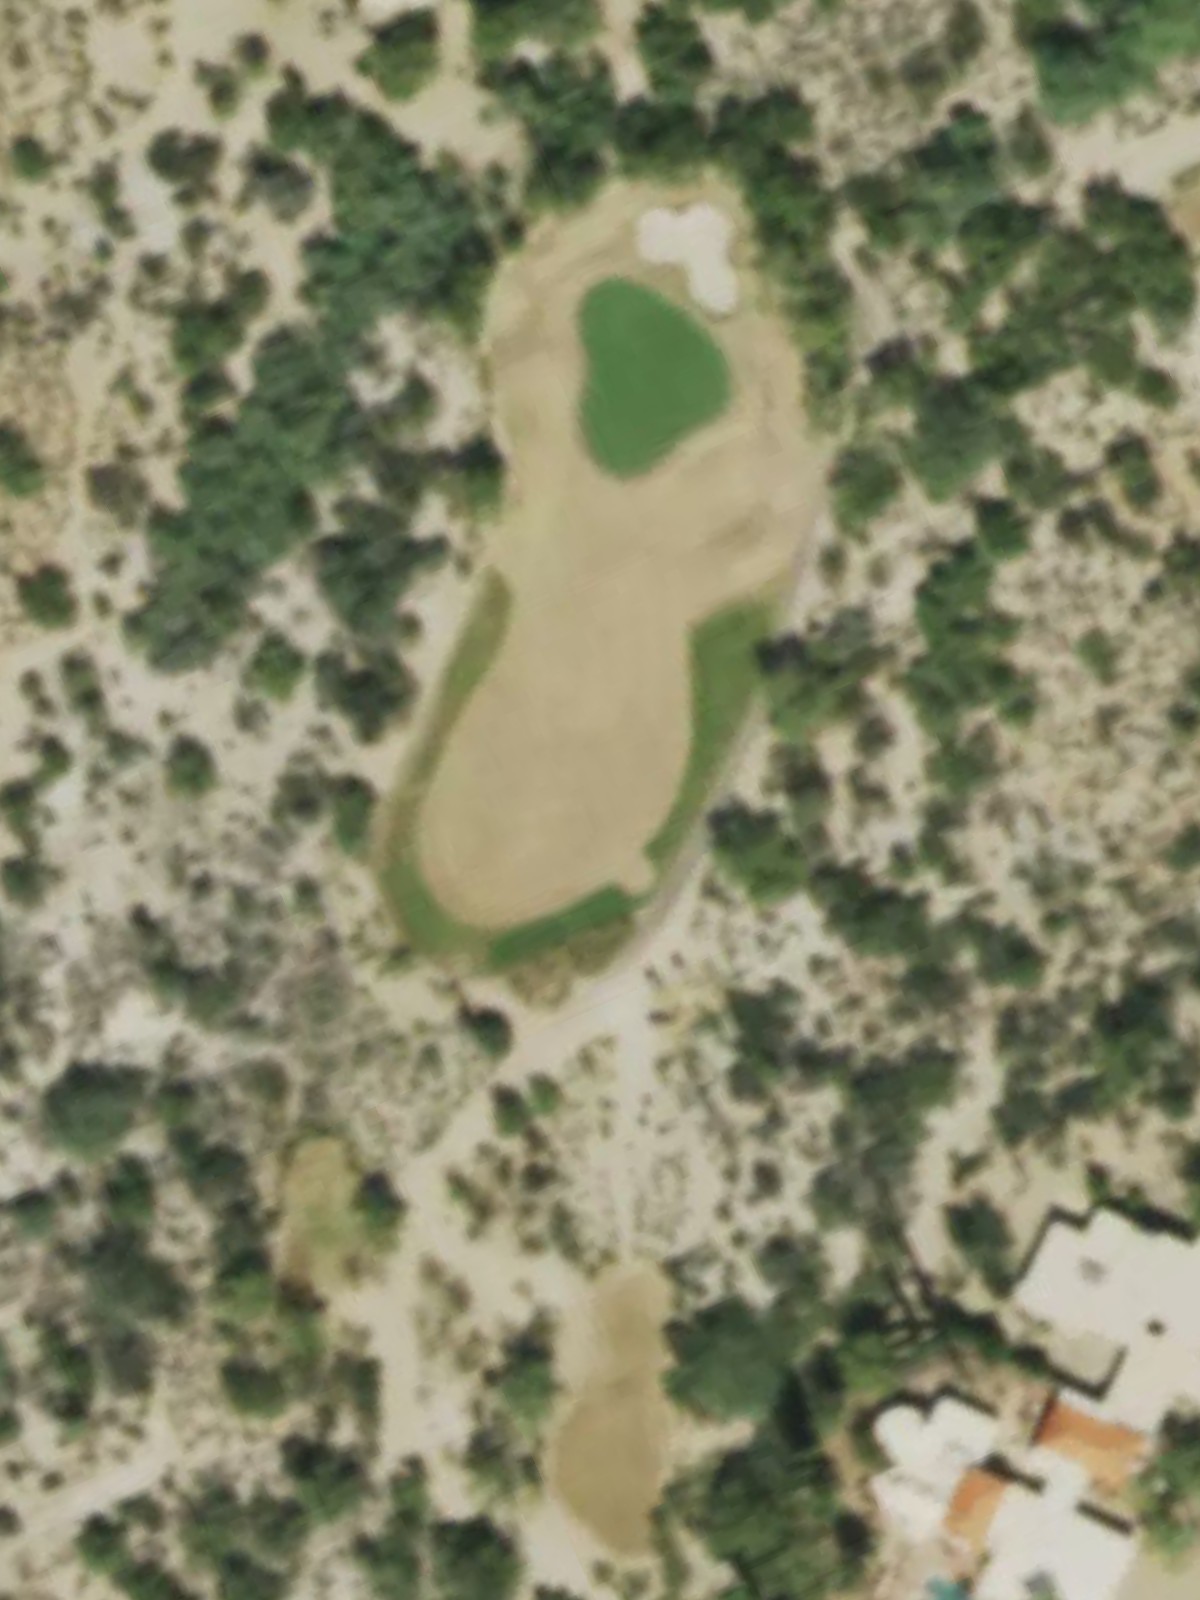
The easiest par 3 on the course, but its brevity shouldn't breed complacency. A modest green is surrounded by hazards, and the tight target demands precision over distance.
A short par 4 with a compact layout that emphasizes positioning over power. Hazards close to the green create a demanding approach despite the modest yardage, making this hole more difficult than it appears.

The course's signature test and most difficult hole, this par 4 combines length with strategic complexity. Heavy bunkering and hazard placement demand two accurate shots just to have a chance at par.
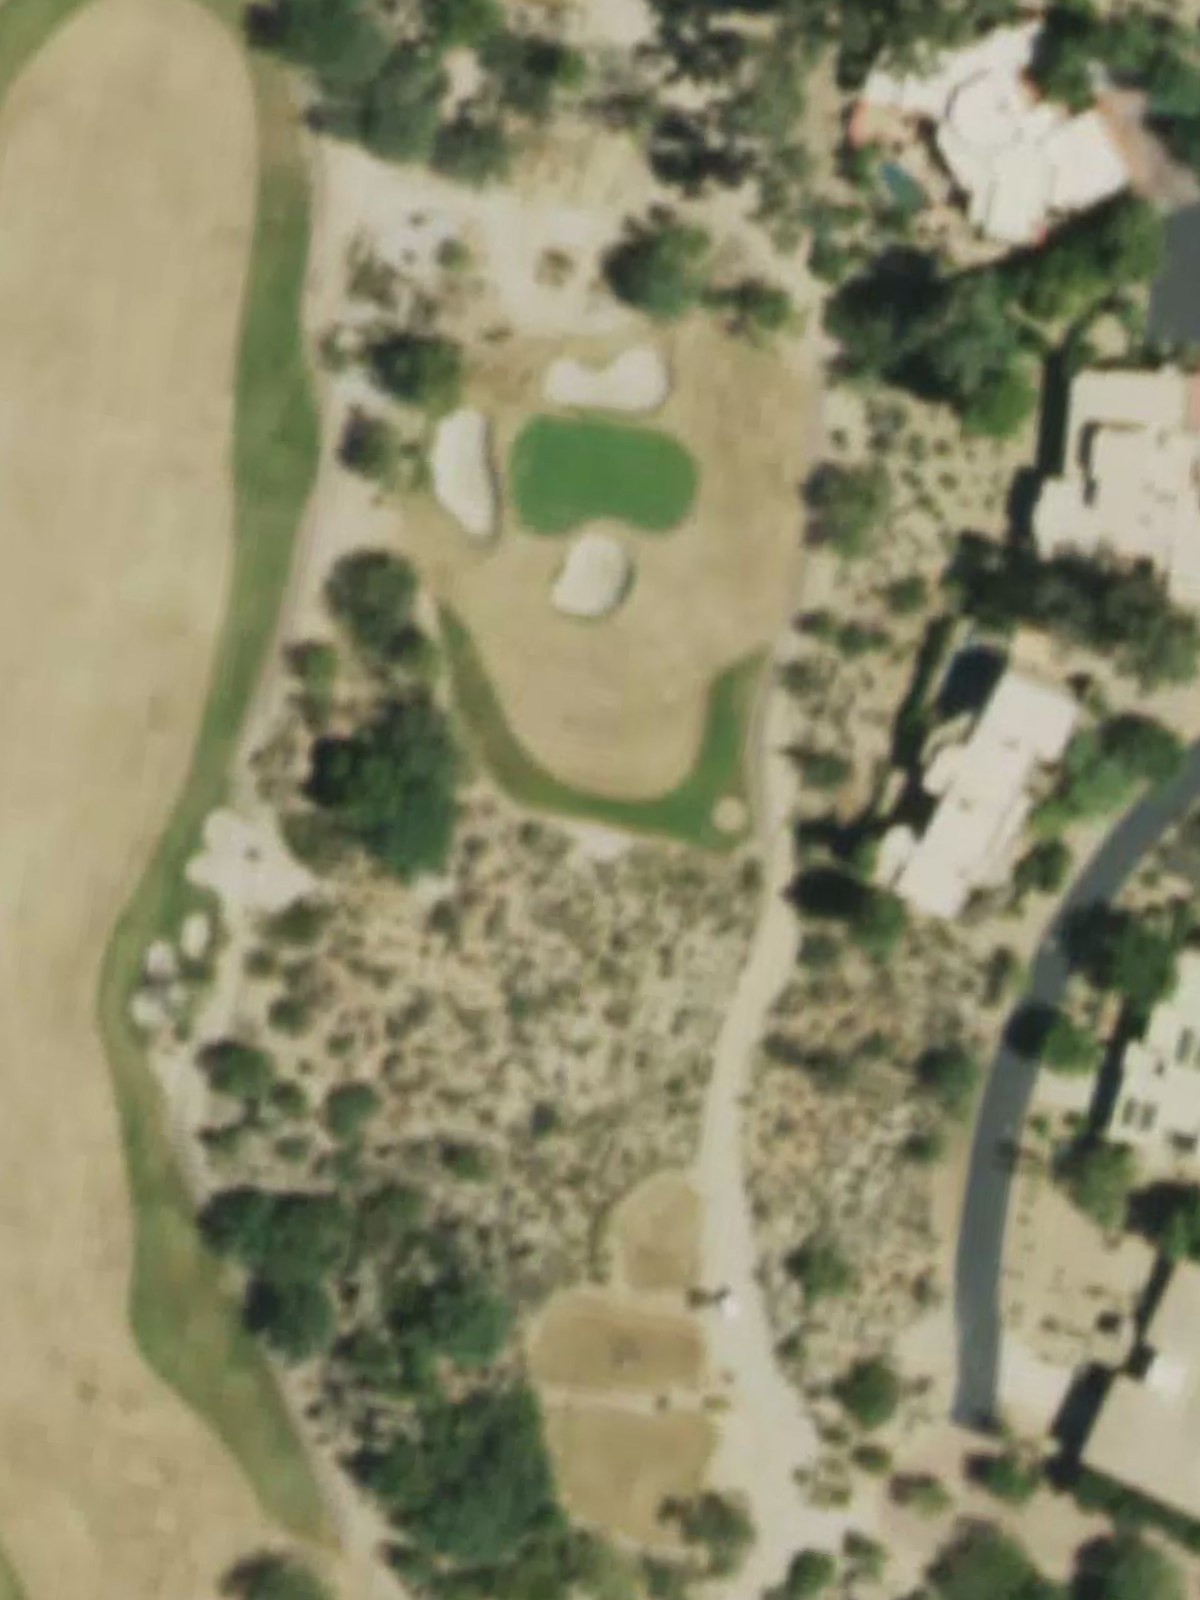
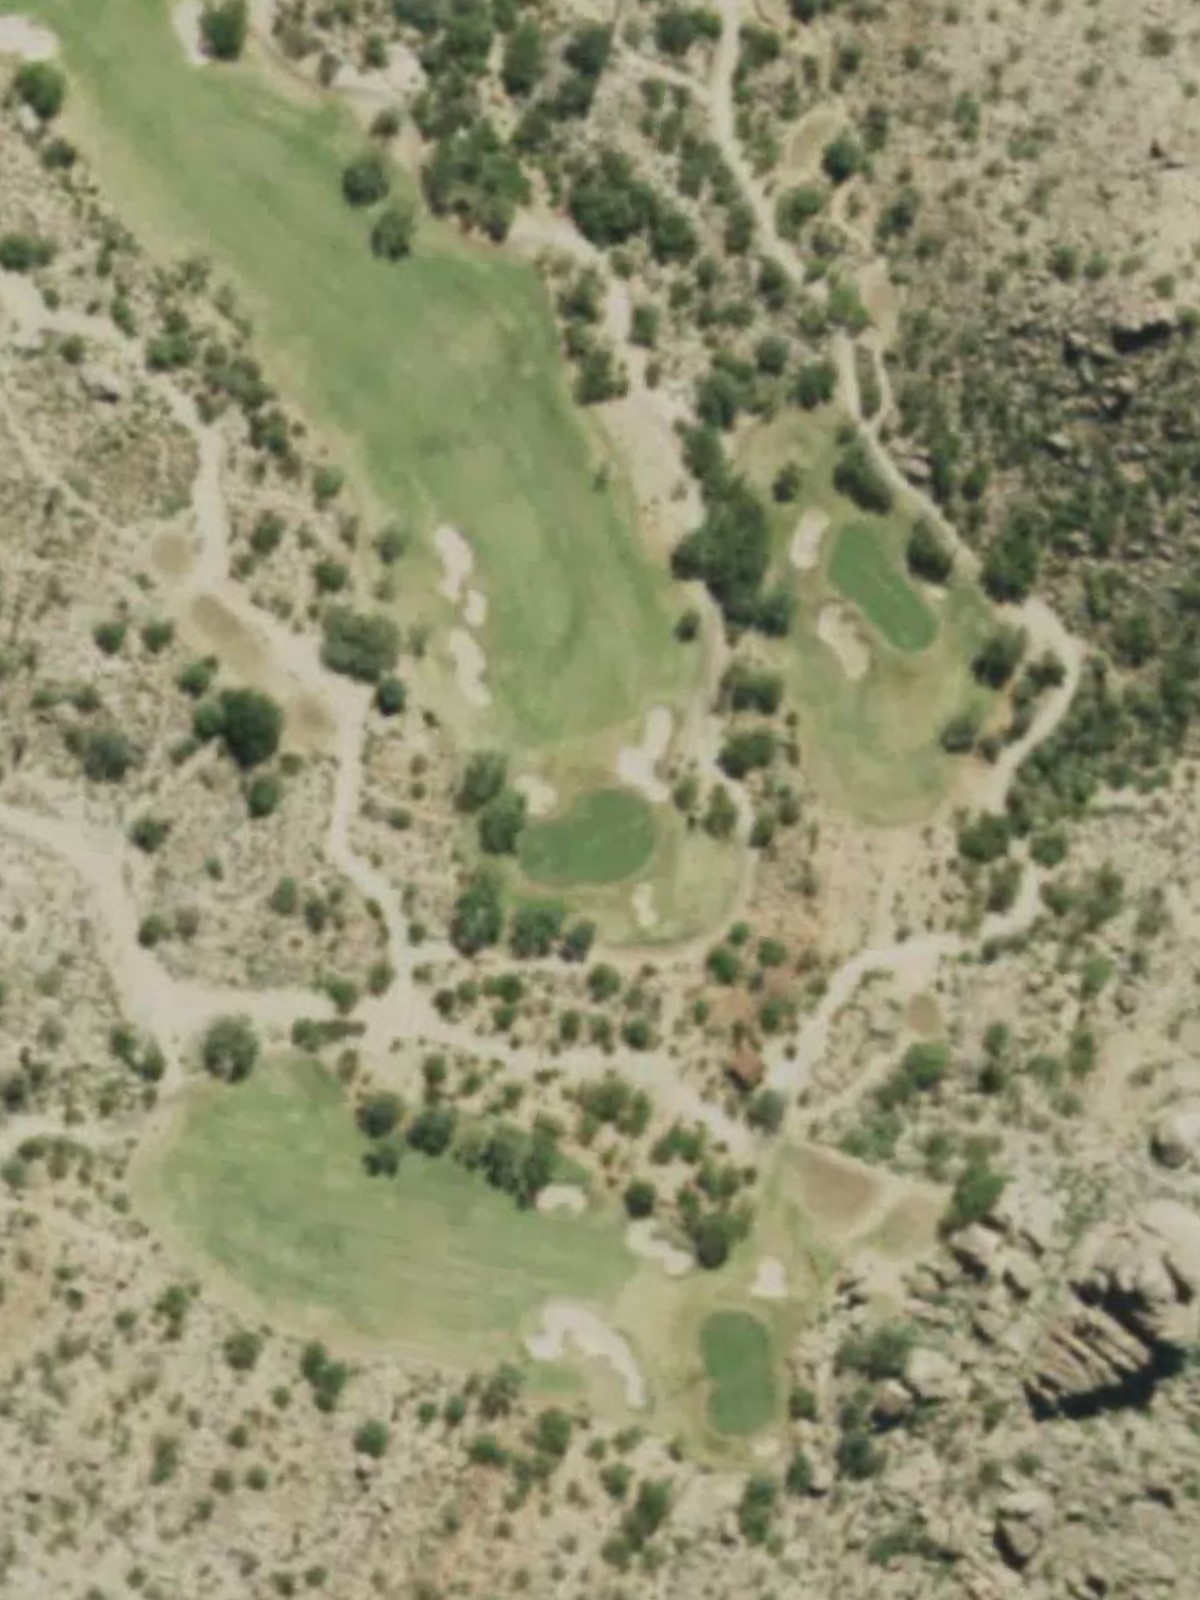
A mid-length par 3 that plays to a well-defended green surrounded by bunkers. The putting surface is smaller than it appears, and the surrounding hazards penalize any missed approach.
A straightforward par 5 offering a birdie opportunity for those who navigate its length and hazards. Bunkers and water frame the fairway corridor, encouraging strategic layup positioning for the third shot.
A solid par 4 with a fairway that narrows considerably at driver distance, then widens slightly before the green. The approach shot must carry hazards protecting the front and sides of the putting surface.
The second most difficult hole on the course, this long par 5 presents a formidable test with strategic hazards throughout. Smart positioning on the first two shots is essential, as the green is well-protected on final approach.
A challenging par 4 that plays upward in yardage with a narrow landing area for the drive. Bunkers and hazards guard the green, requiring a precise approach to a tightly defended target.
A moderately-lengthed par 3 with a green nestled among bunkers and hazards. The relatively small target and surrounding trouble make this a deceptively demanding short hole.
A short par 4 with a deceptive layout that plays easier than the scorecard suggests. While bunkers frame the green, the modest length allows for aggressive play if conditions permit.
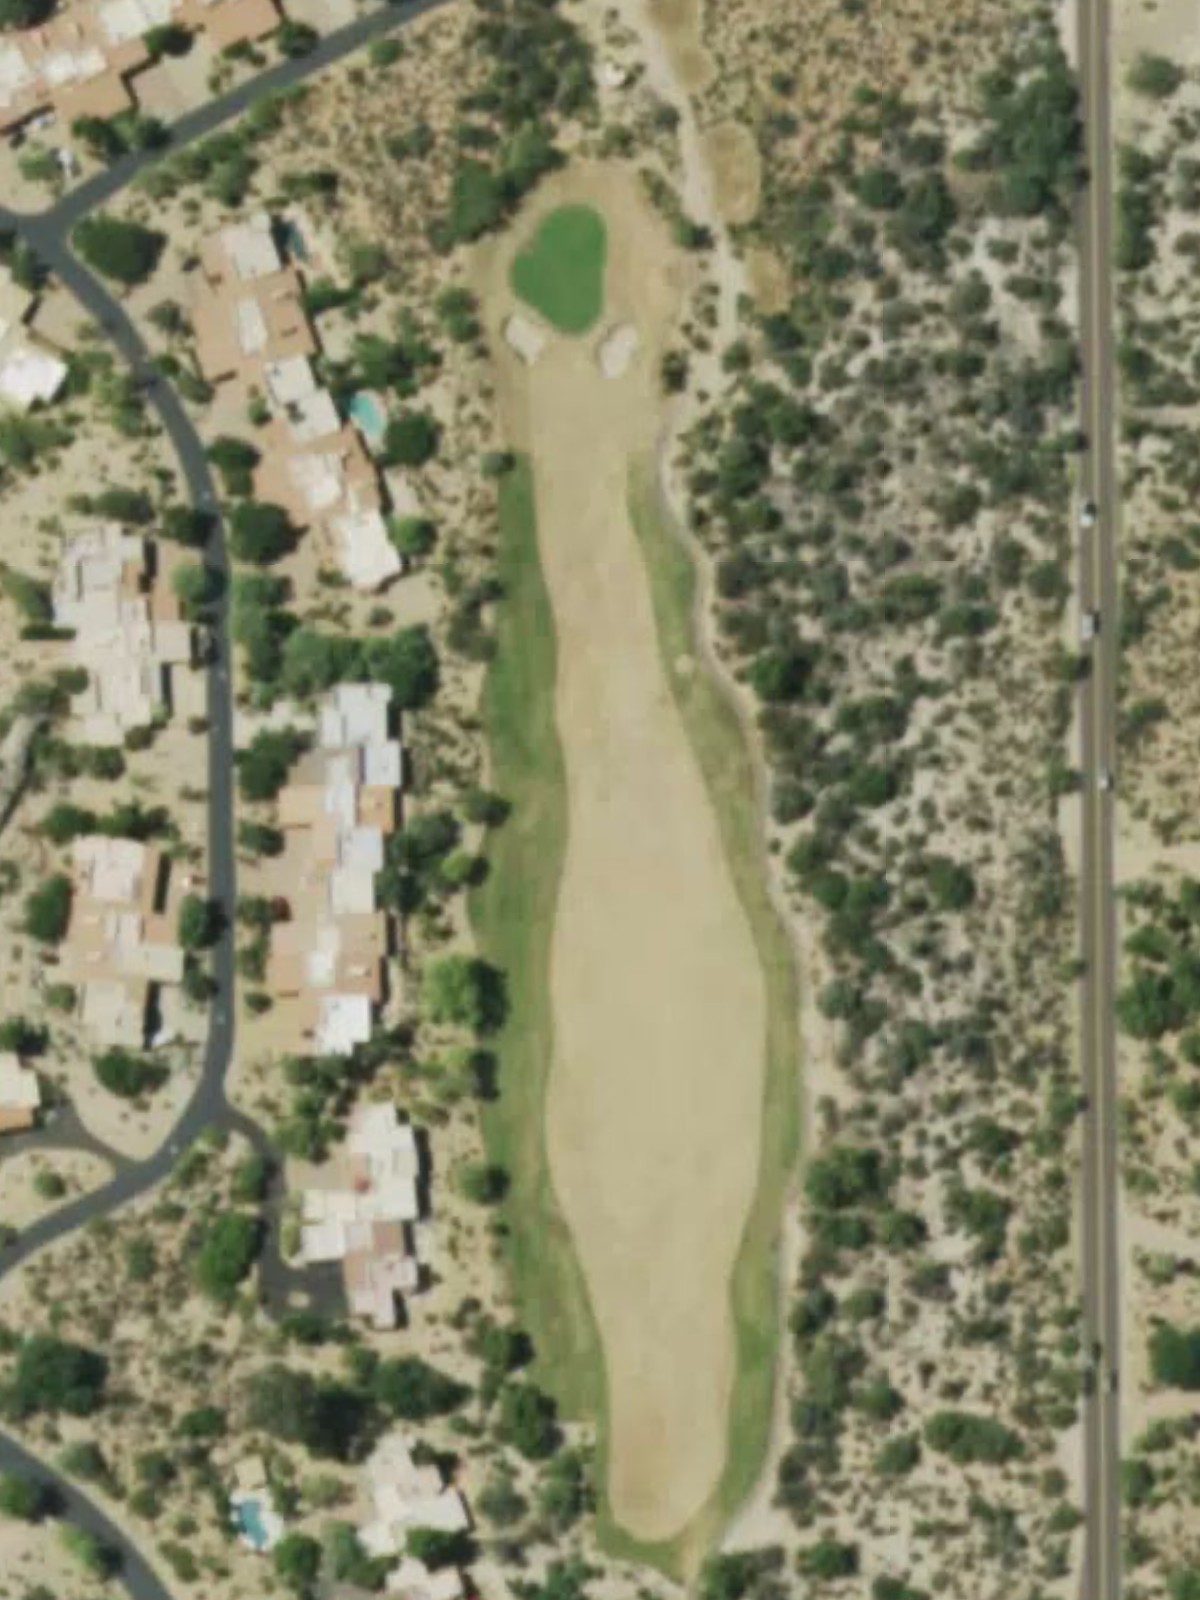
The closing par 4 provides a fitting finish with length and strategic hazards throughout the hole. A well-protected green requires a quality approach shot, and the finishing hole demands composure down the stretch.
Scorecard
| Hole | 1 | 2 | 3 | 4 | 5 | 6 | 7 | 8 | 9 | Out | 10 | 11 | 12 | 13 | 14 | 15 | 16 | 17 | 18 | In | Tot |
|---|---|---|---|---|---|---|---|---|---|---|---|---|---|---|---|---|---|---|---|---|---|
| Par | 4 | 4 | 5 | 3 | 4 | 4 | 5 | 3 | 4 | 36 | 4 | 3 | 5 | 4 | 5 | 4 | 3 | 4 | 4 | 36 | 72 |
| HCP | 12 | 8 | 2 | 14 | 10 | 4 | 6 | 18 | 16 | 1 | 11 | 7 | 9 | 3 | 5 | 15 | 17 | 13 | |||
| black | 388 | 417 | 610 | 211 | 366 | 422 | 559 | 173 | 358 | 3504 | 442 | 211 | 524 | 401 | 594 | 439 | 197 | 354 | 409 | 3571 | 7075 |
| players | 388 | 391 | 570 | 181 | 366 | 386 | 559 | 173 | 358 | 3372 | 407 | 185 | 497 | 373 | 571 | 412 | 176 | 354 | 409 | 3384 | 6756 |
| blue | 344 | 391 | 570 | 181 | 342 | 386 | 534 | 158 | 338 | 3244 | 407 | 185 | 497 | 373 | 571 | 412 | 176 | 341 | 383 | 3345 | 6589 |
| member | 344 | 368 | 534 | 181 | 342 | 339 | 500 | 158 | 338 | 3104 | 367 | 174 | 497 | 364 | 551 | 389 | 162 | 341 | 383 | 3228 | 6332 |
| white | 310 | 368 | 534 | 177 | 323 | 339 | 500 | 144 | 308 | 3003 | 367 | 174 | 476 | 364 | 551 | 389 | 162 | 302 | 320 | 3105 | 6108 |
| club | 310 | 324 | 534 | 157 | 323 | 315 | 500 | 144 | 308 | 2915 | 362 | 144 | 476 | 308 | 490 | 357 | 149 | 302 | 320 | 2908 | 5823 |
| burgundy | 296 | 324 | 456 | 157 | 313 | 315 | 457 | 121 | 289 | 2728 | 362 | 144 | 456 | 308 | 490 | 357 | 149 | 295 | 316 | 2877 | 5605 |
| gold | 265 | 318 | 456 | 142 | 284 | 285 | 448 | 101 | 252 | 2551 | 337 | 144 | 435 | 301 | 444 | 357 | 127 | 276 | 278 | 2699 | 5250 |