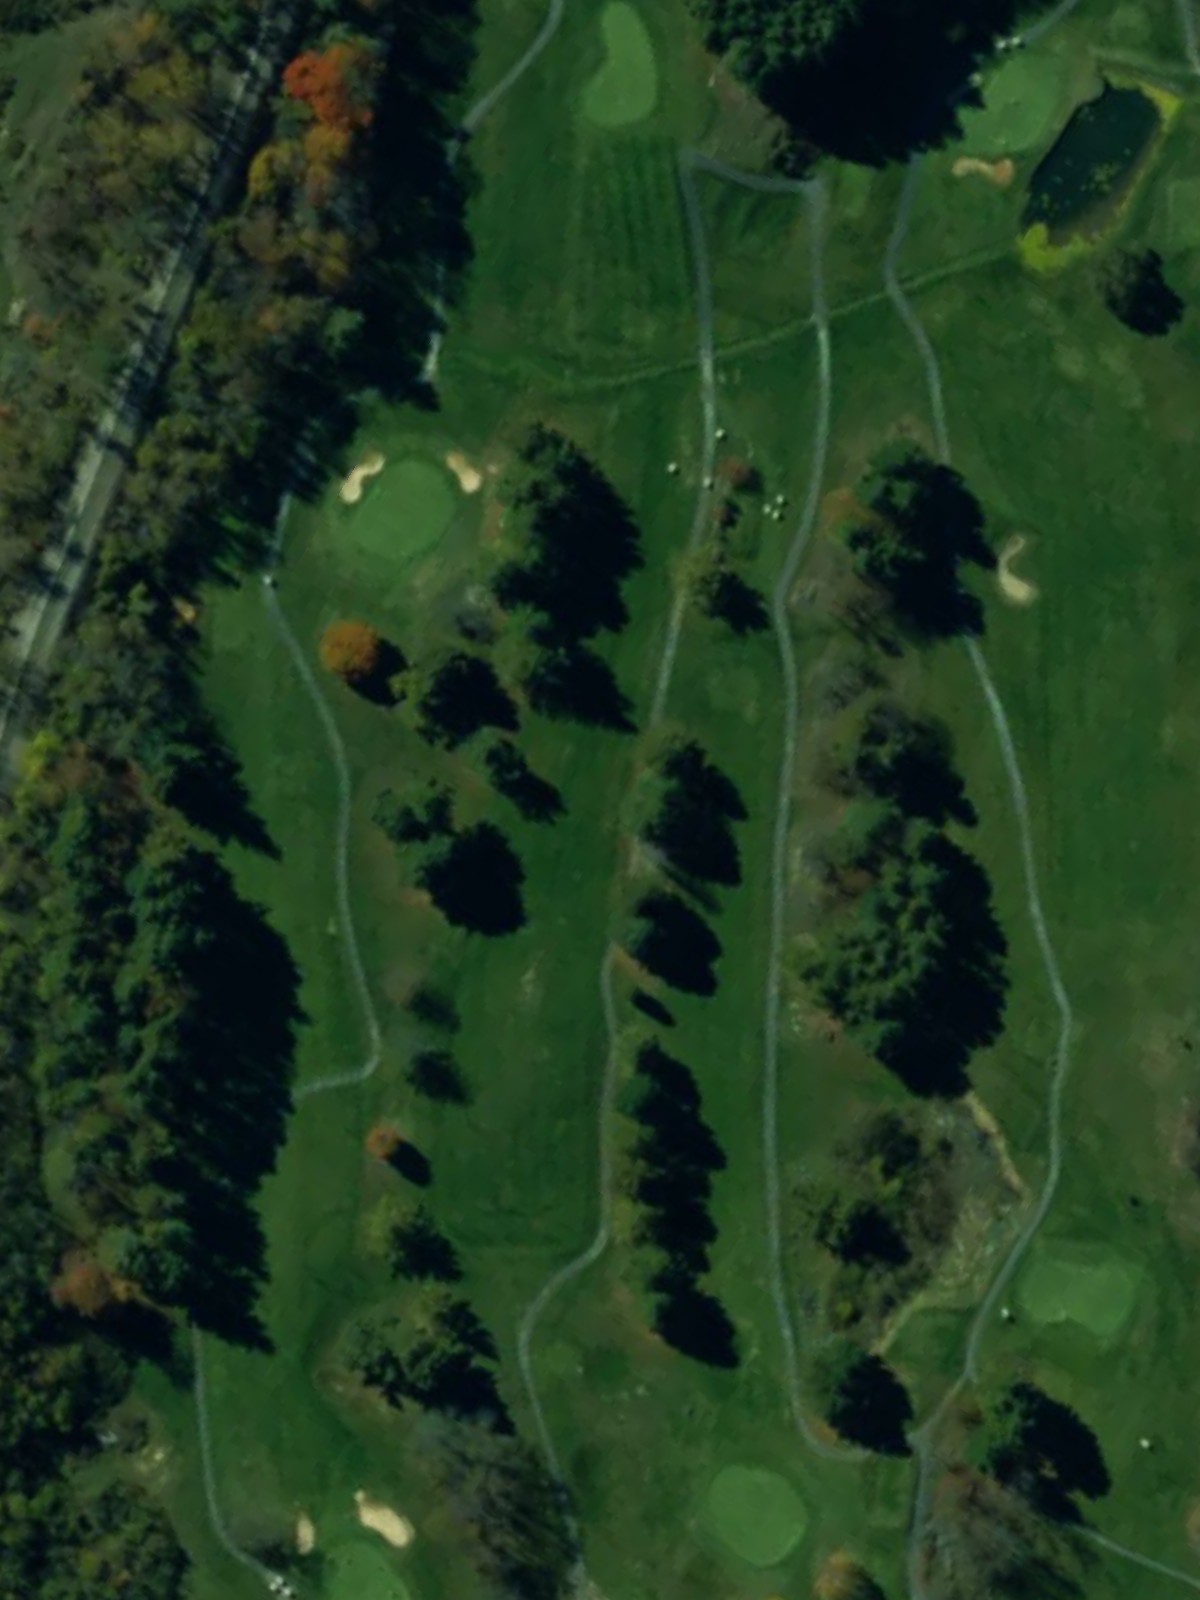
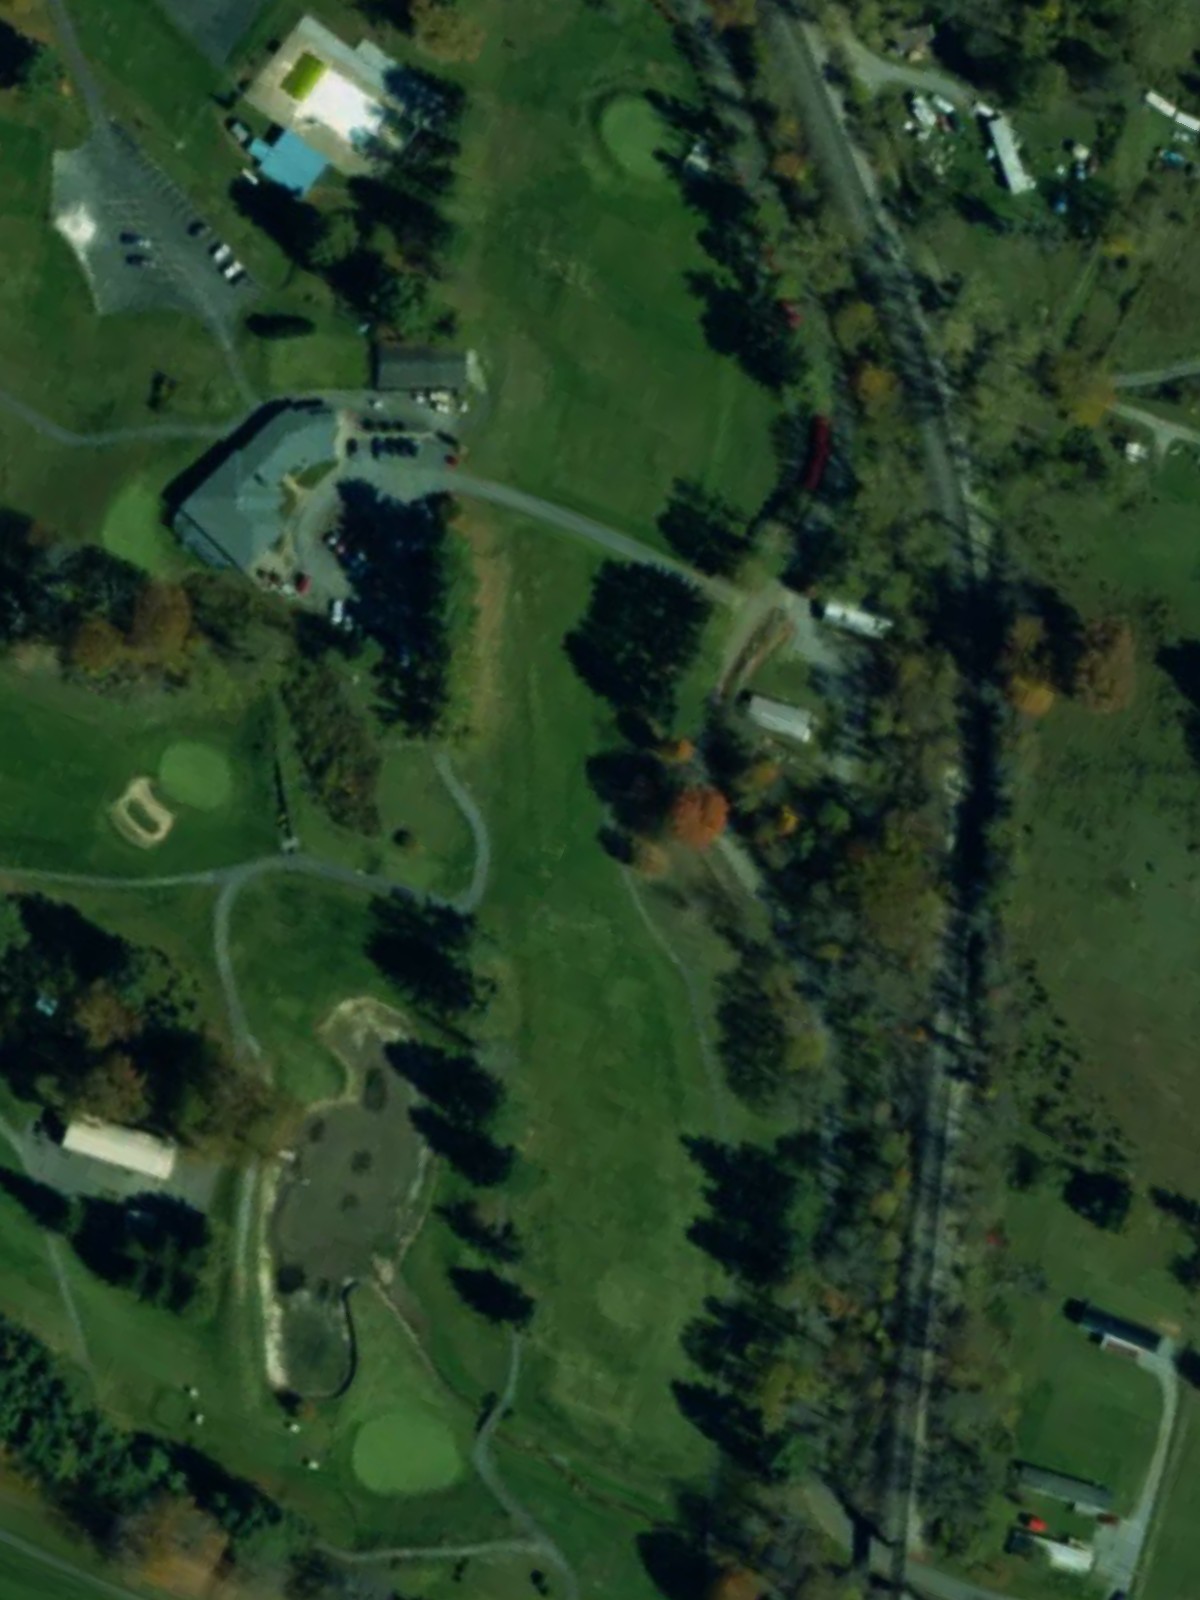
Tazewell County Country Club is an 18-hole golf course in Pounding Mill, VA with a par of 71. It offers 3 tee sets: blue (6,142 yards, slope 141, rating 70.9), white (5,794 yards, slope 136, rating 69.2), gold (4,865 yards, slope 126, rating 65.1). The hardest hole is #8, a par 3 playing 209 yards from the first tee.
Tazewell County Country Club
Pounding Mill, VA
Get PDF Yardage Book
We'll email you the PDF link. No spam, ever.
Create Your Game Plan
Pick your tees, enter your bag, and get a personalized shot-by-shot strategy for every hole.
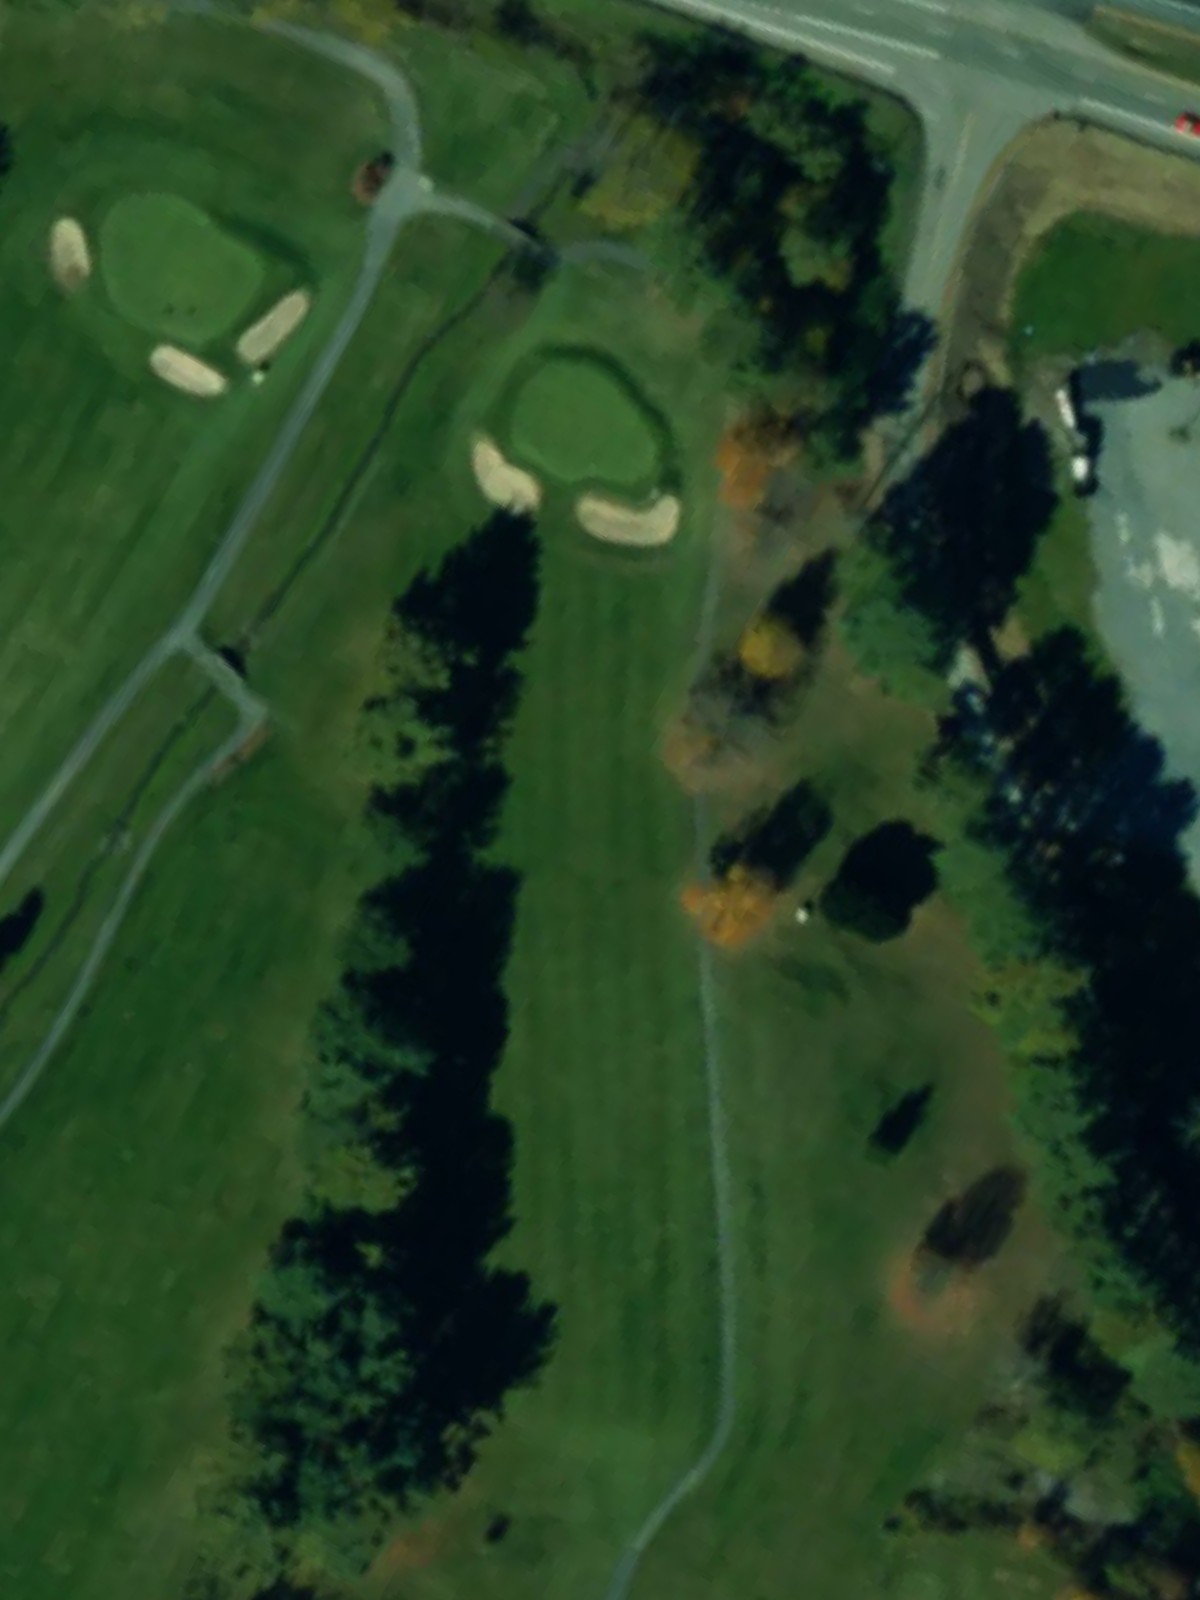
A short par 4 with water hazard threatening the left side of the fairway. A bunker guards the right of the green, making accurate approach play essential on this opening hole.
A straightforward par 4 with a wide fairway offering a clear path to the green. The hole's simplicity makes it an ideal scoring opportunity early in the round.

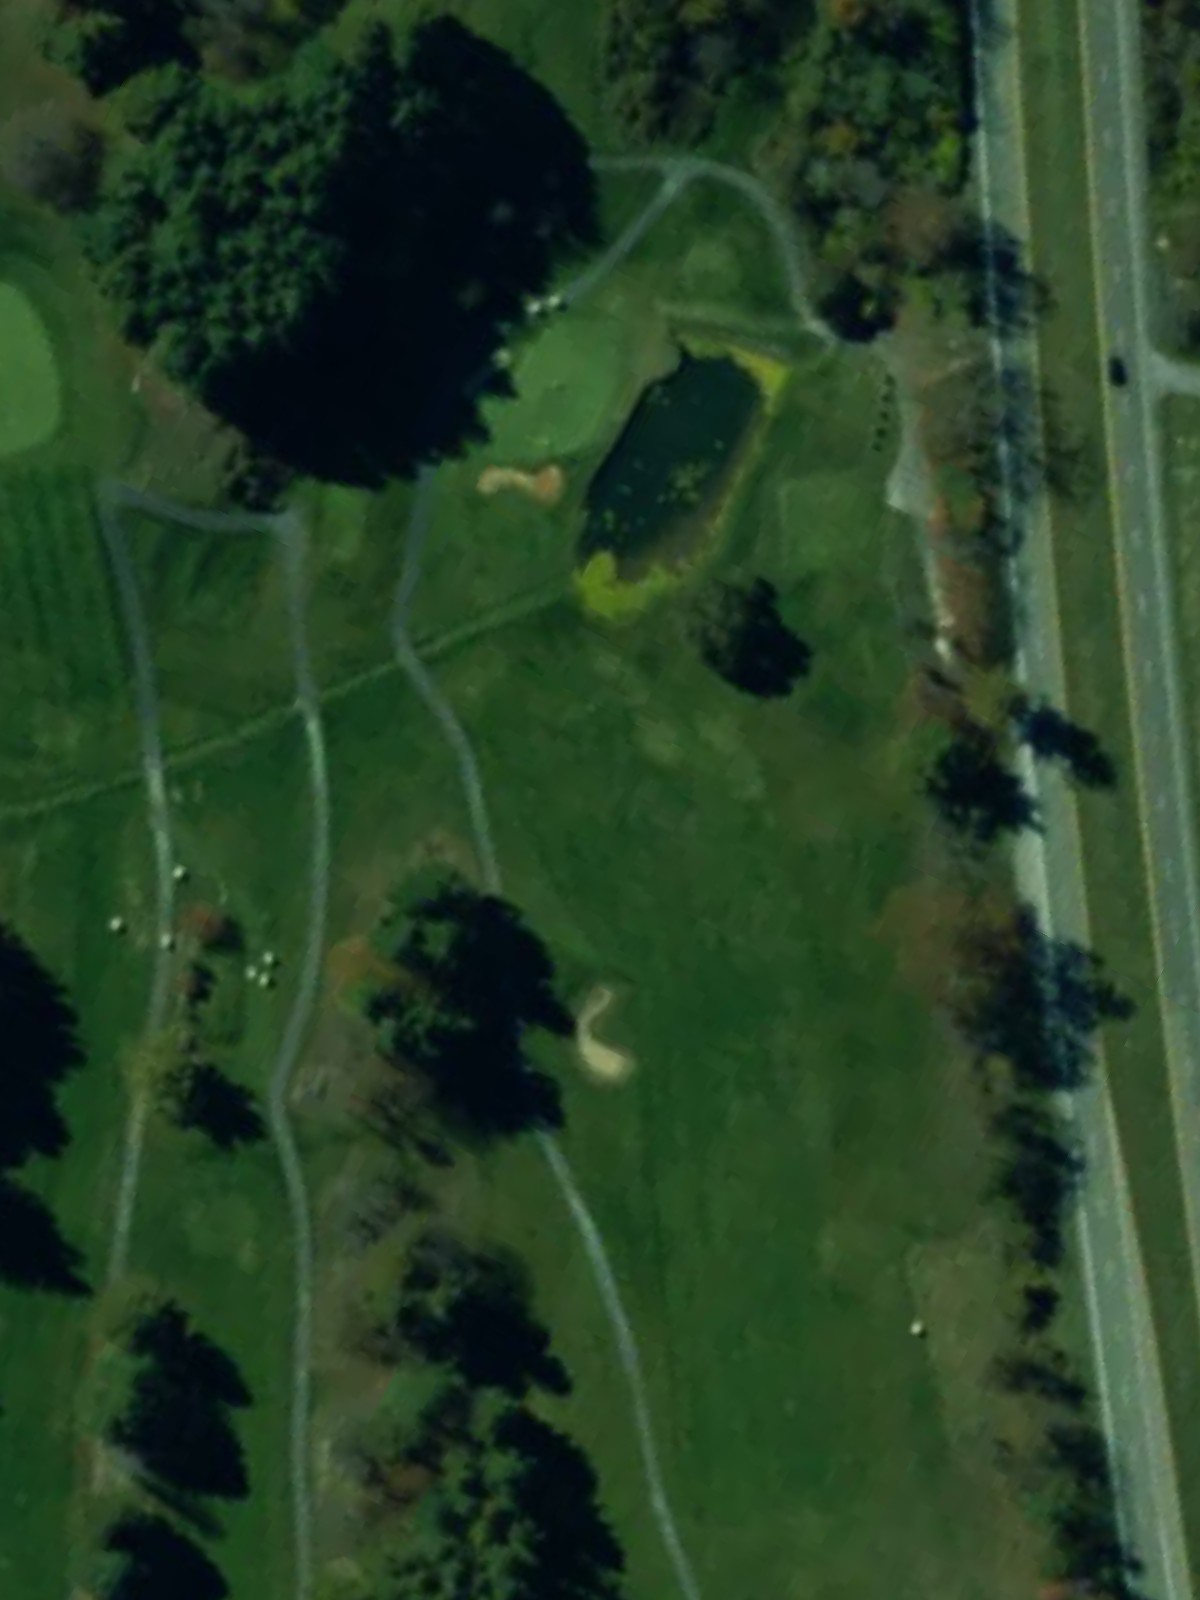
A short par 3 where water hazard comes into play left of the green. Precision off the tee is critical, as the green's size and water proximity demand accuracy.

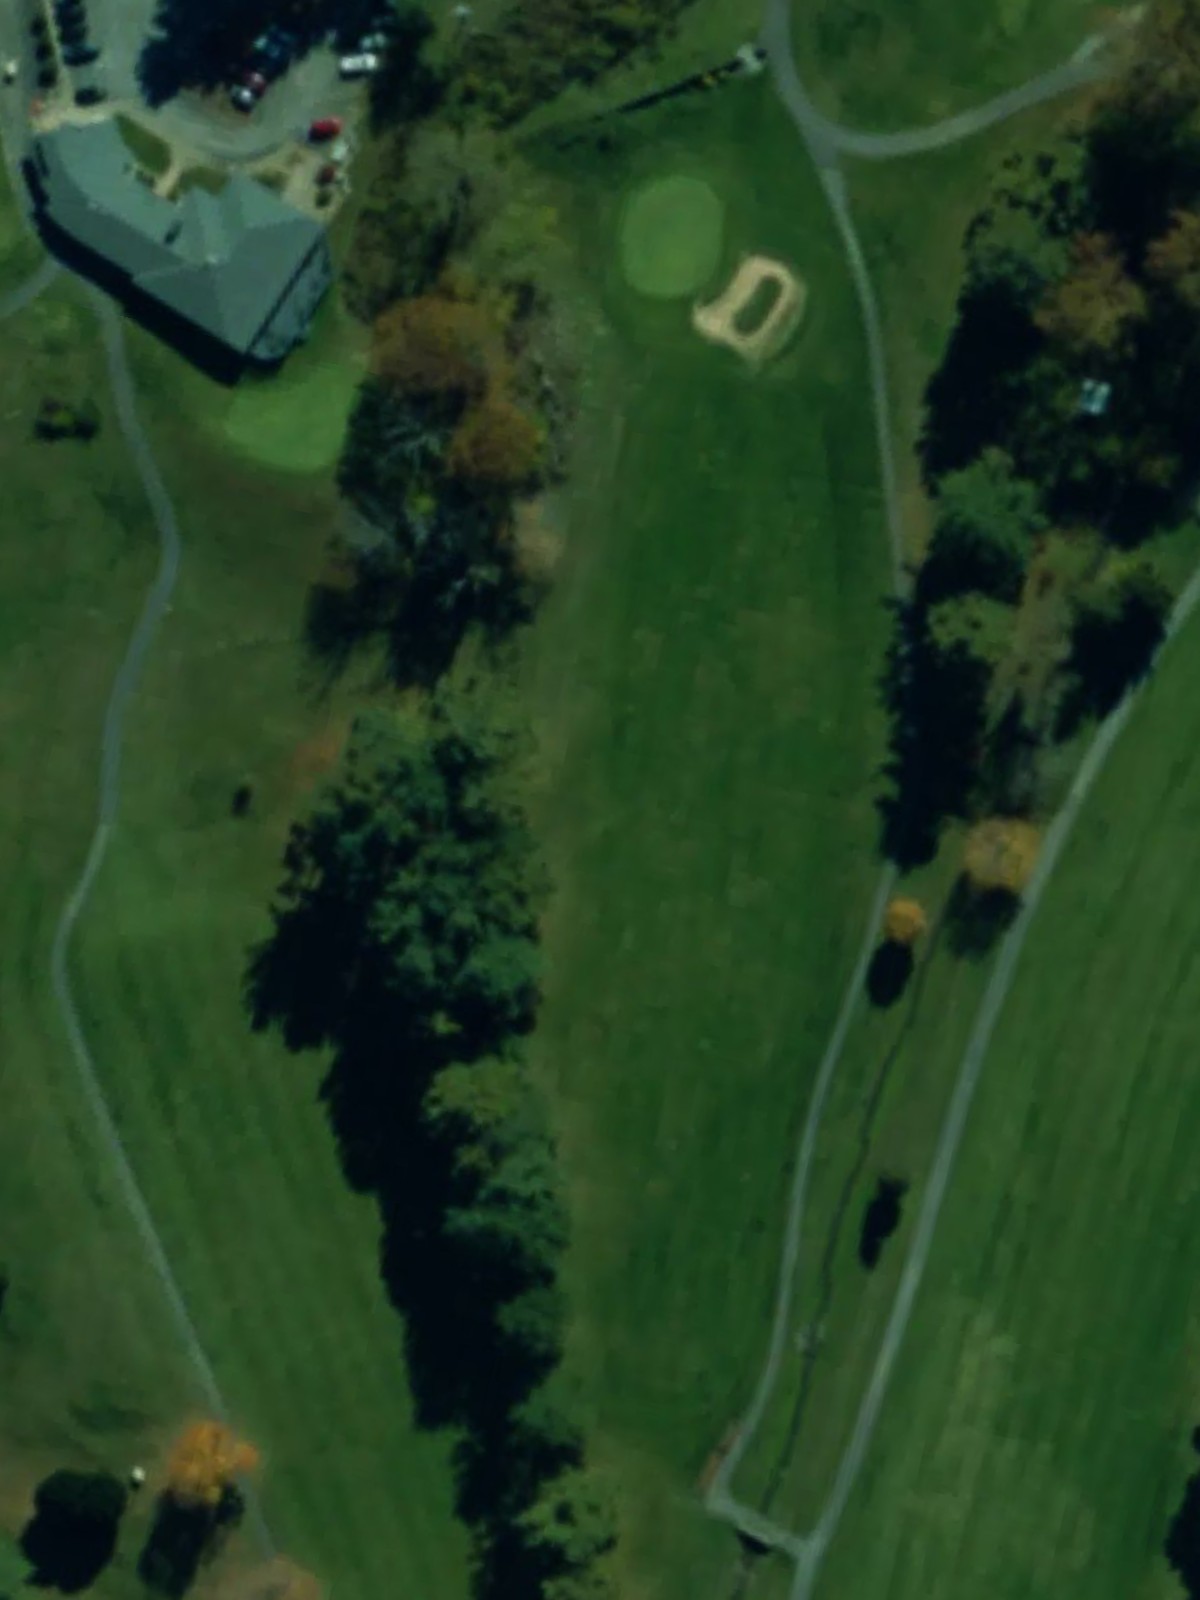
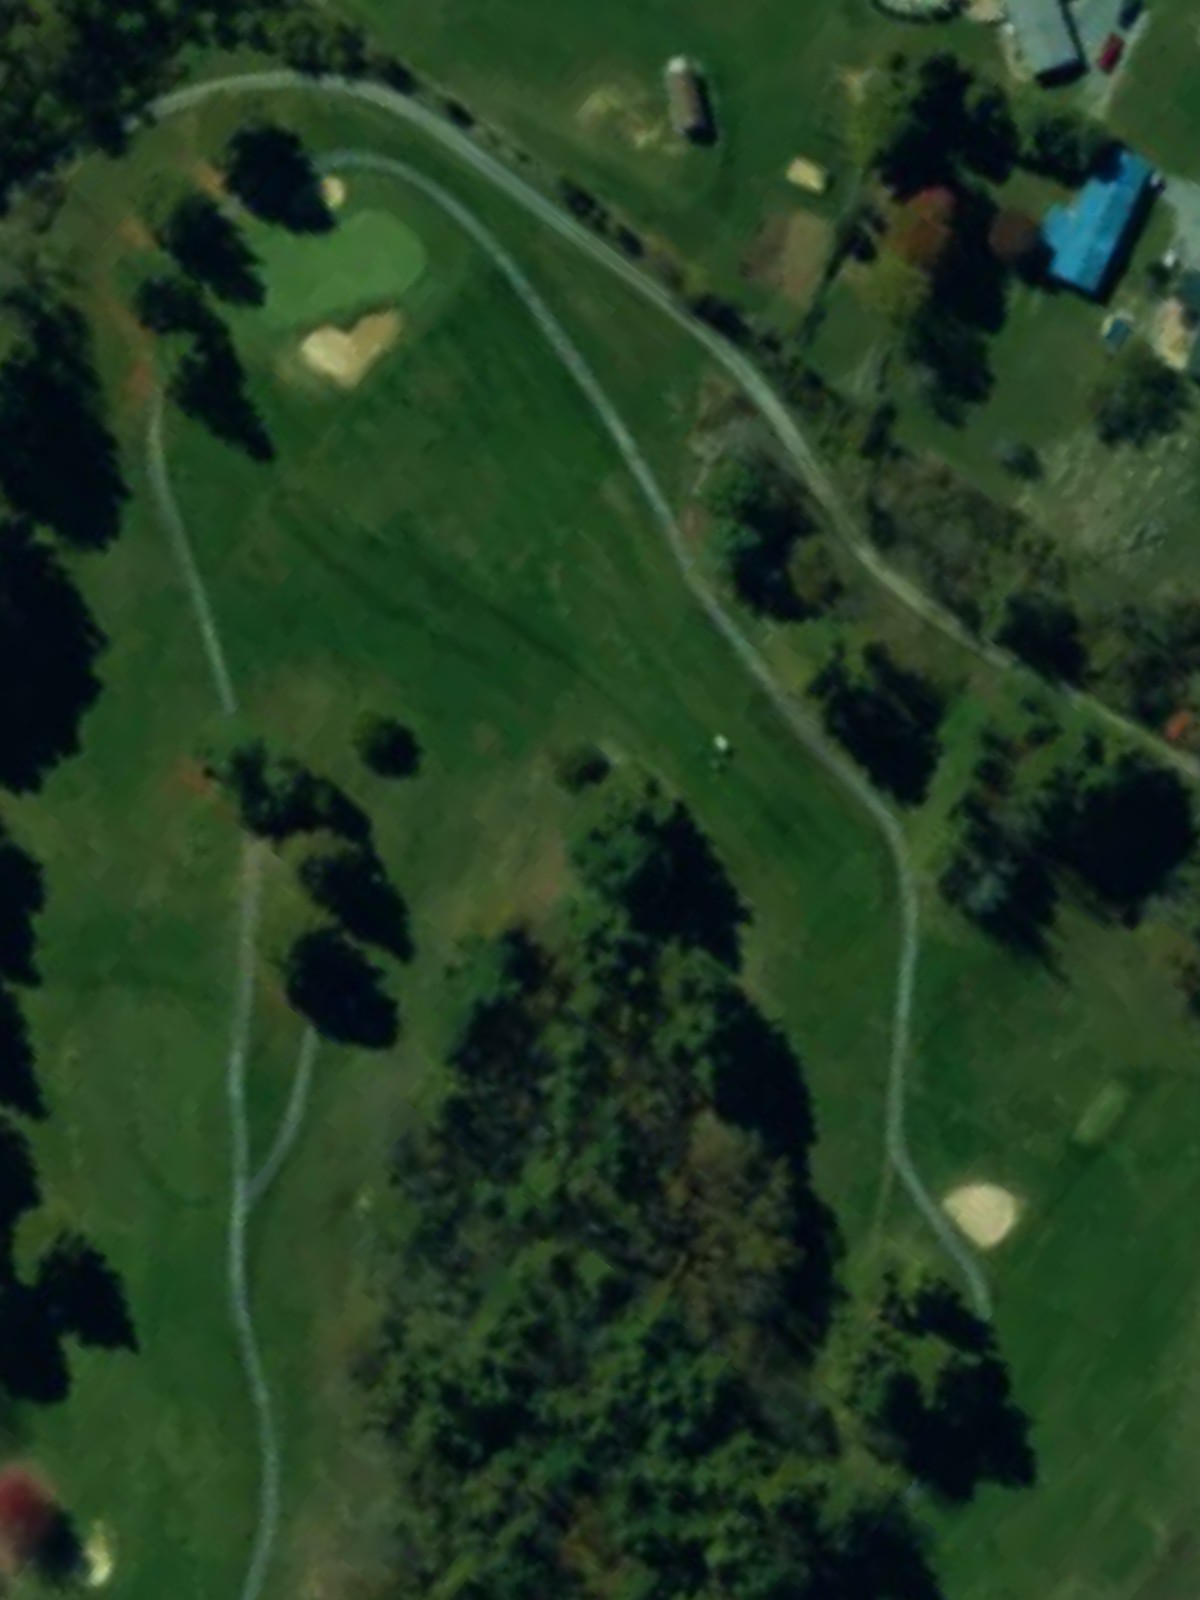
A lengthy par 4 and the course's third-hardest hole, with bunkers strategically placed to challenge the fairway and green. The extended length and hazard placement demand a well-executed two-shot sequence.

A moderate par 4 with bunkers near the green waiting to catch wayward approaches. The straightforward layout provides a reasonable scoring opportunity for skilled players.
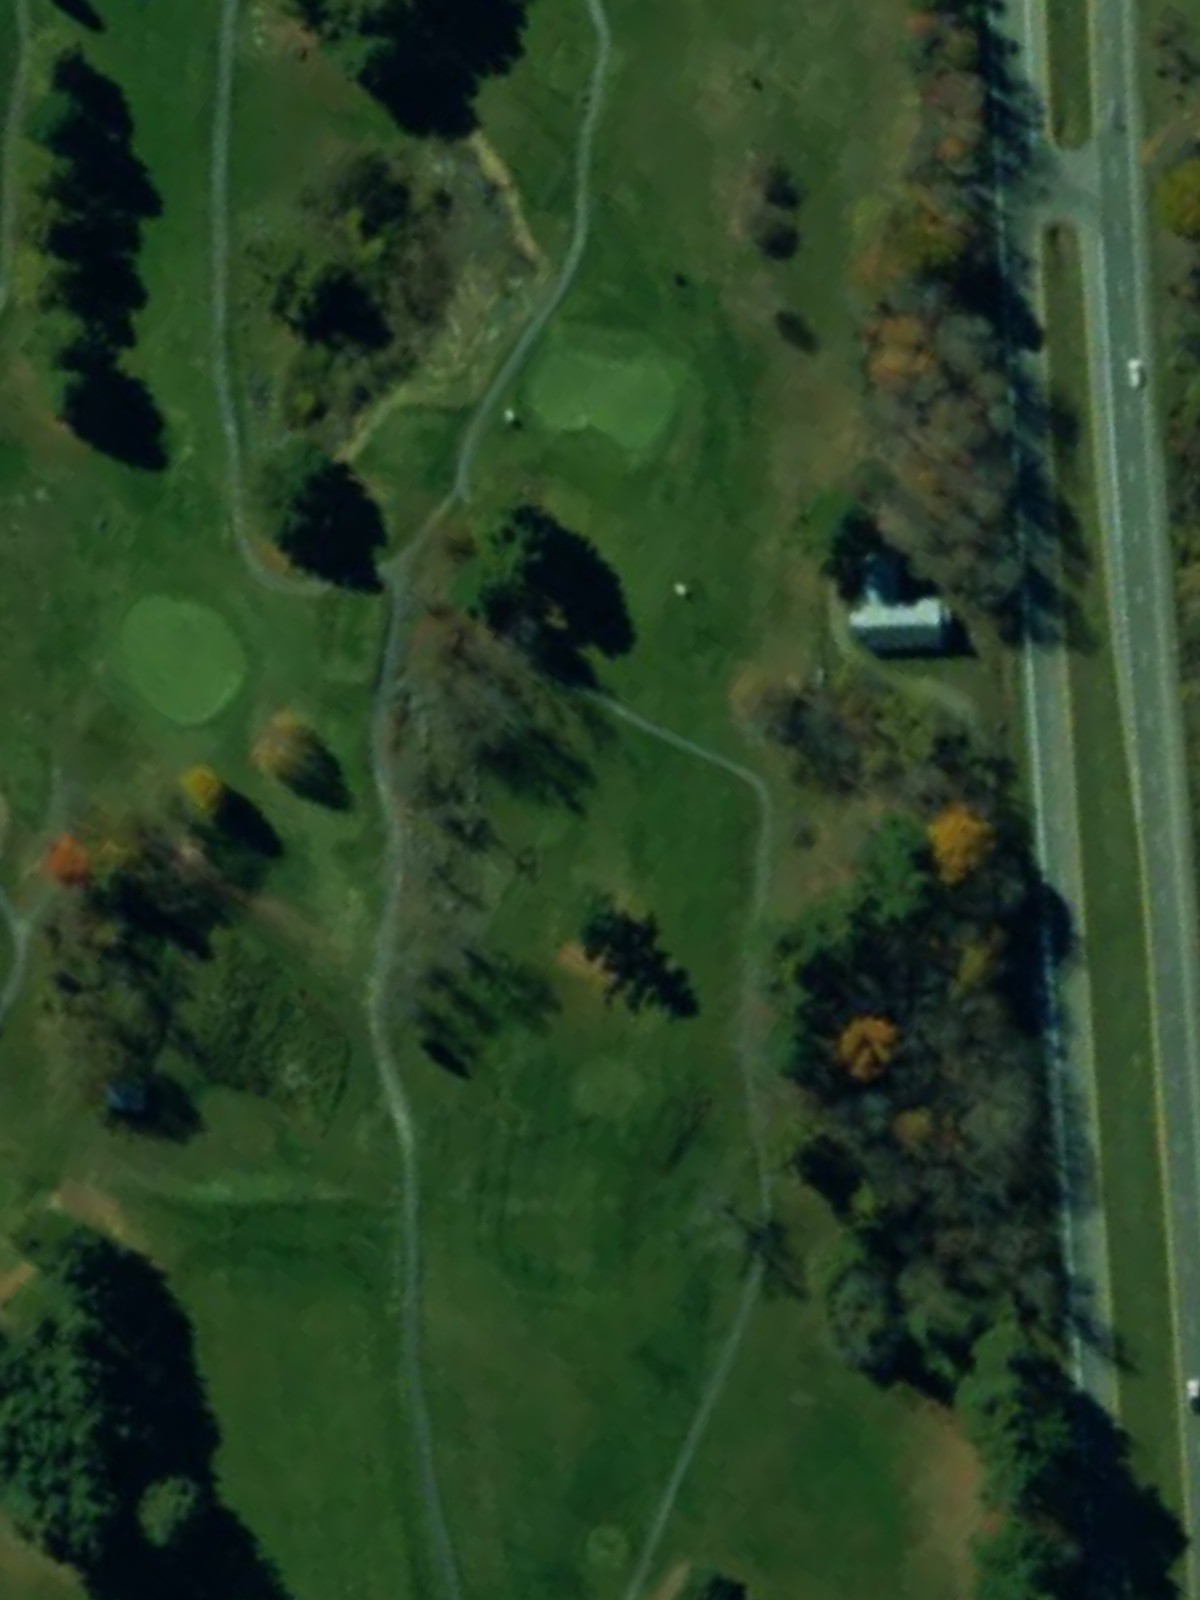
A mid-length par 4 with a tight, bunker-free corridor to the green. The absence of fairway hazards rewards solid fundamentals on this fifth-hardest hole.
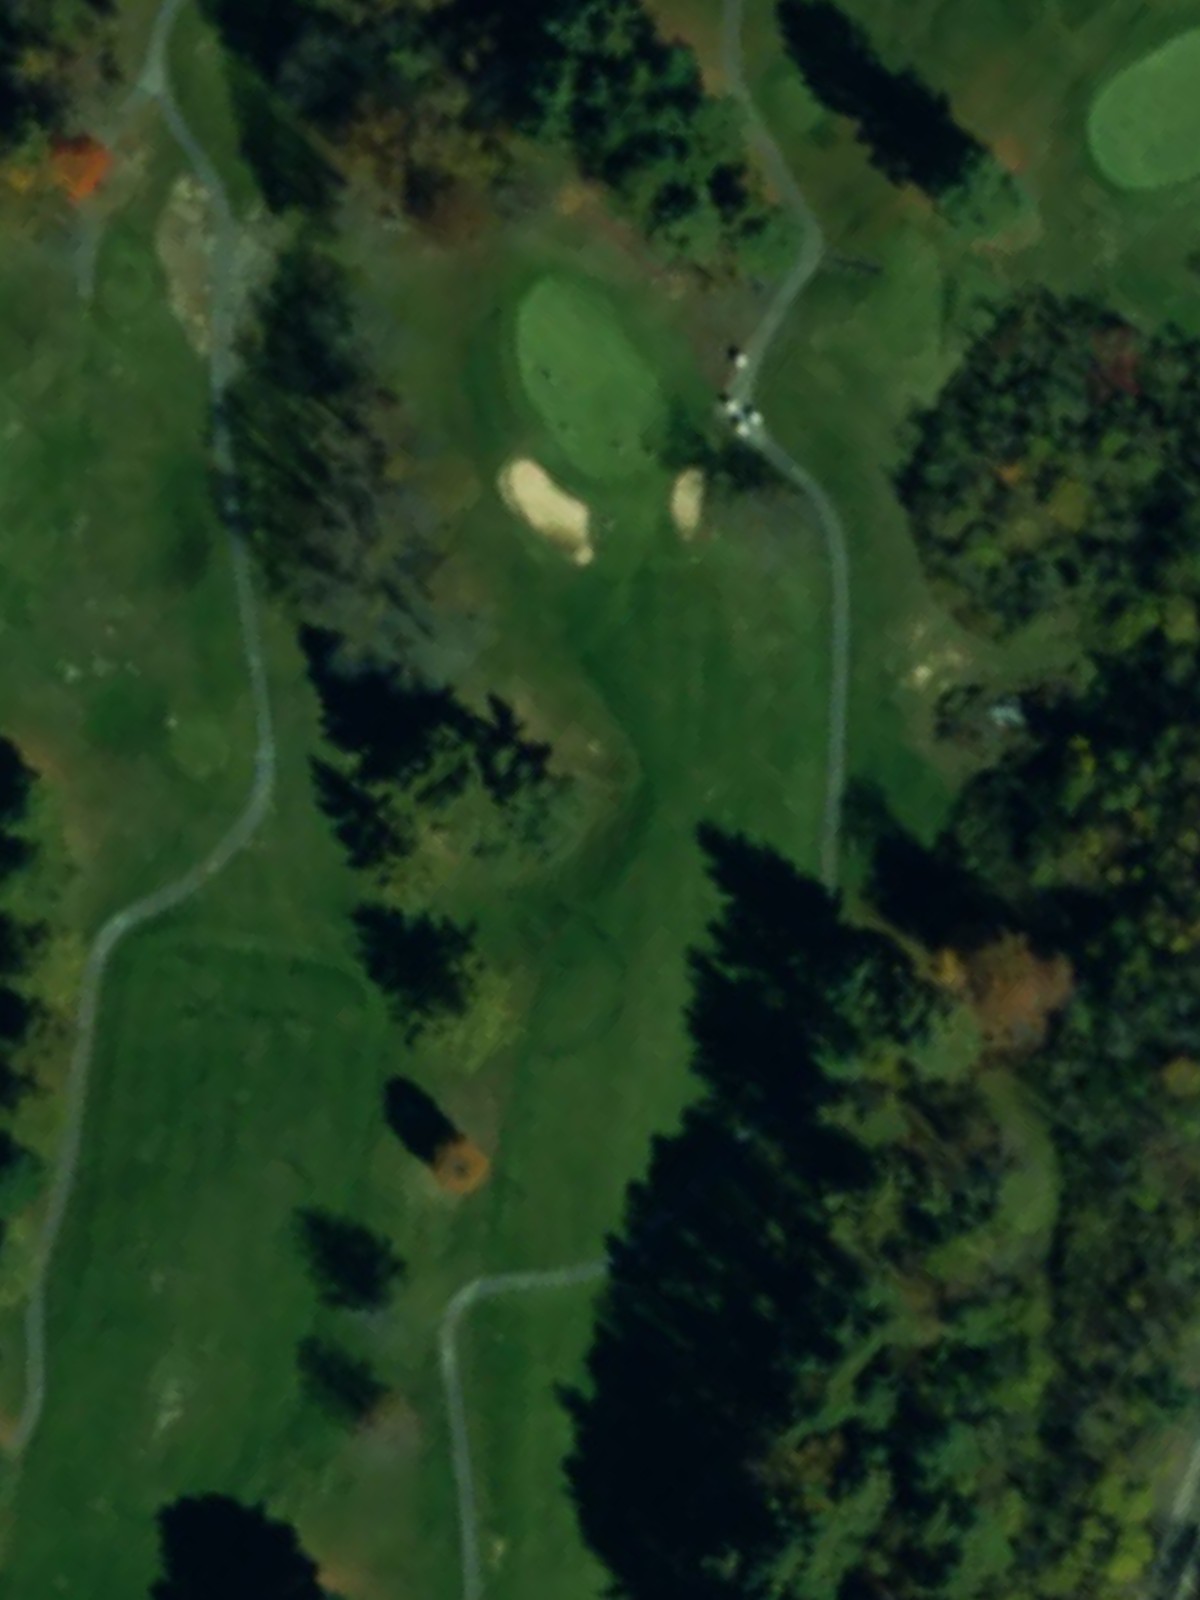
A par 4 with water hazard and bunkers creating a complex challenge around the green area. The hazard placement requires careful positioning off the tee to set up a manageable approach.
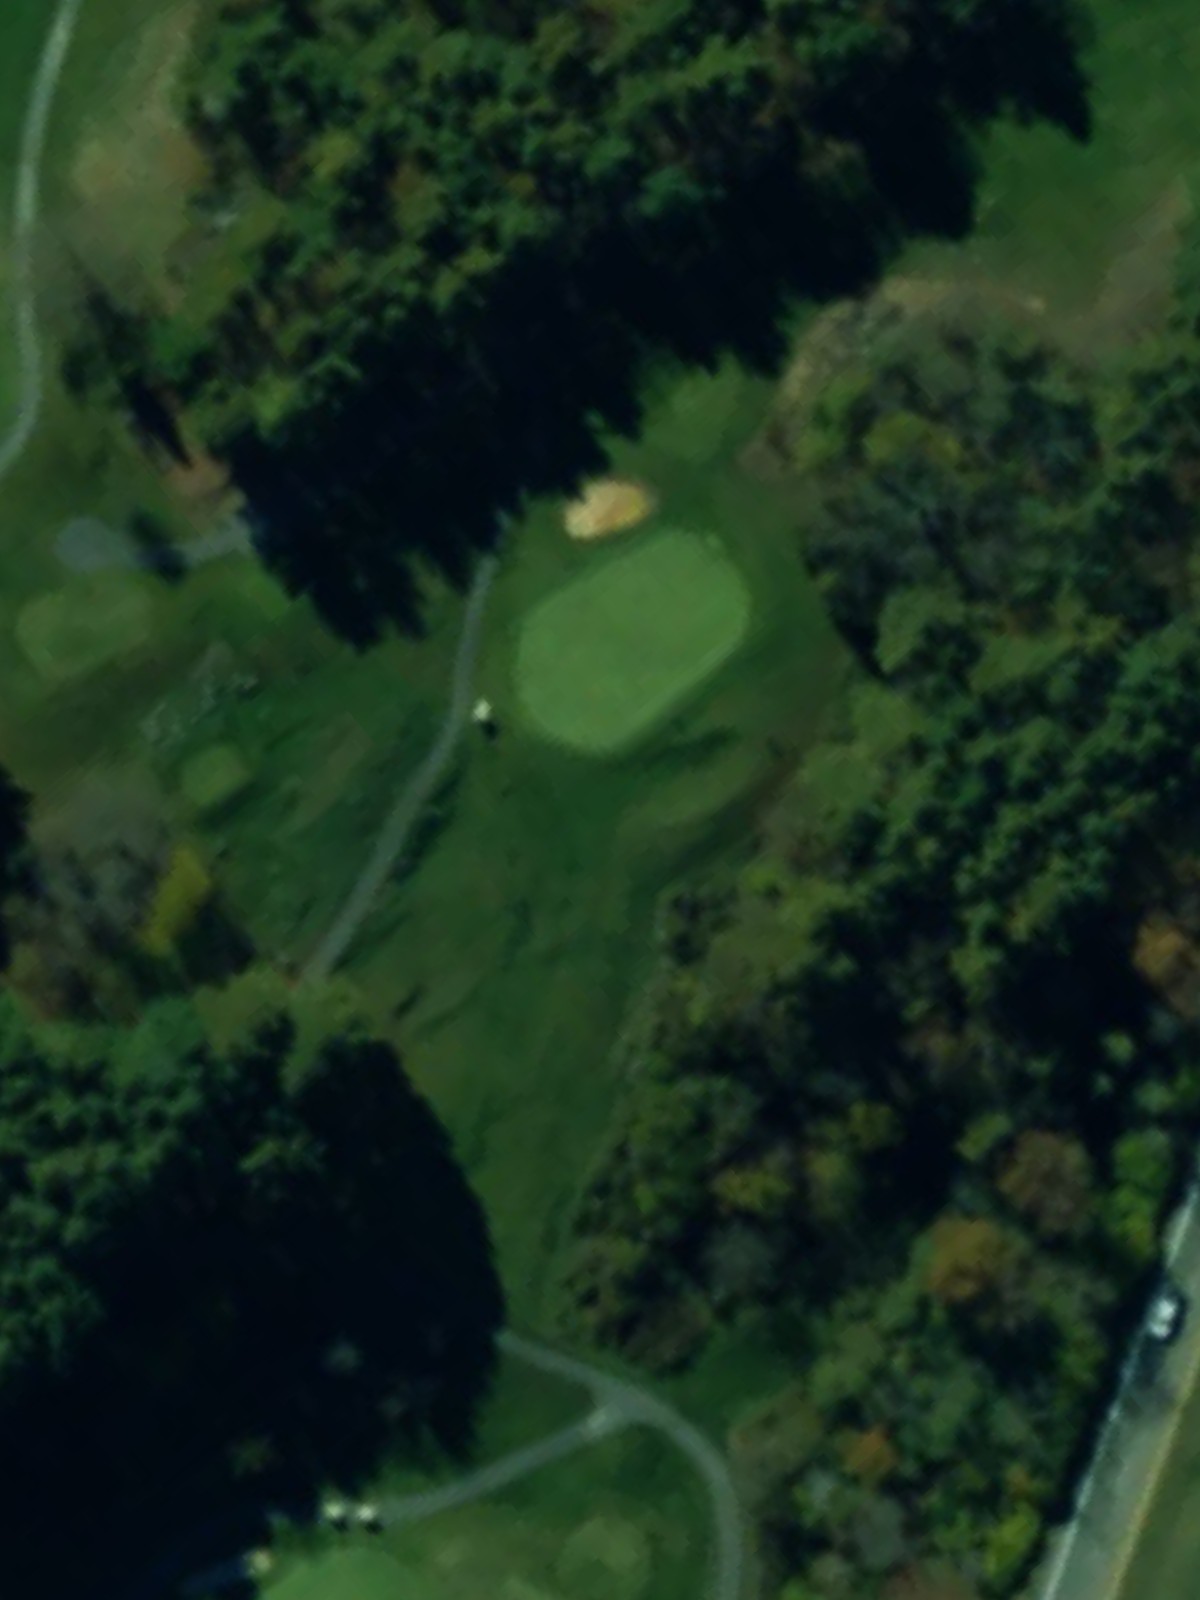
A dramatic par 3 and the course's hardest hole, featuring bunkers guarding the green and a narrow fairway fronting it. The extreme difficulty demands a precise tee shot to avoid multiple hazards.
A par 5 with bunkers positioned along the fairway to challenge the longer hitter. The fairway layout allows for varied approaches depending on player ability and strategy.

A short par 4 where bunkers guard the approach to the green. The compact length is offset by the hazard placement demanding accuracy near the target.

A lengthy par 3 with bunkers protecting the green on one or more sides. The significant distance and hazard placement make club selection and aim critical elements.
A short par 4 with bunkers placed strategically near the green. The fairway provides a decent target, but greenside bunkers demand a composed approach shot.
A diminutive par 3 that plays as the course's easiest hole. The short distance and open approach make this an ideal birdie opportunity.
A par 5 with generous fairway corridors encouraging multiple routes to the green. The length and fairway width offer variety in strategy and execution.
A par 4 and the course's fourth-hardest hole with a straightforward fairway leading to the green. The length requires solid striking to reach the target in regulation.
A par 4 with bunkers positioned to challenge both the fairway and approach areas. The hazard placement demands both distance and directional control through the landing zone.
A par 4 and the second-hardest hole on the course, featuring bunkers and fairway challenges throughout. The difficulty stems from both length and hazard placement requiring precision golf.
A finishing par 5 with fairway bunkers and green-side hazards creating a memorable closing hole. The length and bunker placement reward aggressive yet calculated play on the home stretch.
Scorecard
| Hole | 1 | 2 | 3 | 4 | 5 | 6 | 7 | 8 | 9 | Out | 10 | 11 | 12 | 13 | 14 | 15 | 16 | 17 | 18 | In | Tot |
|---|---|---|---|---|---|---|---|---|---|---|---|---|---|---|---|---|---|---|---|---|---|
| Par | 4 | 4 | 3 | 4 | 4 | 4 | 4 | 3 | 5 | 35 | 4 | 3 | 4 | 3 | 5 | 4 | 4 | 4 | 5 | 36 | 71 |
| HCP | 17 | 15 | 7 | 3 | 13 | 5 | 9 | 1 | 11 | 6 | 12 | 16 | 18 | 8 | 4 | 14 | 2 | 10 | |||
| blue | 303 | 306 | 192 | 434 | 312 | 358 | 376 | 209 | 458 | 2948 | 313 | 245 | 306 | 111 | 545 | 389 | 363 | 391 | 531 | 3194 | 6142 |
| white | 295 | 302 | 172 | 420 | 306 | 340 | 351 | 181 | 429 | 2796 | 274 | 201 | 287 | 107 | 525 | 377 | 357 | 379 | 491 | 2998 | 5794 |
| gold | 289 | 278 | 162 | 333 | 301 | 256 | 265 | 80 | 387 | 2351 | 206 | 152 | 278 | 103 | 443 | 281 | 334 | 279 | 438 | 2514 | 4865 |