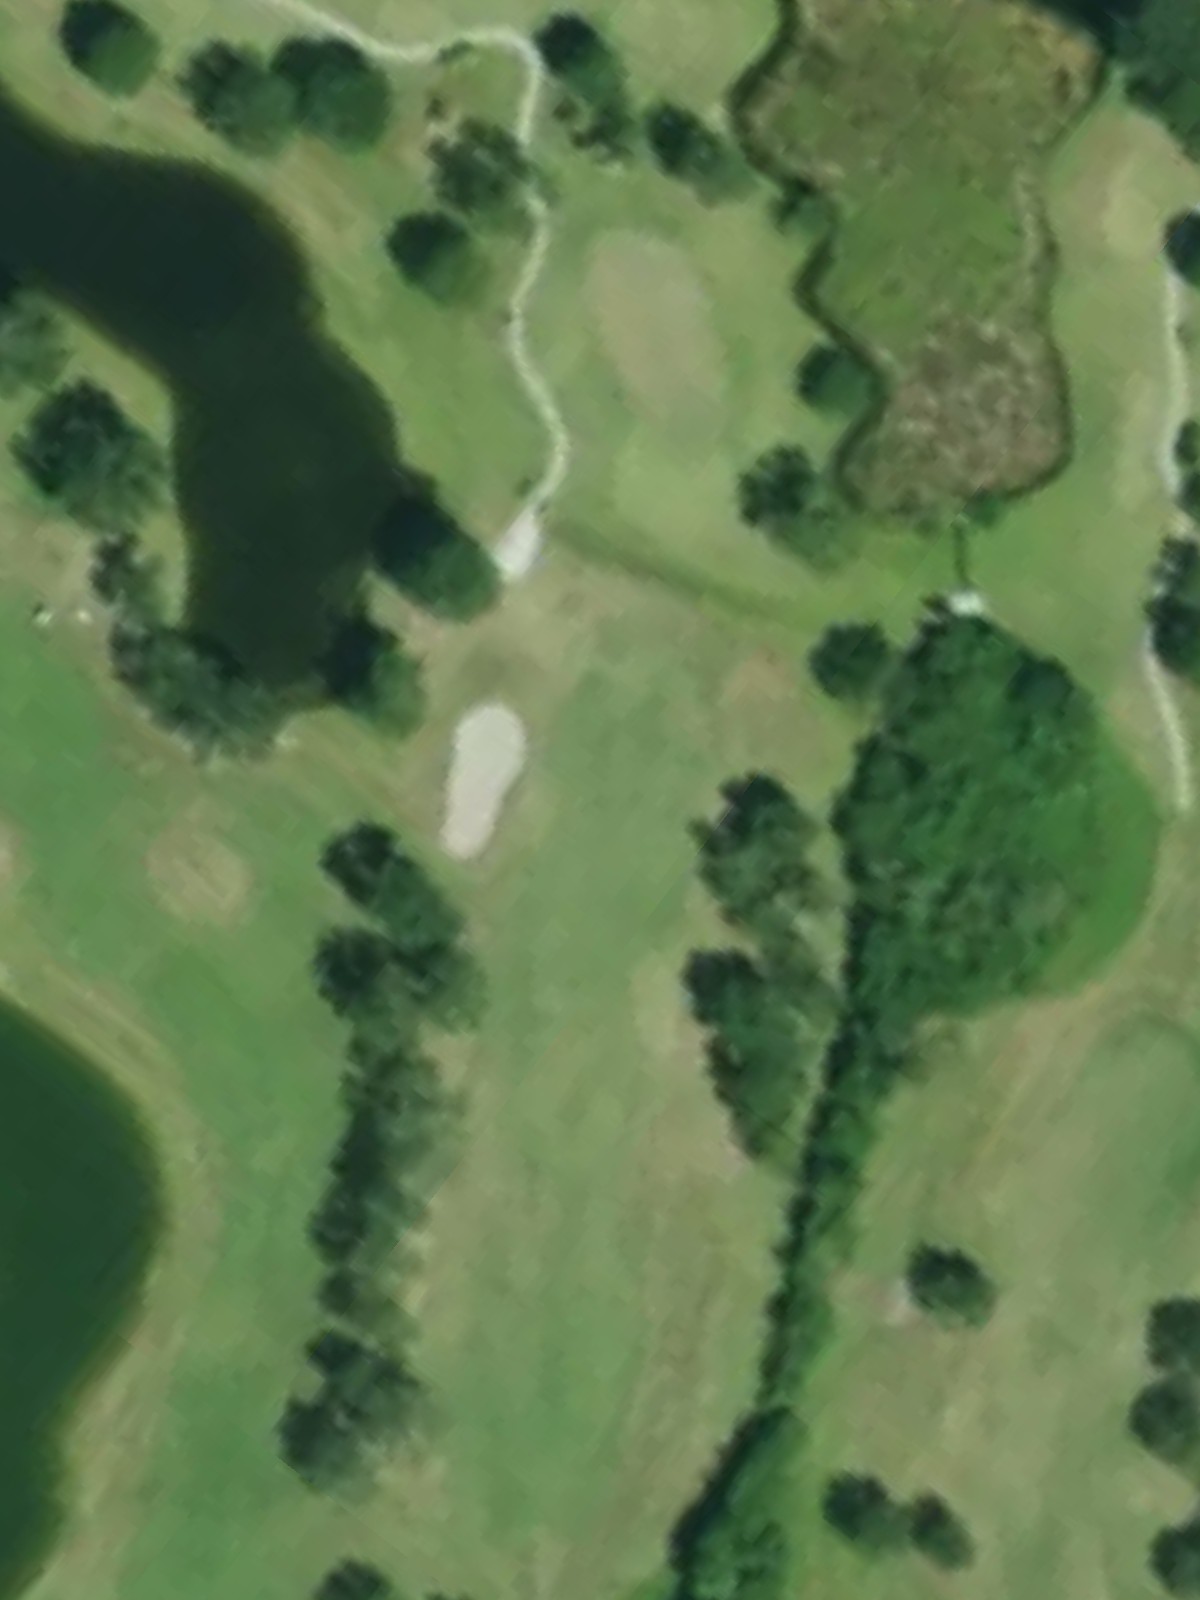
Tatum Ridge Golf Links is an 18-hole golf course in Sarasota, FL with a par of 72. It offers 4 tee sets: blue (6,747 yards, slope 124, rating 72.1), white (6,111 yards, slope 118, rating 69.1), gold (5,435 yards, slope 110, rating 65.9), red (5,126 yards, slope 104, rating 64.6). The hardest hole is #18, a par 4 playing 345 yards from the first tee.
Tatum Ridge Golf Links
Sarasota, FL
Get PDF Yardage Book
We'll email you the PDF link. No spam, ever.
Create Your Game Plan
Pick your tees, enter your bag, and get a personalized shot-by-shot strategy for every hole.
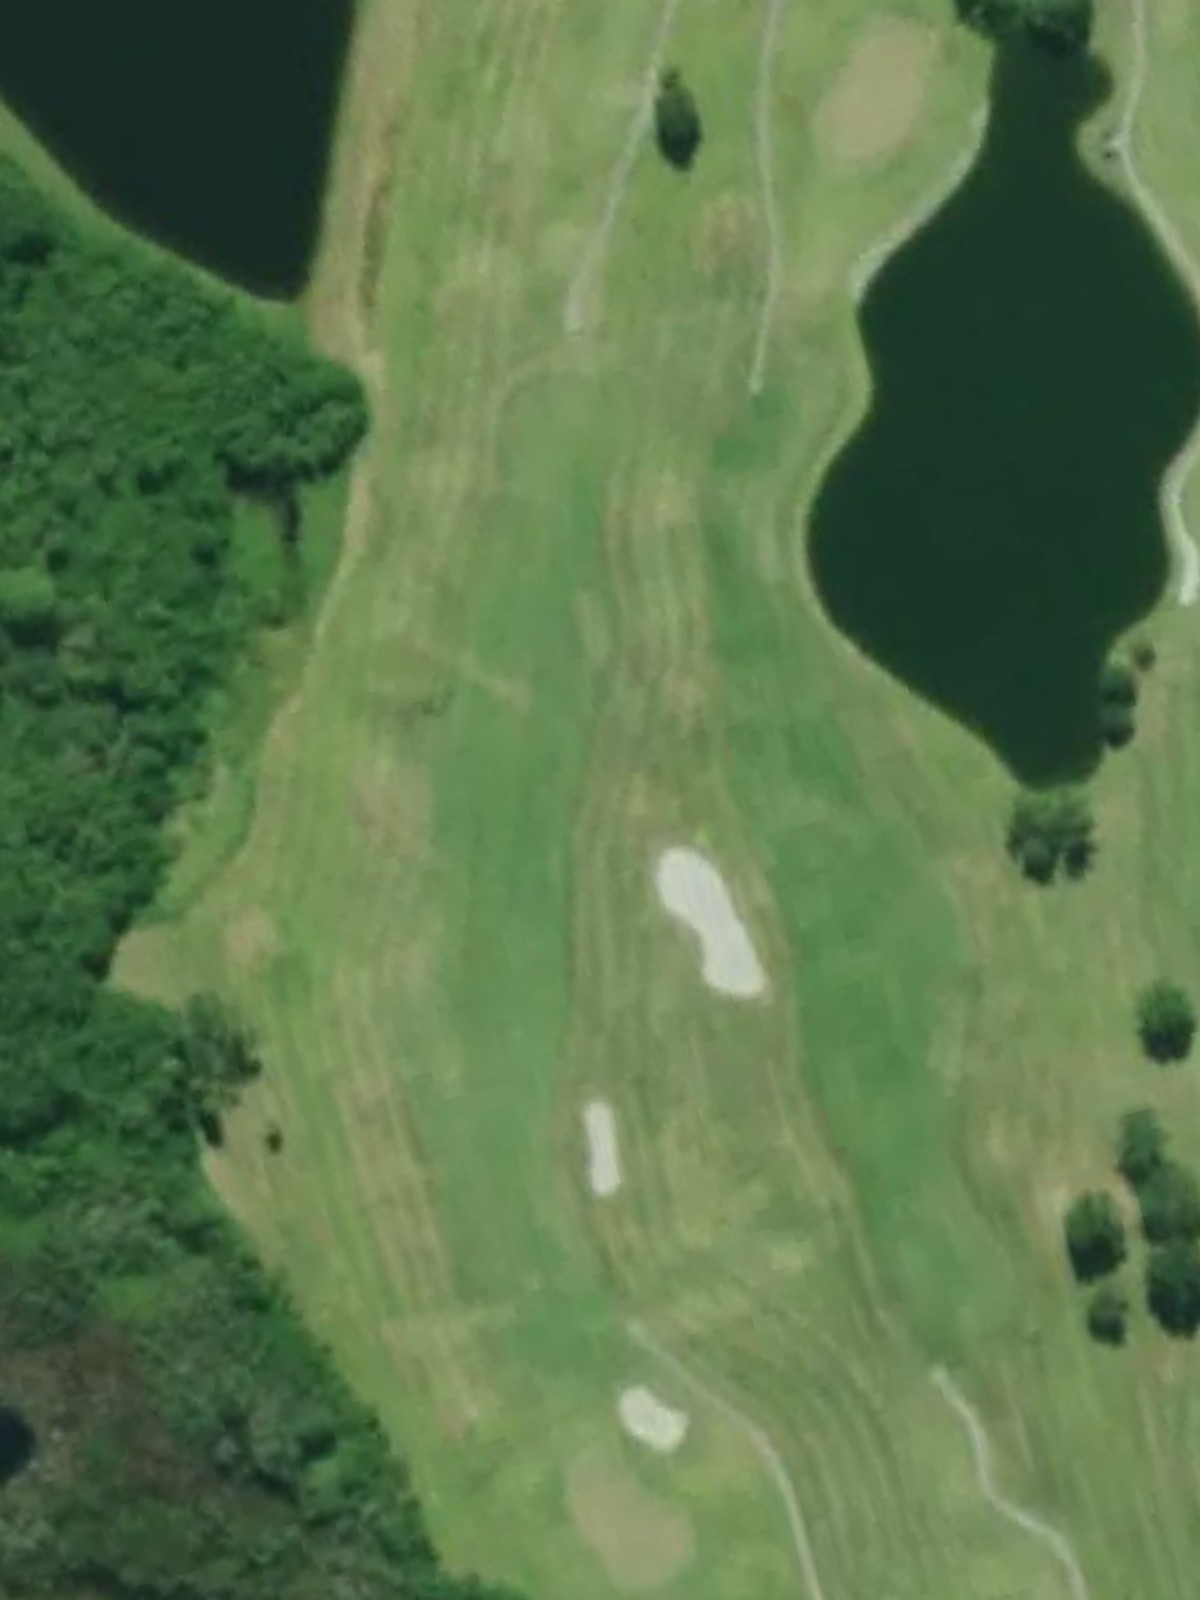
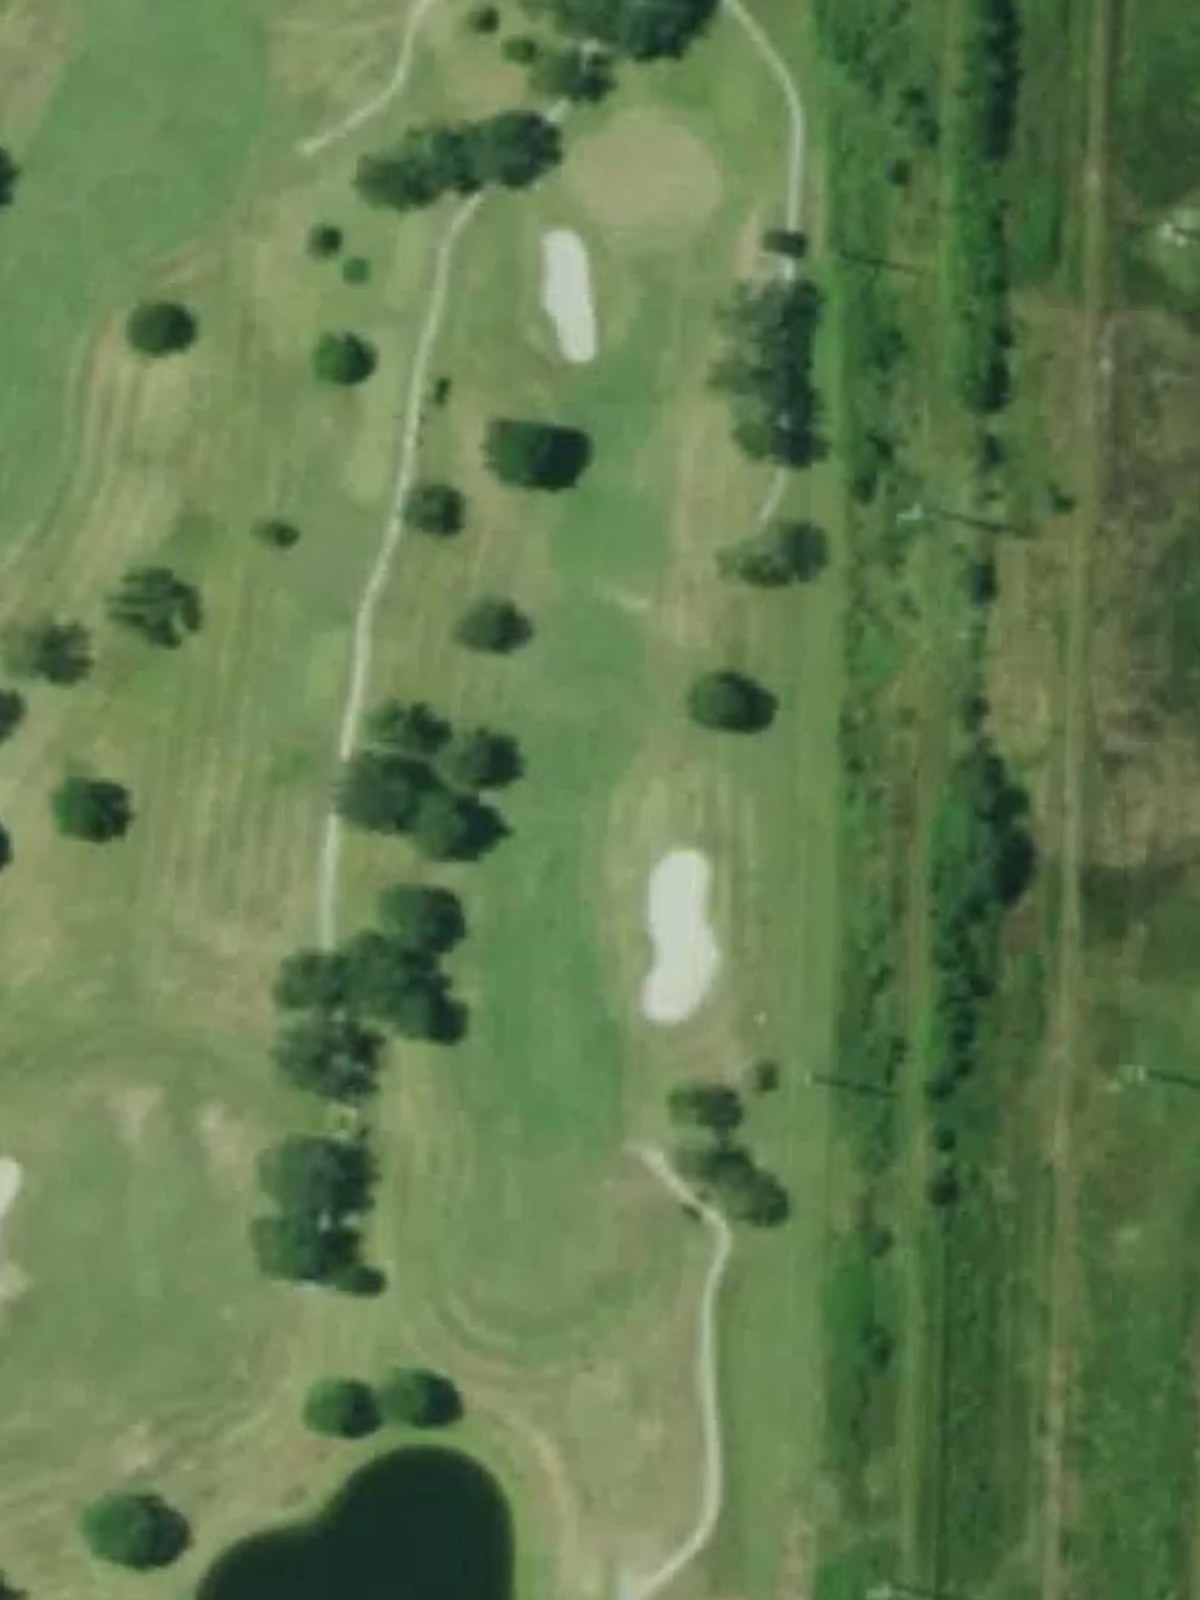
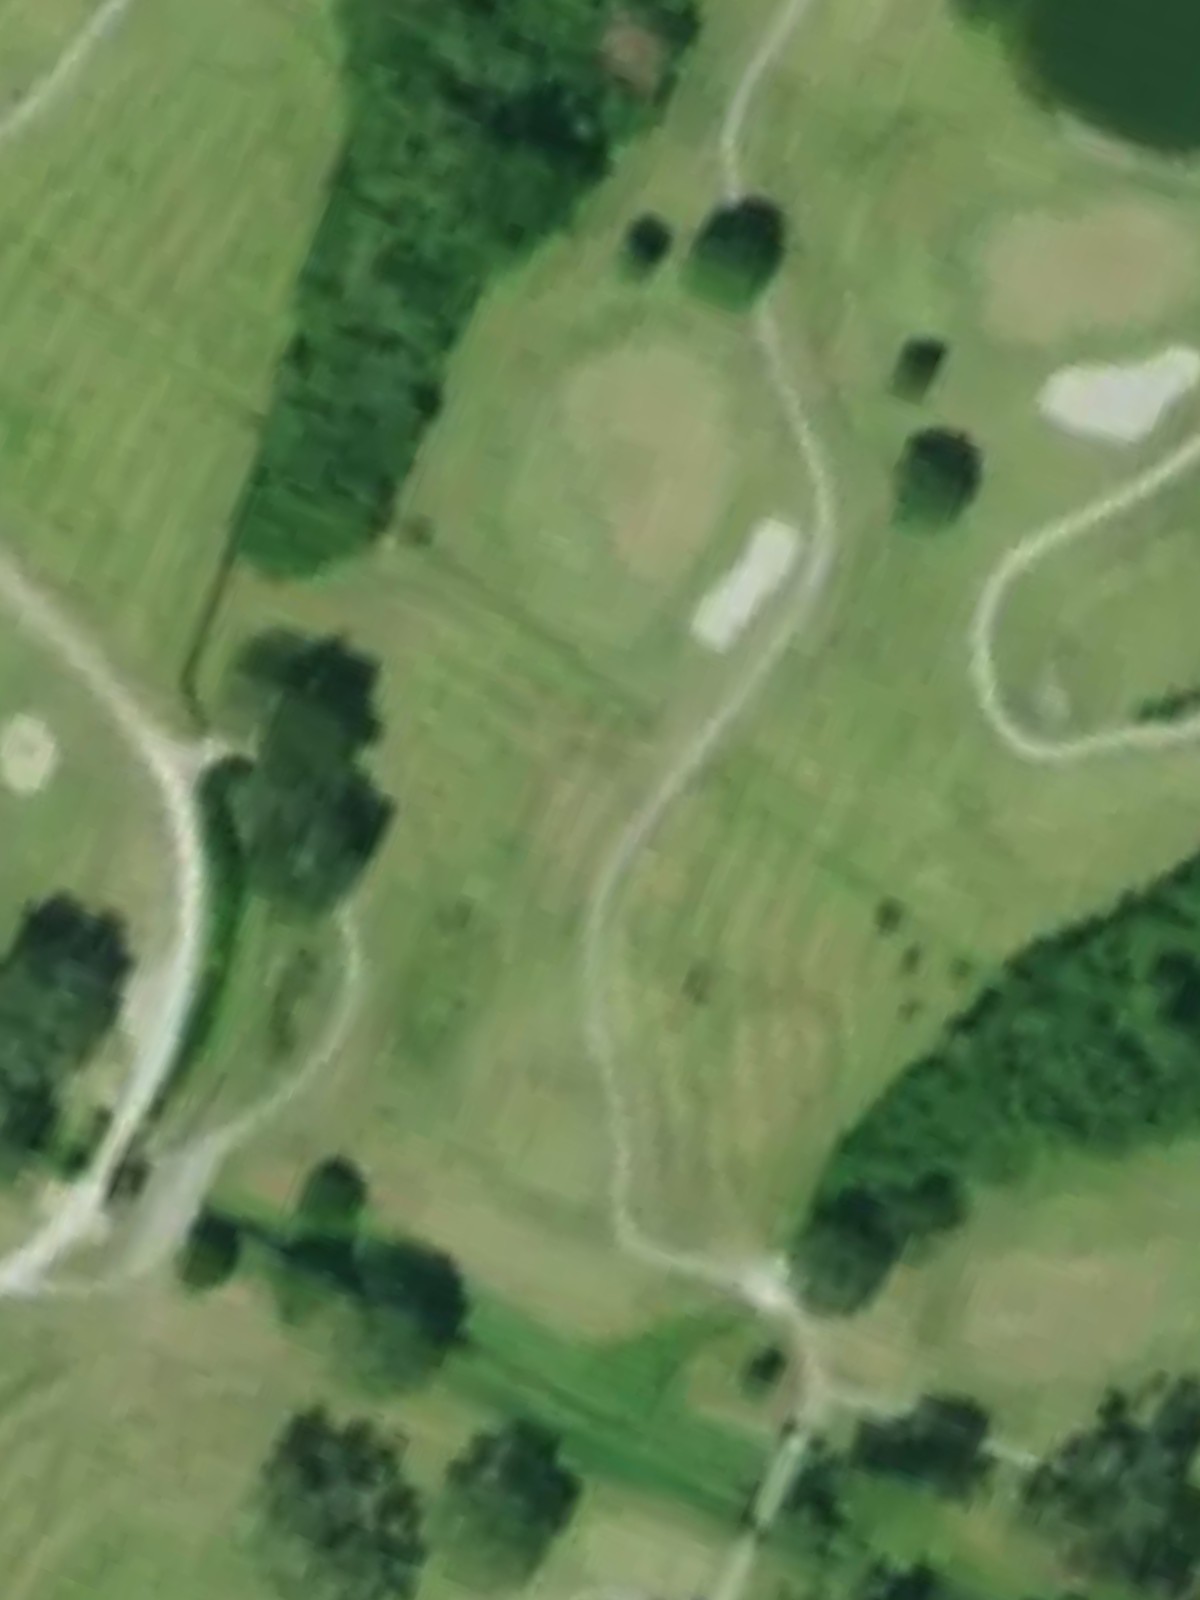
A straightforward opening par 4 that plays relatively short from most tees. The fairway is generous off the tee but tightens as it approaches the green, with bunkers guarding the right side of the putting surface.
A demanding par 4 ranked as the second-hardest hole on the course, playing longer than it appears at first glance. Accuracy is essential as the fairway narrows significantly approaching the green, with trouble lurking left and right.
A short par 3 that offers the easiest scoring opportunity on the front nine. The green is relatively open with minimal hazards, making this a good birdie chance despite its length variation across the tees.
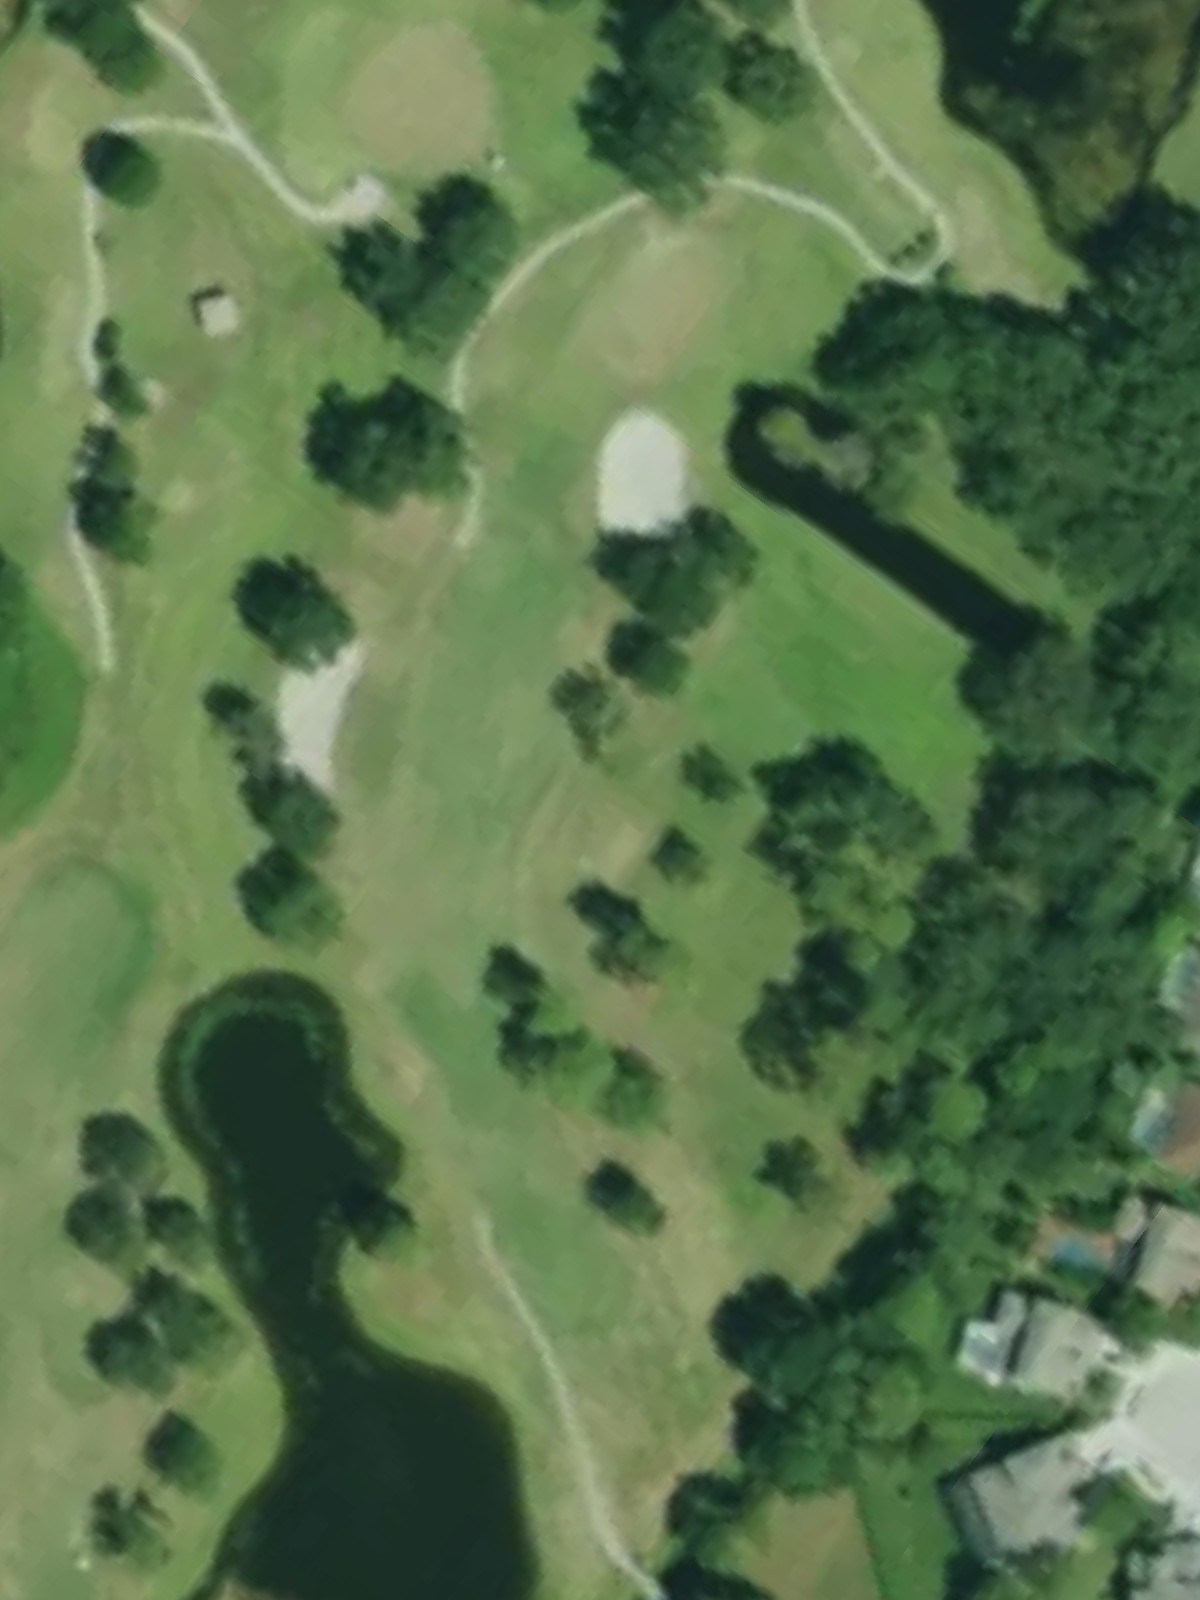
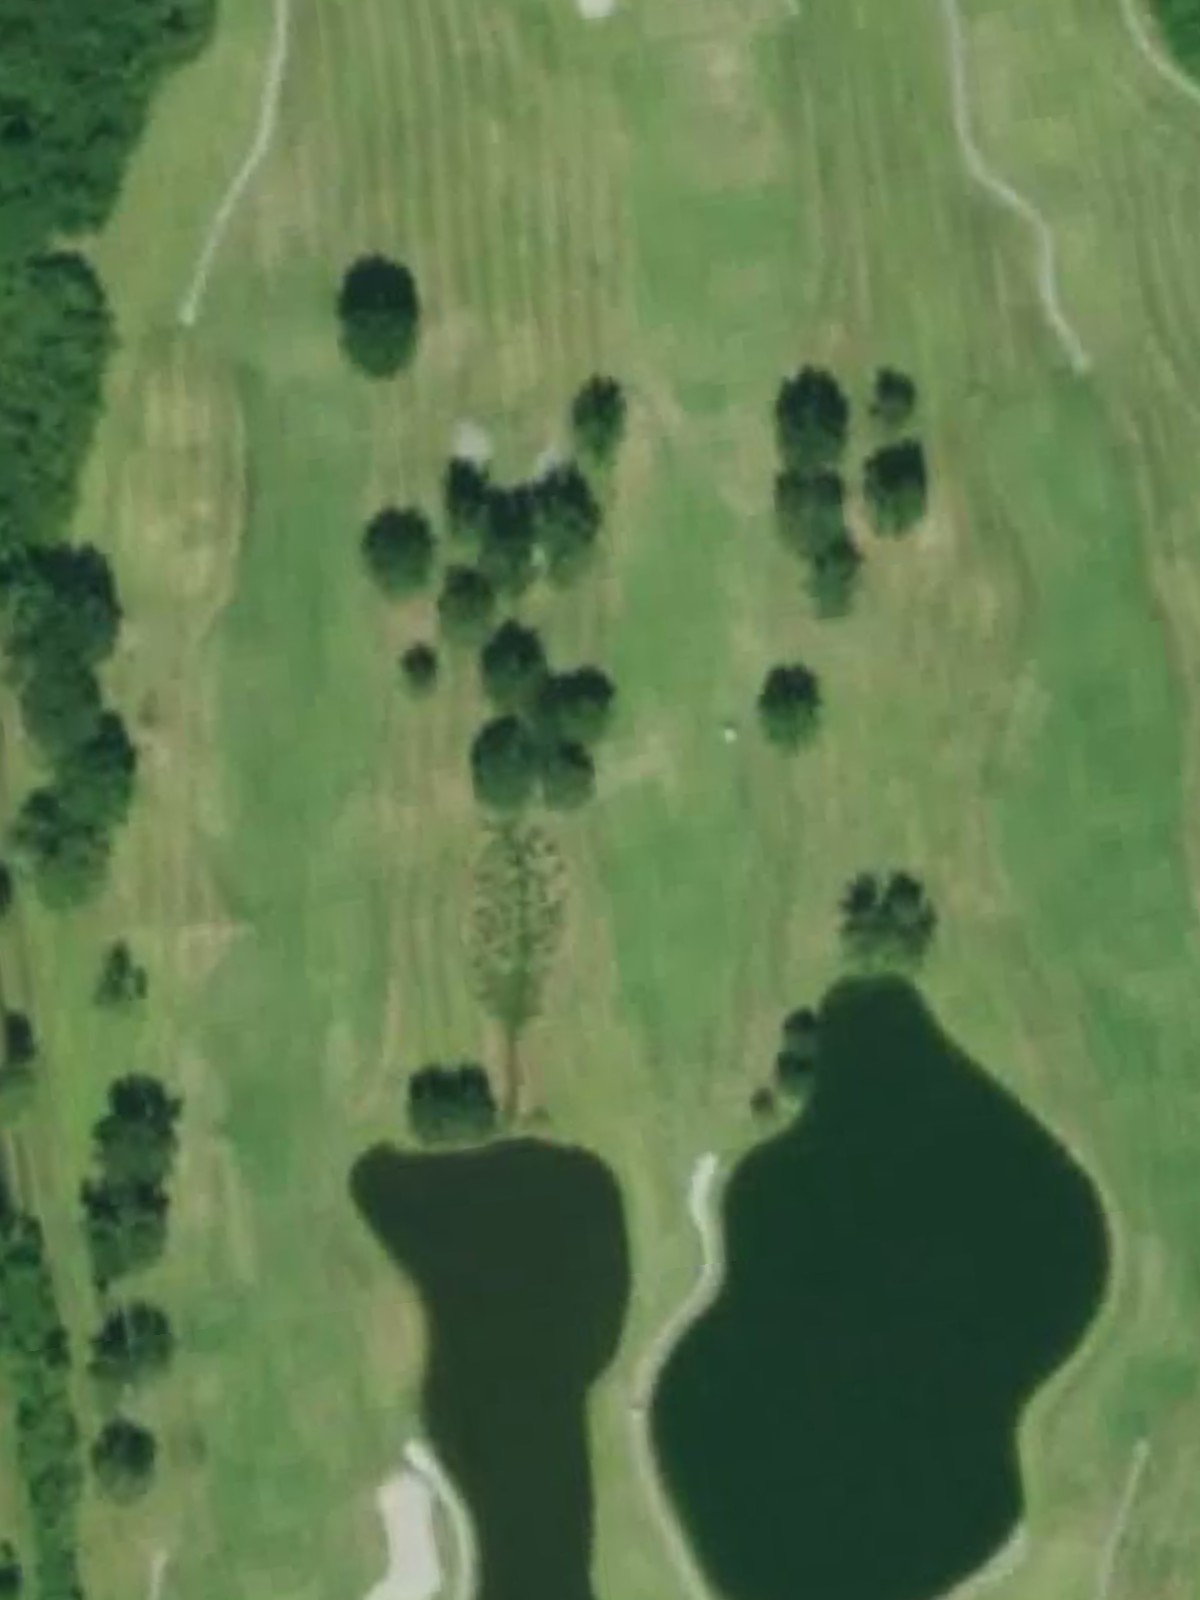
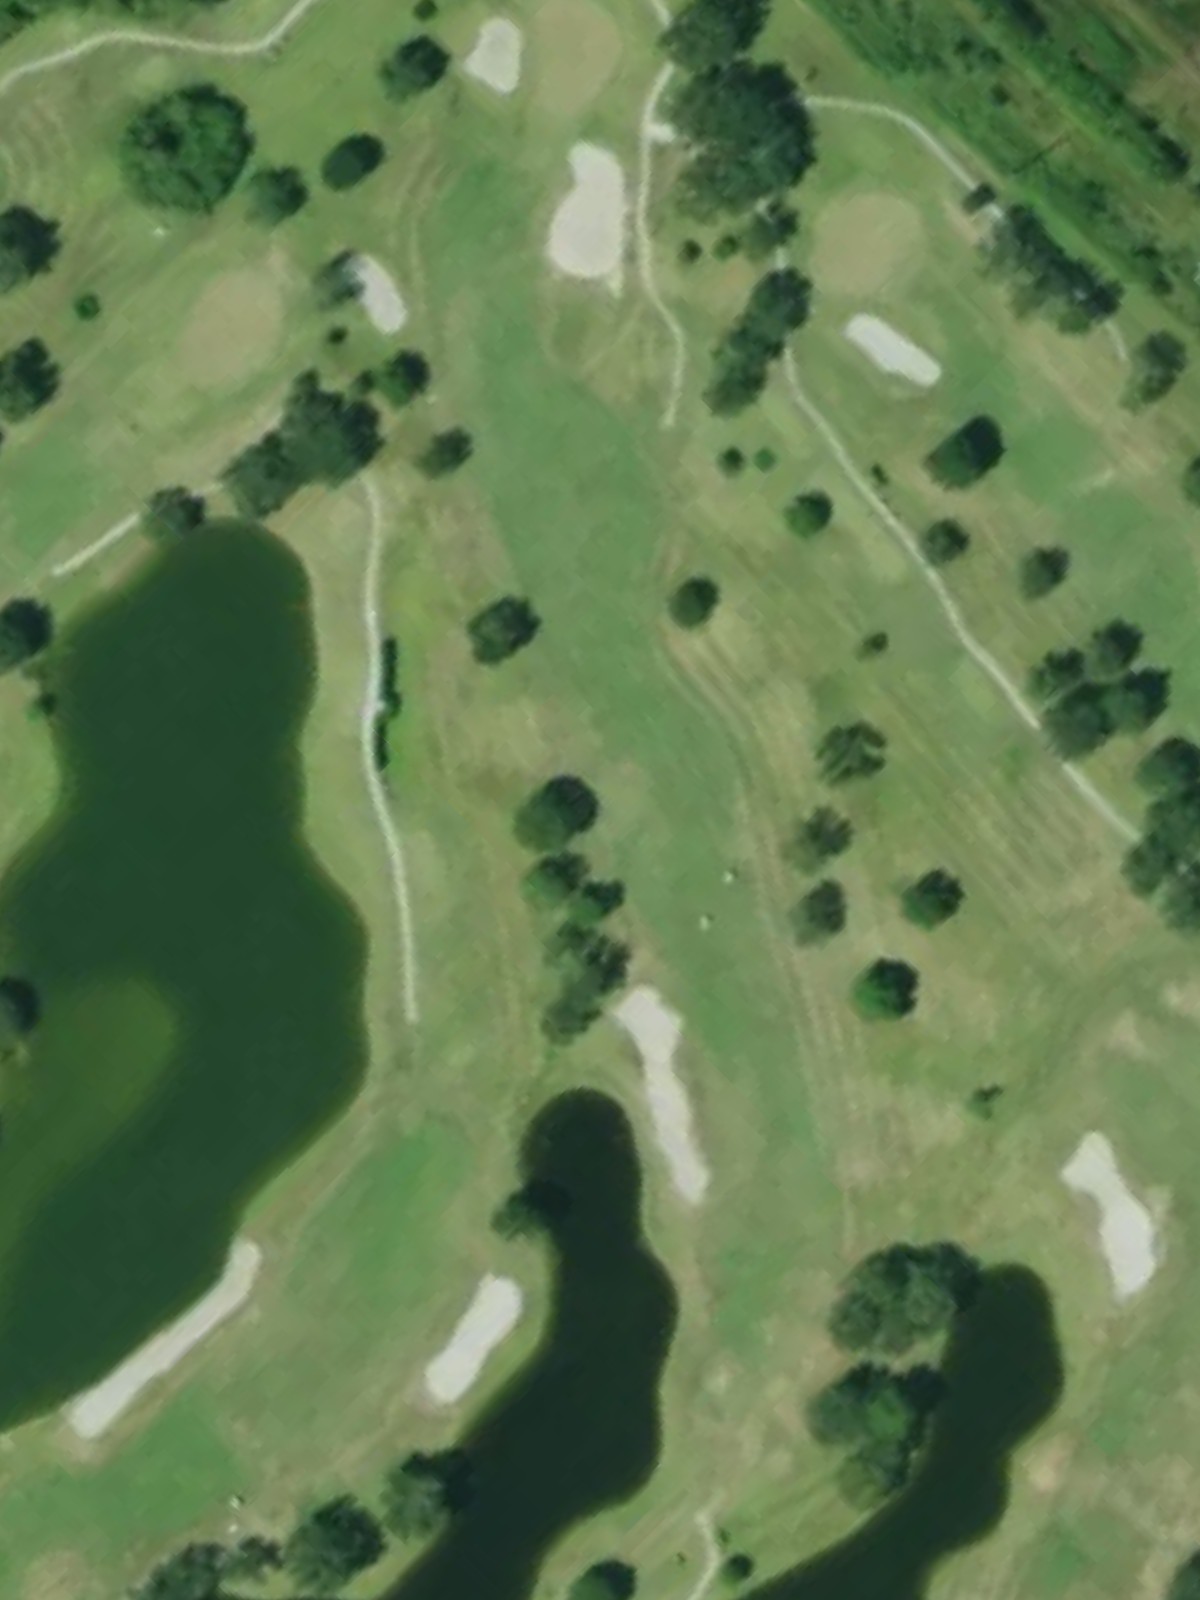
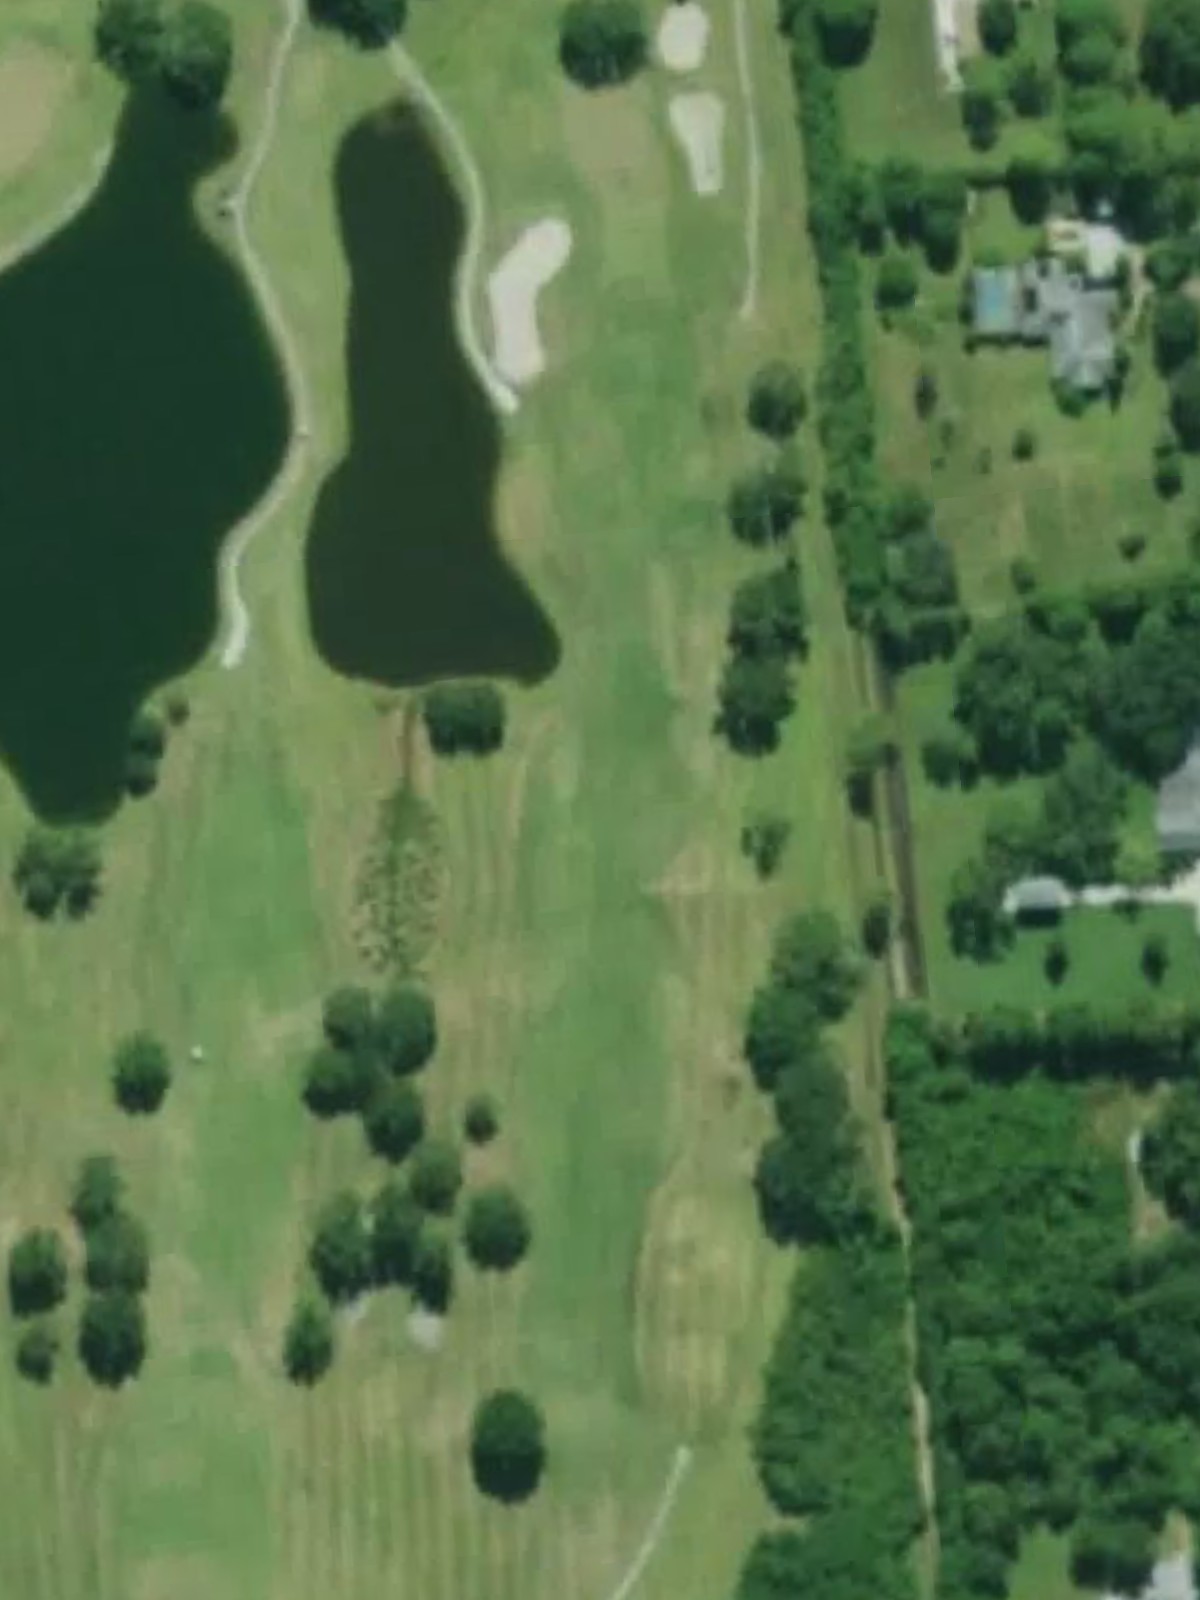
A generous par 5 that allows most players to reach the green in three shots from the fairway. Water hazards frame the left side, while the fairway widens in the landing area to provide favorable angles into the green.
A challenging par 4 ranked sixth in difficulty that demands precision from the tee onward. The fairway narrows considerably in the approach zone, and bunkers protect the left side of the green, leaving little room for error on the second shot.

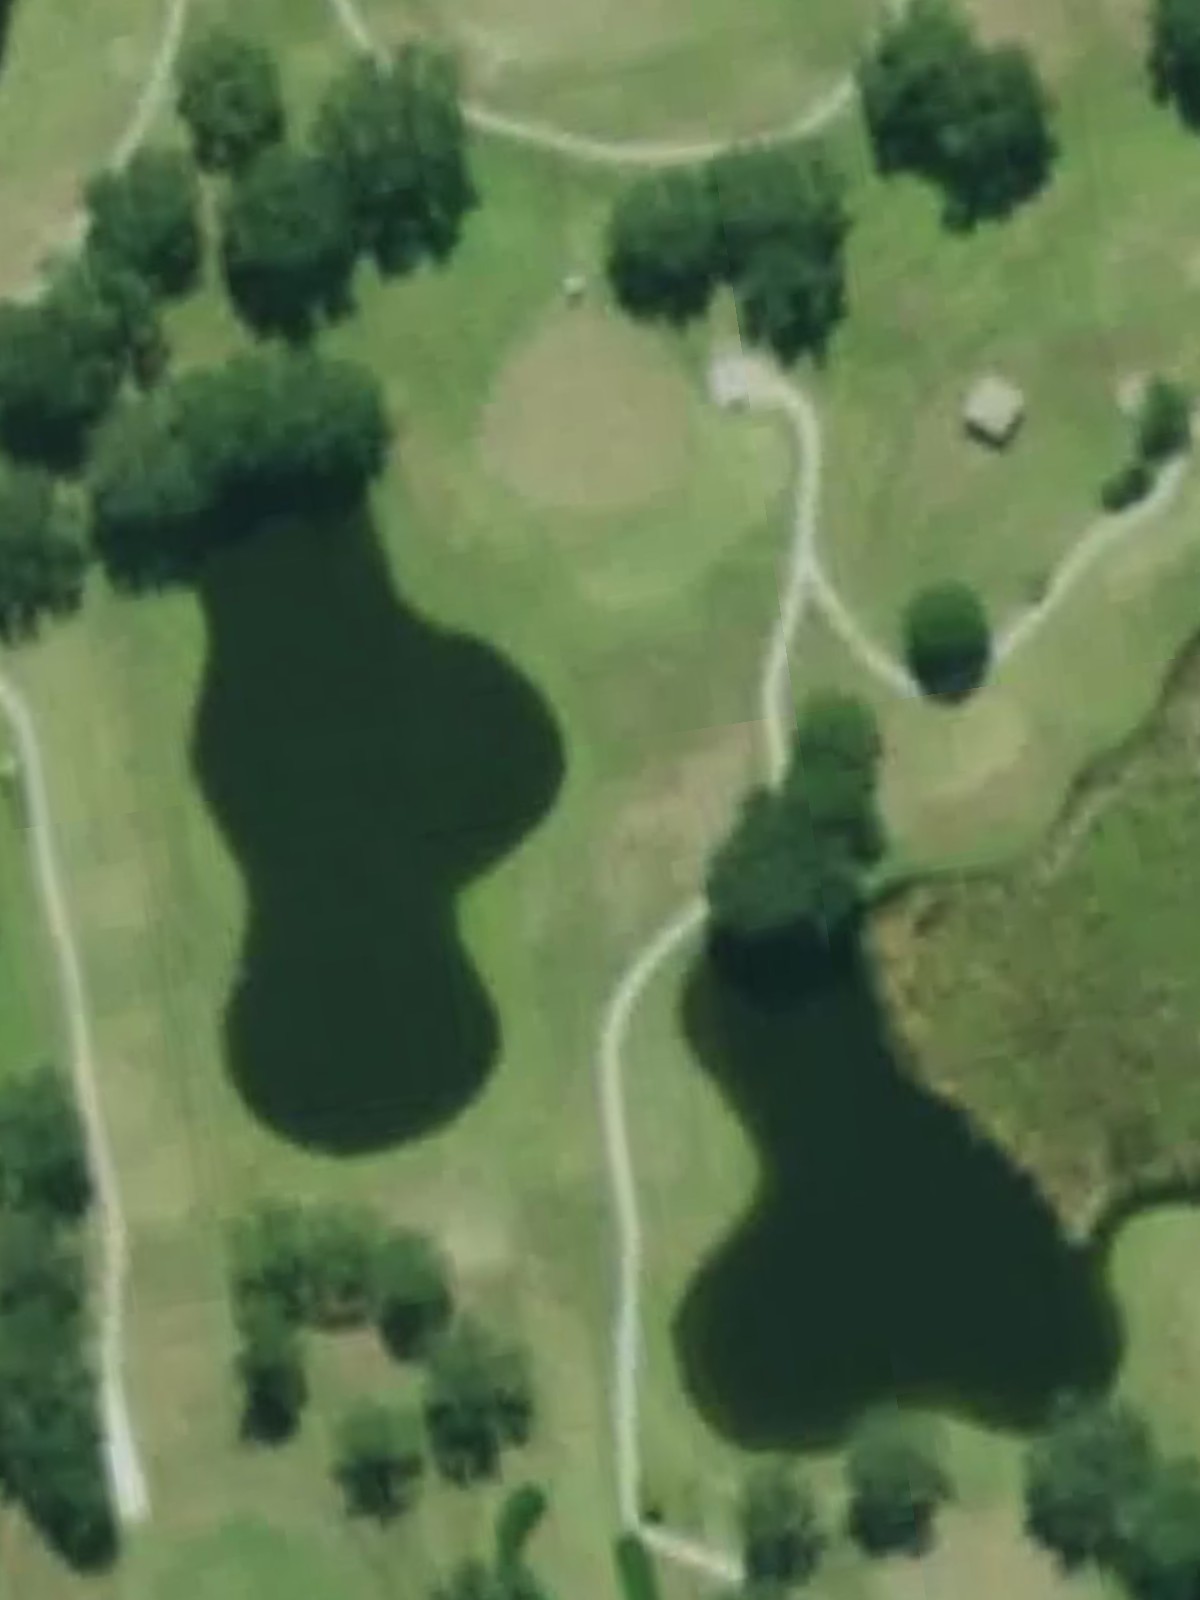
A long par 5 with a dramatic dogleg character that rewards aggressive positioning off the tee. Water hazards come into play along the left side throughout the hole, while strategic bunkering frames the green complex.
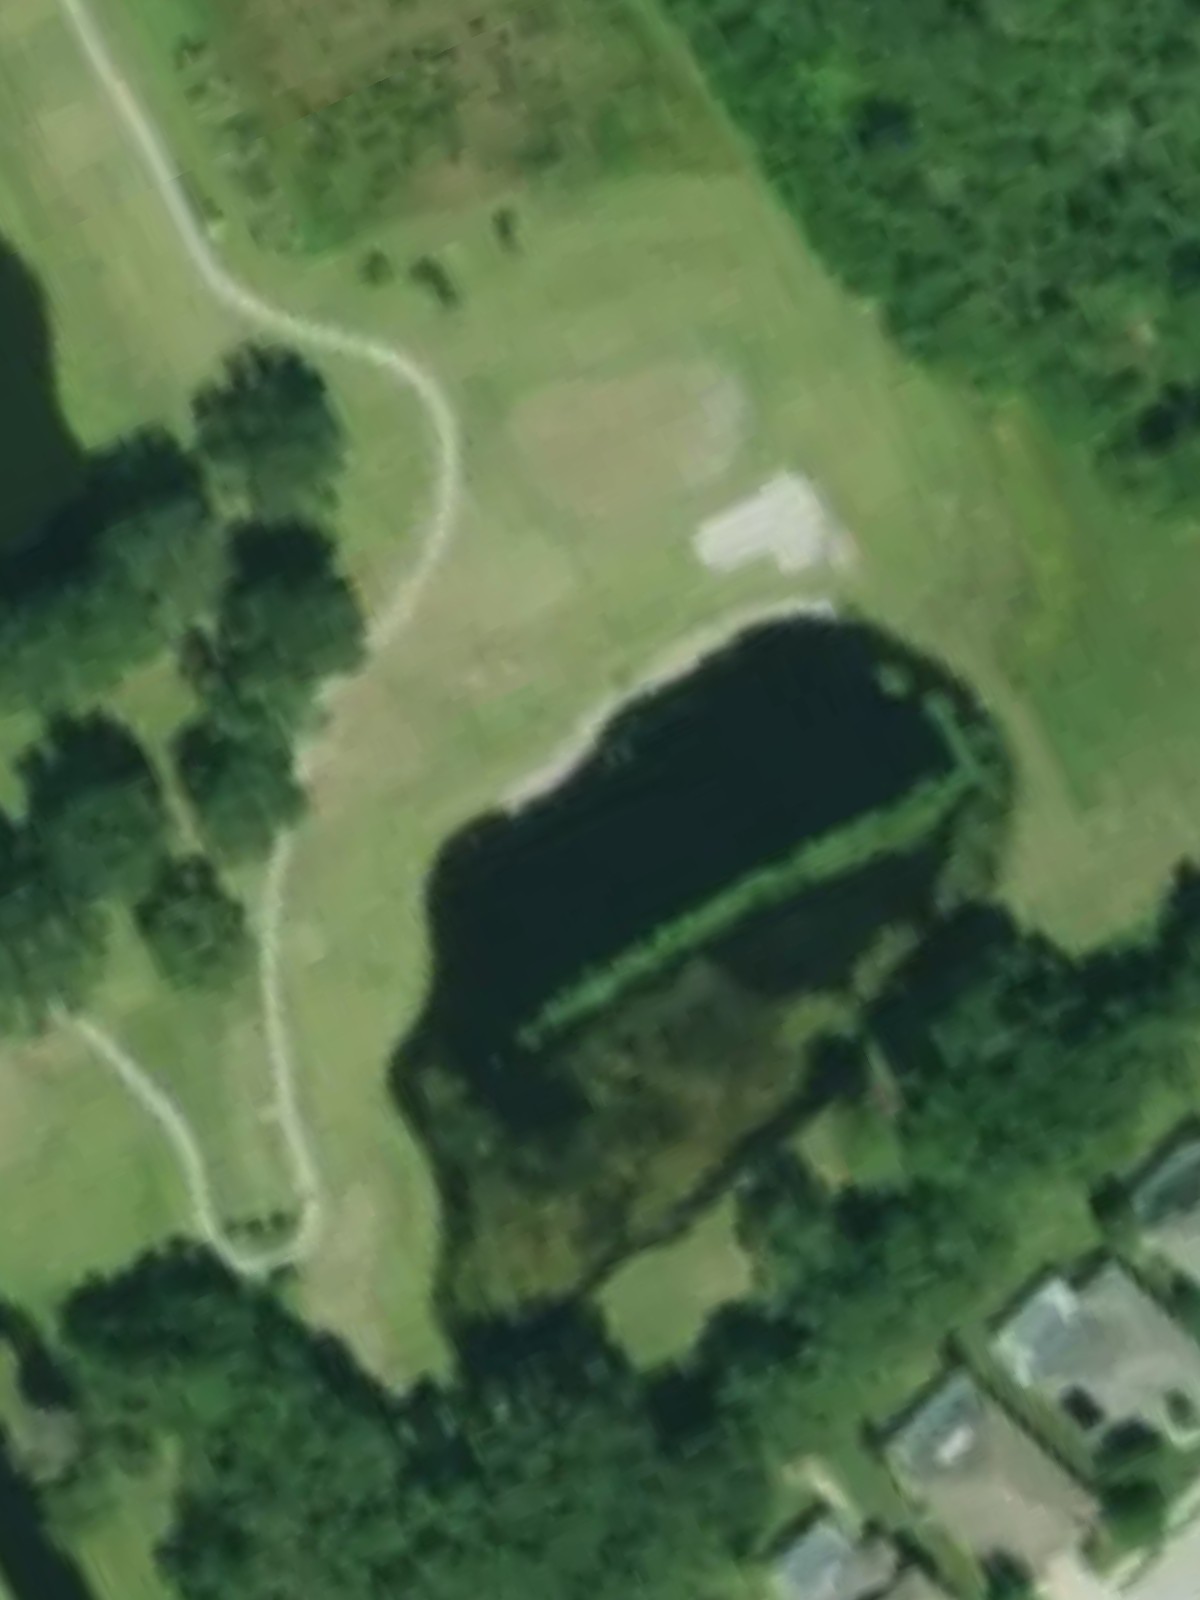
A short par 3 that plays downhill to a receptive green with minimal surrounding hazards. This hole provides a welcome respite from the more demanding tests, offering solid birdie potential for solid ball-striking.
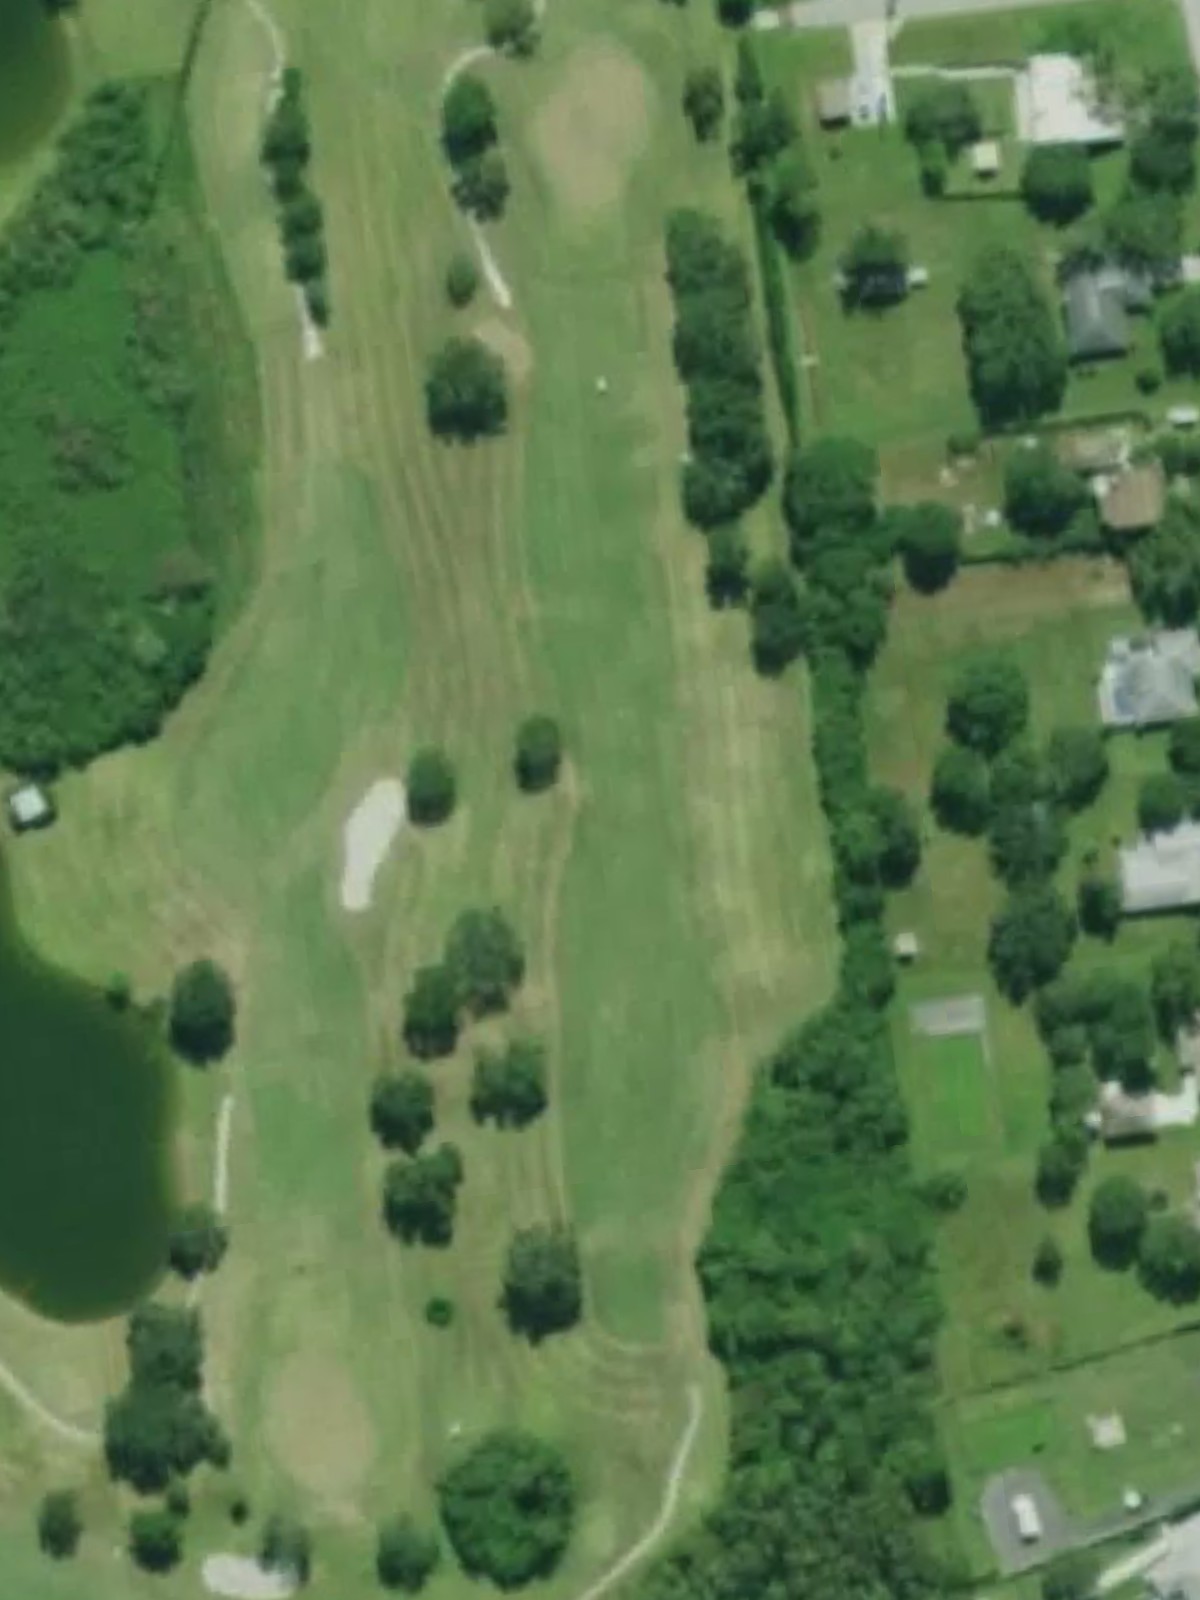
A moderate par 4 with a fairway that opens up nicely for tee shots before narrowing near the green. Bunkers guard both sides of the approach, creating a precise second-shot requirement to the elevated putting surface.
The second-hardest hole on the course, this challenging par 4 demands accuracy throughout. The fairway is tight and heavily bunkered on both sides, with additional hazards guarding the green and leaving no room for wayward shots.
A mid-length par 4 that begins the back nine with a reasonable test of accuracy and length. The fairway provides a decent landing area off the tee, but the approach shot requires careful navigation around strategic greenside bunkers.
A short par 3 that plays downhill with minimal hazards, offering another opportunity for a stress-free par. The green is relatively forgiving and open, making this among the easiest holes on the course.
A tight par 4 with a narrow fairway corridor that demands controlled driving. Bunkers frame both sides of the fairway in the landing area and guard the green, making accurate shotmaking essential throughout the hole.
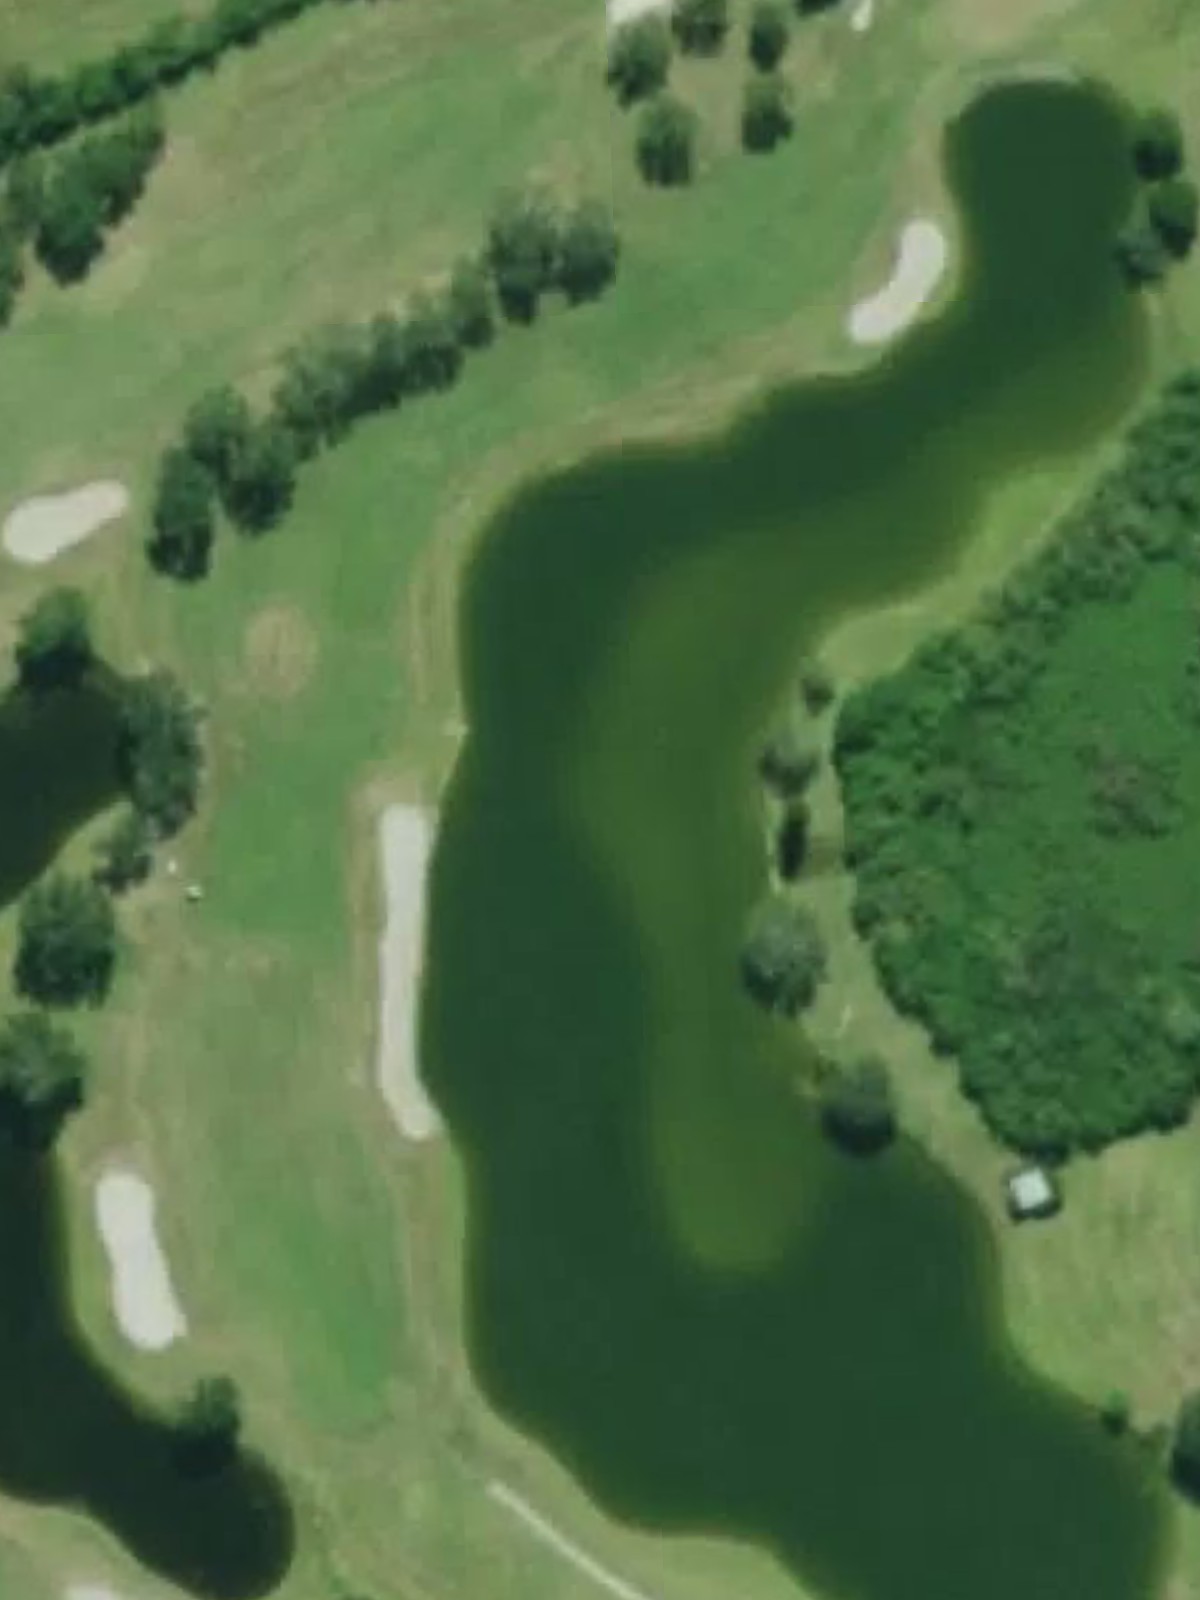
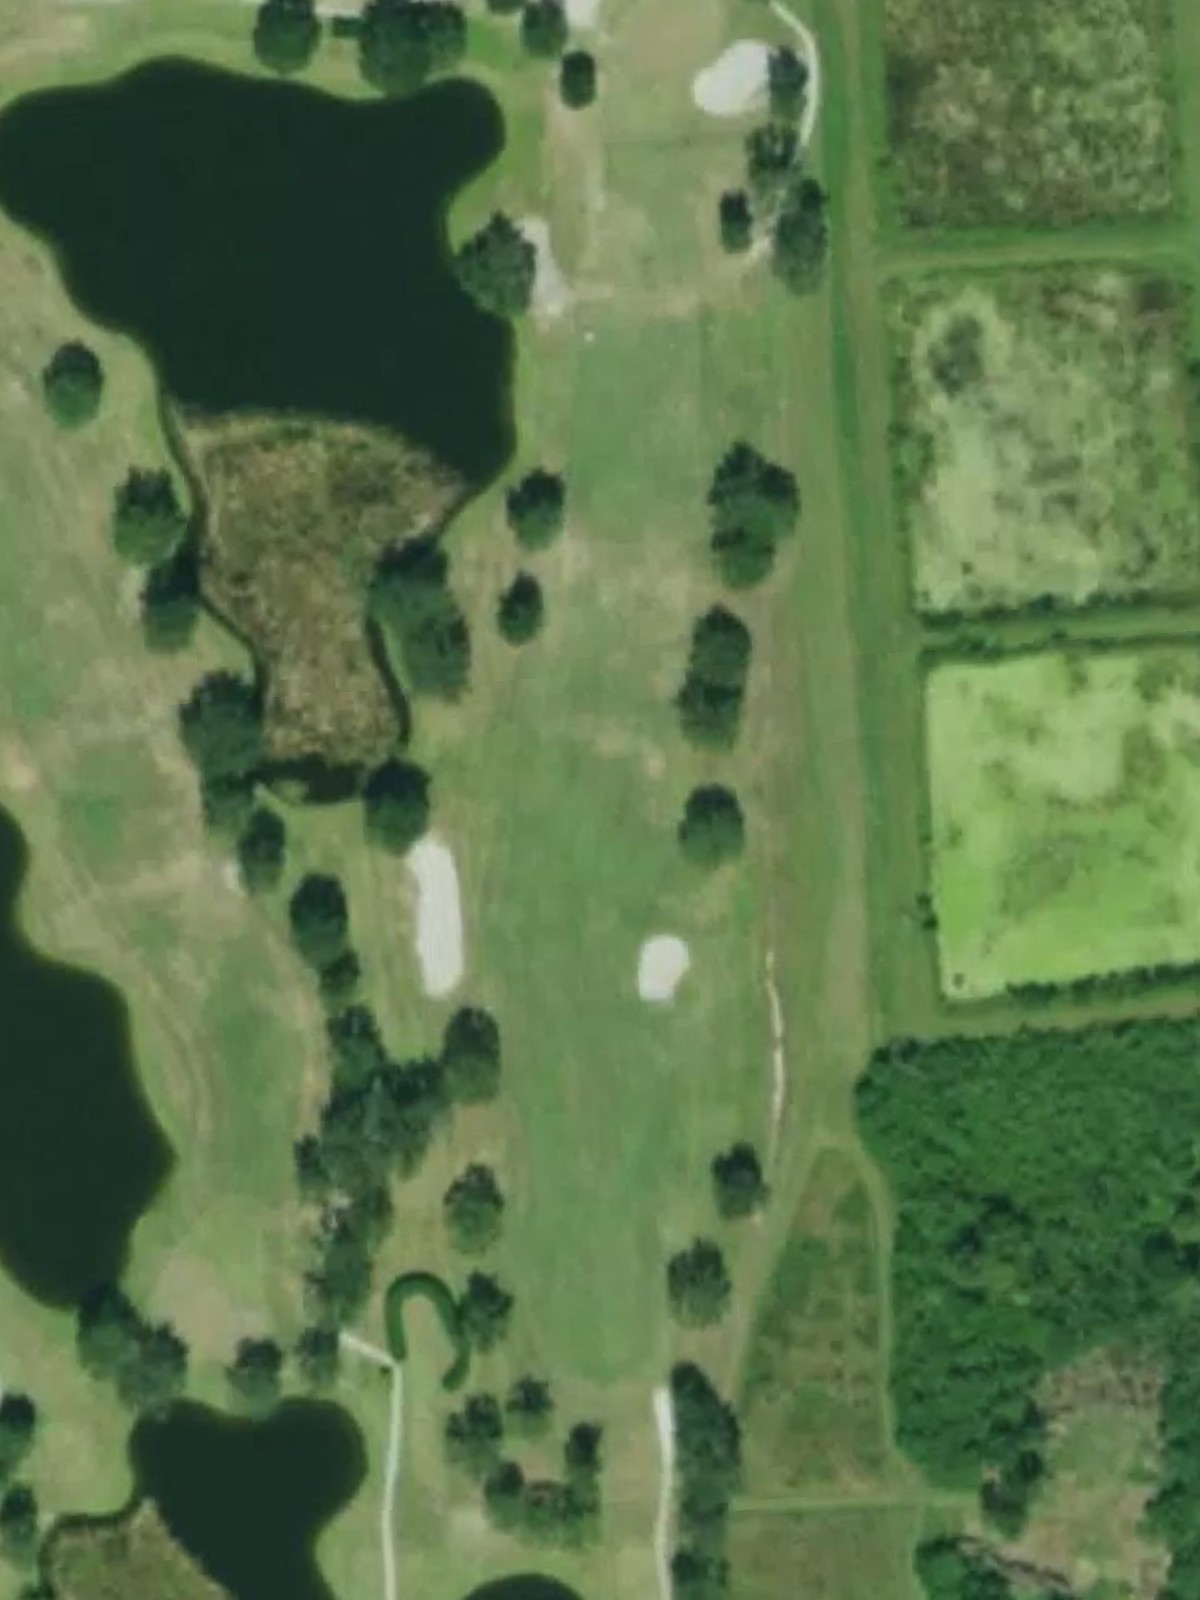
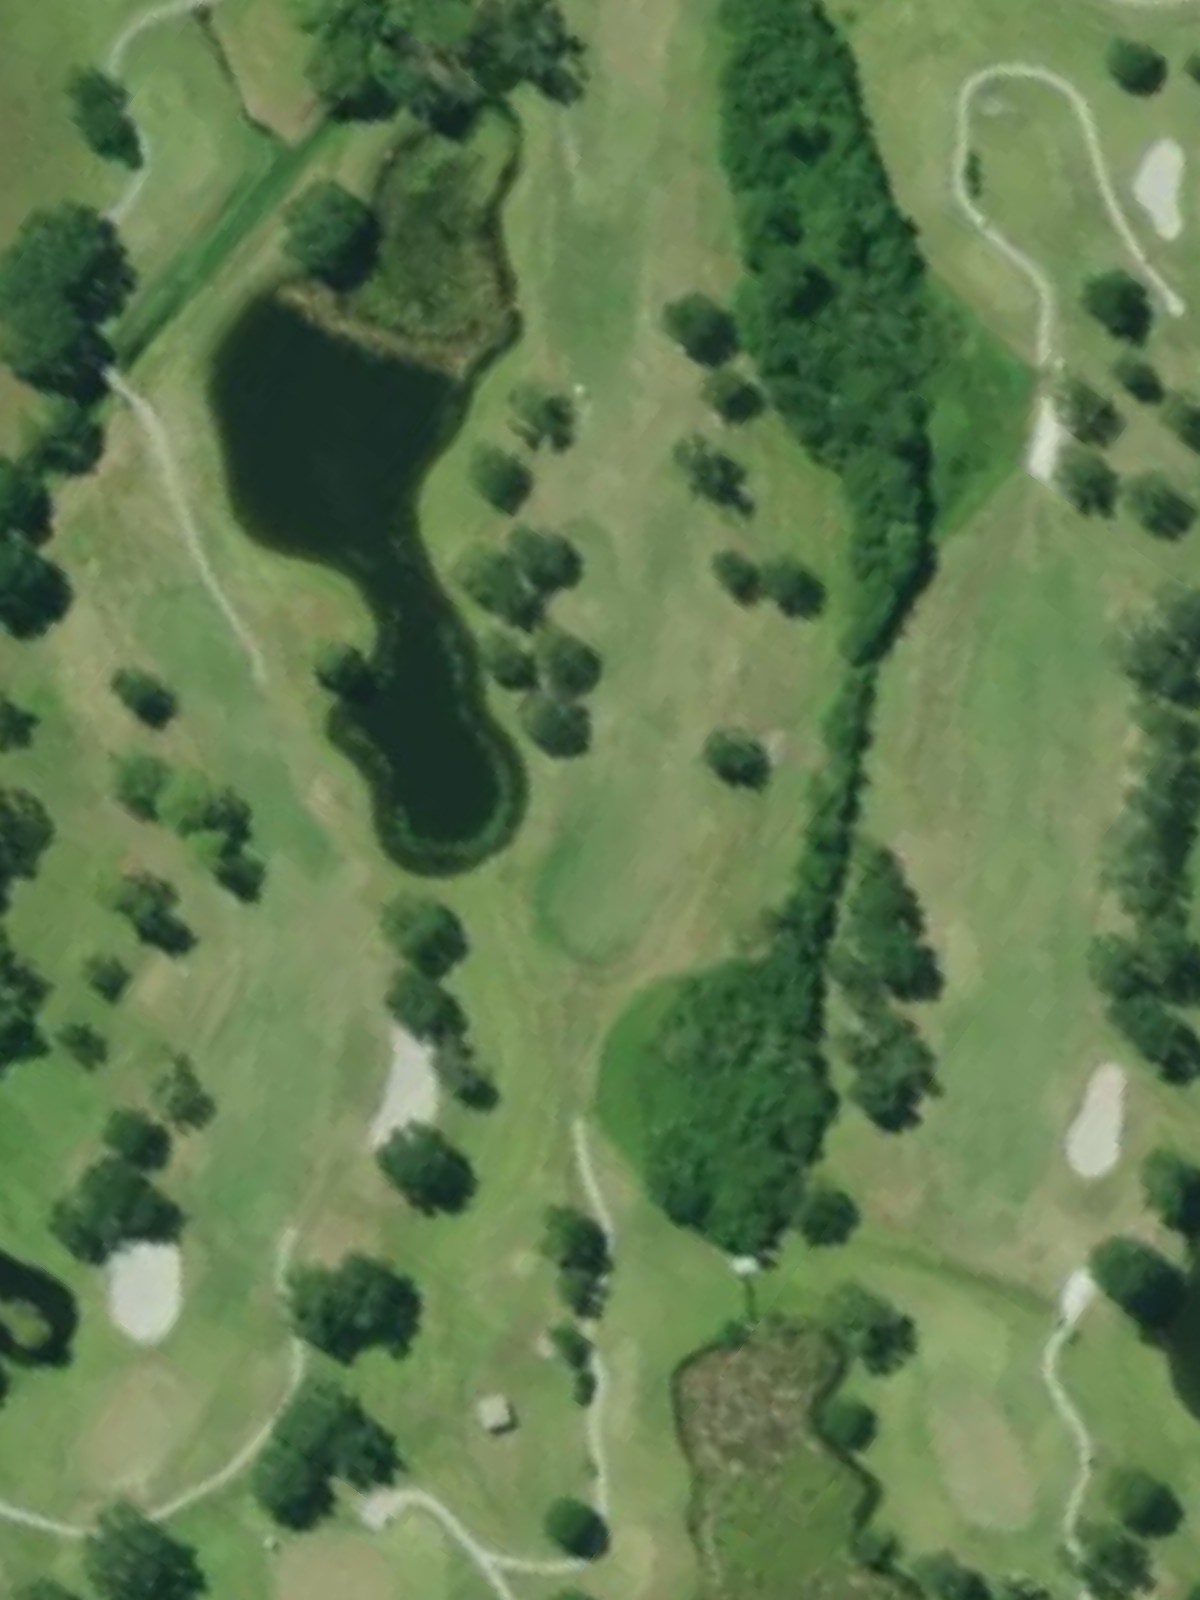
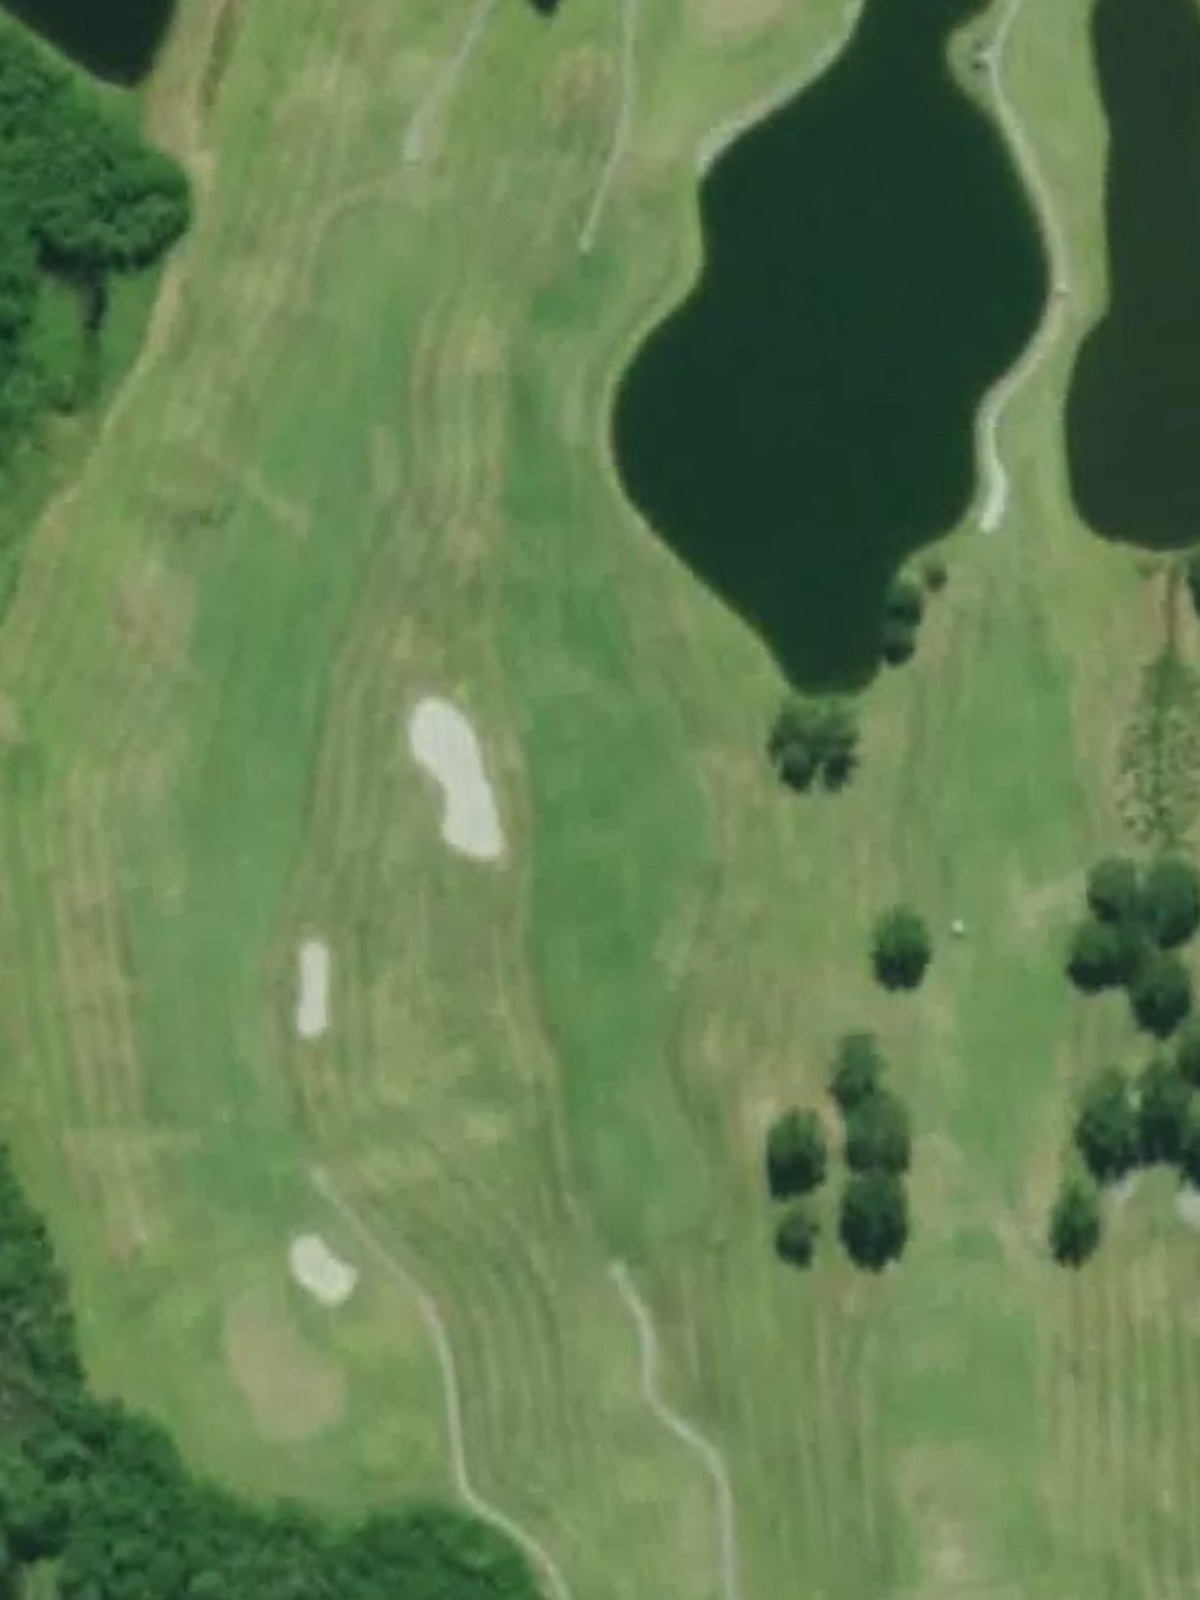
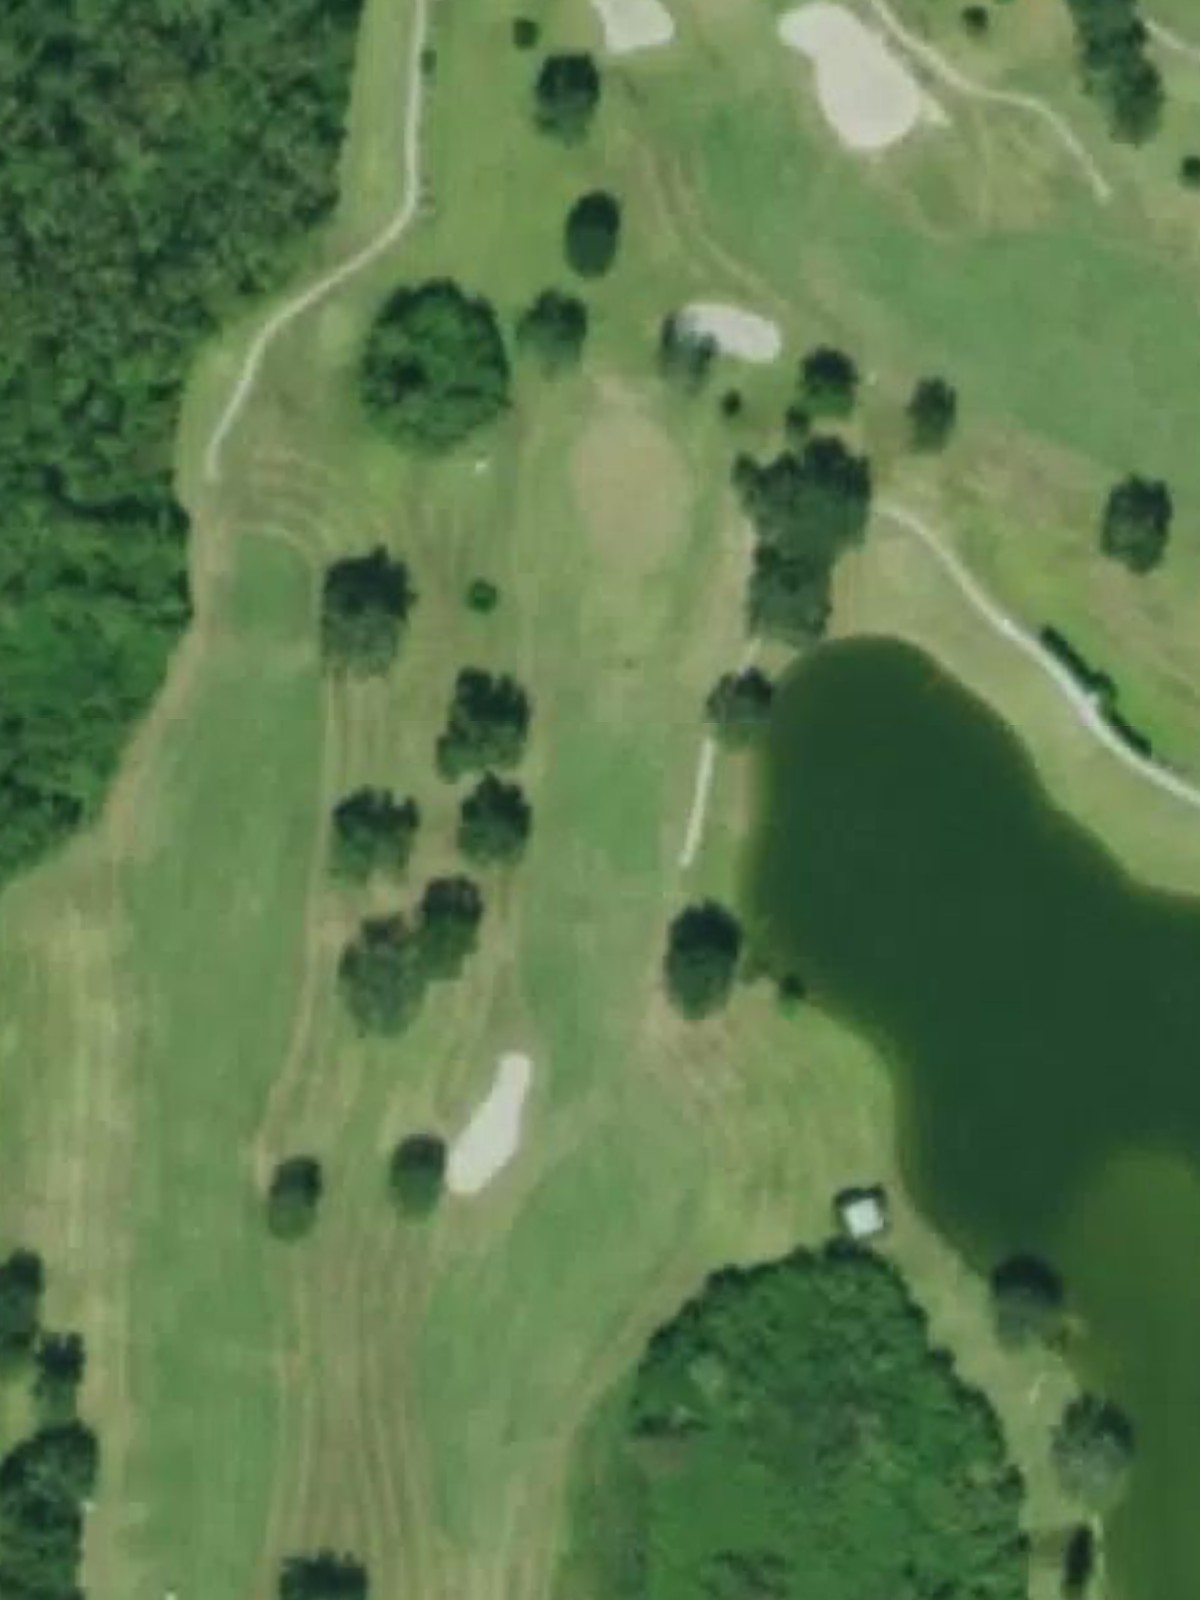
A long, formidable par 5 ranked as the fifth-hardest hole on the course that tests both length and accuracy. Water and bunkers protect the left side throughout the hole, while the green is well-guarded and difficult to attack.
A straightforward par 4 of moderate length that plays shorter than the scorecard suggests from most tees. The fairway is relatively open, though bunkers flank the green and demand precision on the approach shot.
A long par 5 that stretches across the course with a generous fairway inviting aggressive play. Hazards frame the left side throughout, and the elevated green complex presents a demanding third-shot target even after a solid layup.
A severe par 4 ranked as the third-hardest hole on the course that punishes any lack of precision. The fairway is tight and heavily bunkered, while water hazards threaten the left side and the green is small and well-protected.

A mid-length par 3 that requires careful club selection to find the center of the green. Bunkers surround the putting surface, creating a challenging pitch for those who miss, though the hole remains attainable with solid contact.
The most difficult hole on the course, this challenging par 4 demands excellence on both the tee and approach shots. A narrow fairway hemmed by hazards left and right, combined with a well-bunkered green, makes this a fitting finale to the round.
Scorecard
| Hole | 1 | 2 | 3 | 4 | 5 | 6 | 7 | 8 | 9 | Out | 10 | 11 | 12 | 13 | 14 | 15 | 16 | 17 | 18 | In | Tot |
|---|---|---|---|---|---|---|---|---|---|---|---|---|---|---|---|---|---|---|---|---|---|
| Par | 4 | 4 | 3 | 5 | 4 | 5 | 3 | 4 | 4 | 36 | 4 | 3 | 4 | 5 | 4 | 5 | 4 | 3 | 4 | 36 | 72 |
| HCP | 10 | 4 | 18 | 12 | 6 | 8 | 16 | 14 | 2 | 7 | 17 | 13 | 5 | 11 | 9 | 3 | 15 | 1 | |||
| blue | 352 | 372 | 146 | 503 | 413 | 490 | 178 | 380 | 427 | 3261 | 396 | 180 | 392 | 527 | 338 | 543 | 467 | 212 | 431 | 3486 | 6747 |
| white | 330 | 328 | 123 | 481 | 375 | 454 | 153 | 338 | 392 | 2974 | 370 | 159 | 323 | 475 | 321 | 505 | 406 | 165 | 413 | 3137 | 6111 |
| gold | 297 | 304 | 117 | 435 | 328 | 399 | 113 | 303 | 354 | 2650 | 356 | 120 | 286 | 438 | 295 | 457 | 346 | 136 | 351 | 2785 | 5435 |
| red | 293 | 254 | 109 | 426 | 305 | 395 | 105 | 283 | 316 | 2486 | 283 | 101 | 280 | 432 | 290 | 453 | 335 | 121 | 345 | 2640 | 5126 |