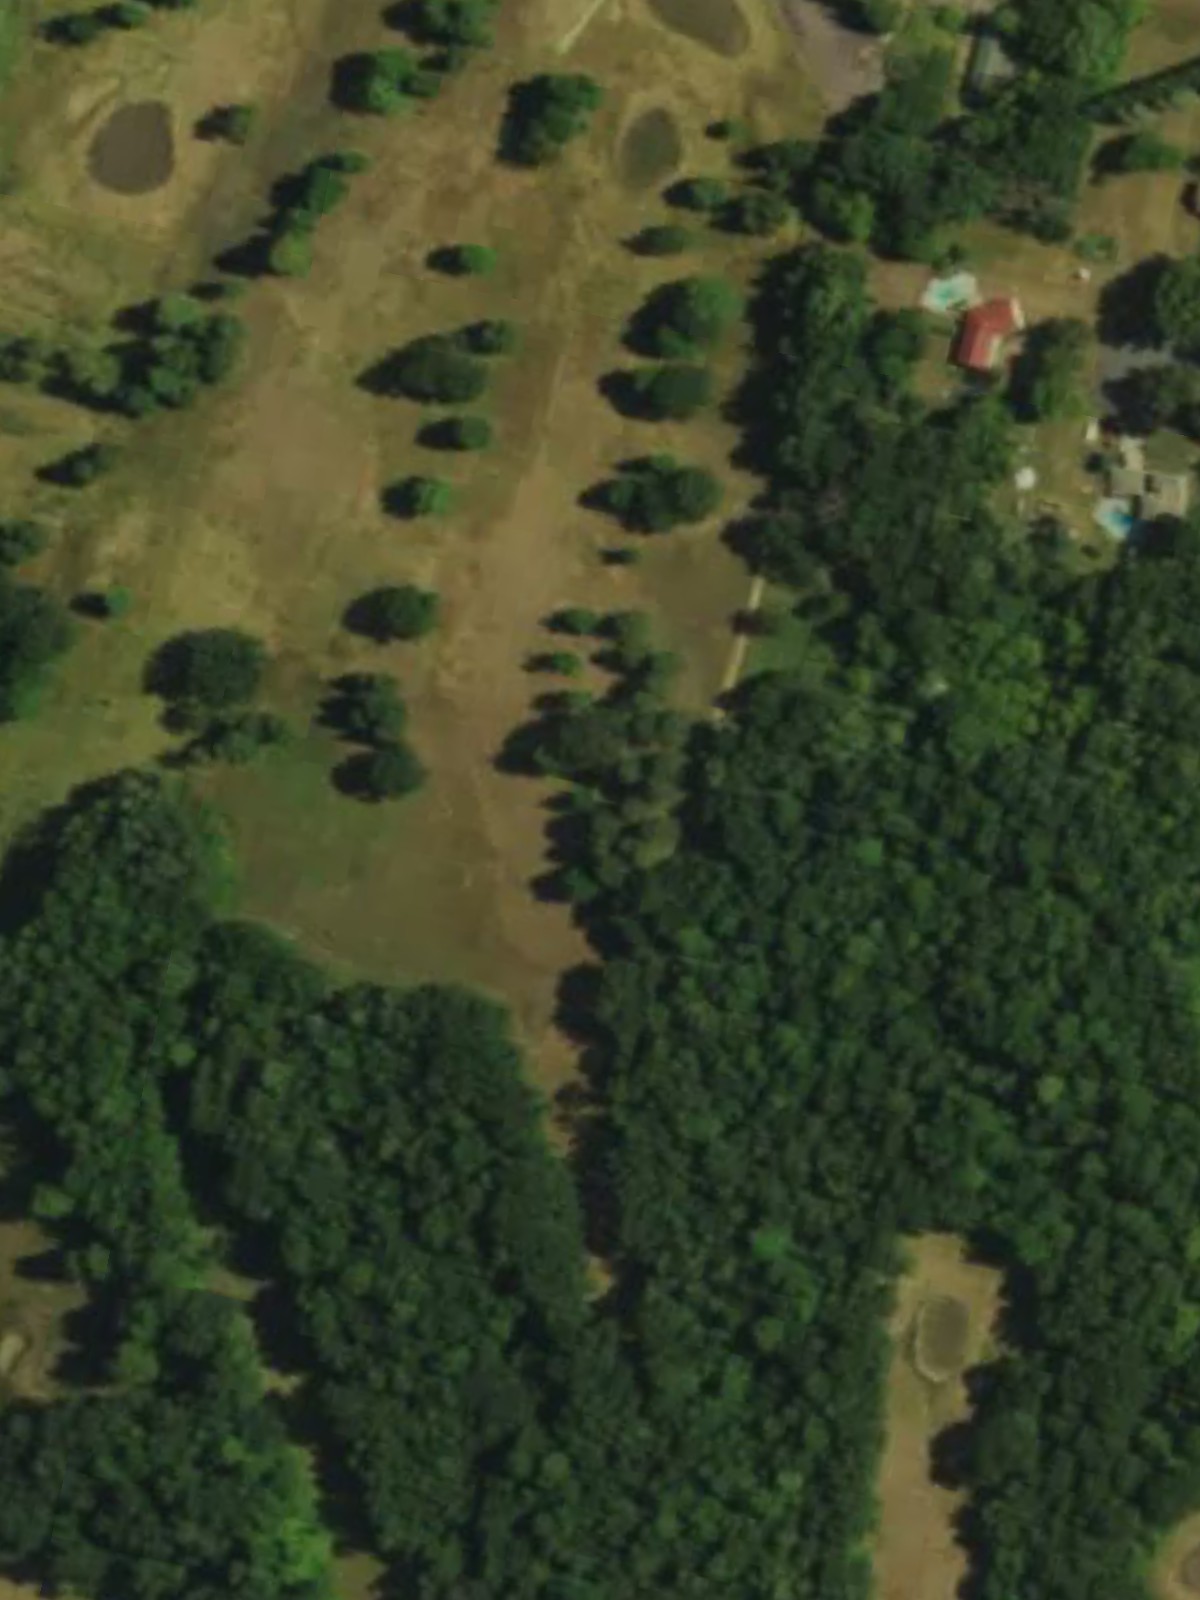
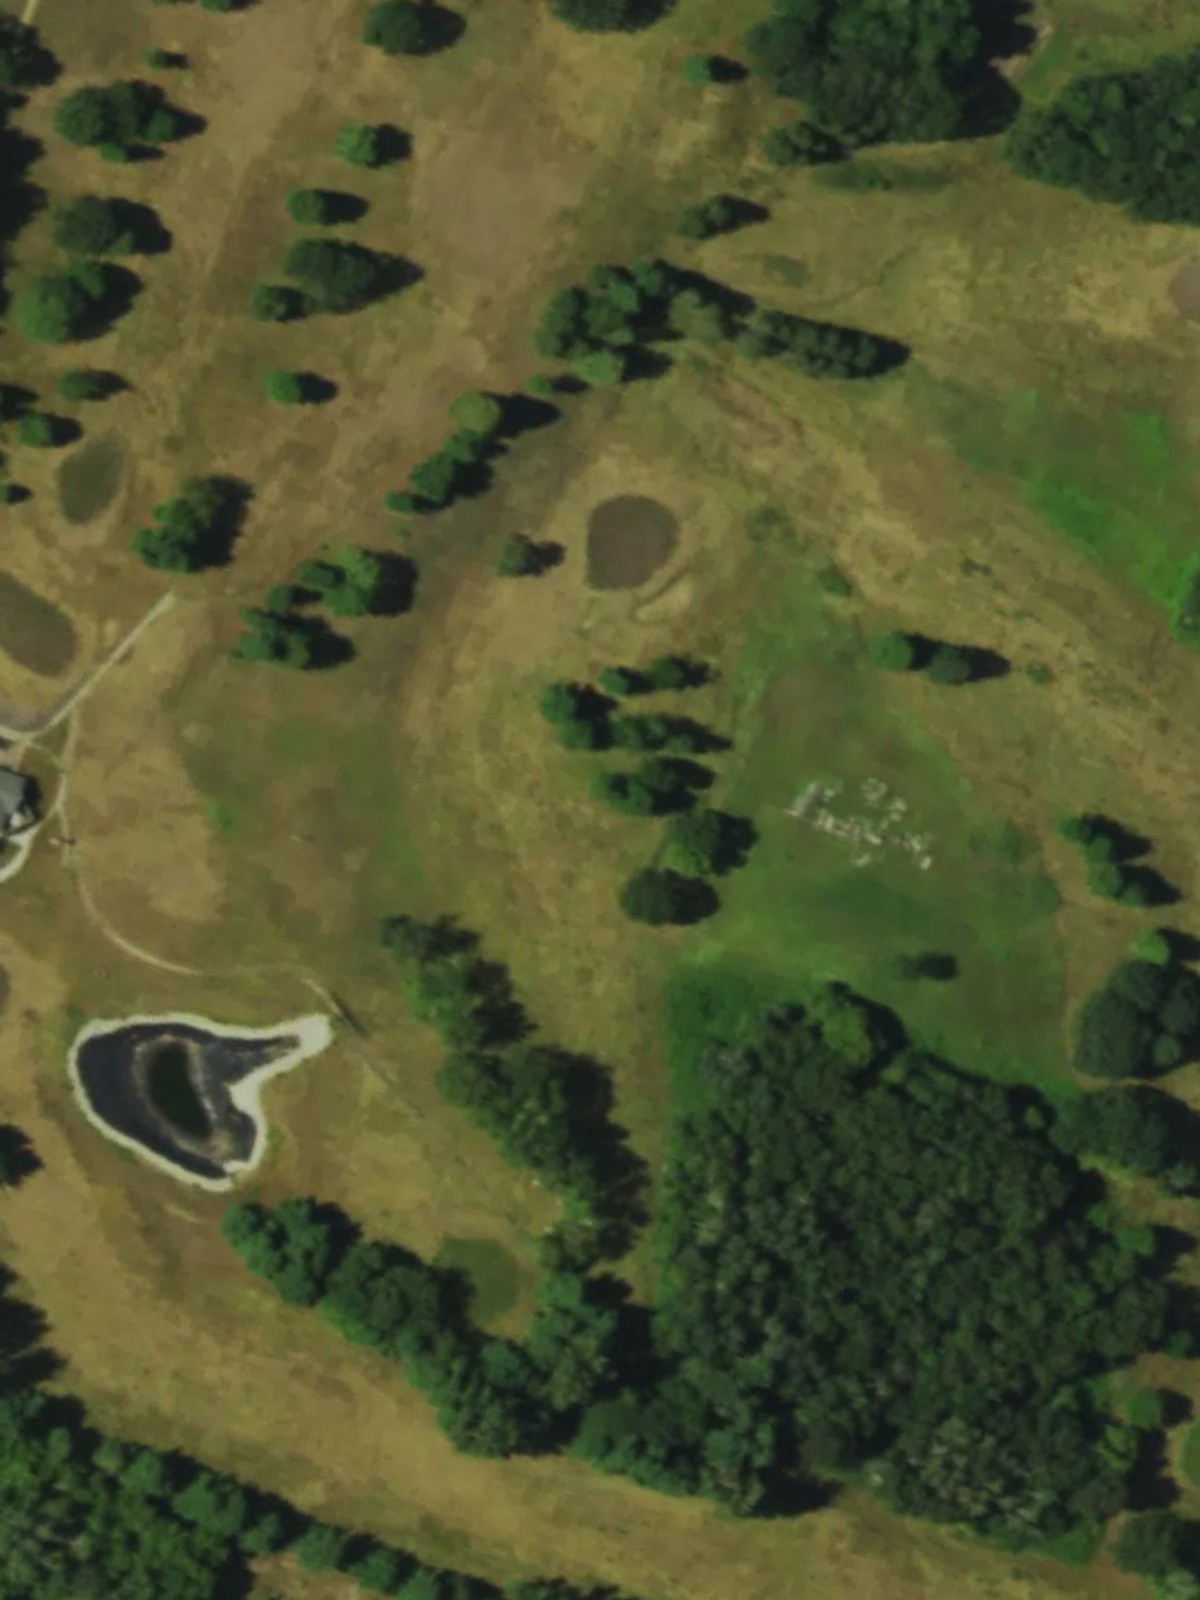
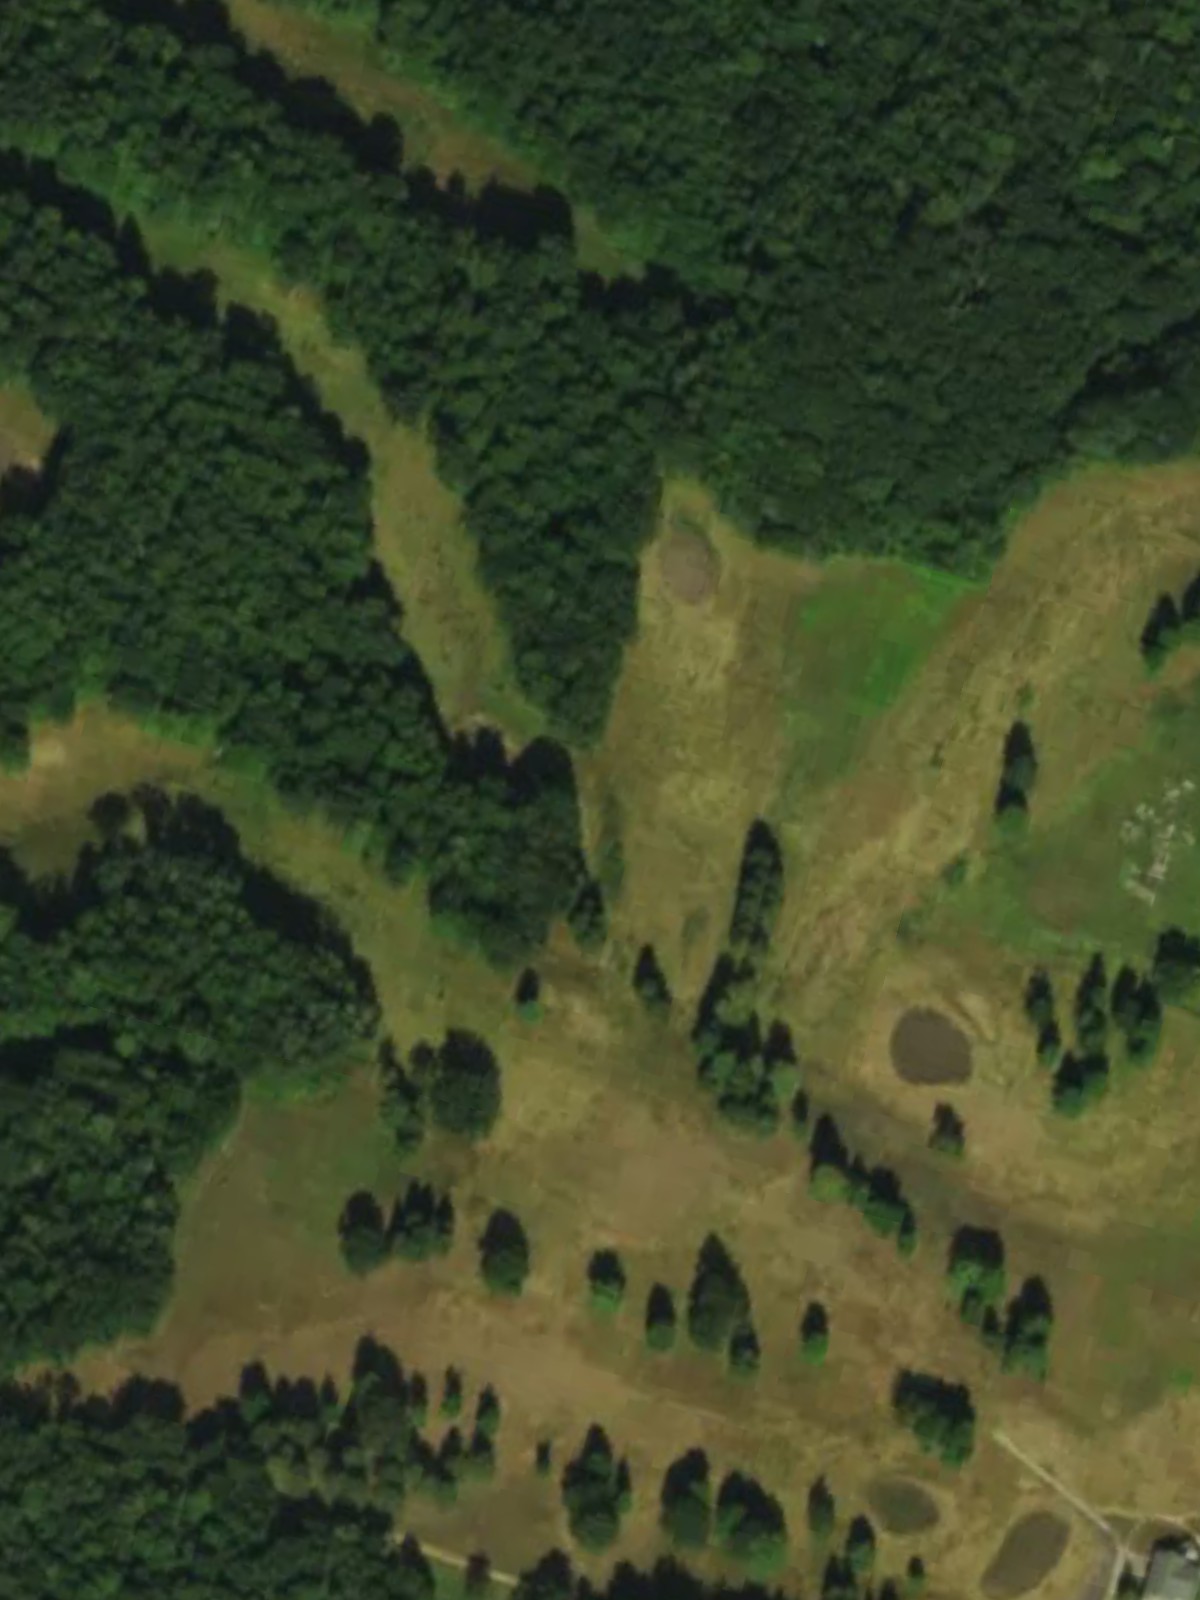
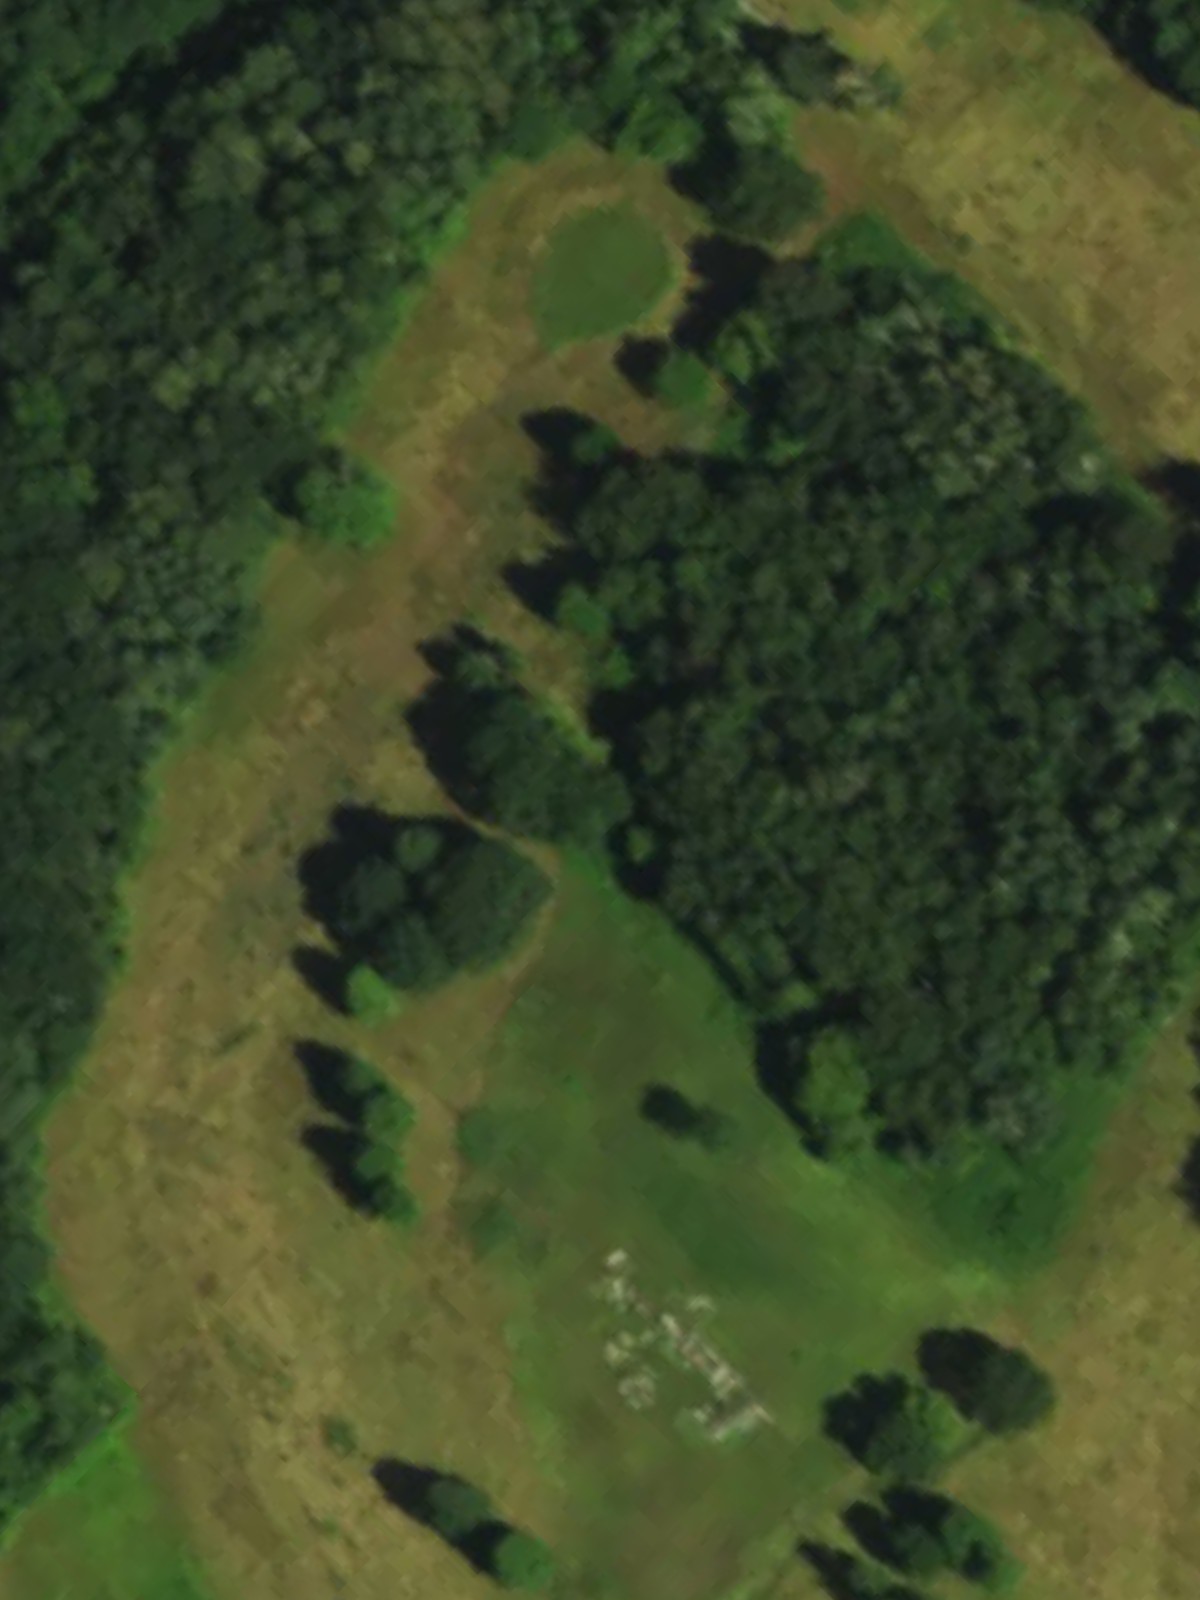
Tanglewood Greens is an 18-hole golf course in Menomonie, WI with a par of 71. It offers 3 tee sets: blue (6,267 yards, slope 125, rating 70.6), white (5,848 yards, slope 118, rating 68.8), gold (5,352 yards, slope 109, rating 66.8).
Tanglewood Greens
Menomonie, WI
Get PDF Yardage Book
We'll email you the PDF link. No spam, ever.
Create Your Game Plan
Pick your tees, enter your bag, and get a personalized shot-by-shot strategy for every hole.
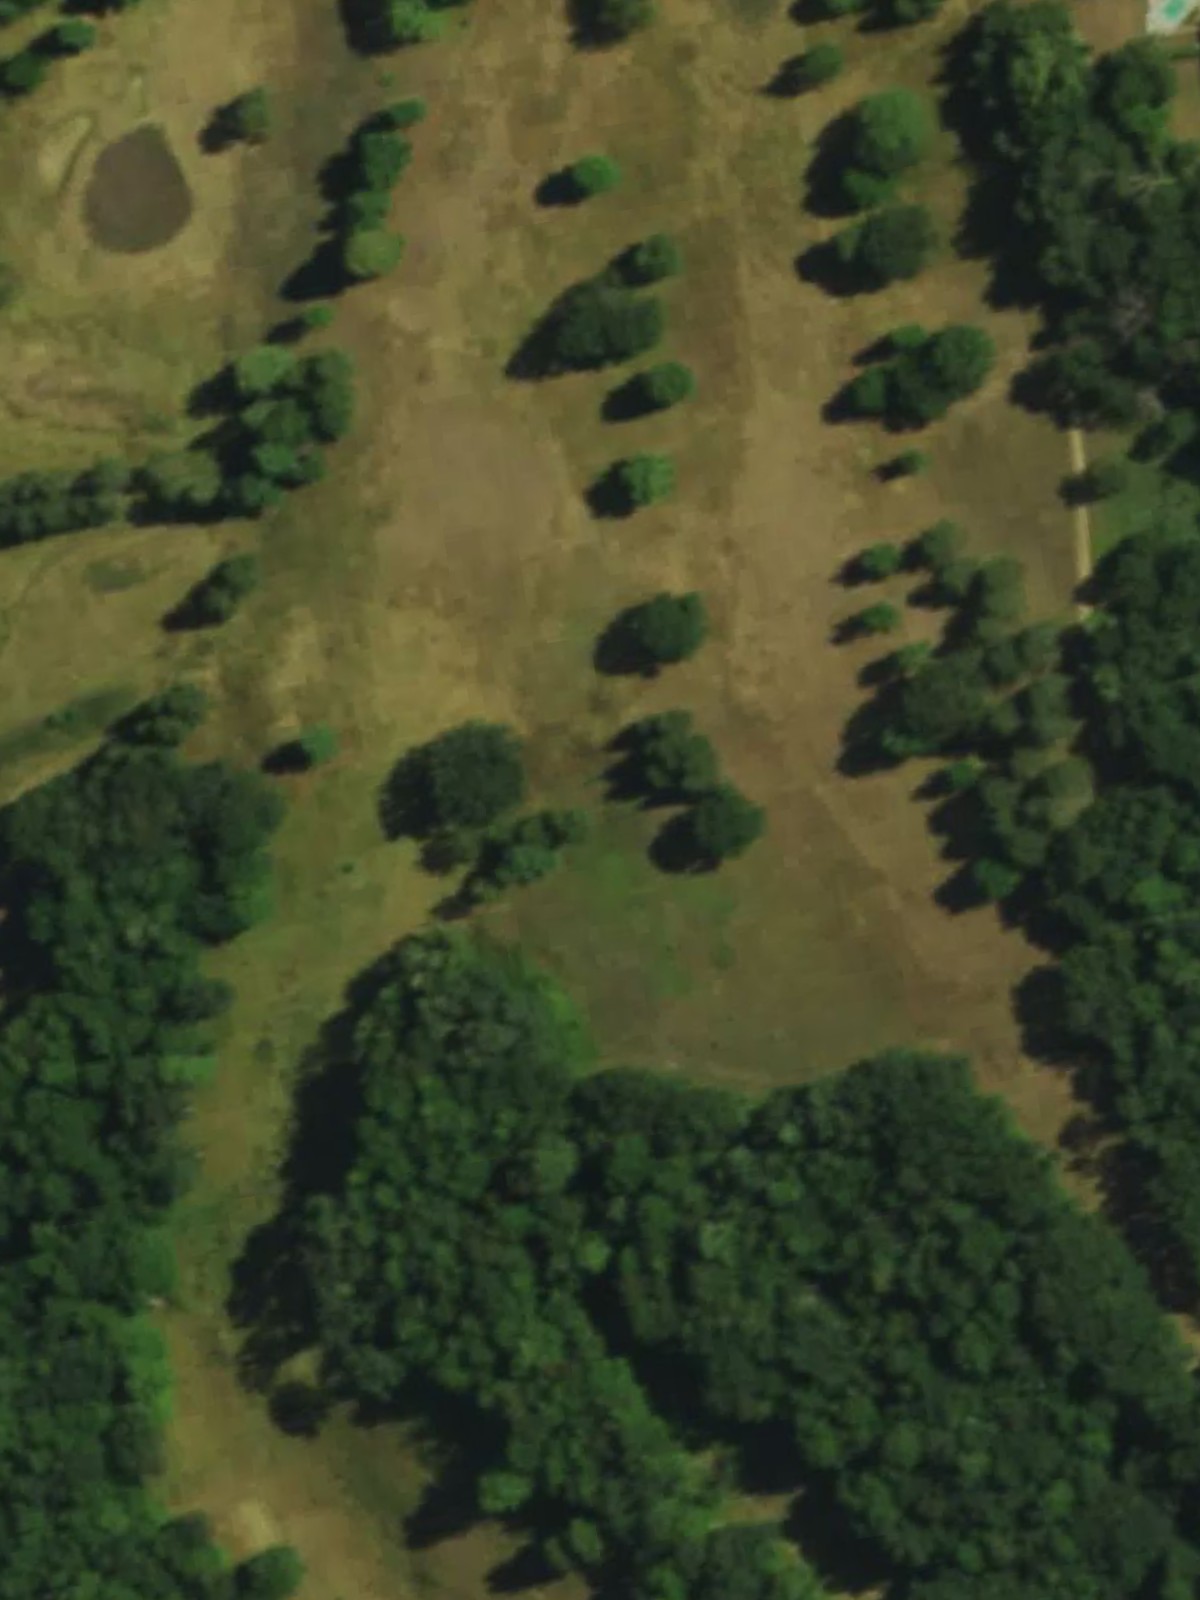
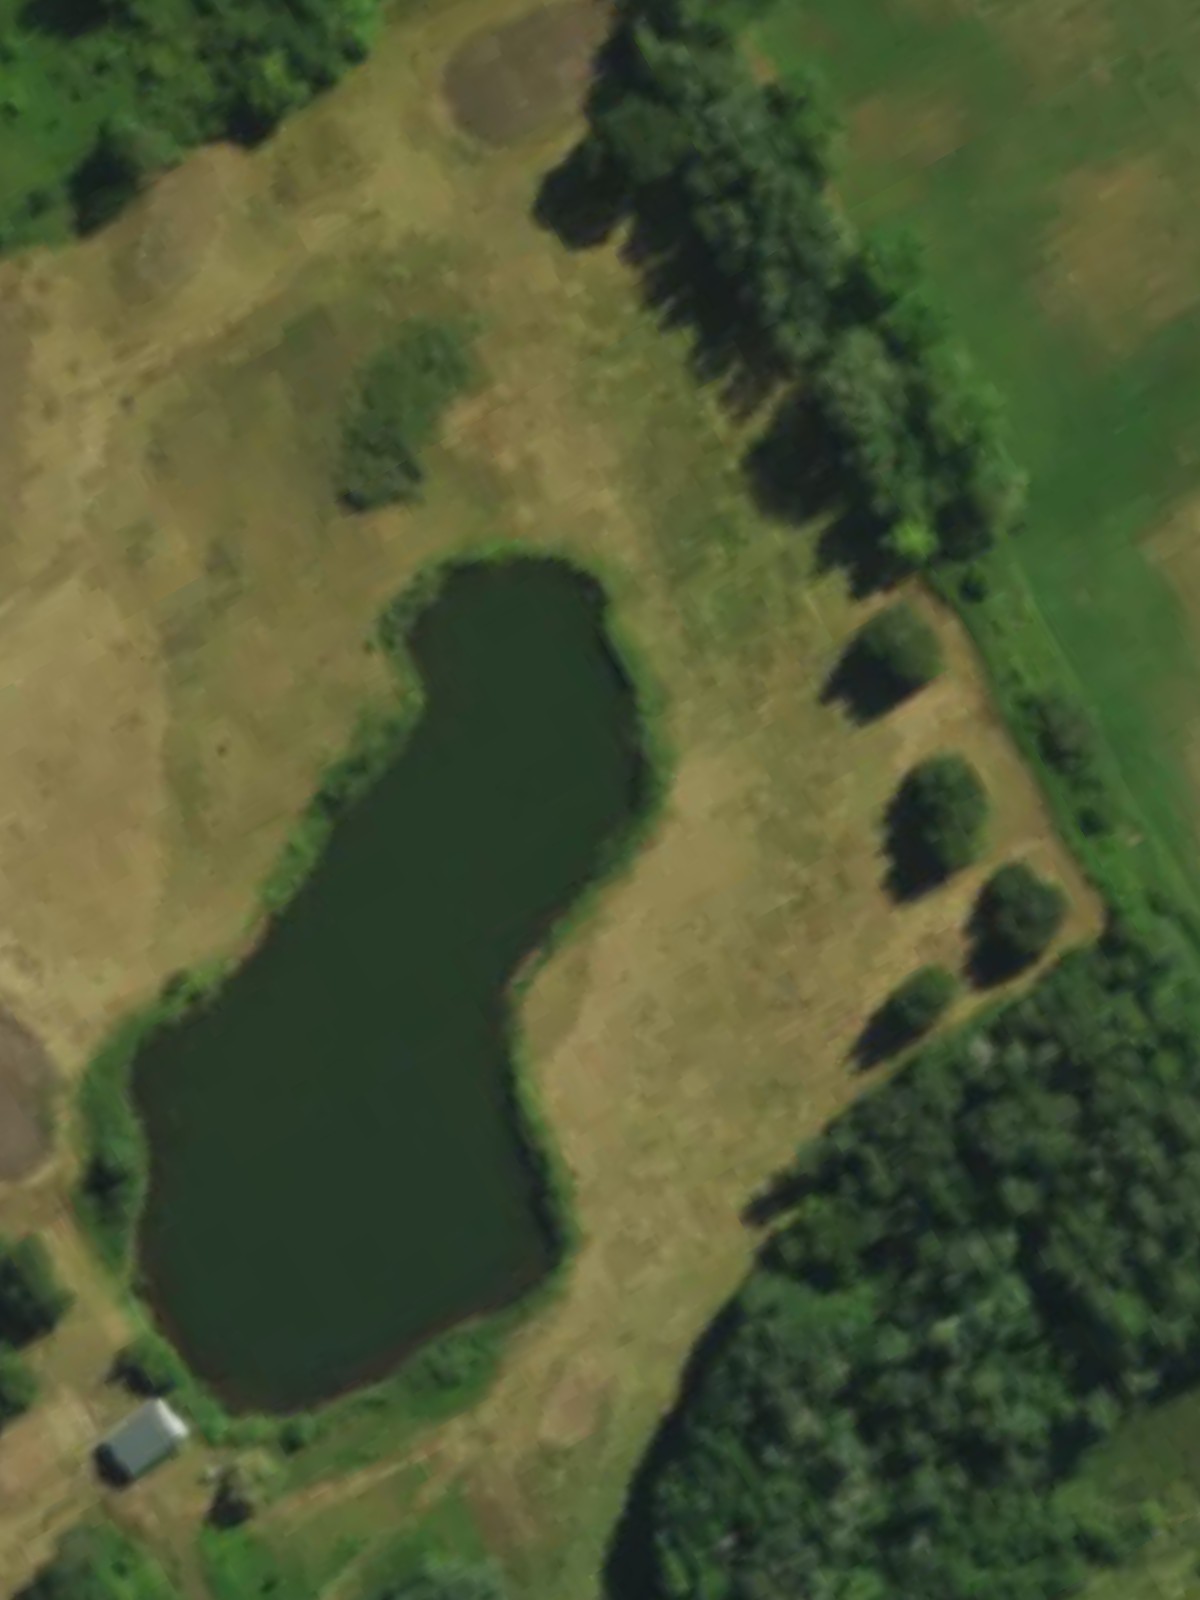
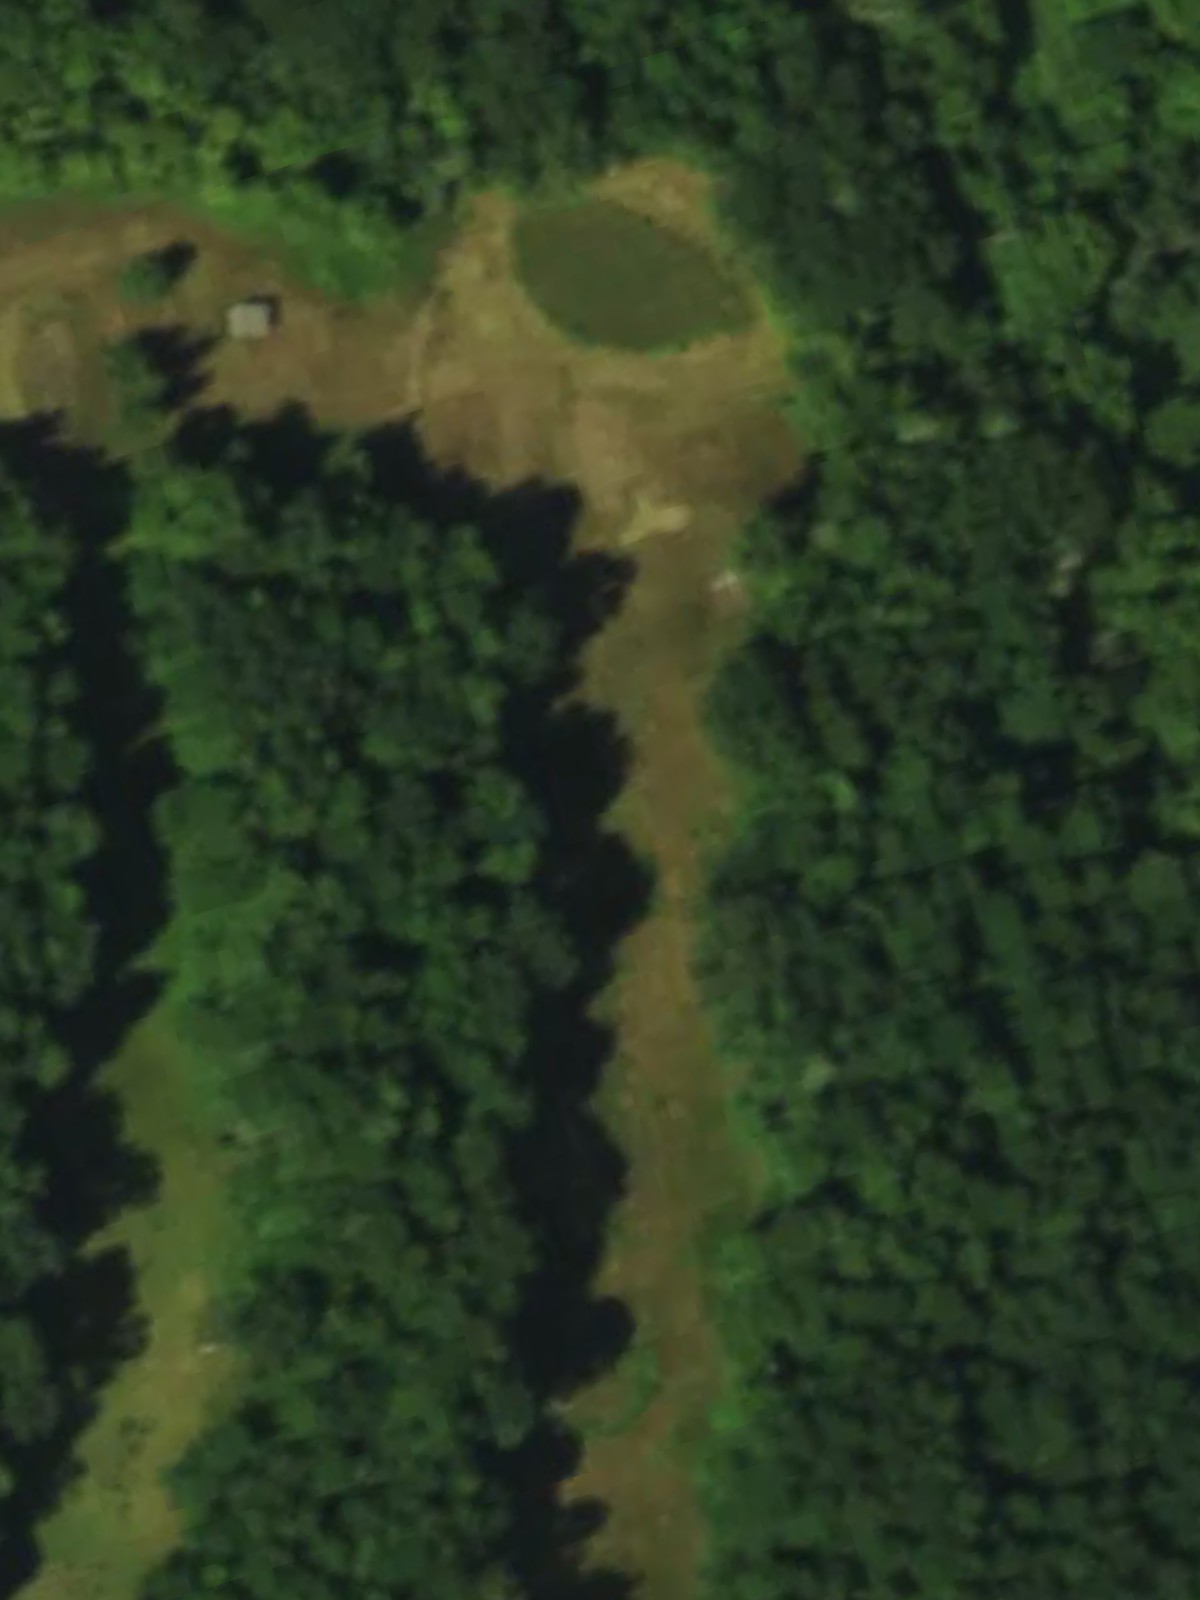
A long opening par 5 with a fairly open fairway that presents an inviting hole to start the round. Water hazards and bunkers protect the approach to the green, requiring accuracy on the final shot to a well-guarded target.
A moderate par 4 with a straightforward layout and relatively wide fairway. Strategic bunkering around the green complex demands precision on the approach shot to avoid sand and find the putting surface.
A short par 3 with a relatively direct approach to the green. A single well-positioned hazard or two makes this one-shot hole deceptively challenging despite its modest yardage.
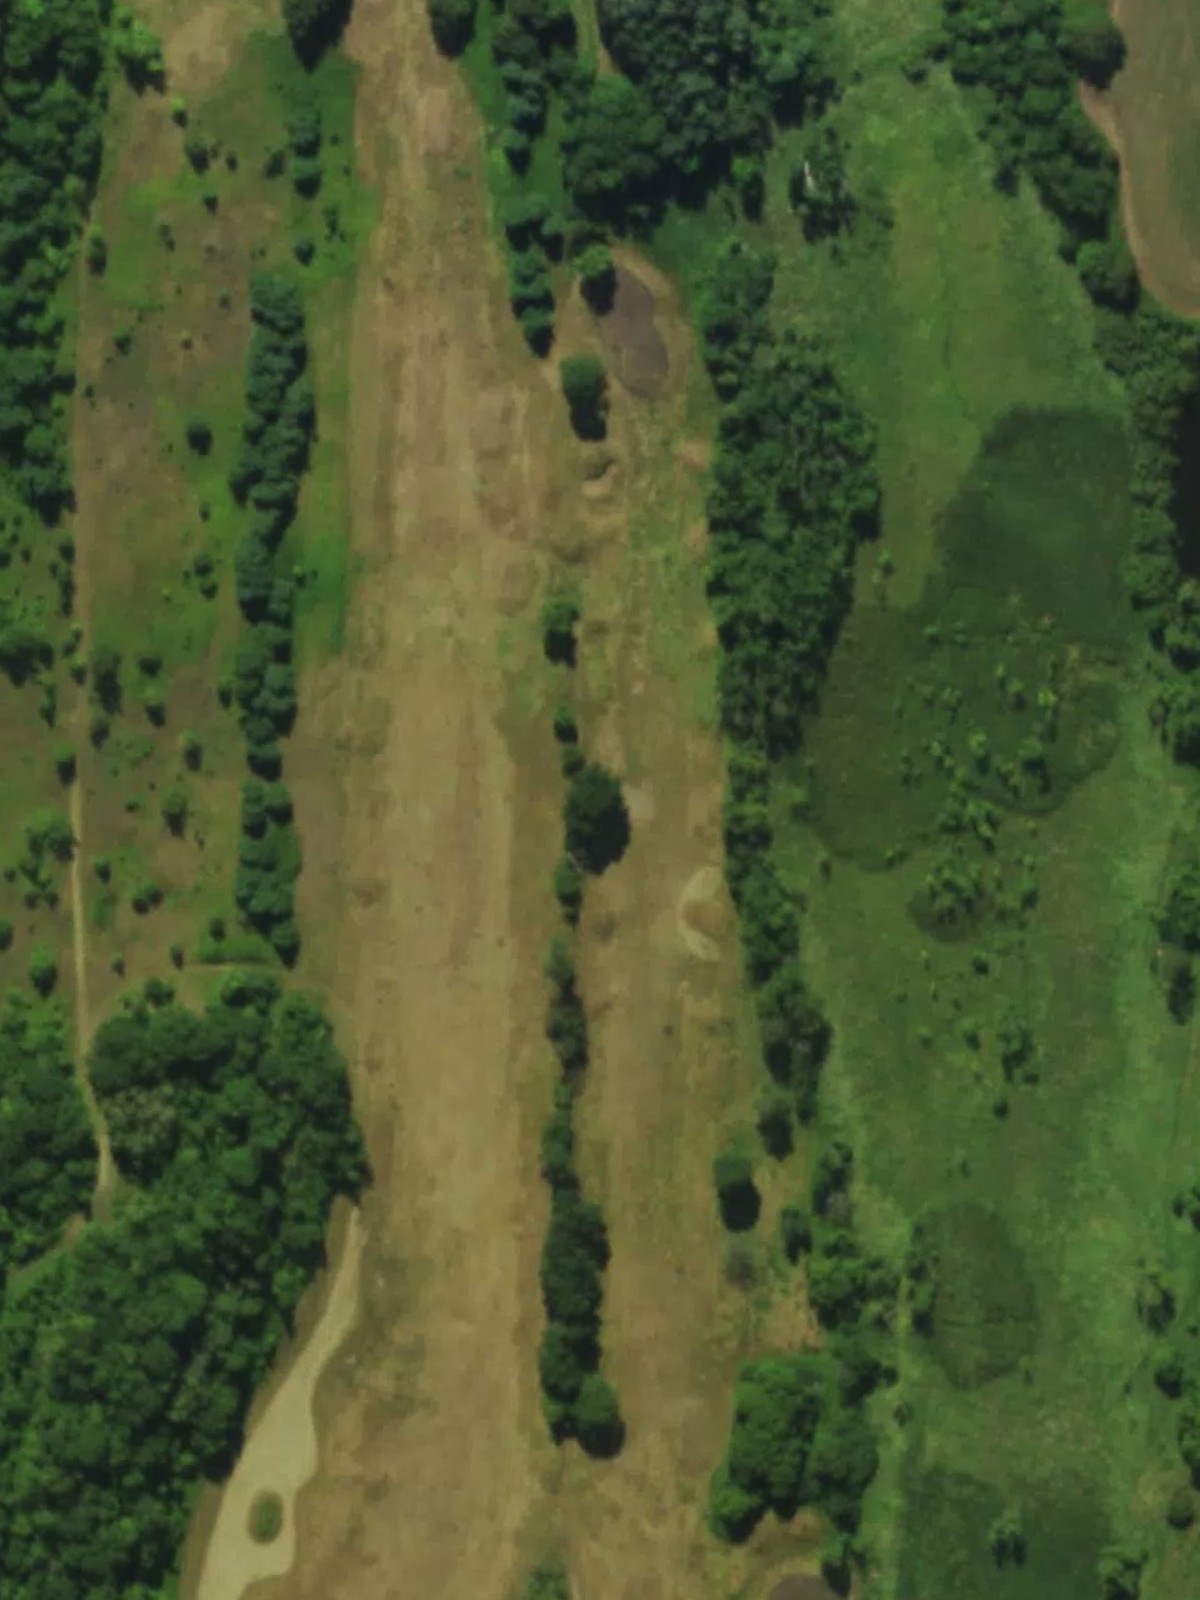
A shapely par 5 that bends through the fairway, requiring two solid shots to set up a scoring opportunity. Bunkers and water strategically placed along the hole's corridor test both accuracy and course management.
A tight par 4 where the fairway narrows considerably as it approaches the green. Greenside hazards pinch the landing area, forcing golfers to navigate between trouble on both sides to reach the green safely.
A testing par 3 of moderate length with water or sand protecting the green's perimeter. The small target demands a precise strike to avoid missing into the hazards that frame this short hole.
The course's longest par 5 plays as a three-shot hole for most golfers, with hazards positioned to punish poor positioning at various yardages. The length and strategic layout make this a defining hole on the front nine.
A very short par 3 that plays deceptively simple but offers minimal margin for error. Tight greenside bunkers and limited bail-out area make this pocket-sized hole a test of accuracy over distance.
A moderate par 4 with a fairway that offers some width off the tee but demands a precise approach shot. Hazards frame the green, punishing inaccuracy on the final stroke to the pin.
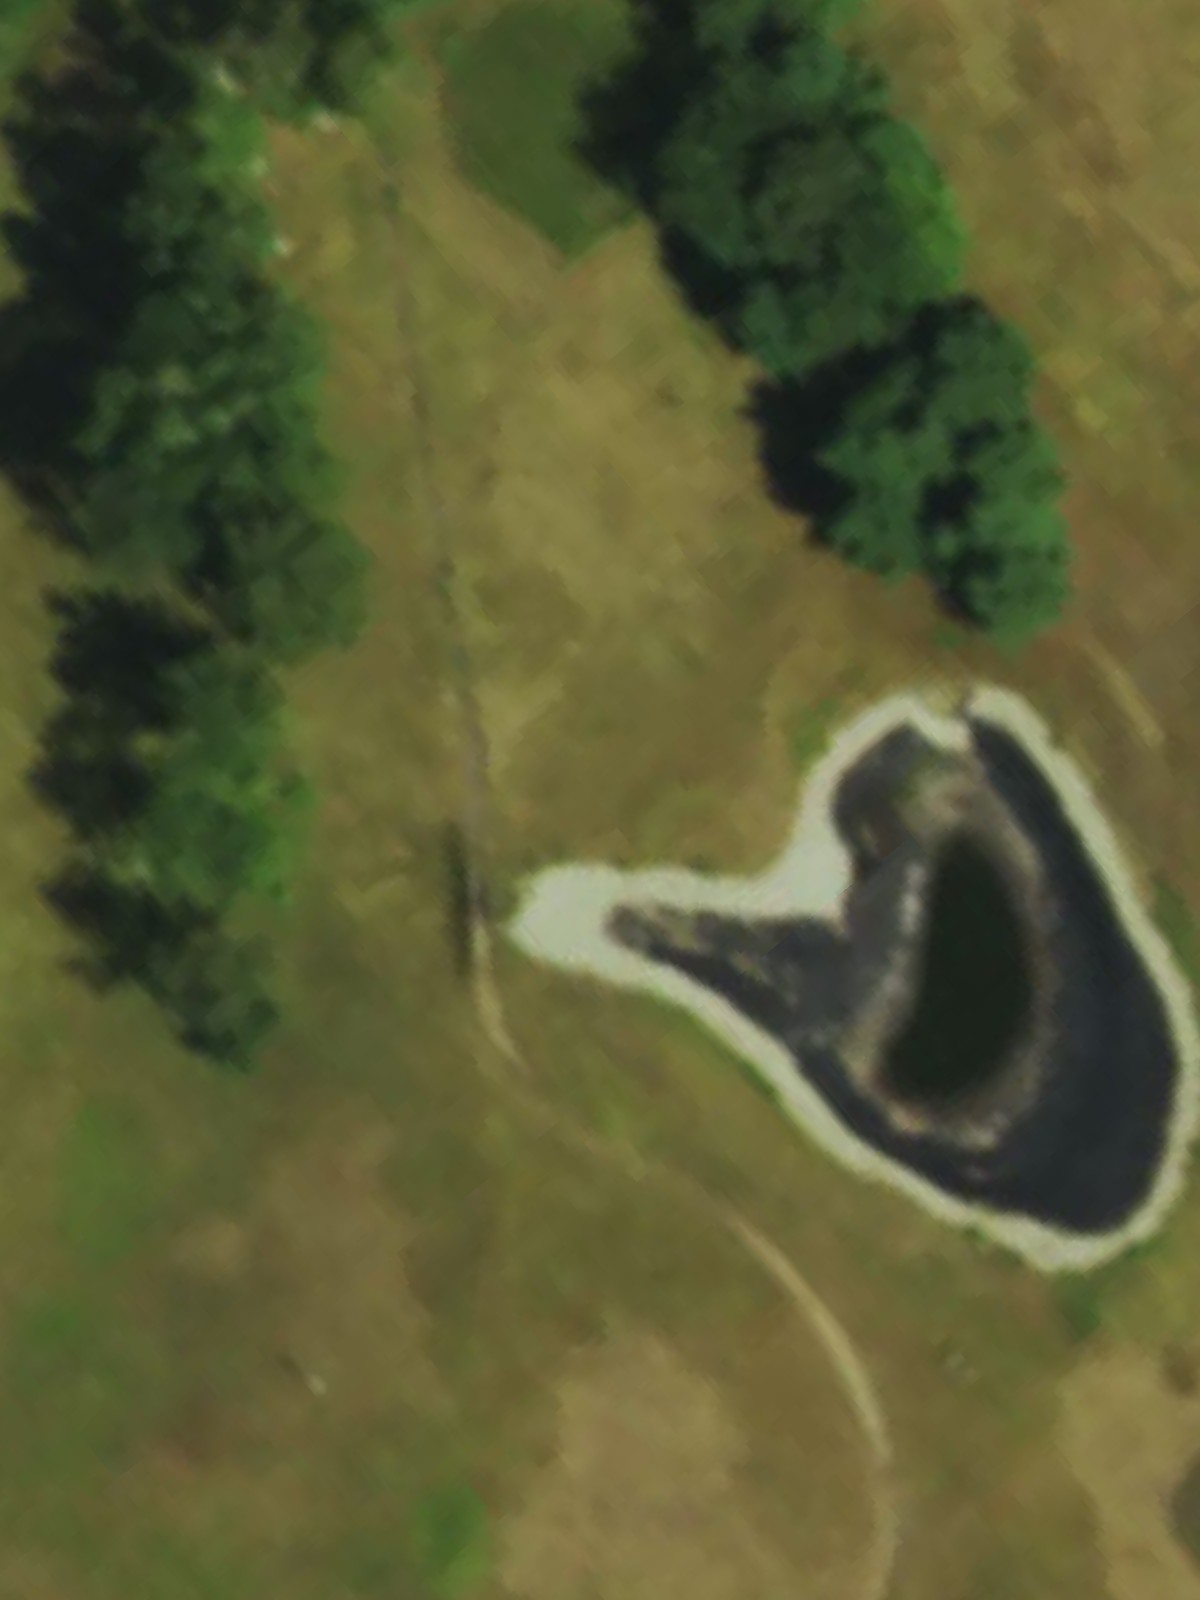
A substantial par 3 requiring a full carry to reach the putting surface, with water and sand guarding the approach. The elevated green and distance combine to make this back-nine starter a significant challenge.
A short par 4 that plays as a potential birdie opportunity with a compact fairway and relatively close green. Bunkers and hazards lurking near the green prevent this risk-reward hole from being a gimmee.
A mid-length par 3 with a well-bunkered green complex that requires a confident, accurate iron shot. The hazards surrounding the green make missing the putting surface costly on this demanding one-shotter.
A tactical par 4 of modest length where strategic placement off the tee opens up the approach to the green. Bunkers and hazards positioned around the green reward smart positioning and penalize poor angles.
A challenging par 4 that plays longer than its yardage suggests, with hazards complicating both the drive and approach. The narrow corridor and well-protected green demand accurate, controlled shotmaking throughout.
A balanced par 4 with a fairway that flows toward the green, offering a reasonable approach for accurate tee shots. Greenside bunkers and strategic hazards protect the green and prevent simple pars.
A compact par 4 with a defined fairway and green that plays shorter than some of its peers. Hazards positioned throughout the hole create a tight, strategic challenge despite the moderate yardage.
A demanding par 4 that stretches across the closing stretch with hazards testing both accuracy off the tee and on the approach. The length and penal layout make this a pivotal hole in the round's outcome.

The finishing par 5 offers a chance to birdie and end on a strong note, with a fairway that permits aggressive play for longer hitters. Water and bunkers near the green still demand composure on the final approach shot.
Scorecard
| Hole | 1 | 2 | 3 | 4 | 5 | 6 | 7 | 8 | 9 | Out | 10 | 11 | 12 | 13 | 14 | 15 | 16 | 17 | 18 | In | Tot |
|---|---|---|---|---|---|---|---|---|---|---|---|---|---|---|---|---|---|---|---|---|---|
| Par | 5 | 4 | 3 | 5 | 4 | 3 | 5 | 3 | 4 | 36 | 3 | 4 | 3 | 4 | 4 | 4 | 4 | 4 | 5 | 35 | 71 |
| HCP | - | - | - | - | - | - | - | - | - | - | - | - | - | - | - | - | - | - | |||
| blue | 536 | 374 | 156 | 485 | 365 | 168 | 604 | 122 | 407 | 3217 | 211 | 281 | 179 | 320 | 397 | 367 | 353 | 439 | 503 | 3050 | 6267 |
| white | 524 | 320 | 142 | 443 | 332 | 160 | 557 | 111 | 396 | 2985 | 191 | 270 | 153 | 313 | 356 | 354 | 344 | 406 | 476 | 2863 | 5848 |
| gold | 439 | 309 | 108 | 423 | 319 | 130 | 458 | 103 | 350 | 2639 | 170 | 259 | 141 | 299 | 316 | 342 | 334 | 387 | 465 | 2713 | 5352 |