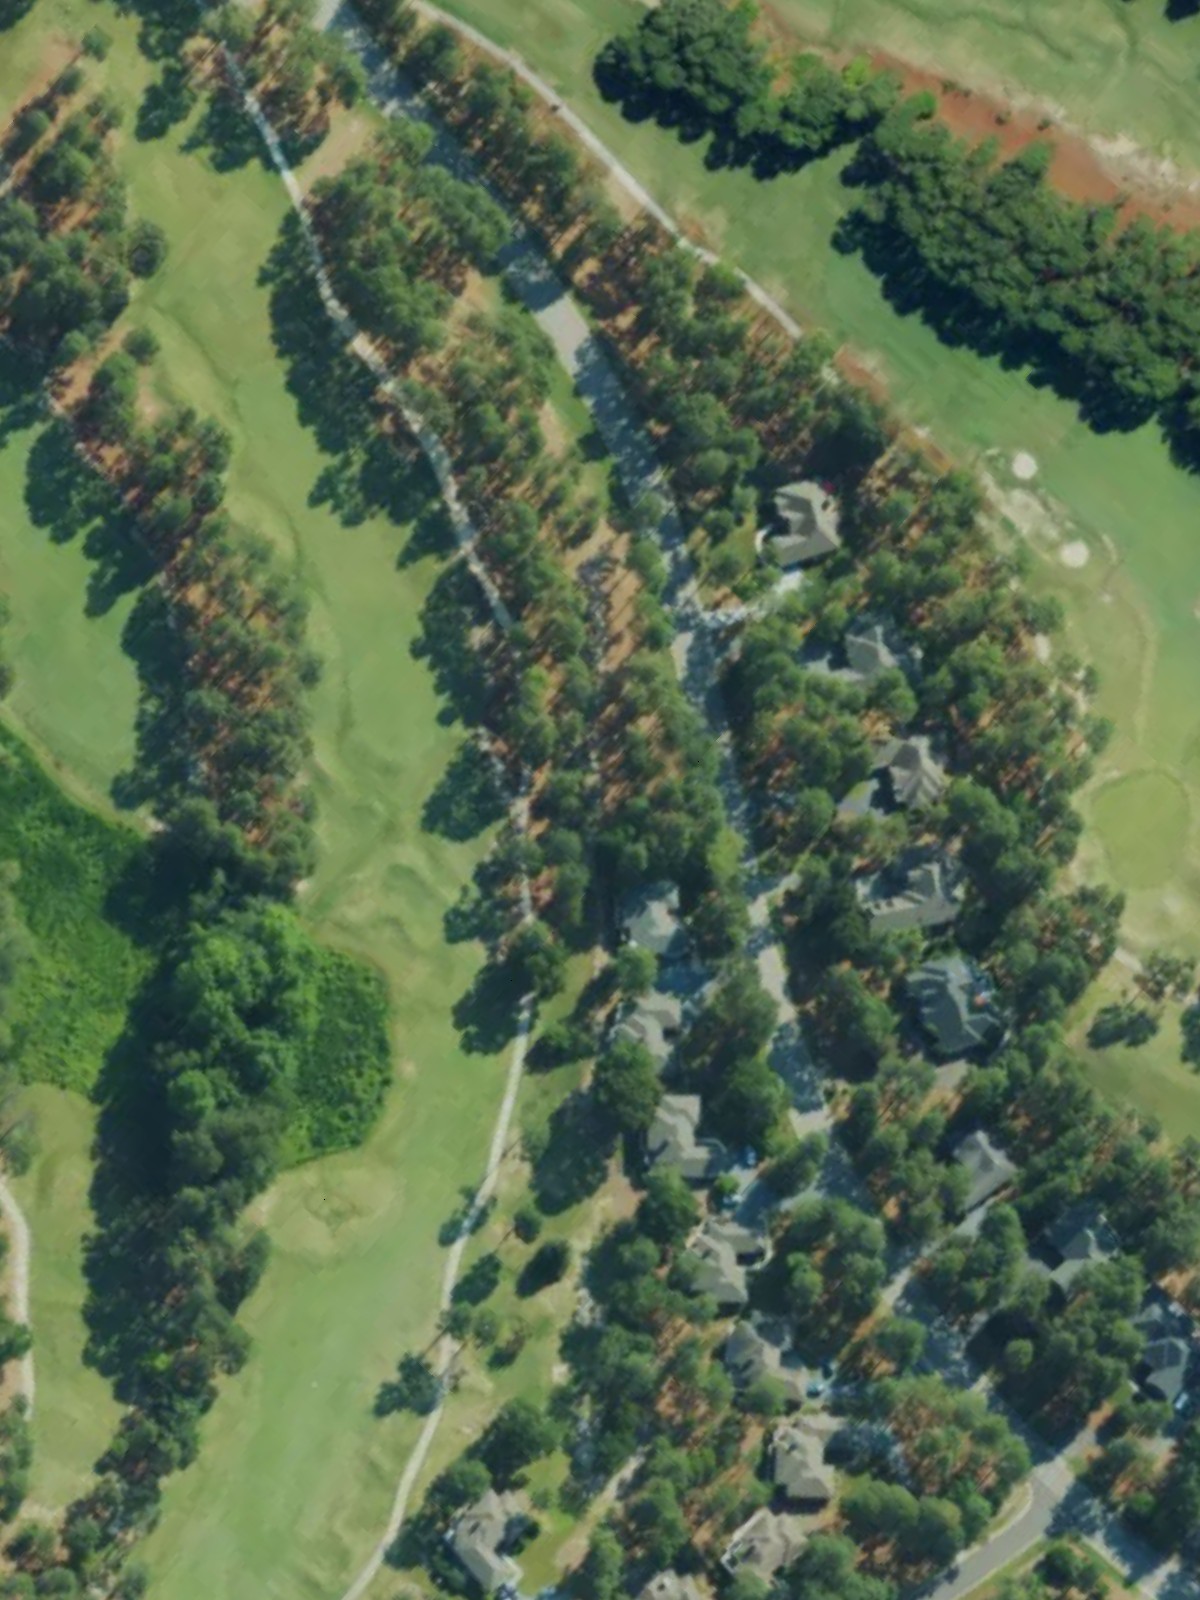
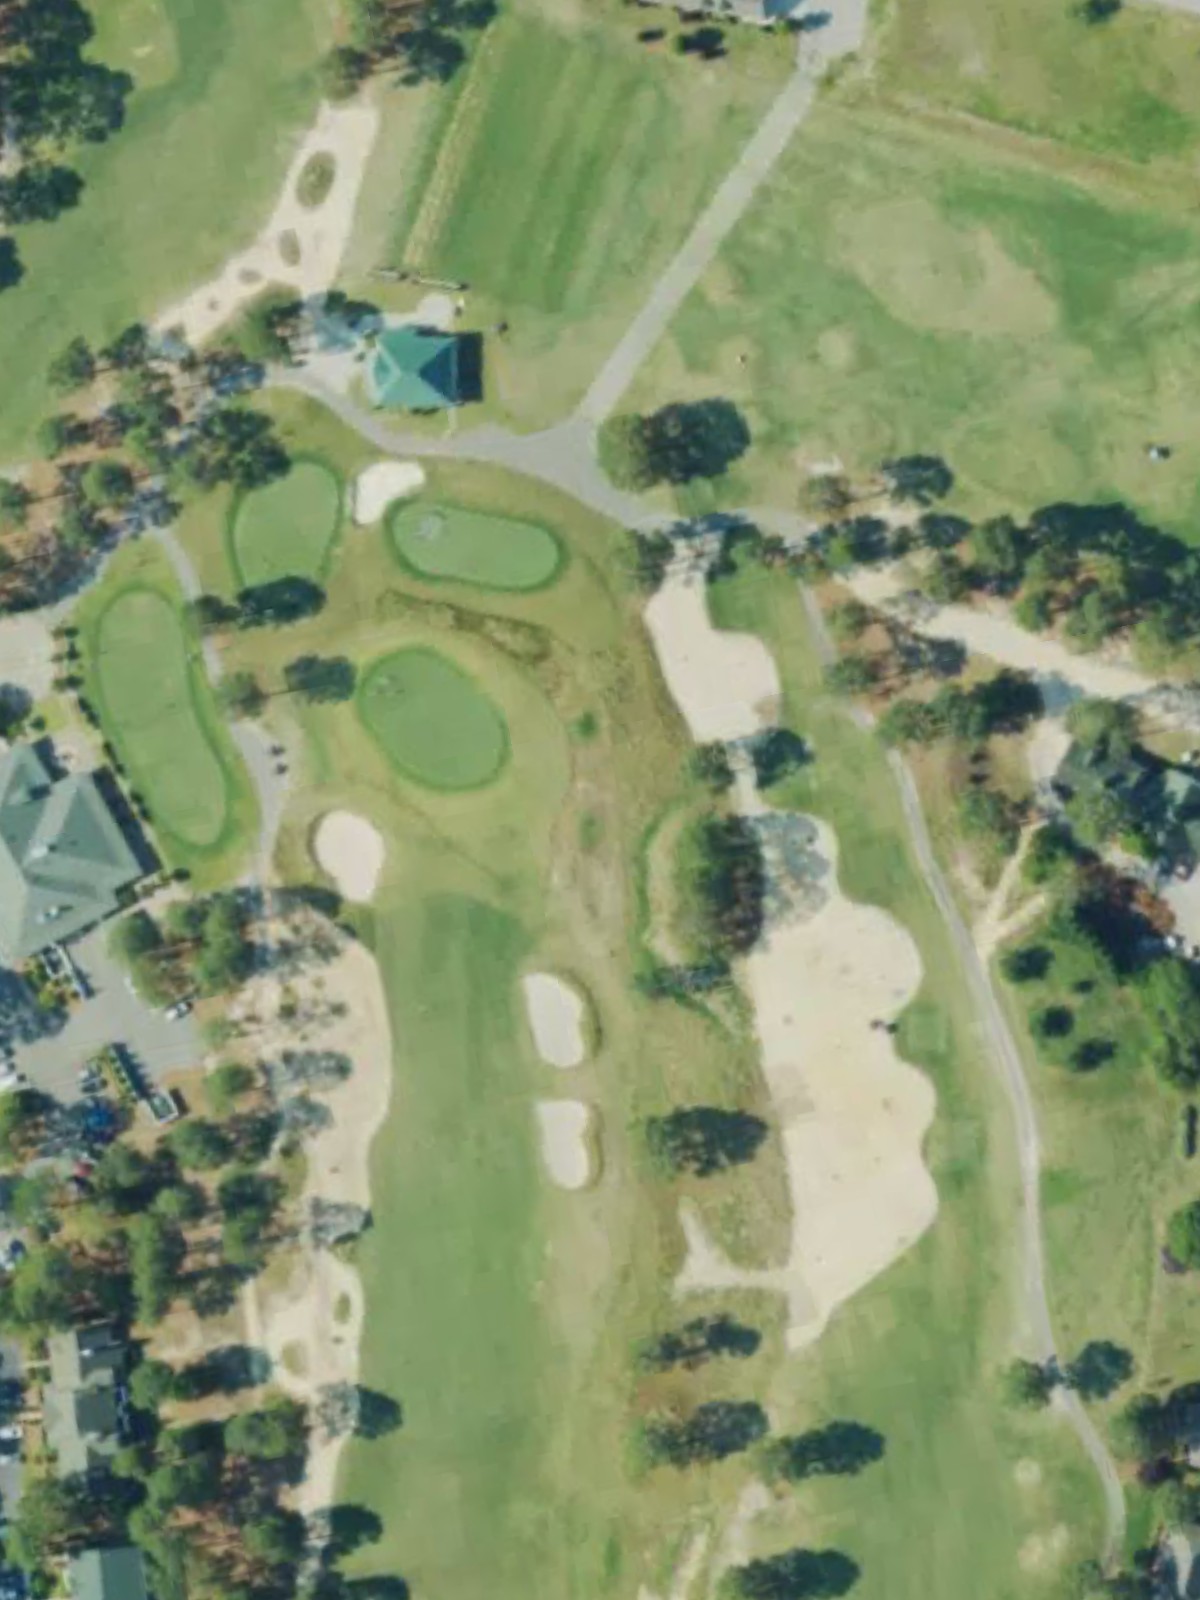
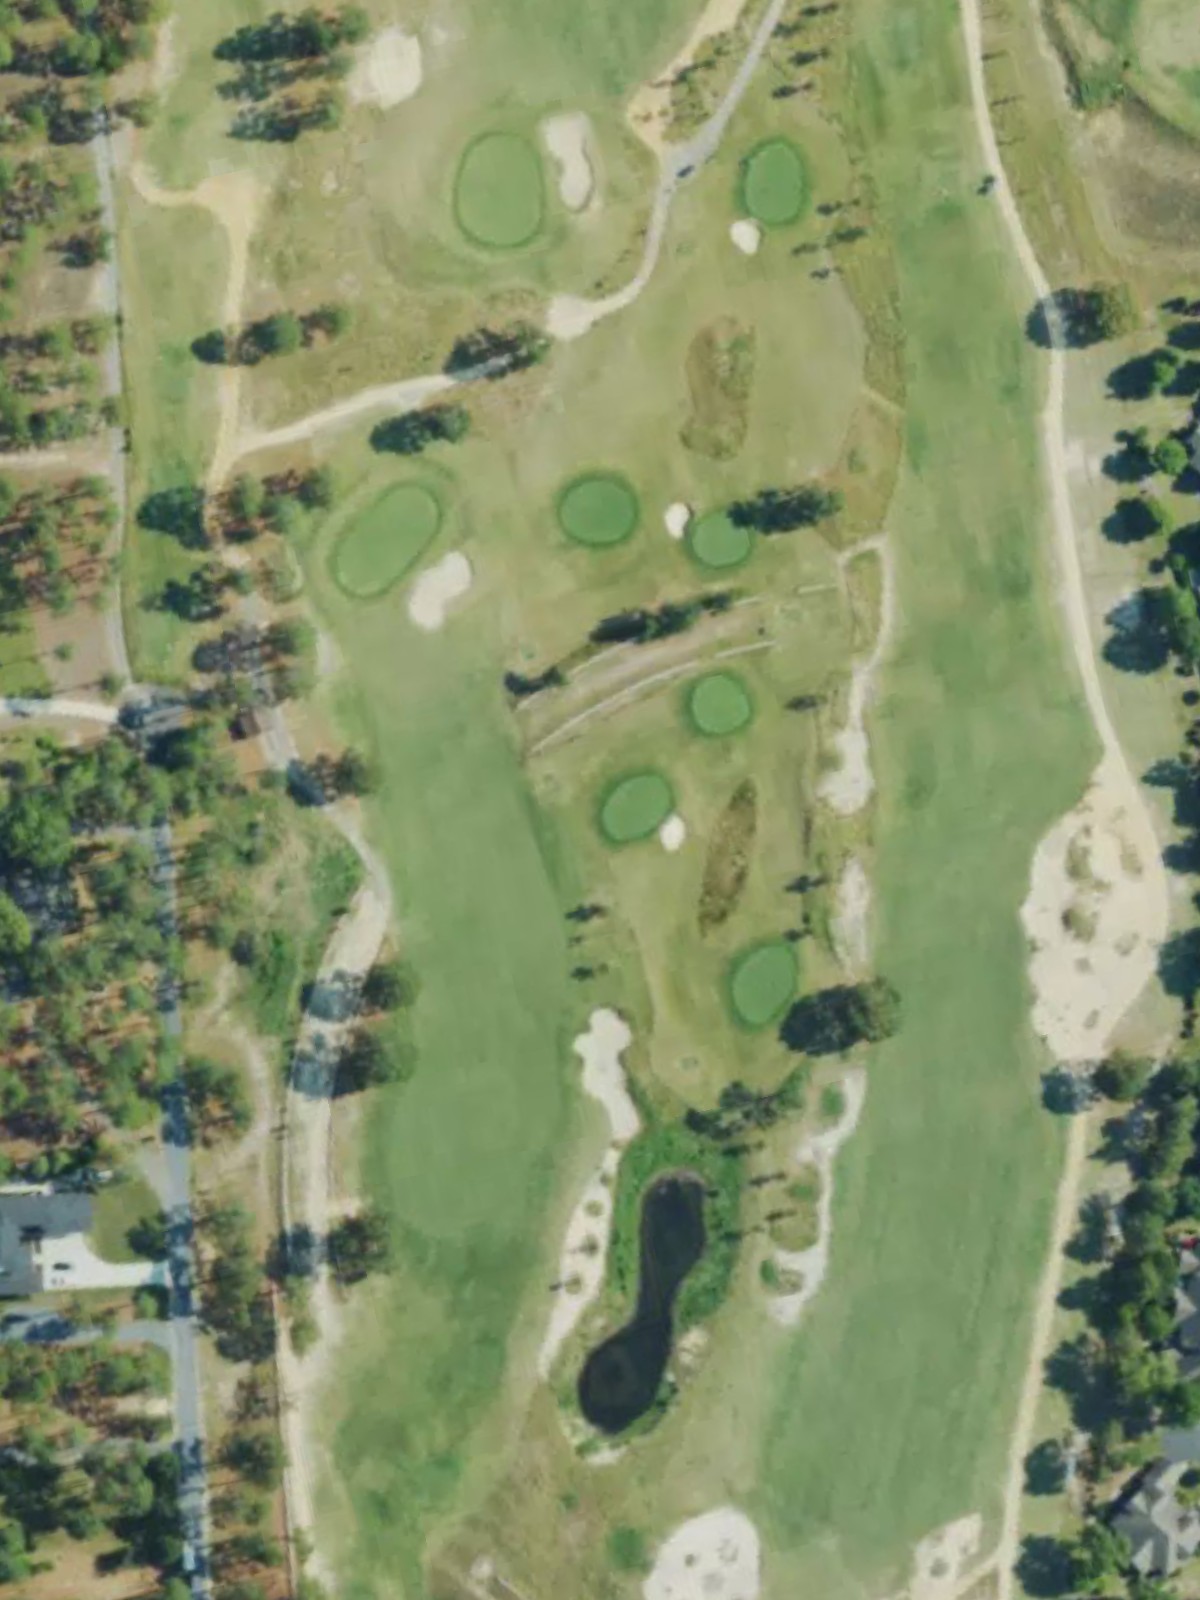
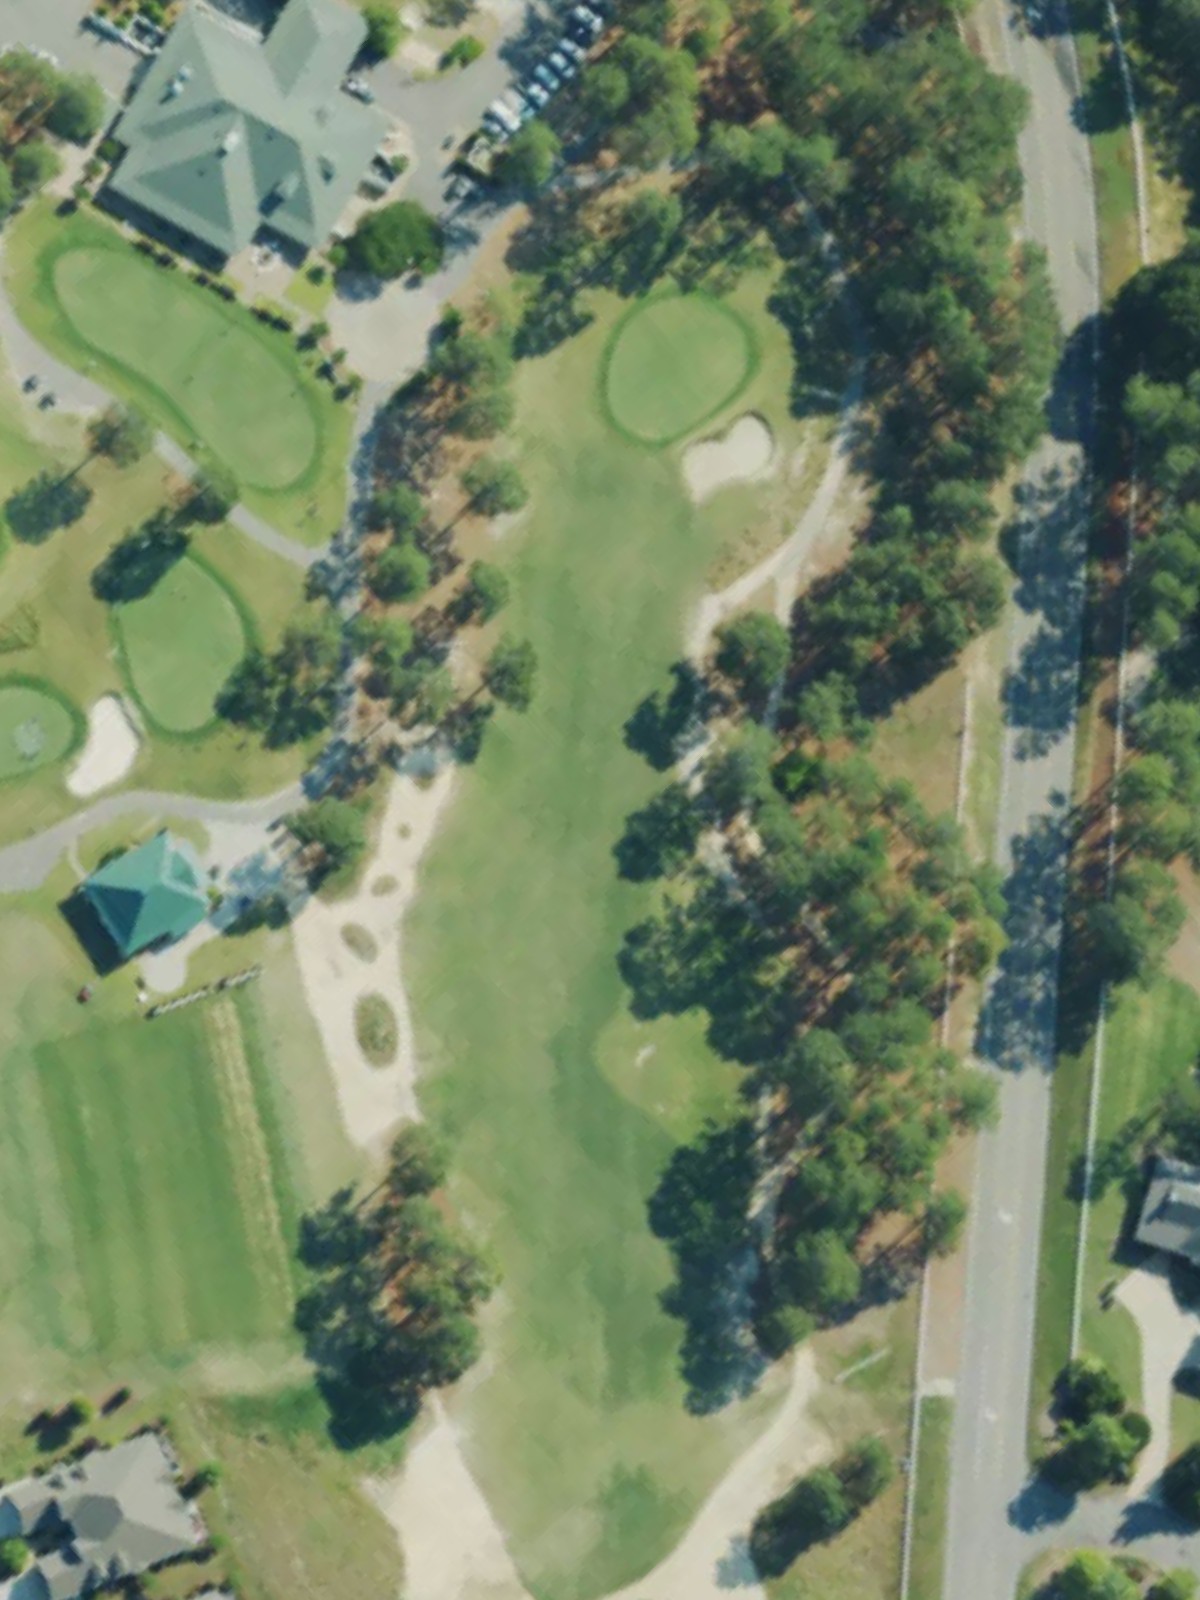
Talamore is an 18-hole golf course in Southern Pines, NC with a par of 71. It offers 6 tee sets: gold tees (6,681 yards, slope 132, rating 72.4), blue tees (6,305 yards, slope 129, rating 70.4), white tees (5,876 yards, slope 121, rating 68.4), white/green hybrid (5,694 yards, slope 119, rating 67.3), green tees (5,218 yards, slope 112, rating 65.2), red tees (4,725 yards, slope 106, rating 63.1). The hardest hole is #16, a par 4 playing 282 yards from the first tee.
Talamore
Southern Pines, NC
Get PDF Yardage Book
We'll email you the PDF link. No spam, ever.
Create Your Game Plan
Pick your tees, enter your bag, and get a personalized shot-by-shot strategy for every hole.
A lengthy par 5 that offers multiple routes to the green depending on a player's length off the tee. The hole's expanse and distance make it a strategic three-shot proposition for most players, with positioning key to avoiding trouble on the approach.
A short par 3 that demands accuracy over distance, with a modest green complex that provides limited margin for error. The hole's brevity belies its precision requirement, making it a potential scoring opportunity or frustrating stumble.
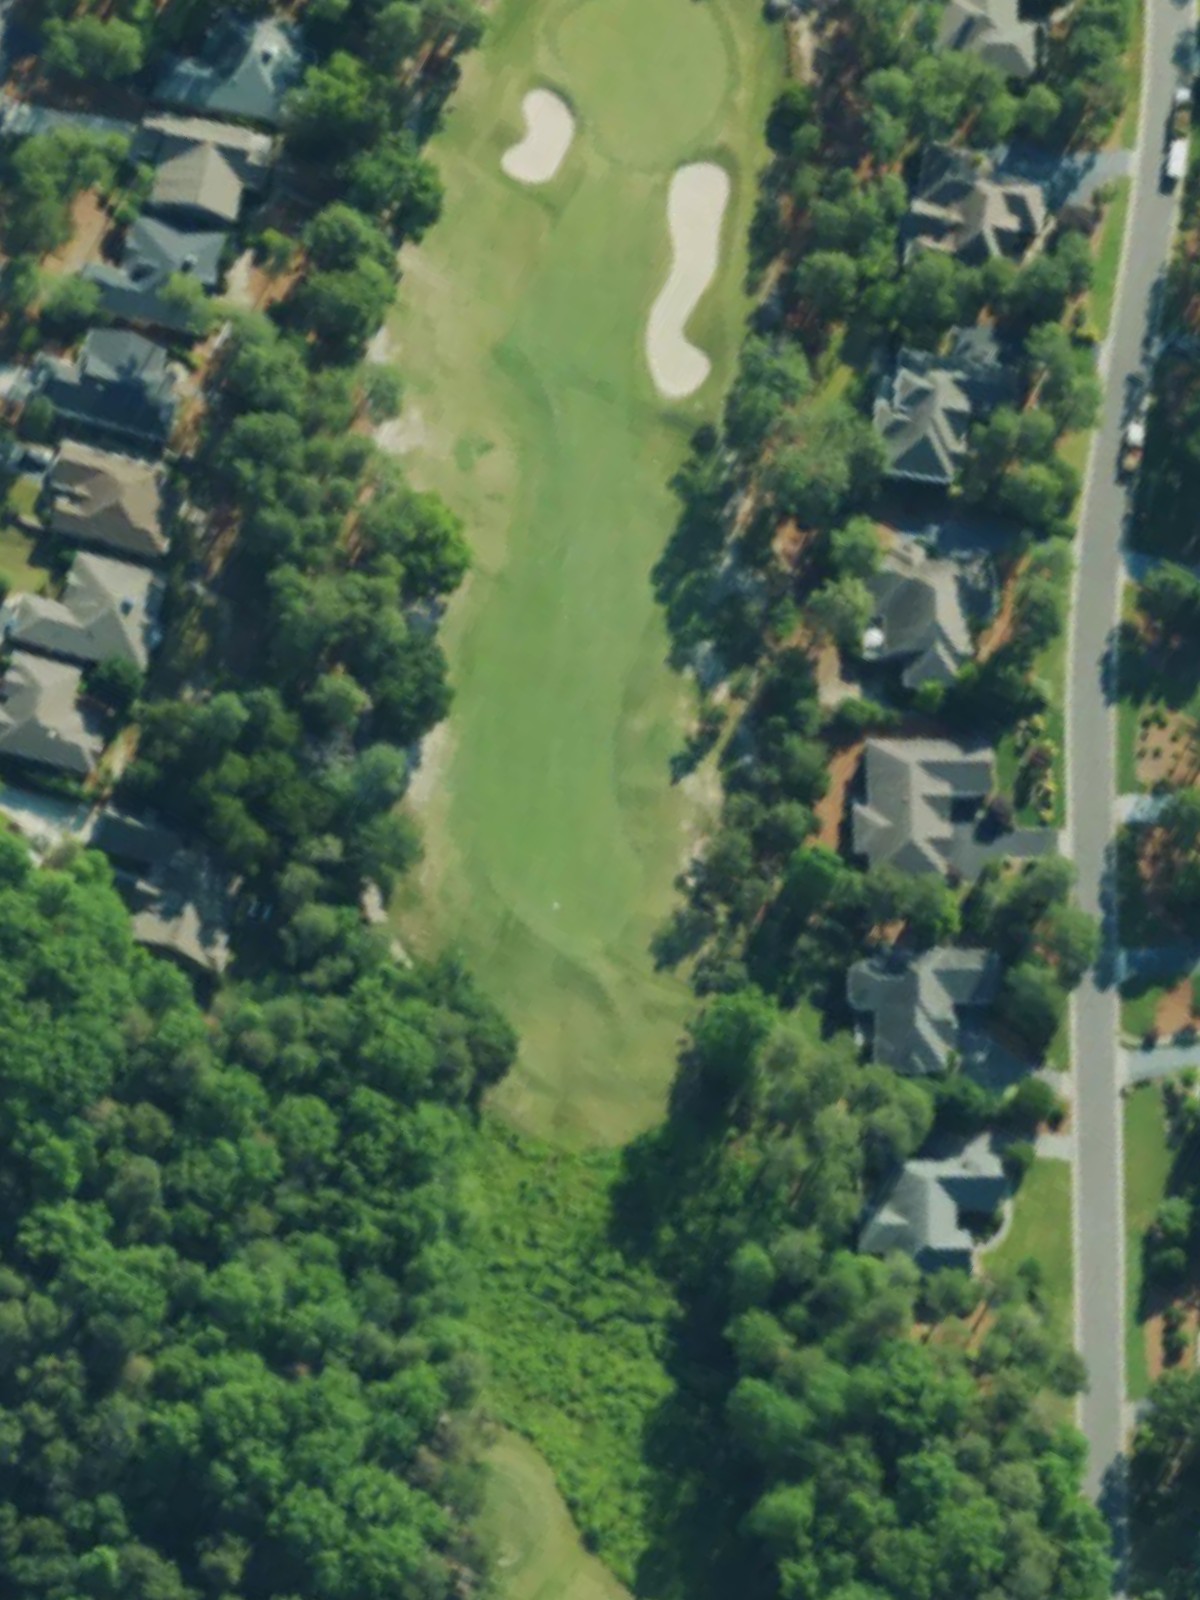
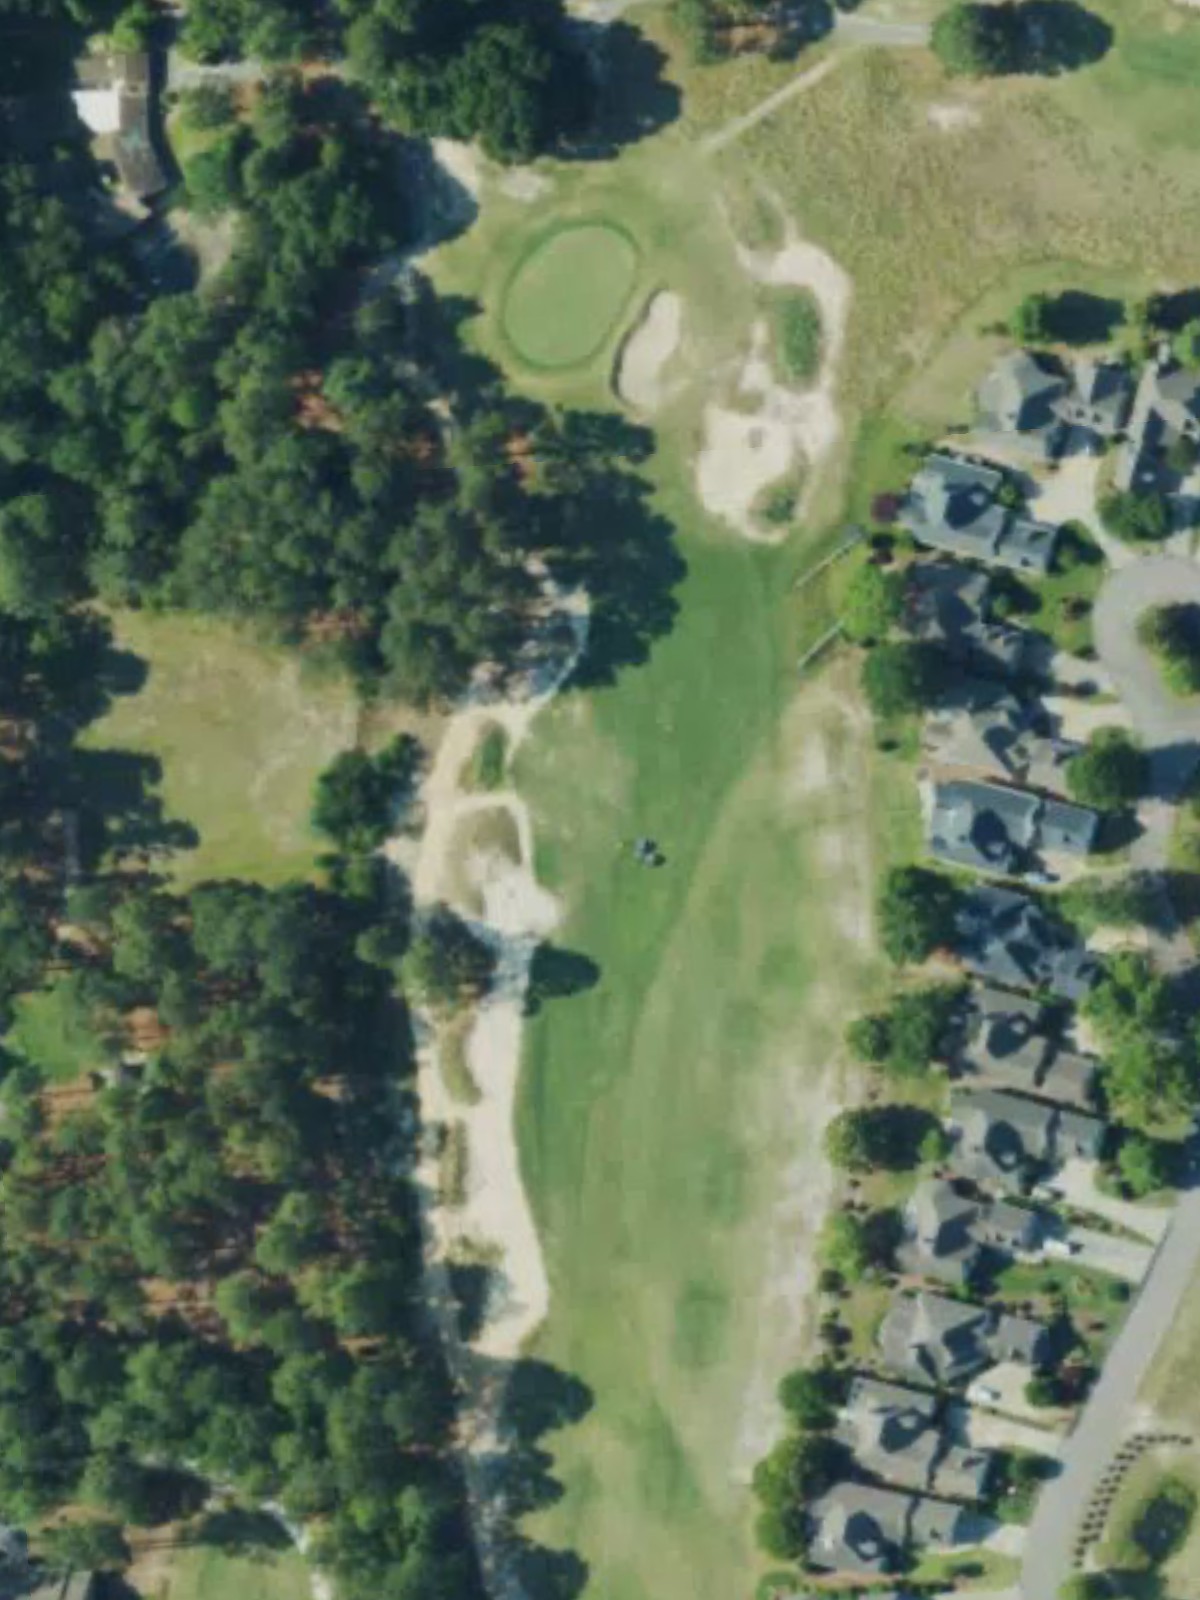
A solid par 4 with a moderate length and straightforward character, though hazards frame the playing corridor to demand consistent ball-striking. The green is well-protected, making the approach shot the defining moment of the hole.
A reachable par 5 that can be attacked by longer hitters looking for a two-shot opportunity, while others will play it as a controlled three-shot hole. The expansive yardage and straightforward routing provide flexibility in approach, though hazard placement demands attention on the second and third shots.
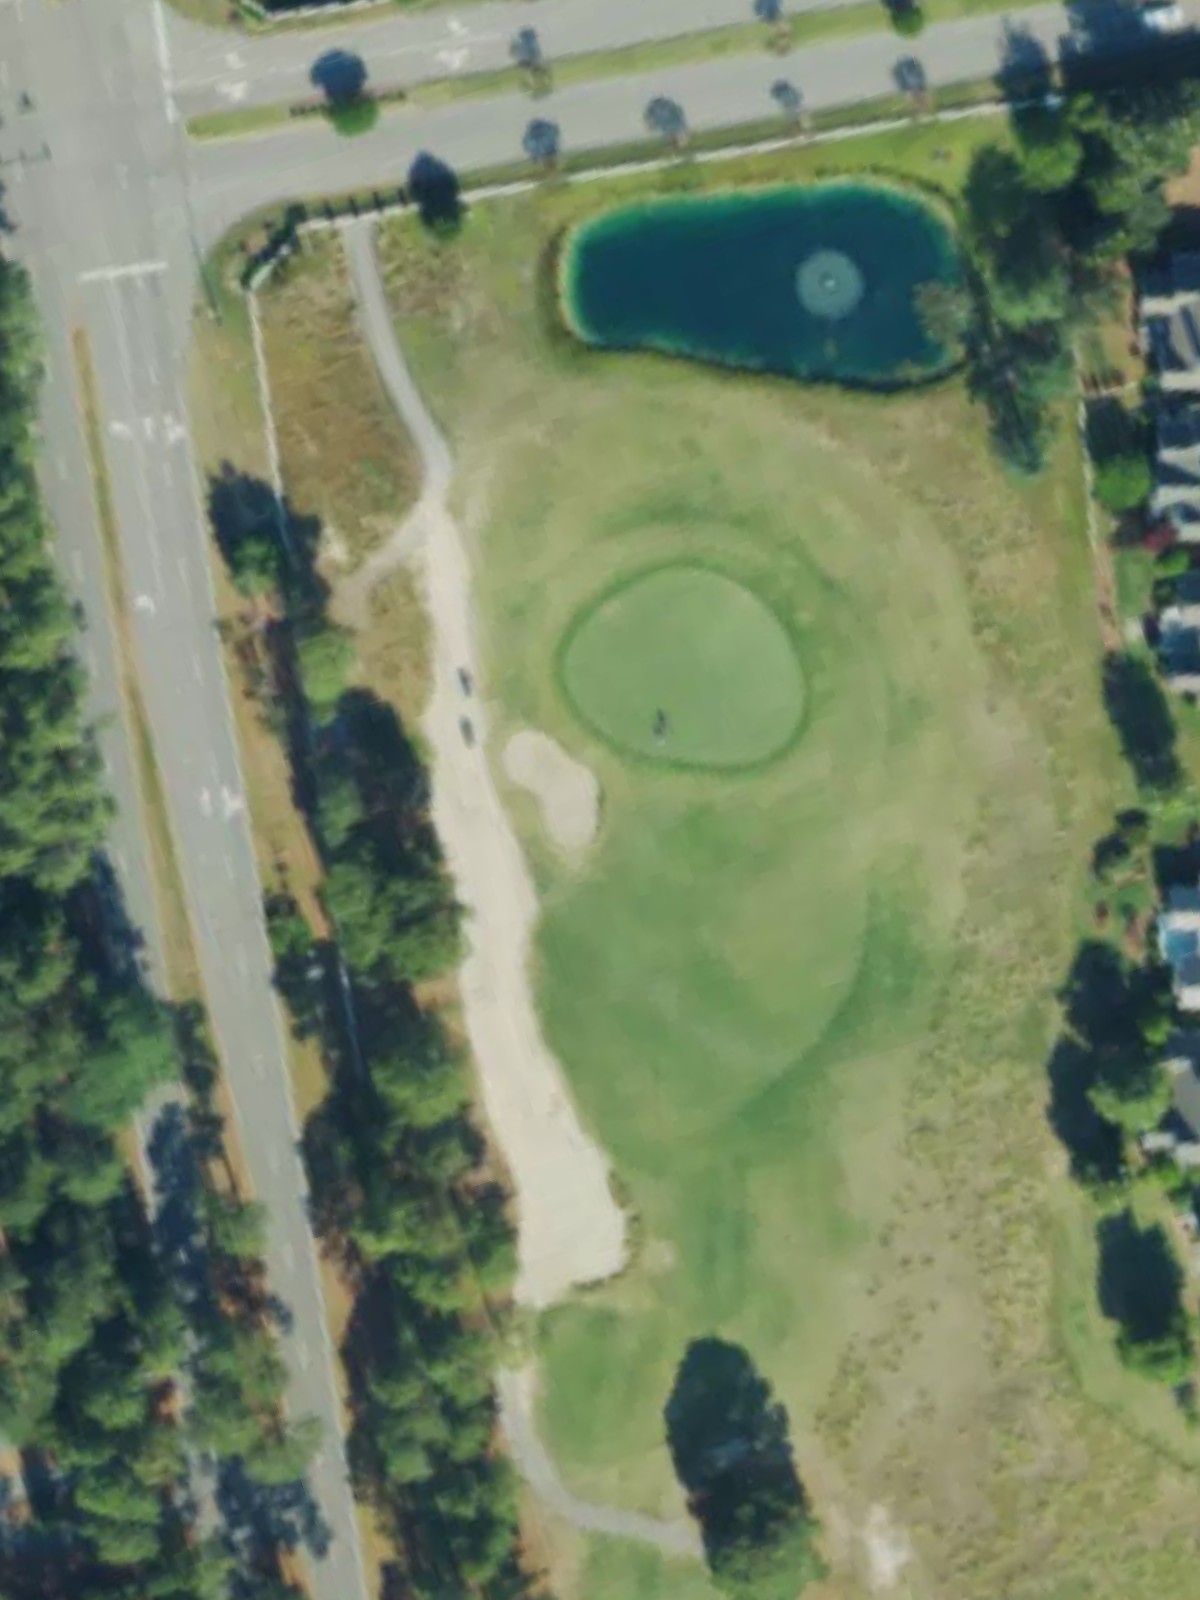
One of the course's shortest par 3s, this hole trades distance for precision, requiring a well-struck tee shot to a compact green. The diminutive yardage makes it a birdie opportunity, but the small target leaves little room for adjustment.
A short par 4 that emphasizes position over power, with a narrow fairway that dictates the line of play from the tee. The green complex is tight, making the approach shot critical and rewarding those who position themselves correctly off the tee.
The course's most challenging par 4, this hole stretches significantly longer than its opening counterpart and presents a stern test of all-around golf. The distance and difficulty combine to make this the signature hole of the front nine, with hazards and narrowing fairways penalizing errant shots.
A well-balanced par 4 with a fairway that narrows as it approaches the green, where bunkers and other hazards pinch the landing area. The hole rewards a confident and accurate approach shot to a green that slopes and moves unpredictably.
A mid-length par 4 that features a dramatic change in terrain or orientation compared to its neighbors, with hazards strategically placed to catch wayward tee shots. The approach to the green is the hole's defining challenge, with bunkers and contours creating a demanding final stroke.
A solid par 4 with a fairway that sets up naturally toward the green, though hazards and bunkering around the landing area demand precision off the tee. The green complex is well-guarded, making the approach shot a critical decision point in the hole's strategy.
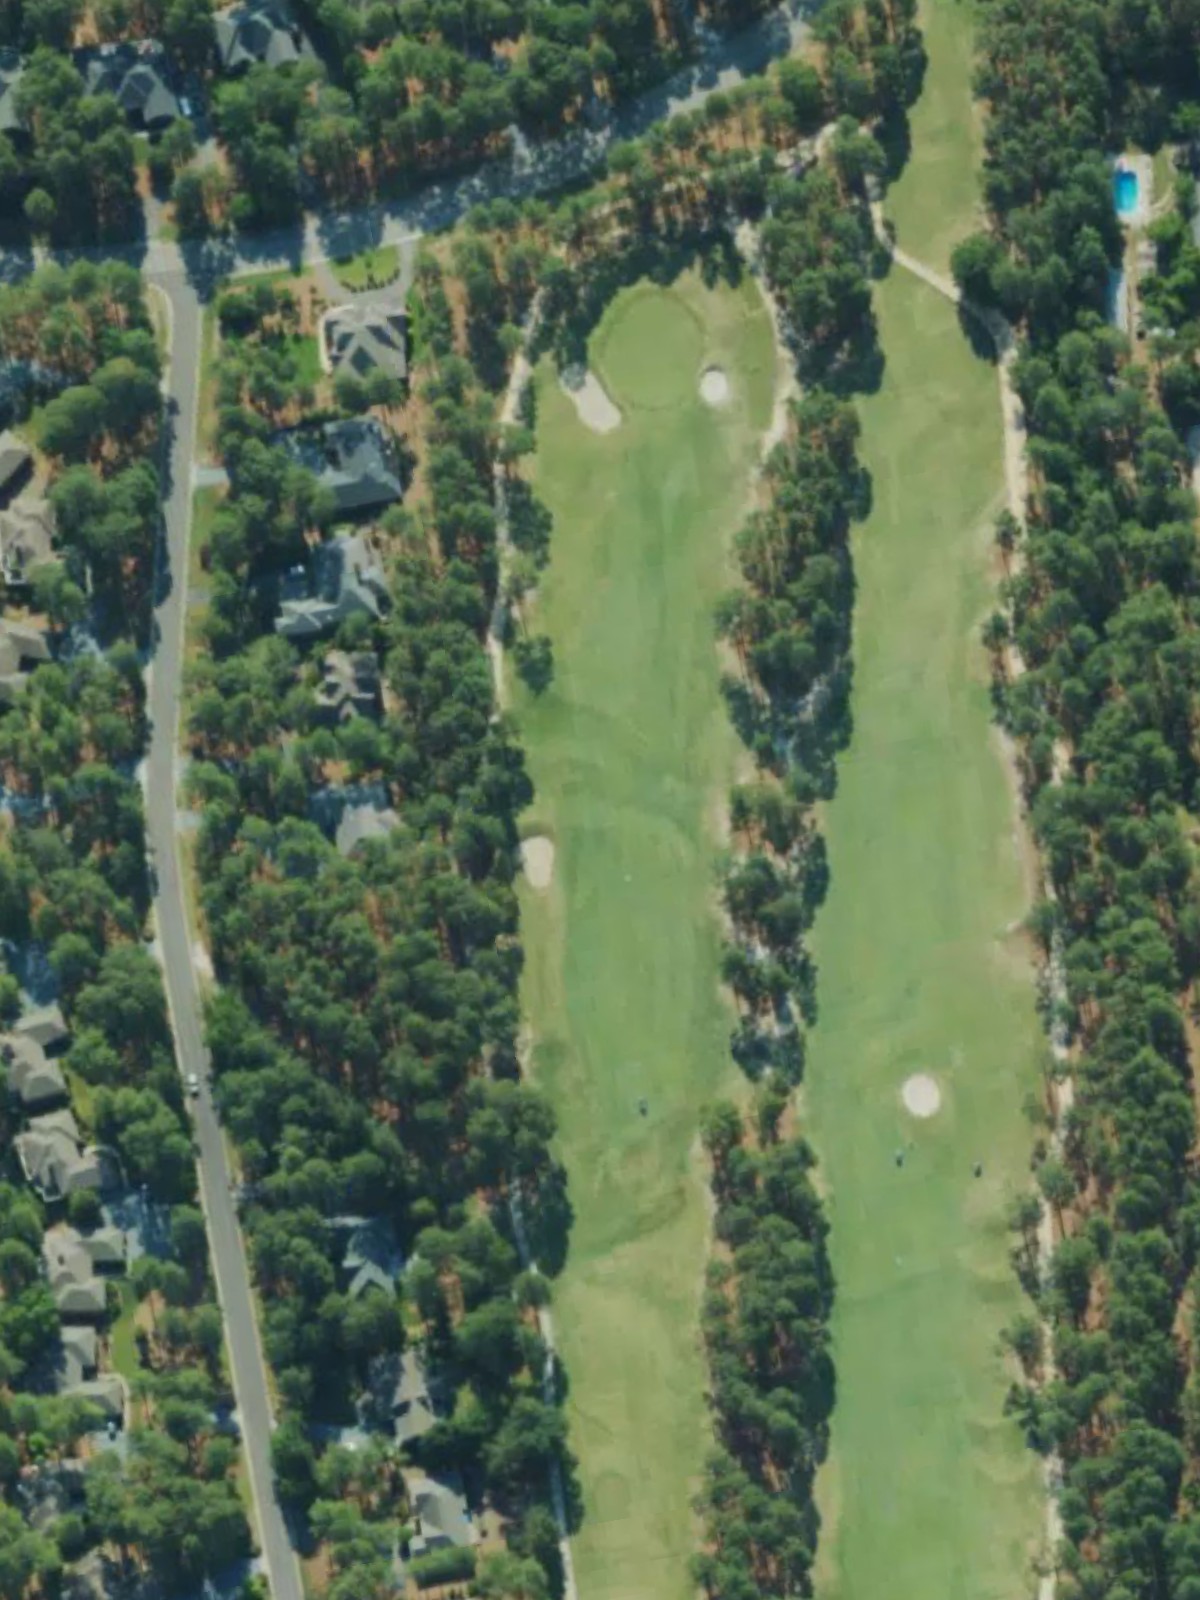
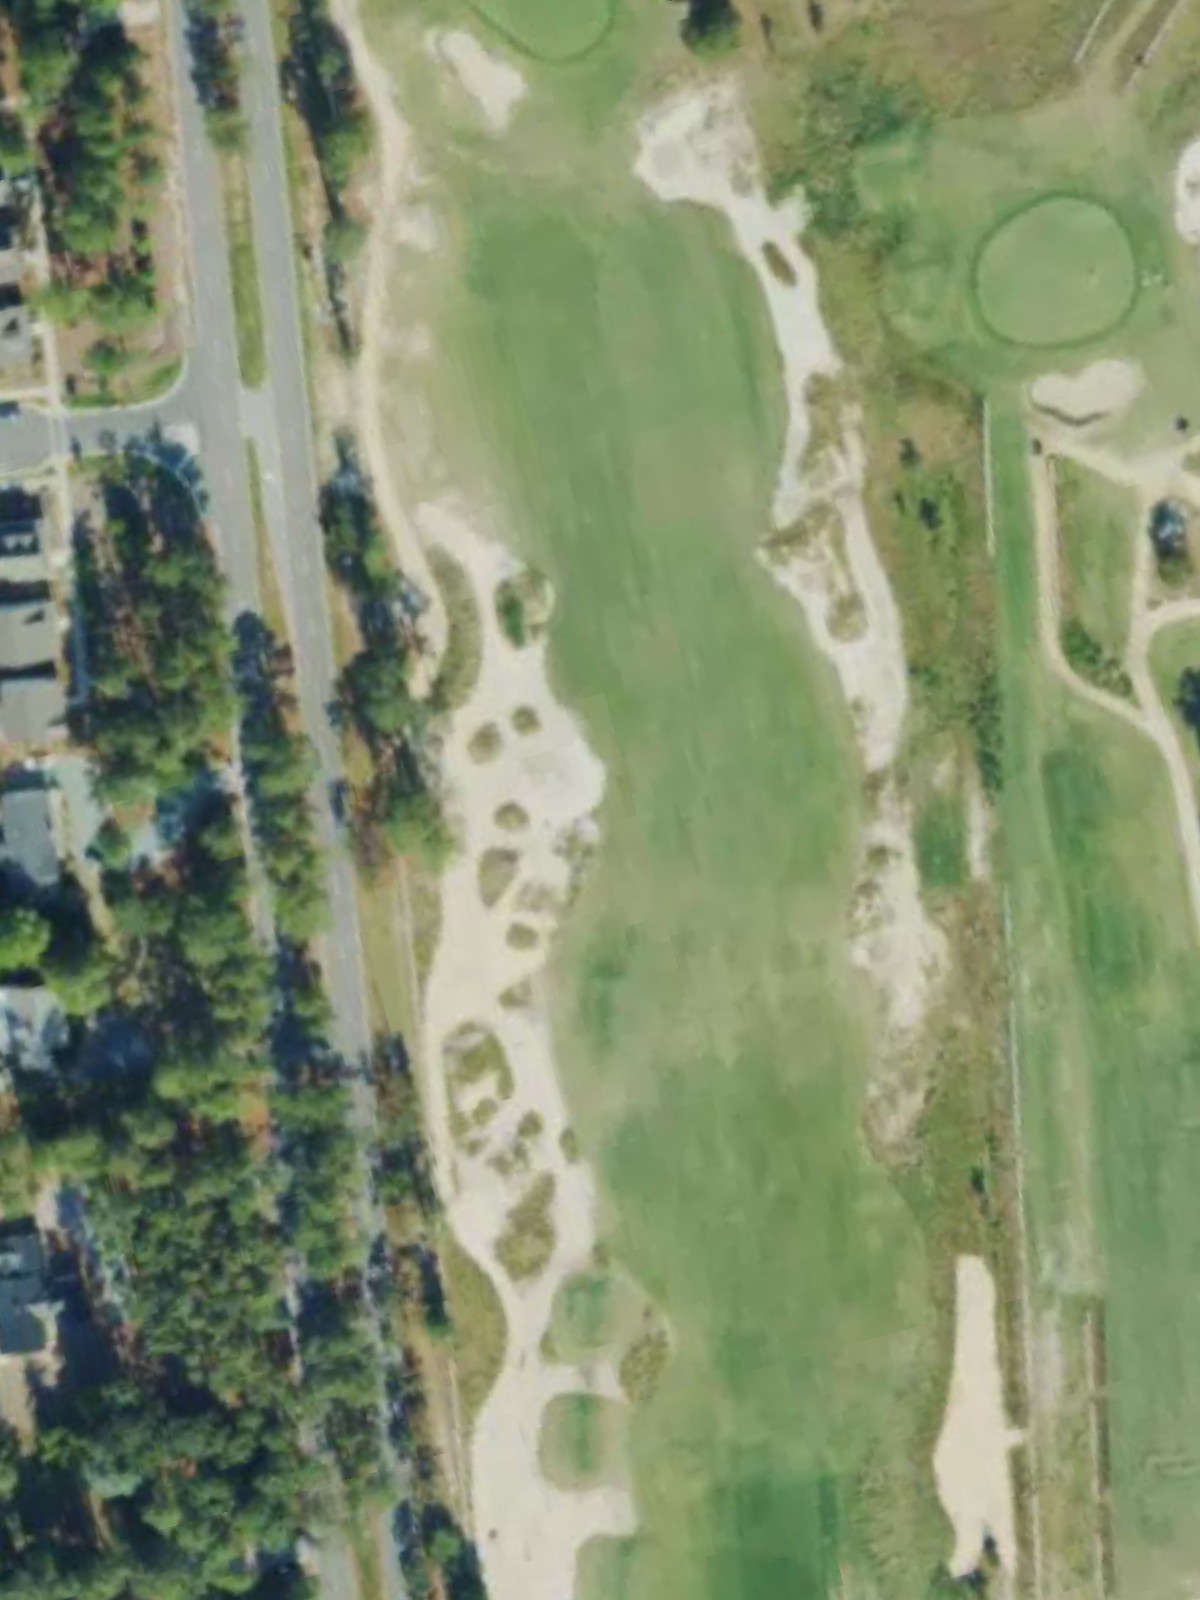
A par 5 with substantial length that plays longer than its yardage suggests, offering both an aggressive and conservative route depending on a player's confidence and ability. The hole's routing and hazard placement reward controlled play and proper positioning for the approach.
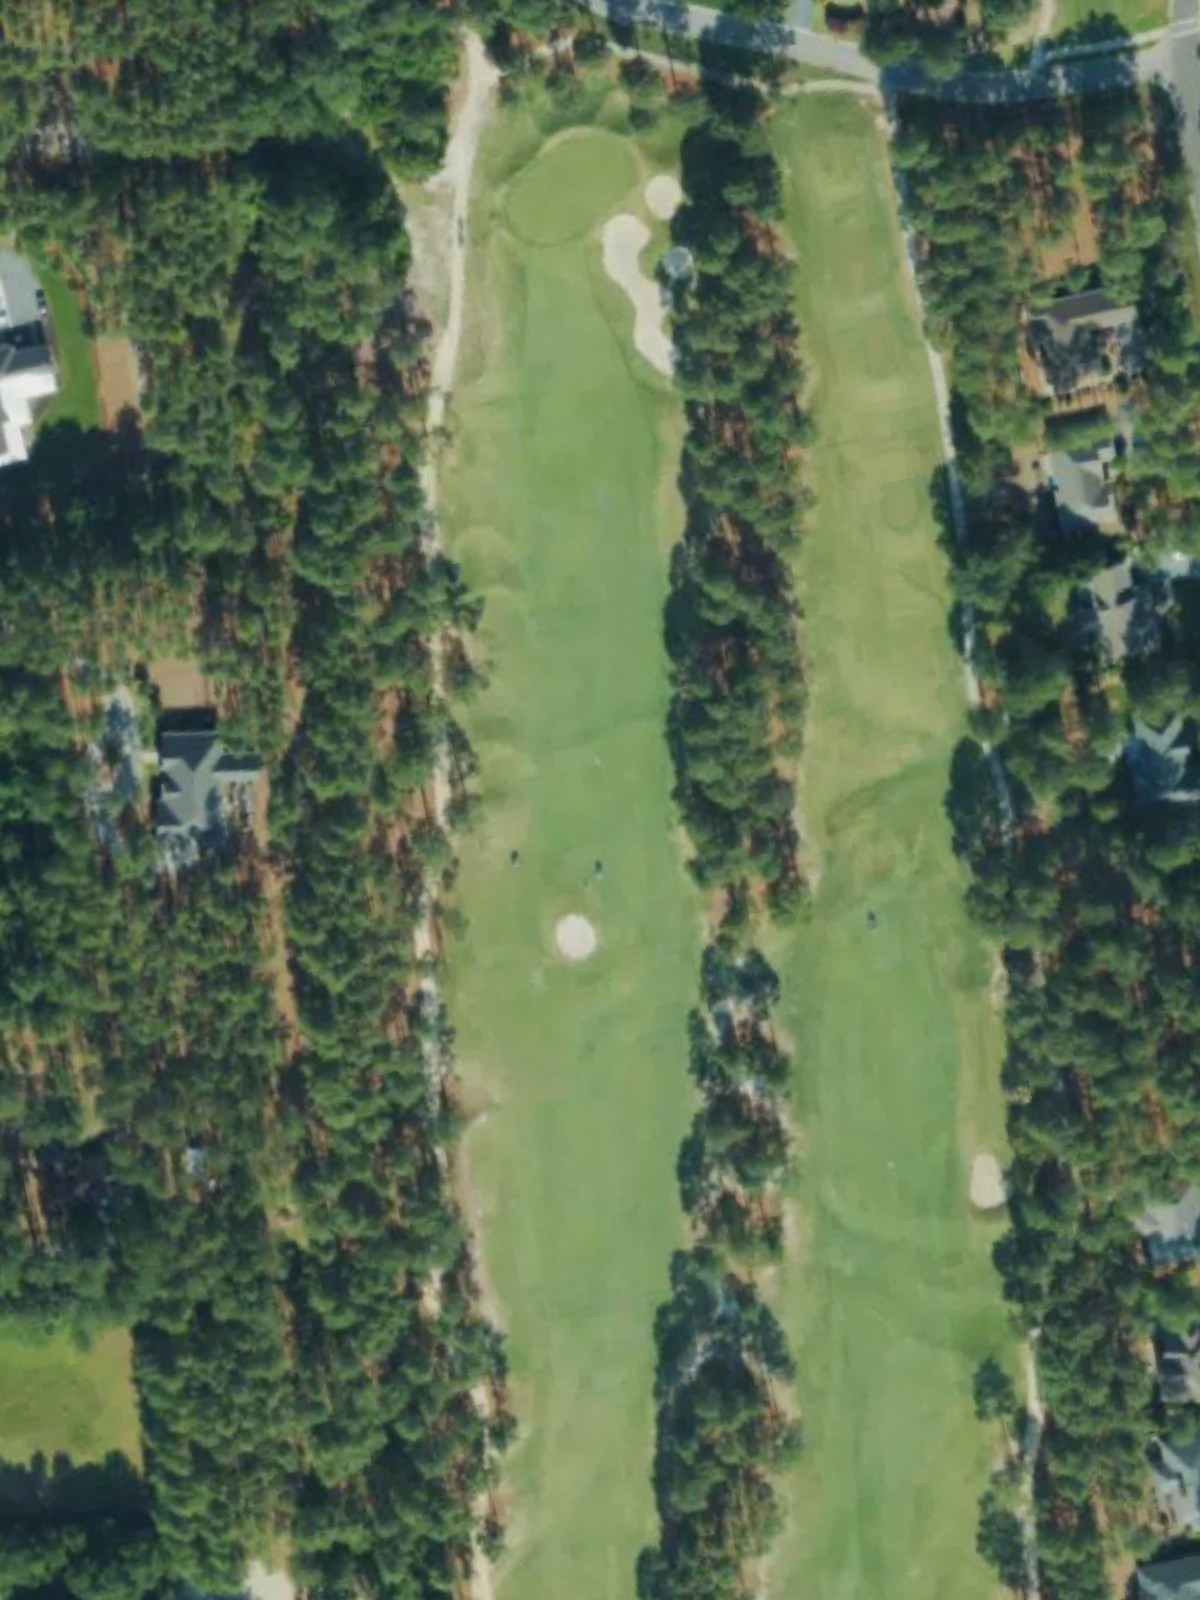
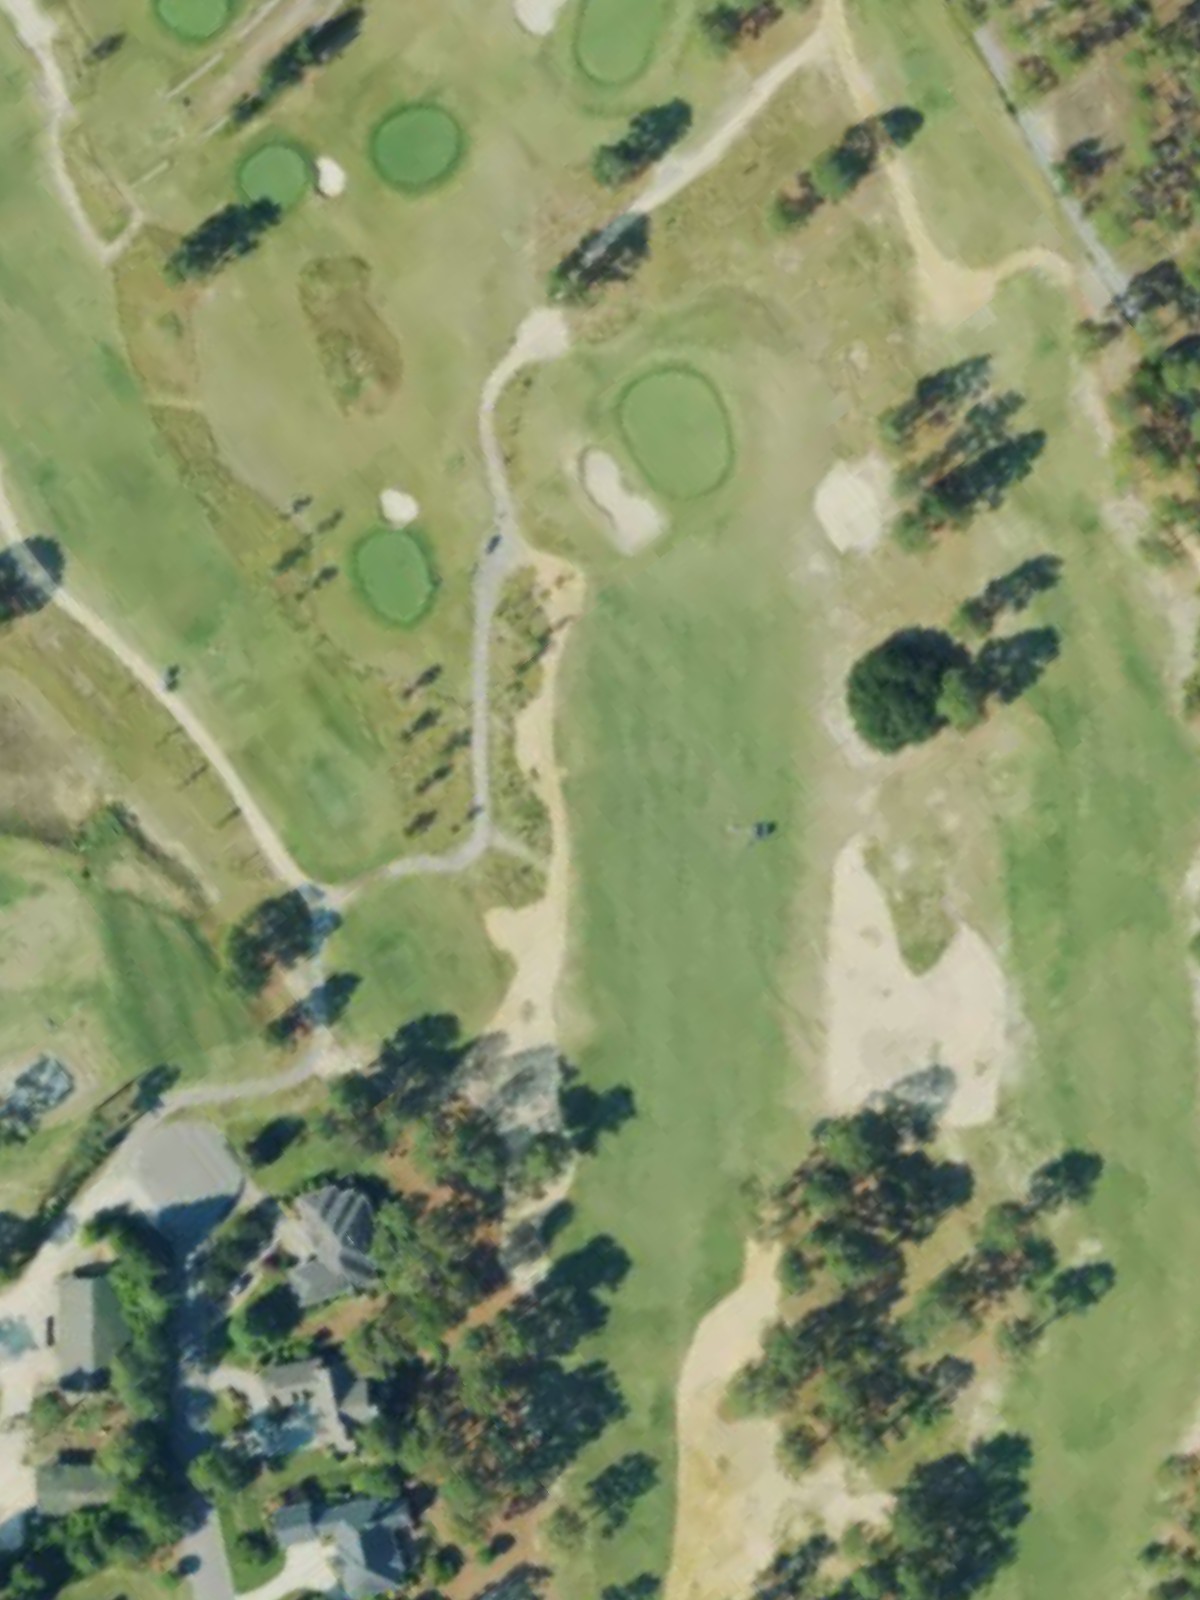
The back nine's signature par 4, this hole combines length and complexity to rank among the course's most difficult. Hazards frame the fairway and guard the green, with limited bail-out areas making accuracy and bold execution essential.
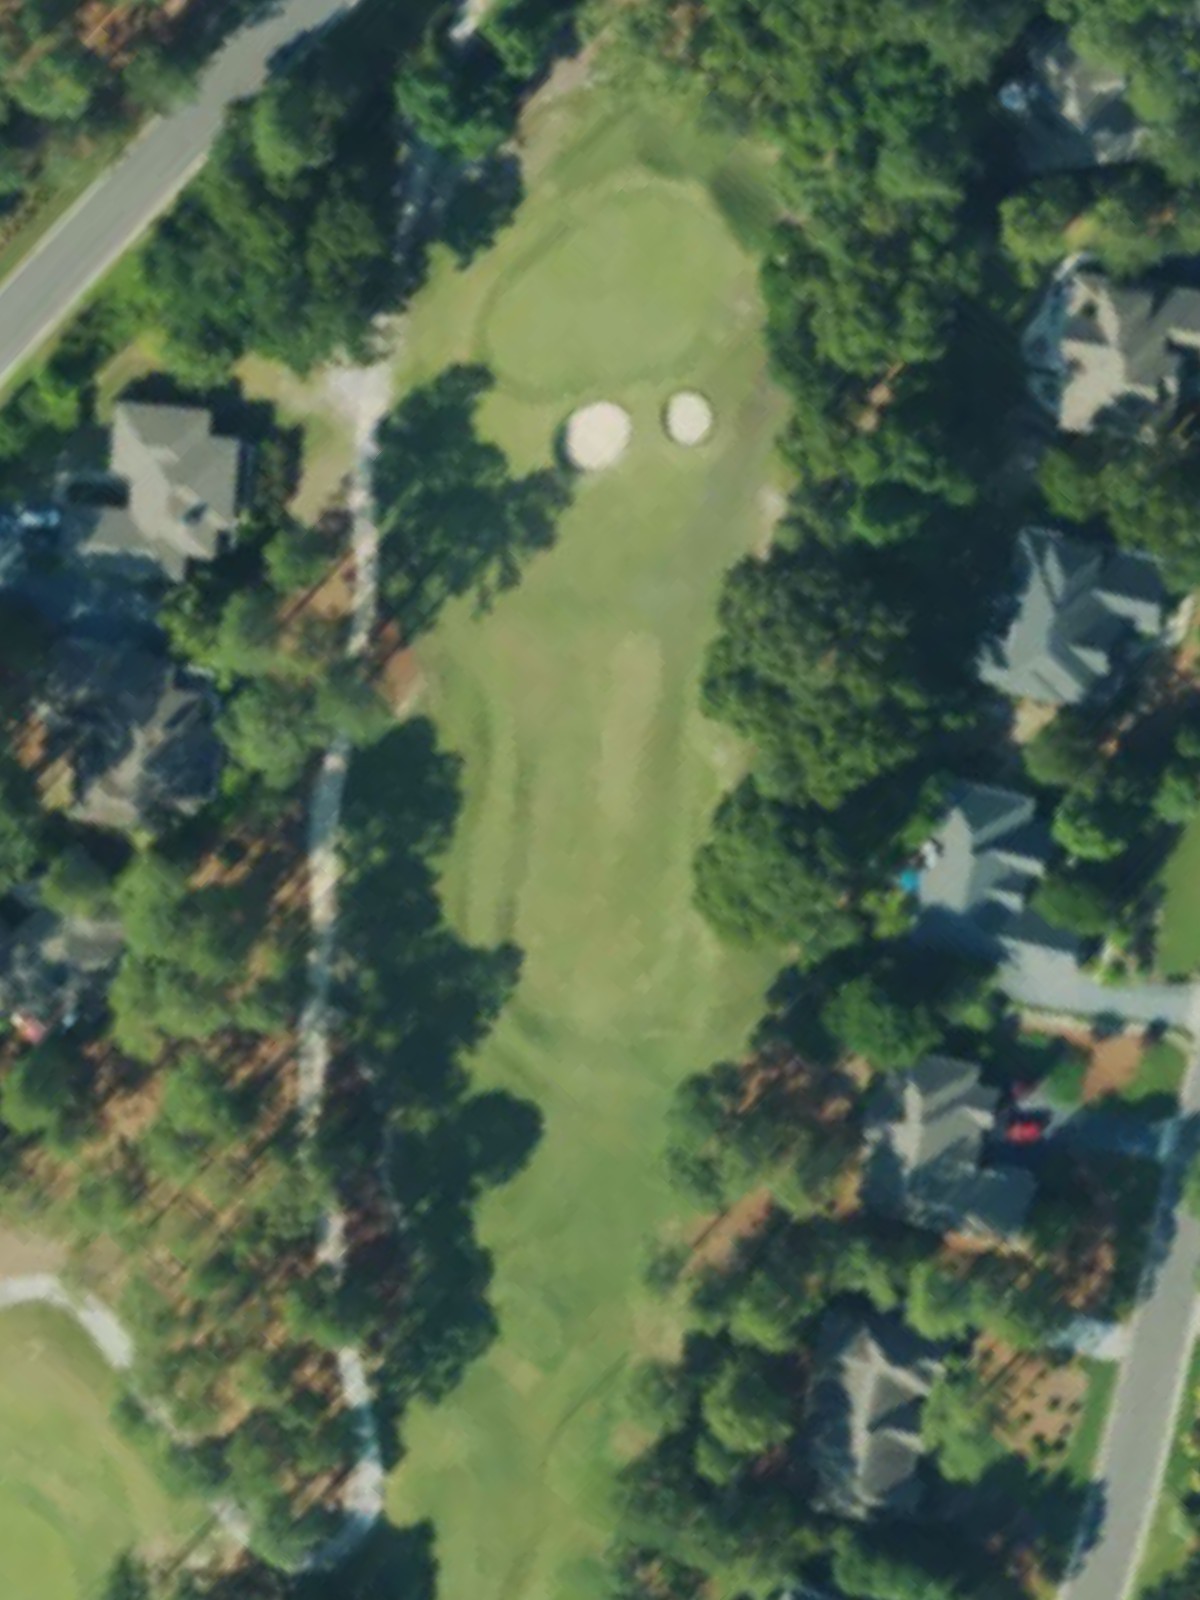
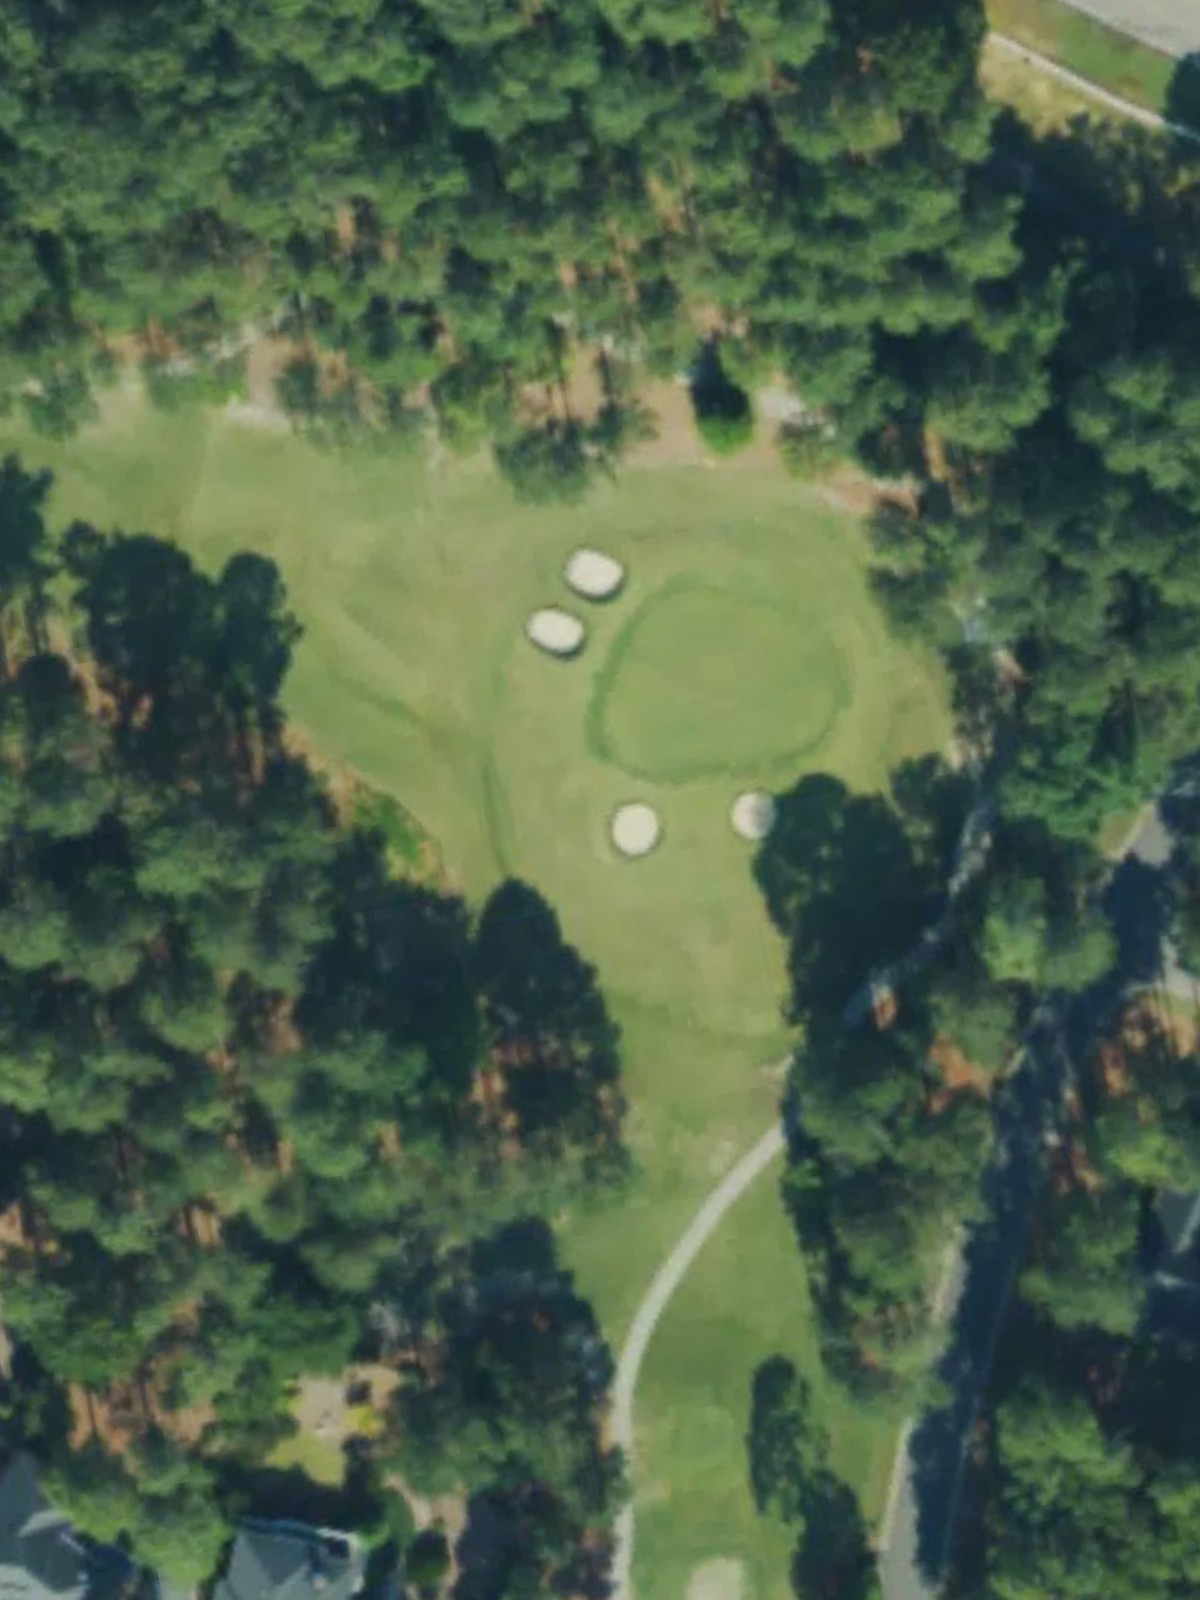
An extremely short par 3 that plays as a risk-reward hole, with the small yardage masking a potentially treacherous green complex. The minimal distance should yield a birdie, but poor course management or an unlucky bounce can quickly become a problem.
A mid-length par 4 with a straightforward character and natural routing from tee to green, though hazards and bunkering along the fairway demand attention. The green's shape and protection create an interesting second-shot puzzle that rewards thoughtful club selection.
A mid-range par 3 that sits comfortably between the course's shortest and longest one-shot holes, offering a balanced test of iron play and distance control. The green is defended in a way that requires the right club and a committed swing to find the center of the target.
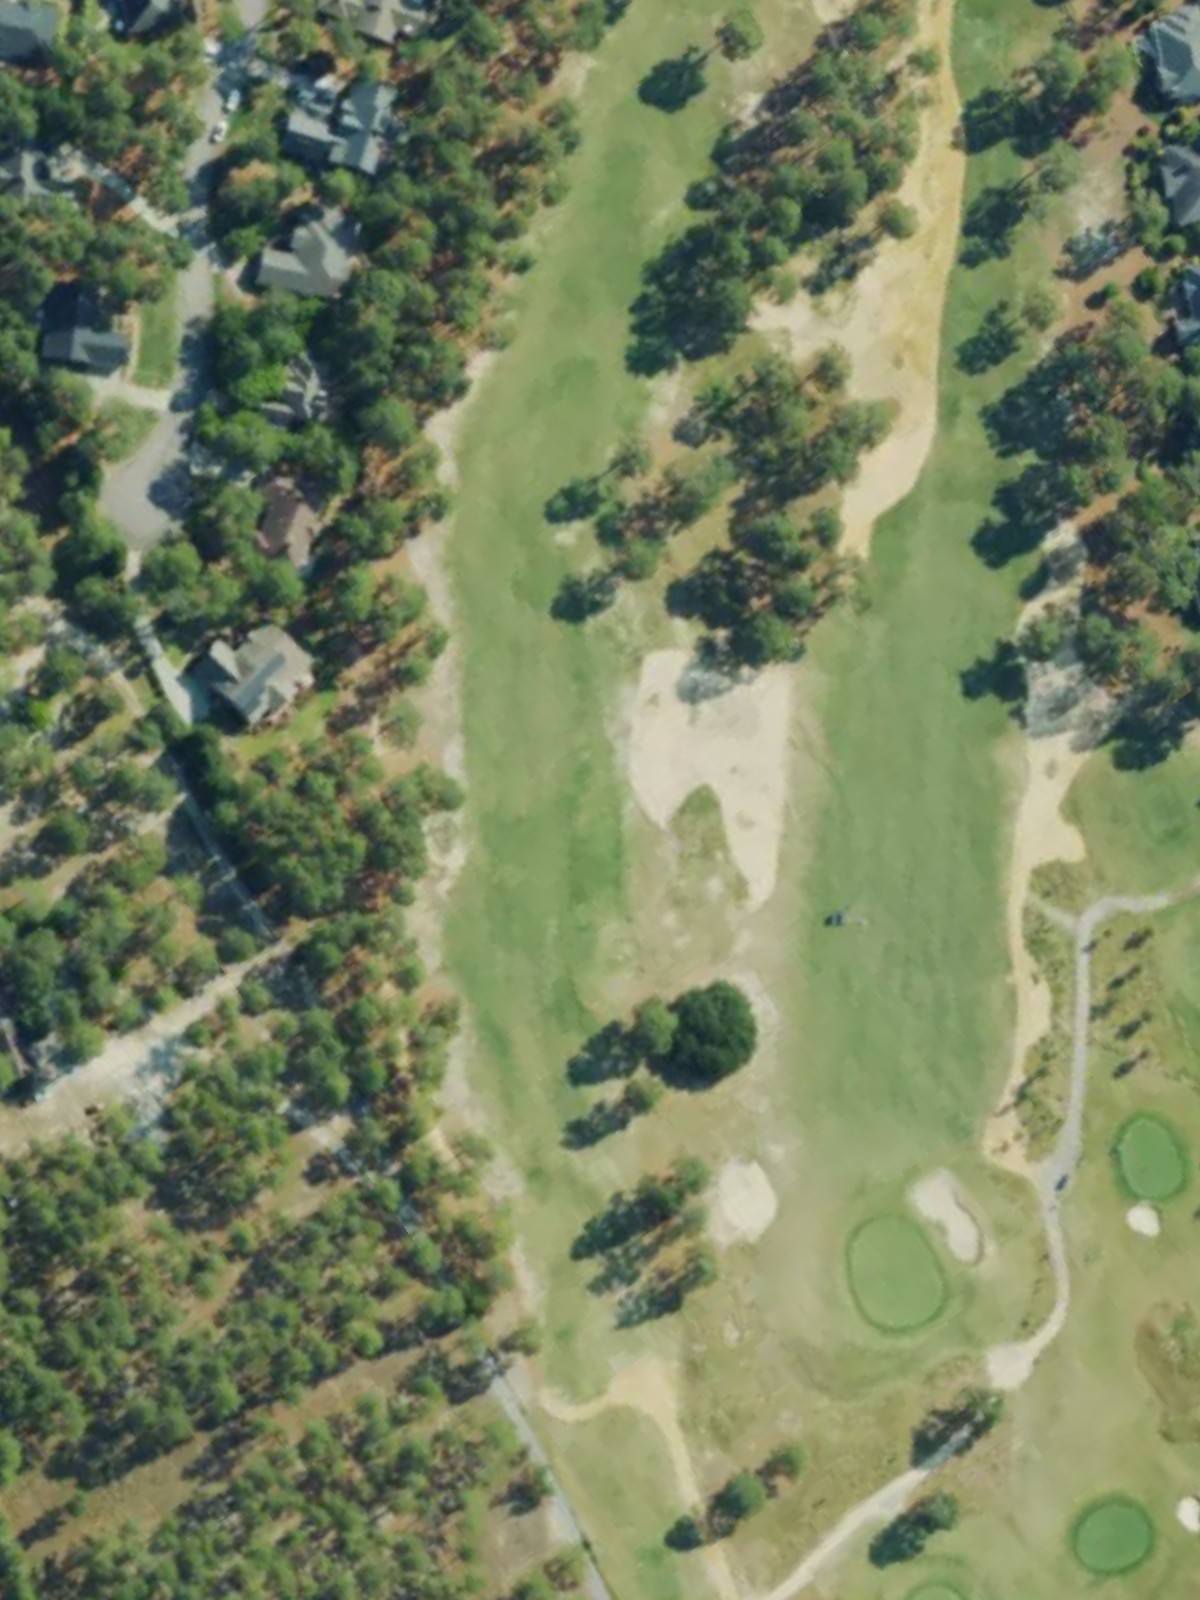
The most demanding par 4 on the course, this hole stretches significantly and features a routing that may dogleg or present visibility challenges from the tee. The length, hazard placement, and green complex combine to create the back nine's toughest test of comprehensive golf skill.

A relatively short par 4 that compensates for its limited yardage with a tight fairway and strategic hazard placement, making position off the tee paramount. The modest distance allows for aggressive play, but the narrow landing areas and well-defended green punish anything offline.
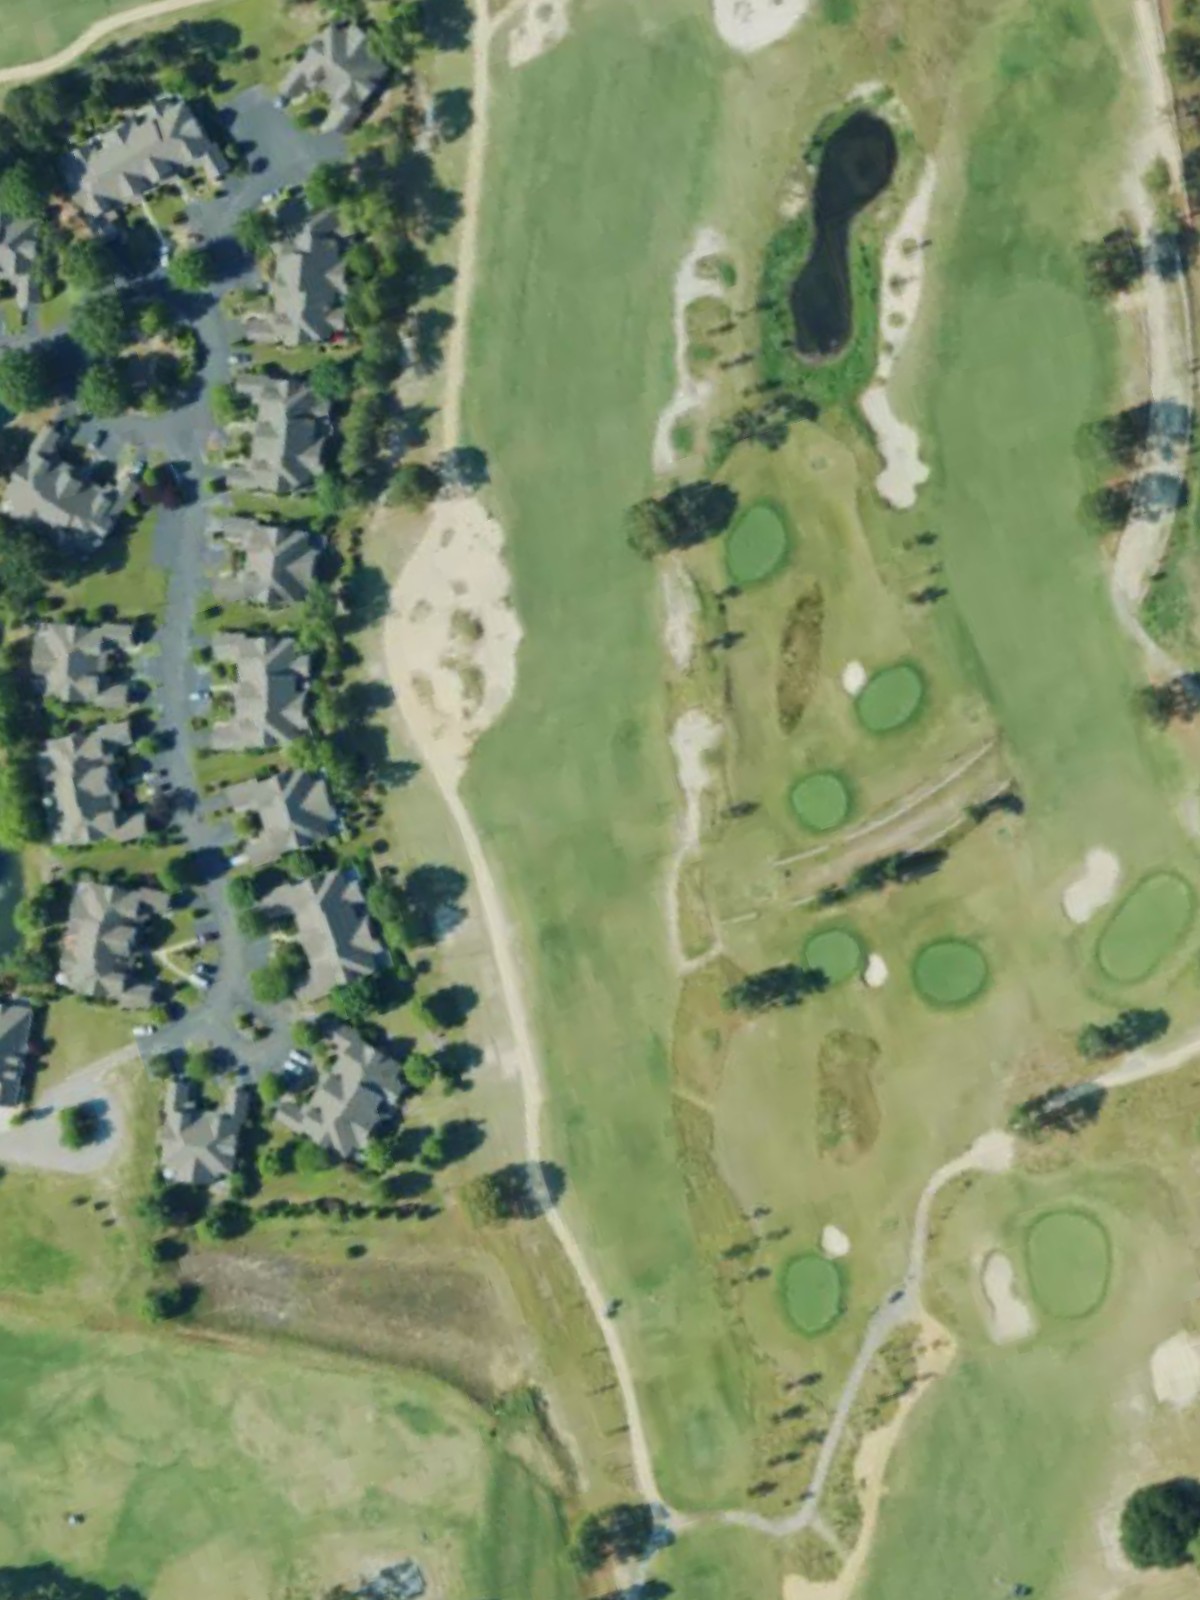
A dramatic closing par 4 that combines length, hazards, and a strategic routing to create a memorable finish to the round. The hole's difficulty and significance as the final test demand composure and solid execution to close out a solid round.
Scorecard
| Hole | 1 | 2 | 3 | 4 | 5 | 6 | 7 | 8 | 9 | Out | 10 | 11 | 12 | 13 | 14 | 15 | 16 | 17 | 18 | In | Tot |
|---|---|---|---|---|---|---|---|---|---|---|---|---|---|---|---|---|---|---|---|---|---|
| Par | 5 | 3 | 4 | 5 | 3 | 4 | 4 | 4 | 4 | 36 | 4 | 5 | 4 | 3 | 4 | 3 | 4 | 4 | 4 | 35 | 71 |
| HCP | 4 | 16 | 6 | 14 | 18 | 12 | 2 | 8 | 10 | 7 | 15 | 5 | 17 | 9 | 13 | 1 | 11 | 3 | |||
| gold tees | 615 | 197 | 411 | 505 | 159 | 337 | 422 | 404 | 356 | 3406 | 362 | 530 | 413 | 174 | 372 | 230 | 439 | 327 | 428 | 3275 | 6681 |
| blue tees | 593 | 173 | 386 | 487 | 154 | 312 | 398 | 382 | 348 | 3233 | 341 | 509 | 393 | 150 | 344 | 210 | 415 | 309 | 401 | 3072 | 6305 |
| white tees | 553 | 160 | 361 | 473 | 130 | 291 | 374 | 356 | 329 | 3027 | 321 | 490 | 368 | 122 | 314 | 183 | 388 | 290 | 373 | 2849 | 5876 |
| white/green hybrid | 553 | 160 | 322 | 473 | 130 | 291 | 359 | 307 | 329 | 2924 | 321 | 490 | 368 | 122 | 314 | 148 | 356 | 290 | 361 | 2770 | 5694 |
| green tees | 426 | 137 | 322 | 445 | 123 | 264 | 359 | 307 | 236 | 2619 | 298 | 448 | 345 | 98 | 282 | 148 | 356 | 263 | 361 | 2599 | 5218 |
| red tees | 420 | 121 | 315 | 401 | 101 | 258 | 240 | 300 | 210 | 2366 | 270 | 443 | 340 | 84 | 276 | 140 | 282 | 258 | 266 | 2359 | 4725 |