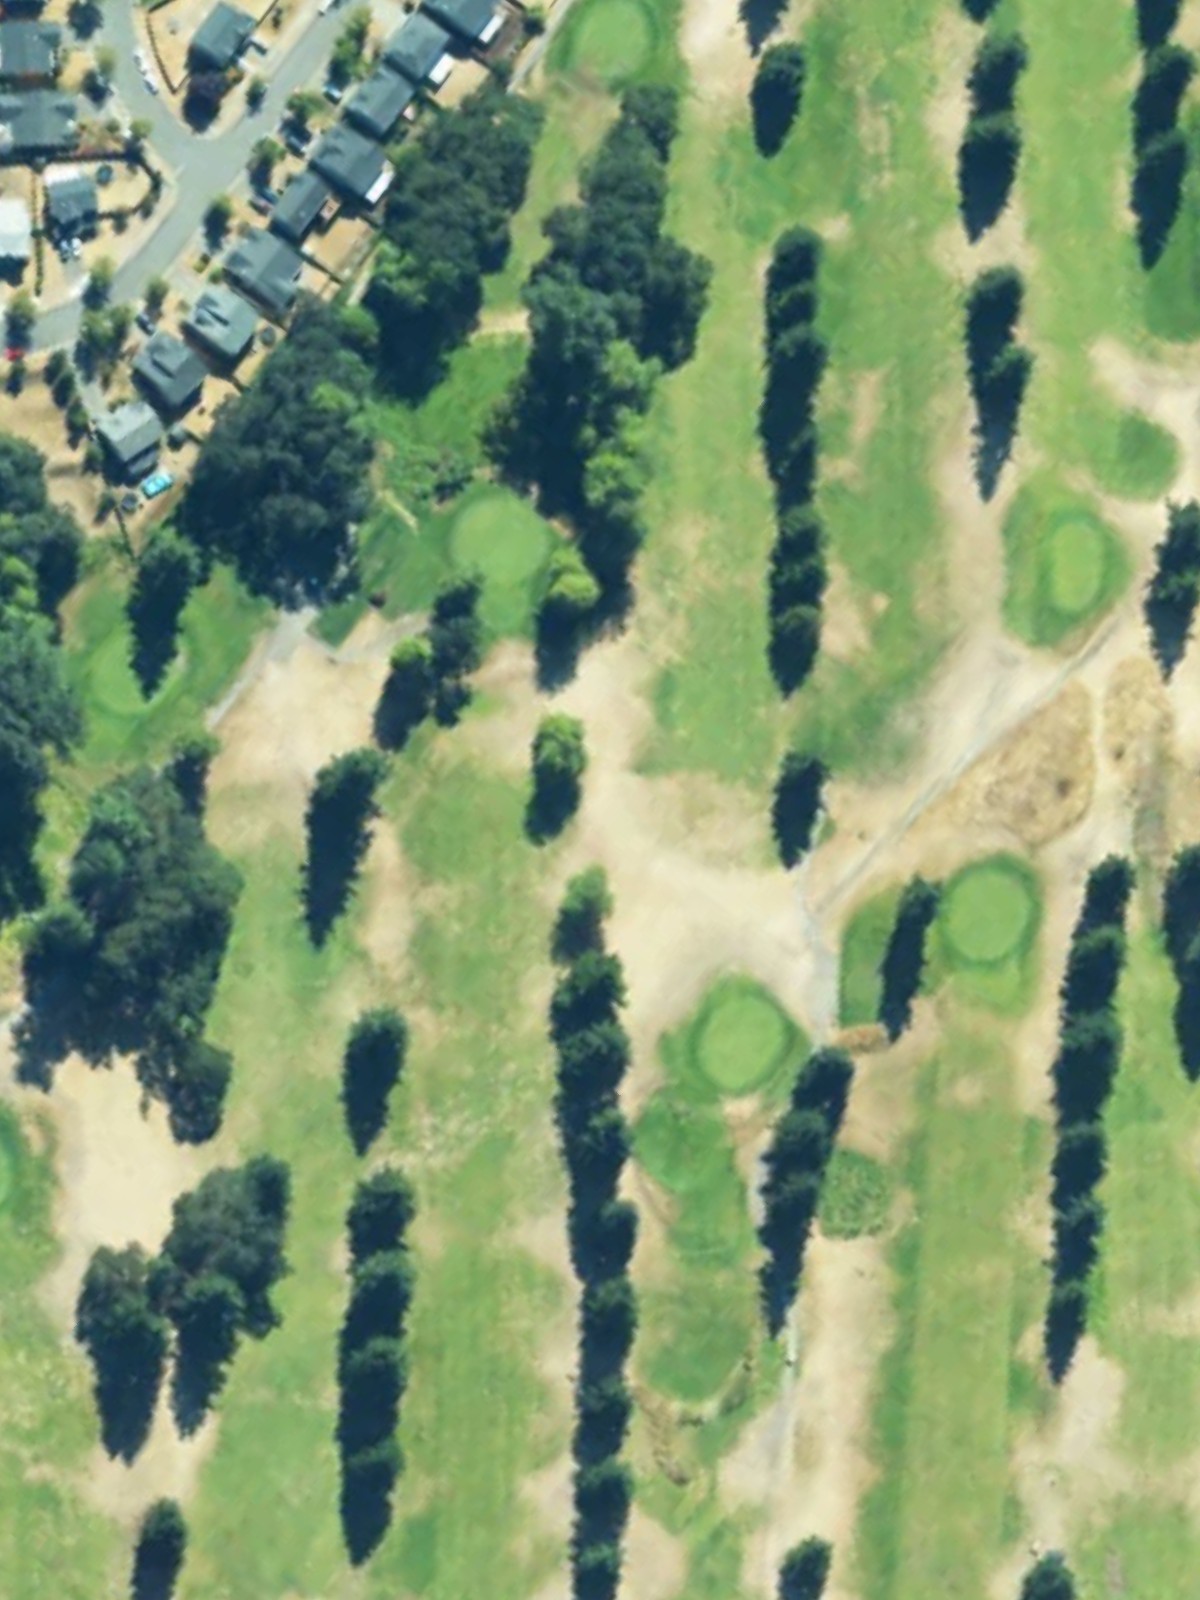
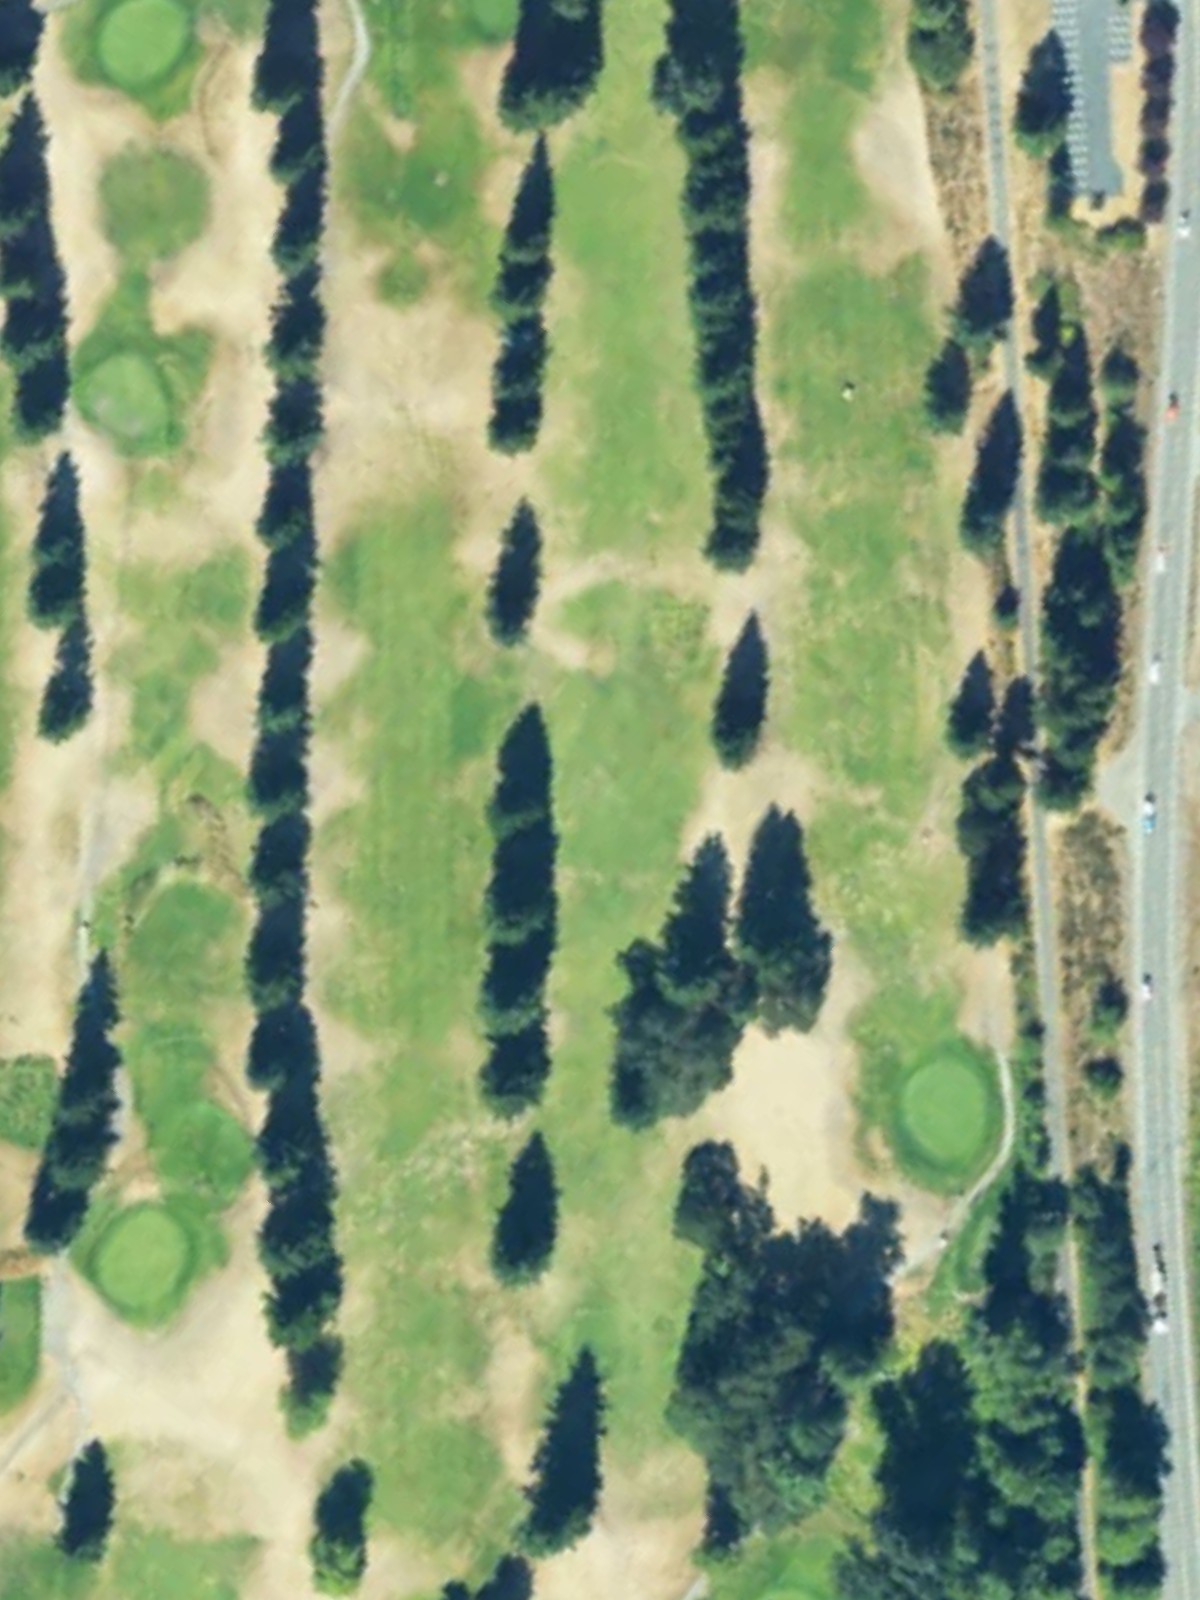
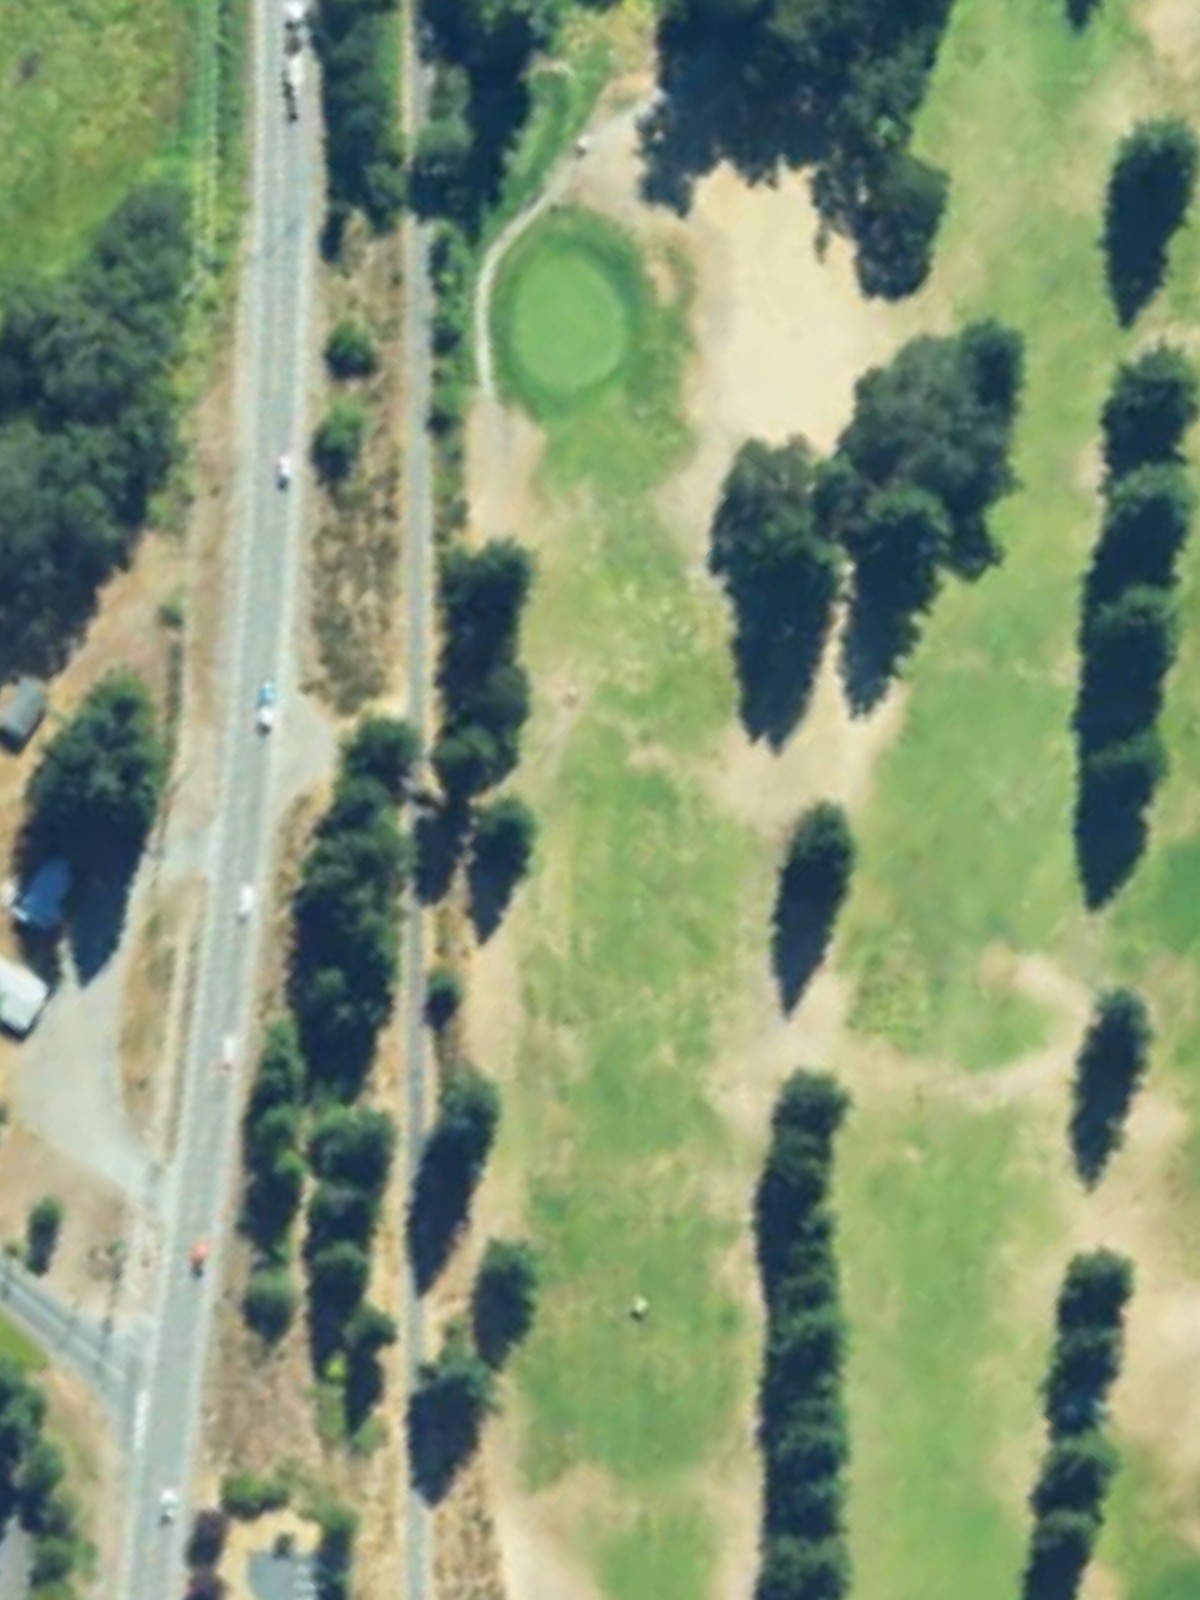
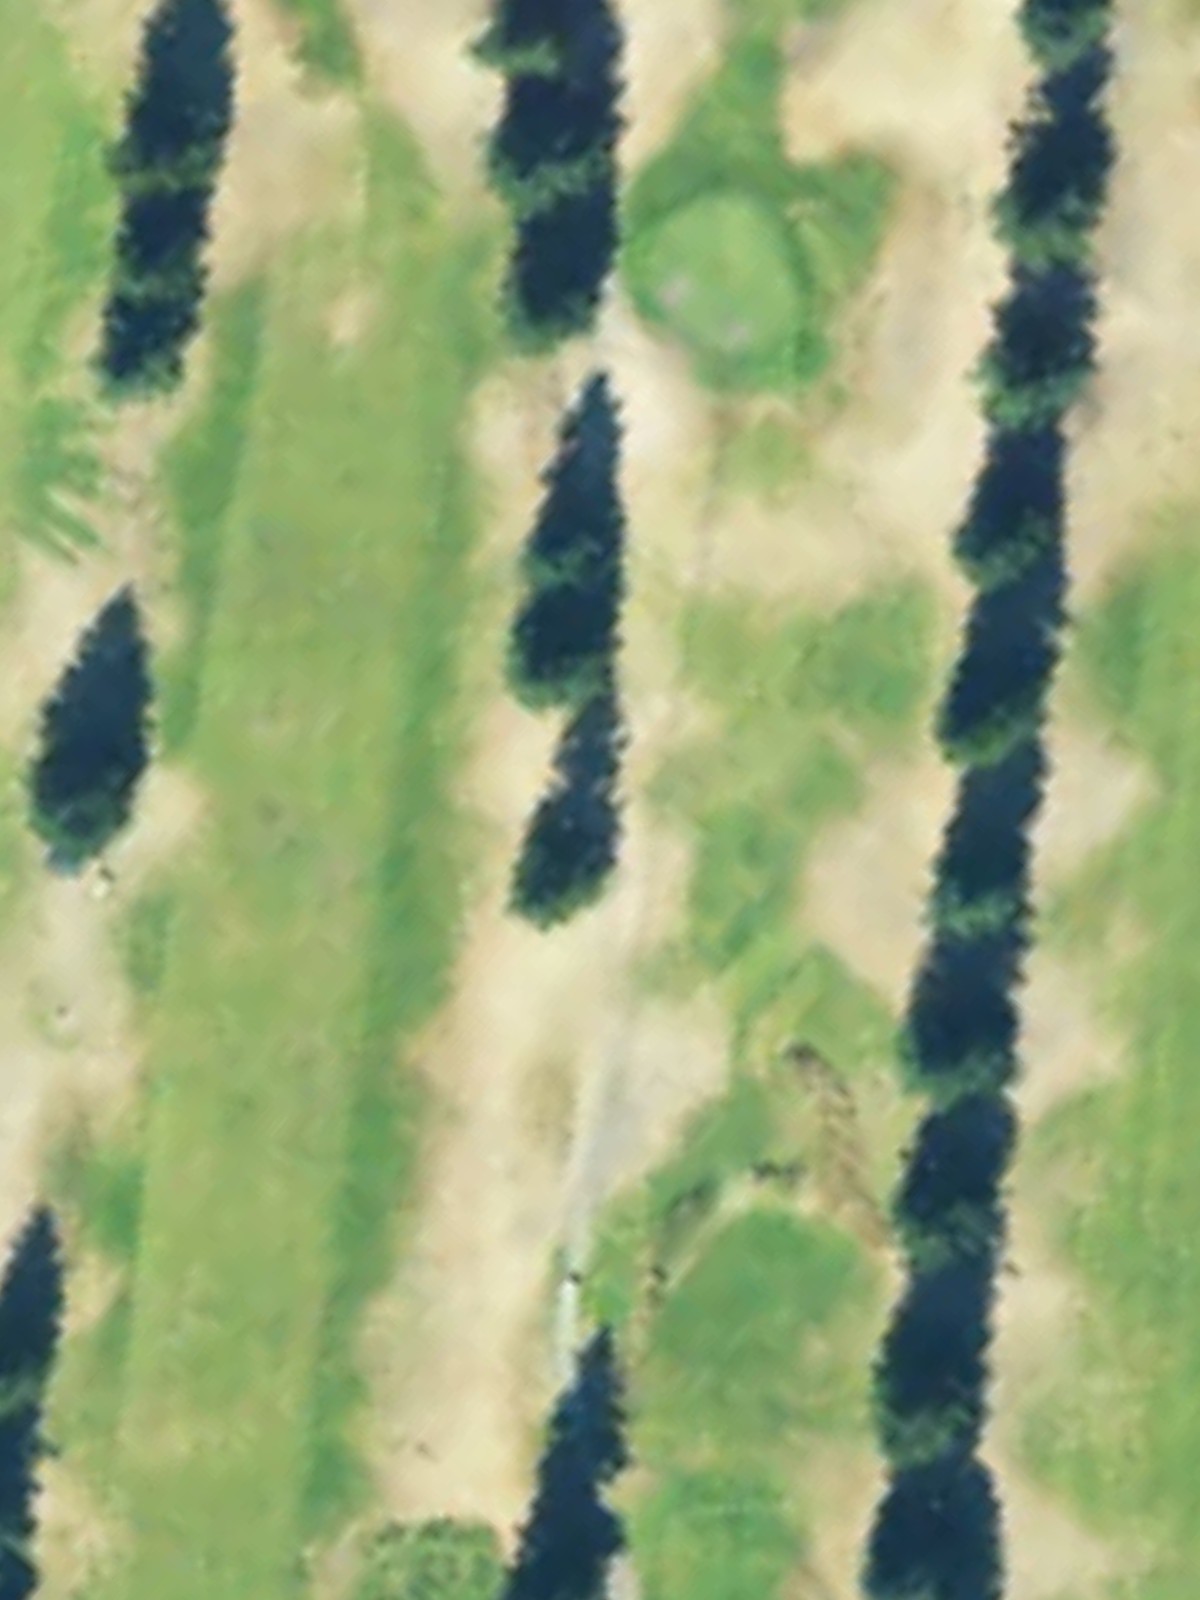
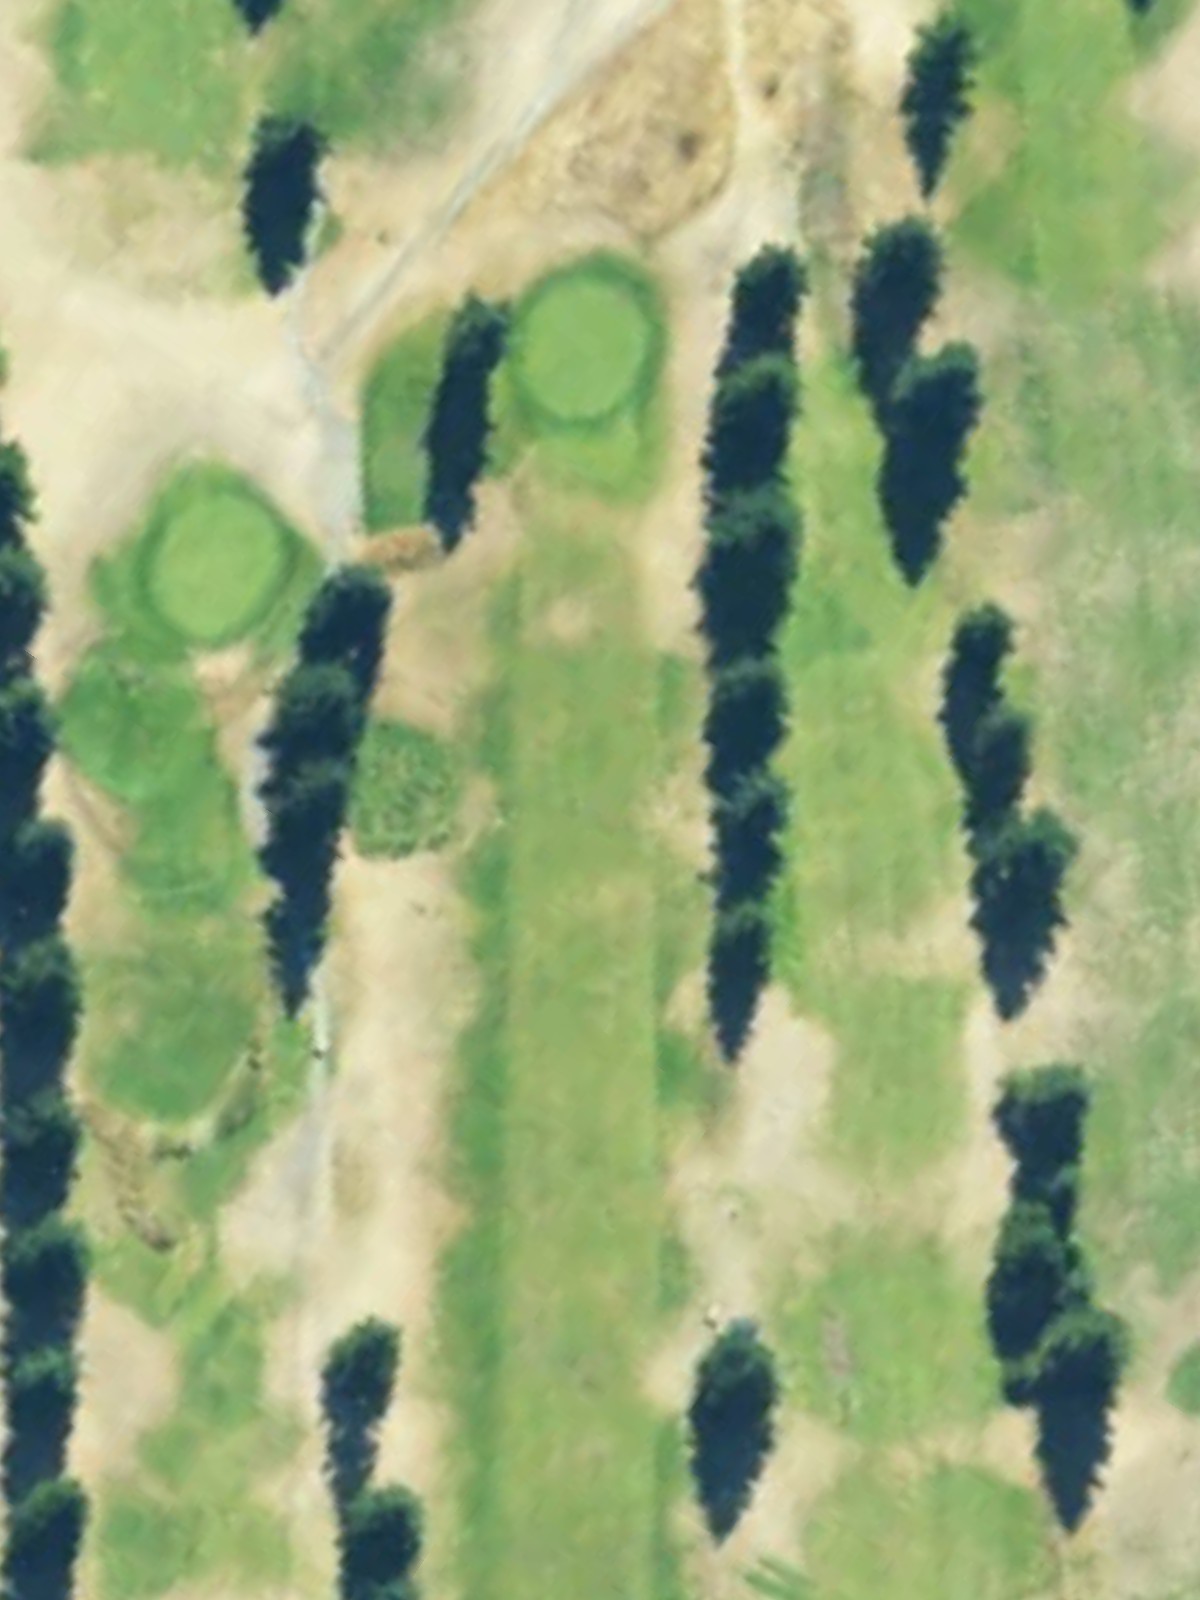
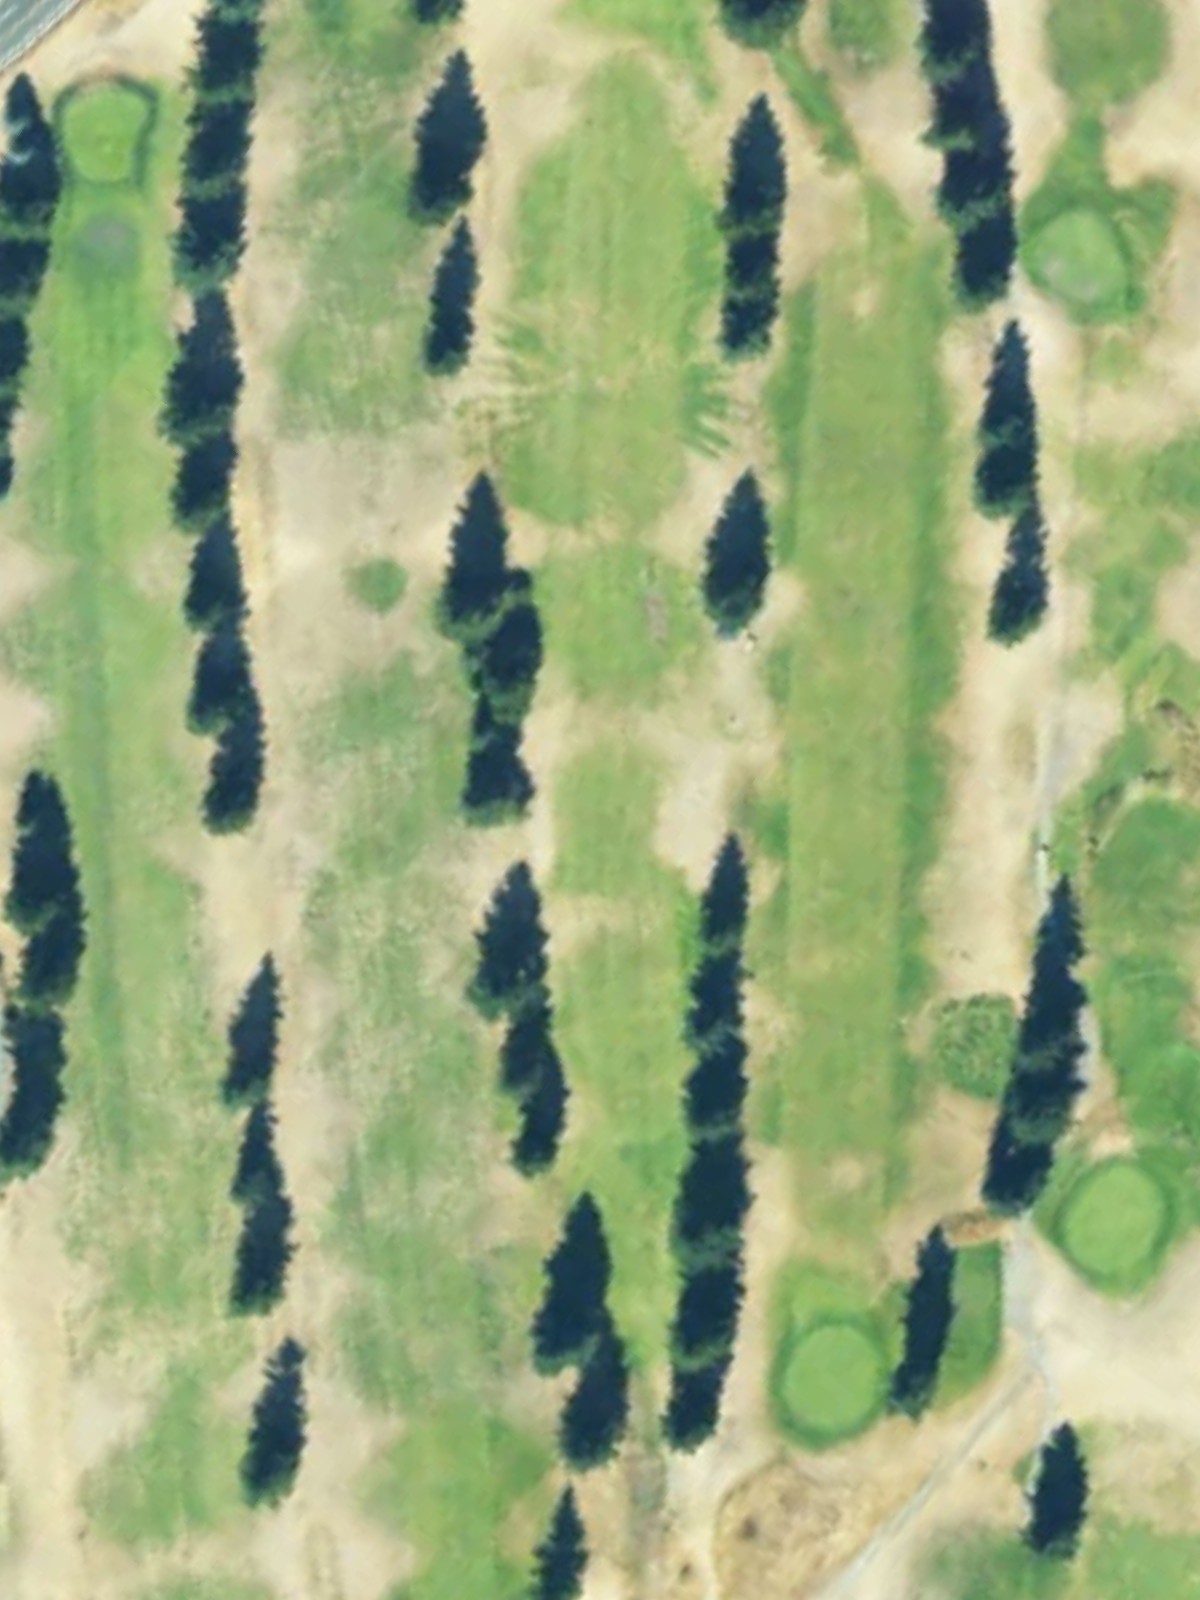
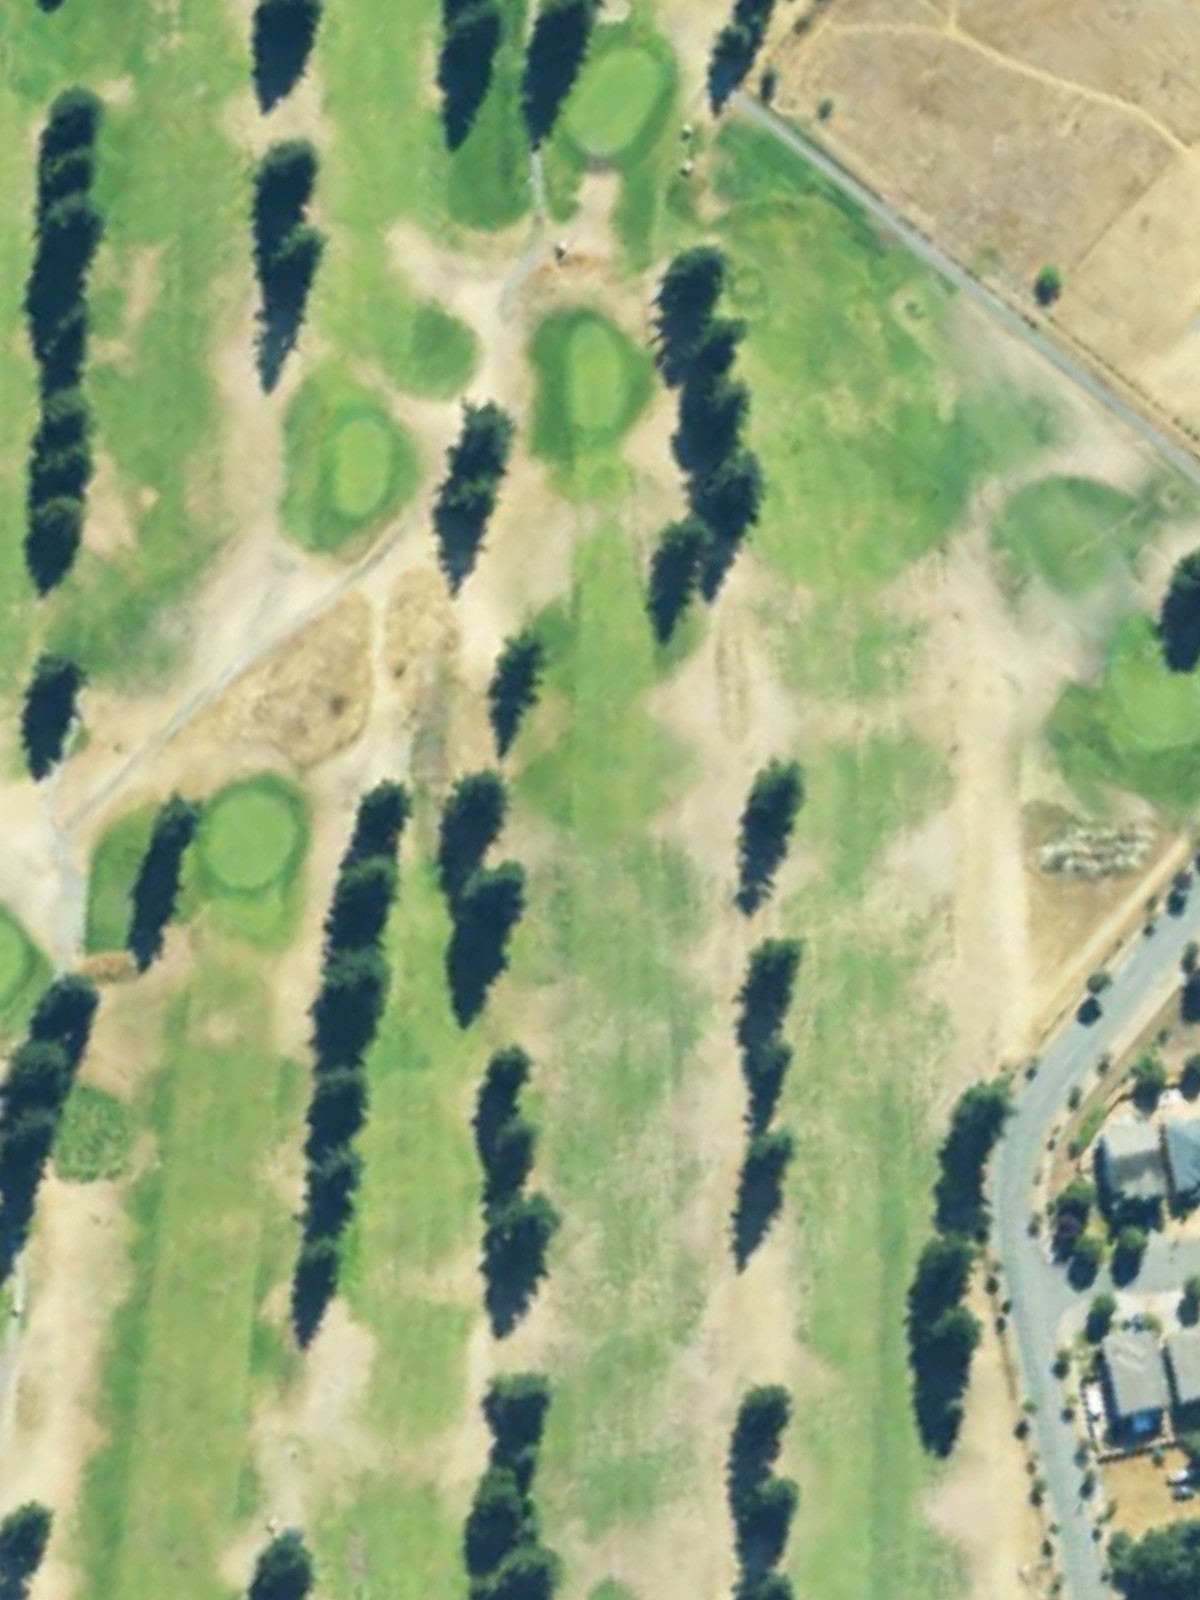
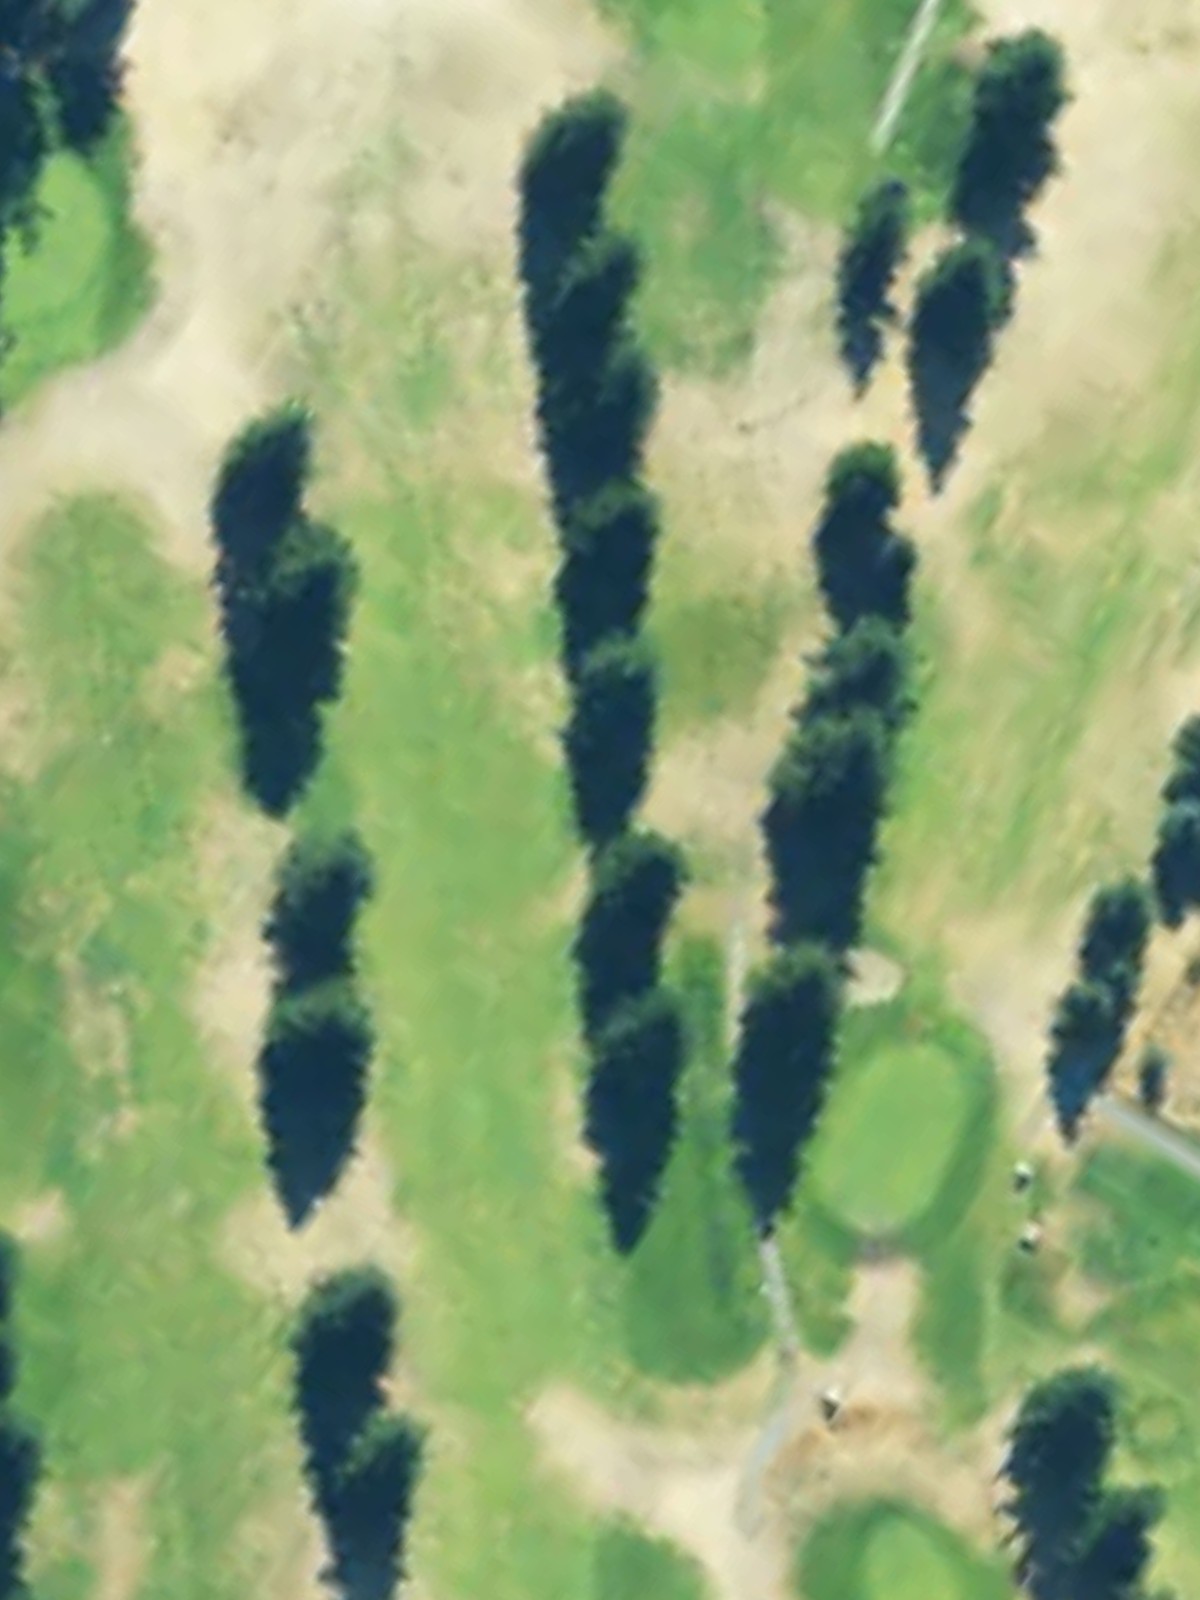
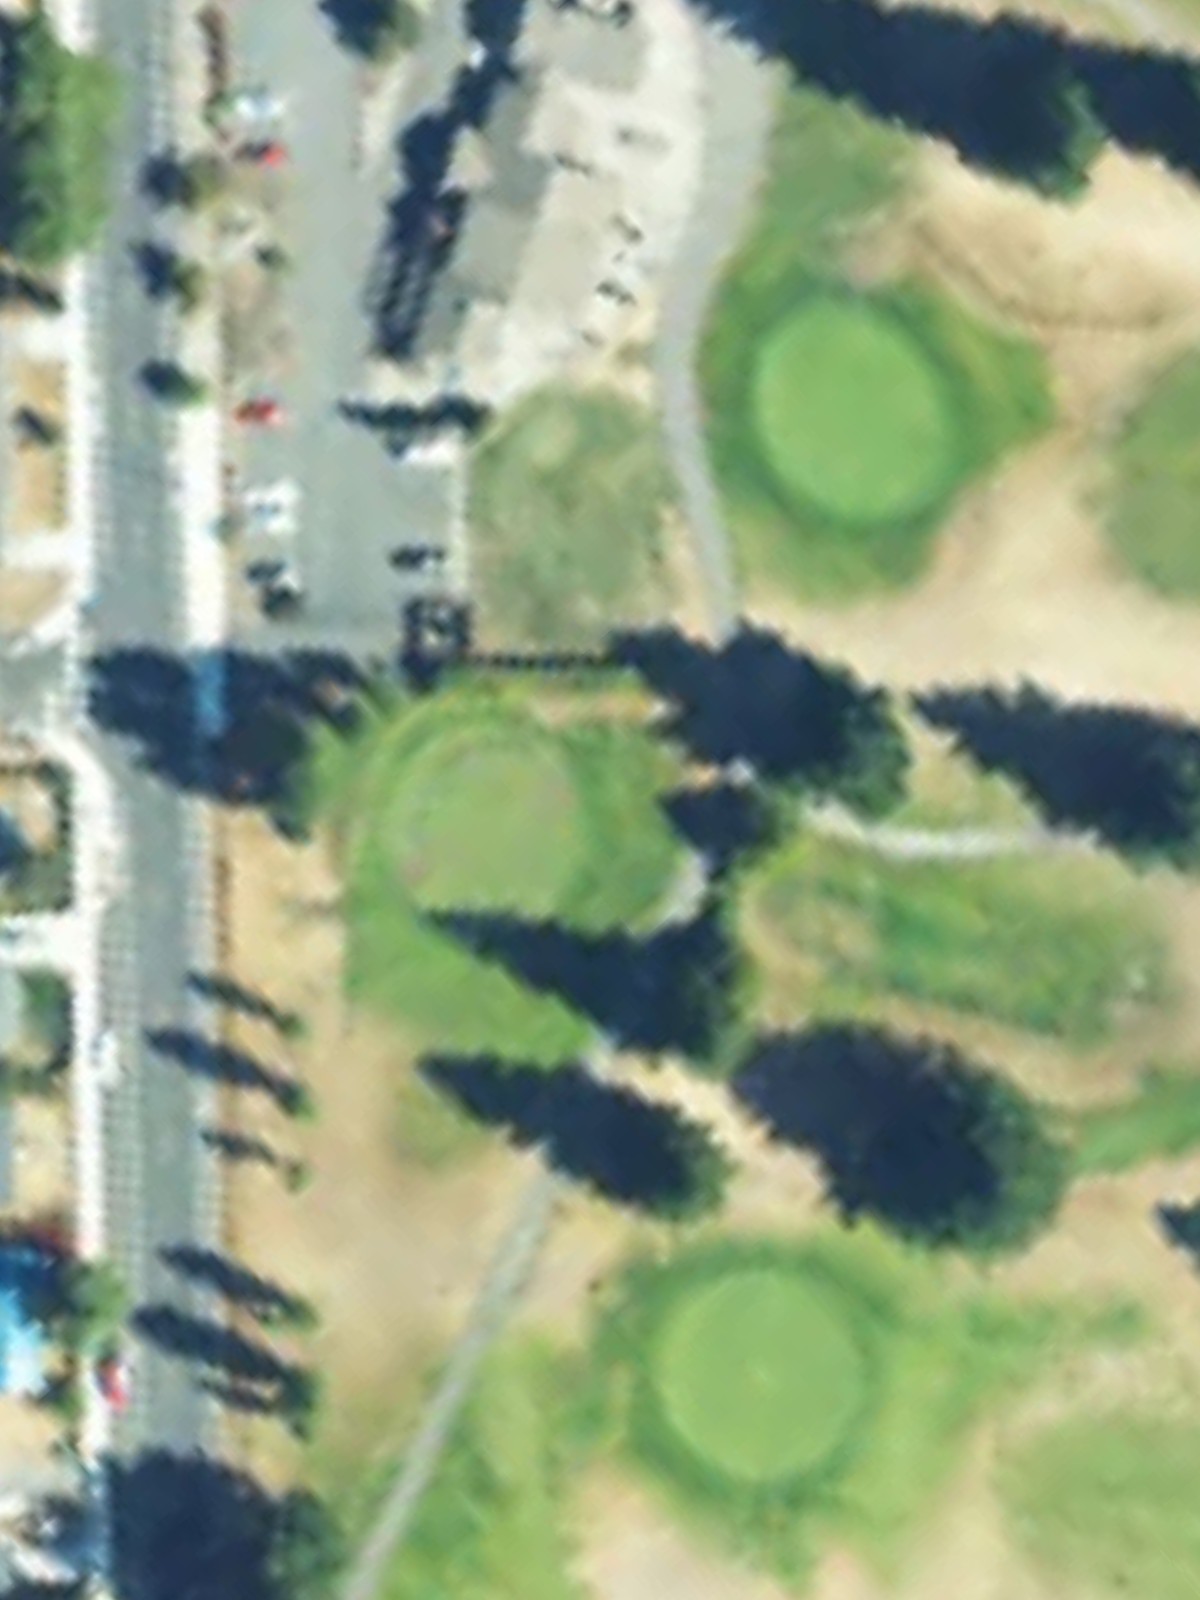
Tahoma Valley Golf & Country Club is an 18-hole golf course in Yelm, WA with a par of 71. It offers 3 tee sets: blue (5,959 yards, slope 117, rating 67.9), white (5,743 yards, slope 115, rating 67.1), red (5,244 yards, slope 105, rating 65). The hardest hole is #16, a par 5 playing 437 yards from the first tee.
Tahoma Valley Golf & Country Club
Yelm, WA
Get PDF Yardage Book
We'll email you the PDF link. No spam, ever.
Create Your Game Plan
Pick your tees, enter your bag, and get a personalized shot-by-shot strategy for every hole.
An approachable par 5 with a relatively straight layout that invites aggressive play from the tee. The fairway opens up nicely for positioning a second shot, though accuracy becomes important as the green is protected by strategic bunkering.
The most challenging par 5 on the course, this hole demands precision off the tee as the fairway is tightly defined. Water hazards and bunker placement reward placement over distance, making this a true test of course management.
A compact par 4 that plays shorter than typical, with a narrow approach into the green. Bunkers frame the putting surface, and the confined nature of the hole makes accuracy off the tee essential.
The easiest hole on the course, this short par 3 features a modest green target with minimal hazard threat. The diminutive yardage allows golfers to take on the green with confidence from any tee box.
A mid-length par 3 over open terrain with a well-defined green complex. While relatively straightforward, bunker placement around the green demands a quality approach shot to secure par.
A short par 4 that emphasizes position over power, with the fairway playing tighter as it approaches the green. Strategic bunker placement near the putting surface makes the second shot the defining moment of the hole.
A straightforward par 4 with a fair fairway corridor and a relatively open green. The hole plays honest and direct, offering golfers a reasonable opportunity if they execute cleanly from both tee and fairway.
An inviting par 4 that plays shorter than most on the card, offering birdie opportunity for solid play. The green is accessible, though careful positioning off the tee helps ensure a manageable approach.
A mid-range par 3 where precision from the tee is paramount, as the green is protected by well-placed hazards. The open approach rewards an accurate strike, while misses are quickly punished.
A balanced par 4 with a well-proportioned fairway that allows for comfortable positioning into the green. Hazard placement is straightforward and fair, presenting a good birdie opportunity.
A challenging par 4 that ranks among the toughest on the course, demanding quality execution on both shots. The fairway narrows as it approaches a well-defended green, where accuracy is paramount.
A substantial par 5 that requires thoughtful course management to navigate effectively. Strategic bunkering and potential water hazards shape the ideal approach, making this a pivotal hole in the round.
A mid-length par 3 with a green that demands precision in both distance and direction. Bunker placement frames the target, making solid contact from the tee critical for a scoring opportunity.
The shortest par 4 on the course, this hole rewards aggressive play and offers excellent birdie potential. The compact design keeps the hole from feeling oversized, presenting an opportunity for lower scores.
A short par 3 that plays straightforward and inviting, with a receptive green that accepts a well-struck approach shot. The lack of extreme hazards makes this a good scoring hole for the patient golfer.

The signature hole and most difficult par 5, this dramatic layout demands respect from tee to green. Complex bunkering and length combine to create one of the course's most memorable challenges.
The second-easiest hole on the course, this short par 3 presents a friendly target with minimal threat. The forgiving nature of the hole makes it an ideal spot to rebuild confidence in the closing stretch.
A strong finishing par 5 that provides a climactic conclusion to the round, with fair width and strategic bunkering that rewards solid execution. The green is positioned to reward aggressive play while punishing wayward shots.
Scorecard
| Hole | 1 | 2 | 3 | 4 | 5 | 6 | 7 | 8 | 9 | Out | 10 | 11 | 12 | 13 | 14 | 15 | 16 | 17 | 18 | In | Tot |
|---|---|---|---|---|---|---|---|---|---|---|---|---|---|---|---|---|---|---|---|---|---|
| Par | 5 | 5 | 4 | 3 | 3 | 4 | 4 | 4 | 3 | 35 | 4 | 4 | 5 | 3 | 4 | 3 | 5 | 3 | 5 | 36 | 71 |
| HCP | 4 | 2 | 6 | 18 | 14 | 8 | 10 | 12 | 16 | 11 | 7 | 5 | 13 | 9 | 15 | 1 | 17 | 3 | |||
| blue | 479 | 510 | 371 | 129 | 181 | 344 | 360 | 330 | 202 | 2906 | 355 | 388 | 494 | 211 | 303 | 164 | 464 | 184 | 490 | 3053 | 5959 |
| white | 468 | 498 | 351 | 120 | 168 | 332 | 350 | 325 | 183 | 2795 | 349 | 376 | 488 | 186 | 289 | 155 | 453 | 172 | 480 | 2948 | 5743 |
| red | 447 | 399 | 324 | 111 | 145 | 316 | 342 | 296 | 144 | 2524 | 328 | 344 | 454 | 172 | 263 | 136 | 437 | 139 | 447 | 2720 | 5244 |