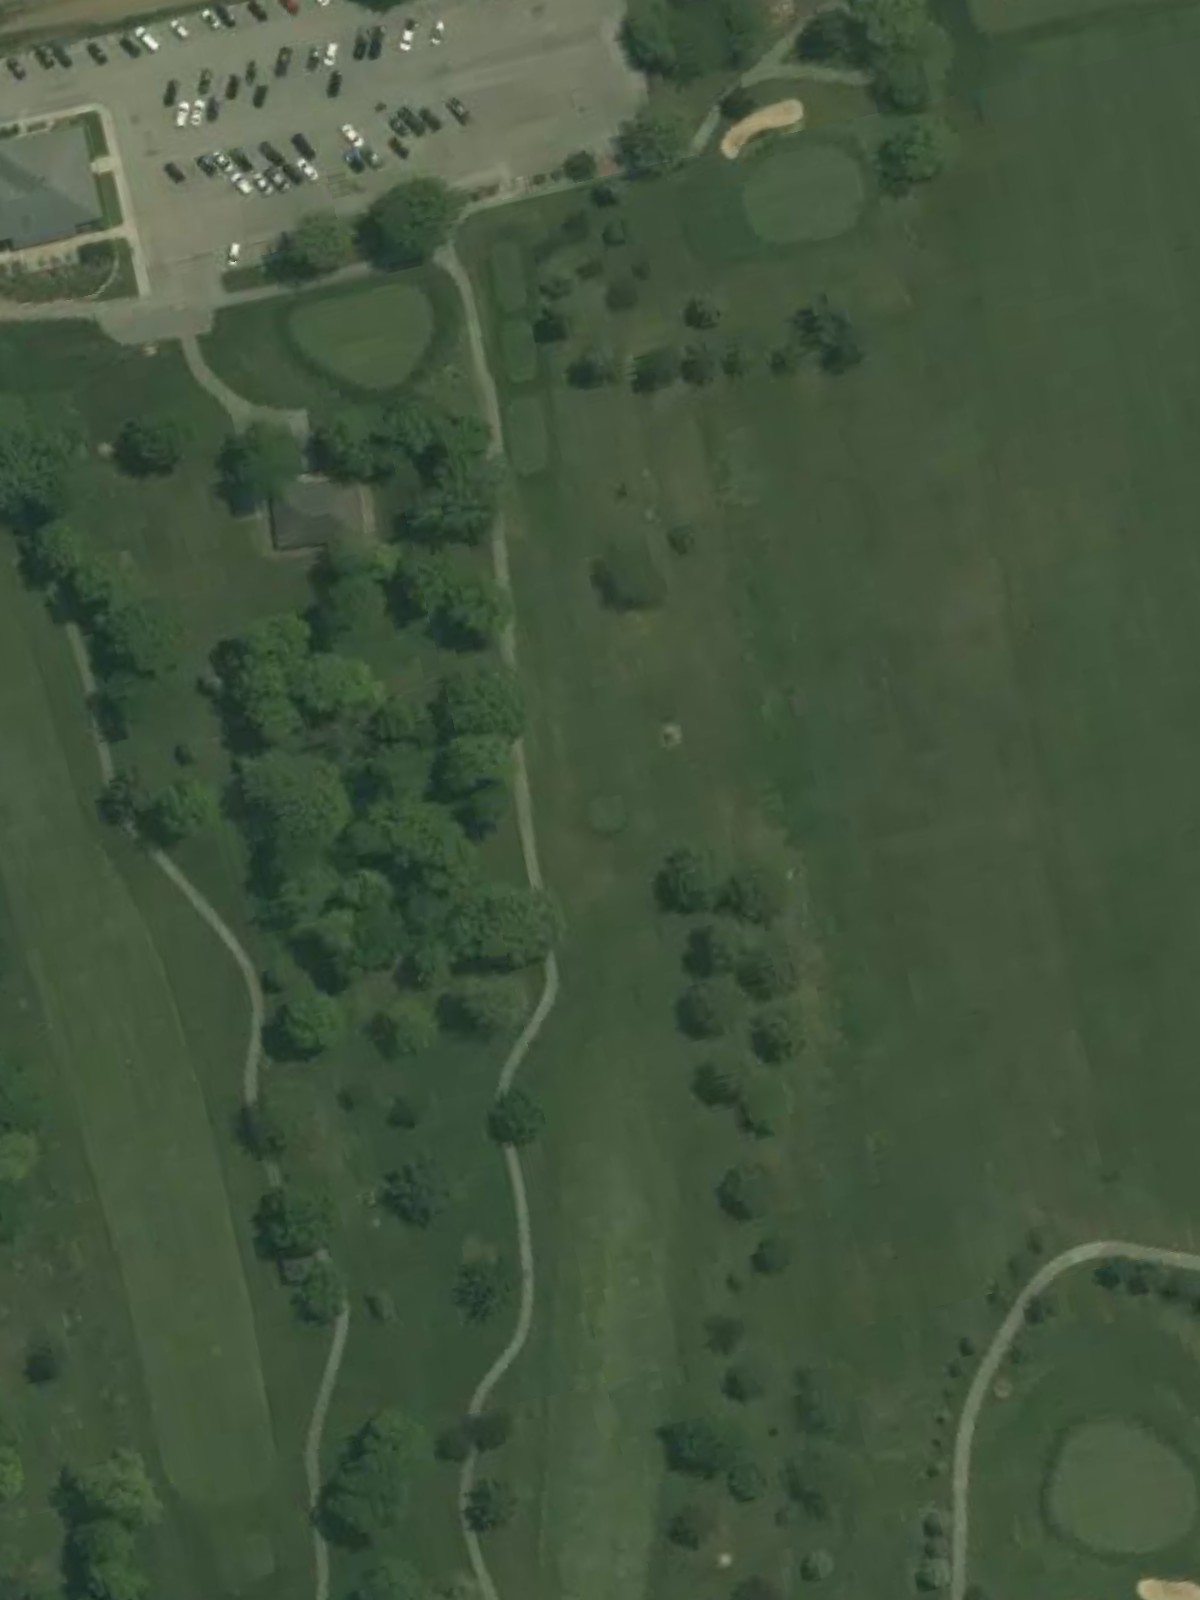
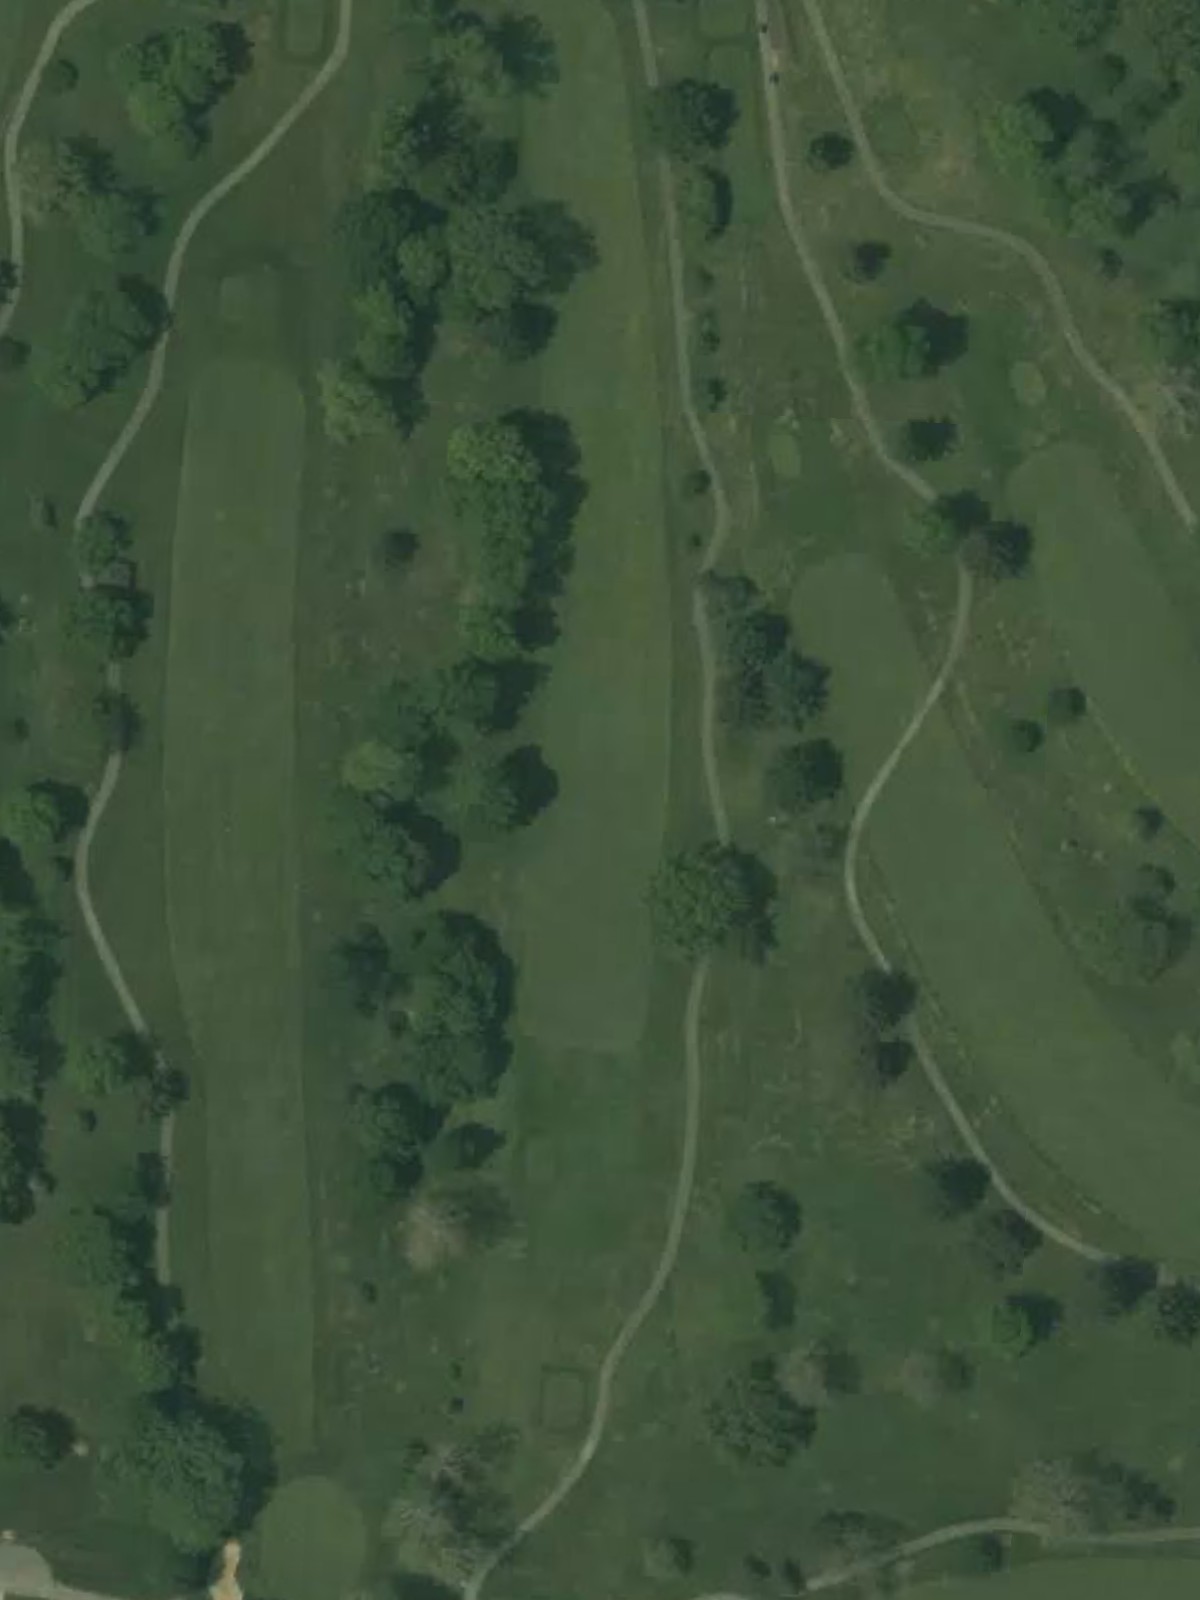
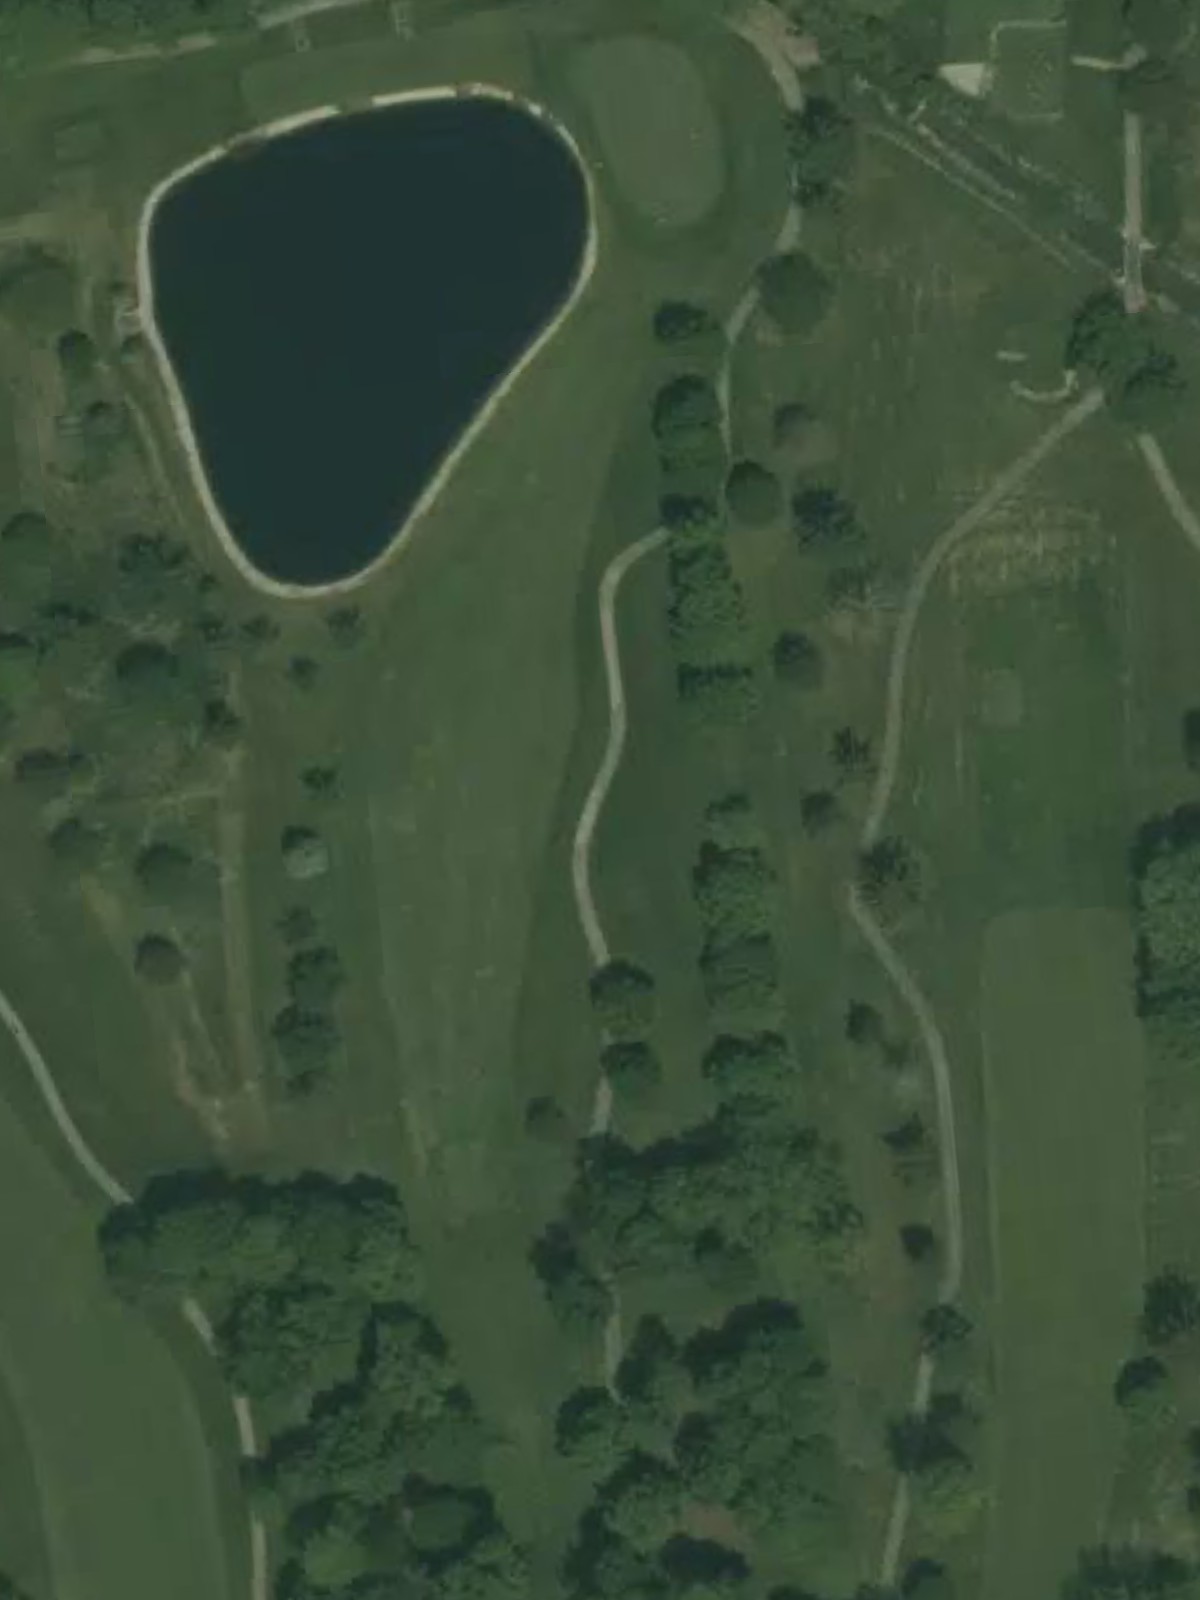
Sycamore Springs Golf Course is an 18-hole golf course in Arlington, OH with a par of 72. It offers 3 tee sets: blue (6,670 yards, slope 125, rating 71.5), white (6,208 yards, slope 120, rating 69.4), gold (5,575 yards, slope 110, rating 66.8). The hardest hole is #3, a par 4 playing 430 yards from the first tee.
Sycamore Springs Golf Course
Arlington, OH
Get PDF Yardage Book
We'll email you the PDF link. No spam, ever.
Create Your Game Plan
Pick your tees, enter your bag, and get a personalized shot-by-shot strategy for every hole.
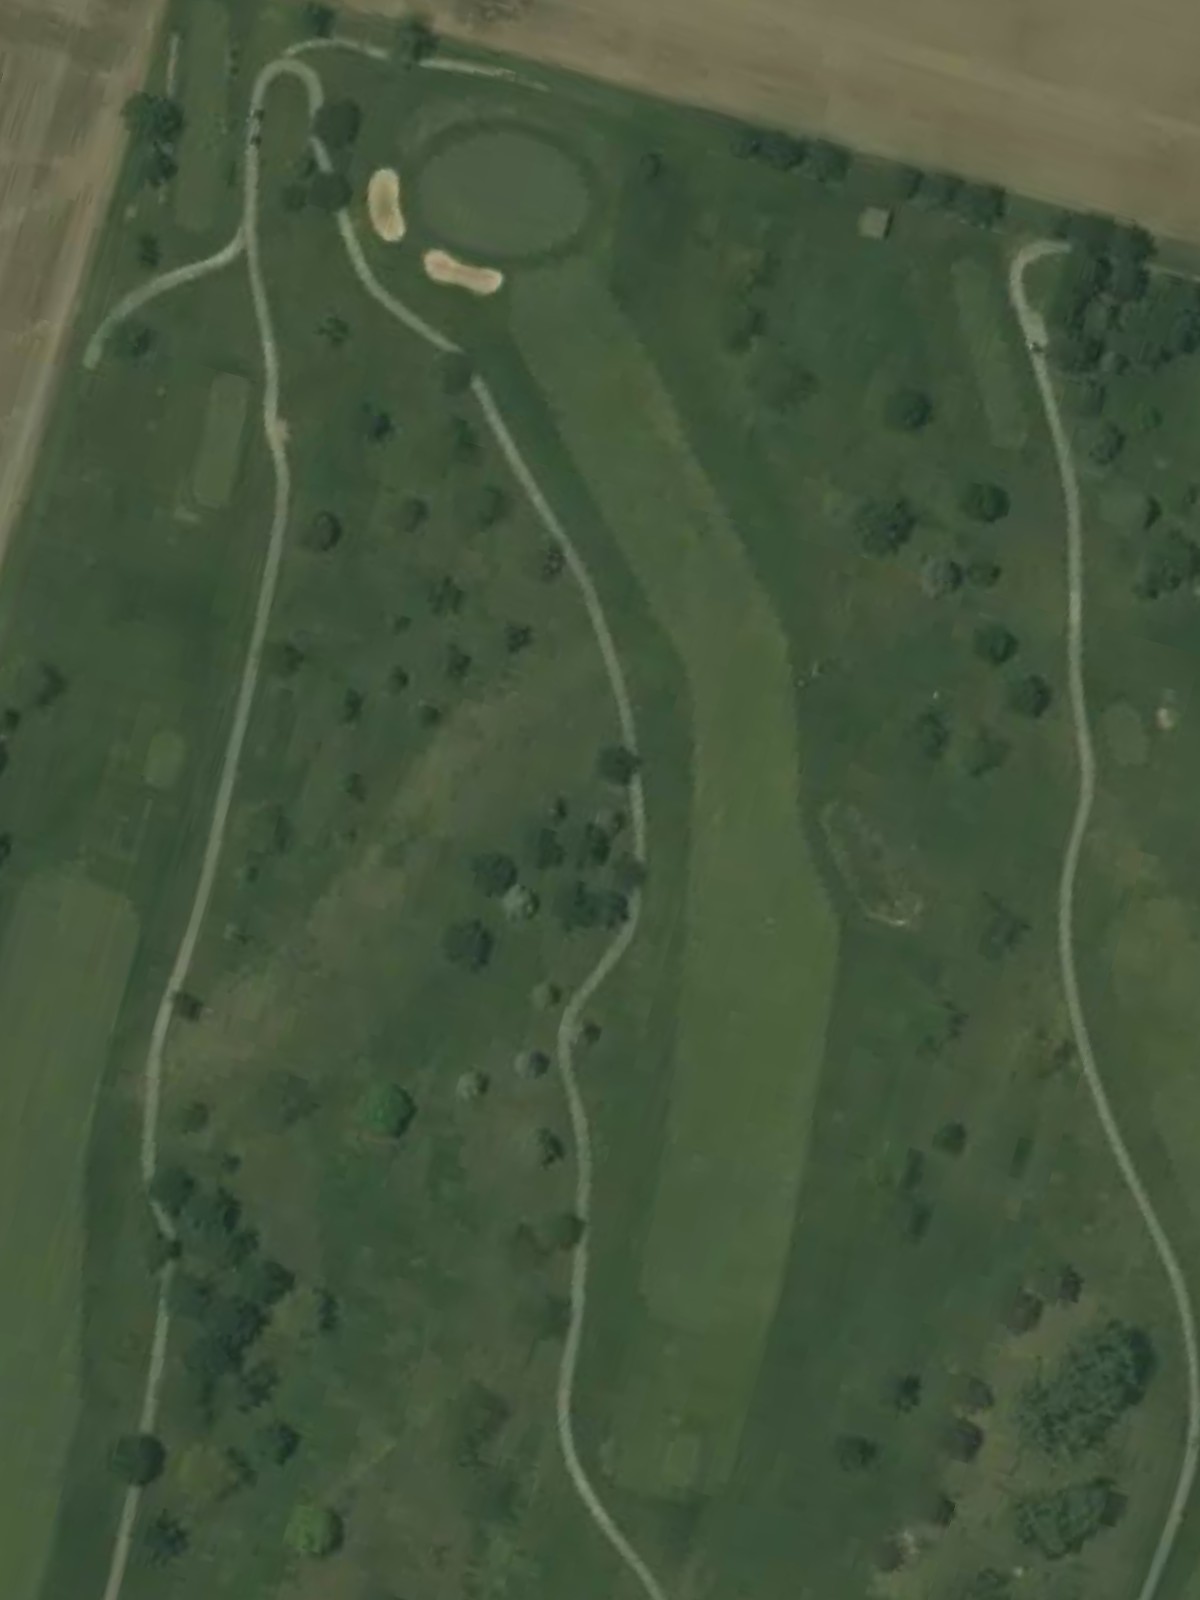
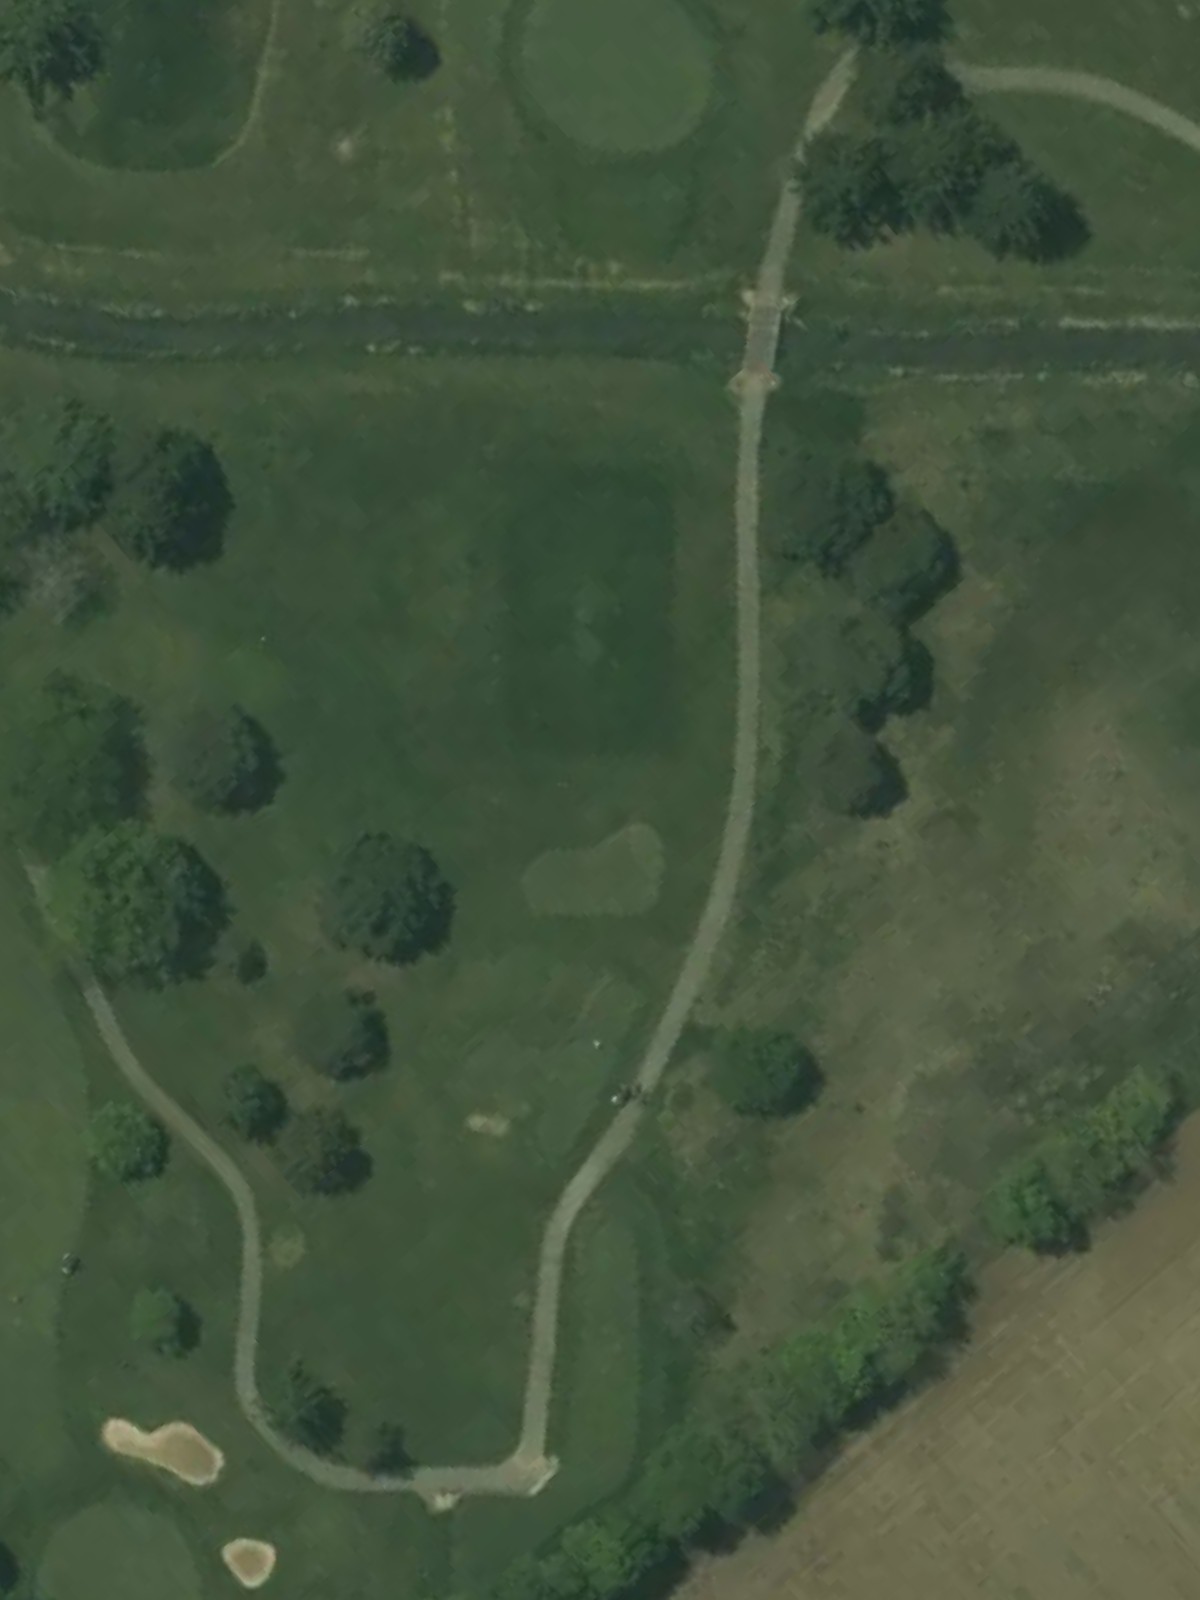
A straightforward par 4 that opens with a wide fairway before narrowing as it approaches the green. Bunkers protect the right side of the green, while the left edge features rough terrain that can complicate approach shots.

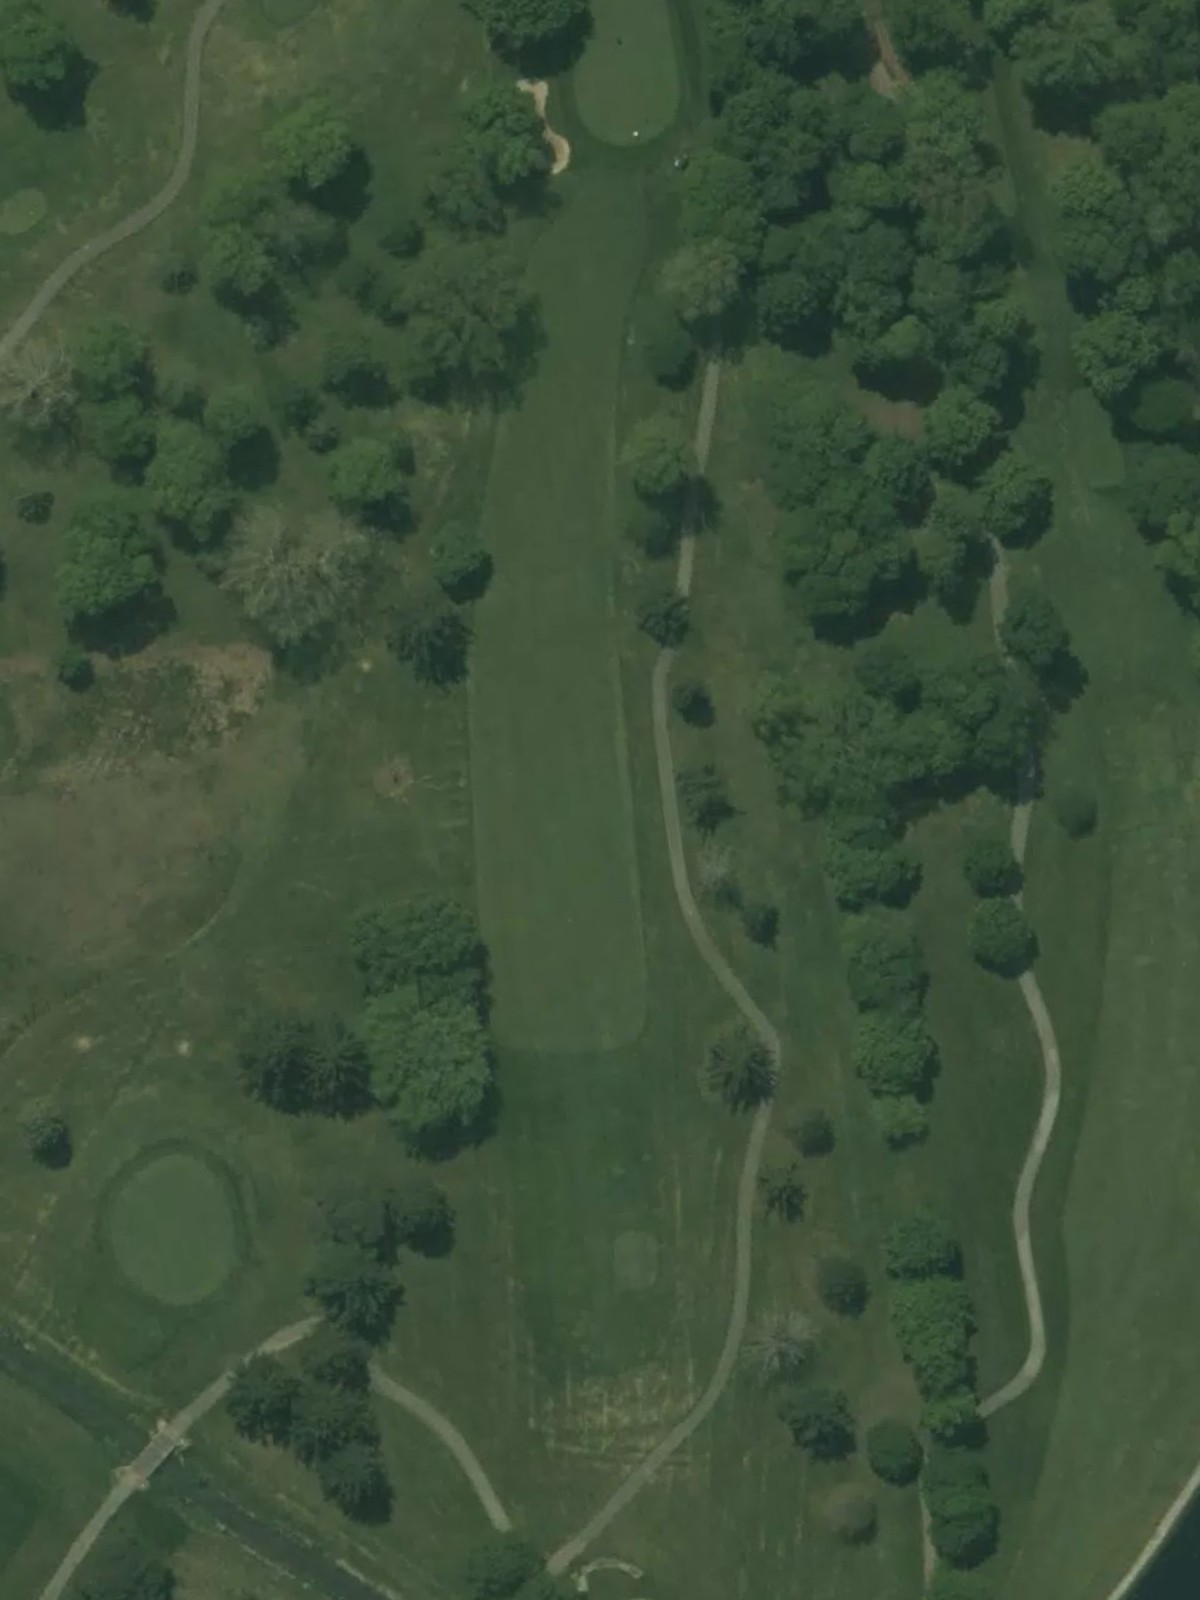
A short par 3 to an elevated green surrounded by bunkers on multiple sides. The green's elevated position and bunker placement make club selection and accuracy critical from the tee.
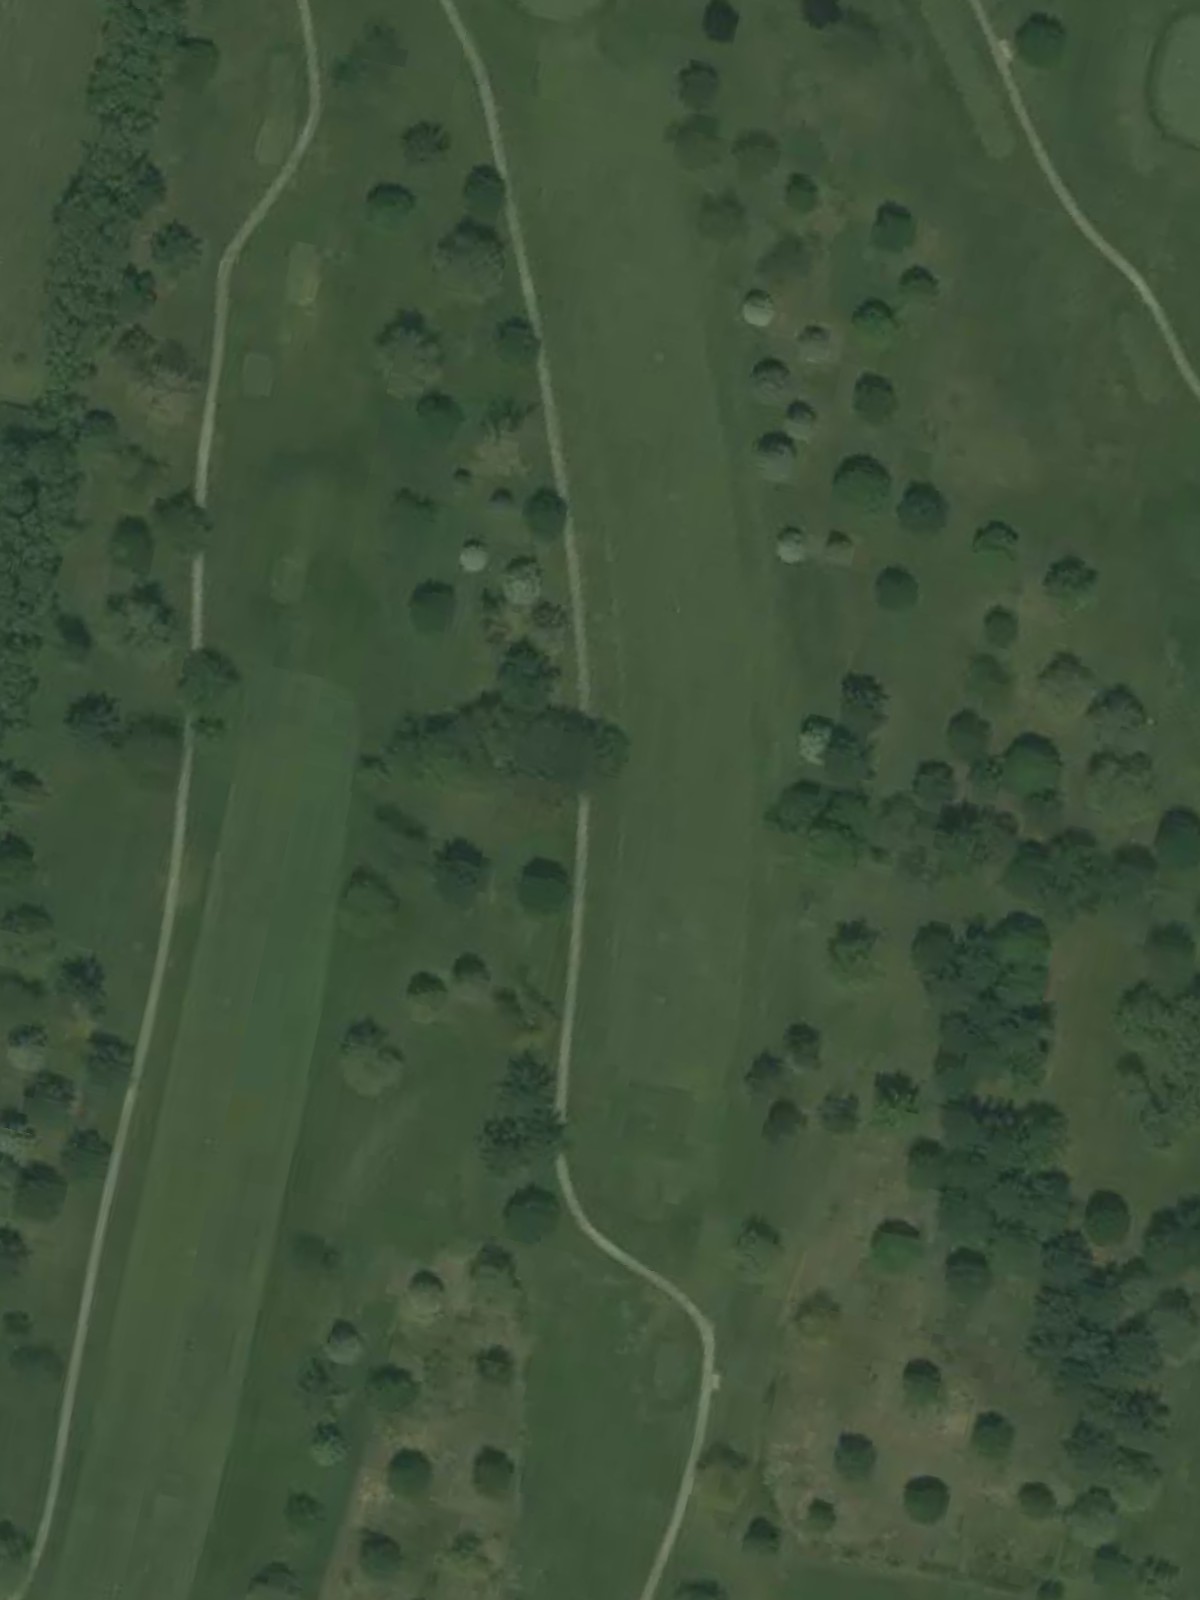
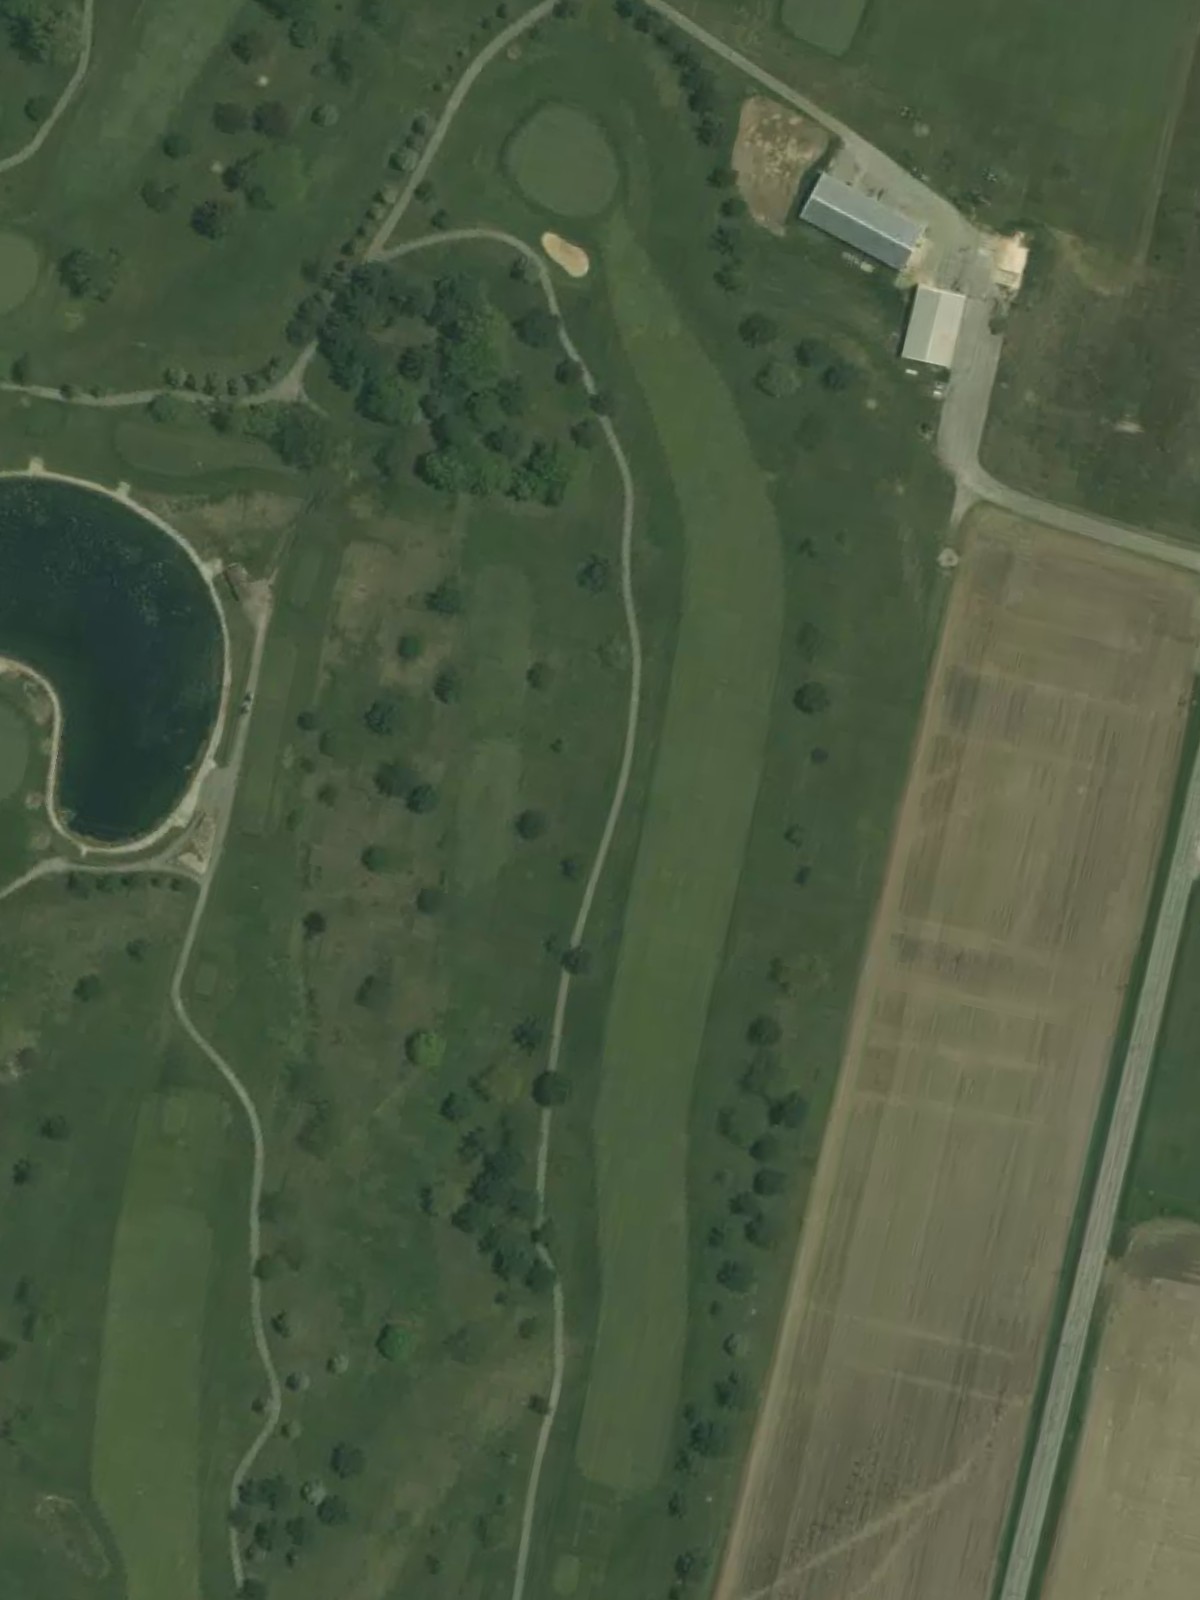
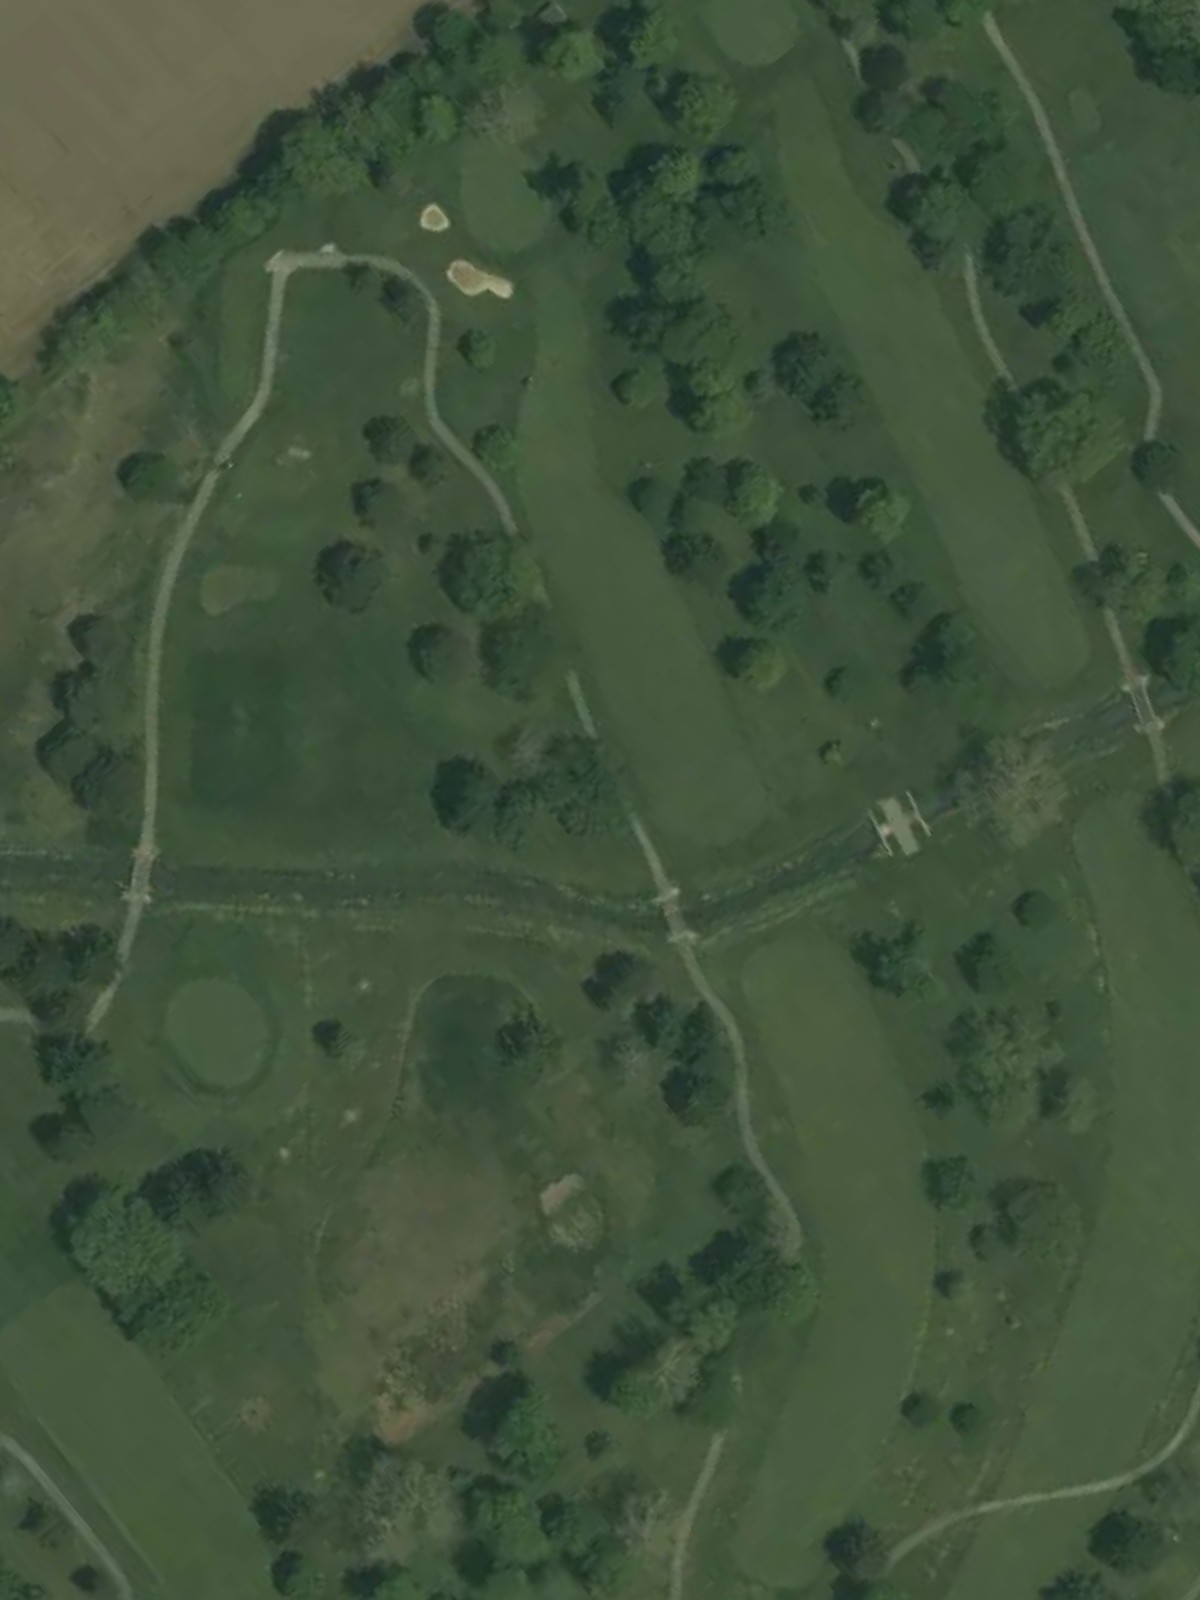
The course's most difficult hole, this par 4 is relatively straight but demands length and precision. Water hazards line the left side of the fairway, while bunkers guard the green on both sides, creating a challenging two-shot test.
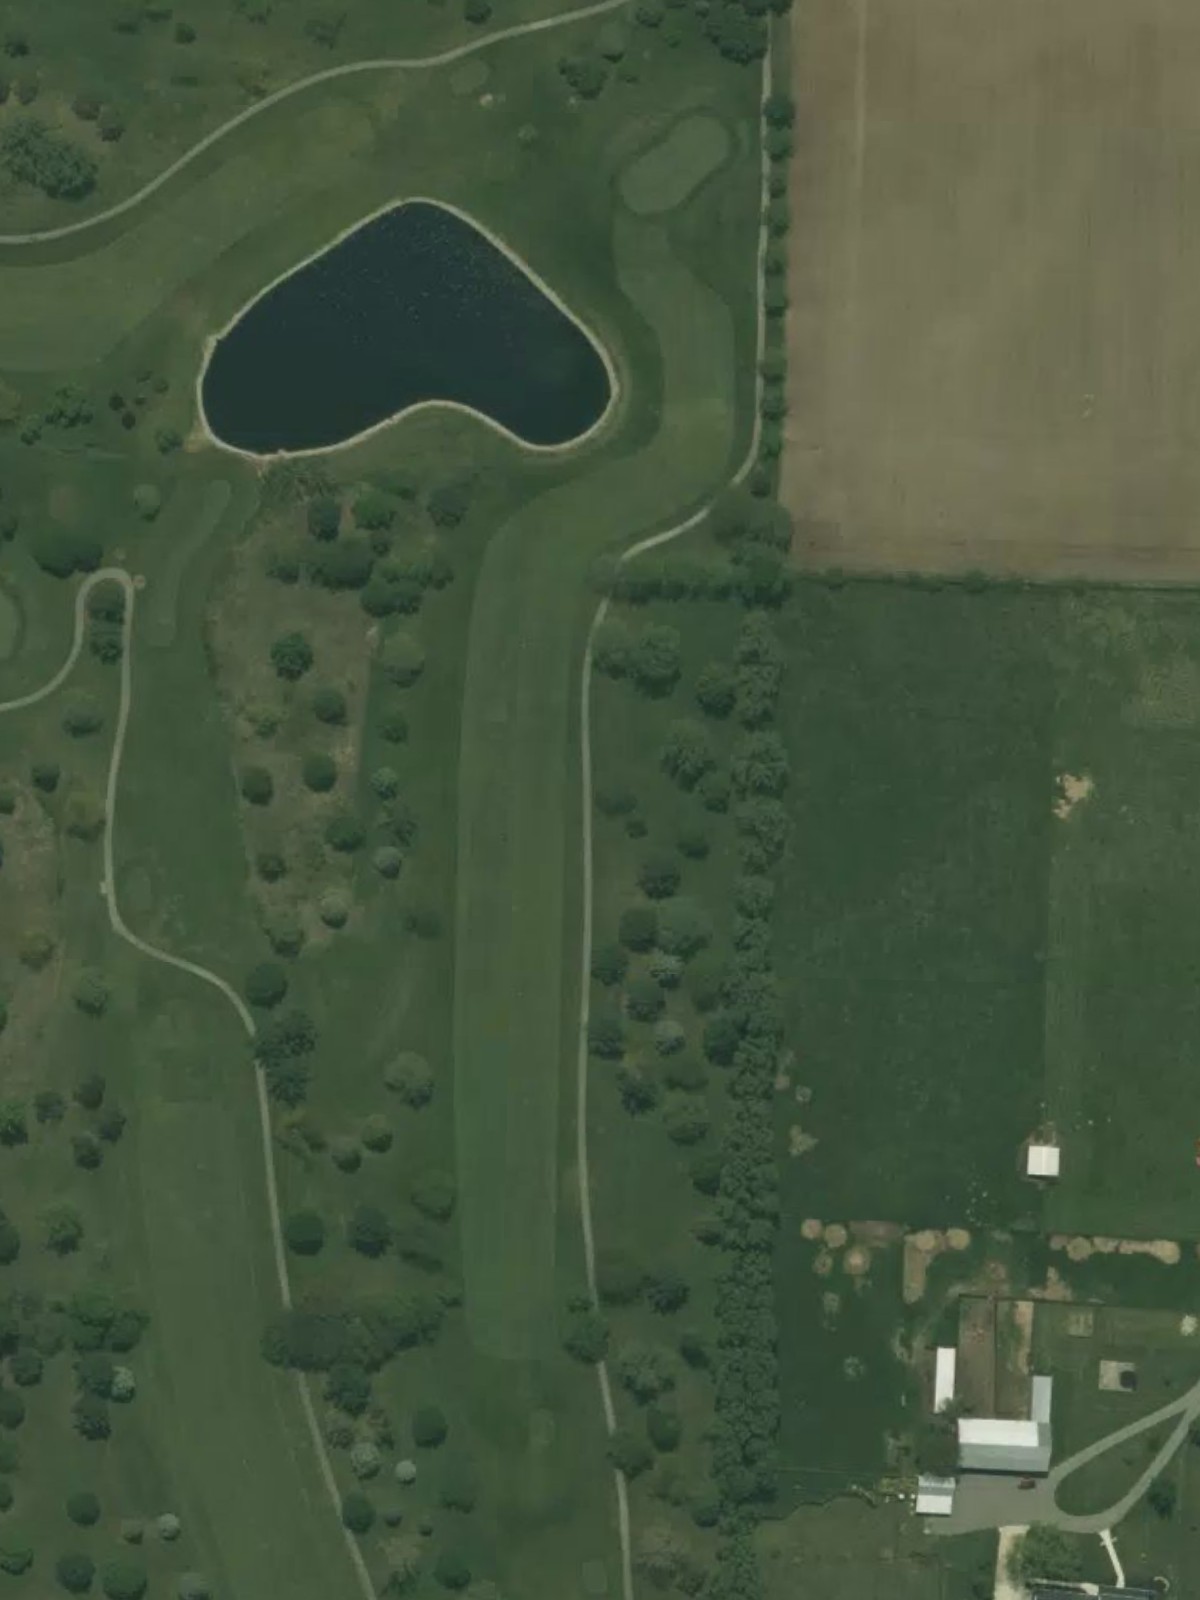
A substantial par 5 that plays as one of the course's signature holes. The fairway bends slightly right with water along the left side throughout, and a series of bunkers front and flank the green to protect against aggressive third shots.
A moderate par 4 with a relatively open fairway that invites a confident tee shot. The green sits behind light rough, with a bunker positioned left of the green to catch wayward approaches.
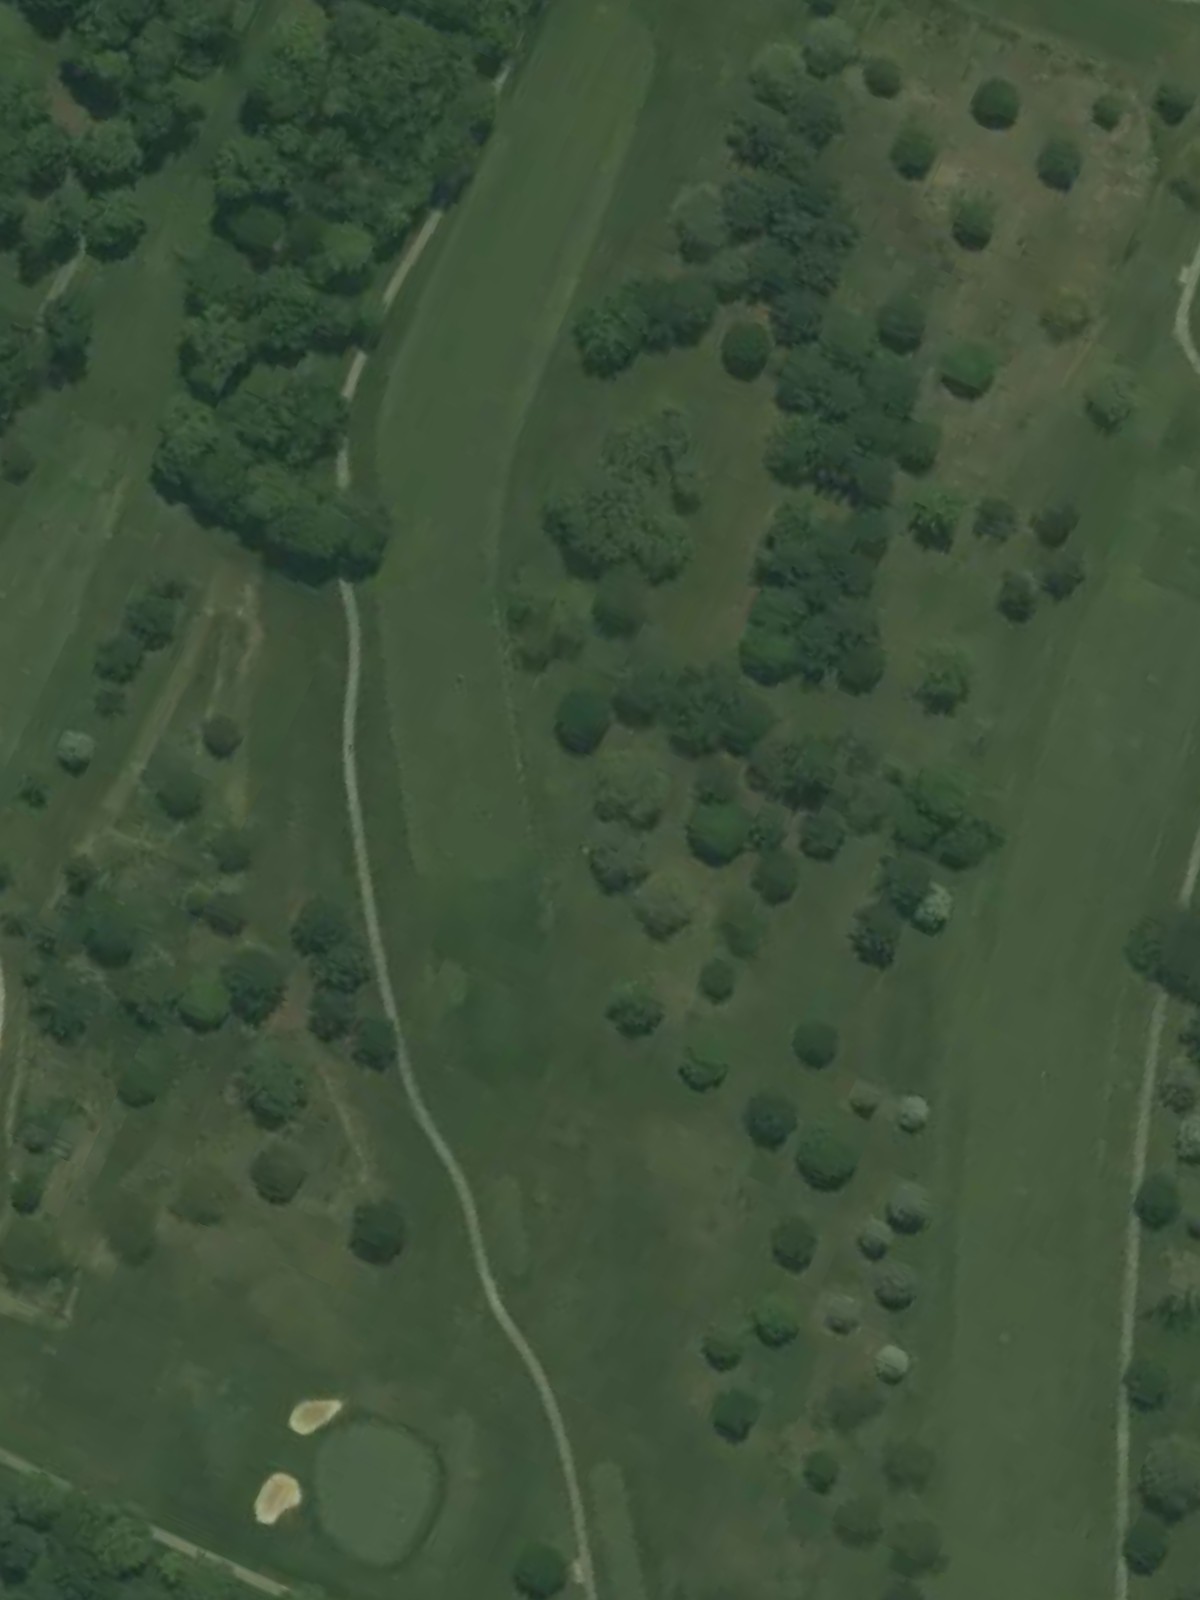
A demanding par 4 with an undulating fairway that gradually narrows toward the green. Water hazards come into play on the left side, while bunkers frame the right edge of the green, creating a risk-reward approach scenario.
A well-bunkered par 5 that offers multiple routing options for the second shot. Strategic bunker placement throughout the fairway and around the green rewards accuracy and penalizes errant shots, making this a pivotal scoring hole.
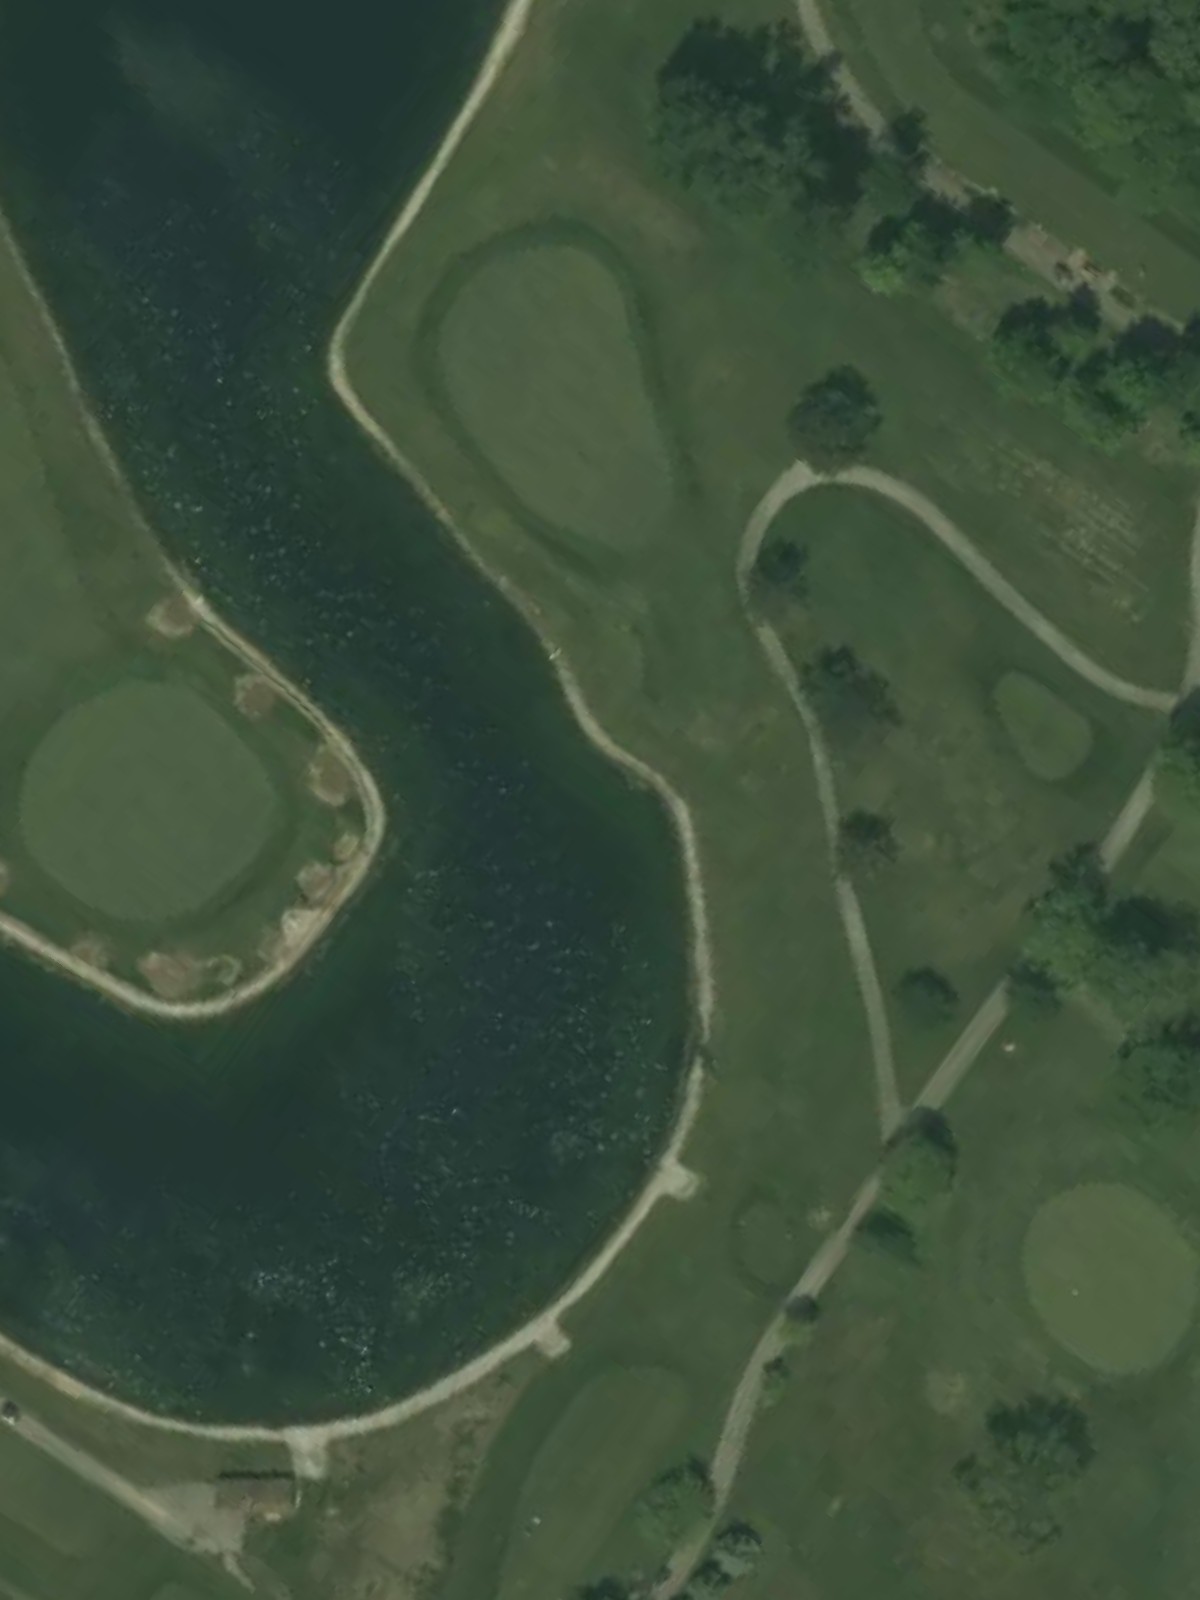
A mid-length par 3 featuring an island green complex surrounded by water and bunkers. The elevated green requires a precise tee shot, with limited bail-out areas making this a concentration-demanding short hole.
A strong par 4 that presents a compelling risk-reward scenario off the tee. Water guards the left side of the fairway, while bunkers strategically placed near the green demand a well-executed approach shot.
One of the course's most difficult par 4s, this hole features a narrow fairway flanked by hazards on both sides. Bunkers tighten around the green, creating a demanding finishing stretch to the opening nine and a challenging start to the back nine.
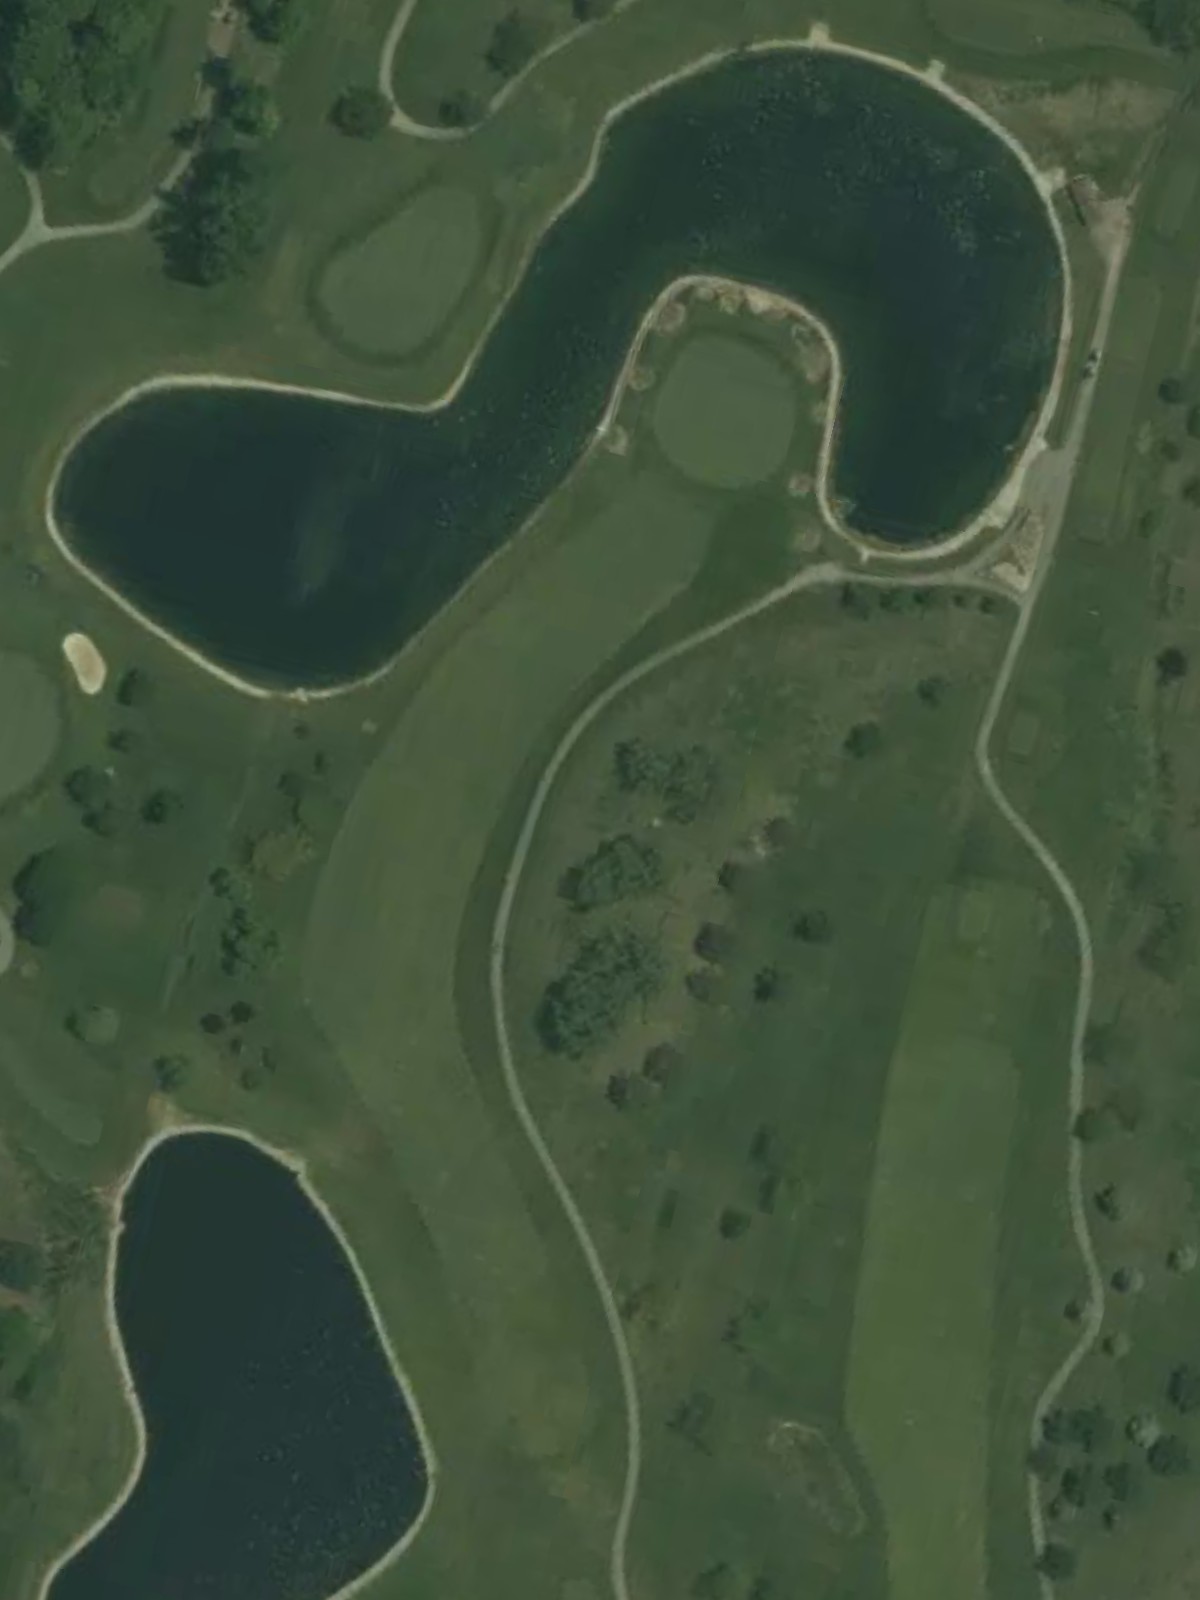
A picturesque par 5 with water hazards defining much of the left side of the fairway and green complex. The hole's length and water placement reward strategic positioning on the second shot while penalizing aggressive lines.
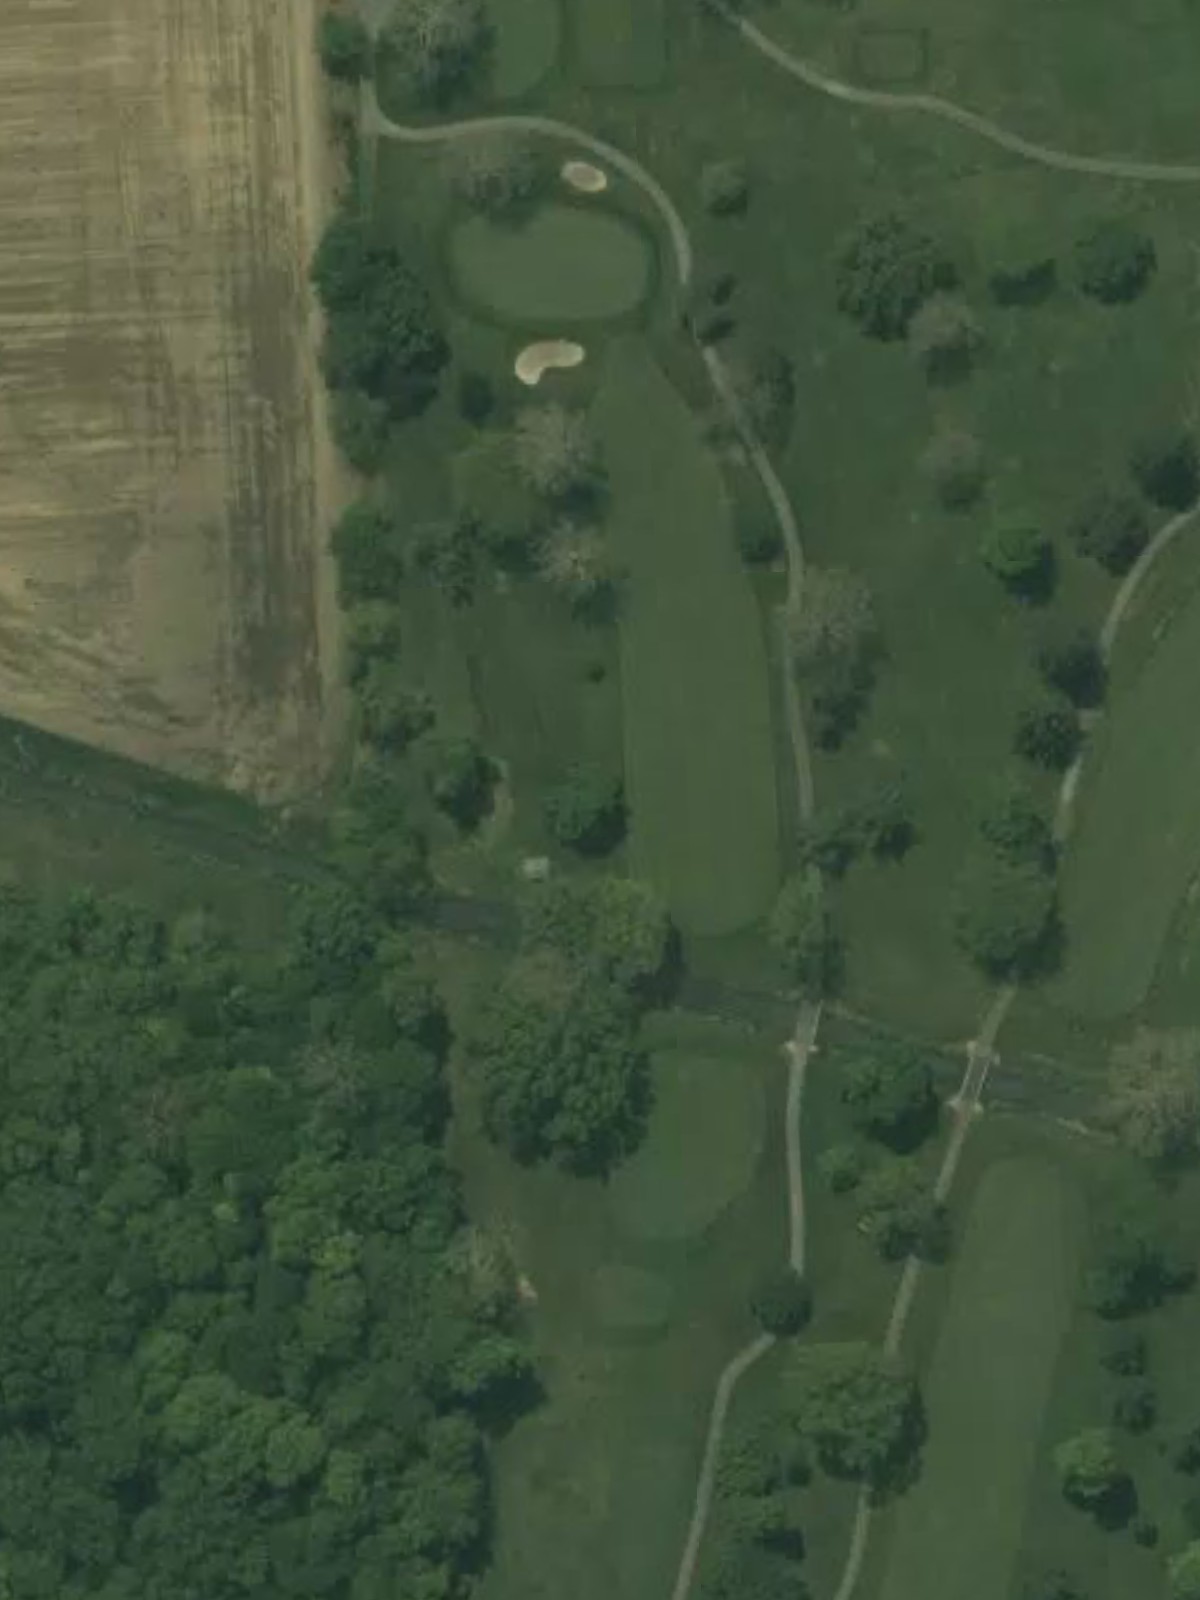
A short but deceptive par 3 with bunkers framing the small, sloped green. The compact target and sand hazards make this hole more difficult than its yardage suggests, requiring precision over power.
A relatively short par 4 that plays shorter than its yardage due to favorable positioning. Bunkers guard the left side of the fairway and front the green, creating a manageable but strategic scoring opportunity.
A short par 4 with an open fairway that allows for an aggressive tee shot to set up a short approach. Bunkers protect both sides of the green, and rough terrain on the right side can penalize wayward drives.

The easiest par 3 on the course, this short hole plays to a relatively open green with minimal hazard protection. The straightforward nature of this hole provides a brief respite before the challenging closing stretch.
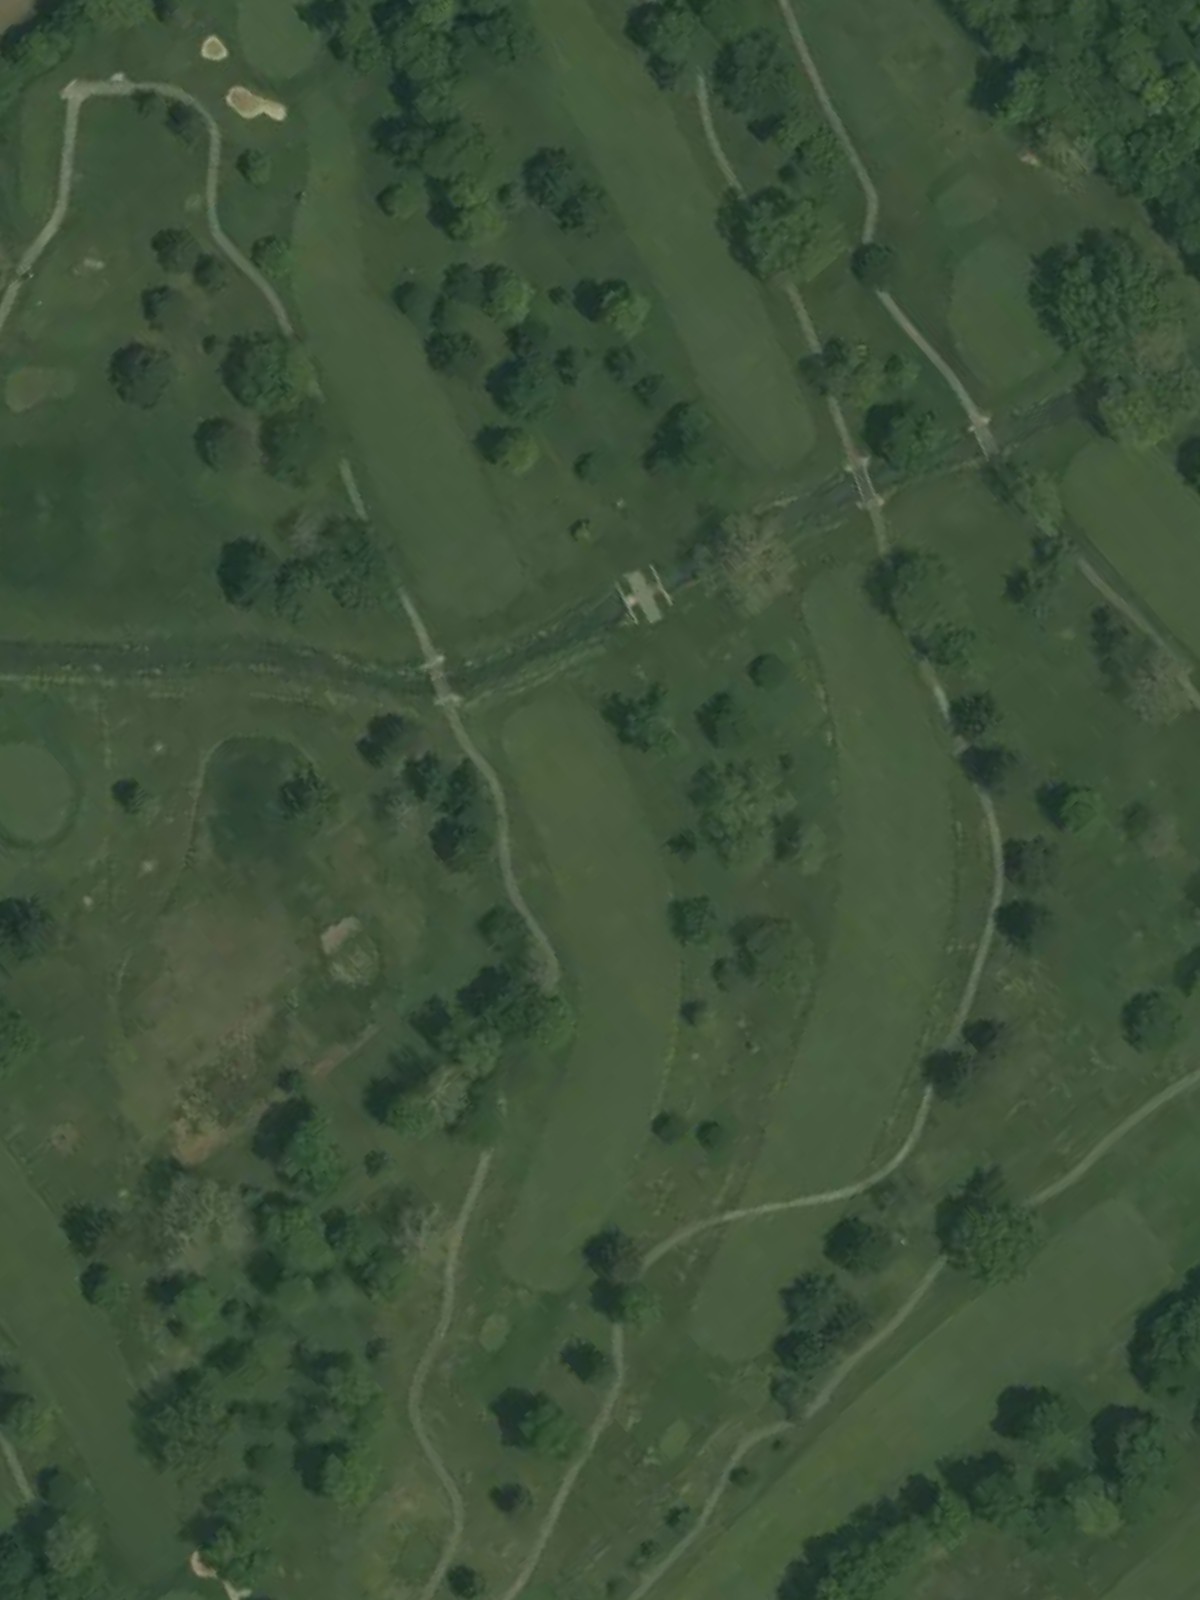
A robust par 4 featuring a fairway that doglegs right with strategic bunker placement throughout. Water hazards line portions of the fairway, and a well-guarded green complex demands an accurate second shot from a demanding tee position.
The second-most difficult hole on the course, this impressive par 5 features length and complexity in equal measure. Bunkers and water hazards strategically positioned throughout the fairway create multiple decision points, rewarding smart positioning over pure distance.
A strong finishing par 4 with an interesting split fairway that creates strategic options off the tee. Bunkers flank the green on both sides, and the hole's length provides a climactic finale to a full round of golf.
Scorecard
| Hole | 1 | 2 | 3 | 4 | 5 | 6 | 7 | 8 | 9 | Out | 10 | 11 | 12 | 13 | 14 | 15 | 16 | 17 | 18 | In | Tot |
|---|---|---|---|---|---|---|---|---|---|---|---|---|---|---|---|---|---|---|---|---|---|
| Par | 4 | 3 | 4 | 5 | 4 | 4 | 5 | 3 | 4 | 36 | 4 | 5 | 3 | 4 | 4 | 3 | 4 | 5 | 4 | 36 | 72 |
| HCP | 11 | 17 | 1 | 3 | 15 | 9 | 7 | 13 | 5 | 4 | 6 | 16 | 14 | 12 | 18 | 8 | 2 | 10 | |||
| blue | 365 | 178 | 430 | 560 | 360 | 405 | 540 | 191 | 400 | 3429 | 410 | 495 | 187 | 336 | 339 | 164 | 420 | 530 | 360 | 3241 | 6670 |
| white | 345 | 155 | 405 | 540 | 347 | 370 | 510 | 155 | 370 | 3197 | 370 | 475 | 165 | 328 | 312 | 148 | 380 | 510 | 323 | 3011 | 6208 |
| gold | 330 | 140 | 325 | 490 | 335 | 340 | 465 | 130 | 330 | 2885 | 320 | 455 | 150 | 275 | 290 | 135 | 305 | 490 | 270 | 2690 | 5575 |