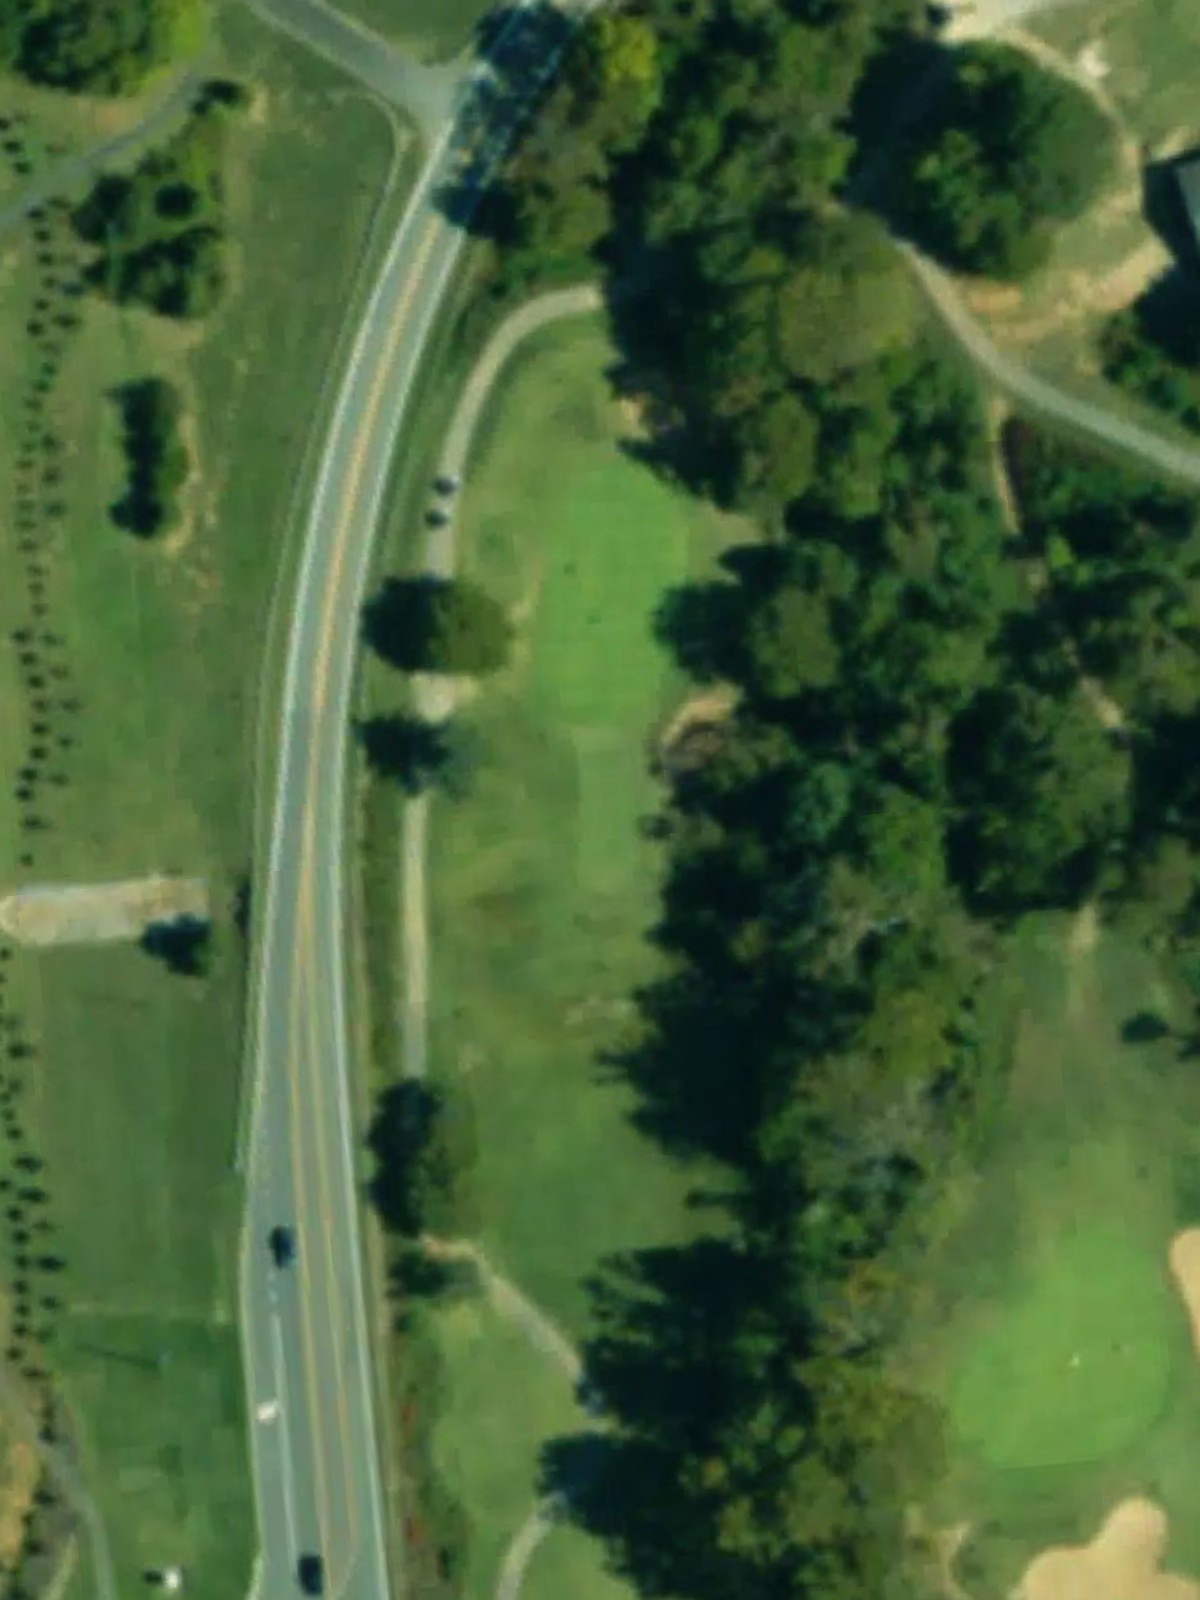
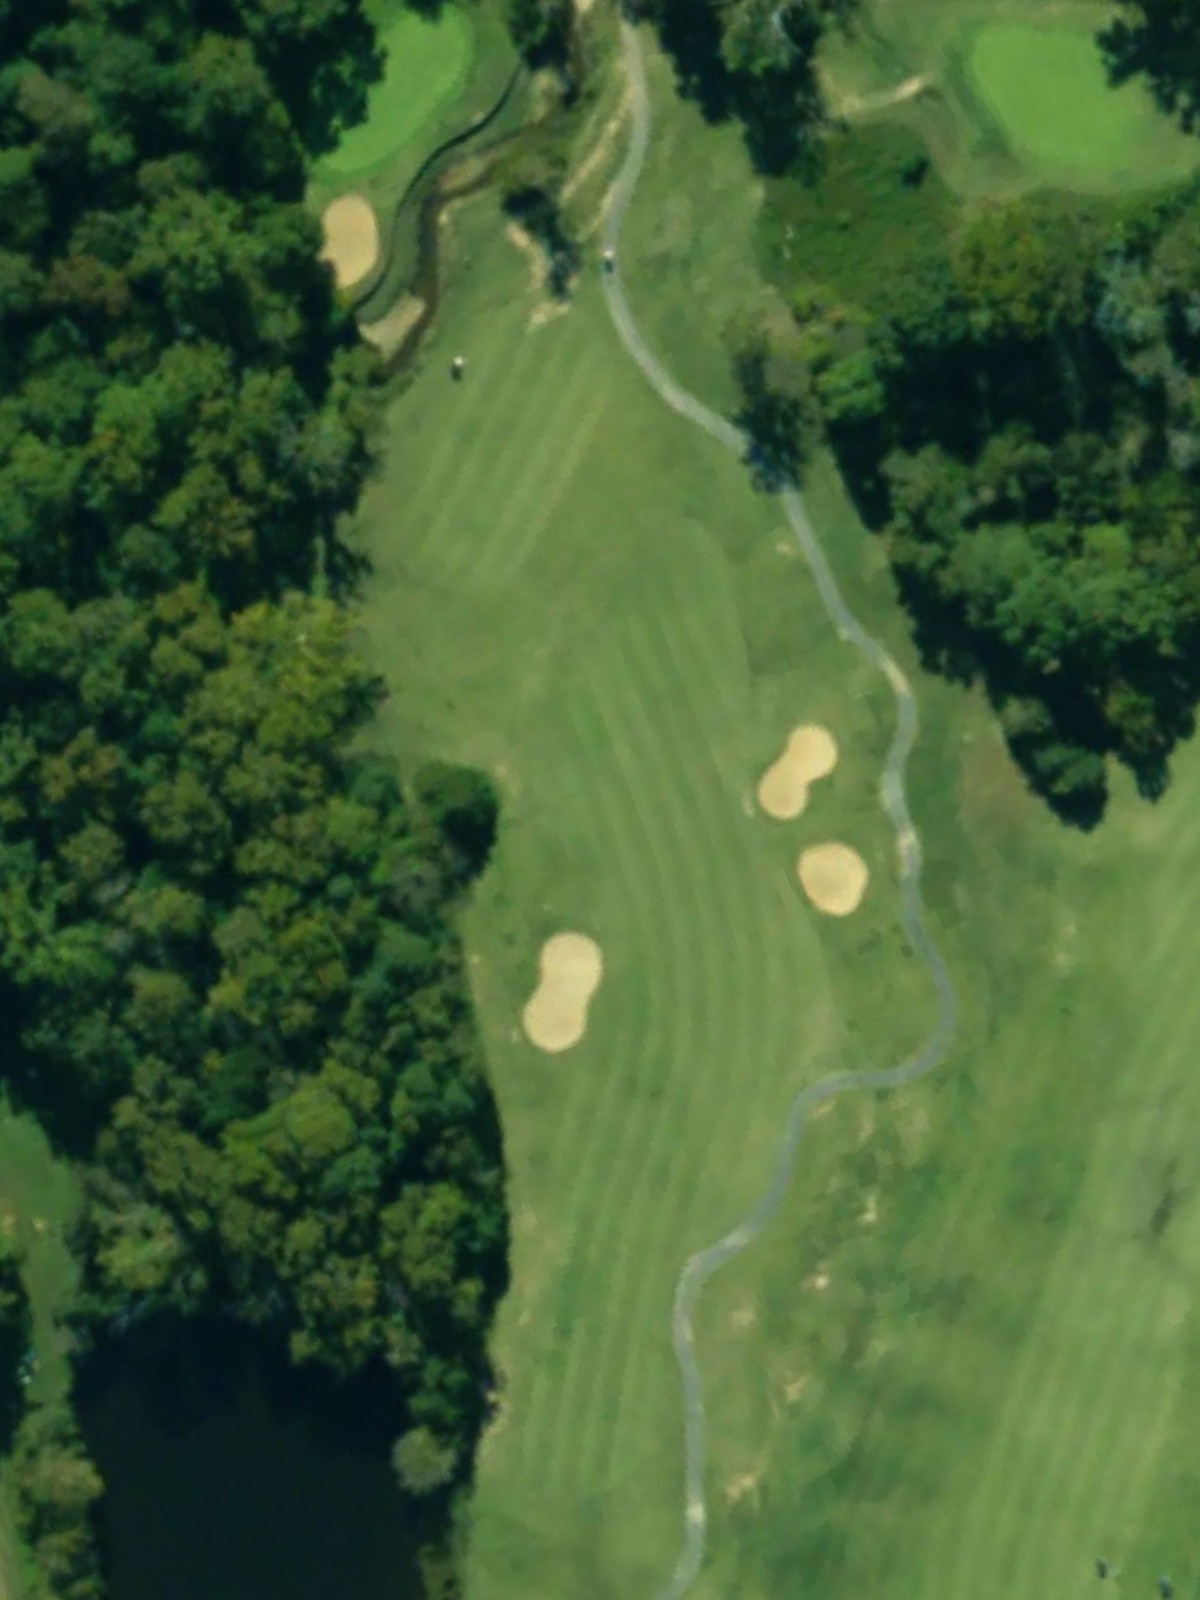
Sycamore Creek Golf Course is an 18-hole golf course in Manakin-Sabot, VA with a par of 70. It offers 3 tee sets: blue (6,129 yards, slope 130, rating 70), white (5,468 yards, slope 122, rating 67), gold (4,917 yards, slope 116, rating 64.5). The hardest hole is #6, a par 4 playing 410 yards from the first tee.
Sycamore Creek Golf Course
Manakin-Sabot, VA
Get PDF Yardage Book
We'll email you the PDF link. No spam, ever.
Create Your Game Plan
Pick your tees, enter your bag, and get a personalized shot-by-shot strategy for every hole.
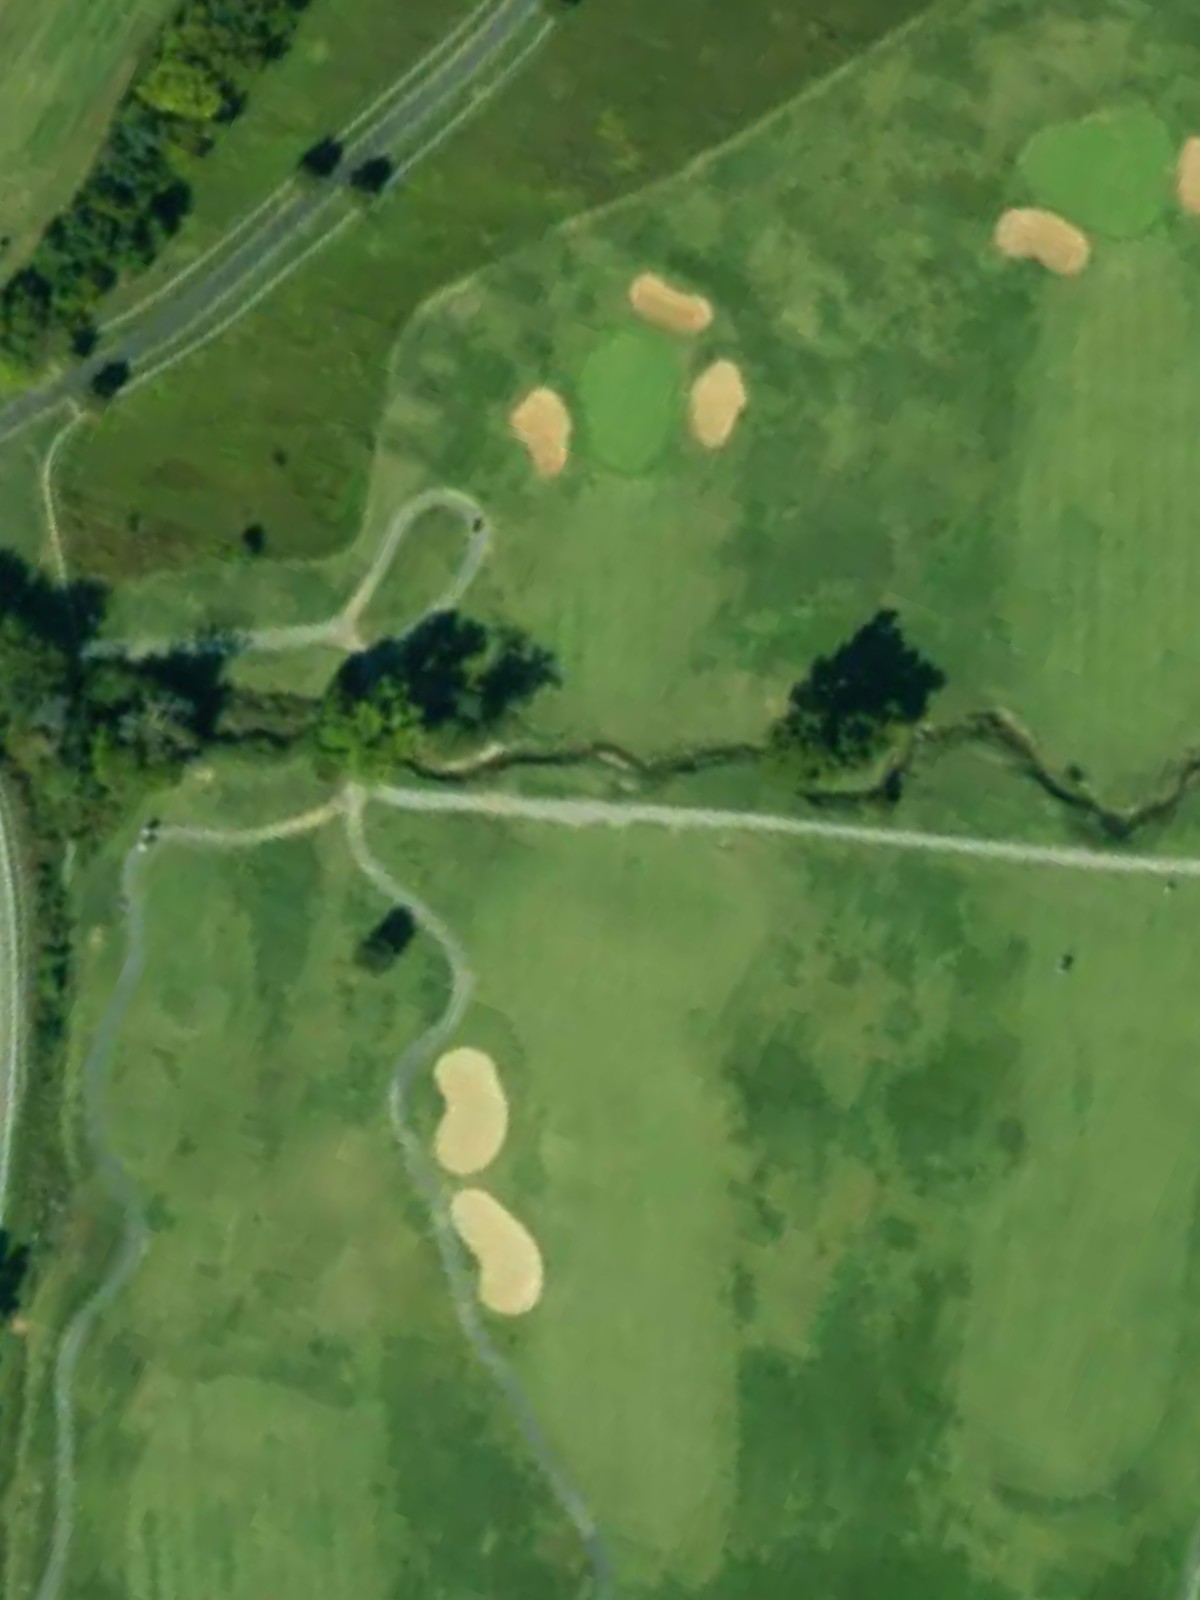
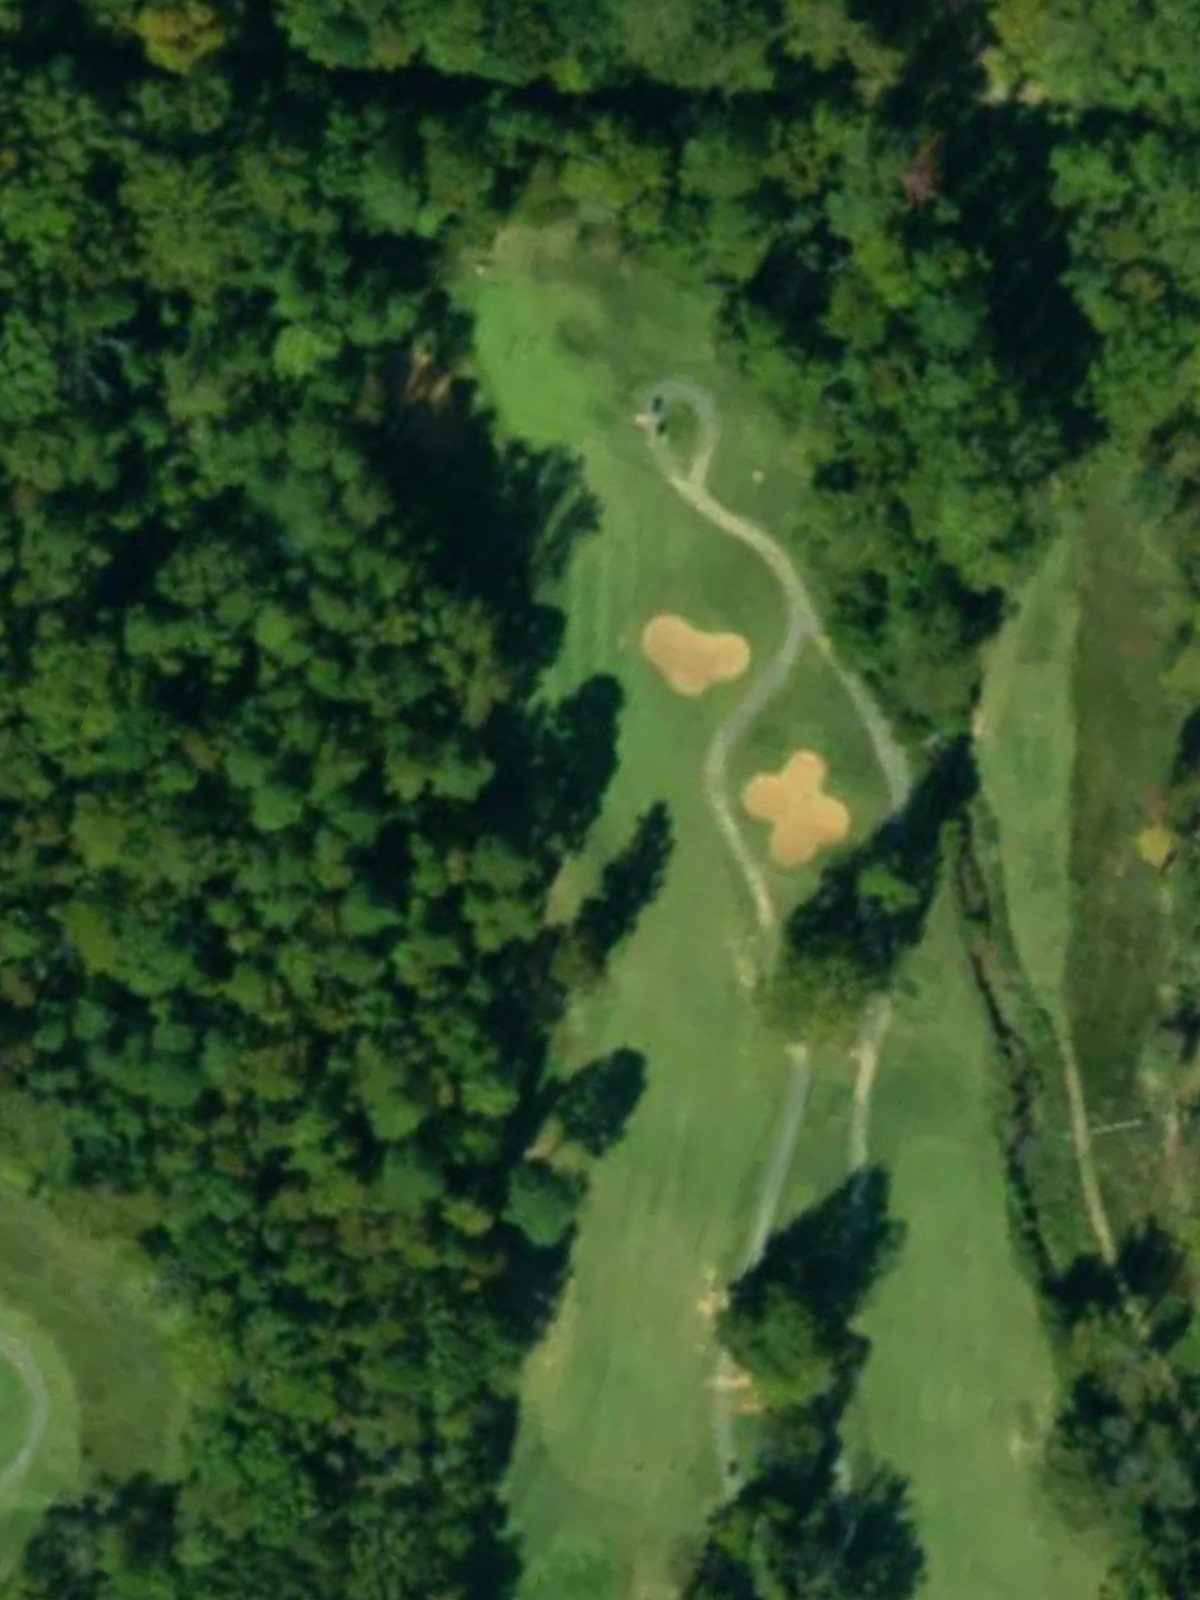
A straightforward par 4 with a wide fairway that provides a comfortable opening hole. Bunkers guard the right side of the green, demanding accuracy on the approach shot.
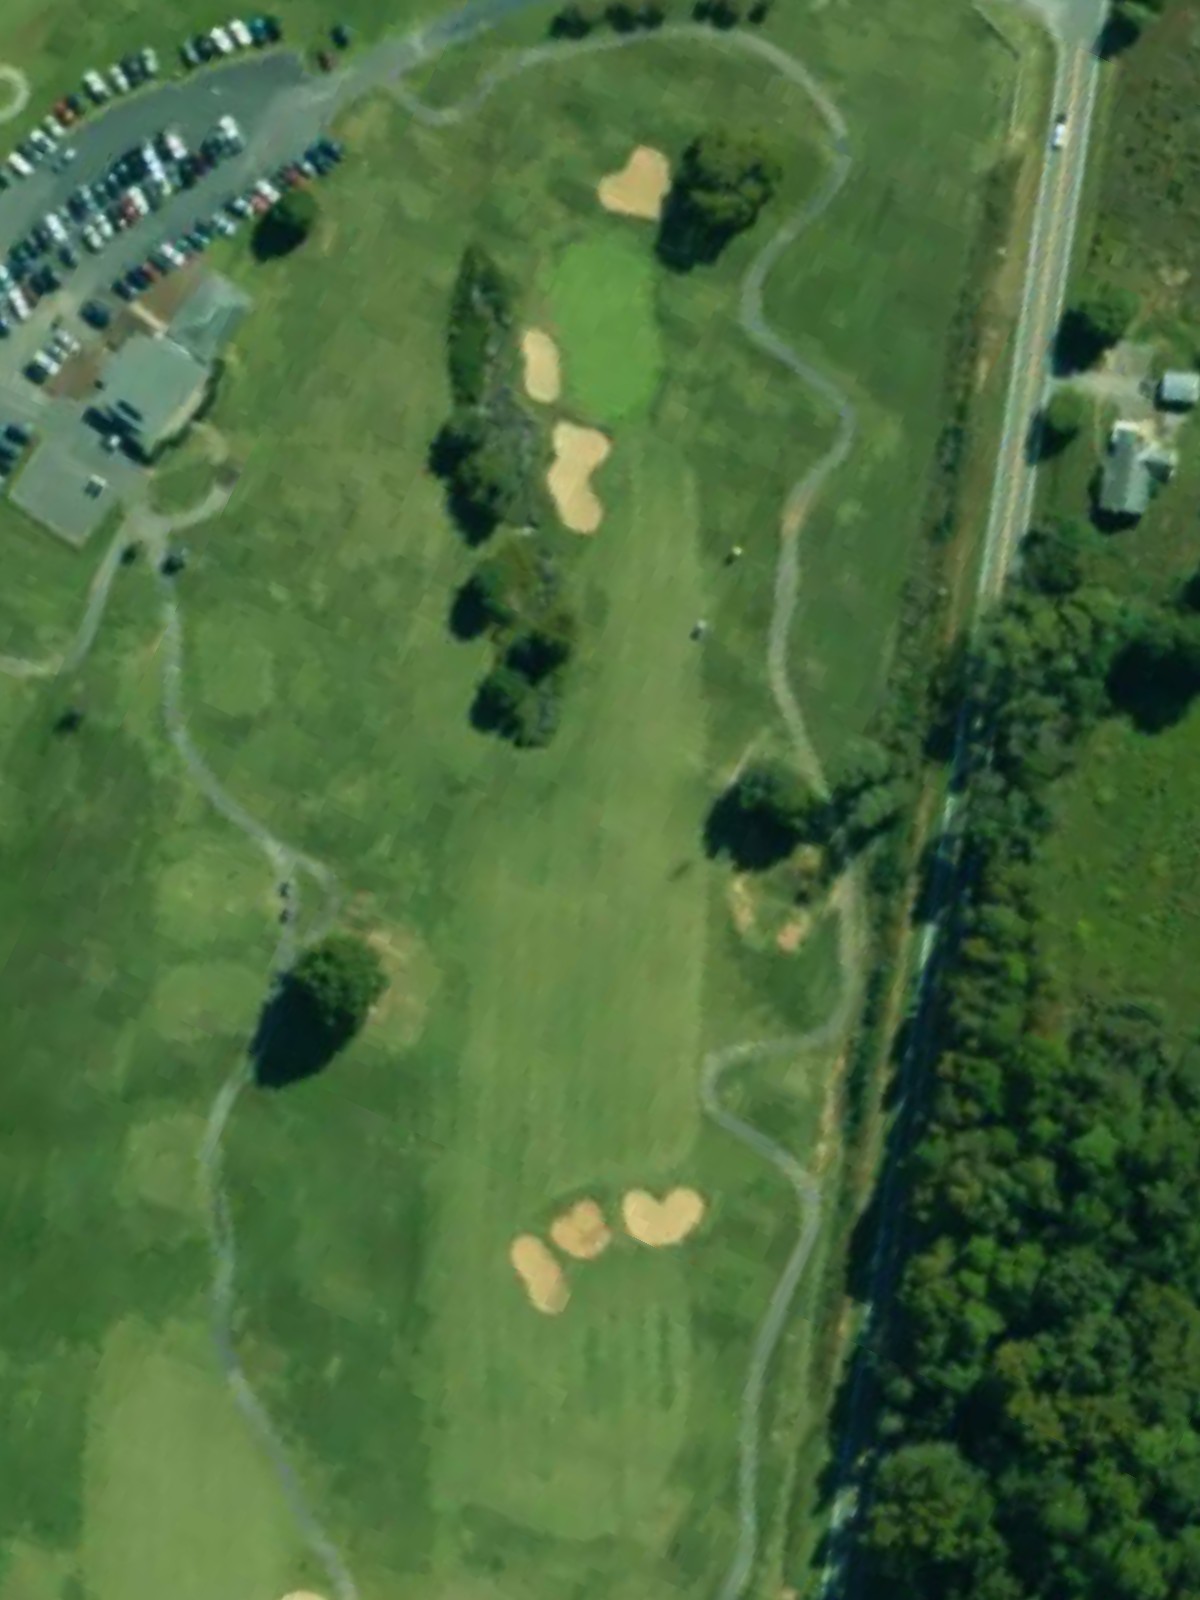
A demanding par 4 that ranks as the second-toughest hole on the course. Bunkers protect the green, making precision off the tee and into the green critical.
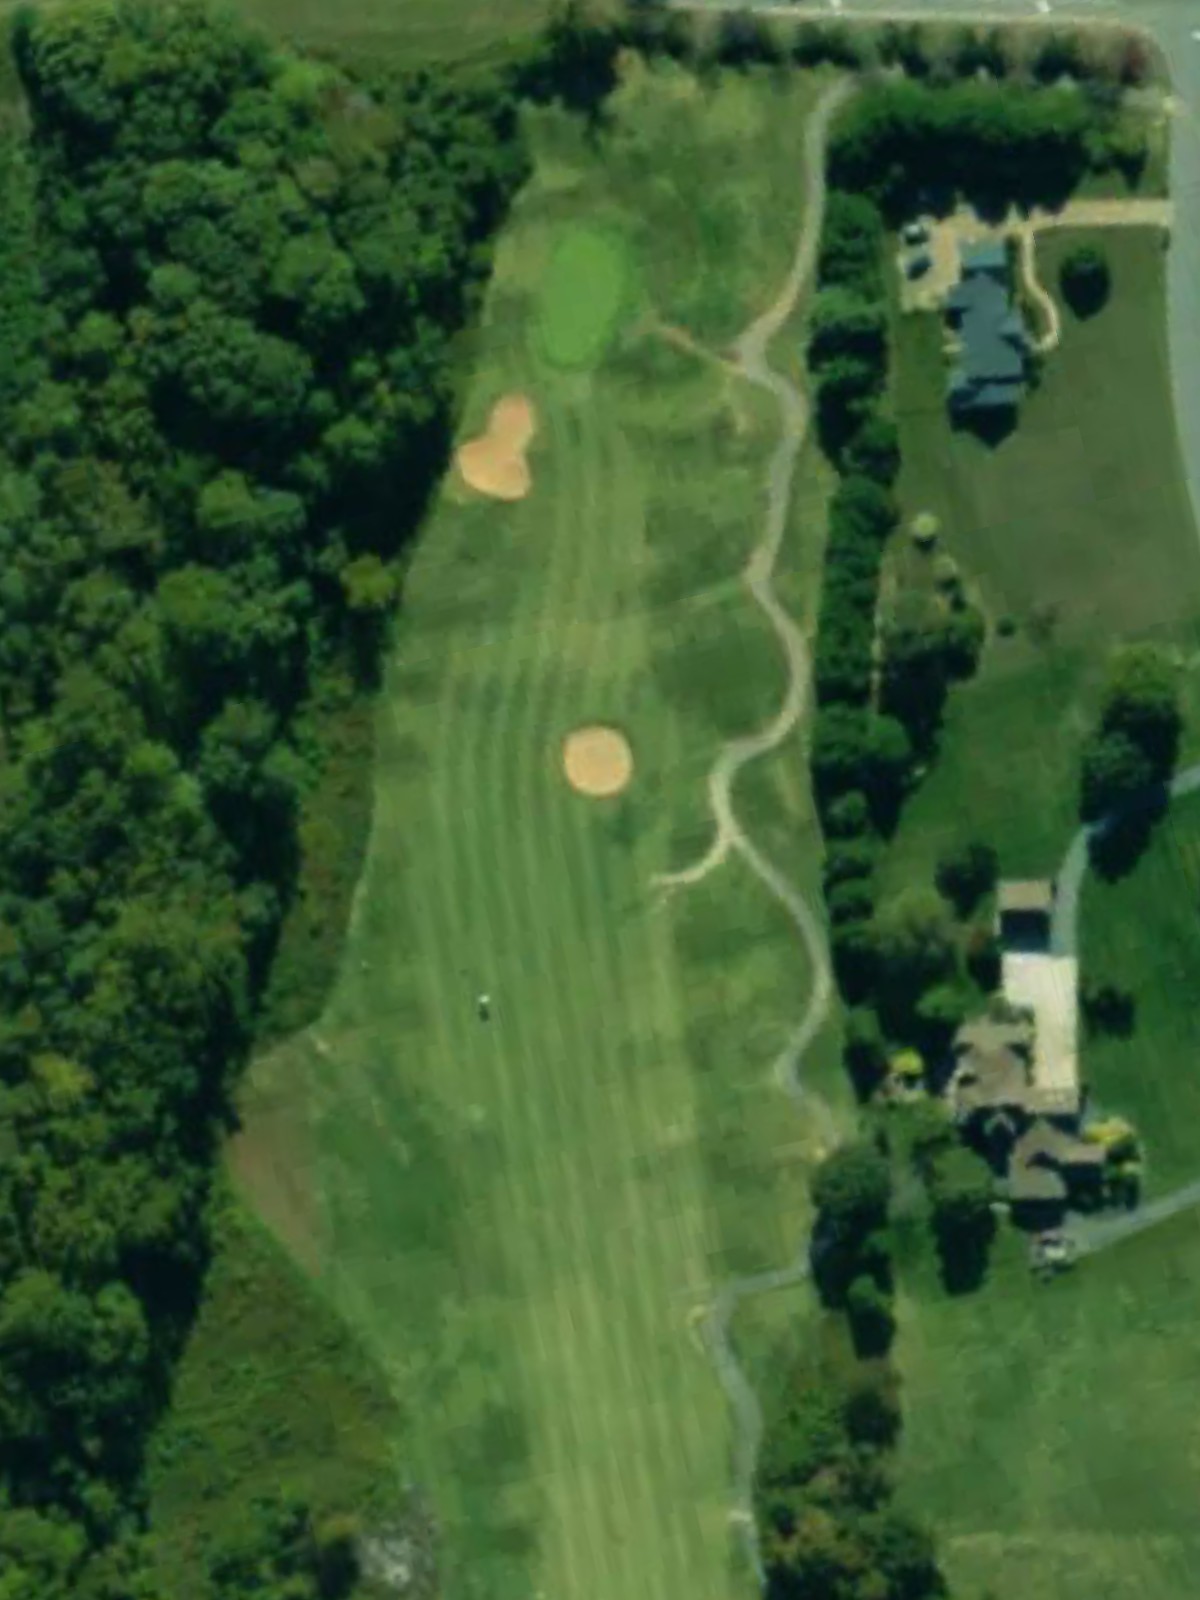
The third-hardest hole on the course, this par 4 features bunkers along the fairway and around the green. Length and accuracy are both tested on this challenging hole.
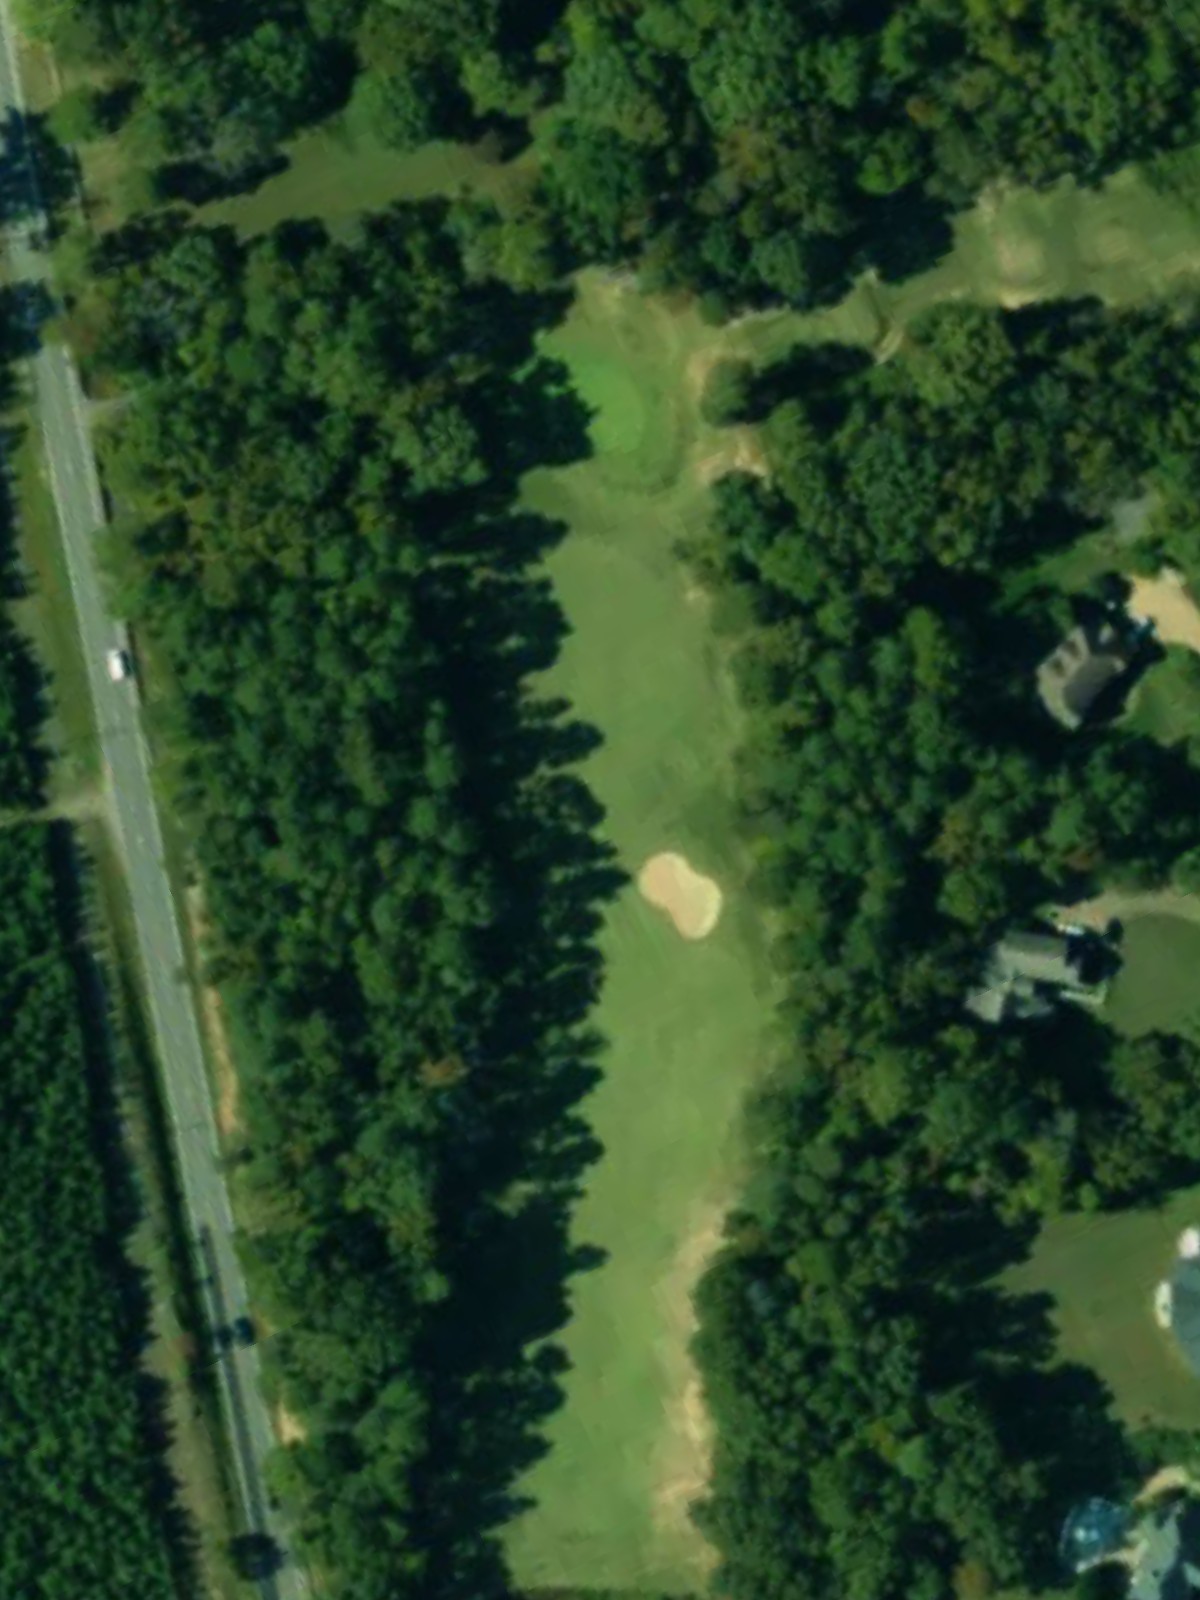
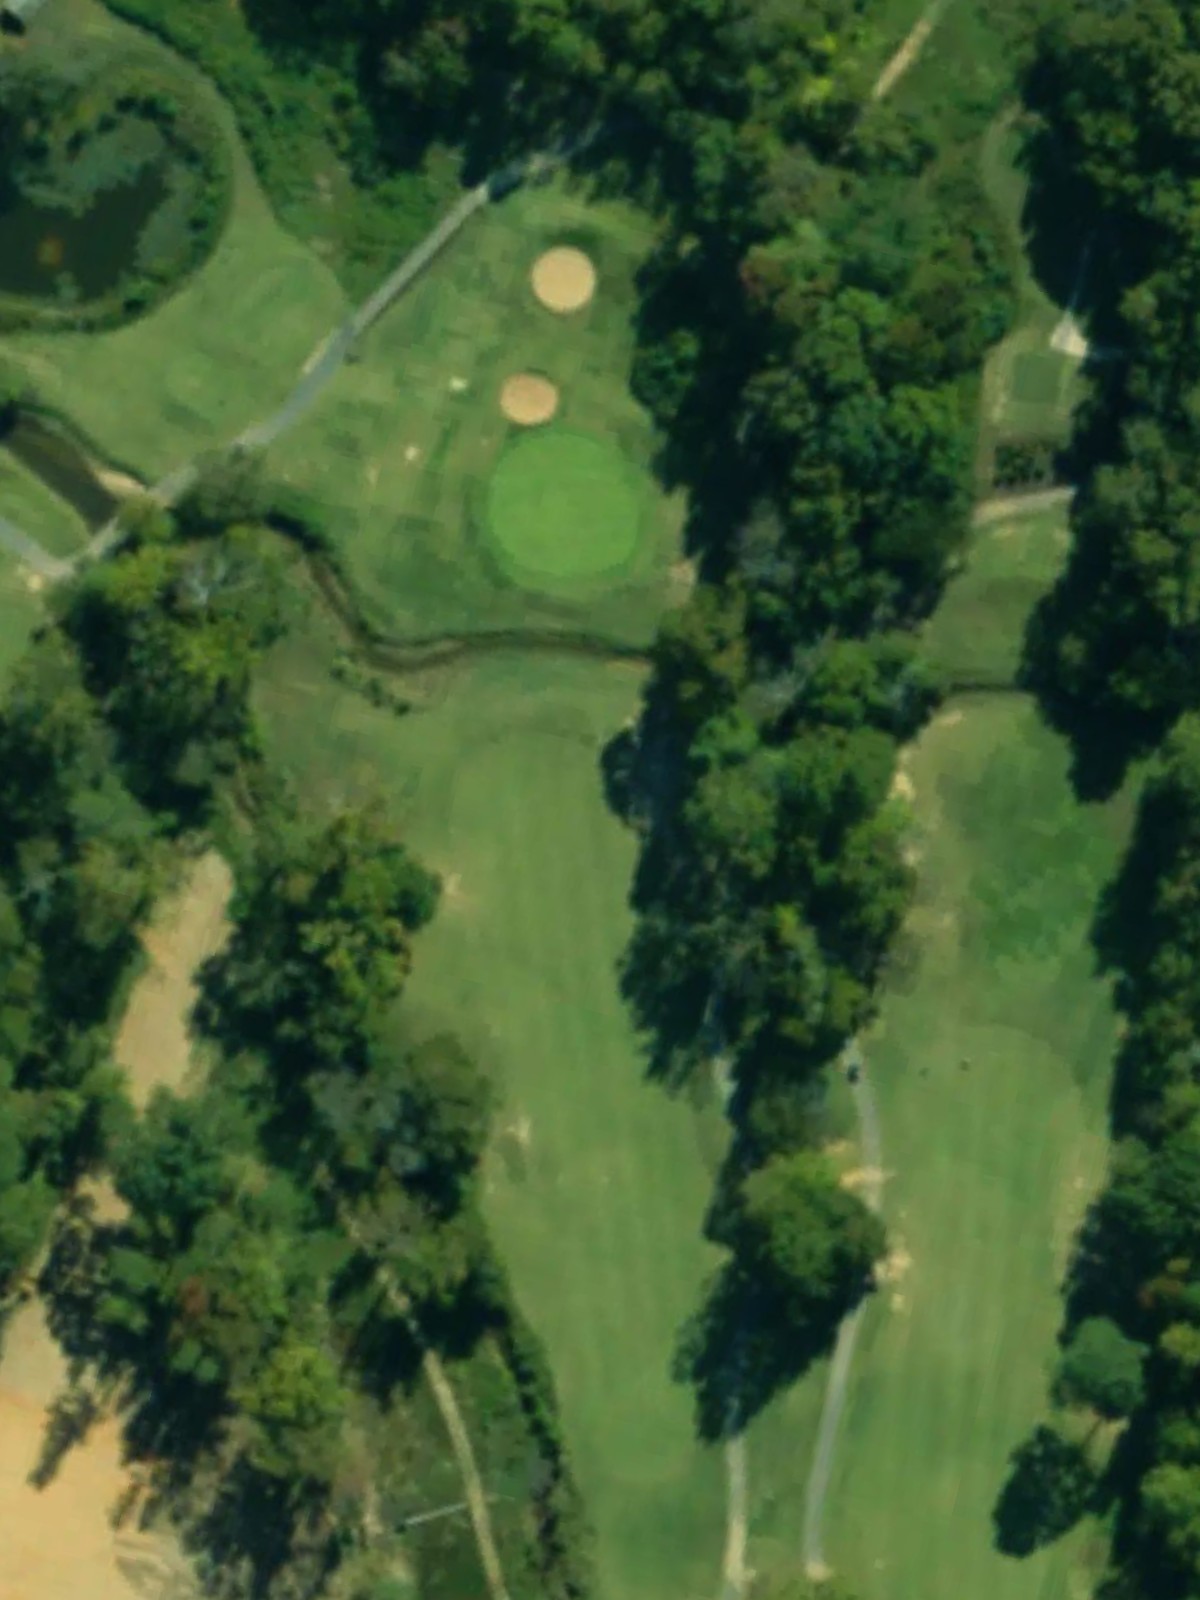
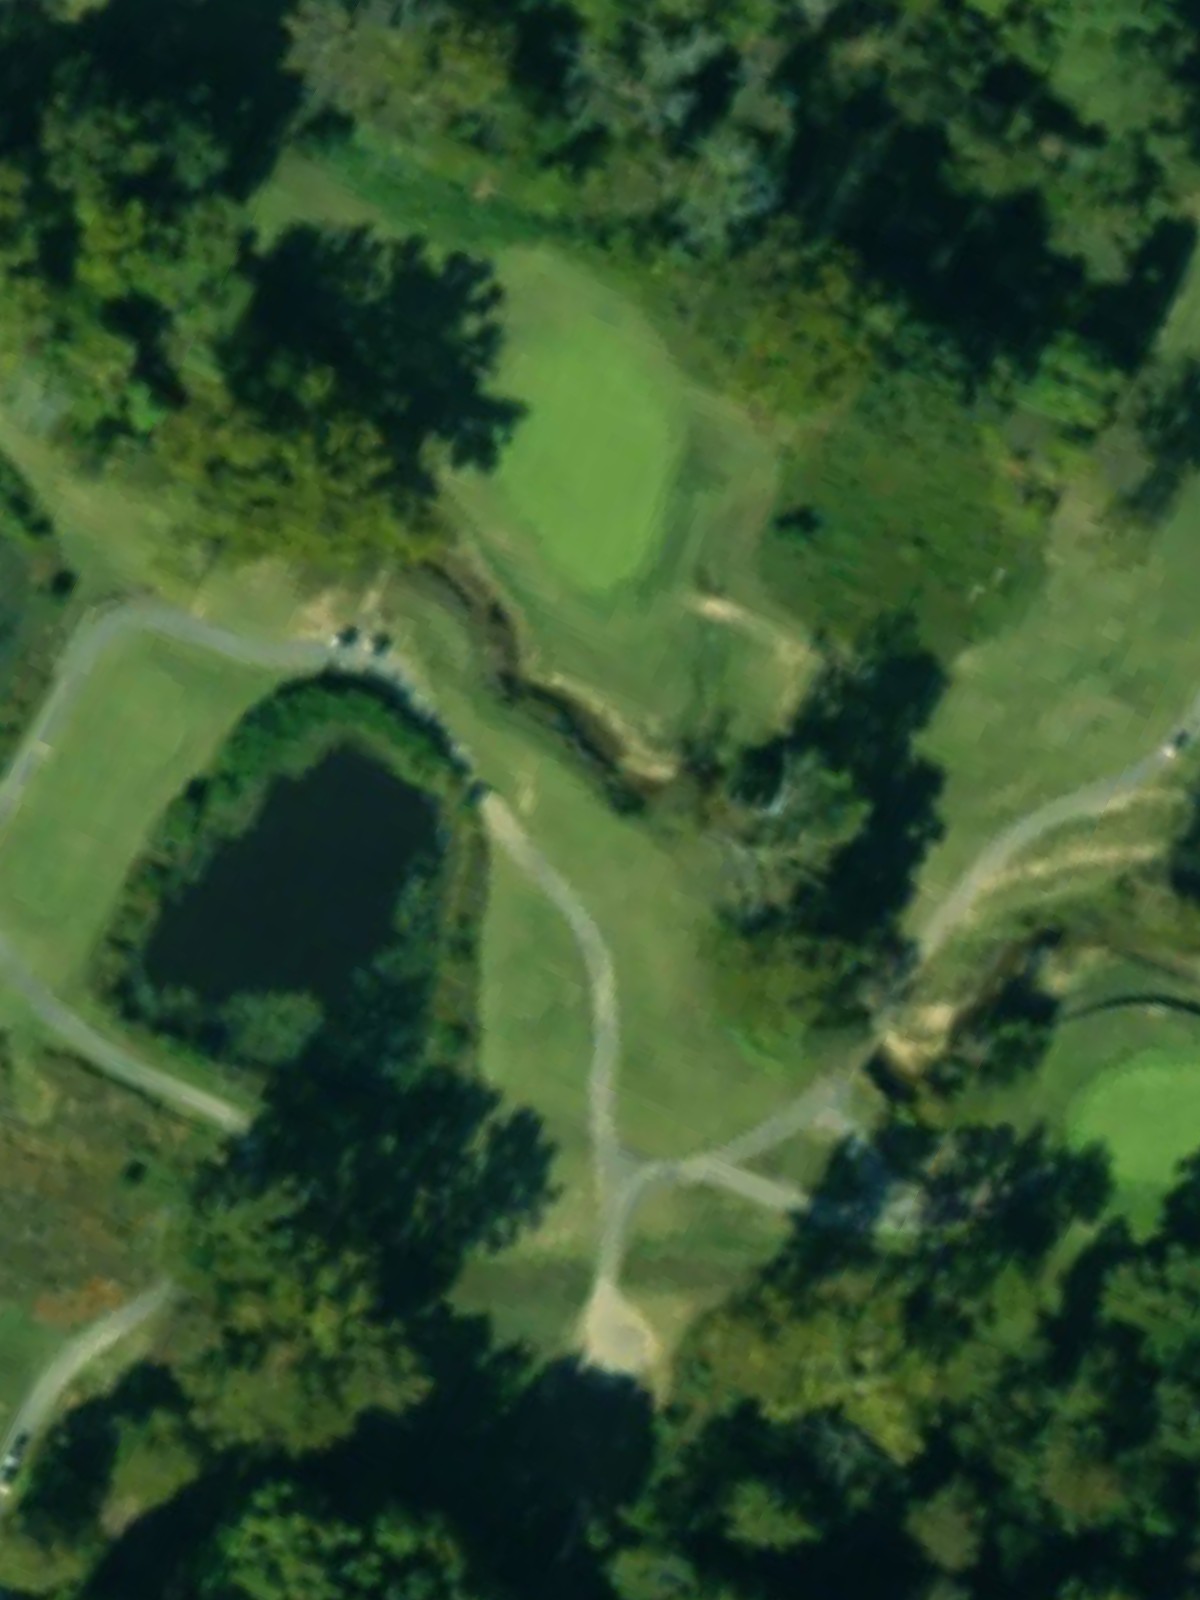
A short par 3 with a single greenside bunker that provides the primary defense. The modest yardage makes this a good birdie opportunity despite the bunker hazard.

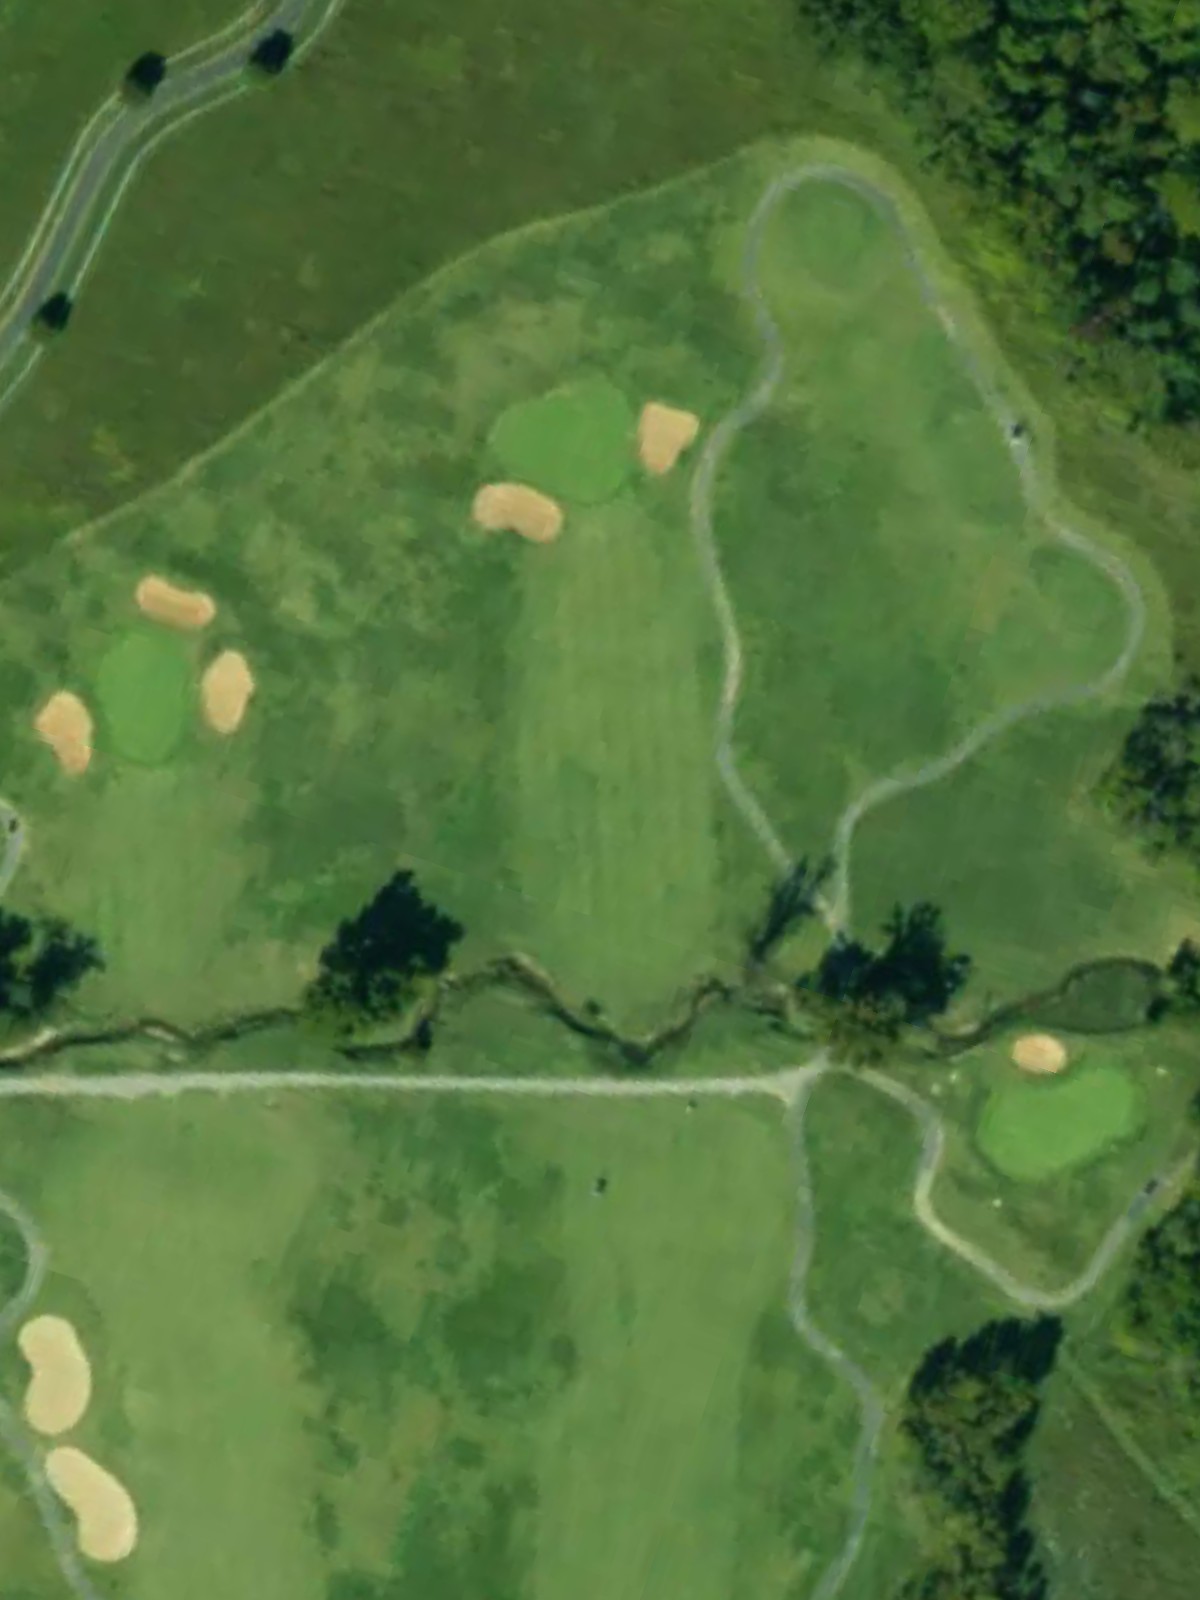
A par 5 that offers a chance at a birdie with solid play. Bunkers guard the fairway and approach, requiring thoughtful positioning throughout the hole.

The most difficult hole on the course, this lengthy par 4 demands precision from tee to green. Bunkers protect the green, and the overall length makes this a genuine test.

A solid par 4 with a fairway that narrows as it approaches the green. Bunkers frame the landing area and greenside, making club selection and accuracy key considerations.
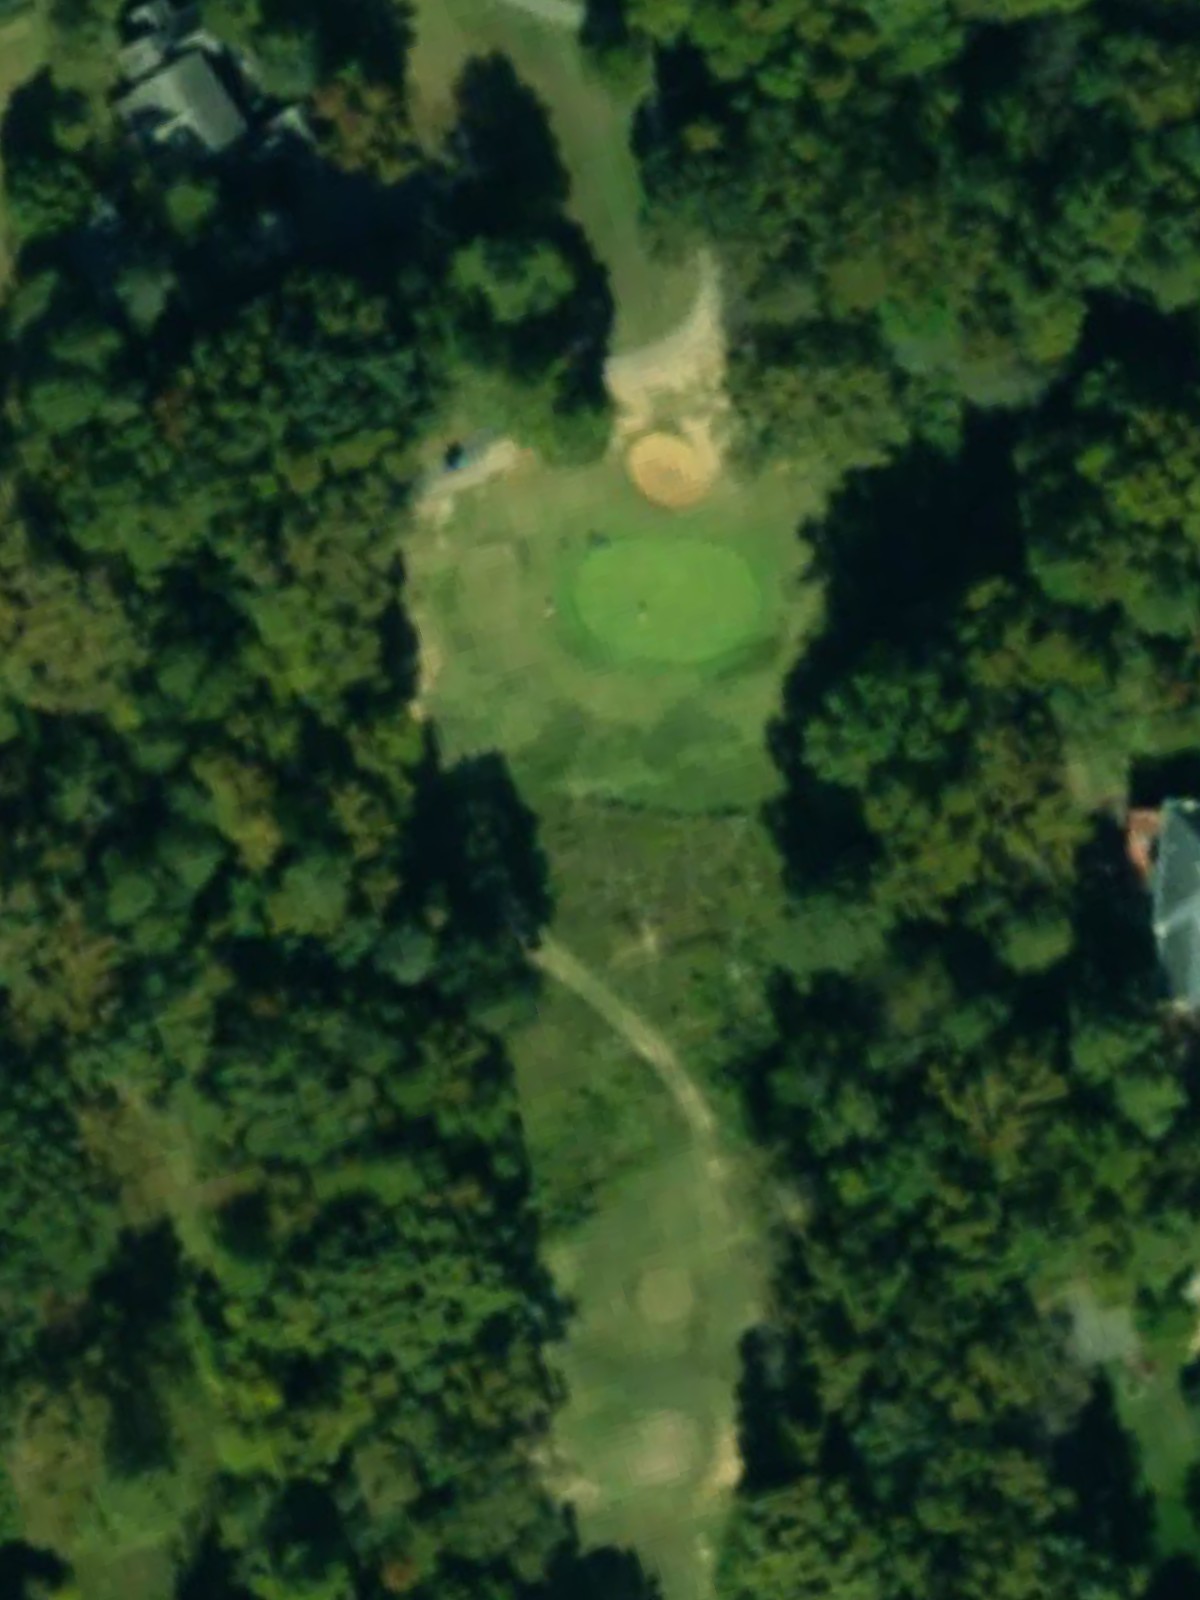
A mid-length par 3 with bunker protection guarding the green. The moderate yardage makes this a reachable one-shotter, though the bunker requires a precise tee shot.
A challenging par 4 that ranks third in difficulty on the course. Bunkers guard the green, and the hole's length demands solid execution on both tee and approach shots.
The fourth-toughest hole on the course, this par 4 features bunkers along the fairway and around the green. The fairway corridor tightens as players approach the landing area.
A substantial par 3 with significant length variation between tee boxes. Bunkers protect the green, making accurate distance control essential for success.
A par 4 with a fairway that provides good width off the tee before narrowing toward the green. Bunkers frame the approach, requiring thoughtful positioning for the second shot.
A short par 4 that plays deceptively difficult despite its reduced length. Bunkers near the green punish inaccurate approaches on this tight hole.
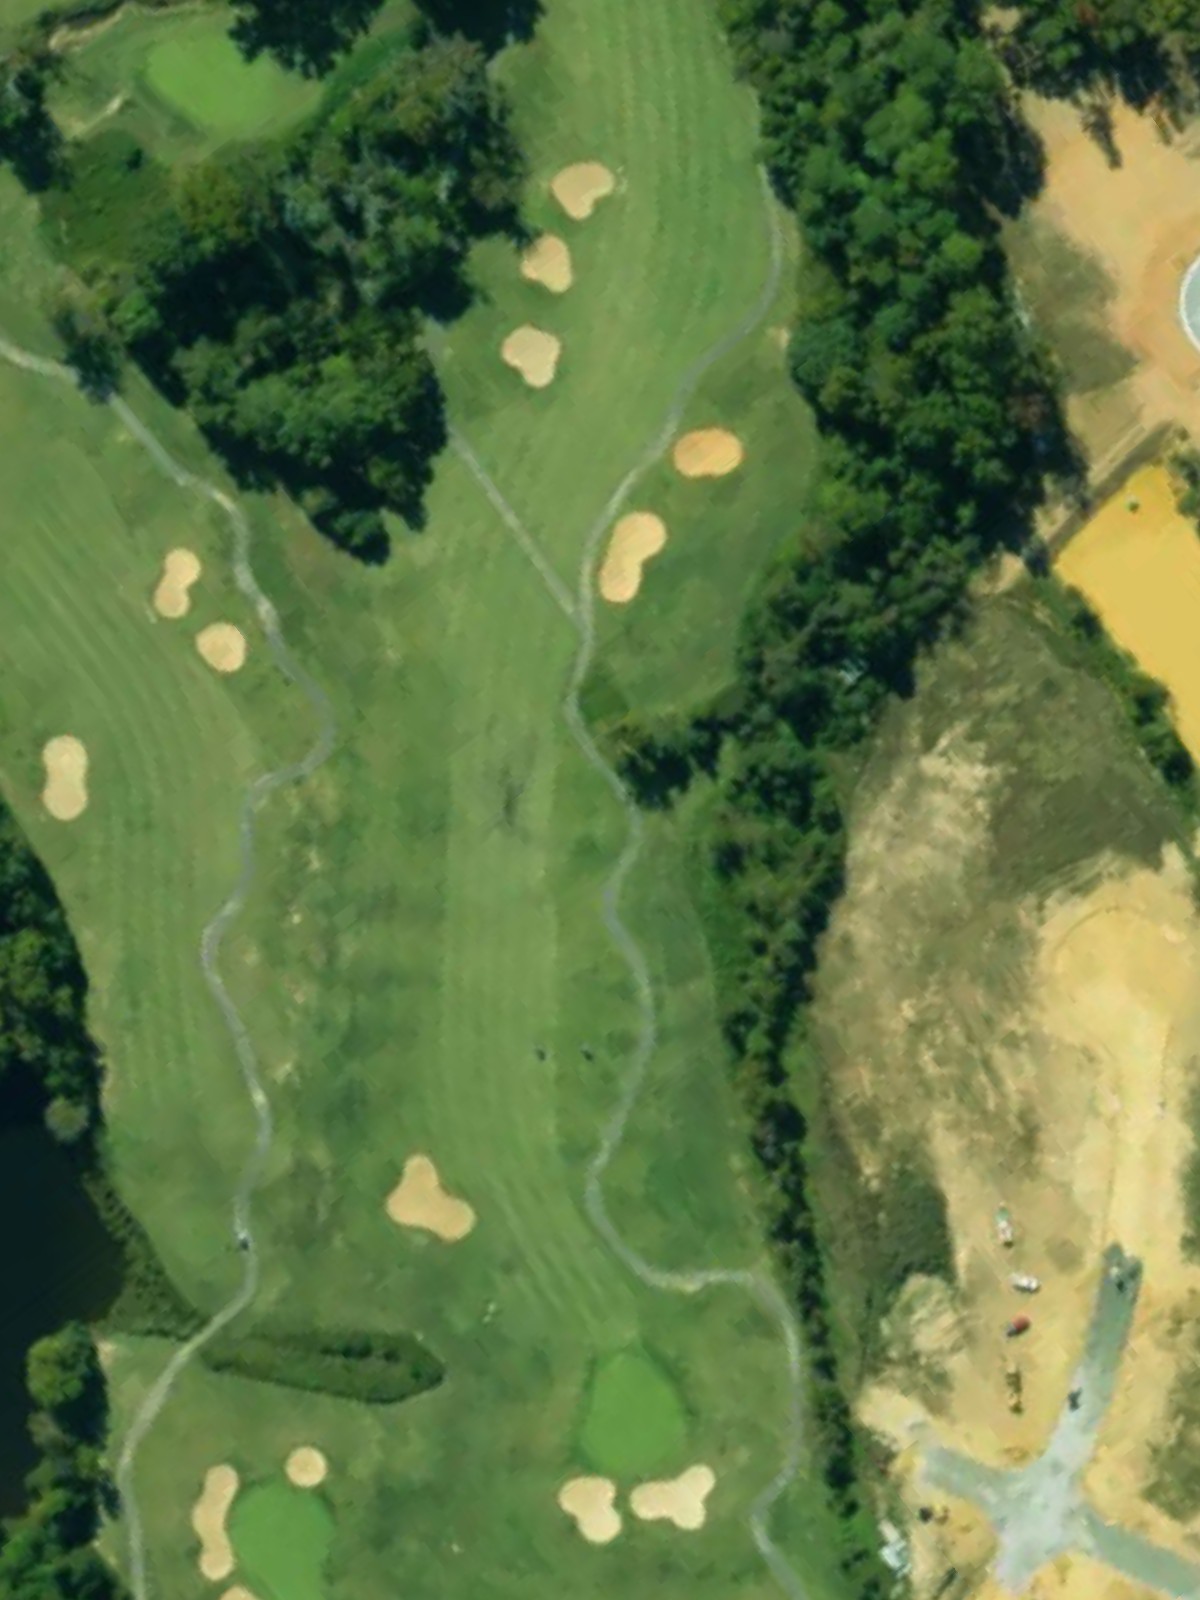
A strong par 5 with bunkers strategically placed to challenge the approach to the green. The hole rewards solid positioning and discipline throughout the three-shot sequence.
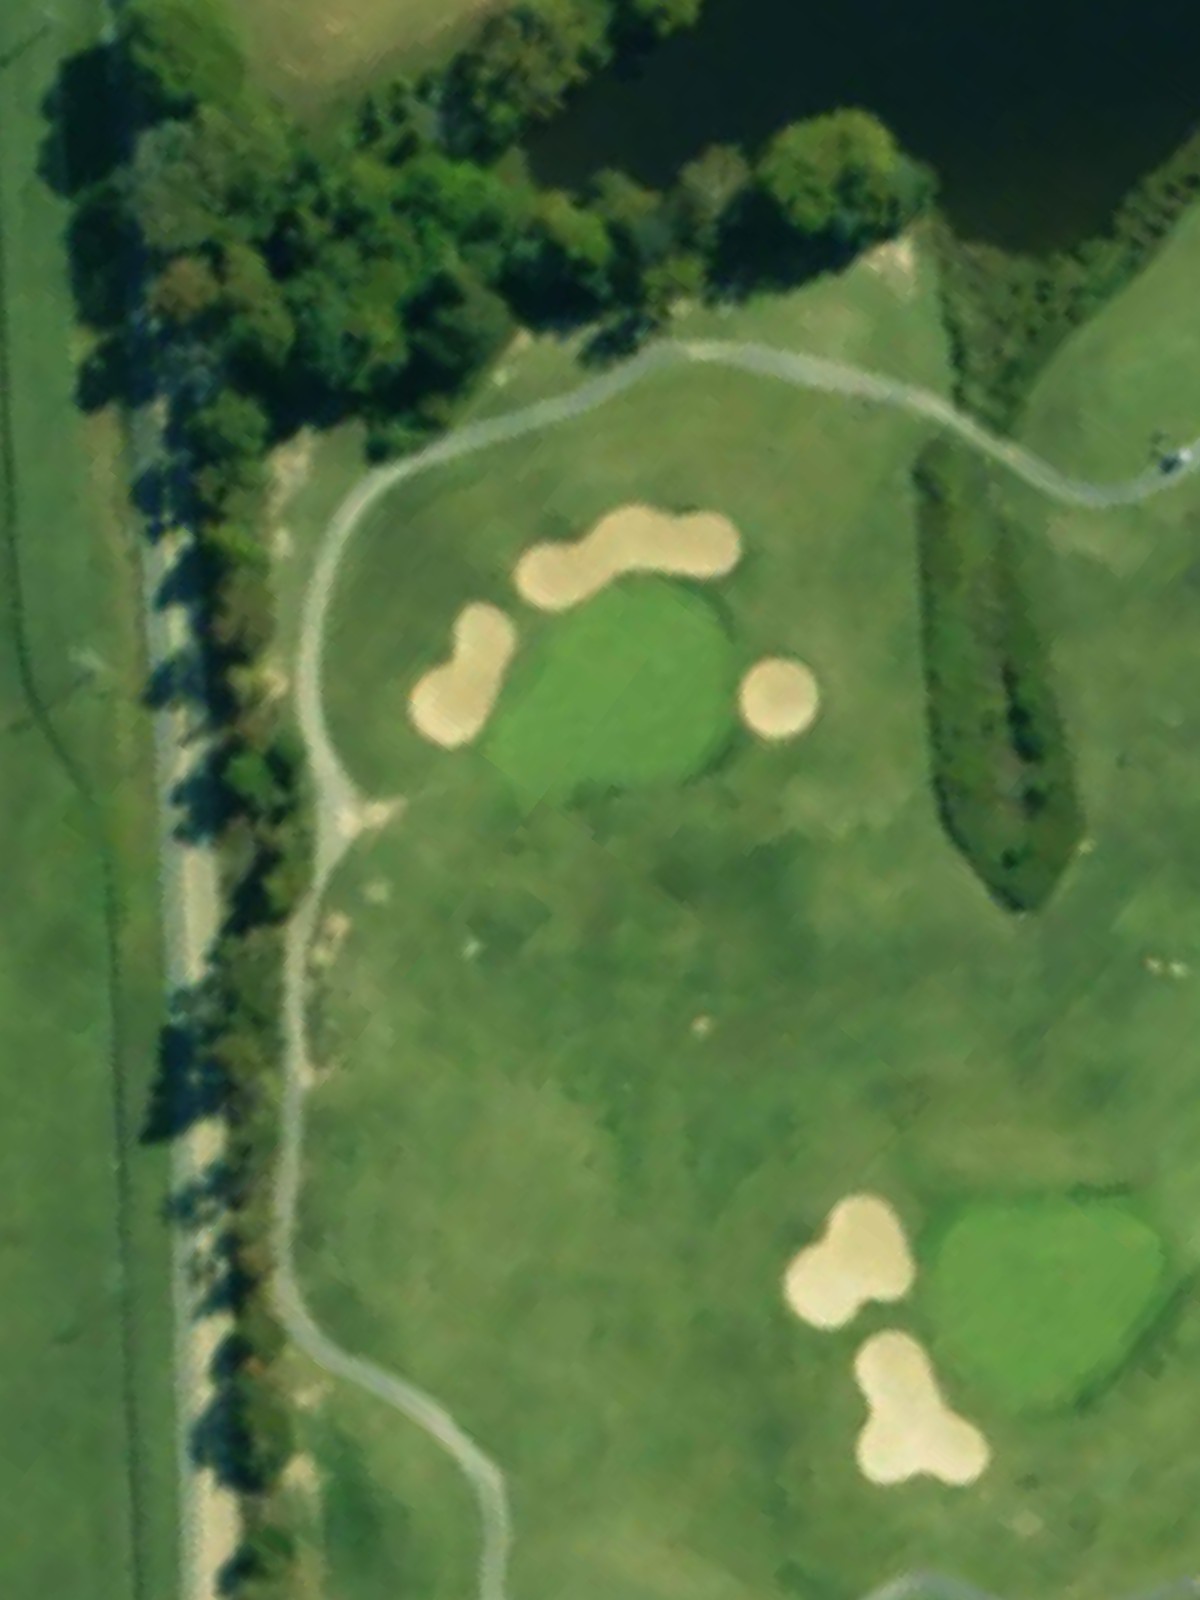
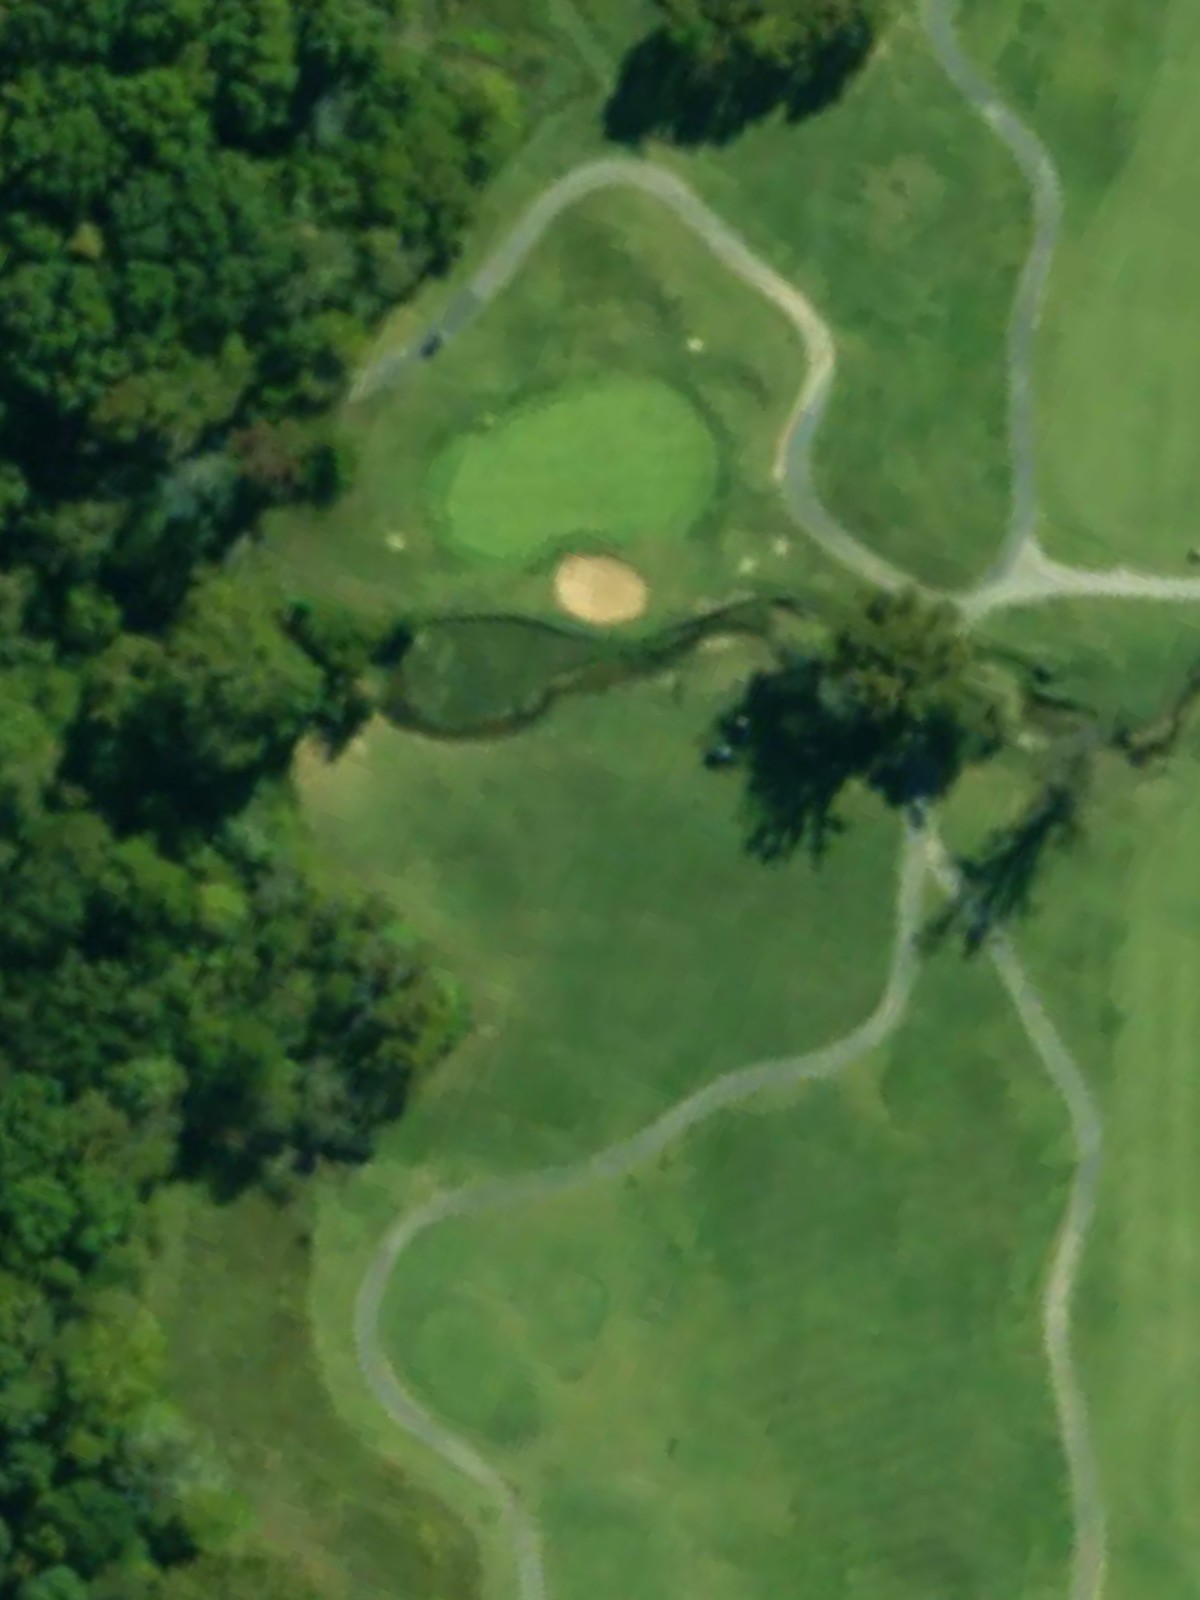
The easiest hole on the course, this short par 3 features minimal length and a single bunker. It provides a welcome reprieve in the back nine stretch.
The second-most difficult hole on the course, this par 4 demands precision from start to finish. Bunkers guard the fairway and frame the green, making this a true strategic test.
A short par 3 with a clean design and no identified hazards beyond the tee. This hole offers a straightforward one-shot opportunity before the closing par 5.
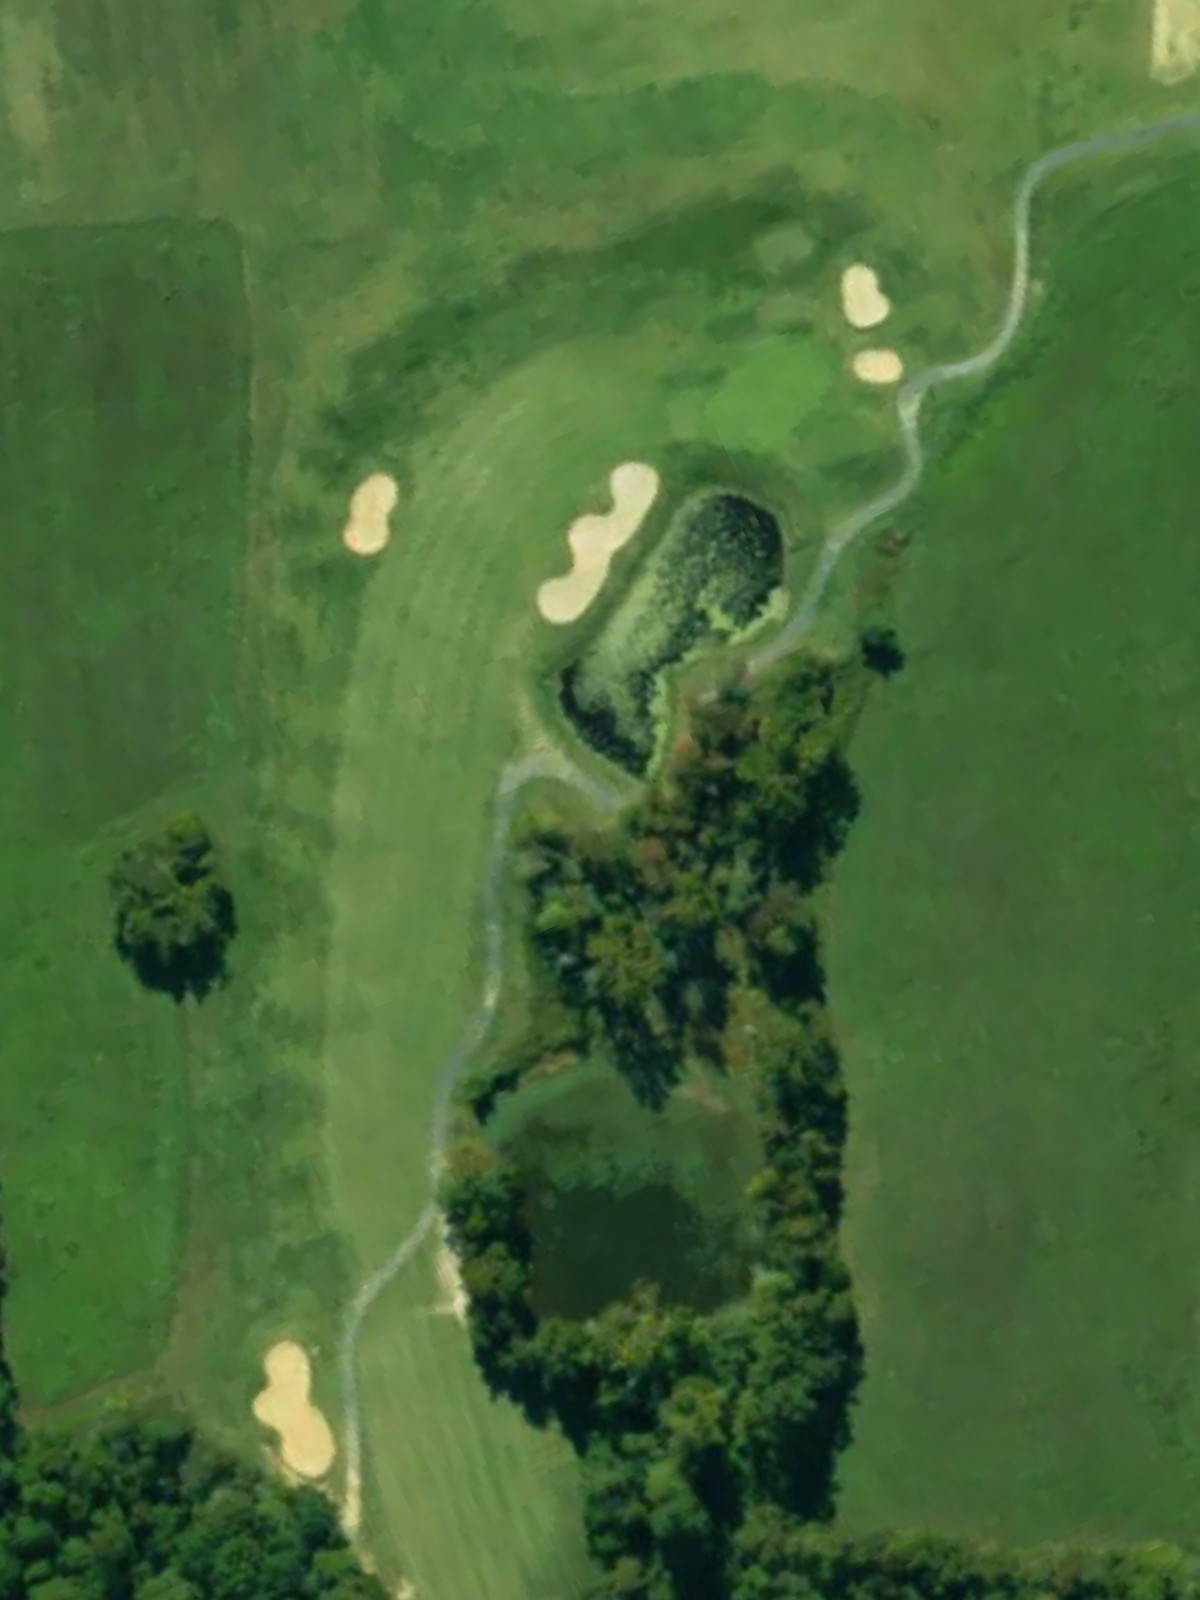
A finishing par 5 that provides drama to close the round. Bunkers guard the fairway and approach, rewarding solid positioning and execution down the stretch.
Scorecard
| Hole | 1 | 2 | 3 | 4 | 5 | 6 | 7 | 8 | 9 | Out | 10 | 11 | 12 | 13 | 14 | 15 | 16 | 17 | 18 | In | Tot |
|---|---|---|---|---|---|---|---|---|---|---|---|---|---|---|---|---|---|---|---|---|---|
| Par | 4 | 4 | 4 | 3 | 5 | 4 | 4 | 3 | 4 | 35 | 4 | 3 | 4 | 4 | 5 | 3 | 4 | 3 | 5 | 35 | 70 |
| HCP | 15 | 7 | 5 | 17 | 11 | 1 | 9 | 13 | 3 | 4 | 6 | 12 | 14 | 8 | 18 | 2 | 16 | 10 | |||
| blue | 380 | 371 | 382 | 147 | 481 | 410 | 390 | 199 | 373 | 3133 | 427 | 208 | 368 | 284 | 532 | 153 | 371 | 167 | 486 | 2996 | 6129 |
| white | 335 | 353 | 355 | 134 | 430 | 368 | 346 | 164 | 342 | 2827 | 397 | 152 | 330 | 245 | 481 | 124 | 336 | 122 | 454 | 2641 | 5468 |
| gold | 311 | 295 | 323 | 110 | 387 | 312 | 338 | 139 | 310 | 2525 | 368 | 117 | 302 | 238 | 465 | 96 | 294 | 95 | 417 | 2392 | 4917 |