Swanson Meadows Golf Course is an 18-hole golf course in Billerica, MA with a par of 64. It offers 3 tee sets: blue/blue (4,486 yards, slope 108, rating 62.6), blue/white (4,420 yards, slope 108, rating 62.1), white/white (4,354 yards, slope 107, rating 61.6).
Swanson Meadows Golf Course
Billerica, MA
Get PDF Yardage Book
We'll email you the PDF link. No spam, ever.
Create Your Game Plan
Pick your tees, enter your bag, and get a personalized shot-by-shot strategy for every hole.
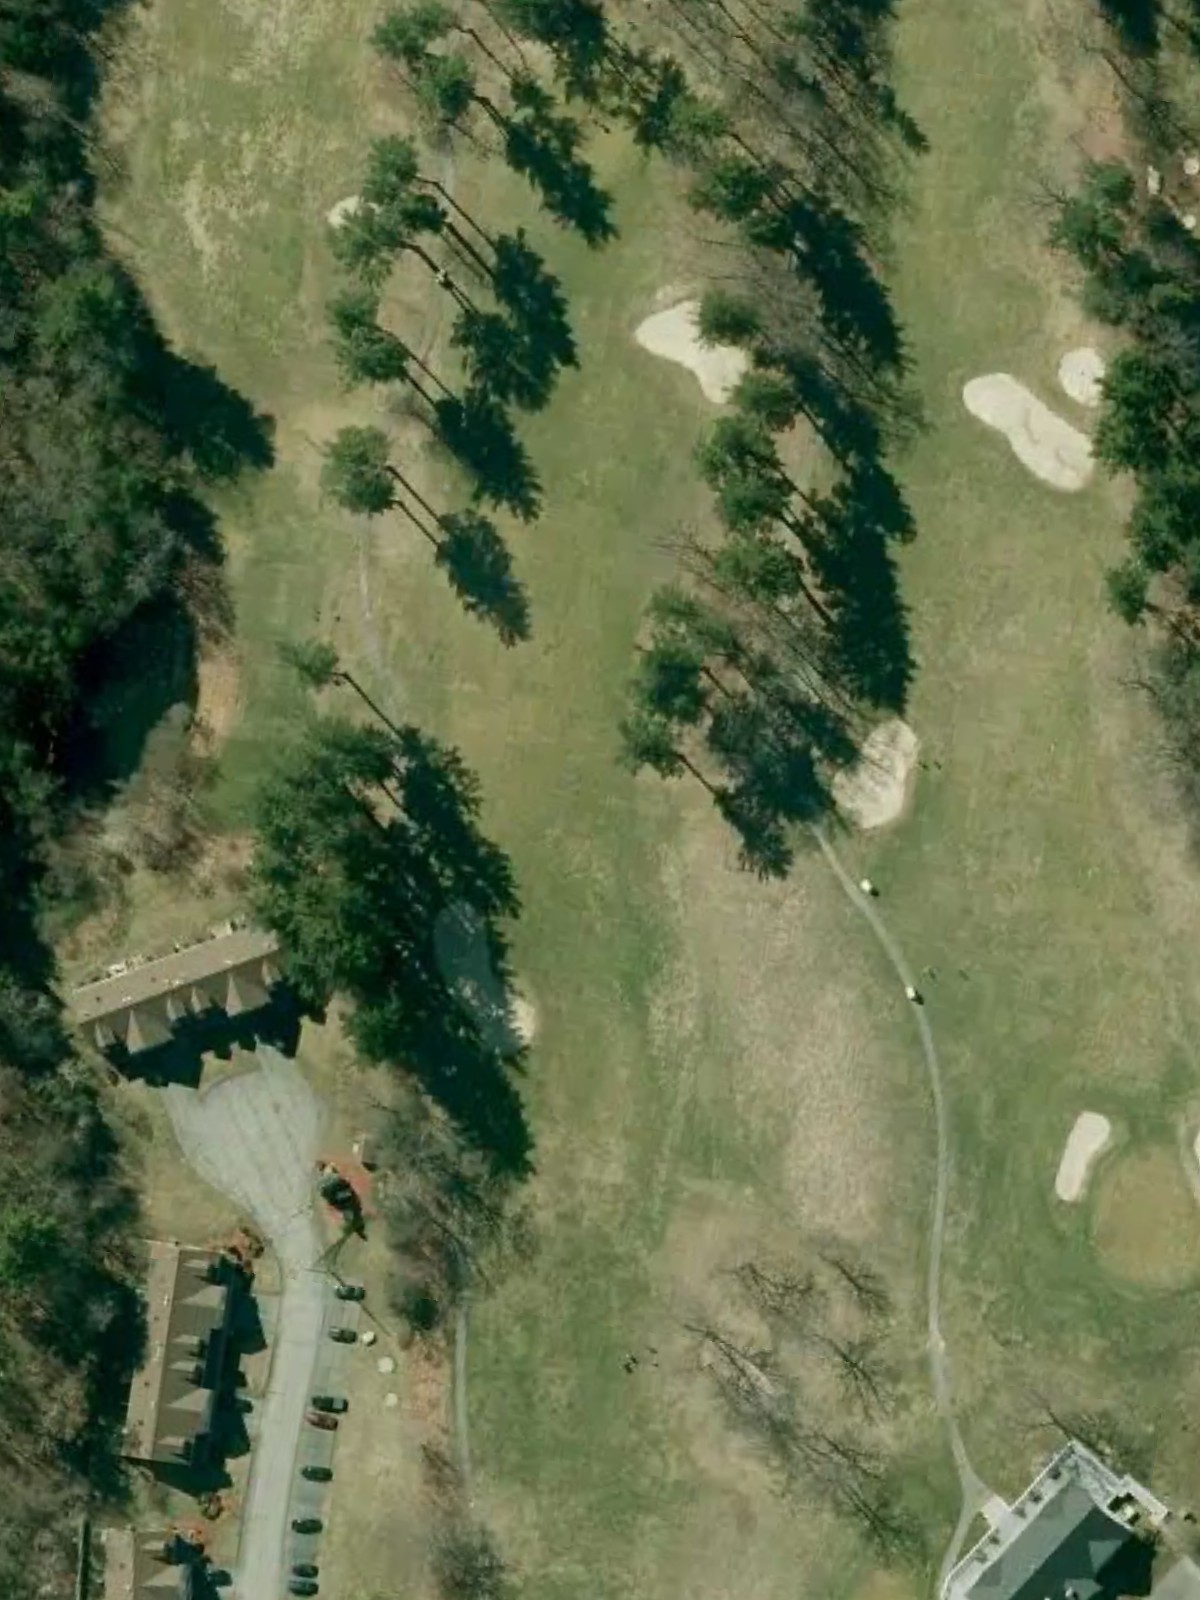
A straightforward par 4 that plays to a moderate length with a fairway that gradually narrows as it approaches the green. Bunkers guard the right side of the green, while the left side offers a safer approach for those willing to play away from the primary hazard.

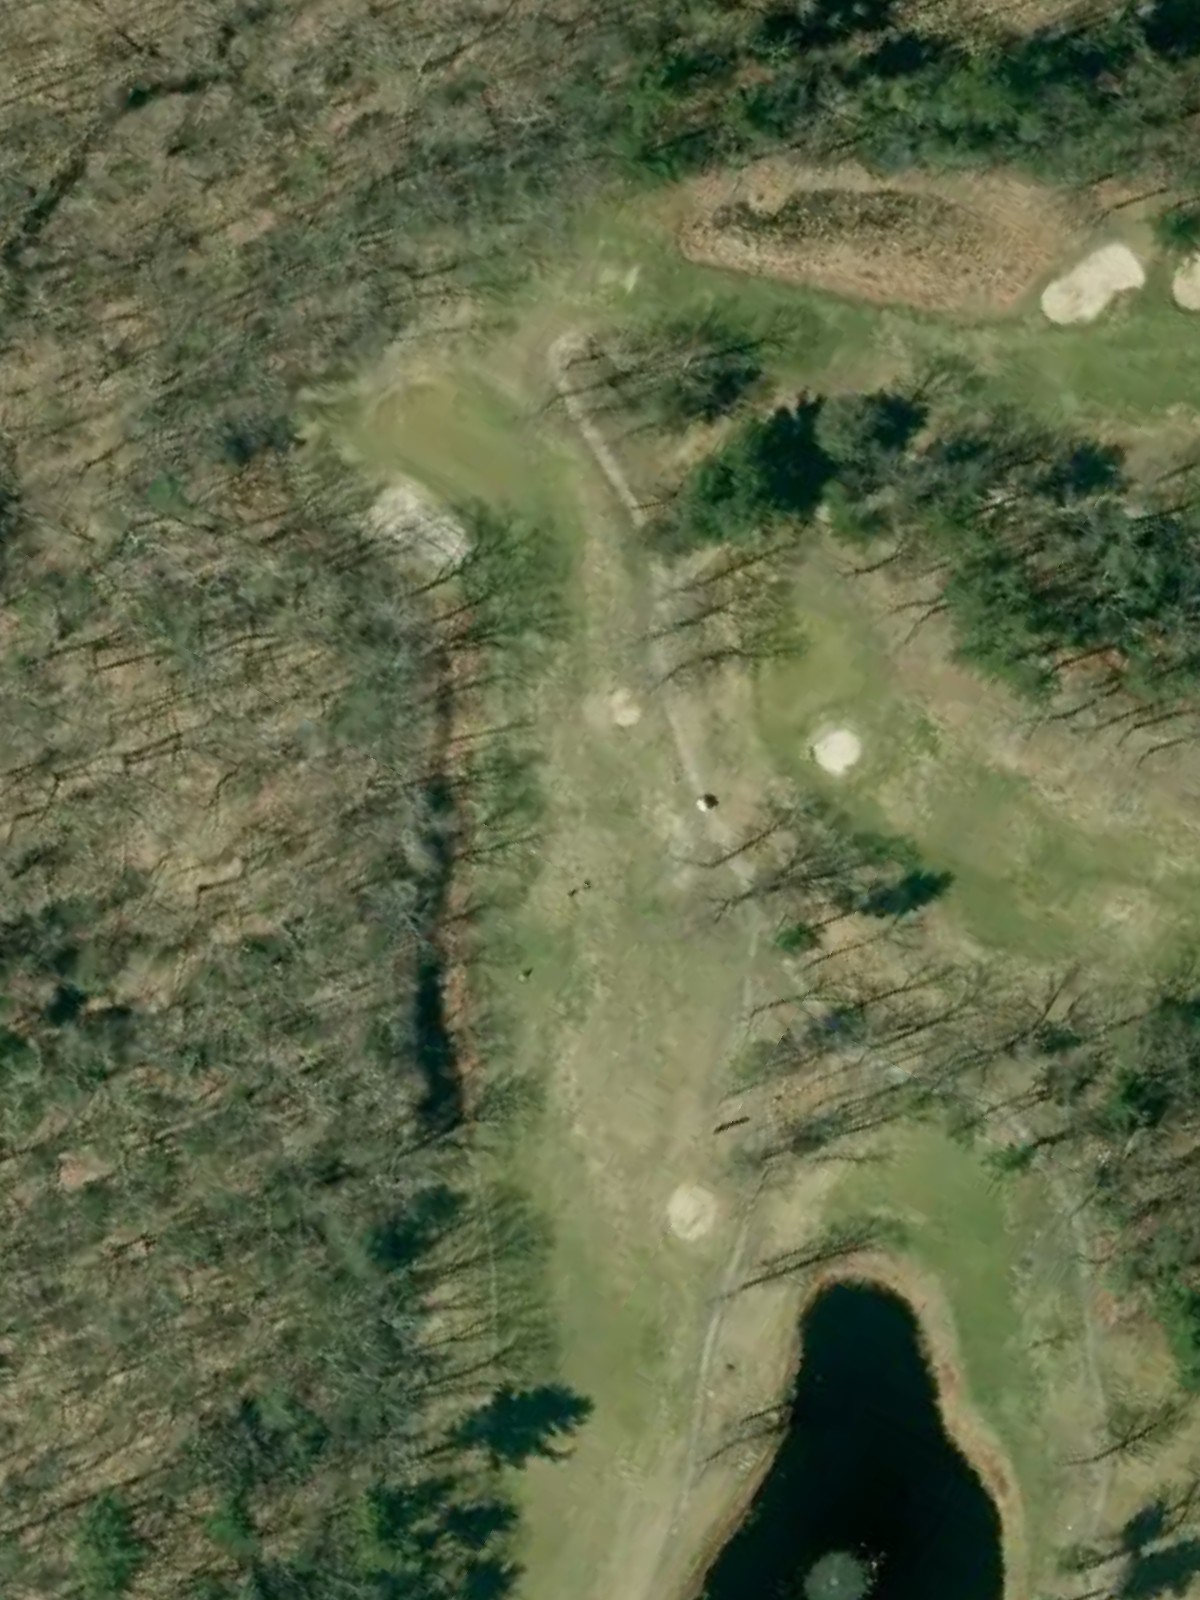
A short par 4 that rewards precision over distance, with a tight fairway corridor that demands accuracy off the tee. The green is well-bunkered, particularly on the right, making placement critical on the approach shot.
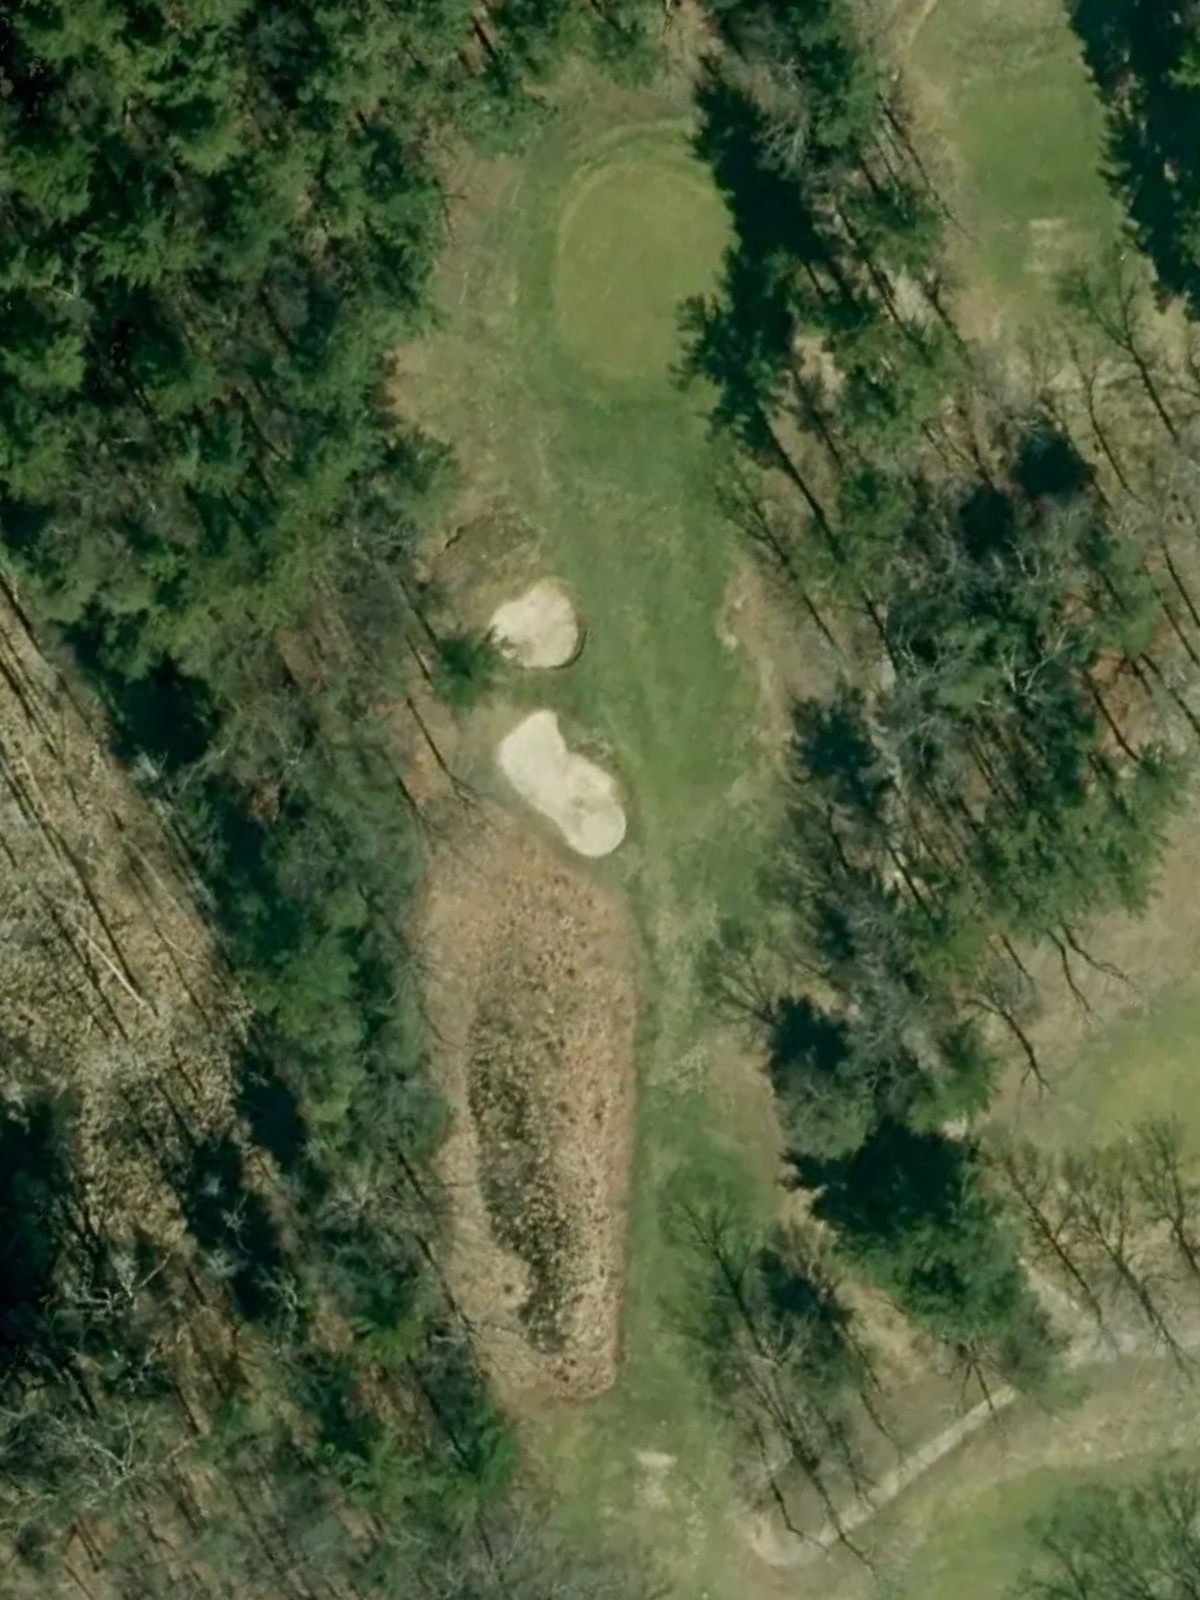
A mid-length par 4 featuring a relatively open fairway that widens through the landing area before tightening near the green. Strategic bunkering frames the putting surface, with hazards concentrated on the right side of the approach.
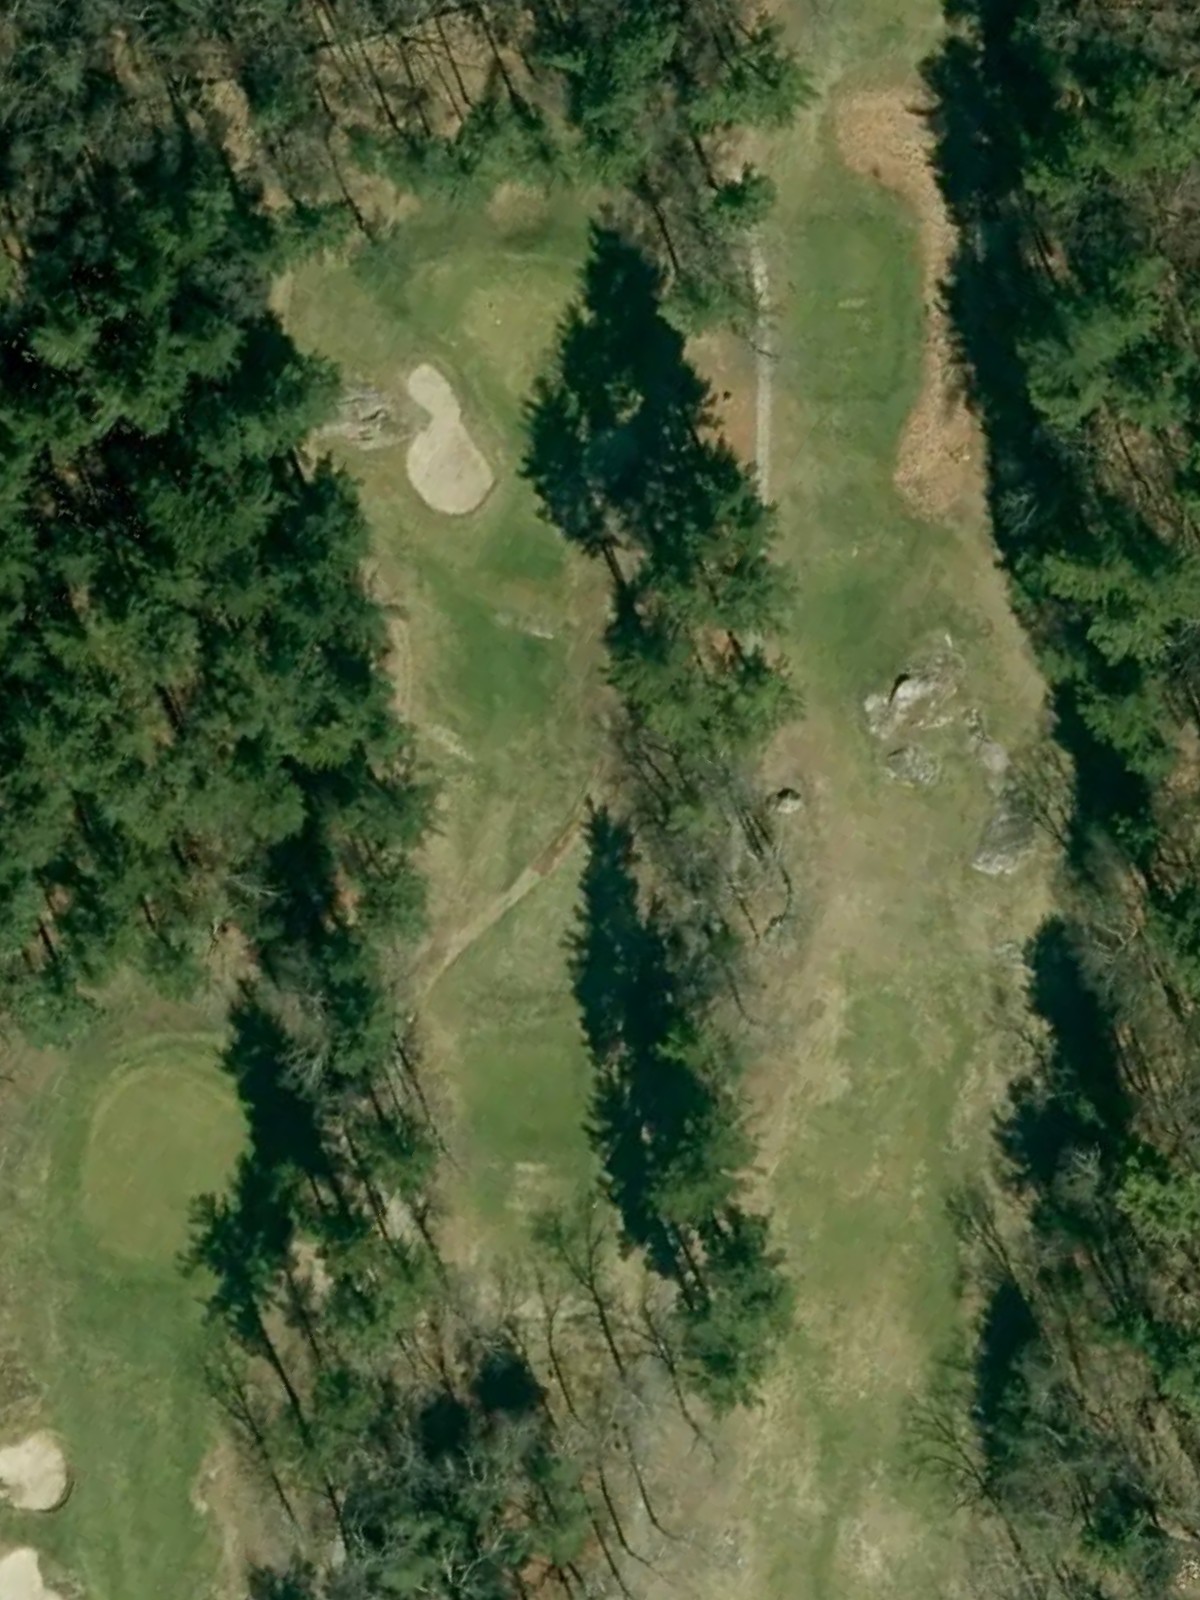
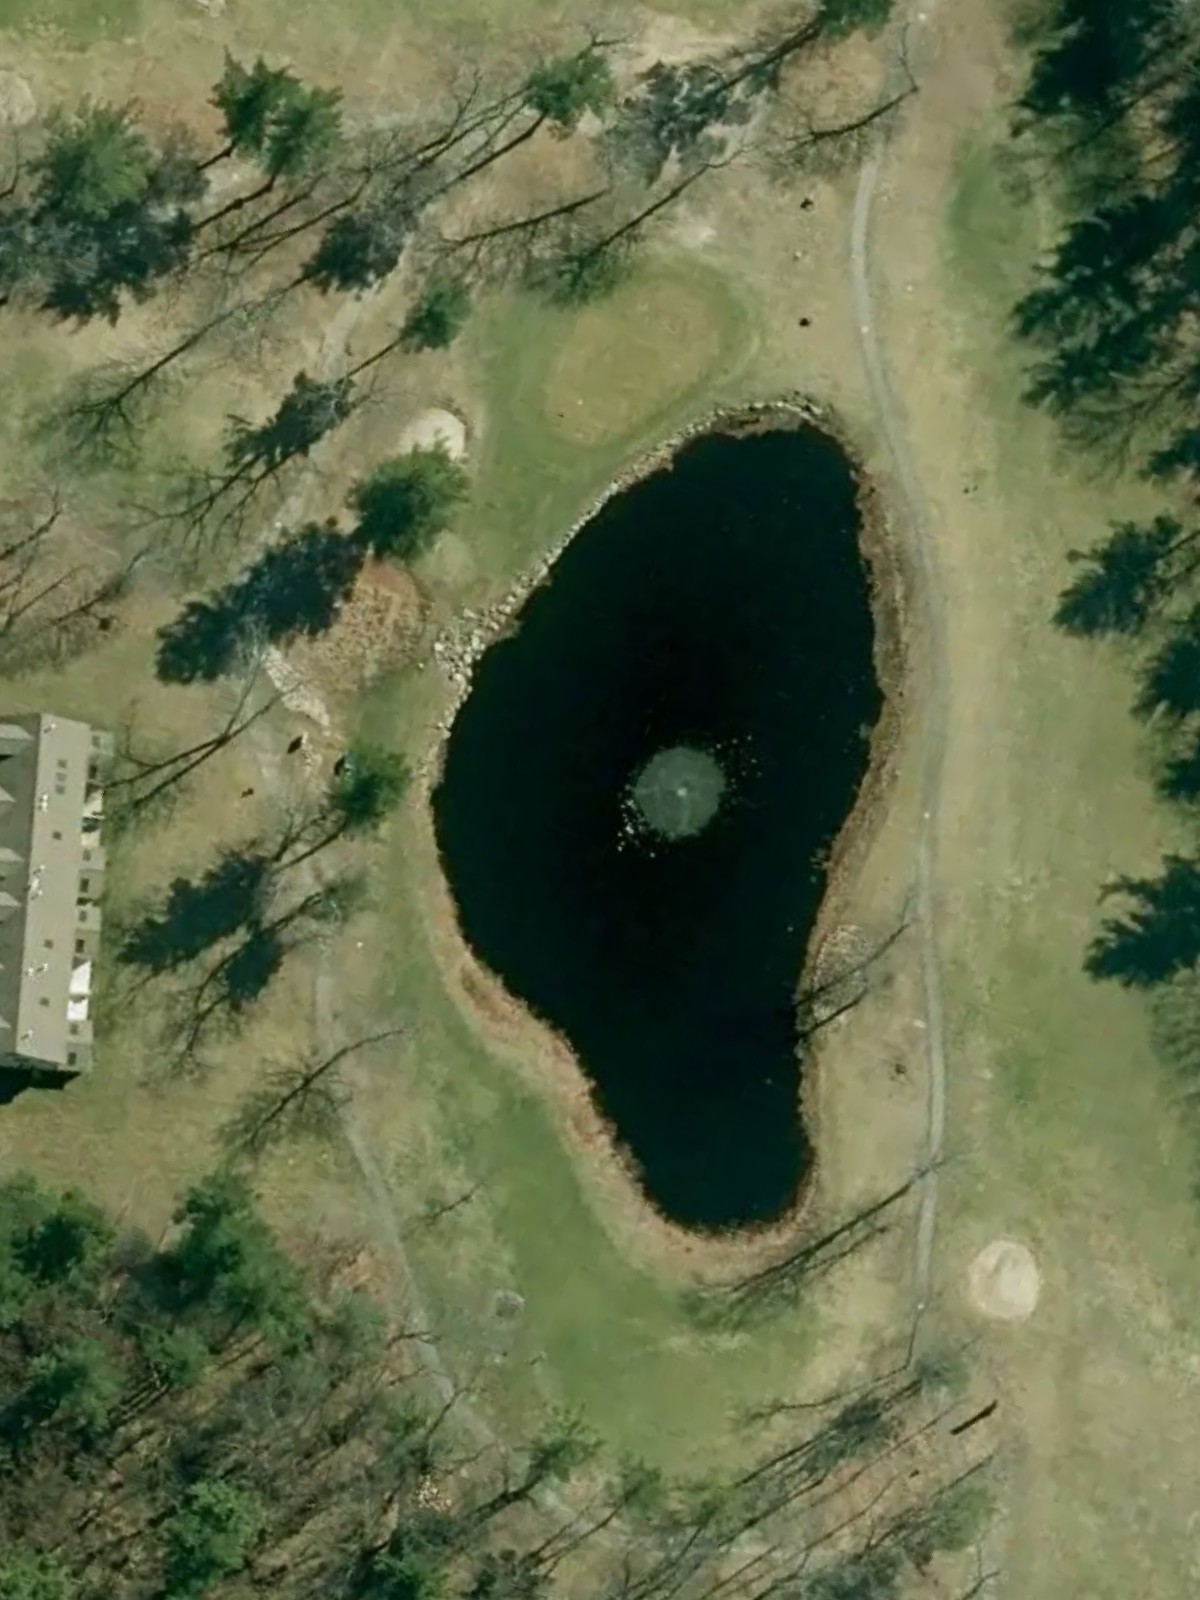
A par 3 of moderate length that requires a full iron or hybrid to reach the green. Water hazards protect the left side while bunkers guard the right, creating a need for a precise approach to find the center of the green.
A short par 3 that plays downhill to a compact green surrounded by bunkers and rough. The modest yardage can be deceiving, as the confined green and surrounding hazards demand accuracy over distance.
A short par 4 that invites aggressive play off the tee with a wide-open fairway in the landing zone. The approach to the green tightens considerably, with bunkers framing both sides and making the short approach shot the key to scoring.
A diminutive par 3 with a narrow green protected by bunkers on both sides and rough surrounding the perimeter. Despite its length, the small target and hazard placement make this a delicate test of short-iron precision.
A short-to-mid par 3 played to a moderately sized green with bunker protection left and right. The hole's strategic design rewards a well-struck iron shot that finds the center of the putting surface.
A mid-length par 4 with a fairway that plays relatively straight but narrows slightly as it approaches the green. Bunkers and rough define the edges near the putting surface, requiring both distance control and directional accuracy on the approach.
A solid par 4 from the back tees that features a fairway with subtle movement and strategic bunkering in the landing area. The green is guarded carefully, particularly on one side, making the approach shot the defining moment of the hole.
A short par 4 that plays deceptively difficult despite its modest length, with a fairway that narrows as it approaches the green. Greenside bunkers and rough create a challenging finishing zone for the approach shot.
A mid-length par 4 with a fairway that offers a relatively open landing area before tightening near the green. Bunkers and hazards frame the approaches, requiring both power and precision to set up a manageable second shot.
A par 3 of full-iron distance that plays to a well-defended green surrounded by bunkers and rough on multiple sides. The hole demands a committed, accurate shot to reach the putting surface safely.
A short par 3 played to a small green protected by bunkers and surrounded by rough and hazards. The premium is on accuracy, as the tight green leaves little margin for error despite the modest yardage.
A short par 4 with a wide fairway that invites aggressive play off the tee, though hazards tighten around the green. The approach shot is key, as bunkers and strategic rough placement protect the putting surface on multiple sides.
A diminutive par 3 with a small, well-guarded green that requires a precise short iron or wedge. Bunkers and rough surround the target, making accuracy the premium over distance on this demanding short hole.
A short-to-mid par 3 with a moderately sized green protected by bunkers on the approaches and sides. The hole presents a clear scoring opportunity for those who can place a well-struck iron into the center of the putting surface.
A finishing par 4 that plays to a moderate length with a fairway offering reasonable width through the landing zone before narrowing near the green. Strategic bunkering and rough frame the approach, creating a fitting test to complete the round.
Scorecard
| Hole | 1 | 2 | 3 | 4 | 5 | 6 | 7 | 8 | 9 | Out | 10 | 11 | 12 | 13 | 14 | 15 | 16 | 17 | 18 | In | Tot |
|---|---|---|---|---|---|---|---|---|---|---|---|---|---|---|---|---|---|---|---|---|---|
| Par | 4 | 4 | 4 | 3 | 3 | 4 | 3 | 3 | 4 | 32 | 4 | 4 | 4 | 3 | 3 | 4 | 3 | 3 | 4 | 32 | 64 |
| HCP | - | - | - | - | - | - | - | - | - | - | - | - | - | - | - | - | - | - | |||
| blue/blue | 367 | 293 | 352 | 170 | 126 | 303 | 128 | 153 | 351 | 2243 | 367 | 293 | 352 | 170 | 126 | 303 | 128 | 153 | 351 | 2243 | 4486 |
| blue/white | 367 | 293 | 352 | 170 | 126 | 303 | 128 | 153 | 351 | 2243 | 360 | 286 | 345 | 163 | 119 | 296 | 121 | 143 | 344 | 2177 | 4420 |
| white/white | 360 | 286 | 345 | 163 | 119 | 296 | 121 | 143 | 344 | 2177 | 360 | 286 | 345 | 163 | 119 | 296 | 121 | 143 | 344 | 2177 | 4354 |