Sunridge Canyon Gc is an 18-hole golf course in Fountin Hills, AZ with a par of 71. It offers 7 tee sets: black (6,747 yards, slope 138, rating 72.2), black/gold (6,506 yards, slope 136, rating 70.8), gold (6,283 yards, slope 132, rating 70), gold/white combo (6,087 yards, slope 128, rating 69.2), white (5,841 yards, slope 124, rating 67.7), white/green combo (5,477 yards, slope 120, rating 66.2), green (5,138 yards, slope 113, rating 64.6). The hardest hole is #5, a par 4 playing 416 yards from the first tee.
Sunridge Canyon Gc
Fountin Hills, AZ
Get PDF Yardage Book
We'll email you the PDF link. No spam, ever.
Create Your Game Plan
Pick your tees, enter your bag, and get a personalized shot-by-shot strategy for every hole.
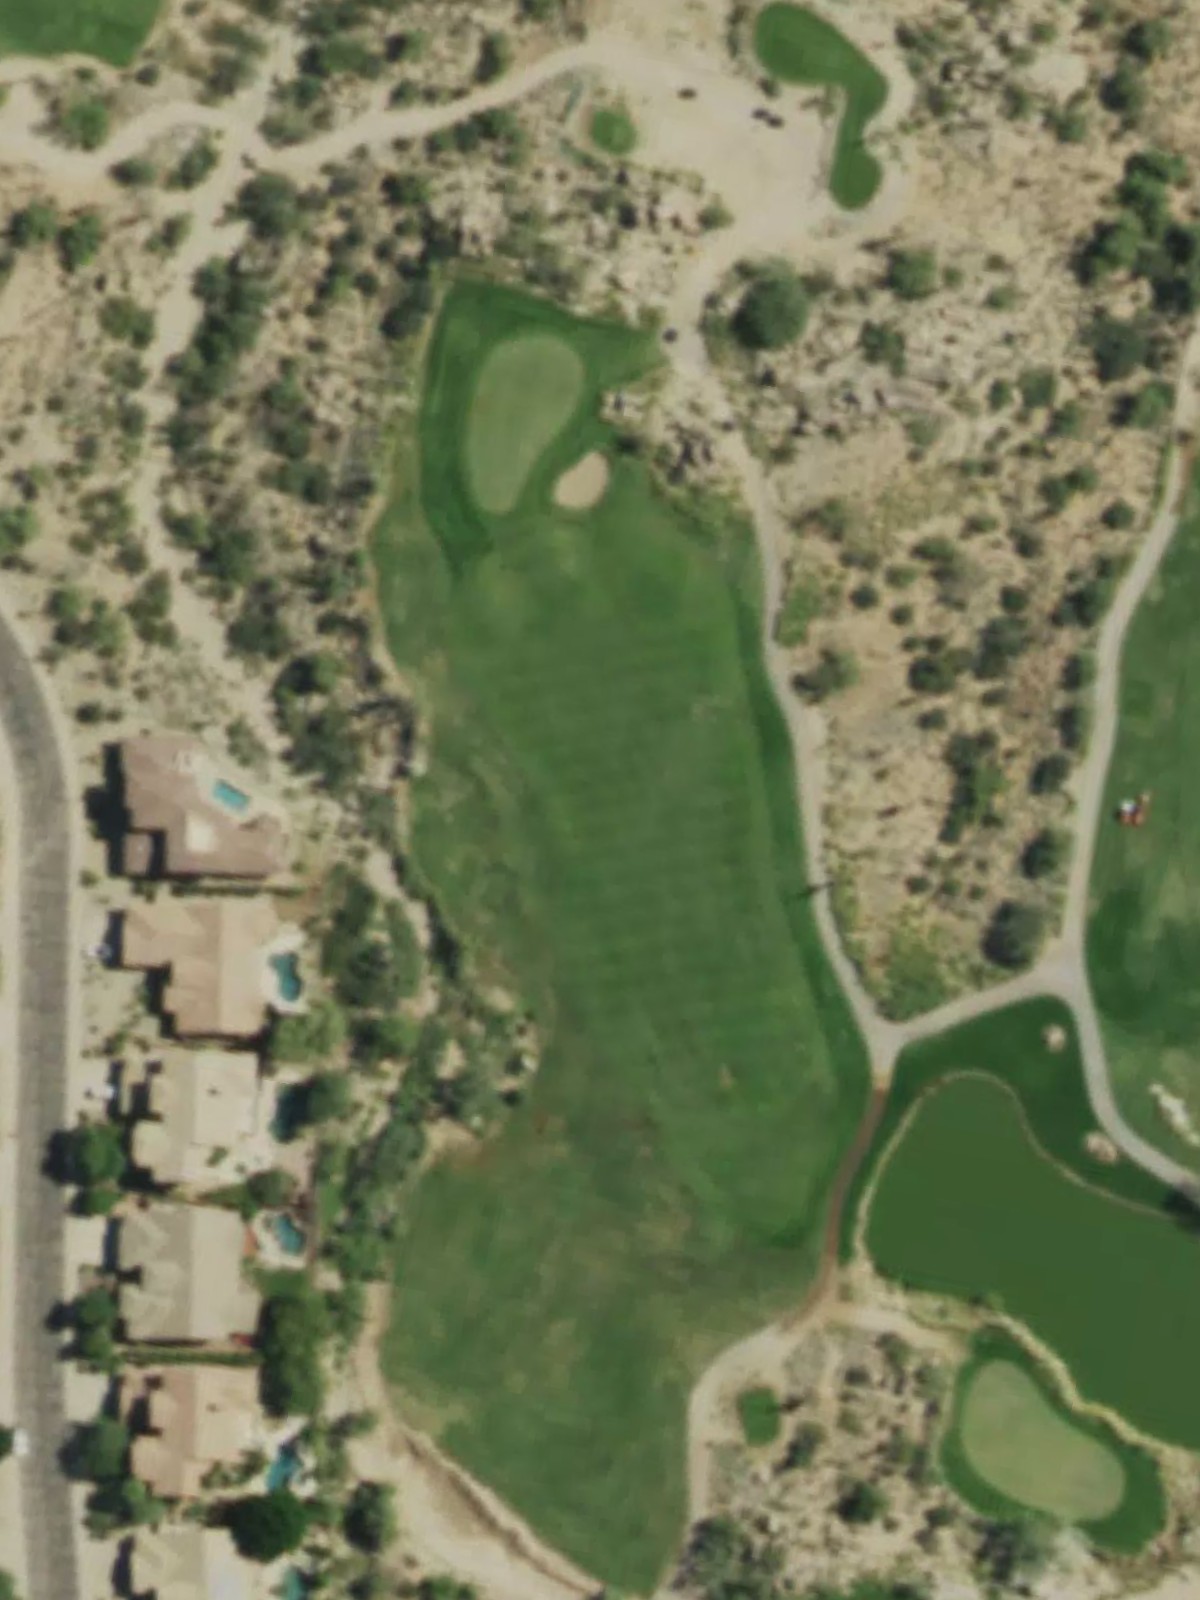
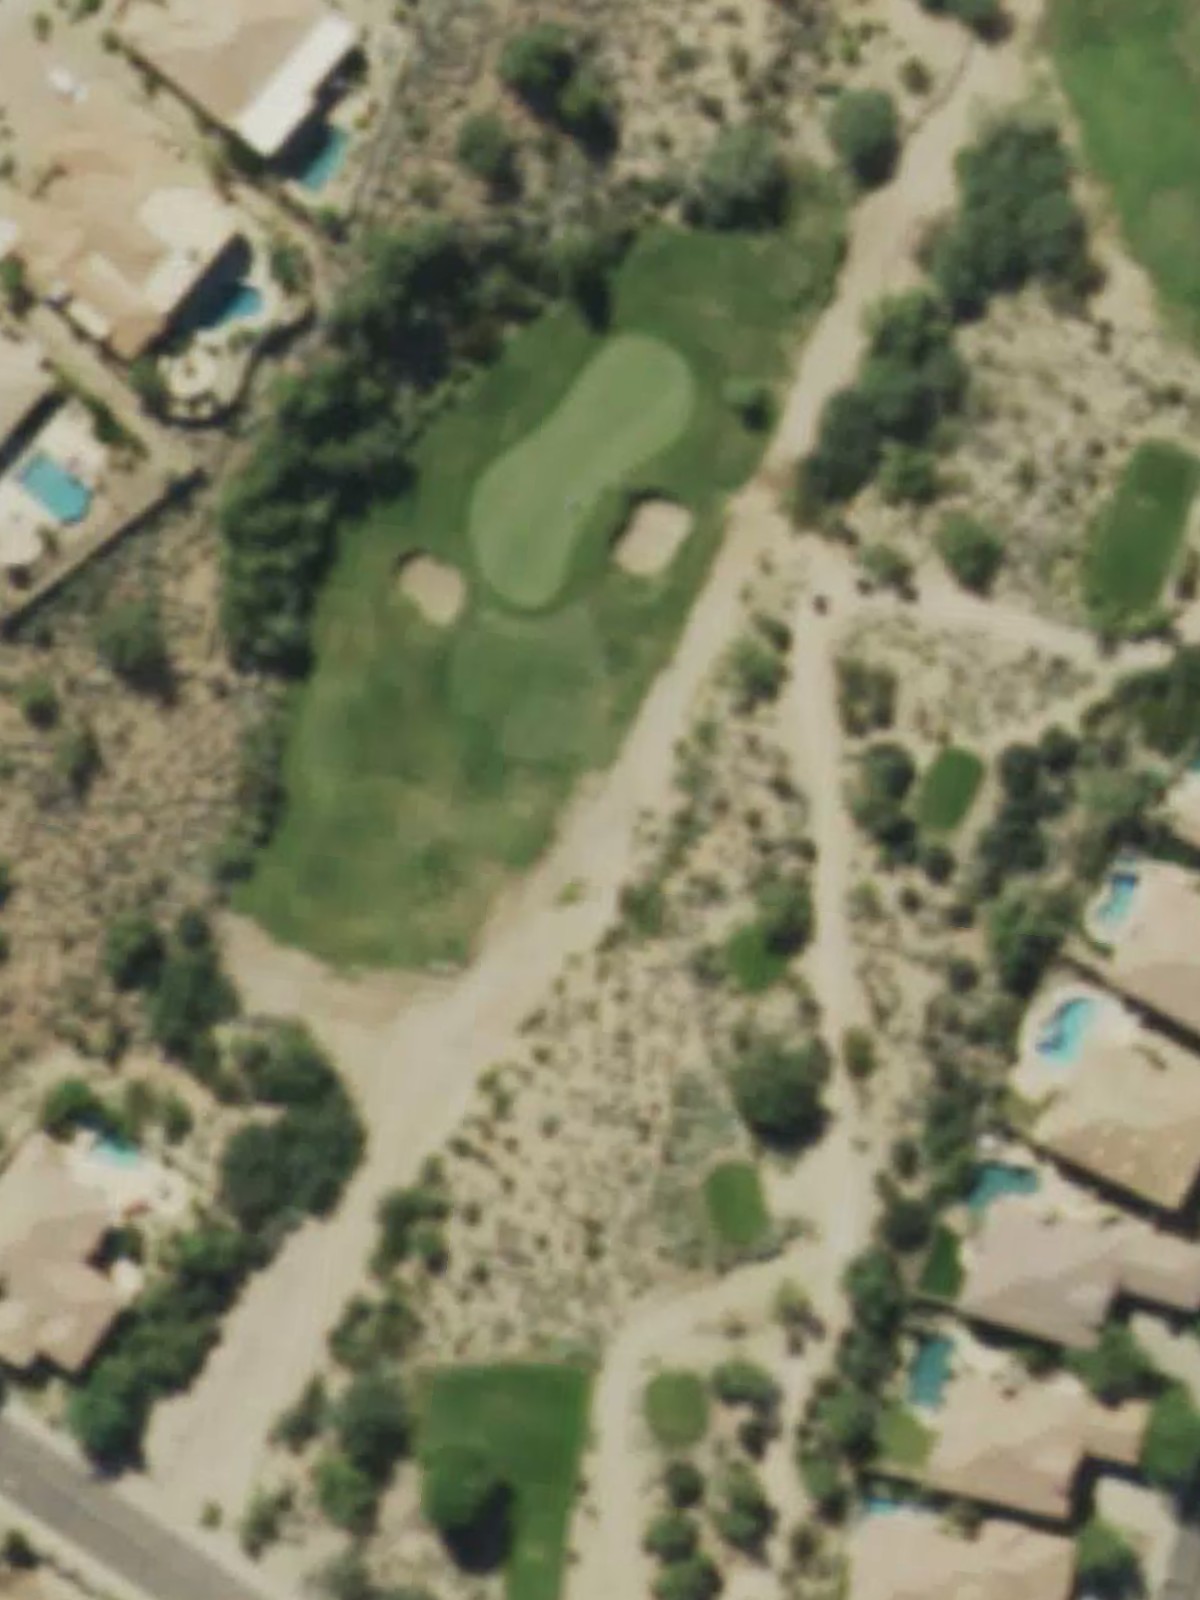
A short, straightforward par 4 that plays downhill from the tee. The fairway is relatively open with bunkers positioned right of the green, making this an inviting opening hole.

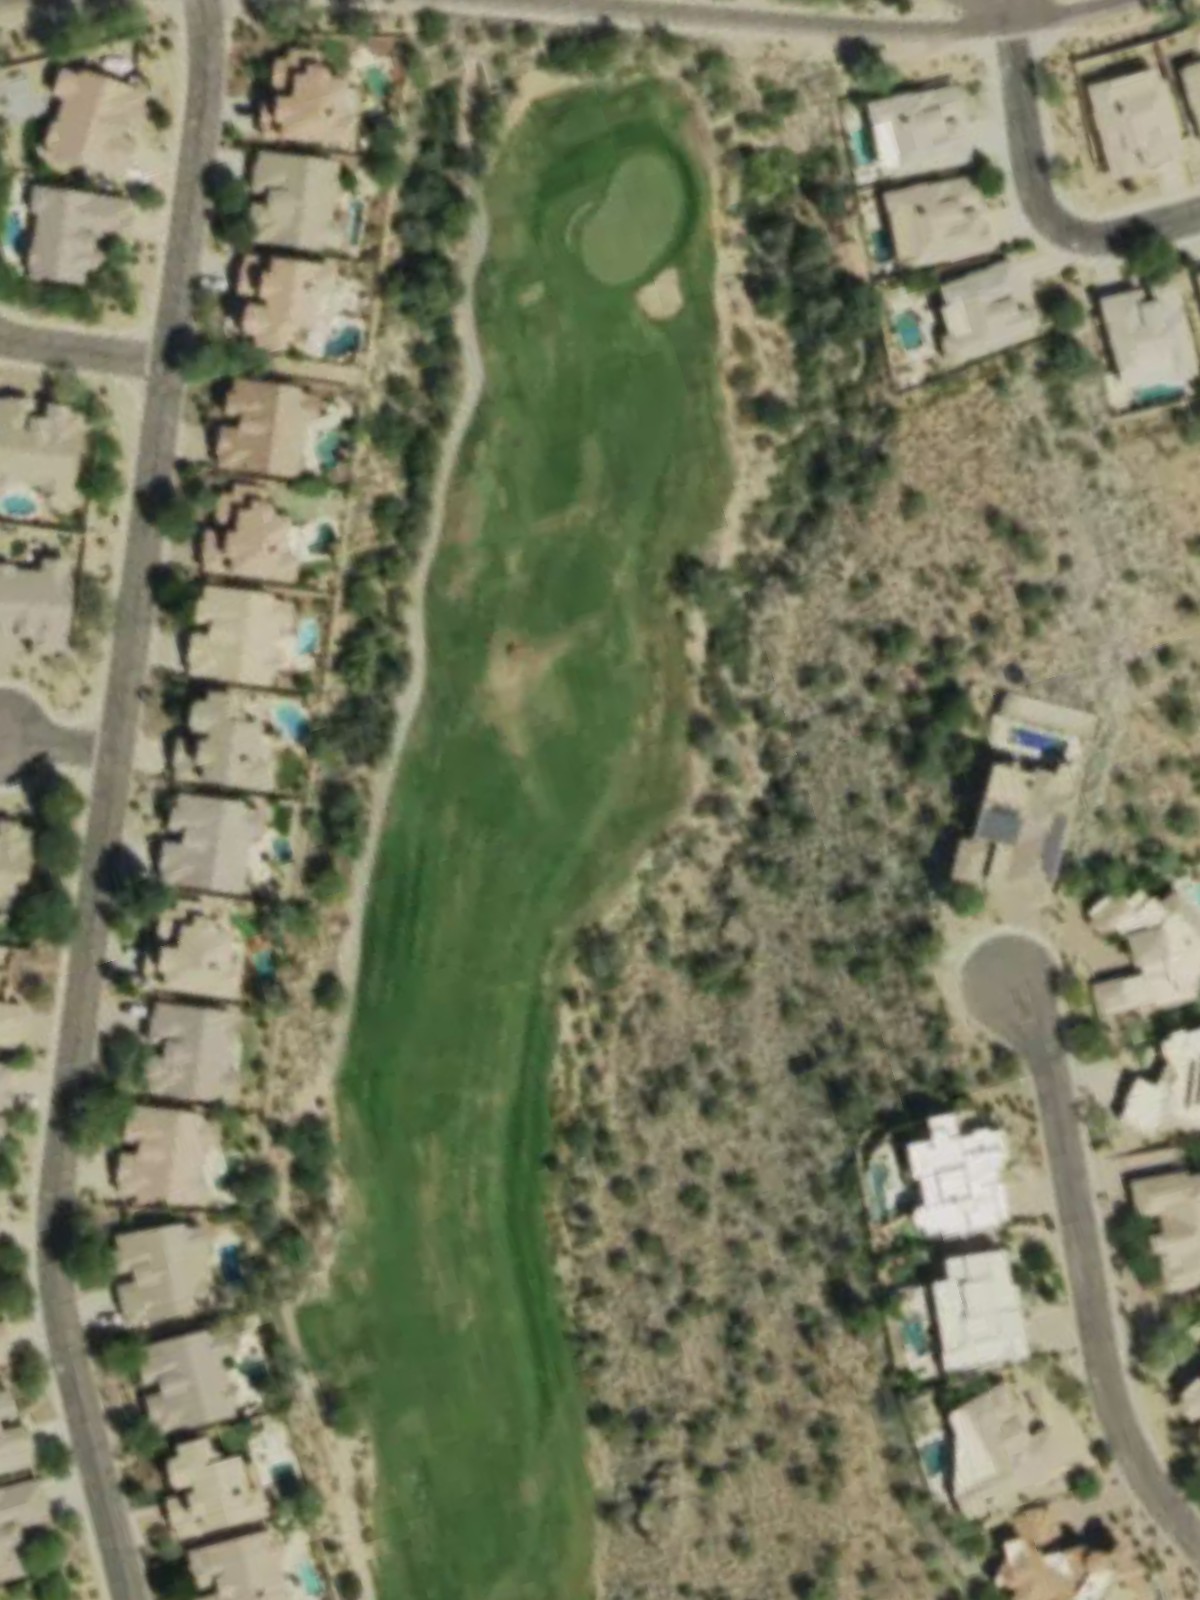
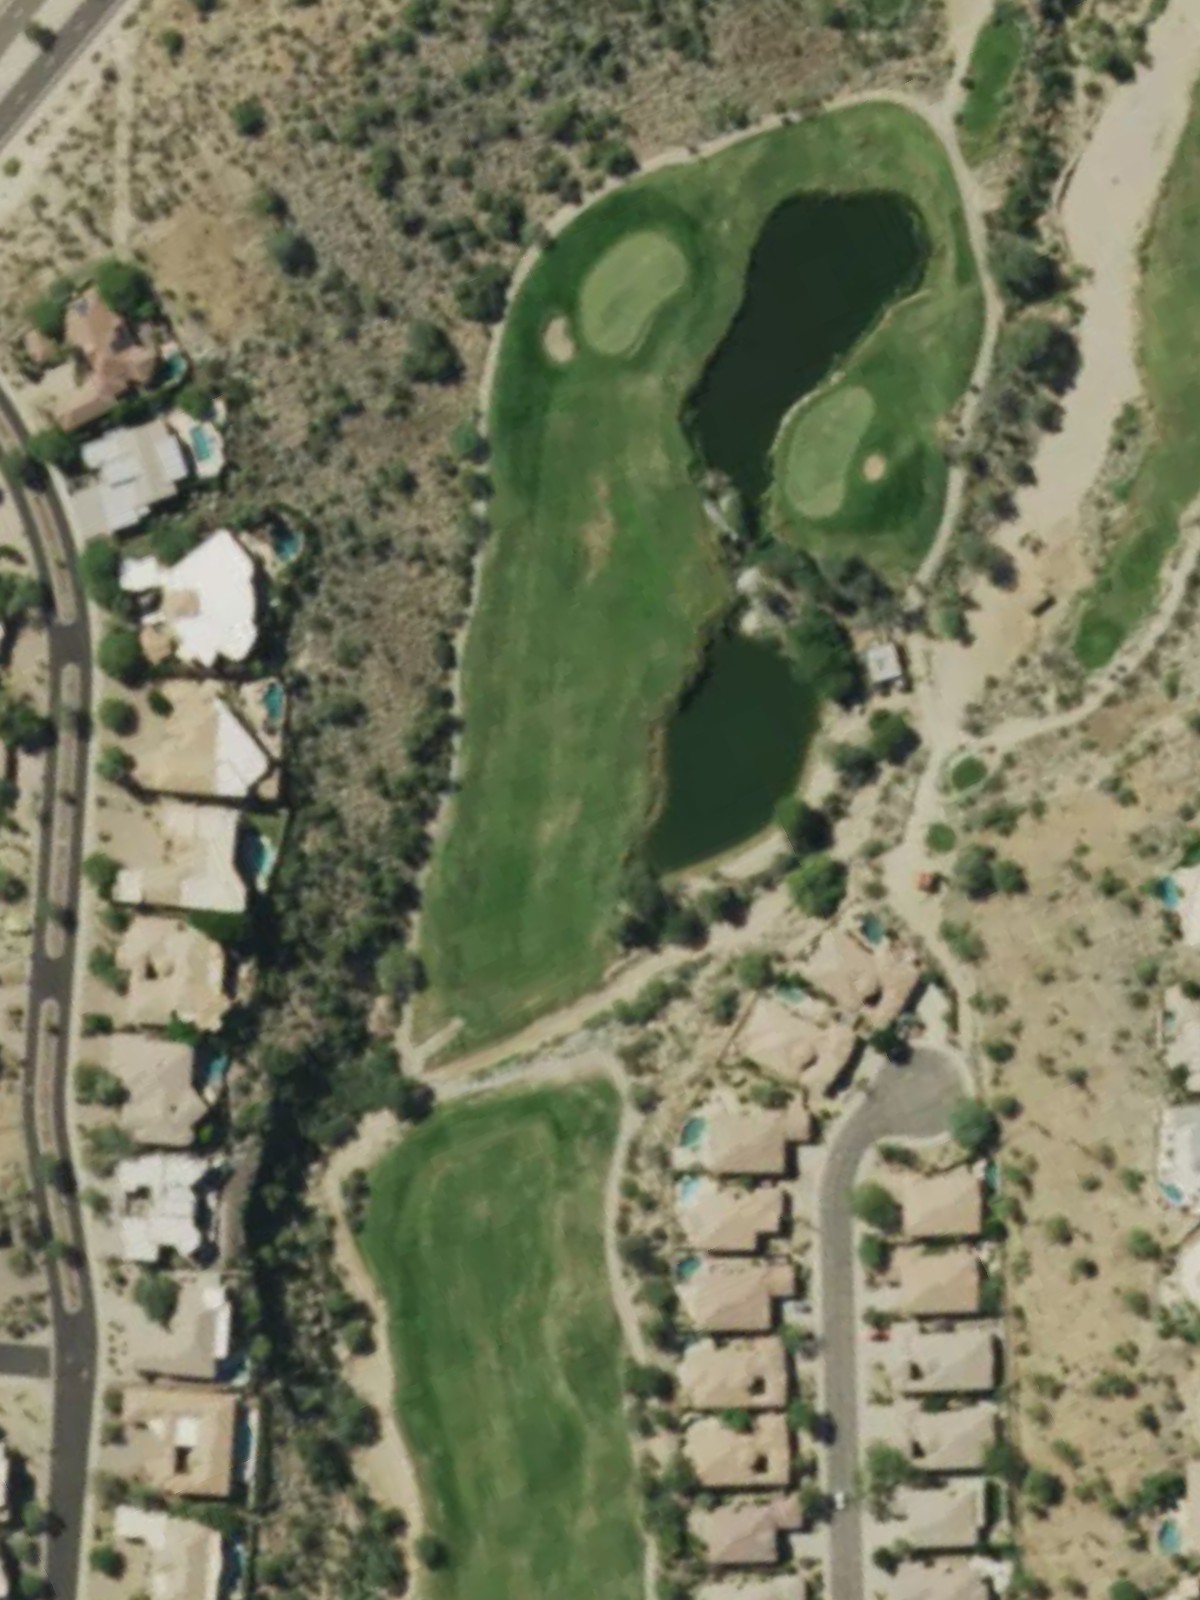
A demanding par 4 that requires a solid tee shot to set up an approach. Water and bunkers frame the left side of the fairway and guard the green complex, creating a risk-reward scenario.
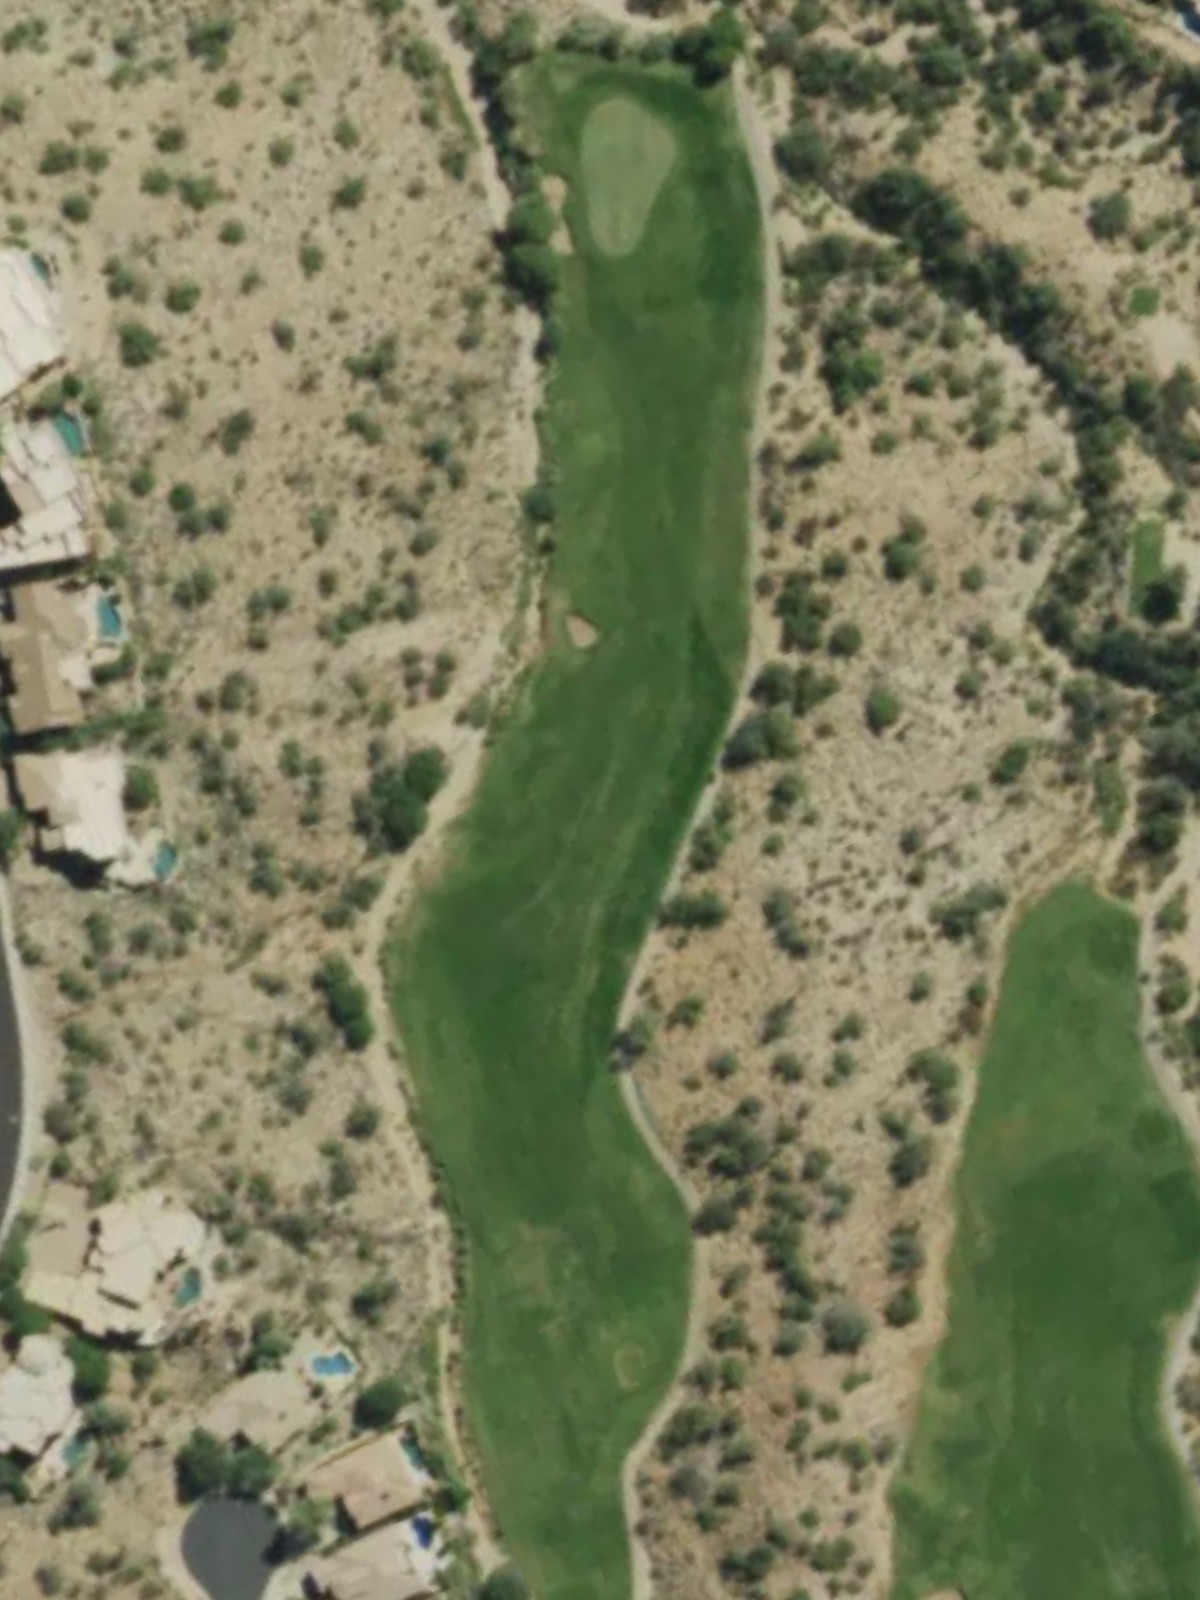
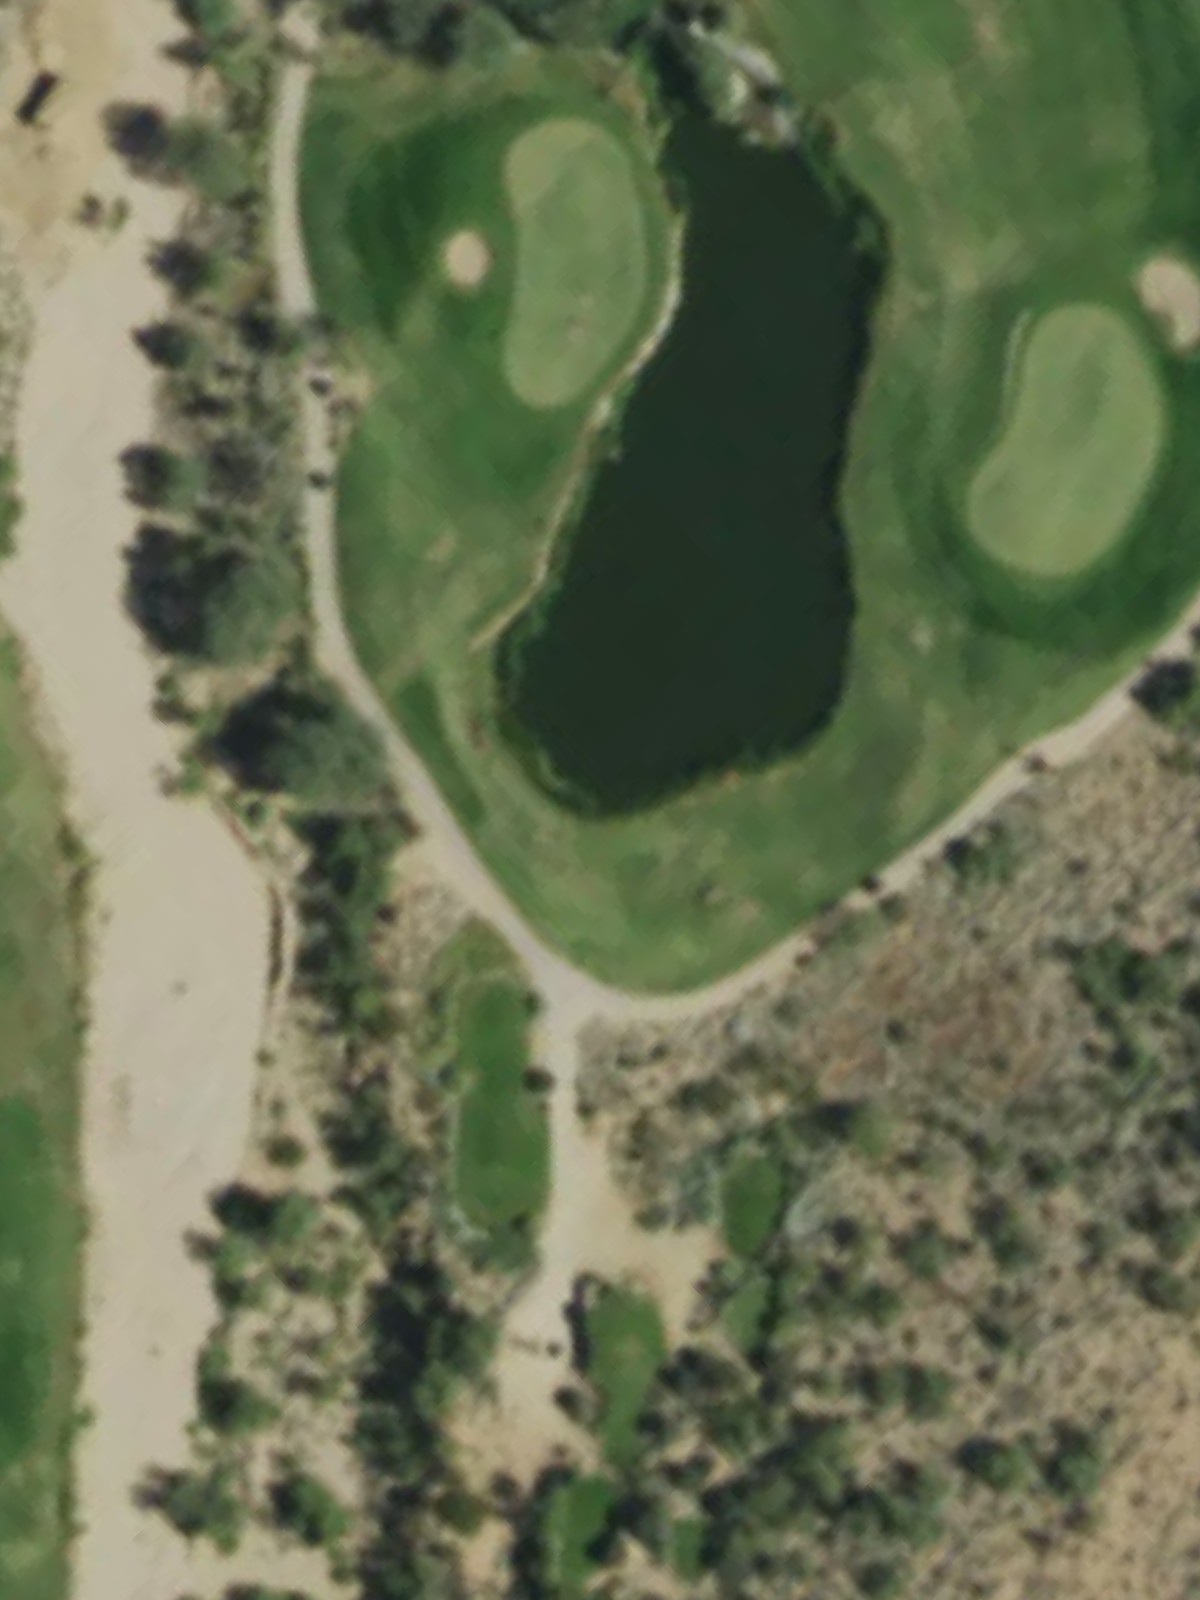
A reachable par 5 with a fairway that offers multiple options for the second shot. Bunkers and rough terrain line both sides of the fairway, with additional hazards surrounding the green.

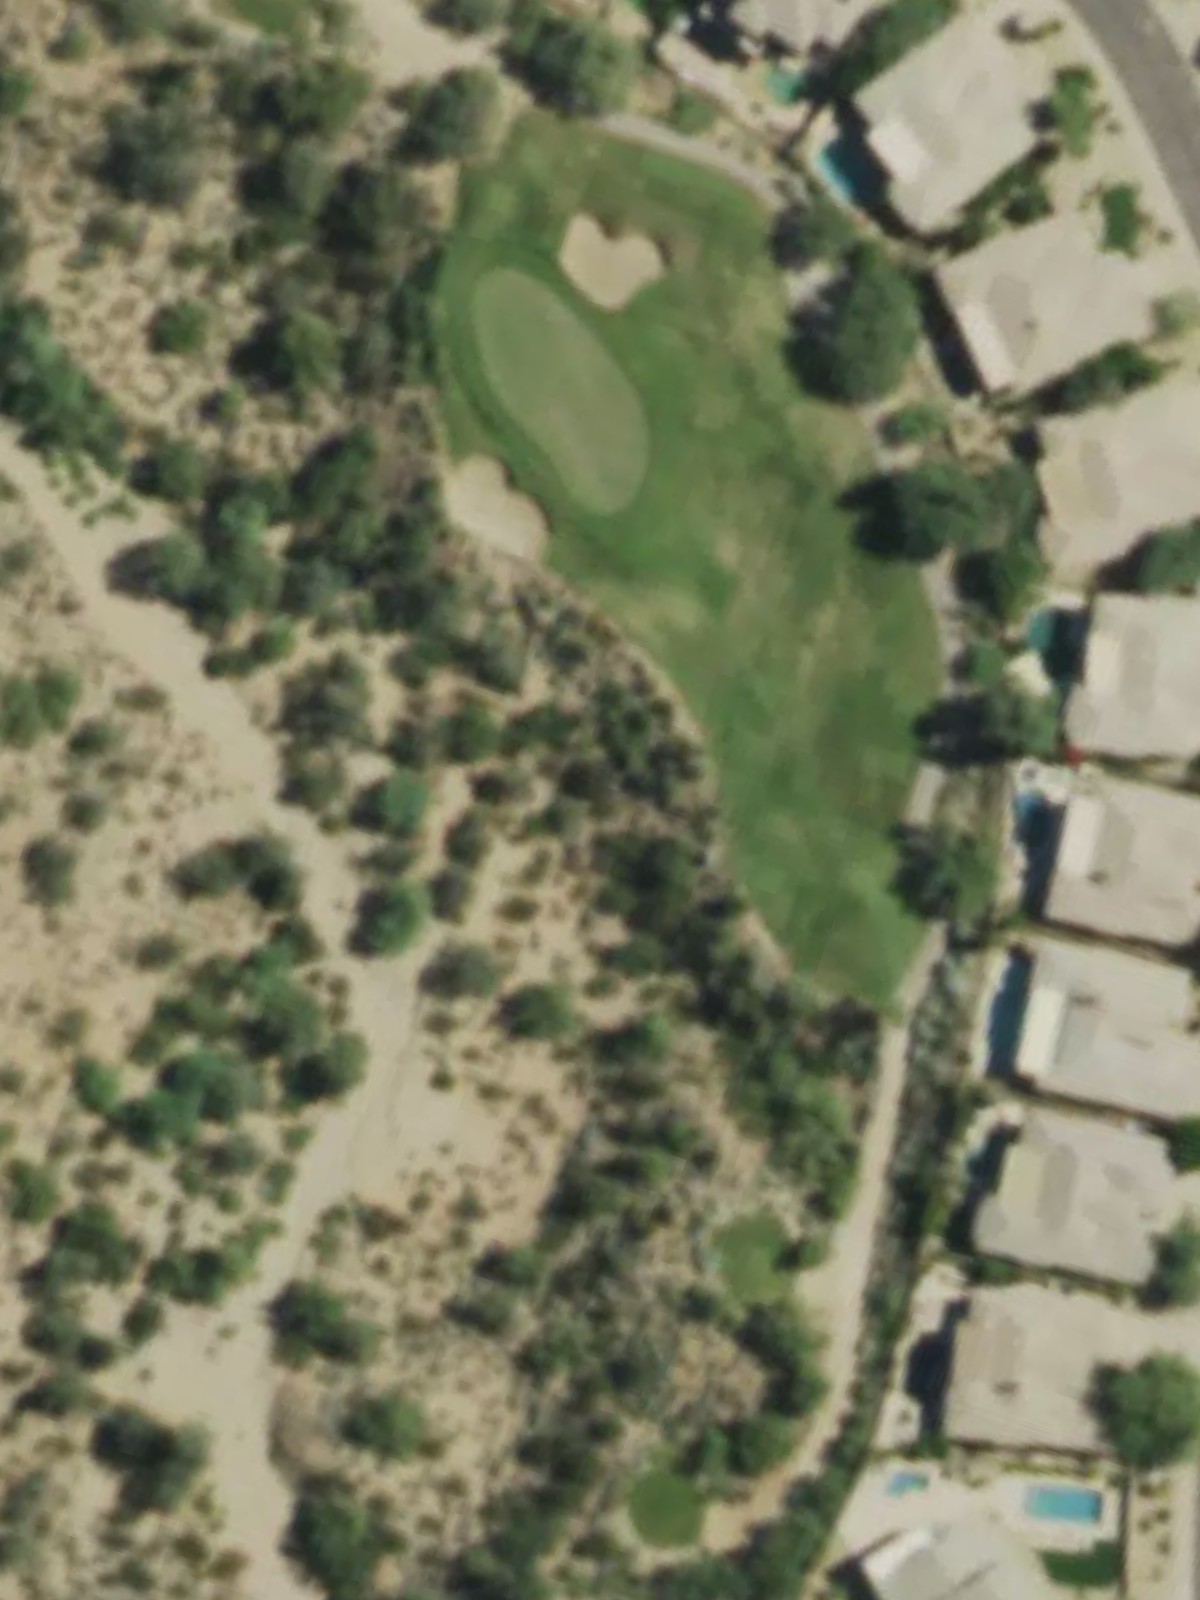
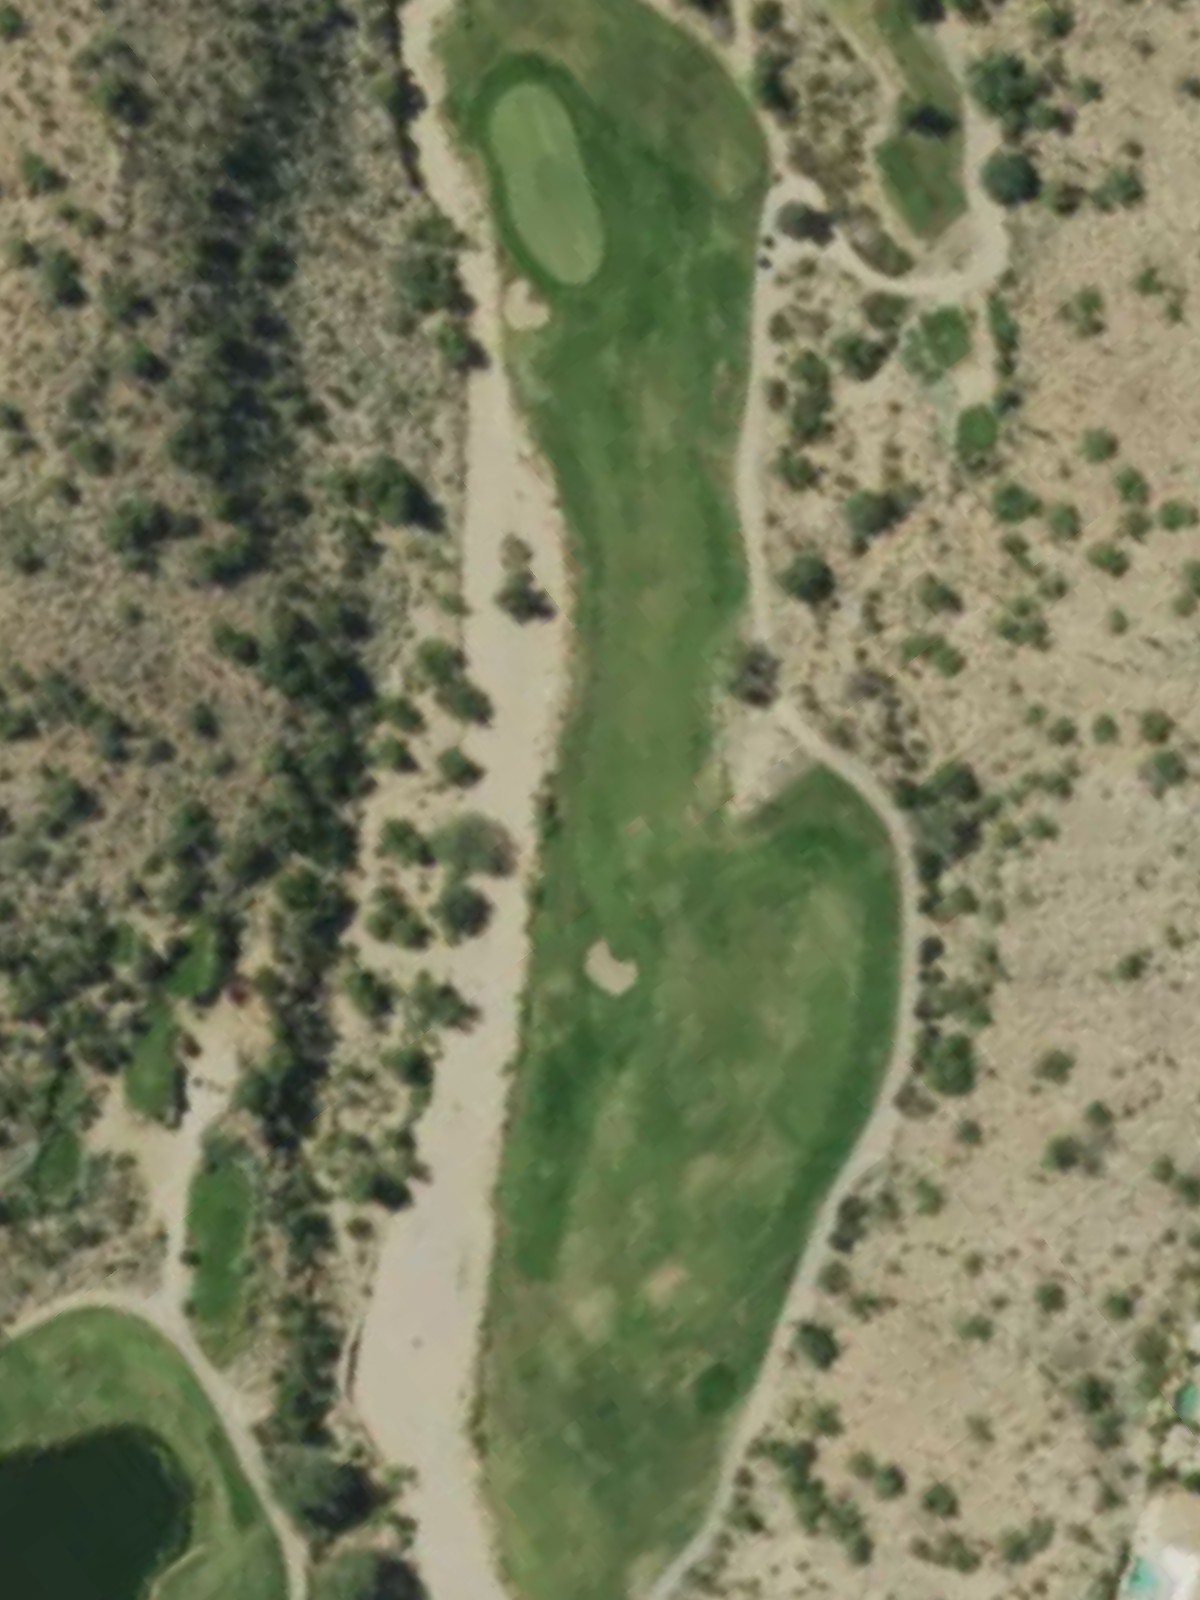
A challenging par 4 that plays longer than its yardage suggests. Bunkers and hazards define the right side of the hole, making accuracy off the tee and into the green critical.
The course's most difficult hole, this lengthy par 4 demands two quality shots to reach a well-protected green. Hazards pinch the fairway and surround the putting surface, testing composure and precision.
A mid-length par 3 where accuracy is paramount. Bunkers and water hazards surround the green, leaving little margin for error on this isolated target.
A short par 4 with a narrow corridor to the green. Tight fairways and greenside bunkers make this a deceptive test despite the modest yardage.

A substantial par 3 over water or rough terrain to an elevated green. The putting surface is protected by bunkers, and the length requires a confident, committed swing.
A strong par 5 that bends slightly through rugged terrain. Water and bunkers are positioned strategically throughout, making position and course management essential to scoring.
A short par 4 with a dramatic change in elevation or sidehill lies. The compact length is offset by hazards and the challenging topography surrounding the fairway and green.
A mid-length par 4 with a straightforward layout but subtle hazards. Bunkers and water come into play around the green, rewarding accurate approach shots.
A short par 3 with a generous green complex. Despite its modest length, bunkers or water positioned strategically near the putting surface provide the primary defense.
A lengthy par 5 that demands precision over distance. Bunkers and hazards line the fairway and green, with the hole's length and challenge ranking it among the course's most difficult.
A modest par 3 that belies its challenge through strategic hazard placement. Bunkers and rough frame the green, making club selection and accuracy crucial.
The second-most difficult hole, this powerful par 4 features a narrow fairway with hazards tightening the landing area. The approach into a well-guarded green demands precision and control.
A substantial par 5 that plays uphill or through challenging terrain. Water, bunkers, and rough frame the fairway, requiring strategic positioning for an effective second shot.
A mid-range par 3 with water or bunkers creating the primary defense around the green. The hole's aesthetic beauty belies the technical challenge of finding the putting surface.
A finishing par 4 that provides a strong closing test with bunkers guarding the green complex. The hole's length and hazard placement create a memorable conclusion to the round.
Scorecard
| Hole | 1 | 2 | 3 | 4 | 5 | 6 | 7 | 8 | 9 | Out | 10 | 11 | 12 | 13 | 14 | 15 | 16 | 17 | 18 | In | Tot |
|---|---|---|---|---|---|---|---|---|---|---|---|---|---|---|---|---|---|---|---|---|---|
| Par | 4 | 4 | 5 | 4 | 4 | 3 | 4 | 3 | 5 | 36 | 4 | 4 | 3 | 5 | 3 | 4 | 5 | 3 | 4 | 35 | 71 |
| HCP | 17 | 5 | 11 | 3 | 1 | 7 | 13 | 15 | 9 | 16 | 8 | 18 | 6 | 14 | 2 | 12 | 10 | 4 | |||
| black | 313 | 440 | 536 | 423 | 451 | 199 | 362 | 241 | 544 | 3509 | 306 | 409 | 166 | 573 | 175 | 449 | 526 | 207 | 427 | 3238 | 6747 |
| black/gold | 313 | 425 | 536 | 364 | 416 | 174 | 362 | 241 | 544 | 3375 | 306 | 396 | 166 | 530 | 160 | 432 | 526 | 188 | 427 | 3131 | 6506 |
| gold | 285 | 425 | 500 | 364 | 416 | 174 | 332 | 232 | 504 | 3232 | 296 | 396 | 151 | 530 | 160 | 432 | 507 | 188 | 391 | 3051 | 6283 |
| gold/white combo | 285 | 425 | 500 | 352 | 416 | 155 | 332 | 164 | 504 | 3133 | 296 | 381 | 151 | 492 | 160 | 432 | 478 | 188 | 376 | 2954 | 6087 |
| white | 271 | 394 | 487 | 352 | 361 | 155 | 324 | 164 | 484 | 2992 | 271 | 381 | 140 | 492 | 147 | 381 | 478 | 183 | 376 | 2849 | 5841 |
| white/green combo | 271 | 394 | 447 | 269 | 345 | 155 | 324 | 164 | 468 | 2837 | 271 | 392 | 140 | 434 | 132 | 354 | 448 | 135 | 334 | 2640 | 5477 |
| green | 188 | 295 | 447 | 269 | 345 | 123 | 243 | 147 | 468 | 2525 | 256 | 392 | 128 | 434 | 132 | 354 | 448 | 135 | 334 | 2613 | 5138 |